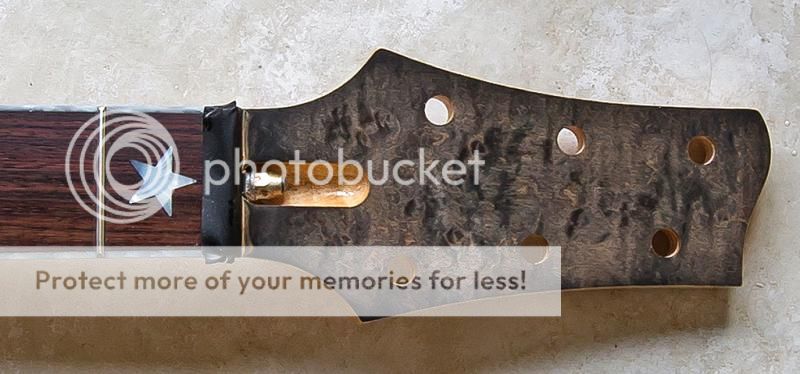
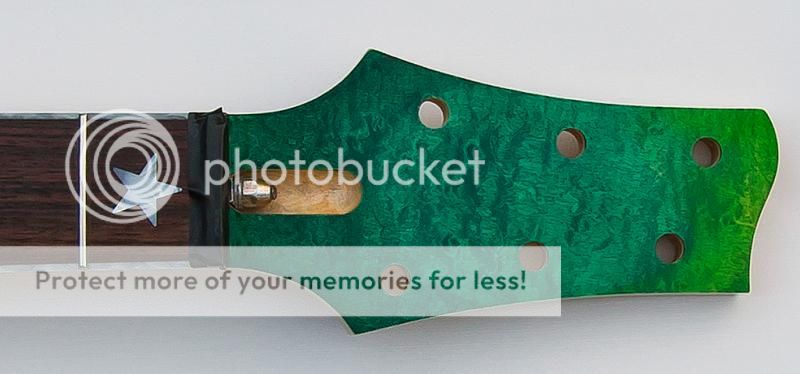
I will post photos of this one when it arrives and of progress during the build and finish.
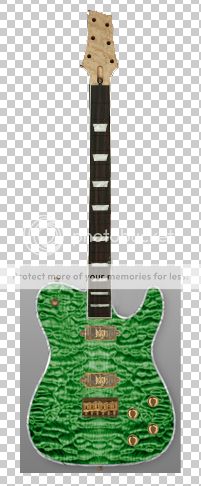
This is an artists impression. It should look roughly like this when finished, machine heads are gold with the antique green pegs (Schaller) and the neck inlays are pearloid stars, and bound with pearloid.
It will also have the gold Hipshot bridge, which (after doing some homework) should fit the rout for the Vintage Standard flat mount Stratocaster. I have gone for the 1.25 version of Hipshot over the 1.75 as it also has the 720 mod to lower the neck as there is no scratch plate.
Artists Impression:
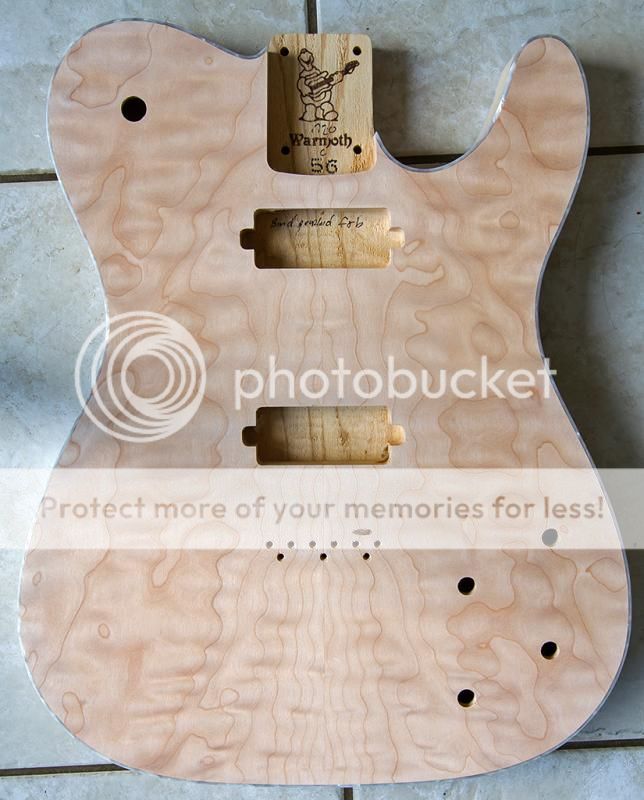
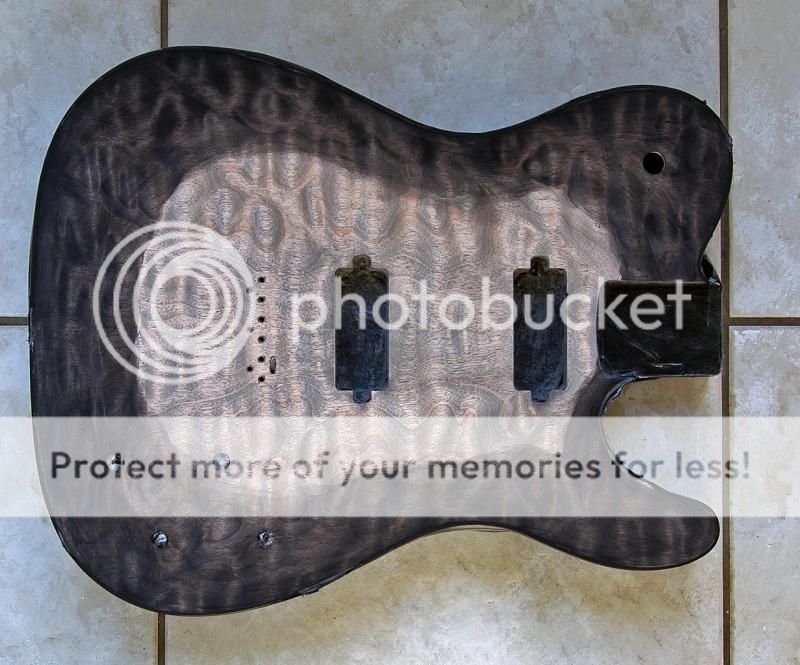
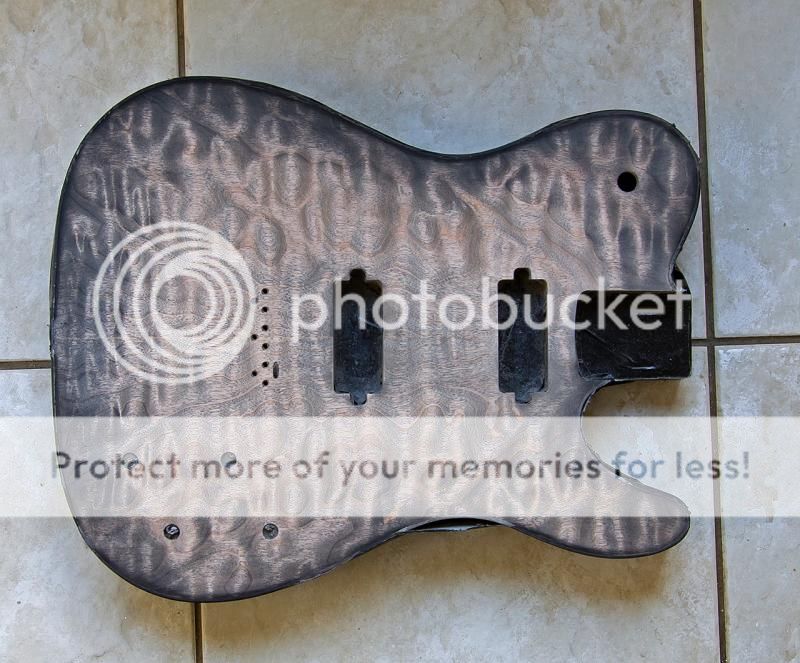
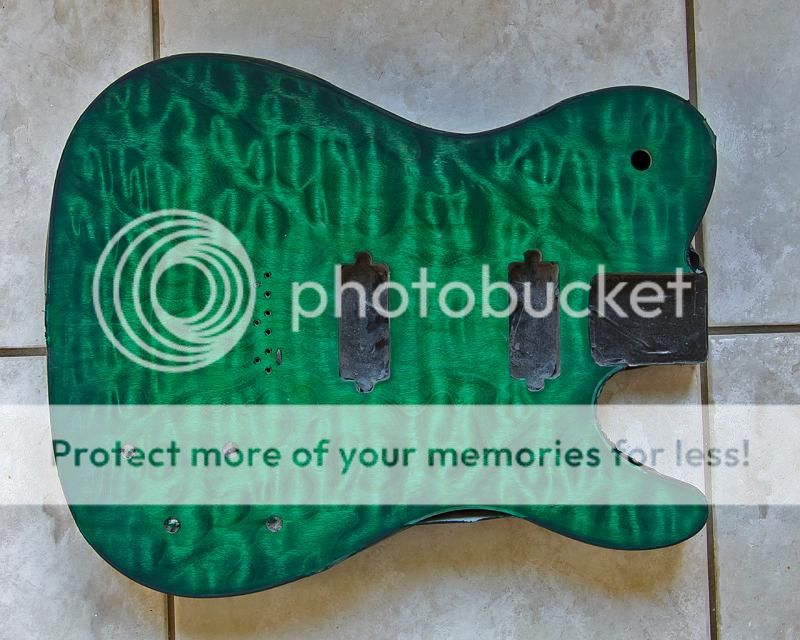
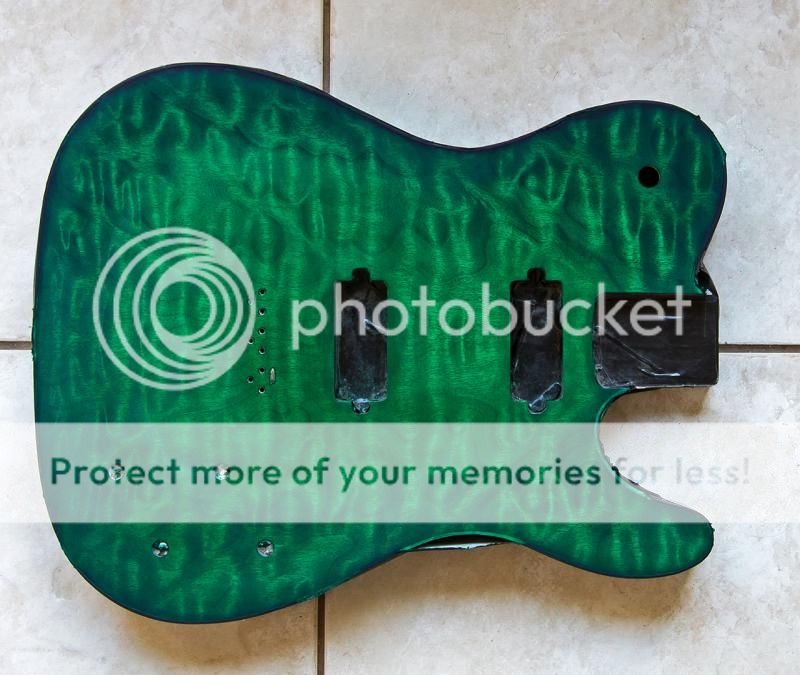
Real Thing:
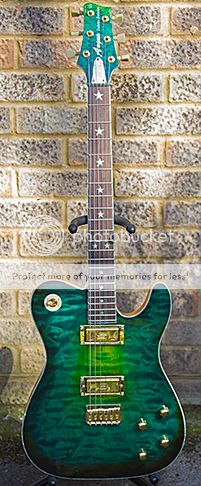
Quilt Top Ordered:

Spec is:
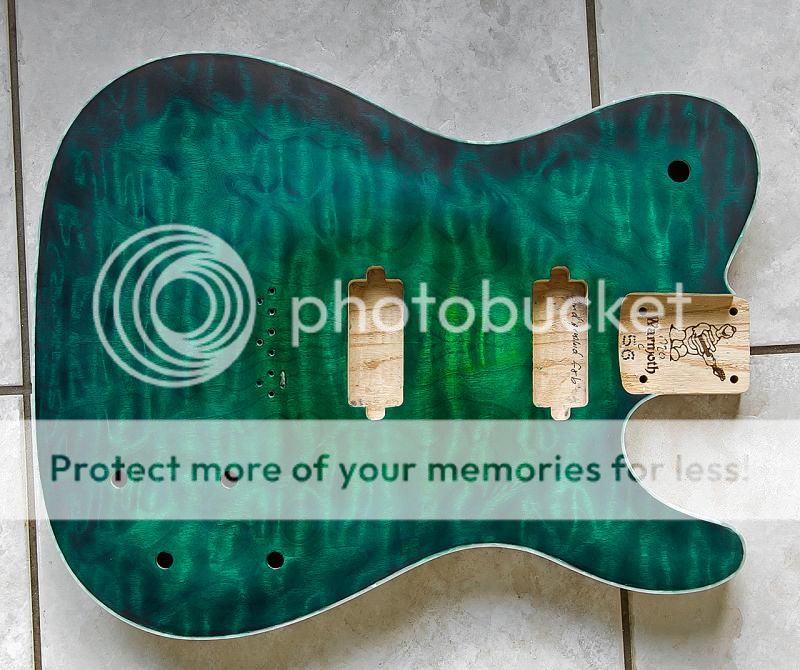
Body:
Model: Chambered Telecaster®
Orientation: Right handed
F-Holes: None
Scale: 25-1/2"
Wood: Quilt Maple on Swamp Ash
UC Front Laminate: LT1694
Rout: Rear Rout
Pickup Rout: Mini Humbucker (Neck), None (Middle), Mini Humbucker (Bridge)
Controls: V-V-T-T-Upper Tog (LP®)
Bridge: Vintage Standard Stratocaster Flat Mount
Jack Rout: 7/8" (22mm) Side Jack Hole
Neck Pocket: Strat® with 720 Mod
Mounting Holes: Standard 4 Bolt
Binding: Pearloid Binding
Back Binding: Pearloid Binding
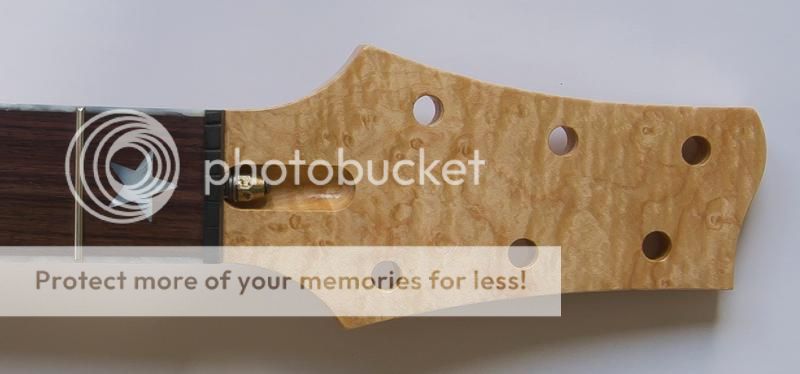
Neck:
Style: Warmoth
Construction: Conversion Angled 24-3/4"
Orientation: Right Handed
Neck Wood: Birdseye Maple
Fingerboard Wood: Indian Rosewood
Nut Width: 1-11/16"
Back Shape: Standard thin
Fret Size: SS6150 (Stainless)
Tuner Ream: Schaller (25/64" 11/32")
Radius: 10-16" Compound
Scale: 24-3/4" Conversion
Fret #: 22
Mounting Holes: Standard 4 Bolt
Pre-Cut Installed String Nut: GraphTech Black TUSQ XL - Standard Nut
Inlays: Pearloid Star
Side Dots: Mother Of Pearl Side Dots
Binding: Pearloid
Finish: Clear Gloss
This is an artists impression. It should look roughly like this when finished, machine heads are gold with the antique green pegs (Schaller) and the neck inlays are pearloid stars, and bound with pearloid.
It will also have the gold Hipshot bridge, which (after doing some homework) should fit the rout for the Vintage Standard flat mount Stratocaster. I have gone for the 1.25 version of Hipshot over the 1.75 as it also has the 720 mod to lower the neck as there is no scratch plate.
Artists Impression:
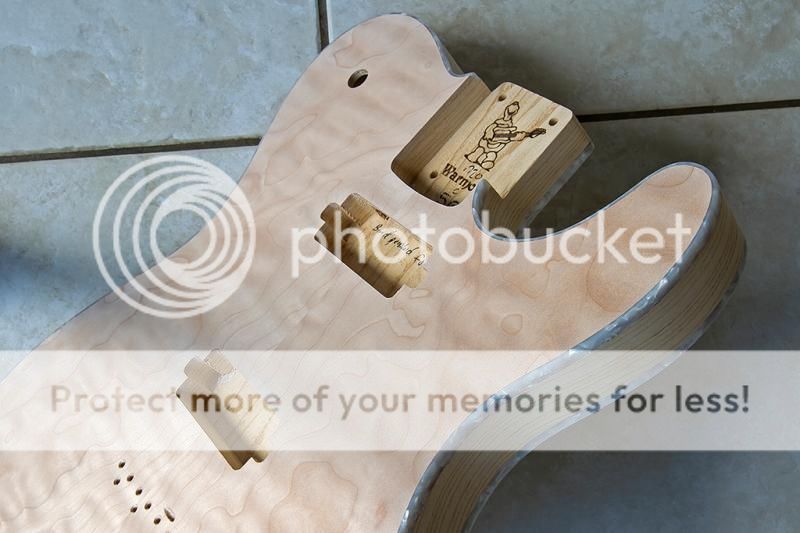
Real Thing:
Quilt Top Ordered:
Spec is:
Body:
Model: Chambered Telecaster®
Orientation: Right handed
F-Holes: None
Scale: 25-1/2"
Wood: Quilt Maple on Swamp Ash
UC Front Laminate: LT1694
Rout: Rear Rout
Pickup Rout: Mini Humbucker (Neck), None (Middle), Mini Humbucker (Bridge)
Controls: V-V-T-T-Upper Tog (LP®)
Bridge: Vintage Standard Stratocaster Flat Mount
Jack Rout: 7/8" (22mm) Side Jack Hole
Neck Pocket: Strat® with 720 Mod
Mounting Holes: Standard 4 Bolt
Binding: Pearloid Binding
Back Binding: Pearloid Binding
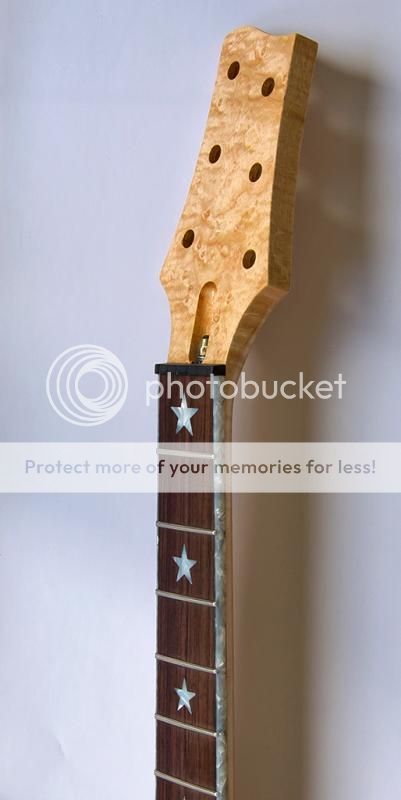
Neck:
Style: Warmoth
Construction: Conversion Angled 24-3/4"
Orientation: Right Handed
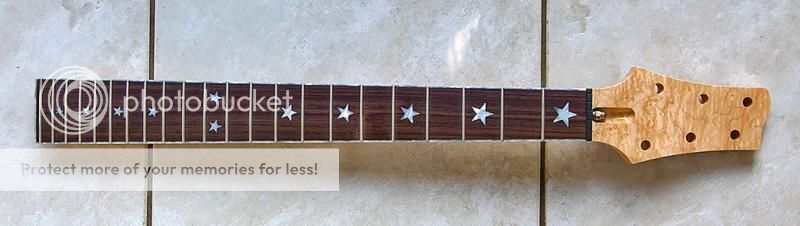
Neck Wood: Birdseye Maple
Fingerboard Wood: Indian Rosewood
Nut Width: 1-11/16"
Back Shape: Standard thin
Fret Size: SS6150 (Stainless)
Tuner Ream: Schaller (25/64" 11/32")
Radius: 10-16" Compound
Scale: 24-3/4" Conversion
Fret #: 22
Mounting Holes: Standard 4 Bolt
Pre-Cut Installed String Nut: GraphTech Black TUSQ XL - Standard Nut
Inlays: Pearloid Star
Side Dots: Mother Of Pearl Side Dots
Binding: Pearloid
Finish: Clear Gloss