A Jazzmaster inspired by the ULTRA Series

-VB- said:
...but in context with the body and bridge / vibrato I suddenly think that black is the way to go. I like it a LOT...

Photo%20Mar%2005%2C%202%2011%2003%20PM%20%28edited-Pixlr%29.jpg
Man, that's the hot ticket! Black covers really do it right.
 
Black, blackity black, BLACK.  The mastery hardware and wang-bar tip and everything else call out for black pickup covers to carry through on the theme.
 
Rgand said:
Man, that's the hot ticket! Black covers really do it right.

Bagman67 said:
Black, blackity black, BLACK.  The mastery hardware and wang-bar tip and everything else call out for black pickup covers to carry through on the theme.

I'm with you fellers! The locals agree too.
 
Black for me as well.

Just saying as well, that colour goes gorgeous with the F-hole. Wish we could mimic the MIJ thinline Jaguar's and have binding on the front and back, no contours. Would look super nice.
 
Axkoa said:
Black for me as well.

Just saying as well, that colour goes gorgeous with the F-hole. Wish we could mimic the MIJ thinline Jaguar's and have binding on the front and back, no contours. Would look super nice.

Thanks for that! I know that the F-Hole can be a somewhat controversial choice, but I dig it. And I agree with you: as a life-long Tele guy, I'd love a double bound offset body with no contours!
 
Agreement from me as well. The black looks spectacular. Much better than the white.
 
Alrighty then. My fingertips are completely raw, but both thimbles are in. The second one required a little help from the dead blow to make it the last 1/16" or so, but she slid home without any difficulty.

Photo%20Mar%2005%2C%2010%2029%2014%20PM%20%28edited-Pixlr%29.jpg


Photo%20Mar%2005%2C%2010%2029%2052%20PM%20%28edited-Pixlr%29.jpg


String ground:

Photo%20Mar%2005%2C%2010%2052%2046%20PM%20%28edited-Pixlr%29.jpg


Photo%20Mar%2005%2C%2011%2000%2029%20PM%20%28edited-Pixlr%29.jpg


Next task will be cleaning up the pickup routes so the covers can fit in the profiles. Hopefully I'll have some time for that tomorrow!
 
Rgand said:
-VB- said:
How accurate is the dolor in this picture? I may have a new favorite Warmoth color.

I have really struggled to capture the color in a picture and have not really come close. Compared to that picture, the actual color is lighter and with a subtle aqua-marine-ish hue that gives it the turquoise flavor as opposed to straight blue. And, being a candy finish, it does have a luster to it. Of the pictures I've taken, I think this one is closest:

Photo%20Mar%2005%2C%2010%2052%2046%20PM%20%28edited-Pixlr%29.jpg


Not the most artistic picture I've ever taken, but by chance it is the closest representation of the color. It is a bit light compared to the actual color, but close. I hope that helps some, suffice to say that it is absolutely gorgeous.....
 
Hey, thanks. That does look good. I would be happy with almost any shade of that. :icon_thumright:
 
It took some doing to get the pickup cover profiles cleaned up sufficiently for the covers to fit without distorting, but the Dremel and I got it done. You can see what had to be removed in these photos:

Photo%20Mar%2006%2C%2010%2016%2042%20PM%20%28edited-Pixlr%29.jpg


Photo%20Mar%2006%2C%2010%2017%2013%20PM%20%28edited-Pixlr%29.jpg

 
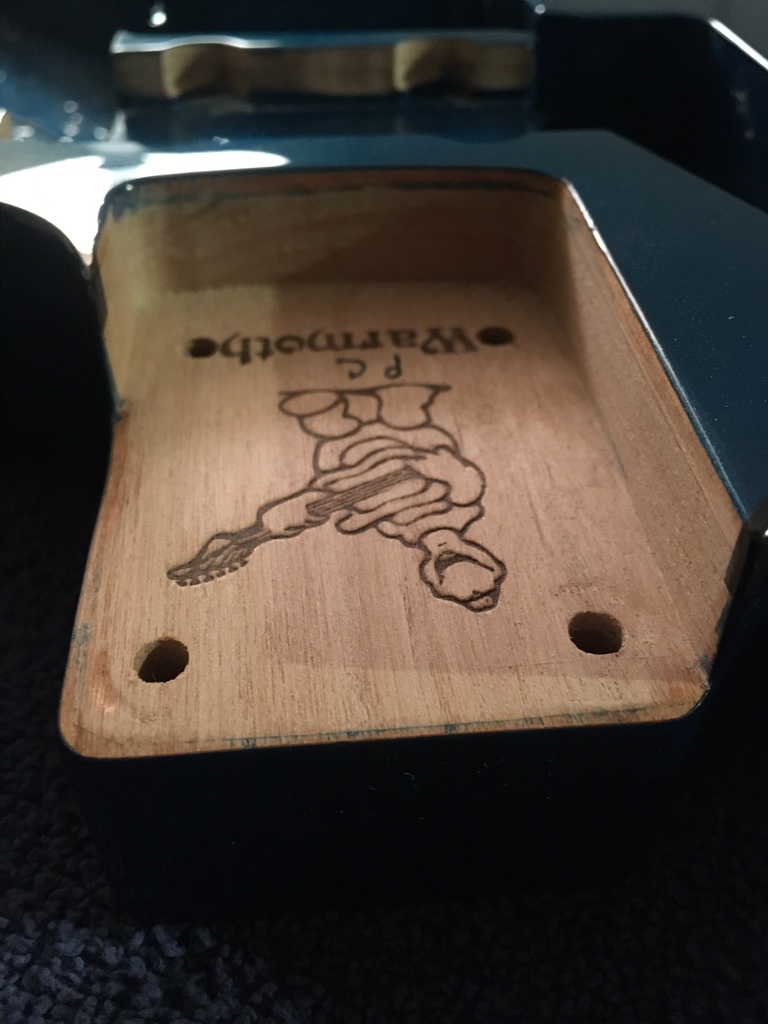
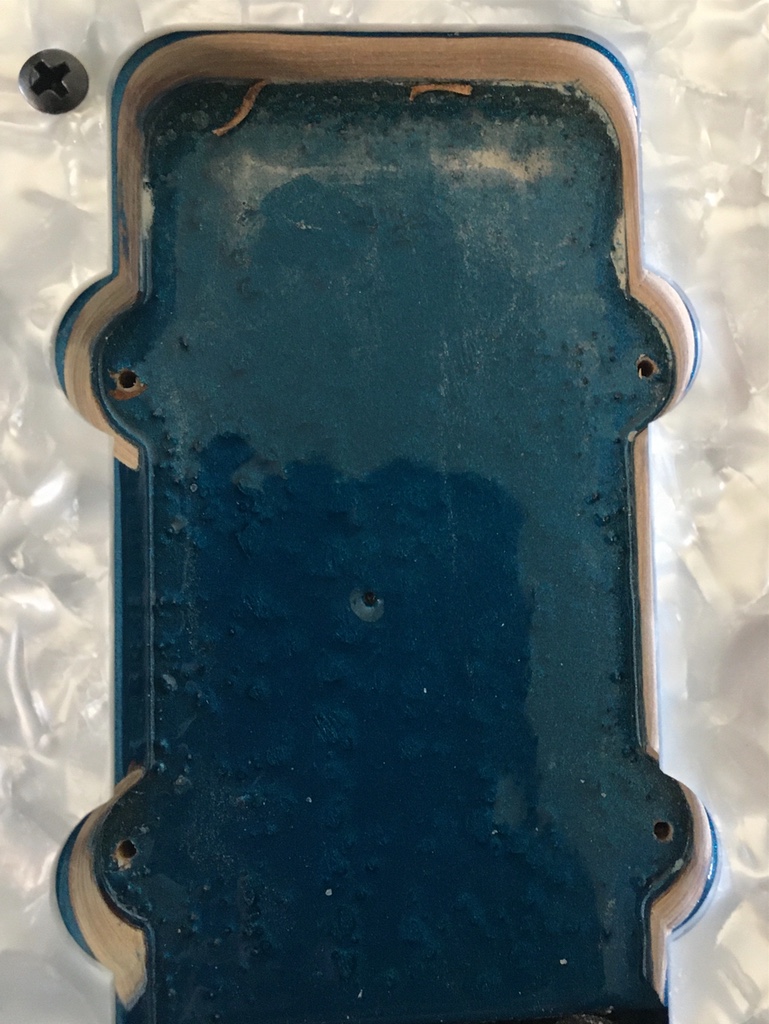
The neck pocket was cleaned up using self adhesive sand paper applied to a machinists rule for the flat faces and a small Dremel sanding drum worked by hand to clean up the curves.

Photo%20Mar%2007%2C%208%2045%2004%20PM%20%28edited-Pixlr%29.jpg


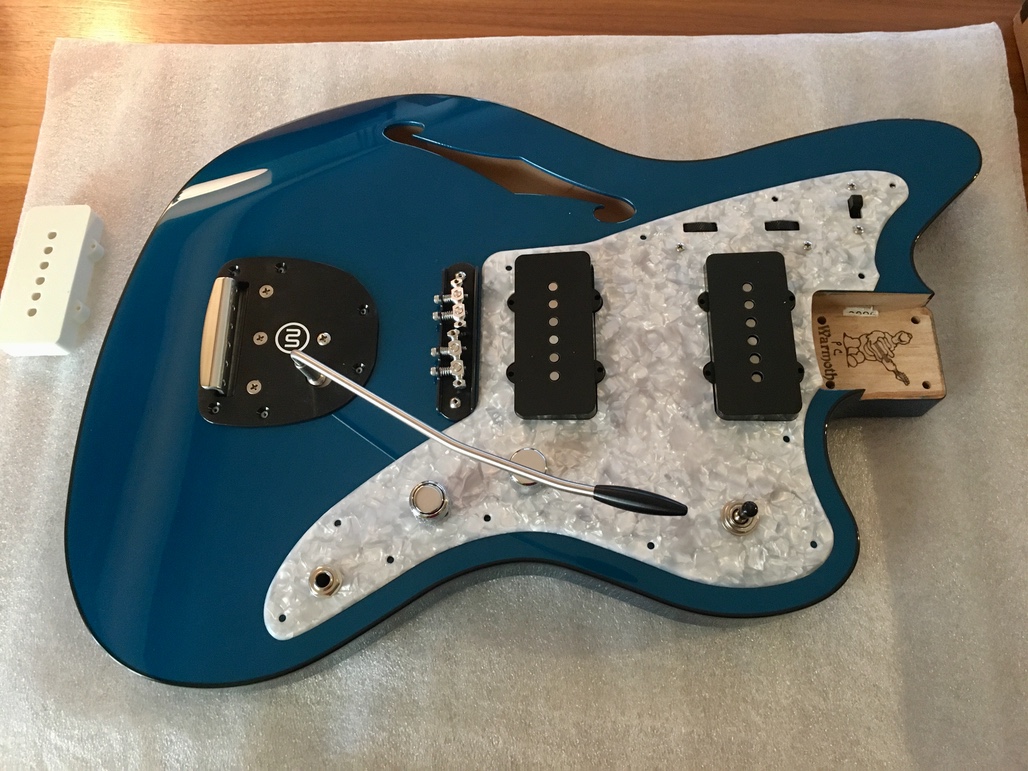
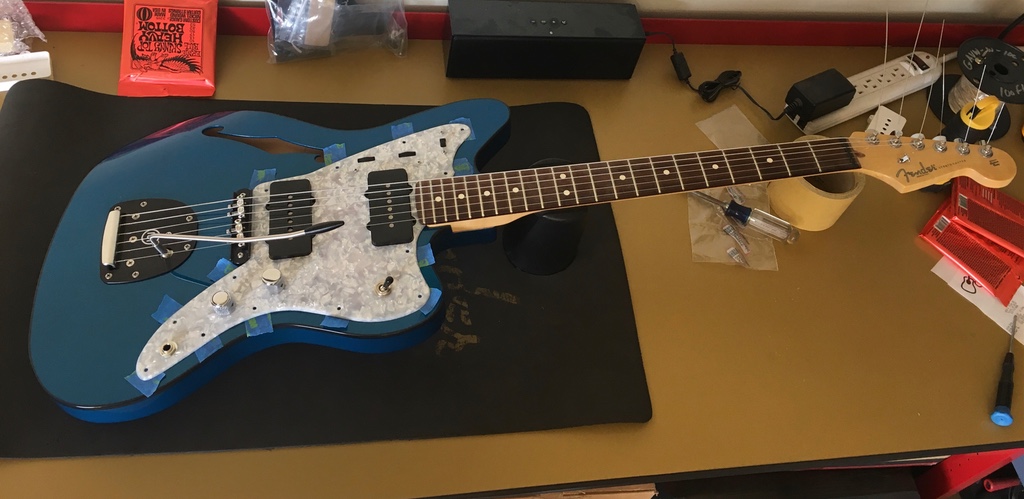
With that done, I prepared for mounting the pick guard. I placed it on the body and applied blue painters tape under each of the mounting holes.

Photo%20Mar%2008%2C%203%2020%2038%20PM%20%28edited-Pixlr%29.jpg


I bolted on the donor neck (not the neck ultimately destined for this guitar), strung it up and tuned it roughly to pitch, and seated the neck in the pocket by loosening each of the mounting screws about 1/8 turn.

Photo%20Mar%2008%2C%203%2030%2008%20PM%20%28edited-Pixlr%29.jpg


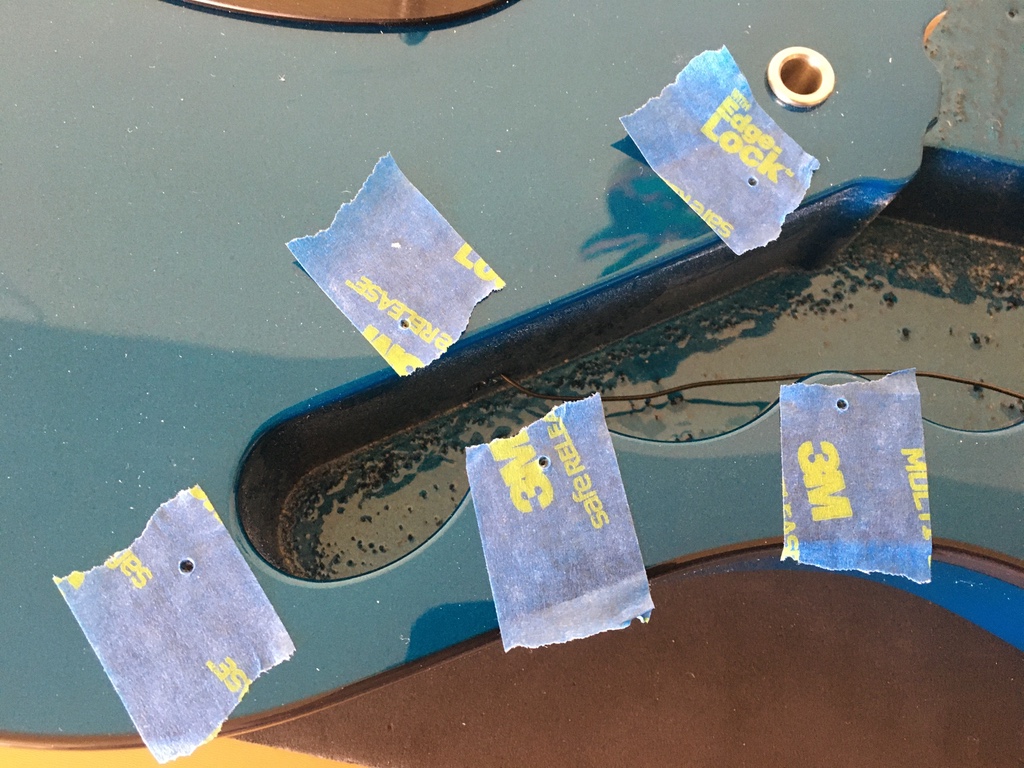
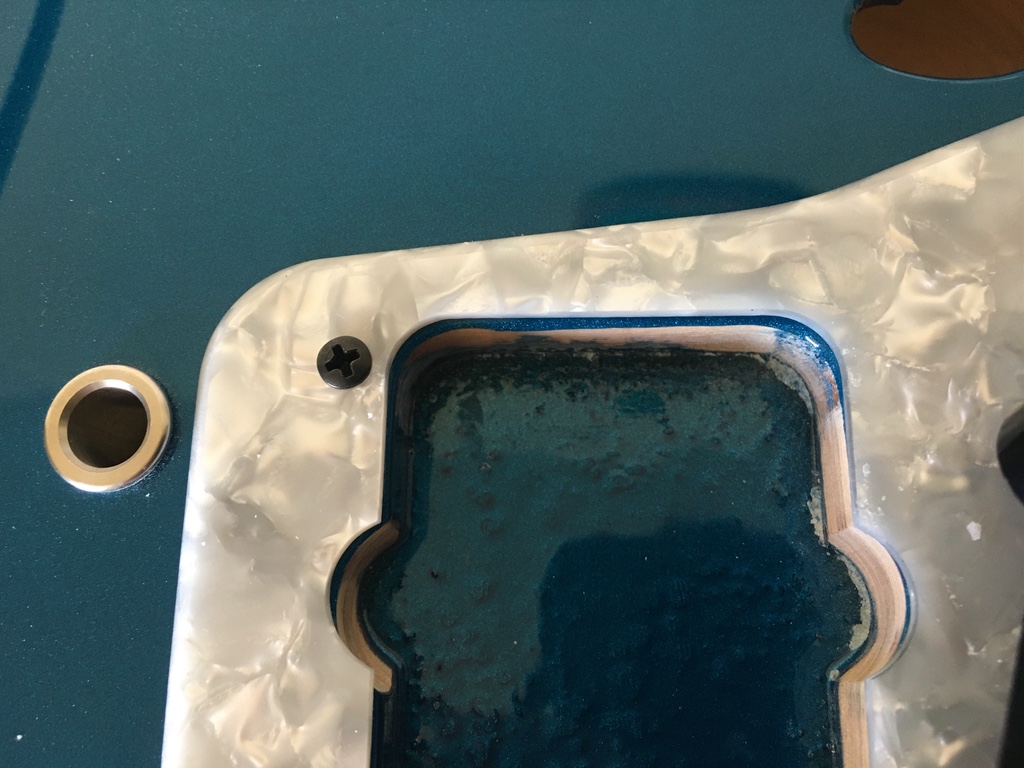
With the neck in position, I aligned the pick guard and marked the holes with an awl. Then I took it all back off and drilled them. After removing the tape, I cleared the finish away from each hole using a Dremel tapered grinding bit, again, wielded by hand. I do this to prevent the screw from cracking and lifting the finish when installed. Which I have encountered in the past.

Photo%20Mar%2008%2C%203%2051%2045%20PM%20%28edited-Pixlr%29.jpg


Photo%20Mar%2008%2C%203%2054%2044%20PM%20%28edited-Pixlr%29.jpg


Photo%20Mar%2008%2C%203%2059%2052%20PM%20%28edited-Pixlr%29.jpg


Photo%20Mar%2008%2C%204%2001%2005%20PM%20%28edited-Pixlr%29.jpg


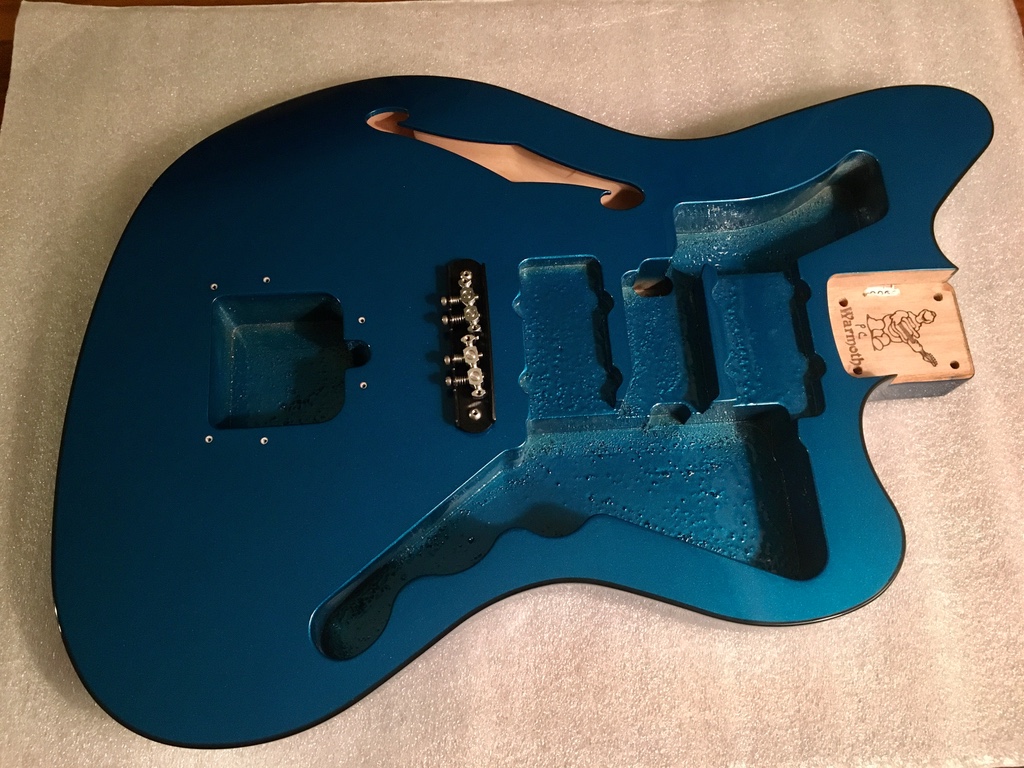
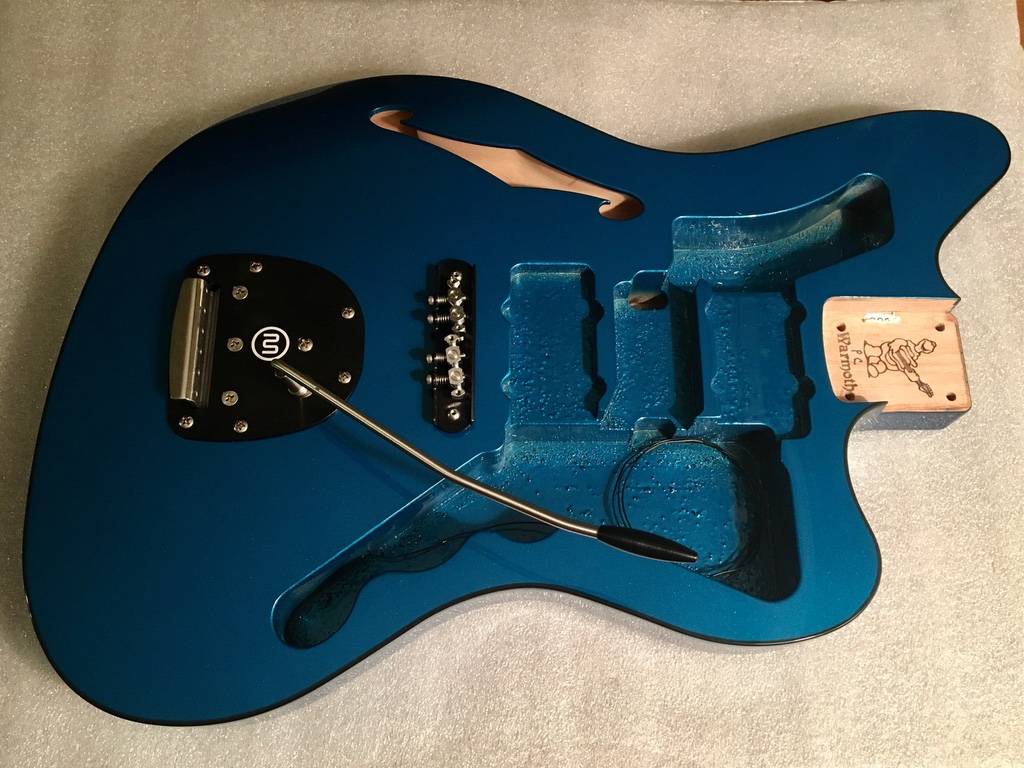
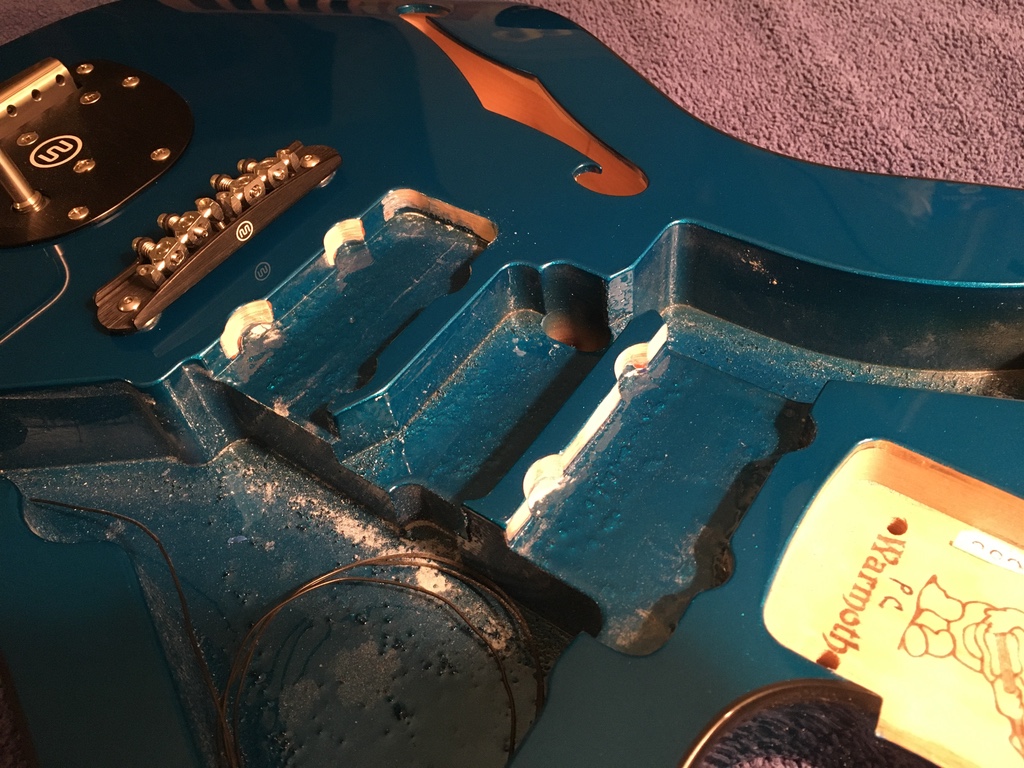
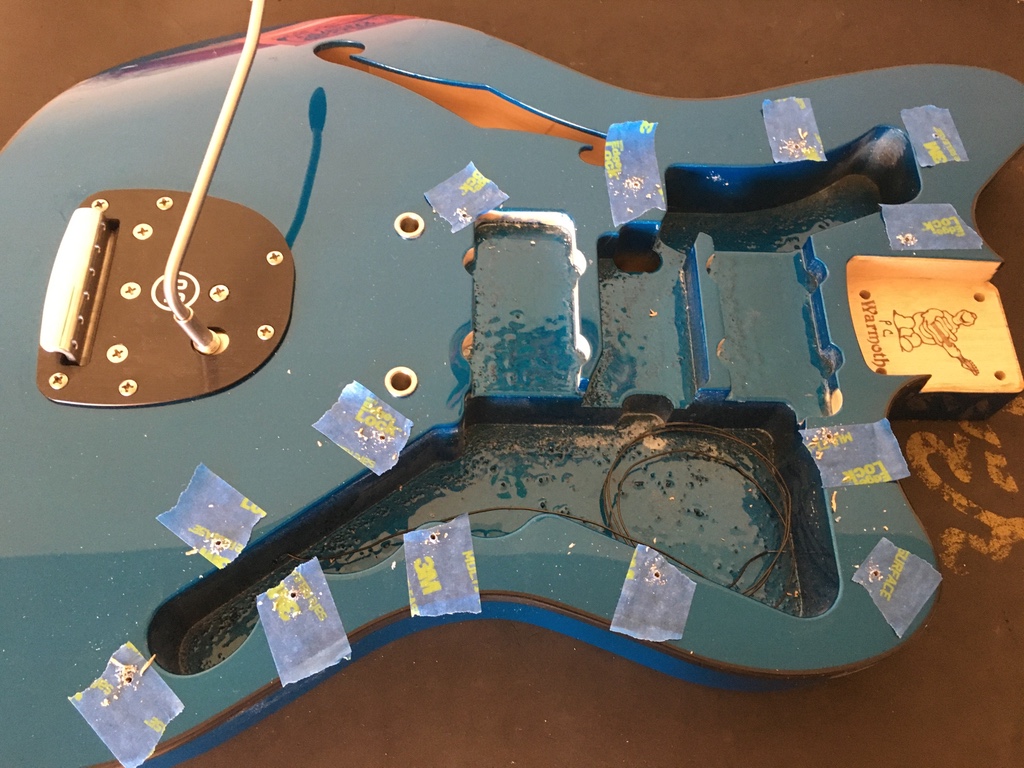
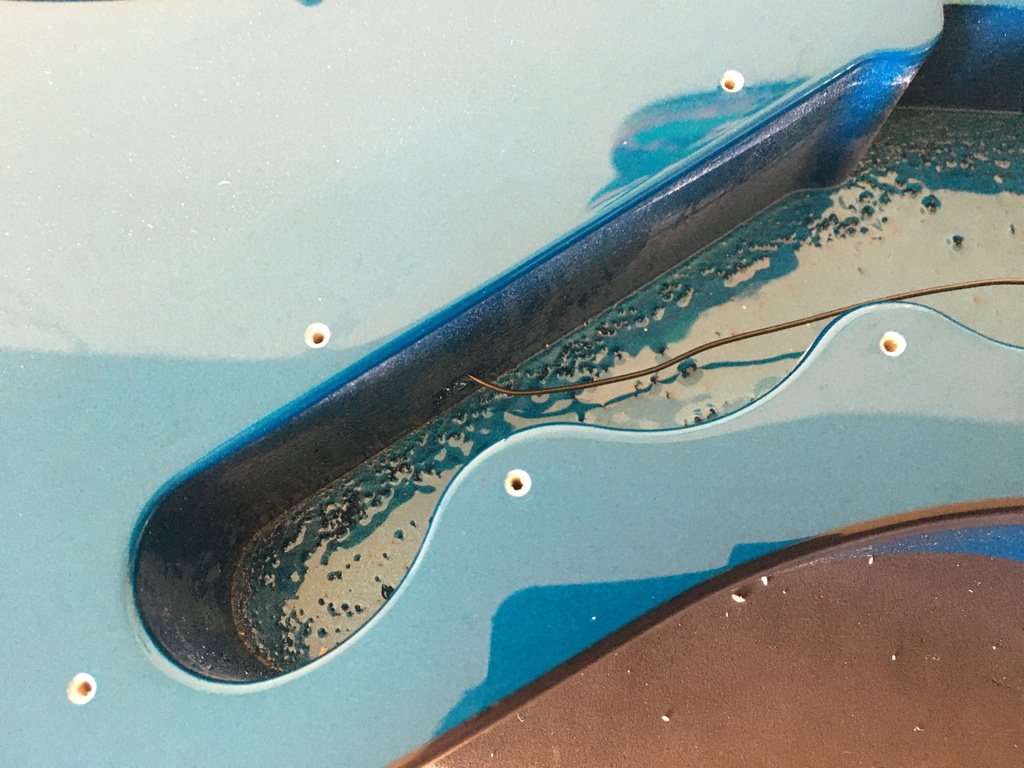
When I was getting the pick guard aligned, I found I was unable to get the strings aligned with the bridge pickup to my satisfaction. A closer look revealed some more work on the route was needed.

Photo%20Mar%2008%2C%204%2010%2015%20PM%20%28edited-Pixlr%29.jpg


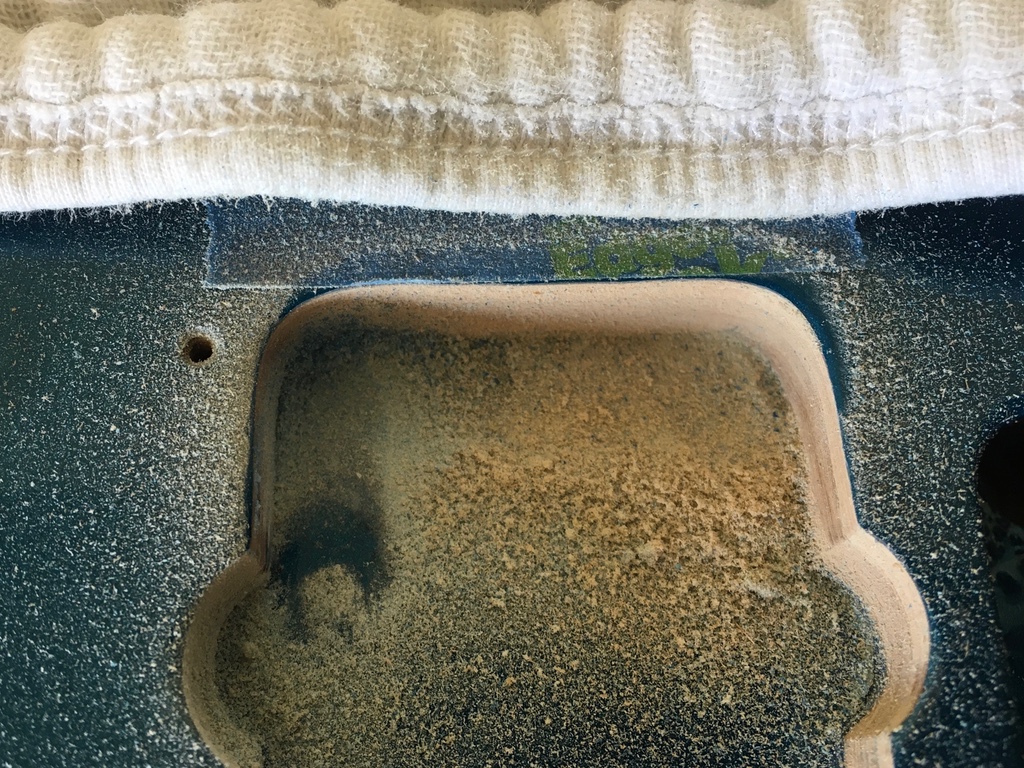
Out comes the Dremel again. I didn't want to get carried away, so I marked my line with painters tape and commenced sanding.

Photo%20Mar%2008%2C%204%2019%2004%20PM%20%28edited-Pixlr%29.jpg


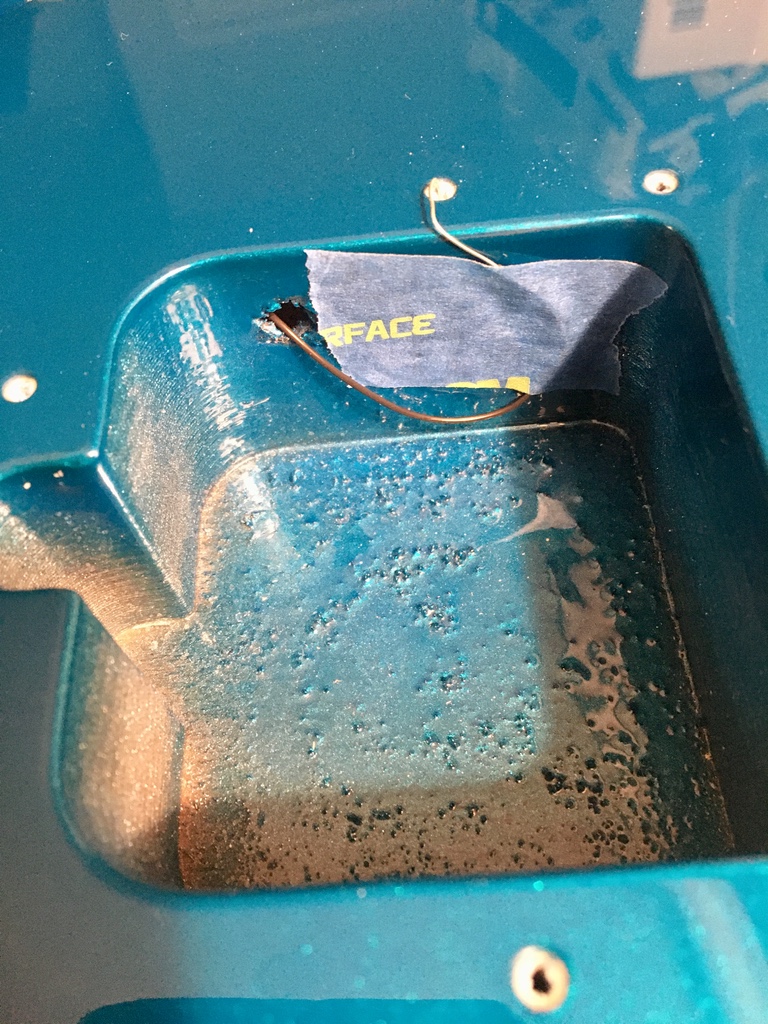
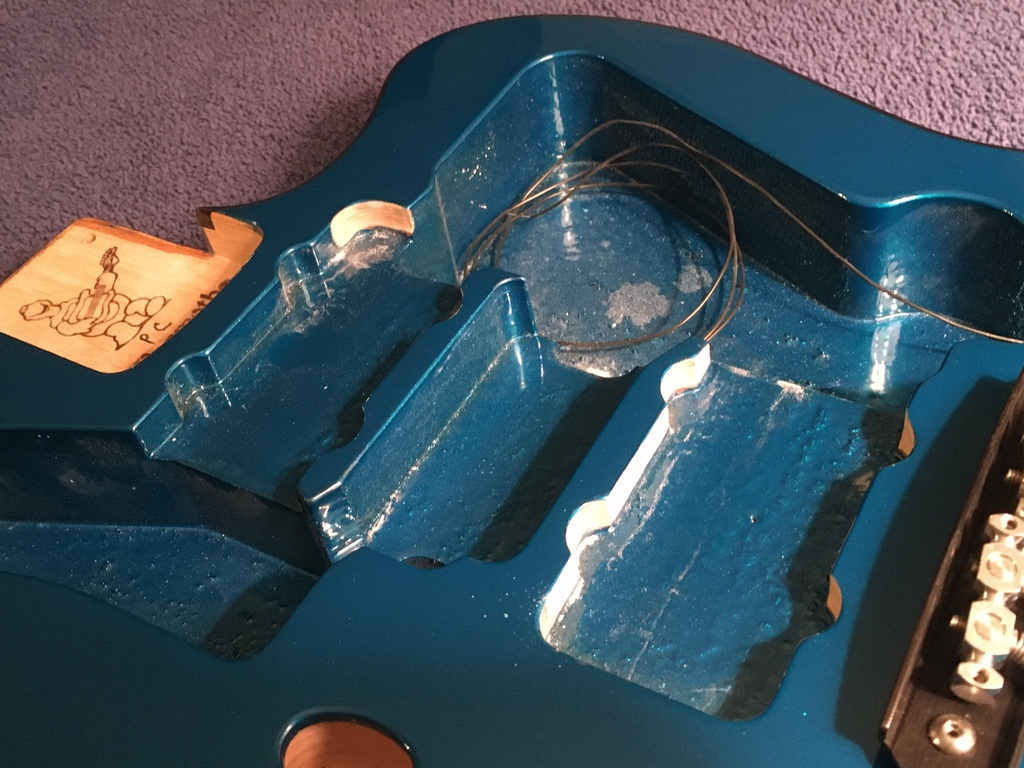
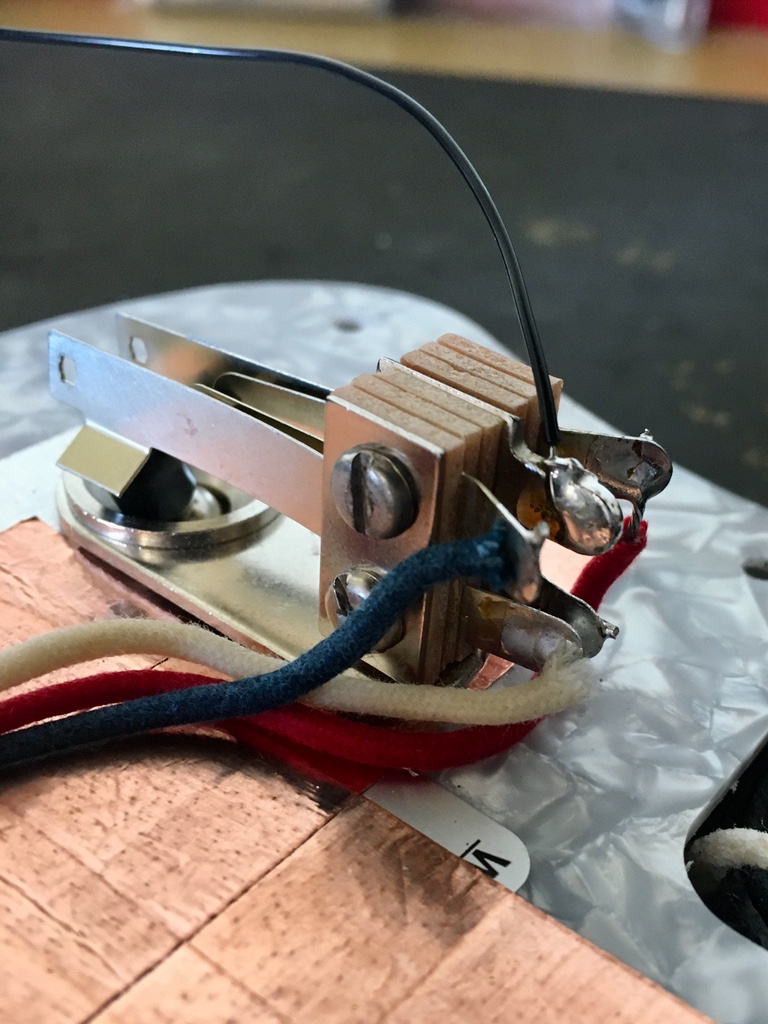
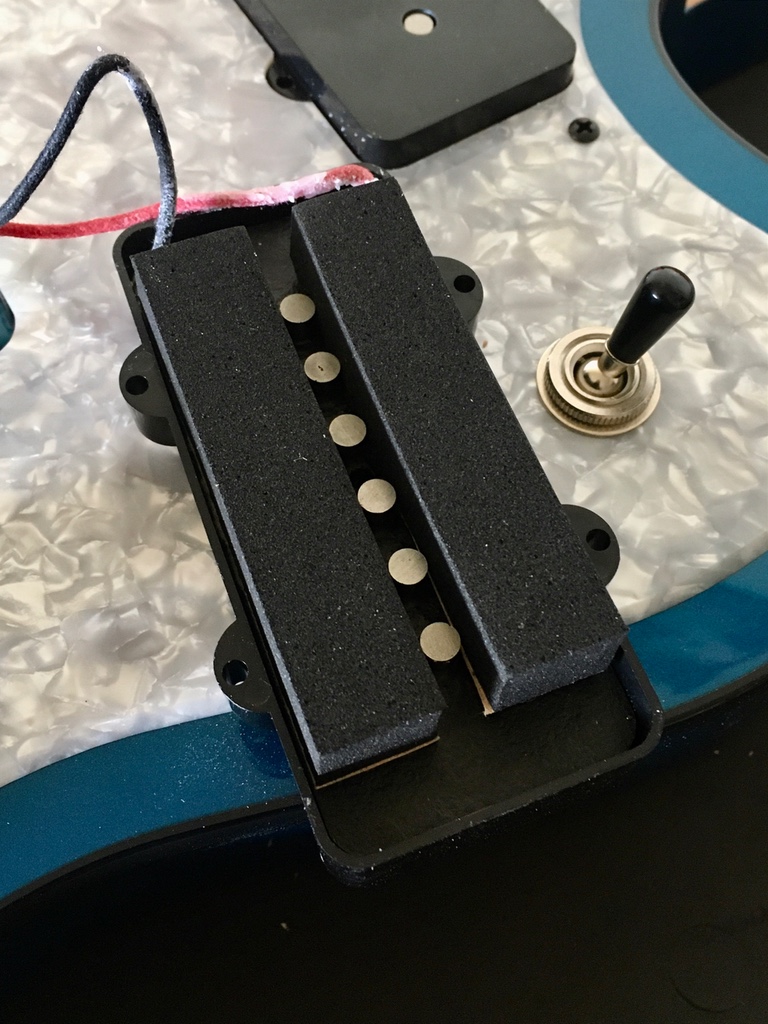
Hopefully I don't jinx myself here, but since this is ideally the last time the pick guard will be off for this build, I took the opportunity to connect the string ground. I took it to the toggle switch frame, simply because it was convenient.

Photo%20Mar%2008%2C%204%2027%2038%20PM%20%28edited-Pixlr%29.jpg


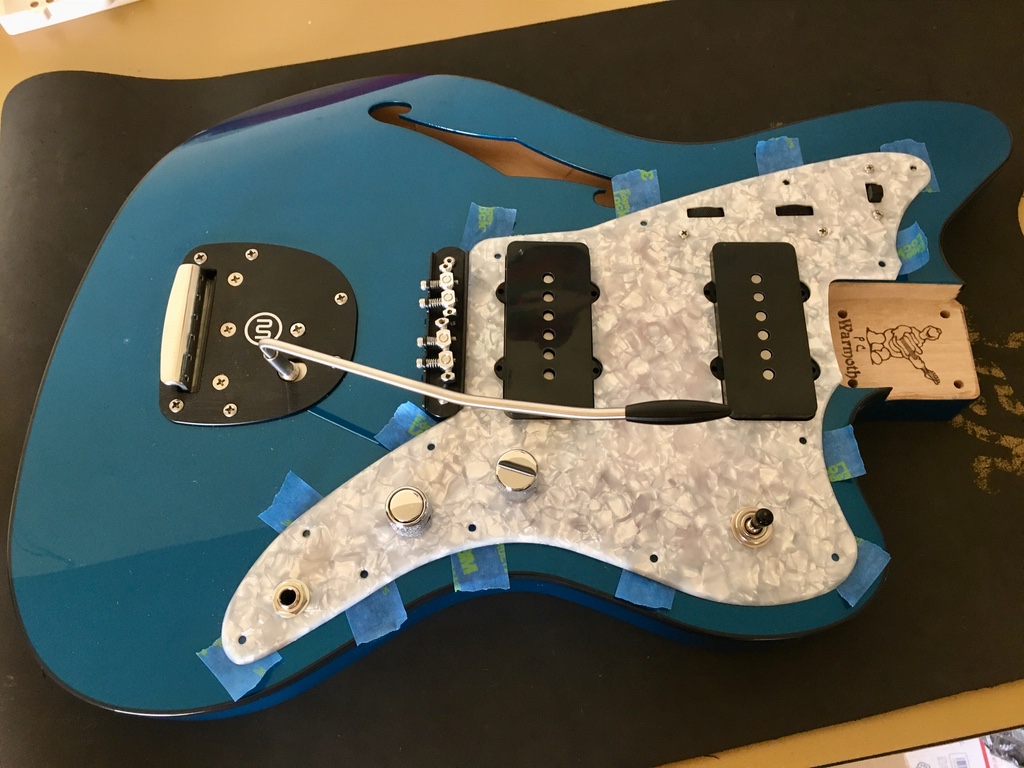
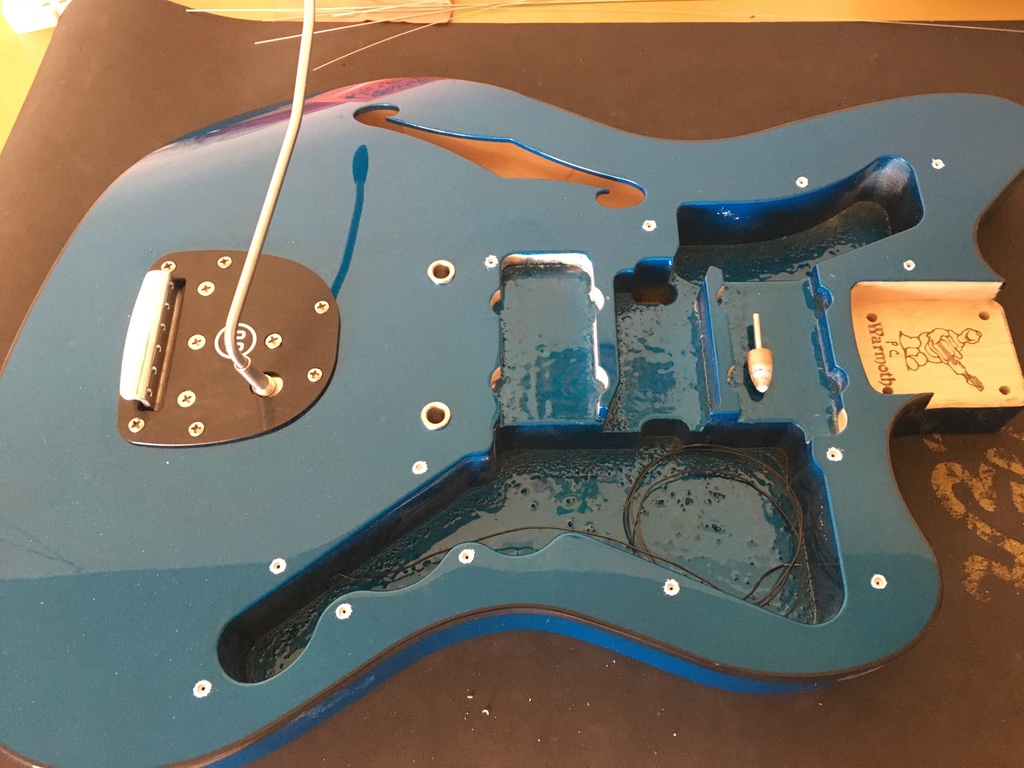
With the pick guard back in place, it looks like the bridge pickup route should be good to go. I positioned the pickup in the cavity and marked the screw holes using, well, the screw. Then I drilled 'em.

Photo%20Mar%2008%2C%204%2044%2043%20PM%20%28edited-Pixlr%29.jpg


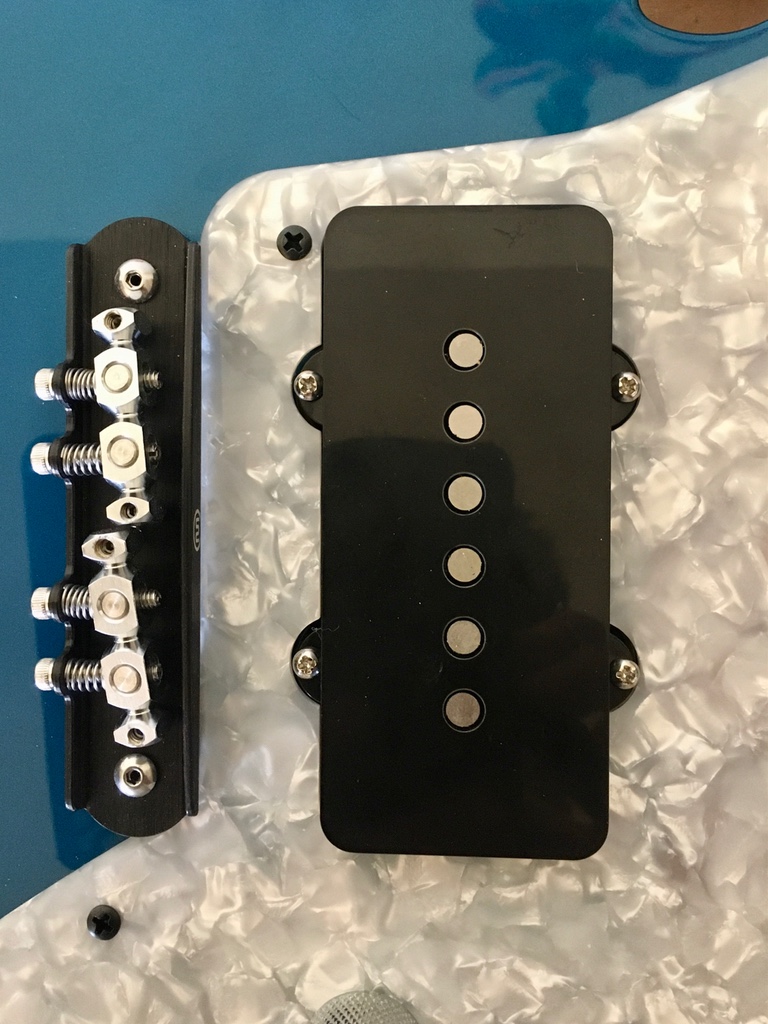
I don't remember what I used to pad the pickups on my last Jazzmaster, but I found two sets of bonafide Jazzmaster Pickup Mounting Pads in one of my junk bins, so that's what I'm using.

Photo%20Mar%2008%2C%204%2046%2036%20PM%20%28edited-Pixlr%29.jpg


Photo%20Mar%2008%2C%204%2050%2023%20PM%20%28edited-Pixlr%29.jpg


Rinse and repeat for the neck pickup.

Photo%20Mar%2008%2C%205%2049%2055%20PM%20%28edited-Pixlr%29.jpg


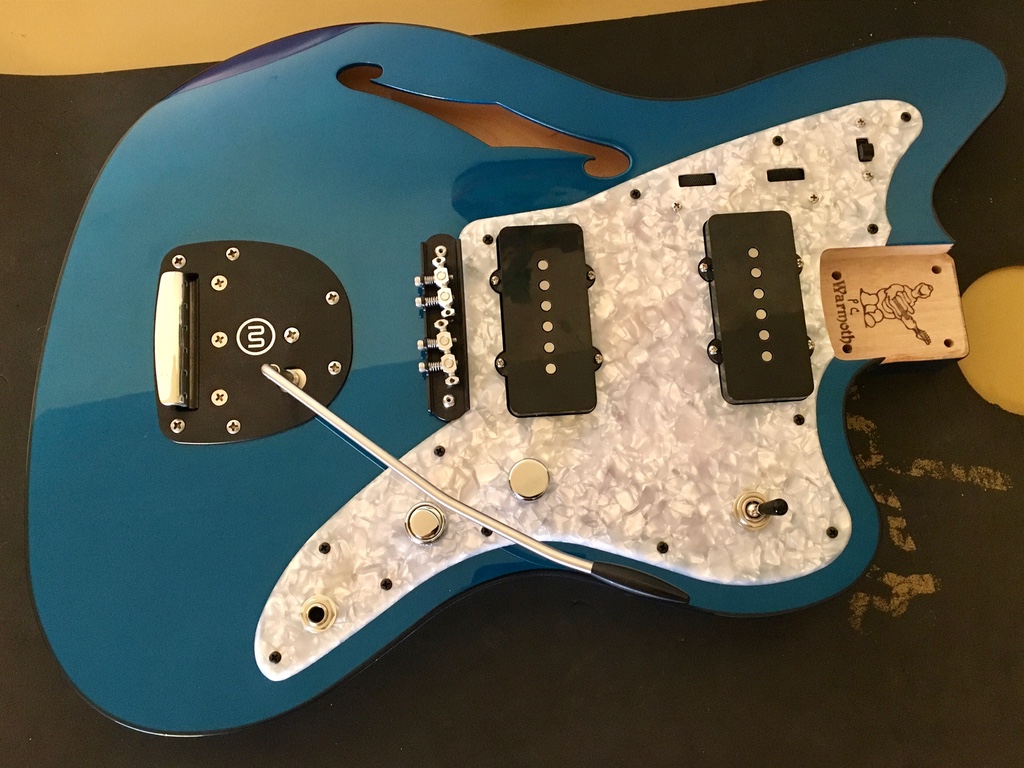
I initially intended to mount the pick guard with chrome screws, but with all the other chrome screws for the hardware on the upper bout it just looked like a CF. So I used black. Still not settled on it, I might go back to chrome.

I have re-mounted the donor neck and re-strung the guitar, and after a bit of a set up I plugged her in and went through the paces. Everything functions exactly as per the design, and she sounds great! No word on the "real" neck yet. Just for the record it is Birdseye on Birdseye with a '59 profile, and I can't wait to bolt it on there!
 
hey, lookin killer and on fleek, etc., but what does the tape do when you put it over the holes you're drilling?
 
Looks beautiful! Very clean work. I look forward to seeing it with the intended neck.
 
Back
Top