ragamuffin
Hero Member
- Messages
- 1,702

Sanding/smoothing out more or less completed! Also made a control cover out of canary wood, which the neck will be made of.
What do you guys think about: Tummy cut or yes or no? Recessed knobs ala PRS or no?
View attachment 61294
View attachment 61295Great job! Tummy cut? maybe,recessed knobs naw.
Hey now! I like to party so I like my knobs to party too!Plus the thing with recessed knobs is thy are permanently "at recess" and won't likely be ready to do their job when you need em.
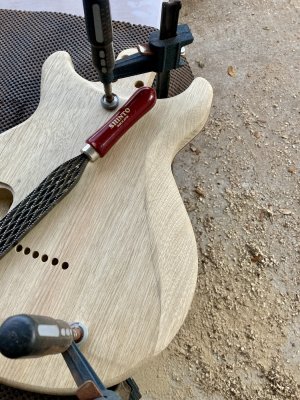
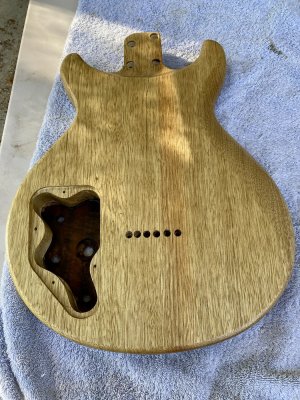
ooh looking great!I decided to do a tummy cut after all.
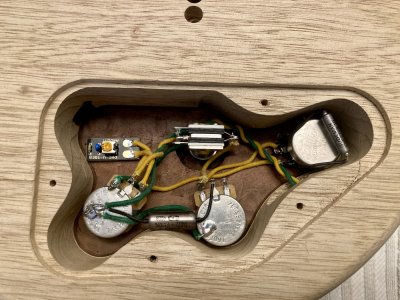
I realized that I needed to deepen the control route so that the pots through. Used a Dremel grinding bit to further deepen the route cavity around the switch.
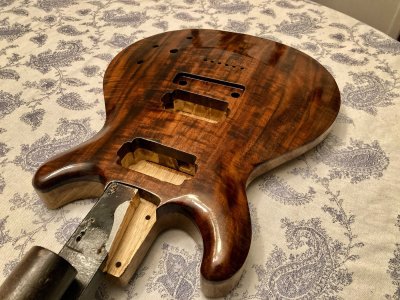
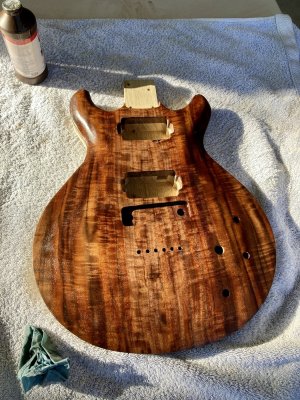
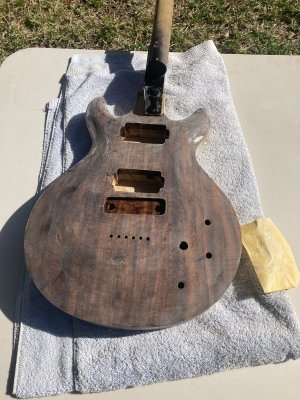
Sanded to 400 and applied the first coats of Tru-oil to the top and the grain went wild!
View attachment 61297
View attachment 61298
View attachment 61299
Every picture looks better
Thanks guys! I'm putting on the last few coats now and then I'll let it harden up for a few daysWow, that is gorgeous!
It's a gorgeous piece of wood! I actually had someone else say it looked like koa hahaI'm no wood expert, but that walnut could pass for koa from my eyes
