Leaderboard

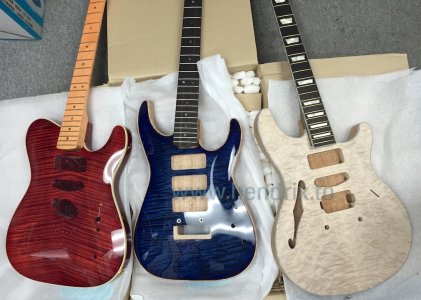
3 P90 body, not sure when can finished

Hendrix

Hero Member
Messages
710
3 body's actually buy between more than a year  :dontknow:
First one is non finish one , no time to do a prs style faded dye as plan.

Second one is red one , only have put on the jack and 5 ways, buy about half years ago .

both are buy as Screamin' Deals.

New one is the blue one, haven't try own a P90 guitar but wanted a 3 p90 one , must be crazy  :doh:

too busy on work for more than a years , so have't post here too

index.php
 

Attachments

  • P90x3 (1).jpg
    P90x3 (1).jpg
    275.5 KB · Views: 445
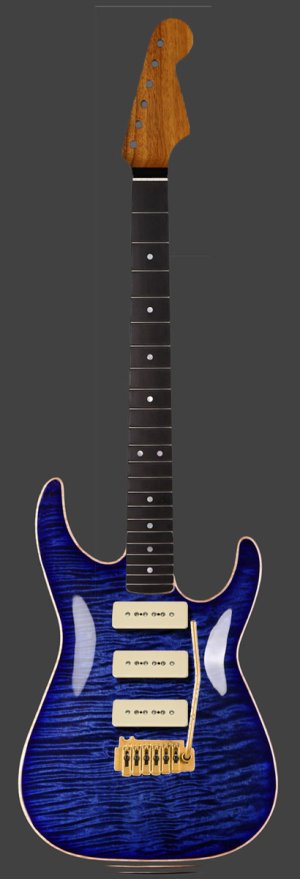
blue one,as 3 p90 , mockup design , the bridge buy a black one .

don't like the 2nd tone as st is too close the jack edge , as the Soloist Guitar Bodies is "small / slim " than ST body . this my first Soloist Bodies .
 

Attachments

  • p90x3.jpg
    p90x3.jpg
    66.1 KB · Views: 64
I fully understand as I have 2 stalled builds. One from 2006 and the other from 2009. Will finally be ordering the rest of the pickups (I have 1 already) this coming week. Hopefully necks aren't too far behind. I really want to get these 2 done and into rotation as I have had needs for them.
 
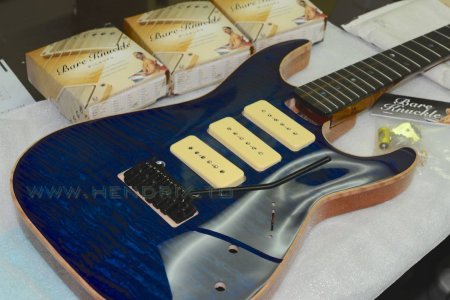
the pickup is here , nice contrast with deep blue body .


Attachments

  • 3P90pu.jpg
    3P90pu.jpg
    90.3 KB · Views: 66
Very nice!  I do love P90's. 


Do you plan to blacken the wood inside the tremolo recess? 
 
Yeah, that raw wood is a real eye-catcher, isn't it?

Don't even need to mess with paint. A little black dye in some alcohol or acetone will fix that right up.
 
Cagey said:
Don't even need to mess with paint. A little black dye in some alcohol or acetone will fix that right up.

Sounds like a neat trick. Noted and stored for future build.

 
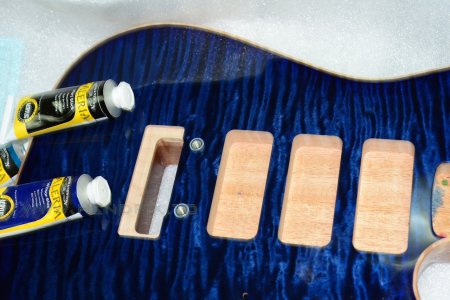
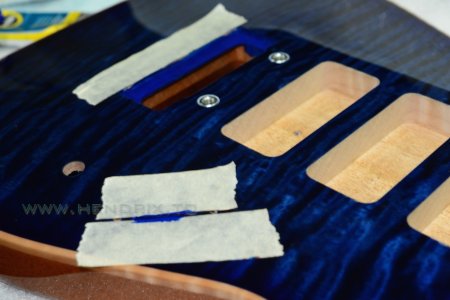
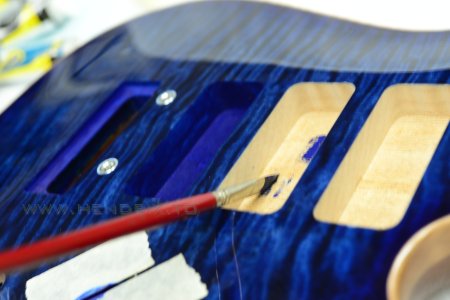
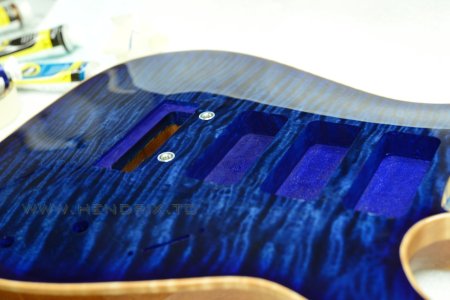
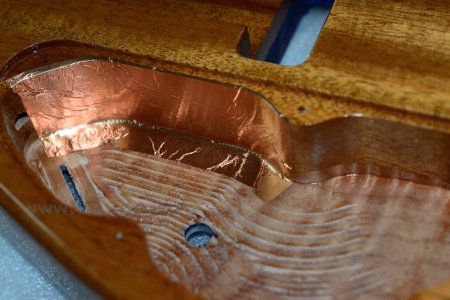
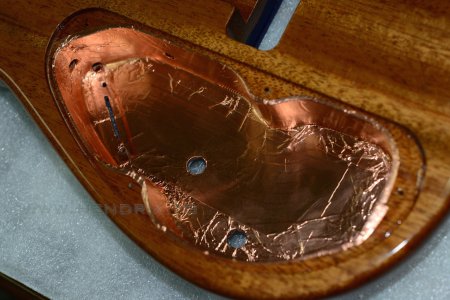
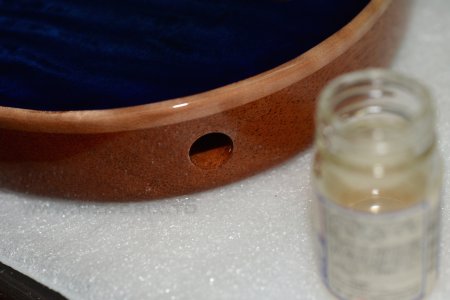
actually I done paint colour like this , not just for visually . also i need to seal the wood for moist weather here .


Attachments

  • color 1.jpg
    color 1.jpg
    371.4 KB · Views: 25
  • color 2.jpg
    color 2.jpg
    218.7 KB · Views: 15
  • color 3.jpg
    color 3.jpg
    229.6 KB · Views: 24
  • color 4.jpg
    color 4.jpg
    238.7 KB · Views: 45
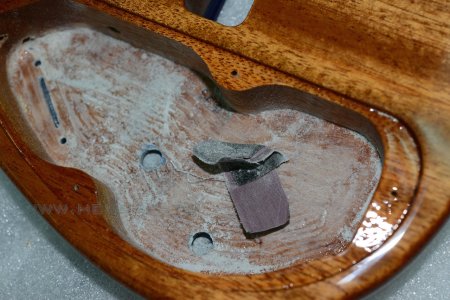
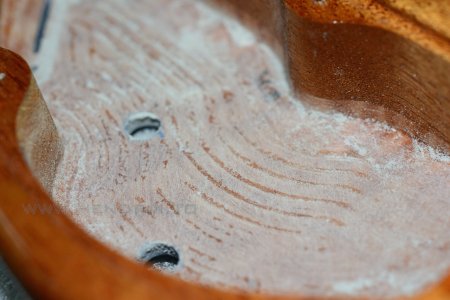
sanding before seal
 

Attachments

  • sanding5.jpg
    sanding5.jpg
    362.8 KB · Views: 69
  • sanding4.jpg
    sanding4.jpg
    415.6 KB · Views: 11
  • sanding2.jpg
    sanding2.jpg
    289.6 KB · Views: 14
the Tele
 

Attachments

  • tele2.jpg
    tele2.jpg
    84.4 KB · Views: 15
  • tele2.jpg
    tele2.jpg
    84.4 KB · Views: 14
  • tele04.jpg
    tele04.jpg
    80.8 KB · Views: 20
  • tele02.jpg
    tele02.jpg
    65.3 KB · Views: 8
  • tele1.jpg
    tele1.jpg
    88.1 KB · Views: 5
  • tele3.jpg
    tele3.jpg
    68.6 KB · Views: 6
  • tele03.jpg
    tele03.jpg
    64.7 KB · Views: 19
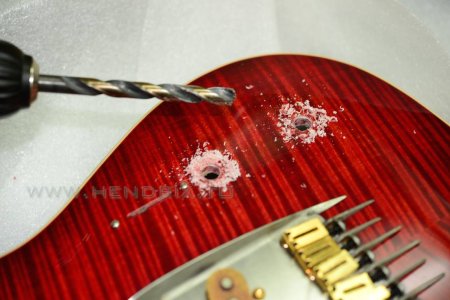
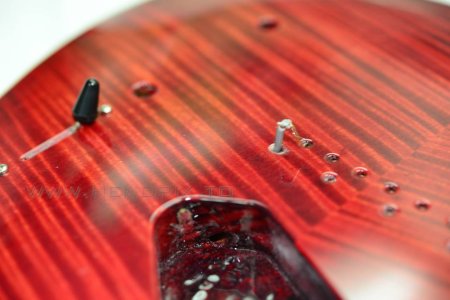
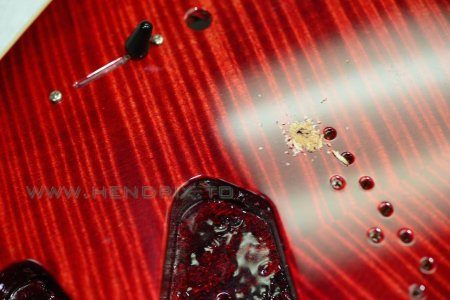
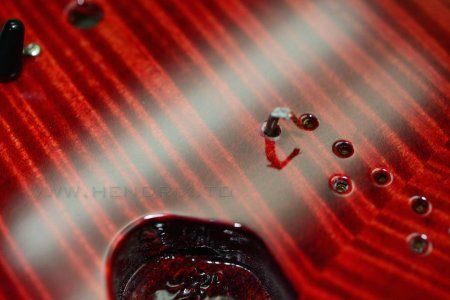
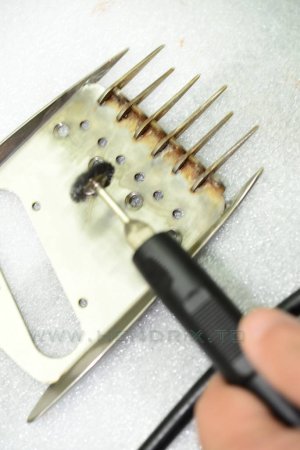
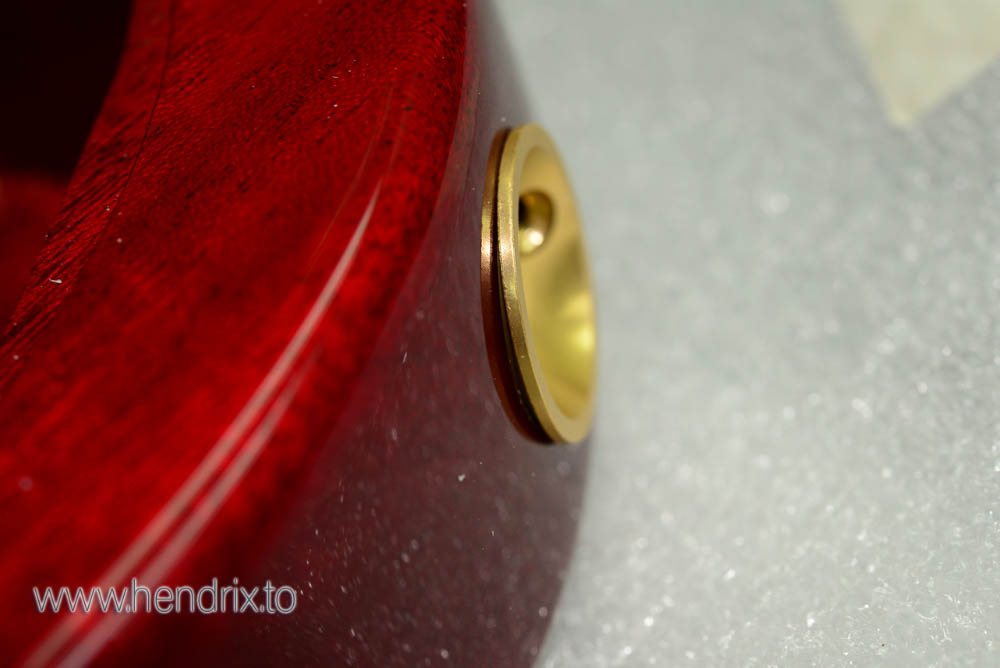
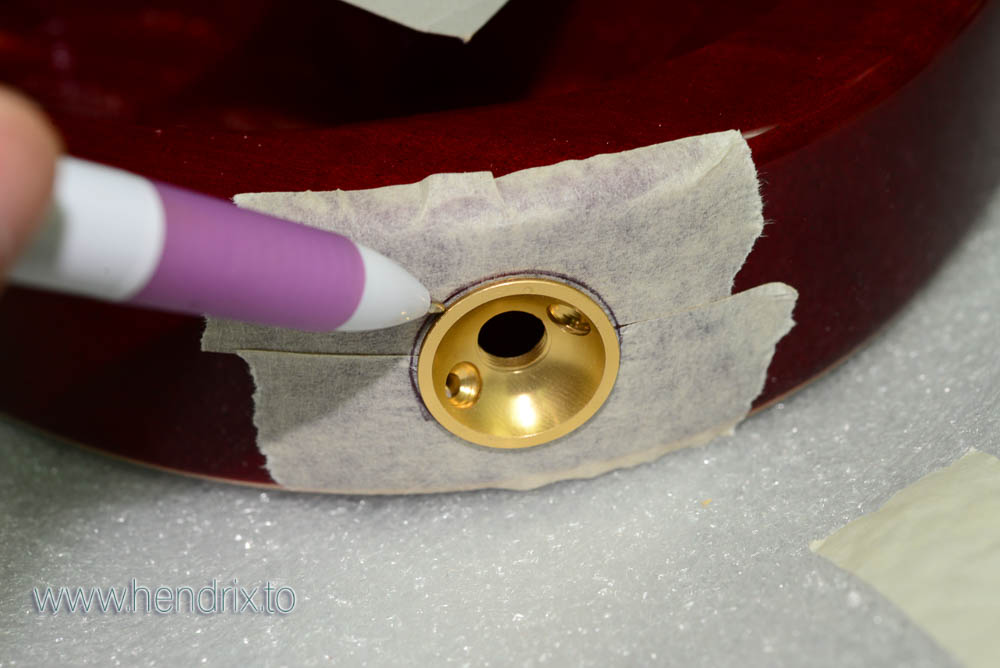
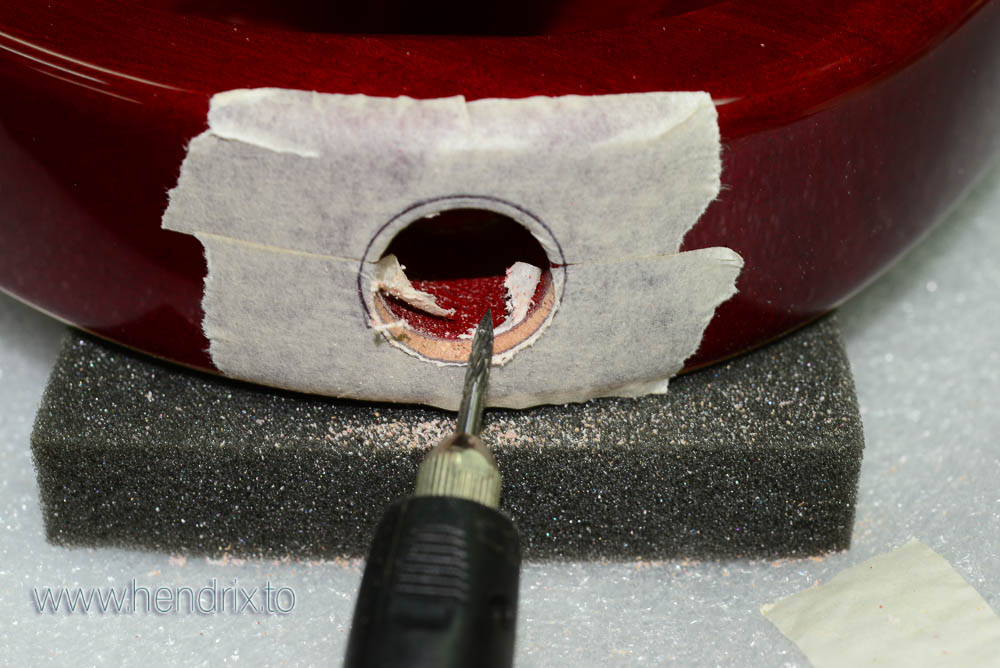
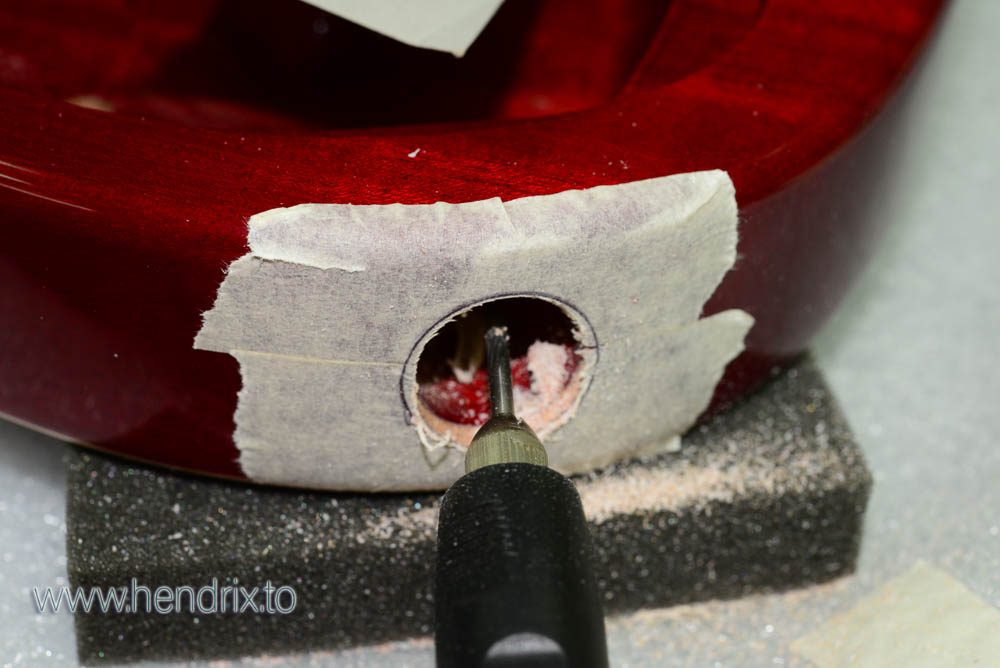
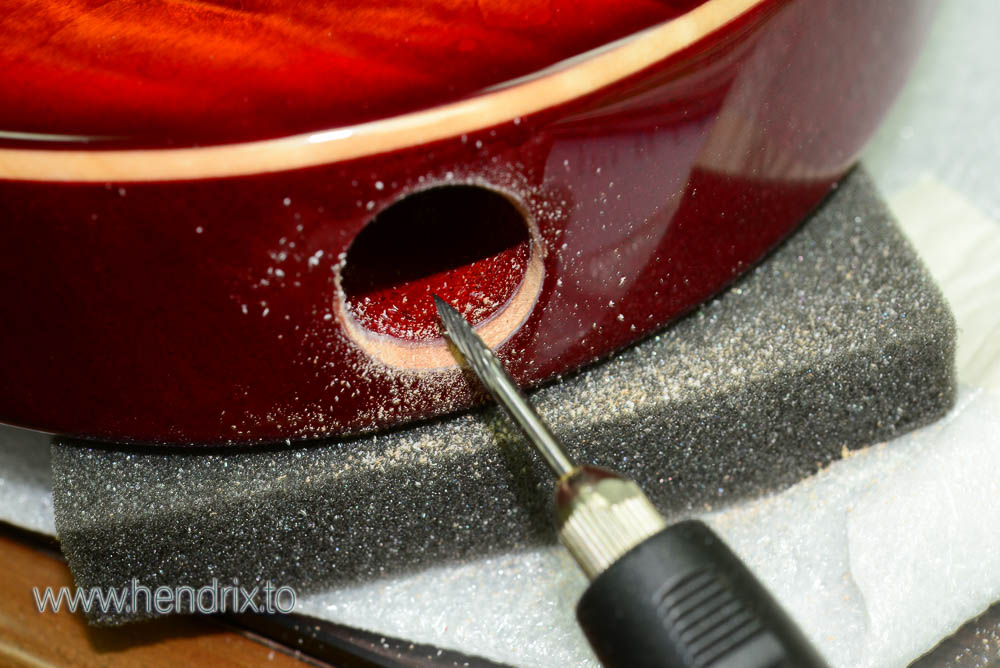
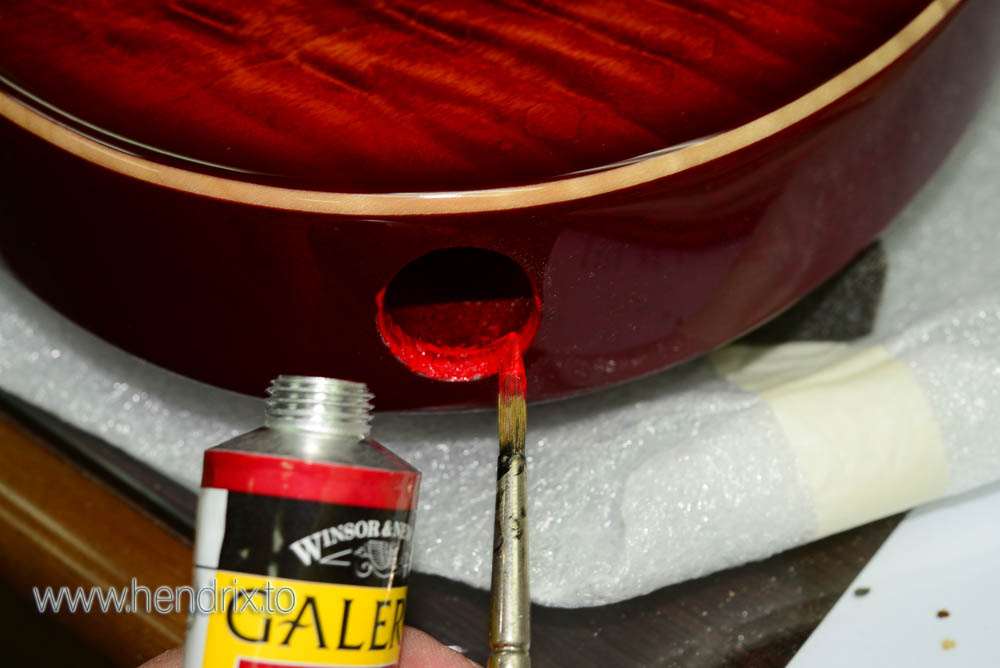
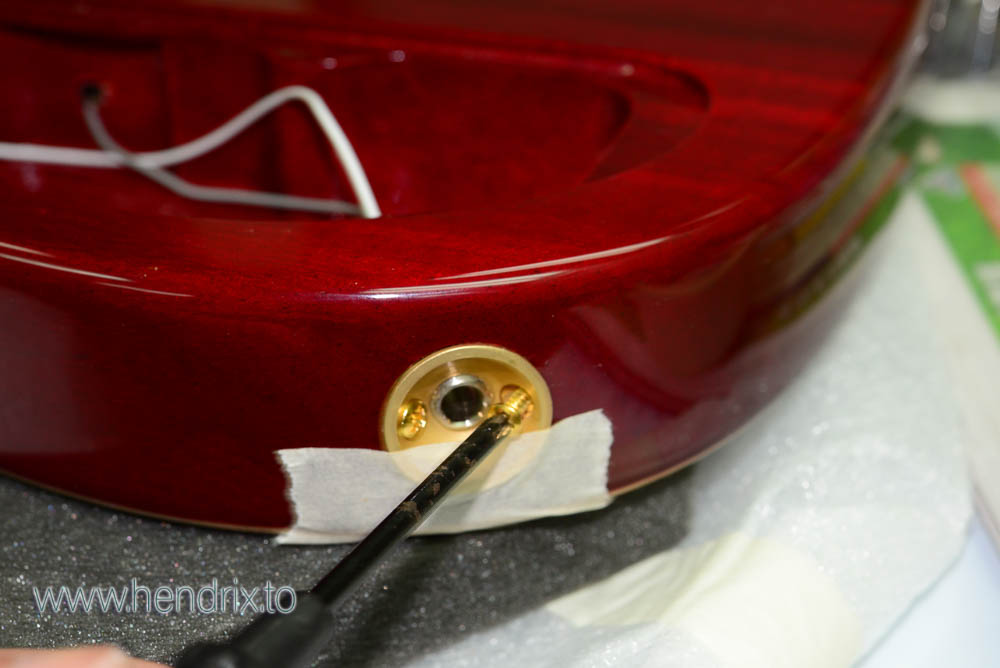
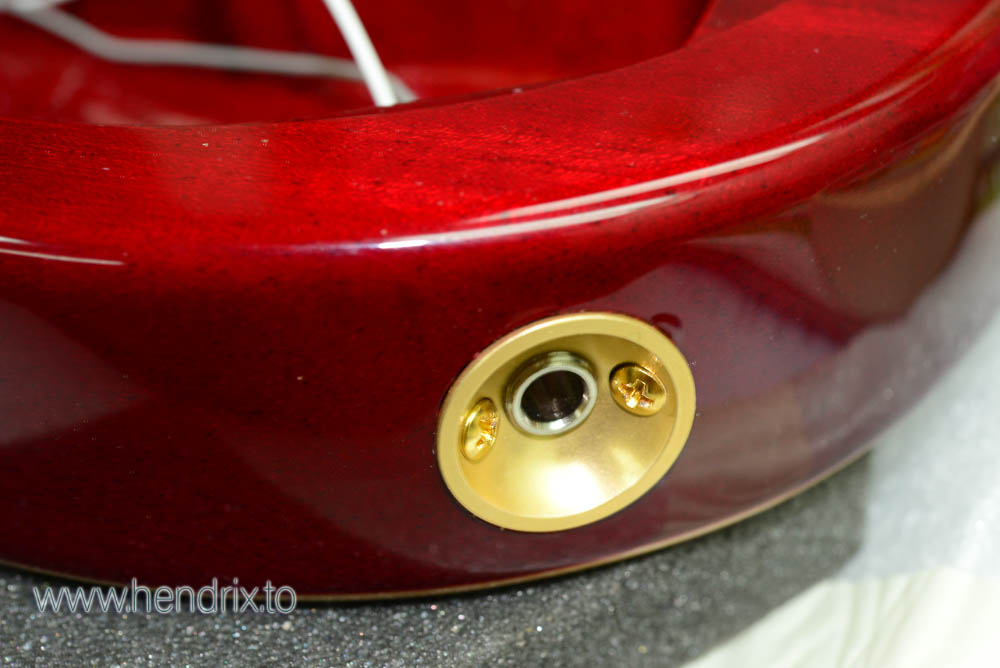
how many step I need to do for a tele input jack :

as I'm a picky designer too , just can't accept this kind of gap

telejack-1.jpg


telejack-2.jpg


telejack-3.jpg


telejack-4.jpg


telejack-5.jpg


telejack-6.jpg


telejack-7.jpg


telejack-8.jpg


telejack-9.jpg


telejack-10.jpg


telejack-11.jpg


telejack-12.jpg


telejack-13.jpg
 
That neck plate replacement is sharp! How did you make those parts, or are they something you were able to source as is?
 
Cagey said:
That neck plate replacement is sharp! How did you make those parts, or are they something you were able to source as is?
Great looking "Plate"! Like Cagey asked: a commercially available part, or custom made?
 
Back
Top