
You are using an out of date browser. It may not display this or other websites correctly.
You should upgrade or use an alternative browser.
You should upgrade or use an alternative browser.
Phoenix Down Strat (Finished)
- Thread starter Firebird211
- Start date
DangerousR6
Mythical Status
- Messages
- 15,478
Looks like it needs a new Flux Capacitor.... :laughing11:AutoBat said:Does it need to reach 88 miles per hour with all that wiring?
Firebird211
Hero Member
- Messages
- 734
Cagey said:What's that huge 4.7K resistor for? And why such monster caps?
The 4.7k resistor is for the grease bucket tone circuit. I wasn't too concerned about size and just bought the first metal film resistors I could find. I have tried the circuit before for standard magnetic pickups, but I never liked how it didn't allow you to roll the tone down low enough. The GB circuit is hooked up to the piezo bridge because in my dealings with it, it only took a little tone roll off for it to sound muddy, and the GB should give me a more usable tone range for it. The big monster caps were just bumble bee's and black beauties, which some are oil/paper caps, which I was trying to give the guitar a little vintage backbone under the hood. They are way huge and it was a pain to shove all of them in their. :laughing7:
Firebird211
Hero Member
- Messages
- 734
I have some crazy guitar parts coming my way and should arrive around monday. I would like to personally thank all of those wonderful Warmoth employees, especially Rob, who despite one cursed guitar build, made things right beyond my original belief. Give them a chance and they will always make things right. :toothy10:
Firebird211
Hero Member
- Messages
- 734
Still in the process of gathering grain filler, and tung oil. The tuner holes have been reamed out to size over the last two days on the account that I had to piece together the right tool for the job. I tried the two bit size trasitions to 3/8, the drill bit grabbed once and that was it for that Makita vs. Goncallo :laughing7: intead of the expensive stewmac reamer I put together a decent one out of a die tap handle and a long step drill bit. I also sanded the holes down a little to finish them off. More pics to come.


Firebird said:Still in the process of gathering grain filler, and tung oil.
What do you need grain filler for, the neck? All the pieces of goncalo I've seen have been very tight grained, no need to fill.. FYI if you put an oil based finish on goncalo it will drastically change colors in most cases, the light parts will become significantly darker. (it will darken over time even if you leave it raw as the wood absorbs oil from your hands.. but not to the same extent as if you put an oil finish on it, if you use a water based acrylic finish it will darken some but not as much)
Beautiful body BTW.. can't wait to see how it turns out
Firebird211
Hero Member
- Messages
- 734
tangent said:Firebird said:Still in the process of gathering grain filler, and tung oil.
What do you need grain filler for, the neck? All the pieces of goncalo I've seen have been very tight grained, no need to fill.. FYI if you put an oil based finish on goncalo it will drastically change colors in most cases, the light parts will become significantly darker. (it will darken over time even if you leave it raw as the wood absorbs oil from your hands.. but not to the same extent as if you put an oil finish on it, if you use a water based acrylic finish it will darken some but not as much)
Beautiful body BTW.. can't wait to see how it turns out
The headstock itself is going through a finishing process where the decals I have will be sealed in shellac, then a lacquer, that's the only thing getting a grain filler. I got some Milk Paint Tung oil on it's way to me shorly via a suggestion given to me by CB. If I do wind up using it I will probably do very few coats of oil on the neck ultimately. I will wait to see how it starts to look.
Firebird211
Hero Member
- Messages
- 734
This is the reaming tool I pieced together from typical hardware store parts which makes easy work out of widening tuner holes to size.

I have been working on the body primarily at this point, and had to widen the control cavity to keep all of the electronics from hanging up on the sides. Just making sure everything fits and looks right together. The only things left to do are position the parts and drill pilot holes, and install the trem claw and springs,and output jack wiring. By the time this is done I will be ready to start on the headstock. The contents of the pickguard more than make up for how light the body is. :laughing7:


It is no longer just a mockup picture. :toothy12:

I have been working on the body primarily at this point, and had to widen the control cavity to keep all of the electronics from hanging up on the sides. Just making sure everything fits and looks right together. The only things left to do are position the parts and drill pilot holes, and install the trem claw and springs,and output jack wiring. By the time this is done I will be ready to start on the headstock. The contents of the pickguard more than make up for how light the body is. :laughing7:


It is no longer just a mockup picture. :toothy12:
Firebird211
Hero Member
- Messages
- 734
Cagey said:Lookin' good! Won't be long now.
Thanks Cagey, I do feel bad putting a pickguard on such a beautiful body. A necessary evil I suppose.
Nice build. One recommendation I'd make is replace that strat trem with a Wilkinson VSVG. IMO the absolute best direct replacement you can get for a 6-screw strat trem. They work excellent when set up properly with Sperzel locking tuners, so I don't think it would be any different with the Schallers.
Firebird211
Hero Member
- Messages
- 734
plinky said:Nice build. One recommendation I'd make is replace that strat trem with a Wilkinson VSVG. IMO the absolute best direct replacement you can get for a 6-screw strat trem. They work excellent when set up properly with Sperzel locking tuners, so I don't think it would be any different with the Schallers.
Thank you, I have heard that the wilki's were the best after the fact of already having the one I have. The one that is in it now is an LR Baggs piezo / trem, and it actually has been really good to me in an older guitar. It has a huge amount of mass to it compared to the thin Fender ones, and the saddles, which also double as pickups are very smooth and string friendly. With locking tuners off another build it was even more tuning stable than the fixed TOM on my Schecter now. Wilkinson probably has a piezo bridge too, so maybe some time down the road I will upgrade. :icon_thumright: I think it is actually a Fishman that has the Wilki bridge and the piezo.
I will just post a of pic of the bridge I have, since I have yet to catch a good shot of it.

Firebird211
Hero Member
- Messages
- 734
nexrex said:I love it. Very classy. What switching option do you have with all that wiring?
Controls:
Hot rails: parallel, single coil, series wiring configuration with flip of a switch.
Vintage rails: same capability as hot rails with switch that matches the 5-way position.
P-rails: parallel, rails coil, P-90, series, controllable from two push pull tone knobs.
X-Bridge: Operates independently and has a separate tone control (Grease Bucket) that fits its tone quality "I hope".
Master Tone: Has capability for bypass, 0.022uF cap, and 0.042uF value for lower range (controlled by adjacent switch).
Master Volume: Has high bypass capacitor (treble bleed).
Kill Switch: The center position between X-Bridge and Pickup selector for use with both.
Phase Switch: push – pull from volume knob to throw the hot rails out of phase with the other pickups it combines with.
Thanks Nexrex, I was going for classy, but also pushing the "too much" envelope. The circuitry isn't revolutionary or anything like that, but I put a ton of effort into designing and building the circuit. I love how Warmoth let's you choose every aspect of your build, then the rest is up to you. I actually had to order the little white toggle covers from an aircraft supply store. :laughing7: There is one little surprise I haven't disclosed yet, but I have to wait and see how it turns out.
Firebird211
Hero Member
- Messages
- 734
clewnii said:If LR Baggs piezo's is good enough for Tom Anderson its good enough for you?ccasion14: Dont think you'd be much better of with a wilk. but what do I know.
You are right there clewni. :icon_thumright: I picked it originally because out of all the bridges I was looking at, this thing had the highest rating consistently. The vintage one actually rated higher than it's fixed or modern bridge counterpart. I have had this bridge for almost two years and I have no complaints. It works great. :guitaristgif: Just for the sake of modifying another reply I wanted to add that the piezo on the LR Baggs is really bright and sweet for cleans, but also has an articulate crunch for distortion. If I jack it up somehow, I will most likely be buying another one unless I can find one better, but not for the price.
Firebird211
Hero Member
- Messages
- 734
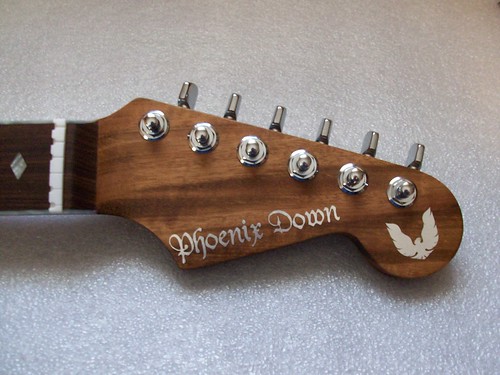
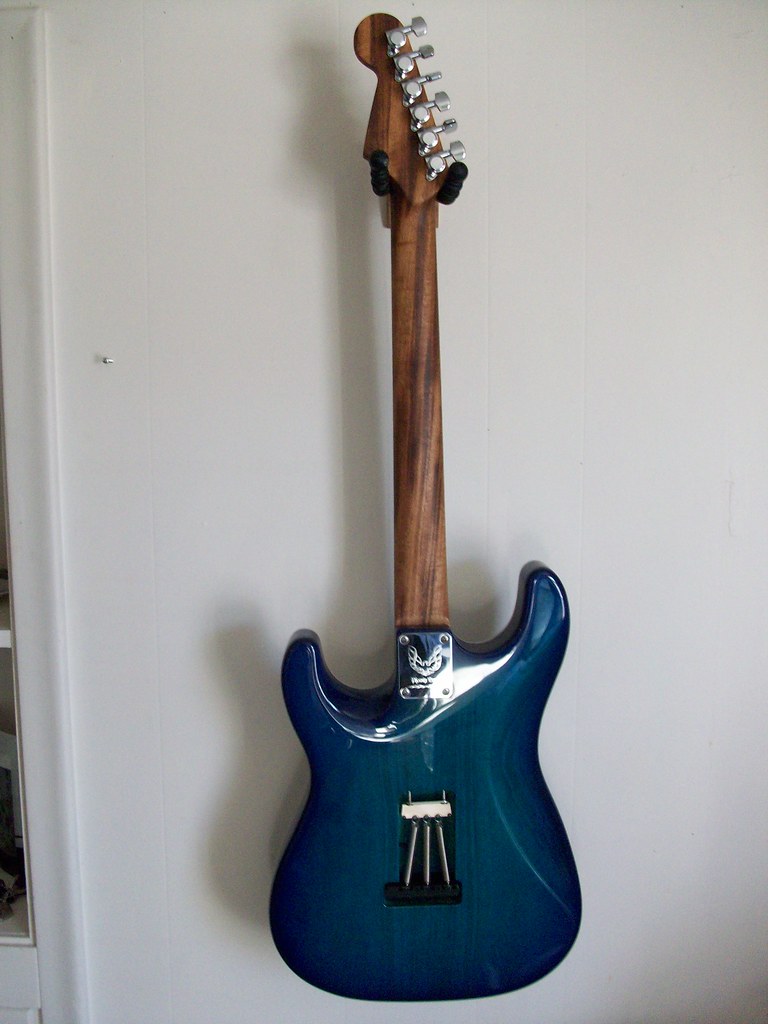
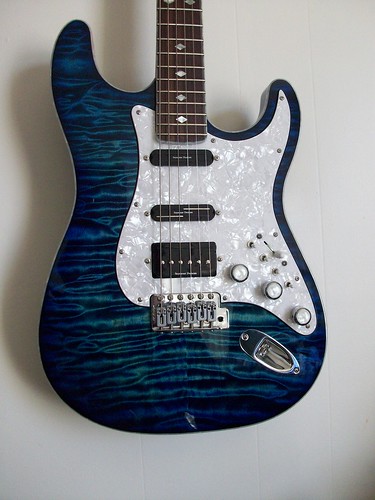
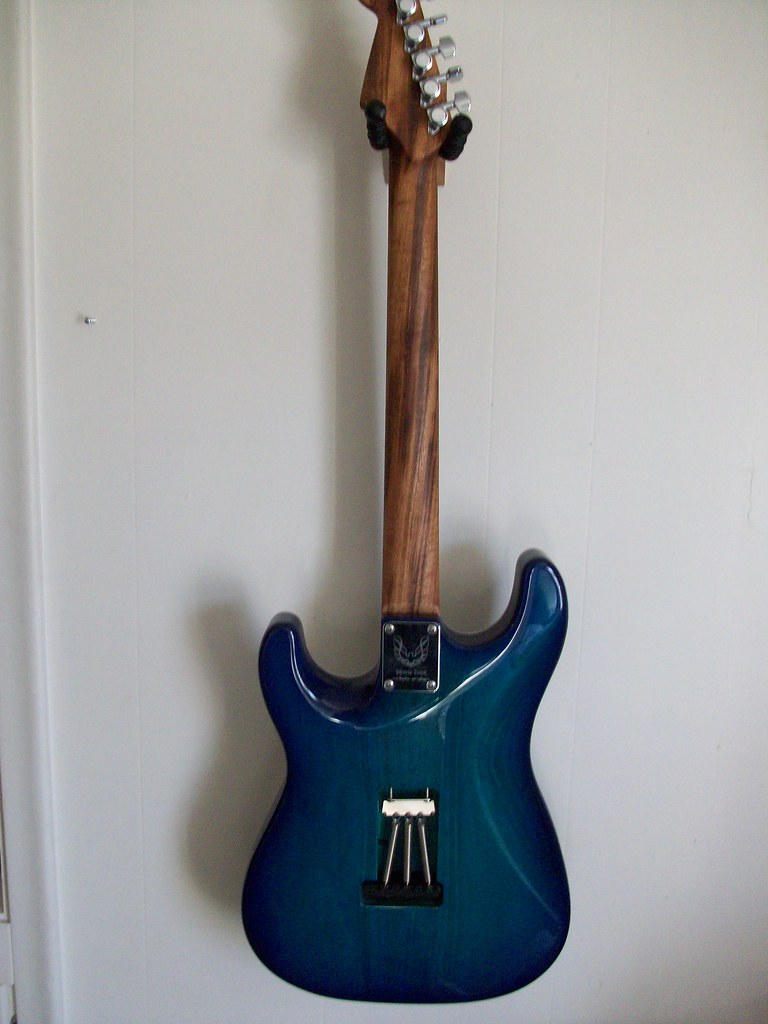
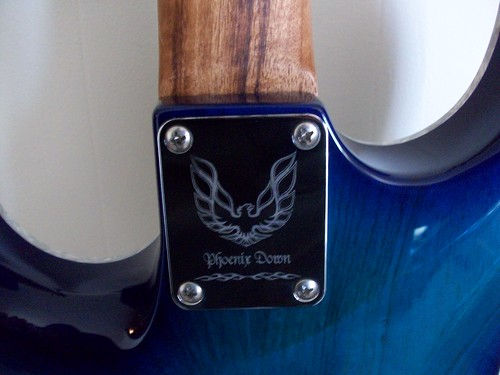
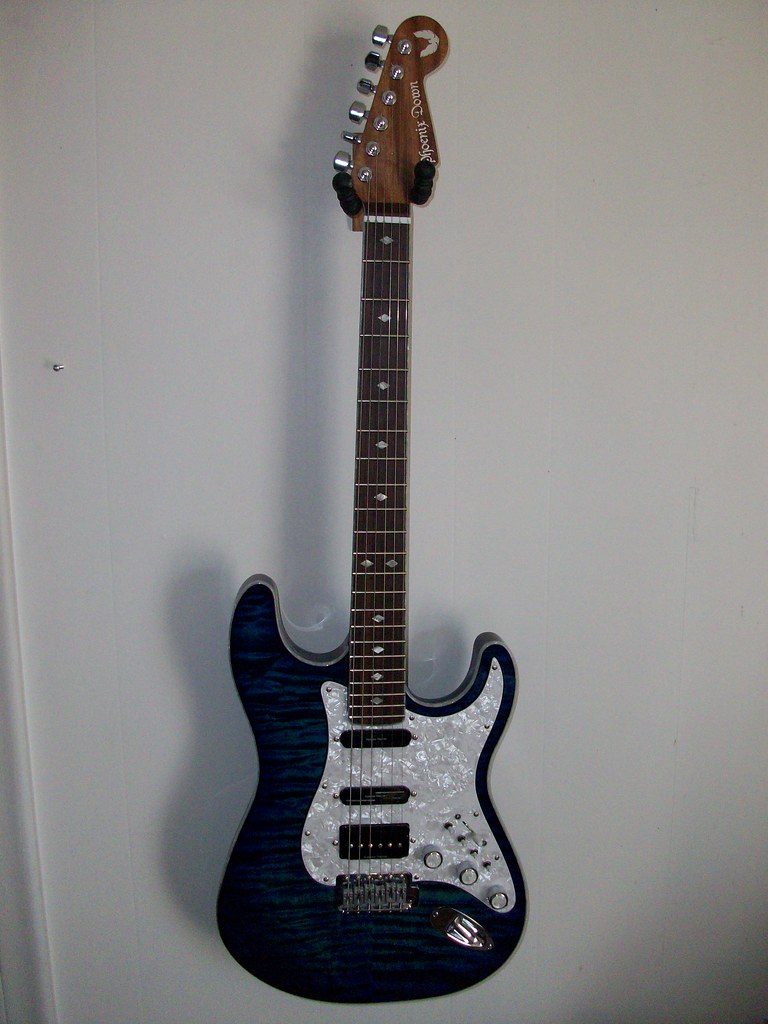
She's all done for the mostpart, just need to get a strap and strap buttons on it. At that time I will get it in better light and take better pictures, hopefully. My hat's off to Warmoth, the guitar feels, sounds, and plays better than any guitar I have ever picked up. I haven't even messed with the setup yet, and it still feels and sounds good. Checked it, and the intonation isn't far off at all, the E's are about dead on, everything else is a tad sharp. After I adjust the height of the saddles to match the radius, that will probably change. The chambered ash body paired with the goncallo / pau ferro neck is a killer combination providing a ton of brightness as well as warmth. The body alone improved the sound of the hot rails, and vintage rails compared to how it sounded before. The controls give it the abiltity to be scorching and edgy, sweet and subtle, or somewhere in the middle. I will make soundclips and move this project over to the completed thread after it's completely finished and adjusted. All in all, mission accomplished. I forgot to mention what finally was done to the heastock, because the end result was different than what I previously described. I wound up using a few thin coats of Zinsser's Shellac Sanding Sealer as the first coat. I continued coating and sanding, and found that I didn't need to use a grain filler anymore. The decal was applied, then I used Zinsser's semi-gloss water based poly. Several thin coats were applied and sanded until the decal was smoothed to the rest of the headstock face. The cured poly was dulled with a synthetic steel wool pad. The 100% Tung Oil came in handy because the wood was a little dry, but the two light coats made the sides of the headstock and neck blend in perfectly with the face of the headstock. The only way you can tell is if you touch it, which was what I was going for. I also did a mild Tonar like blending of the back of the headstock with some sanding.




Similar threads
- Replies
- 11
- Views
- 645
- Replies
- 32
- Views
- 1K

