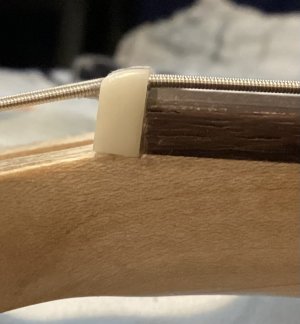
Nut Slot = The slot of the nut that the string passes through.
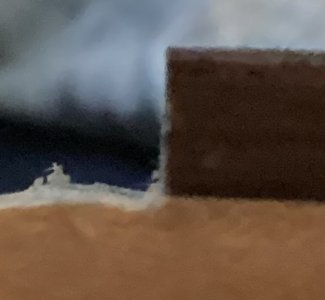
Nut Shelf = The area of the neck that the nut rests upon.
That Nut Shelf needs to be milled, in order to have a level surface.
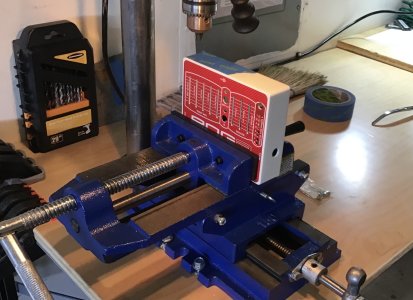
If you have a precision drill press and a milling vice, it can be done with better precision, but mounting it into the vice needs to be precise or you may ruin the neck.
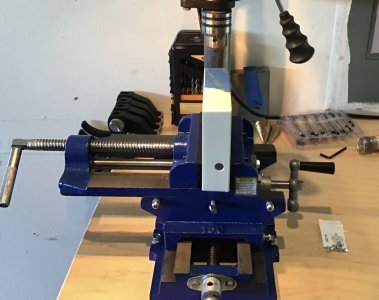
Once mounting integrity is confirmed, as well as the cut depth, even if you’re just cleaning it up, you can use the rotary handles on the device to move the neck slowly, and in very small cut increments, into the cut area.
Use a bit with a very small cut area too. This will help the bit stay cooler too.
Start by dry fitting the bit up against the butt end of the fingerboard, then begin your cut at least one bit depth diameter away from the fingerboard itself to preserve the integrity of the fingerboard. As you advance the bit into the next lane of cutting, overlap your next cutting lane by half a bit depth, with the other half in the prior cutting lane. Go lane by lane this way until you have achieved the nut thickness desired. This will keep continuity in your depth and “level” profile. From here, you can use a file like the Stew Mac one that has a safe edge to clean up the bottom of the shelf you just cut in the first little lane area that you did not cut into, nearest the fingerboard edge. The safe edge is up against the butt end of the fingerboard, which will preserve the intonation integrity of your fingerboard.
Now, get a new nut blank. Mill it to the thickness of the Nut Shelf if needed, then begin slotting and shaping as needed.
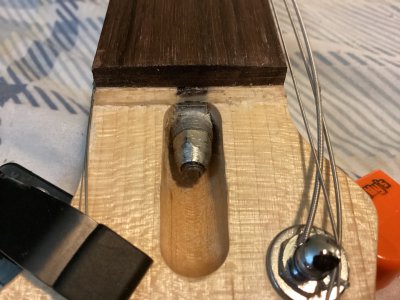
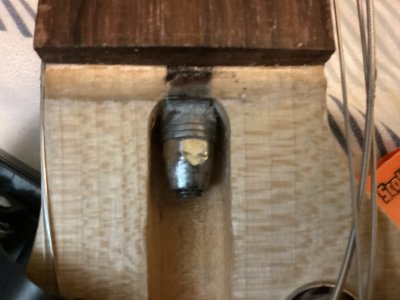
Pics of my milling vice/drill press set up with I recently installed a Midi retrofit circuit board and drilled out the chassis for the Midi In jack on. POG pedal For a customer.