I'd stick with the sandpaper wrapped around a dowel, BiC pen, knitting needle etc. There's not really any great force seeking to remove them, just tight is good. And unless you're planning on playing underwater or stirring the punch with it, the amount of water that may get absorbed through the bit of wood left naked by taking off a bit of finish - well, if the wax isn't comforting enough you can toothpick-paint in a bit of superglue, poly, even filch a bit of clear nail polish if it's comforting. Though careful with nail polish, it does funny stuff to other finishes. S'lovely as this thing is, you might as well take the time at the end, even though it's tough.


 ccasion14:


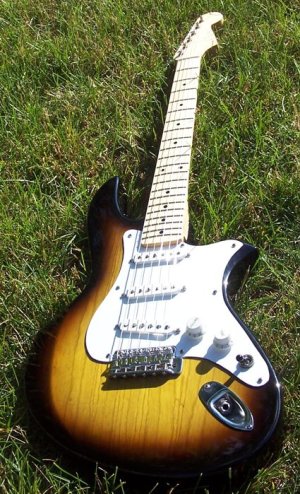
") I'll take more photos soon
I'll take more photos soon