"The Pennycaster" Build

SonoranST

Newbie
Messages
16
This is the first Warmoth build I've done, years ago I had a few Starts built from Warmoth bodies and necks but those were built by a professional.  I've been out of the guitar thing for a while and recently come back to it, I decided to try building my own recently along with an amp.

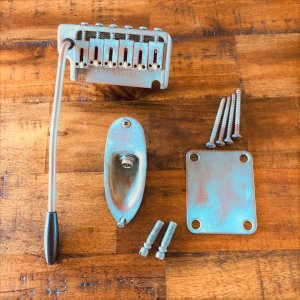
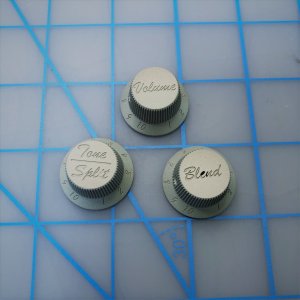
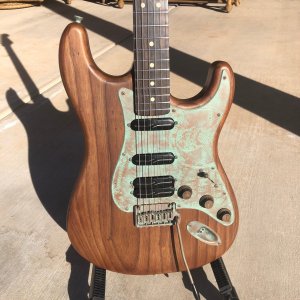
The theme of the build is antique copper.  I've refinished most of the metalwork in antique copper Cerakote, the knobs are done in an antique bronze Cerakote to give it a good contrast.

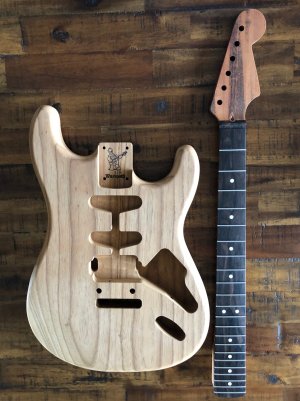
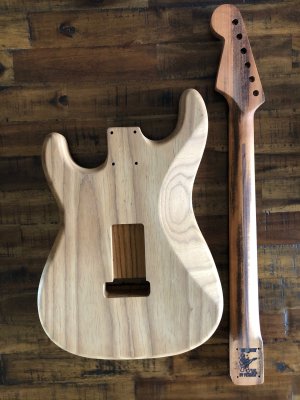
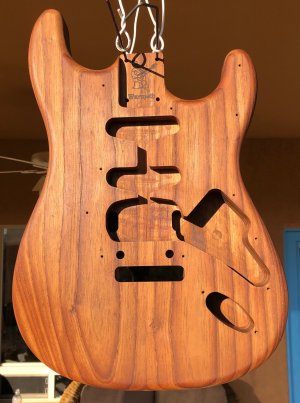
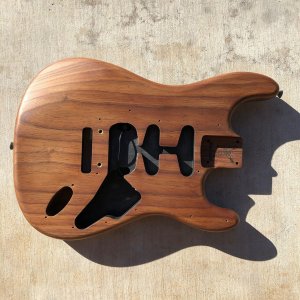
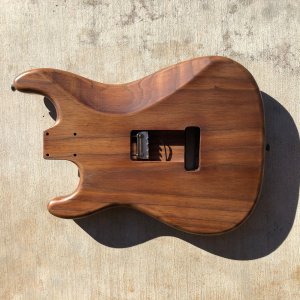
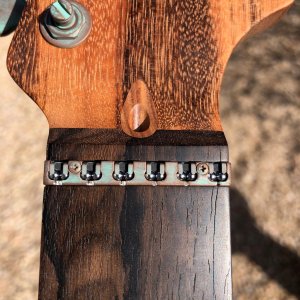
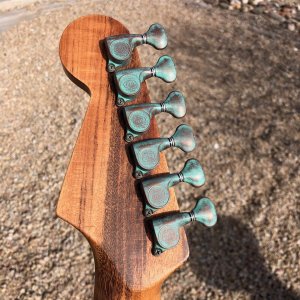
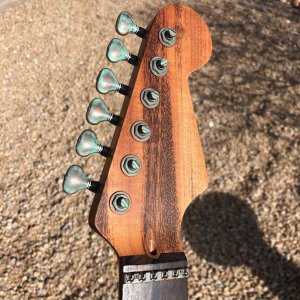
The body is a standard Strat in roasted swamp ash with the SSH and American Std trem routes.  The neck is vintage/modern out of goncalo alves and zircote, the nut cut is for an LSR.  The parts list is:

LSR roller nut
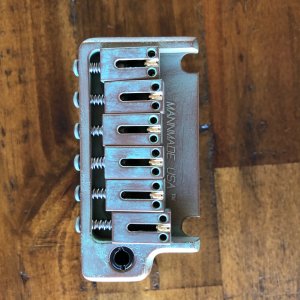
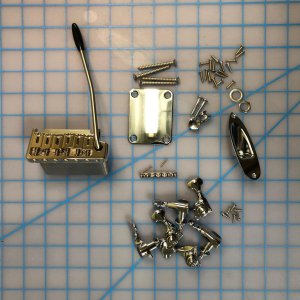
Mannmade 2020 Tremolo
Gotoh 510 locking tuners
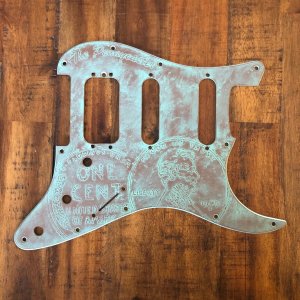
Aonotone Pickguard and Knobs
Fralin Split Blade Pickups, Blues (SSH prewired setup from Fralin)

Here are the body and neck as they came from Warmoth:


Attachments

  • PC1.jpg
    PC1.jpg
    625.8 KB · Views: 16
  • PC2.jpg
    PC2.jpg
    726.9 KB · Views: 7
The body needed a little modification in the bridge pickup route to fit the Fralin dual Split Blade pickups.  Pretty easy Dremel job.  As the metalwork is getting the antique treatment I wanted to do a worn gunstock finish. 

I chose Permalyn from Laurel Mountain Forge, this finish has similarities to Tru-Oil.  The biggest difference is it comes in both a Sealer and Finish, the Sealer is thinner and slower drying with the recommended application process of applying coats of sealer until a surface gloss starts to appear.  The finish is thicker and quicker drying, ideally, it is rubbed in by hand.  This finish is not intended to be built up over the wood surface so it gets knocked down between coats.

It took three heavy coats of sealer and five coats of finish to get it to the point I wanted.  They recommend using the sealer as the final coat due to the viscosity and slower drying time.  At the end I had a nice semi-gloss finish.  Originally, I planned to use rubbing compound to get a nice uniform stain finish, I changed course and decided the strategic use of 0000 steel wool to create a more worn look would fit the build better.

Here are pics the body drying after the first two coats of sealer and after all finish work was completed including the cavity shielding.


Attachments

  • PC3.jpg
    PC3.jpg
    505.2 KB · Views: 17
  • PC9.jpg
    PC9.jpg
    951.1 KB · Views: 23
  • PC10.jpg
    PC10.jpg
    951.2 KB · Views: 7
Looks great so far. I love the way roasted swamp Ash colors with any kind of finish on it.
 
Thanks guys.

The neck didn't get too much done to it, I just burnished it and plan to leave it unfinished.  The hardware is mostly in antique copper.  After all of the prep work is done I stated with a coat of antique copper Cerakote, this is a custom color mix.  After a flash cure it then gets an overlay of another custom mix for the patina/verdigris. 

Here are pics of the hardware, first one is a pile of parts before I coated them.

Edit: Forgot to mention.  The plastic trim knob was replaced with one I made from ebony.
 

Attachments

  • PC18.jpg
    PC18.jpg
    769.4 KB · Views: 9
  • PC19.jpg
    PC19.jpg
    779.2 KB · Views: 6
  • PC17.jpg
    PC17.jpg
    807.5 KB · Views: 9
  • PC11.jpg
    PC11.jpg
    524.7 KB · Views: 8
  • PC6.jpg
    PC6.jpg
    810.3 KB · Views: 7
  • PC4.jpg
    PC4.jpg
    234.3 KB · Views: 6
The knobs I used are aluminum units from Anotone.  I had them laser engraved to match the controls from Fralin.  We had a little burn through on the Blend knob, this was the first one engraved and we were targeting 0.010" for the depth of cut, I didn't think to check the thickness of the knob over the shaft bore.  We cut the depth back to 0.007" for the other two and had no further issues.  There were Cerakoted in antique bronze to give some contrast with the pickguard.

Pics show them uncoated and coated.


Attachments

  • PC12.jpg
    PC12.jpg
    352.9 KB · Views: 14
  • PC13.jpg
    PC13.jpg
    647.8 KB · Views: 20
So the name "The Pennycaster" comes from the pickguard.  This is another aluminum part from Anotone, it also gets the antique copper Cerakote.  I did this one a little different though, I created some stencils for a 1909 penny and used it to emboss the pickguard prior to the base antique copper color.  In addition I put "The Pennycaster" up on the top left edge.


Attachments

  • PC14.jpg
    PC14.jpg
    747.1 KB · Views: 35
Now that's an original idea! Not many guitars use a $2K coin as a pickguard theme. (I can only assume that Mr. Brenner's initials are part of the artwork, but just didn't fit on the guard.) :icon_thumright:
 
Yes, the V.D.B. initials are in the stencil but I didn’t find a composition that I liked that kept them in the frame.
 
Still working on getting pictures with a good background and lighting but this pic gives a good feel for how it all ties together.


Attachments

  • PC20.jpg
    PC20.jpg
    708.6 KB · Views: 69
Thanks guys, it's been a fun project.  I've started looking into another build, this time I'm thinking of doing a 3-string cigar box.
 
That is quite unique. Well done.

index.php
 
Back
Top