. FirebirdFloyd wrote....breifly explain how you got that absolutley beautiful neck finish?
I understand about the StewMac amber, but like how many cans did you use of each? what did you do in between?
Thanks again everyone. The neck was relatively simple to finish. I purchased one can each of Stew Mac amber and Stew Mac clear coat nitrocellulose rattle cans. One of each is more than enough for a neck. An all maple neck could be a different story. The rosewood, of course, has no finish applied.
Day 1. So the process started by taping off the rosewood fretboard and nut slot to avoid overspray. I lightly dry sanded the maple with 600 grit just to make sure no fibers were sticking up and tack cloth for clean up. I then sprayed one coat amber nitro and stopped to let it dry to touch (a few hours). At this point the finish color was plenty dark for my taste but did a couple of touch ups on neck back to even the color. Add more color coats if desirable. Once color is satisfied add 3 coats of clear on top the color coat. Wait about an hour or two between coats. Be careful of nitro runs at this point as it will make the color run and screw up your earlier effort. Let it dry overnite.
Day 2. Wet sand lightly the previous day's spray. I can't stress a light touch enough here. You do not want sand throughs. I believe I used 800 grit paper. Experience users could use 600 grit. I also use mineral spirits as a sand paper wetting agent instead of water. The benefit is mineral spirits will not make raw wood swell like water. It stinks though so I used with a respirator out in the garage. Spray 3 clear coats with an hour or two in between. The longer you wait between coats the less likely you will have runs.
Day 3. Like the previous day lightly sand the neck and add 3 more clear coats (10 total). Let this dry/cure for 10 to 14 days. Patience here will be rewarded. Nitro takes a while to cure so leave it alone or you will be sorry.
Two weeks later... Now the fun part. Sand and polish. For final wet sanding I used 800, 1200, 1500, and 2000 grit micro fine paper. Go easy on the lower number papers to avoid sand throughs. I do not use a sanding block as I can feel with my finger tips how the sanding is going. Wipe often to check progress. Let the sand paper do the work. While leveling you are looking to make the whole surface evenly dull as you work up in paper numbers. After sanding paper I used Stew Mac fine polishing compound with a rag followed by 3M Finesse which is a machine swirl remover but I applied it by hand with a rag. No silicone based products used.
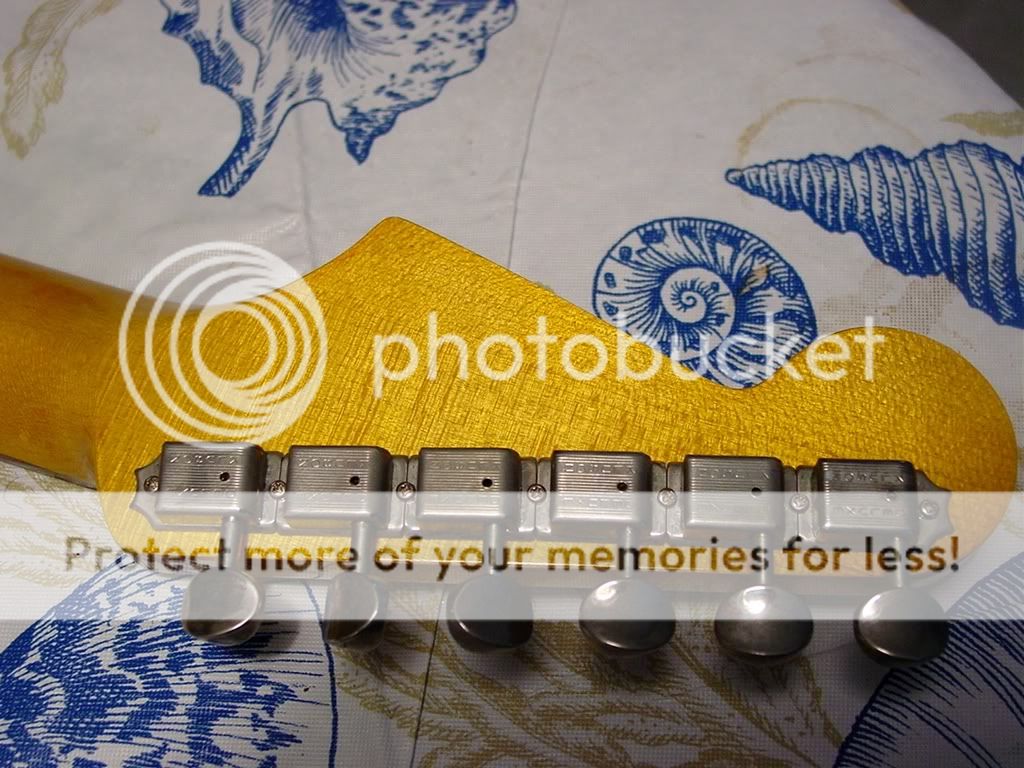
One tip I can leave with you is to NOT sand sharp edges or you will definitely get sand throughs. The edges I'm talking about are the 90 deg. edges of he headstock front to side and back to side. The finish is always super thin on sharp transitions. There are some other edges near the heal as well. Leave 'em alone.
Learn more at
http://www.reranch.com/. There is a wealth of information here. The products are great as well.