It begins.
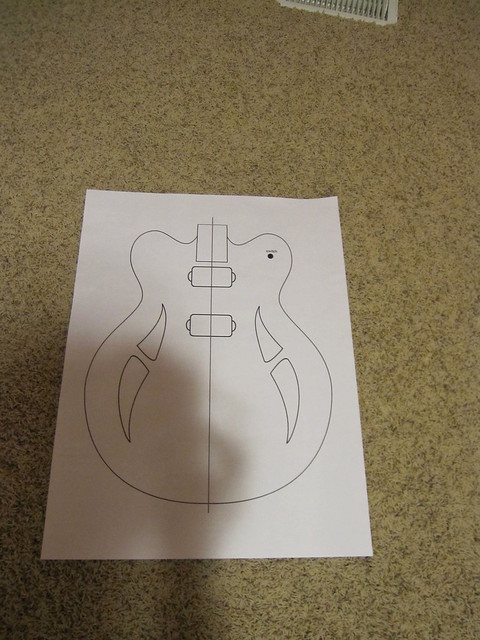
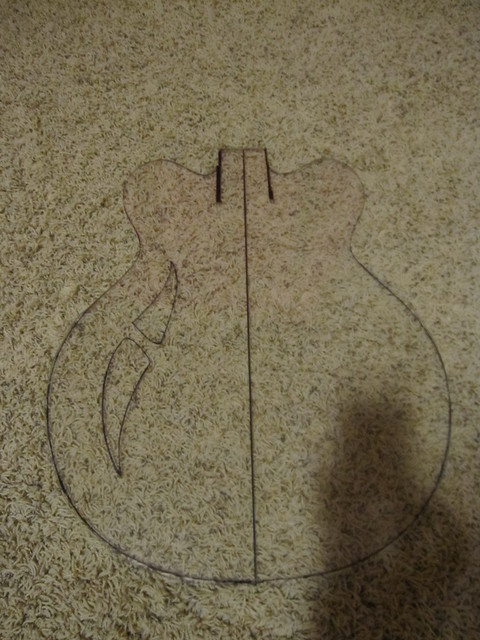
This is a continuation from some planning I did to build myself a scratch built guitar. (http://www.unofficialwarmoth.com/index.php?topic=17945.0) Now that all the planning is out of the way it is time to get started. I used GIMP to draw out the body. Sort of a Gretsch/Gibson 335 but more Gretsch than anything. Then had it printed out full scale at a print shop.
 [/url]
The body is 18.5” long by 15.25” wide and 2.25” thick. Larger than a Les Paul but not huge since I am a smaller person (5’7”) and I didn’t think an enormous guitar would be comfortable. I was going to do a carve top, but I changed my mind and decided to go flat.
I bought a piece of acrylic and cut the shape of the body out.
 [/url]
I originally planned on using this as a routing template for the body itself but I changed my mind. The maple I am using has an annoying tendency to tear out so I will just rough cut and then sand it. I will use this later for the neck pocket route though.
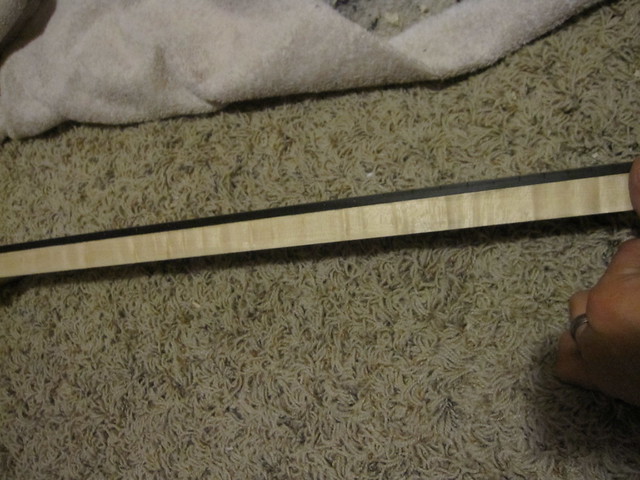
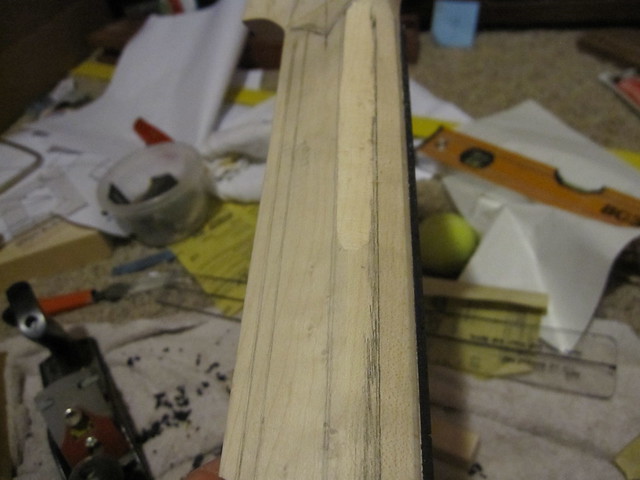
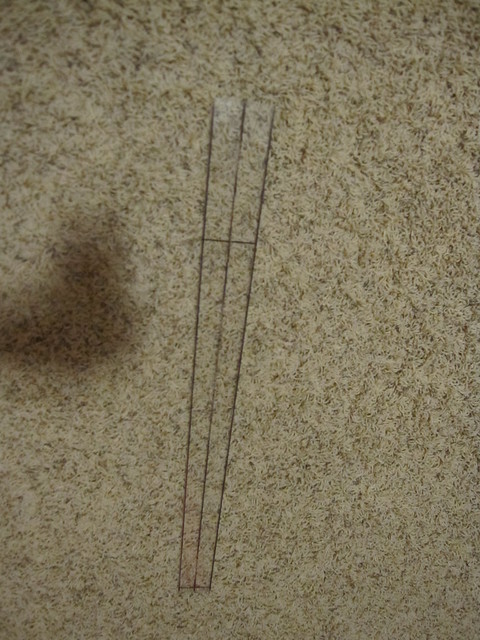
Next I cut out and shaped the neck in some acrylic.
 [/url]
This is just the taper from the nut back the heel.
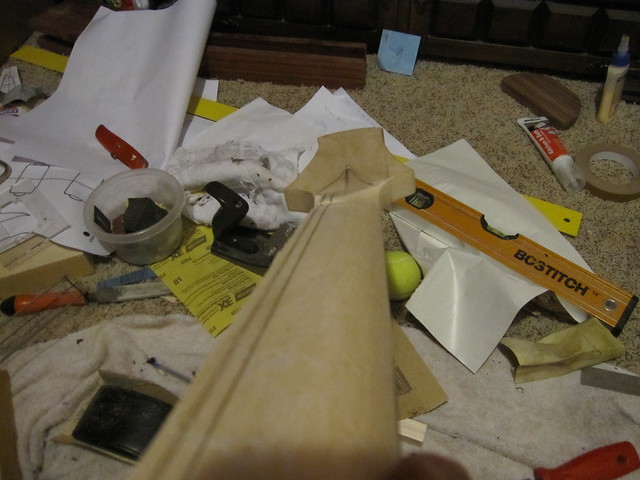
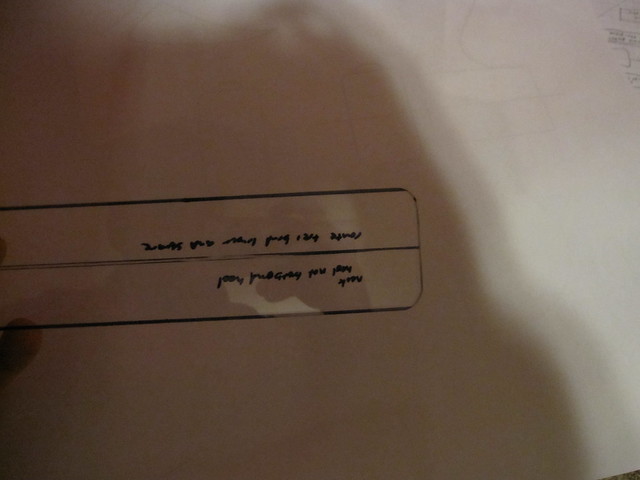
Then I shaped the heel.
 [/url]
I debated using a warmoth neck to match the heel so it would be a universal joint. I don’t have a spare neck and I only have one guitar and would rather not take it apart. Laziness prevails and it won’t be compatible with Fender style necks.
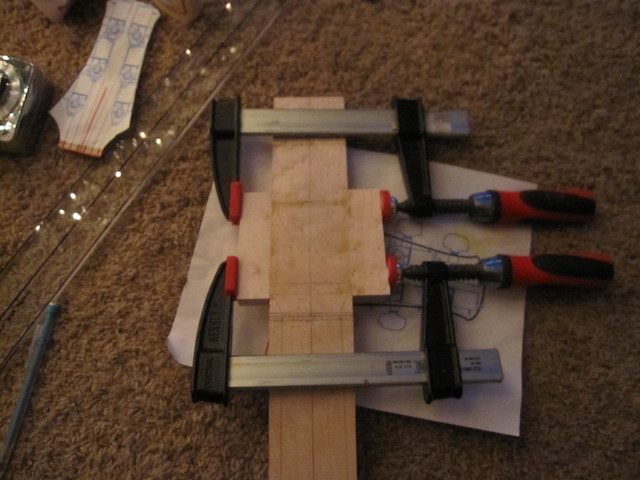
I took my maple and rough cut the shape off from the acrylic template. Then it was time to glue the pieces together.
 [/url]
This sucker weighed a lot! Good thing it will be hollow.
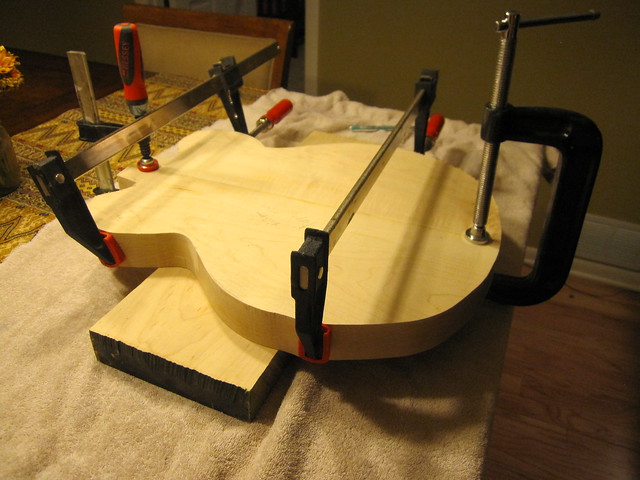
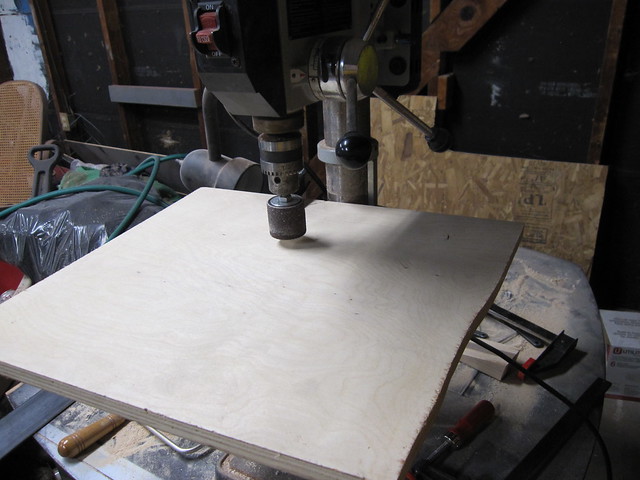
I never really have the exact tool I need so I always improvise.
 [/url]
I used my drill press as a spindle sander to get the maple to approximate dimensions. I bought a fitting for a spindle sander and then just stuck it in the press. Then I added some plywood and clamped it down for a larger platform to work with.
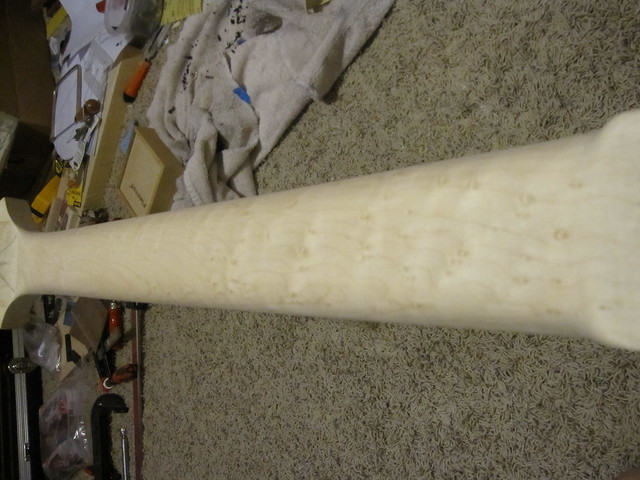
This is the result.
 [/url]
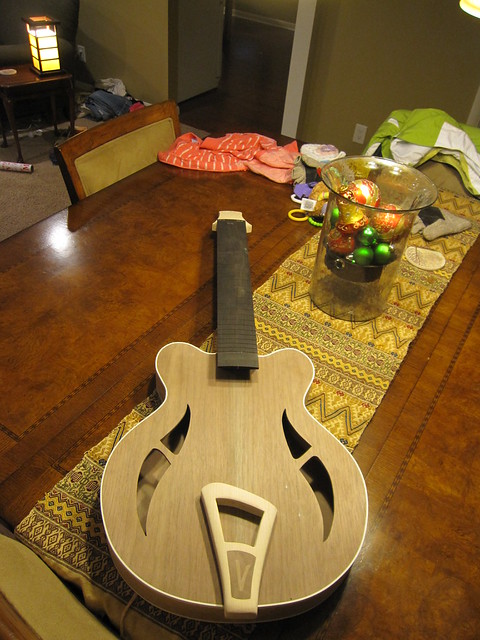
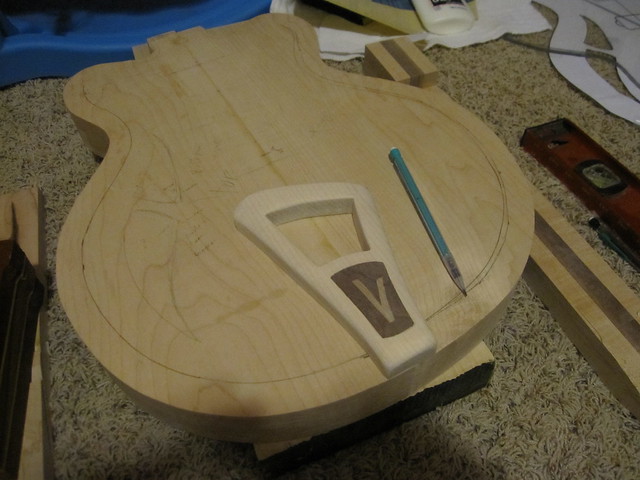
I put the maple and walnut tailpiece I am making on the get an idea of how it might look. It isn’t finished. It is still too thick and the walnut and maple inlay needs a little finish work still. not bad for never having done inlay before. I also marked the edges of the body for cutting out the hollow. I forgot to take pictures but basically I drilled a hole and then used my jigsaw to cut out the cavities. It is hollow all the way around except at the pickups and the bridge.
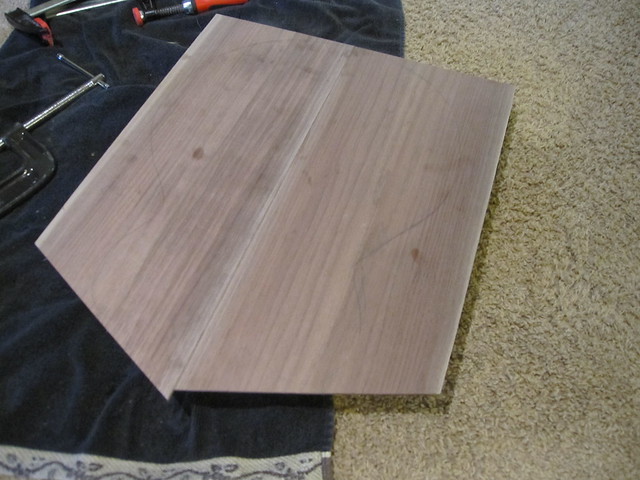
Now it was time to put the walnut caps on the top and bottom.
 [/url]
I used walnut that is slightly under 1/4 “. I am going to be doing a 1/4 “ binding so I didn’t want any walnut showing.
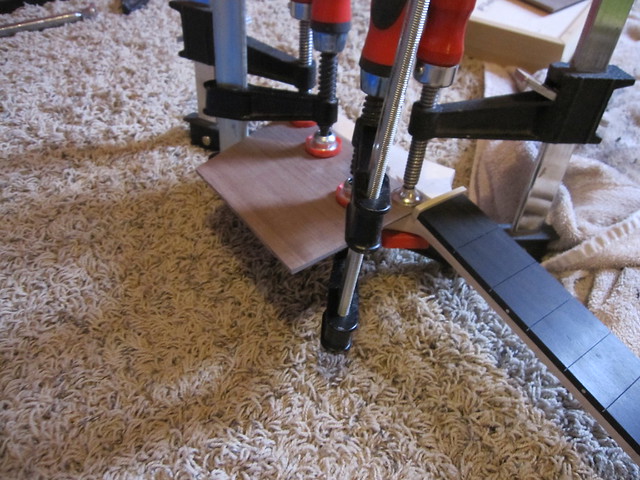
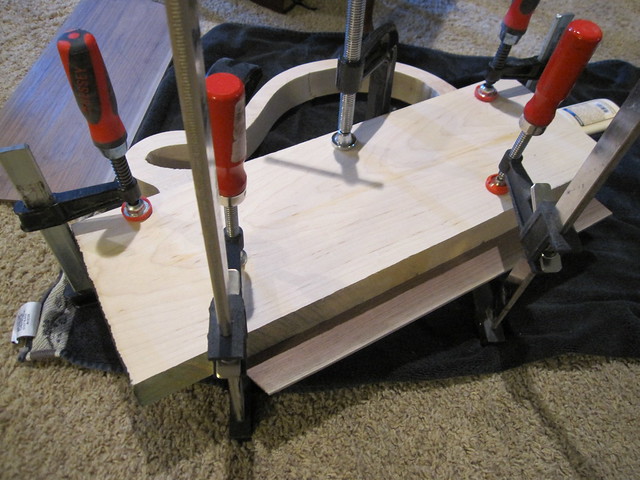
I have seen a lot of people join the two pieces first, but with the tools I have that seemed more difficult. Instead I put it on one piece at a time.
 [/url]
I used a scrap board to help clamp the first side down evenly.
After that I just repeated with the other side and then flipped it over and did the back.
 [/url]
Here it is with all the pieces on. Some of it has already been cut down a little. I ran out of “don’t piss the neighbors off” time and had to stop. The top doesn't look even because it isn't. The walnut was not an exact thickness. That will be sanded down later.
After I rough cut the walnut I used my makeshift spindle sander to finish it off.
 [/url]
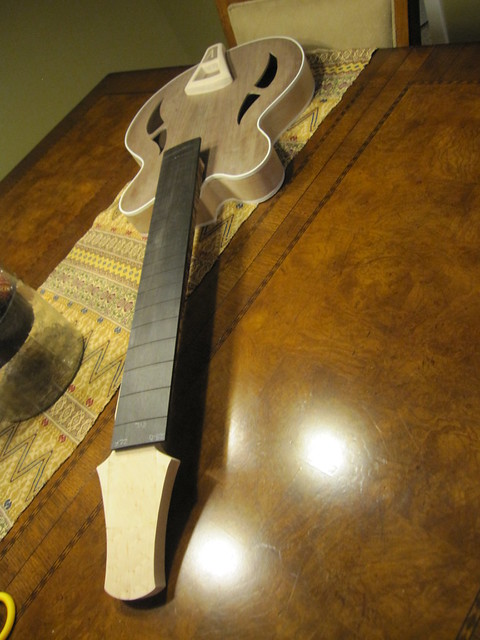
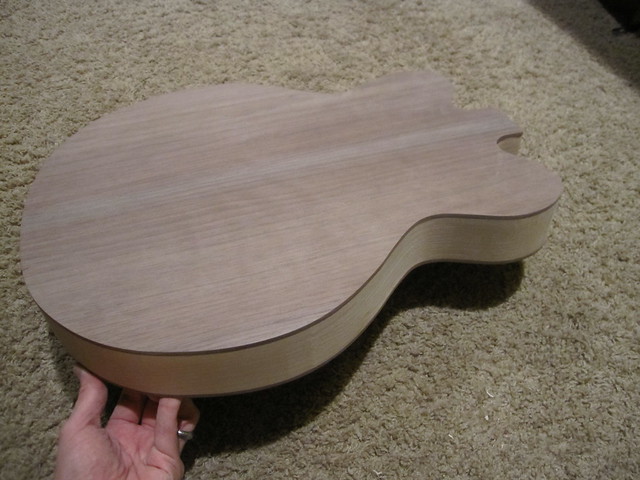
I also sanded the top and bottom level. It was driving me crazy. I think it is turning out quite nicely.
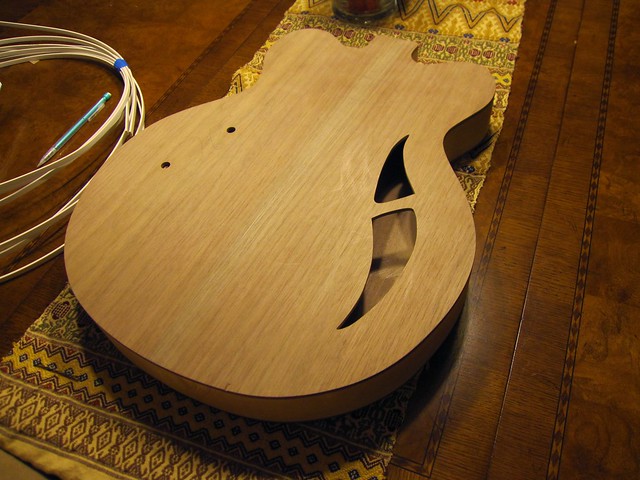
Next was the “f-holes”. I drew the design on the body and then used the drill press to make starter holes. I purchased a small scroll saw blade for my jigsaw and rough cut out the design. Then I sanded it to the exact design.
 [/url]
I think it turned out pretty nice.
 [/url]
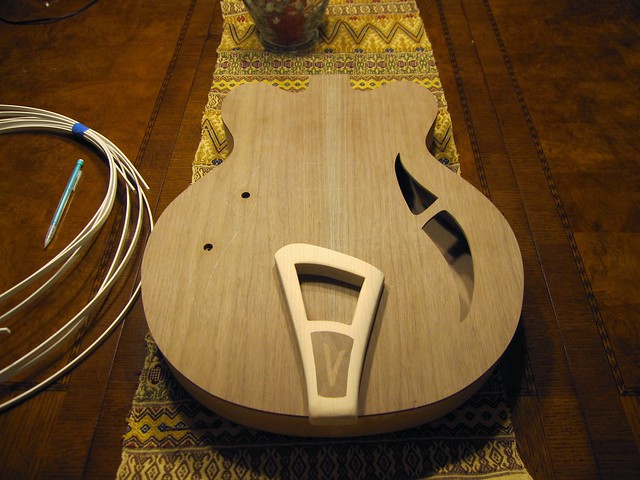
Another picture with the tailpiece on. Any more work will have to wait. I can’t cut the next hole because of noise issues so here it sits until the weekend when I can use my power tools.
Next up the last f-hole, the binding and controls. The neck pocket is going to have to wait until I am done with the neck. I want to do a scrap piece and test the neck pocket out and make sure it is snug before I start cutting into the body.
Also, that chip at the bottom of the walnut is driving me nuts. I have no idea when that happened or how it happened. I need to think of a good way of repairing it. some of it will be covered with the binding but still. :icon_scratch:
This is a continuation from some planning I did to build myself a scratch built guitar. (http://www.unofficialwarmoth.com/index.php?topic=17945.0) Now that all the planning is out of the way it is time to get started. I used GIMP to draw out the body. Sort of a Gretsch/Gibson 335 but more Gretsch than anything. Then had it printed out full scale at a print shop.
The body is 18.5” long by 15.25” wide and 2.25” thick. Larger than a Les Paul but not huge since I am a smaller person (5’7”) and I didn’t think an enormous guitar would be comfortable. I was going to do a carve top, but I changed my mind and decided to go flat.
I bought a piece of acrylic and cut the shape of the body out.
I originally planned on using this as a routing template for the body itself but I changed my mind. The maple I am using has an annoying tendency to tear out so I will just rough cut and then sand it. I will use this later for the neck pocket route though.
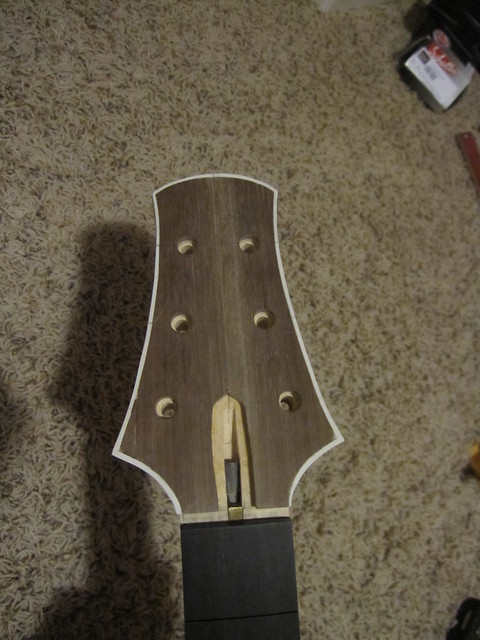
Next I cut out and shaped the neck in some acrylic.
This is just the taper from the nut back the heel.
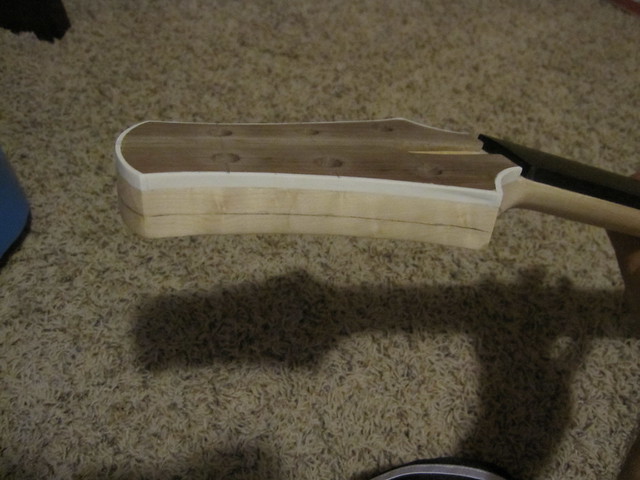
Then I shaped the heel.
I debated using a warmoth neck to match the heel so it would be a universal joint. I don’t have a spare neck and I only have one guitar and would rather not take it apart. Laziness prevails and it won’t be compatible with Fender style necks.
I took my maple and rough cut the shape off from the acrylic template. Then it was time to glue the pieces together.
This sucker weighed a lot! Good thing it will be hollow.
I never really have the exact tool I need so I always improvise.
I used my drill press as a spindle sander to get the maple to approximate dimensions. I bought a fitting for a spindle sander and then just stuck it in the press. Then I added some plywood and clamped it down for a larger platform to work with.
This is the result.
I put the maple and walnut tailpiece I am making on the get an idea of how it might look. It isn’t finished. It is still too thick and the walnut and maple inlay needs a little finish work still. not bad for never having done inlay before. I also marked the edges of the body for cutting out the hollow. I forgot to take pictures but basically I drilled a hole and then used my jigsaw to cut out the cavities. It is hollow all the way around except at the pickups and the bridge.
Now it was time to put the walnut caps on the top and bottom.
I used walnut that is slightly under 1/4 “. I am going to be doing a 1/4 “ binding so I didn’t want any walnut showing.
I have seen a lot of people join the two pieces first, but with the tools I have that seemed more difficult. Instead I put it on one piece at a time.
I used a scrap board to help clamp the first side down evenly.
After that I just repeated with the other side and then flipped it over and did the back.
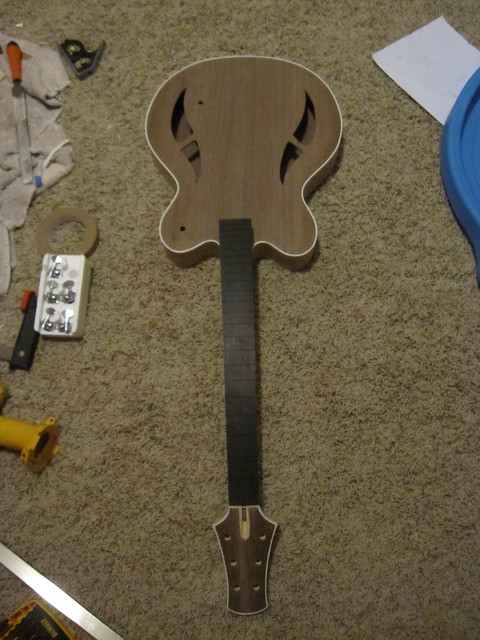
Here it is with all the pieces on. Some of it has already been cut down a little. I ran out of “don’t piss the neighbors off” time and had to stop. The top doesn't look even because it isn't. The walnut was not an exact thickness. That will be sanded down later.
After I rough cut the walnut I used my makeshift spindle sander to finish it off.
I also sanded the top and bottom level. It was driving me crazy. I think it is turning out quite nicely.
Next was the “f-holes”. I drew the design on the body and then used the drill press to make starter holes. I purchased a small scroll saw blade for my jigsaw and rough cut out the design. Then I sanded it to the exact design.
I think it turned out pretty nice.
Another picture with the tailpiece on. Any more work will have to wait. I can’t cut the next hole because of noise issues so here it sits until the weekend when I can use my power tools.
Next up the last f-hole, the binding and controls. The neck pocket is going to have to wait until I am done with the neck. I want to do a scrap piece and test the neck pocket out and make sure it is snug before I start cutting into the body.
Also, that chip at the bottom of the walnut is driving me nuts. I have no idea when that happened or how it happened. I need to think of a good way of repairing it. some of it will be covered with the binding but still. :icon_scratch:
")