First Warmoth build, I think I'm going to need some help

My question (and only because I can't tell from the pics) is whether it's a veneer or a drop-top. If it's a drop-top, sand away if you're not happy, although I think it looks marvelous as is. If it's a veneer, the risk of burning through it is really high.
 
Ned,

Its a drop top on the body with a dark laminate accent line. I was going for subtle on the accent line rather than contrasting, but both woods are so dark its just about invisible. The headstock is a thin veneer so there will be no monkey business with dye or pore filling up there.
 
Have made progress. Shellac on front slowly improving. I'm doing tru oil on the neck, back and sides. I was worried about the interface between the shellac only on the top and truoil around the sides and back, but they blend invisibly :
half way.jpg
Someone a few months ago posted a fabricated wood control cavity cover. I've never tried to make something like that, but the off cut of my koa top (which brother Spike included in the shipment) was just big enough and exactly the right thickness, so I had to take a shot.

cover.jpg

Looks kind of strange but I think better than black plastic.
 
I've made some good progress. Finish is done :
finish done front.jpgfinish back.jpg


Control cavity is done, shielded with copper tape. The lugs on the switch are uncomfortably close to the copper clad wall, I may have to put some electrical tape over the copper there unless anyone has a more elegant idea. I did some weird wiring things that I havn't seen before that I hope work out ok. My SD P90's have bare shielded wire, and I soldered these to the pot backs as they pass by. Then, close to the switch, I soldered the two shields together (side by side) adding 2 additional ground wires to this joint and shrinkwrapped the whole works. One wire for bridge, the other to the jack. Also put a dab of solder between the shields and the copper wall as they come out of their holes. So I think everything is grounded without much spaghetti.:

control cav.jpg
 
It took 4 months but its done and plays great. Many hiccups along the way:

Managed to loose the neck mounting screws
Marred the finished back pounding the ferules in
Destroyed a pot pressing too hard on the speed knob trying to seat (saw the tip of applying counter pressure from the back too late)
Bent up a number of pickup springs before chopping about 1/3 off
After a couple months in my climate and the finishing, the neck ended up with way too much relief (before attaching). It took 7 quarter turns of the heel truss rod (each stiffer than the last) to get it dead flat where I wanted it. It has subsequently stayed that way under string tension. Whew.
Issues with the hipshot bridge detailed in this thread :

https://unofficialwarmoth.com/threads/notes-on-hipshot-hardtail-bridge-install.38064/

Highest possible recommendation for the hipshot locking tuners. No screws needed, their clever design locks them rock solid without the anxiety of drilling those holes in the headstock. And the locking bracket looks fine, not at all clunky/kludgy.

I was hopeful that the Seymore Duncan P90 set would be reverse wound (the website doesn't say one way or another) but they are; the pickup hum vanishes in the middle switch position.

The finishing went smoothly, Shellac on the top and headstock, Truoil on the rest (4 coats on the back of the neck, 8 coats everywhere else). Truoil is amazing stuff.
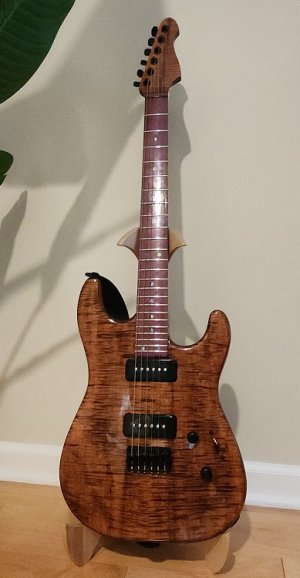
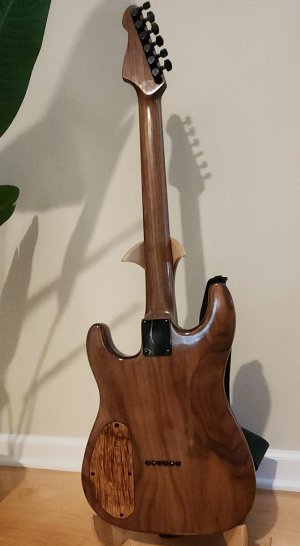
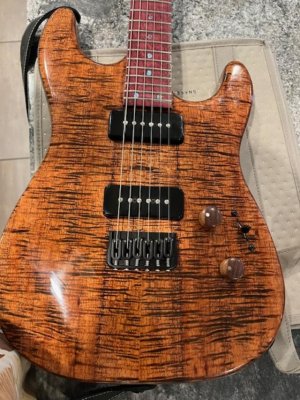
final front 2.jpgfinalback.jpg


final front body.jpg

Wooden knobs with abalone markers (matching fret markers) came from Ebay, guy hand makes some really items
 
Back
Top