Metal Work Day...
So I am back from my work travels of about three weeks duration. And yesterday I got back to working on getting this build almost complete.
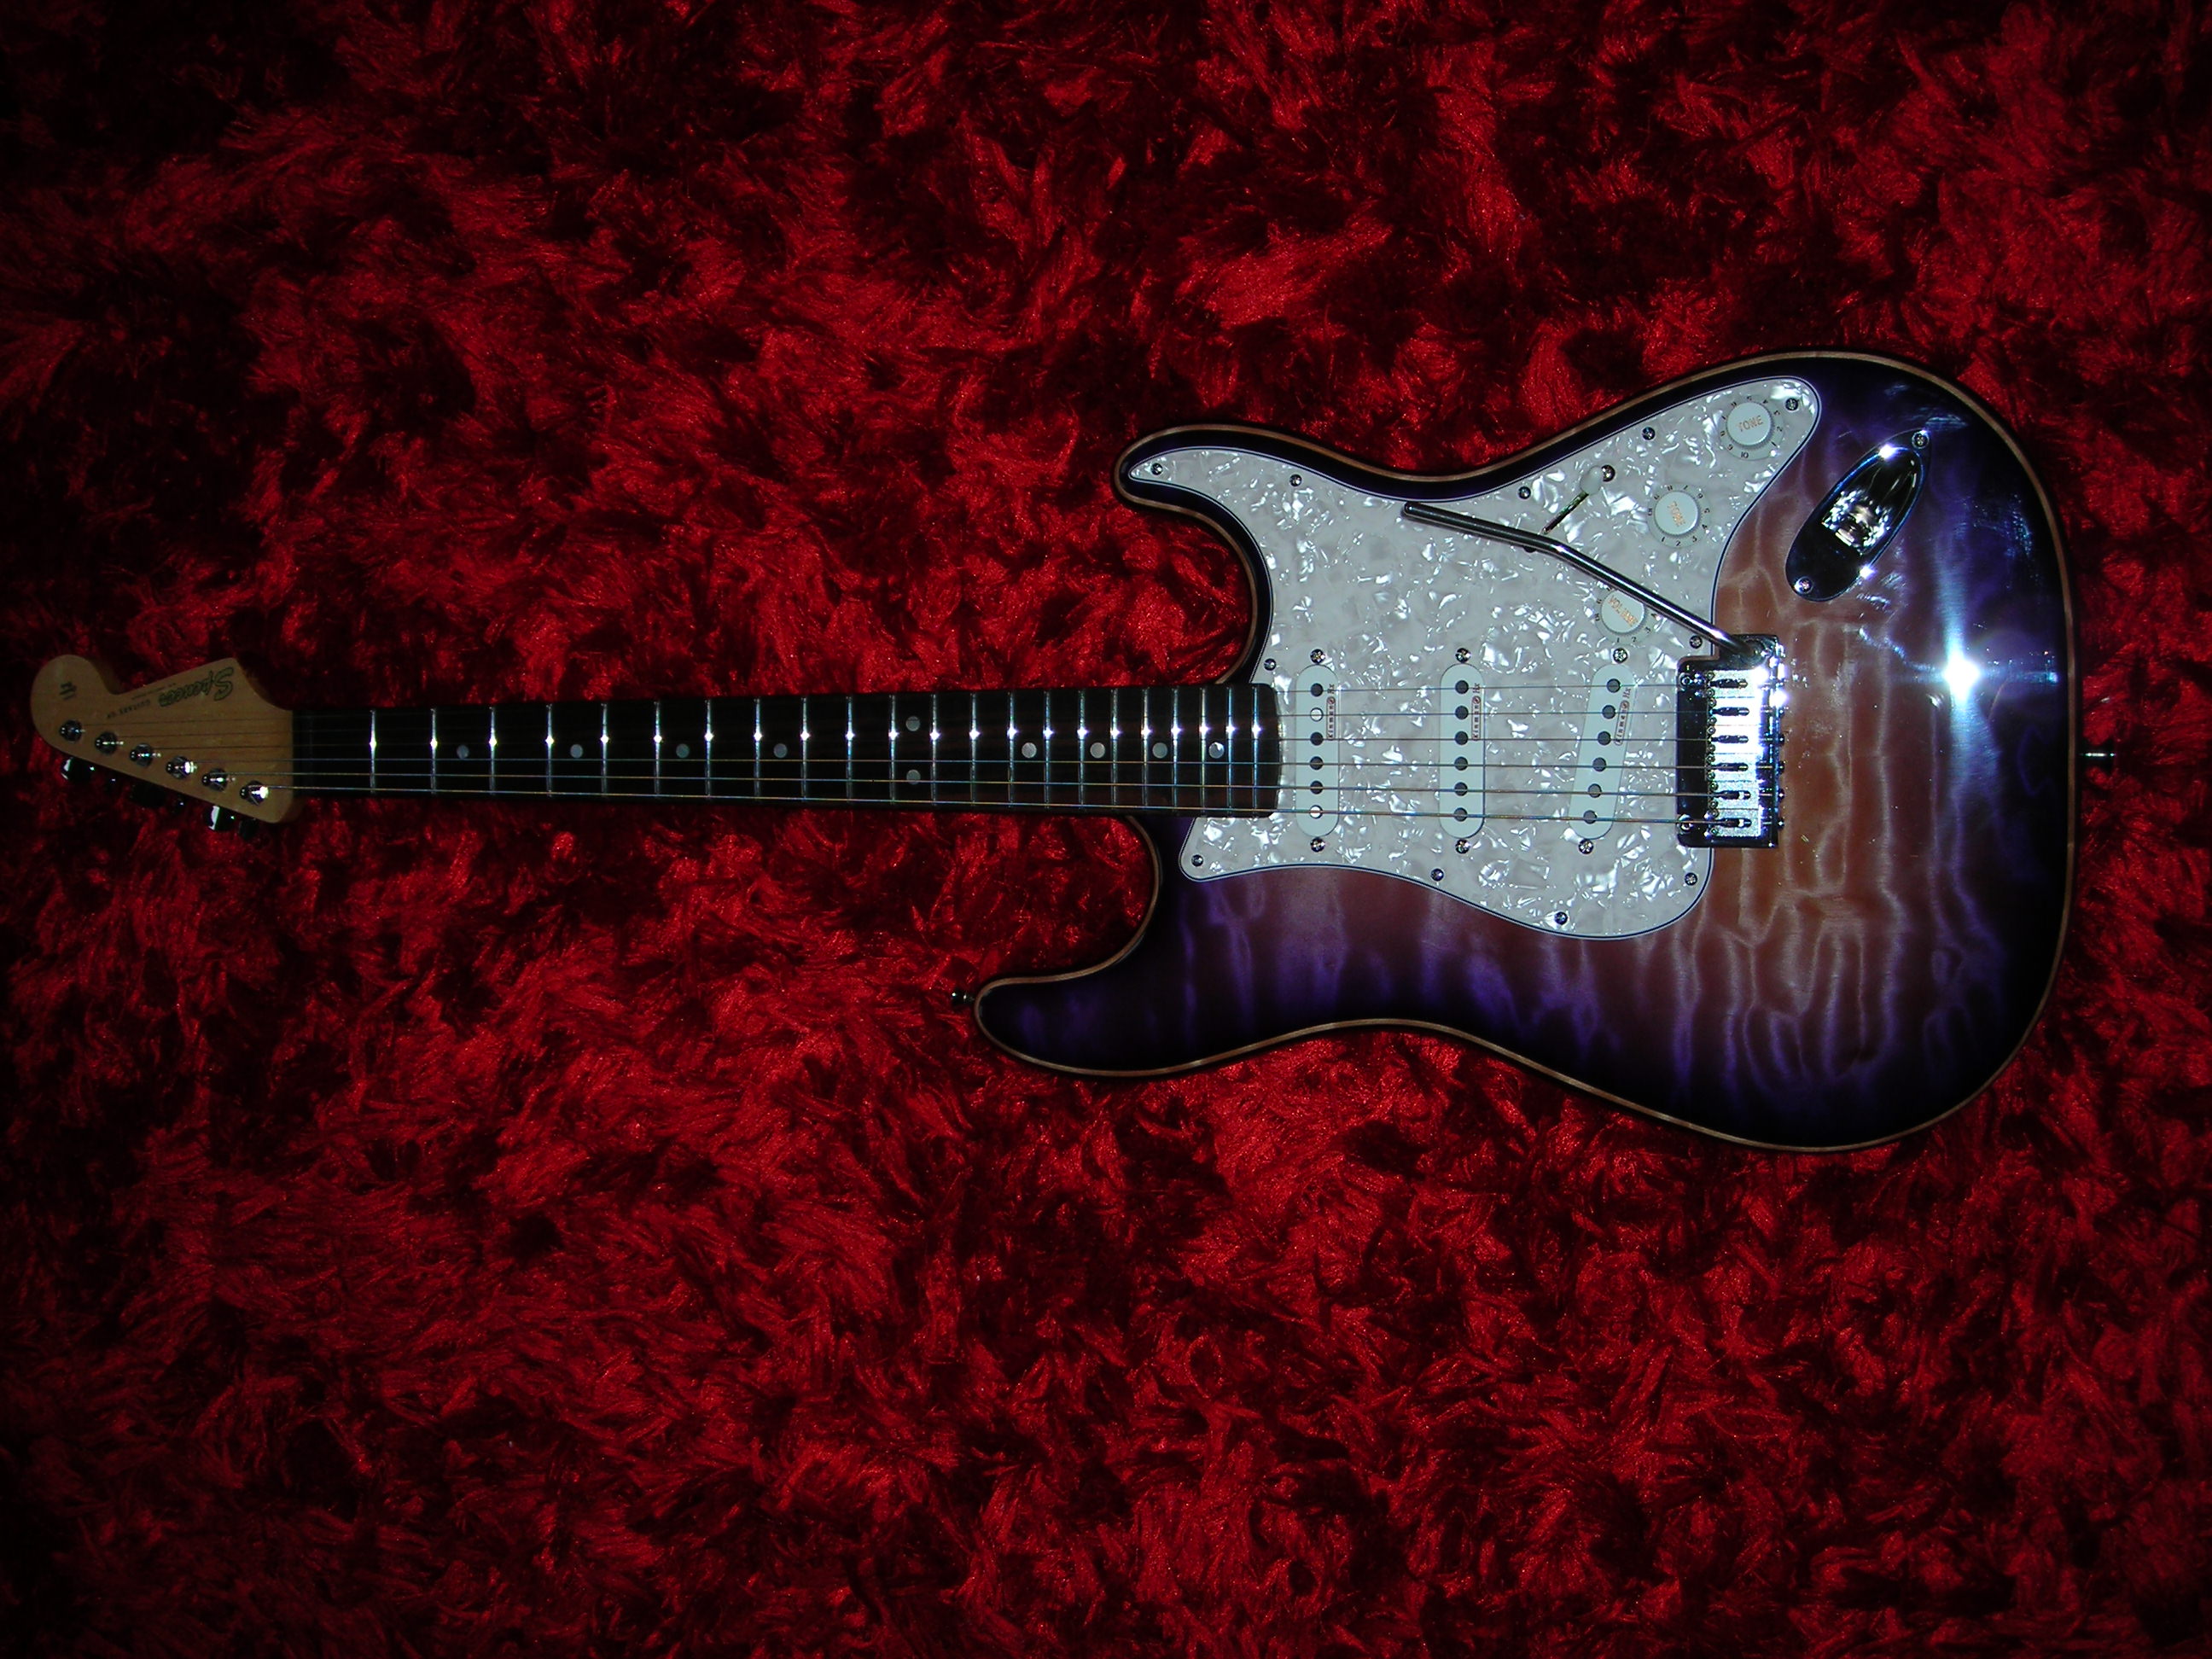
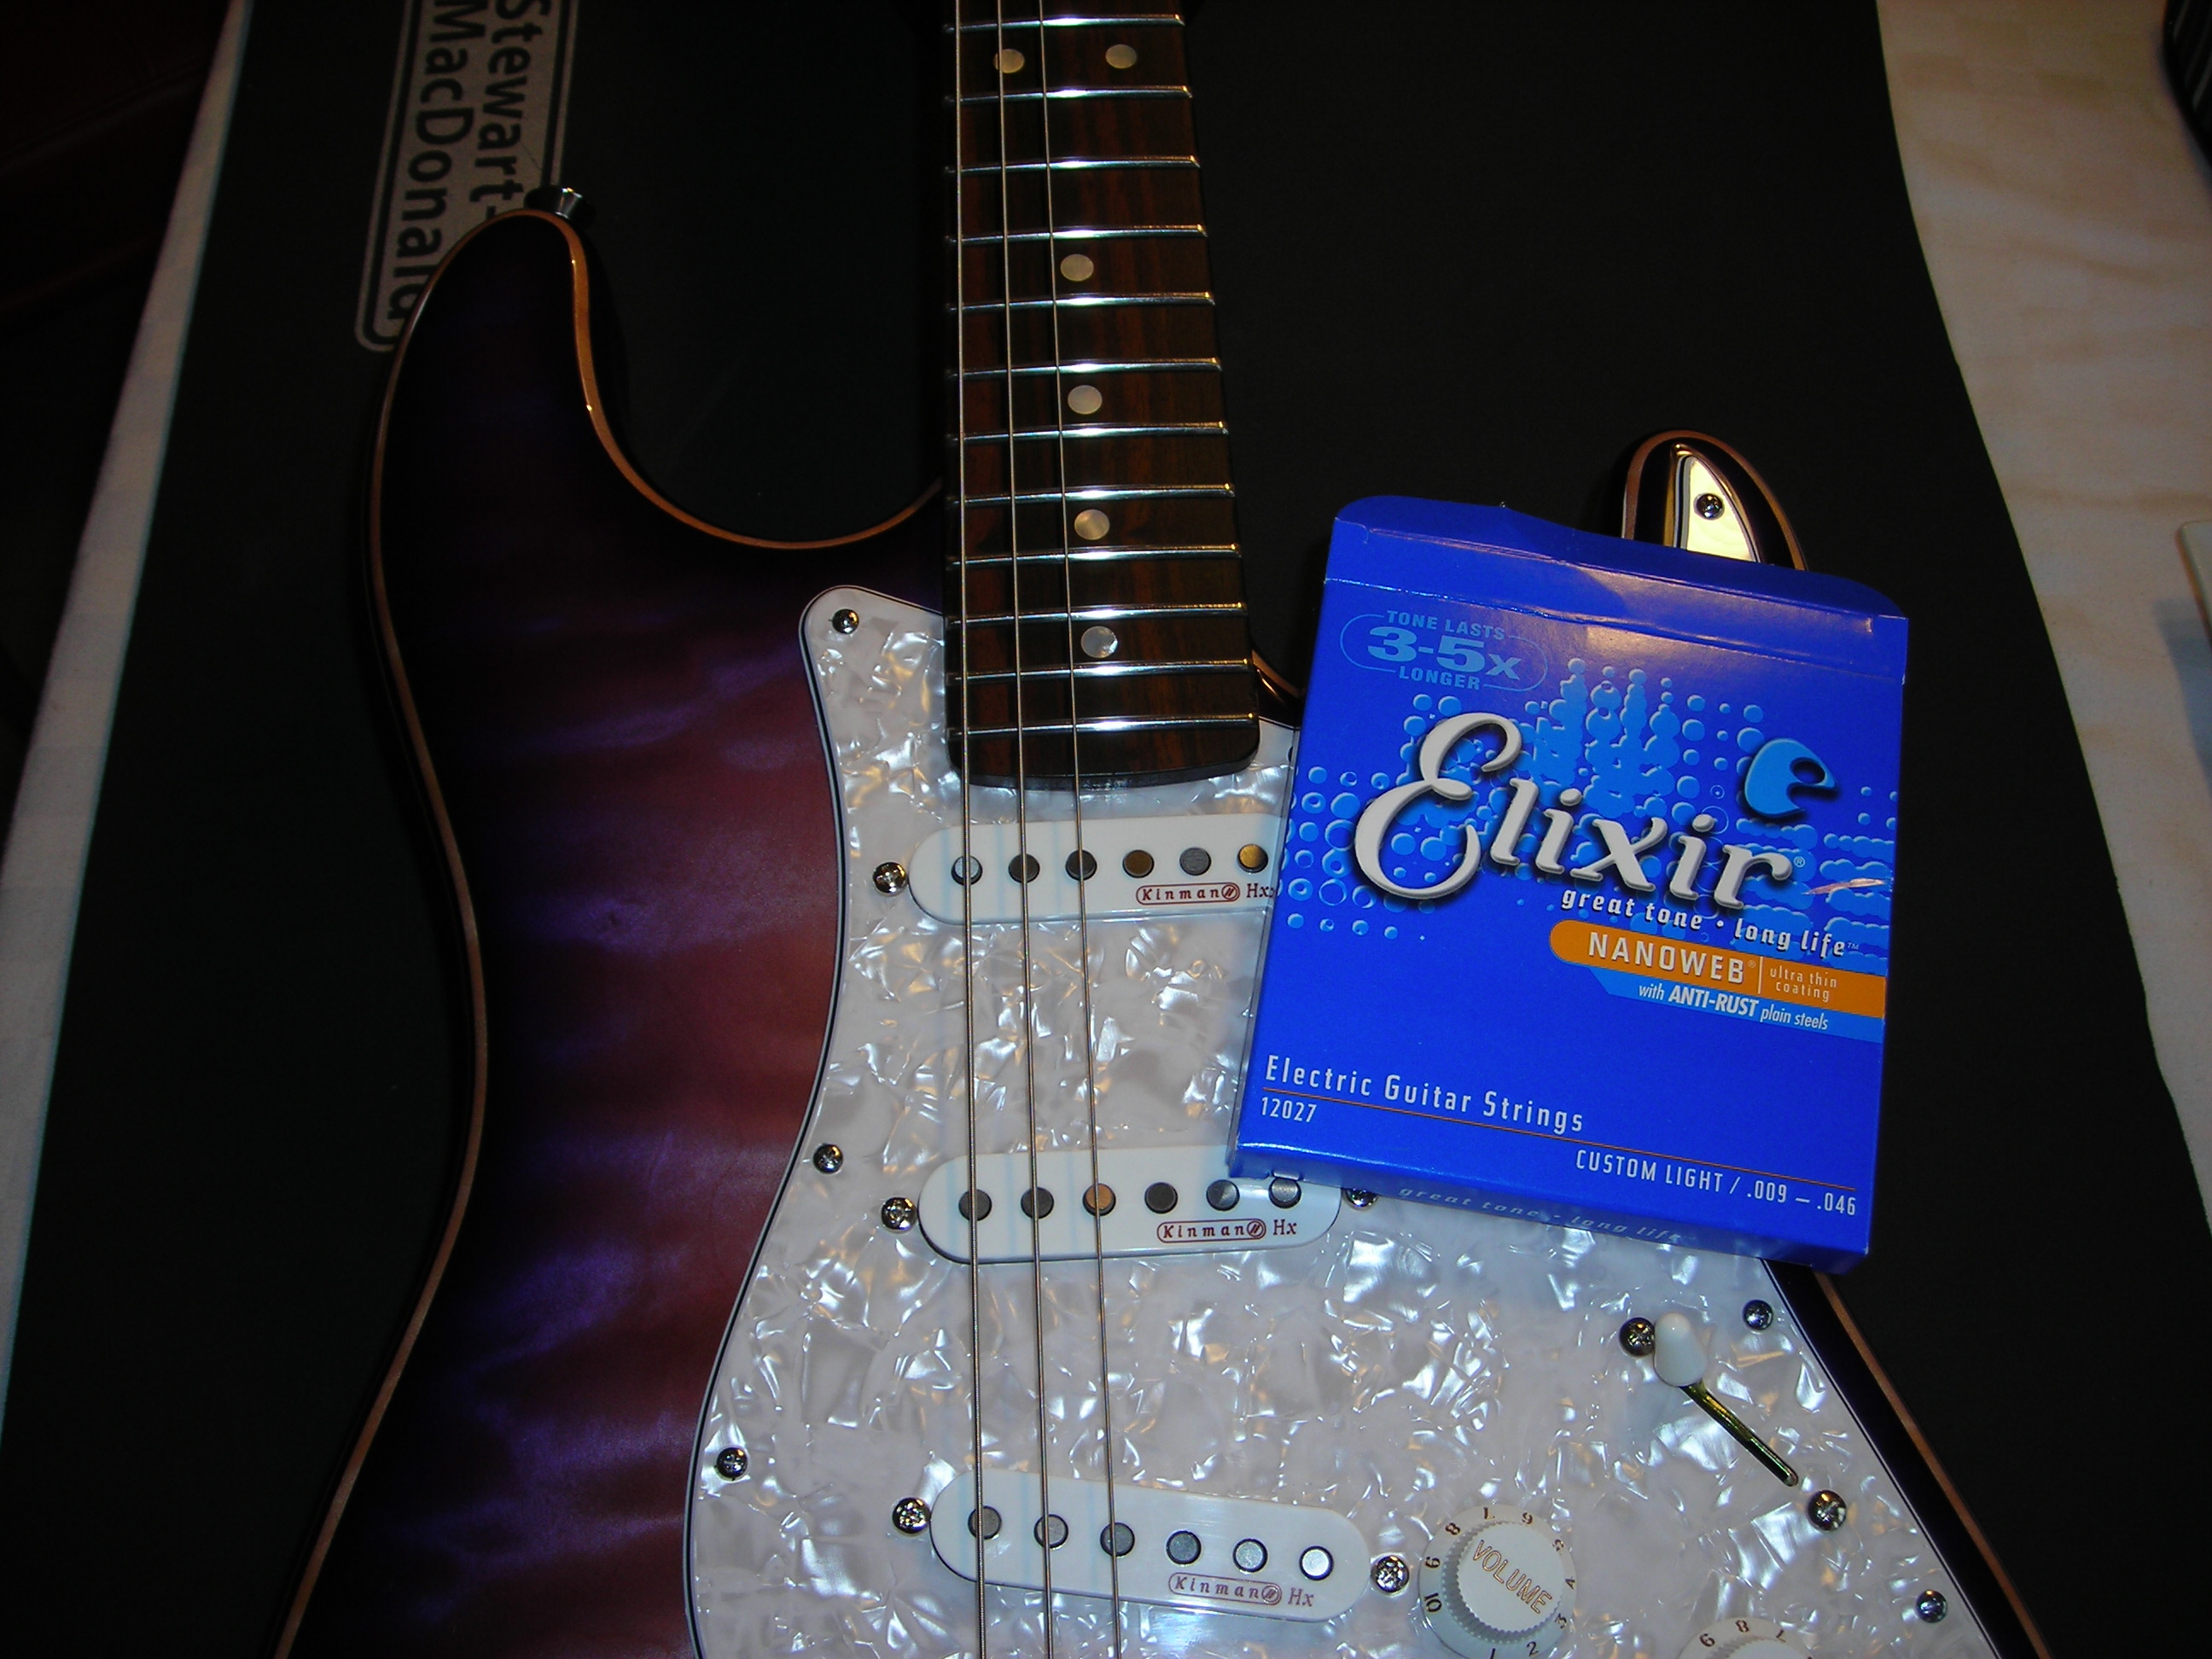
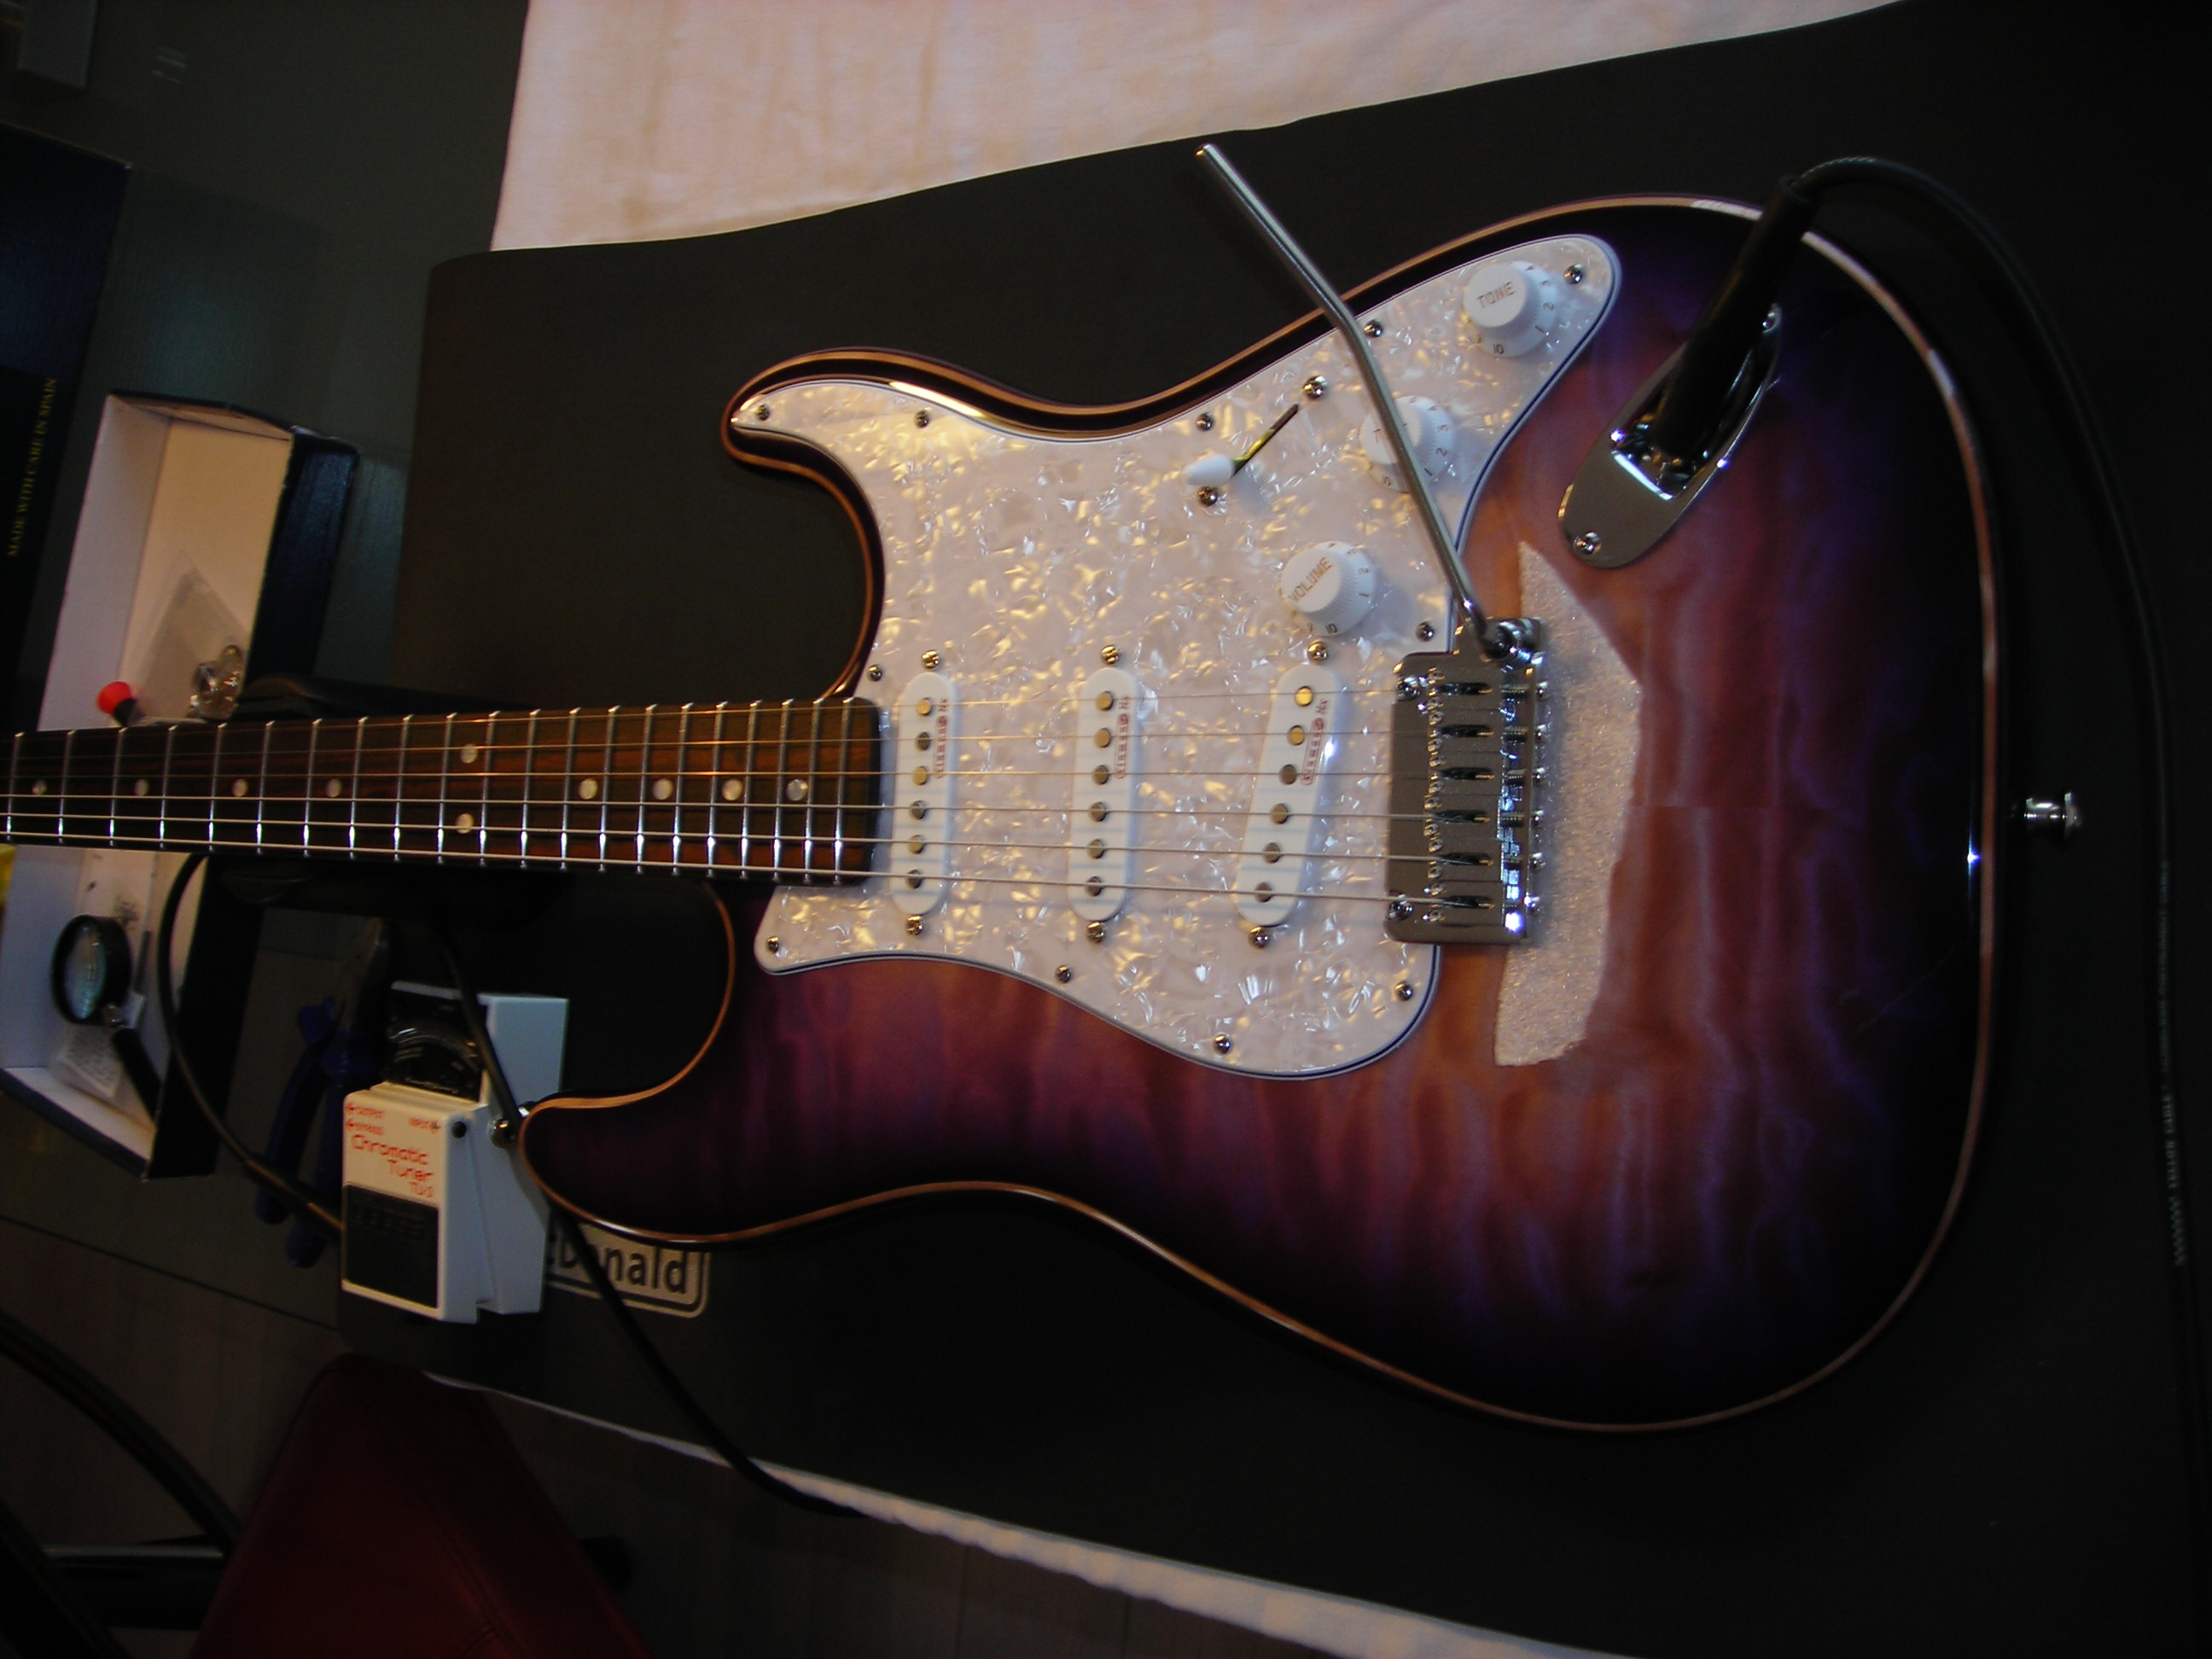
Before I set off on my travels in the last part of the build I had got to the point where I had strings on and could do some initial set ups and intonation and the like.
I had found with the guitar strung up to pitch for the last three weeks or so the neck had settled into just the right amount of relief, this was a good bit of luck, however there were a couple of points that were not quite right.
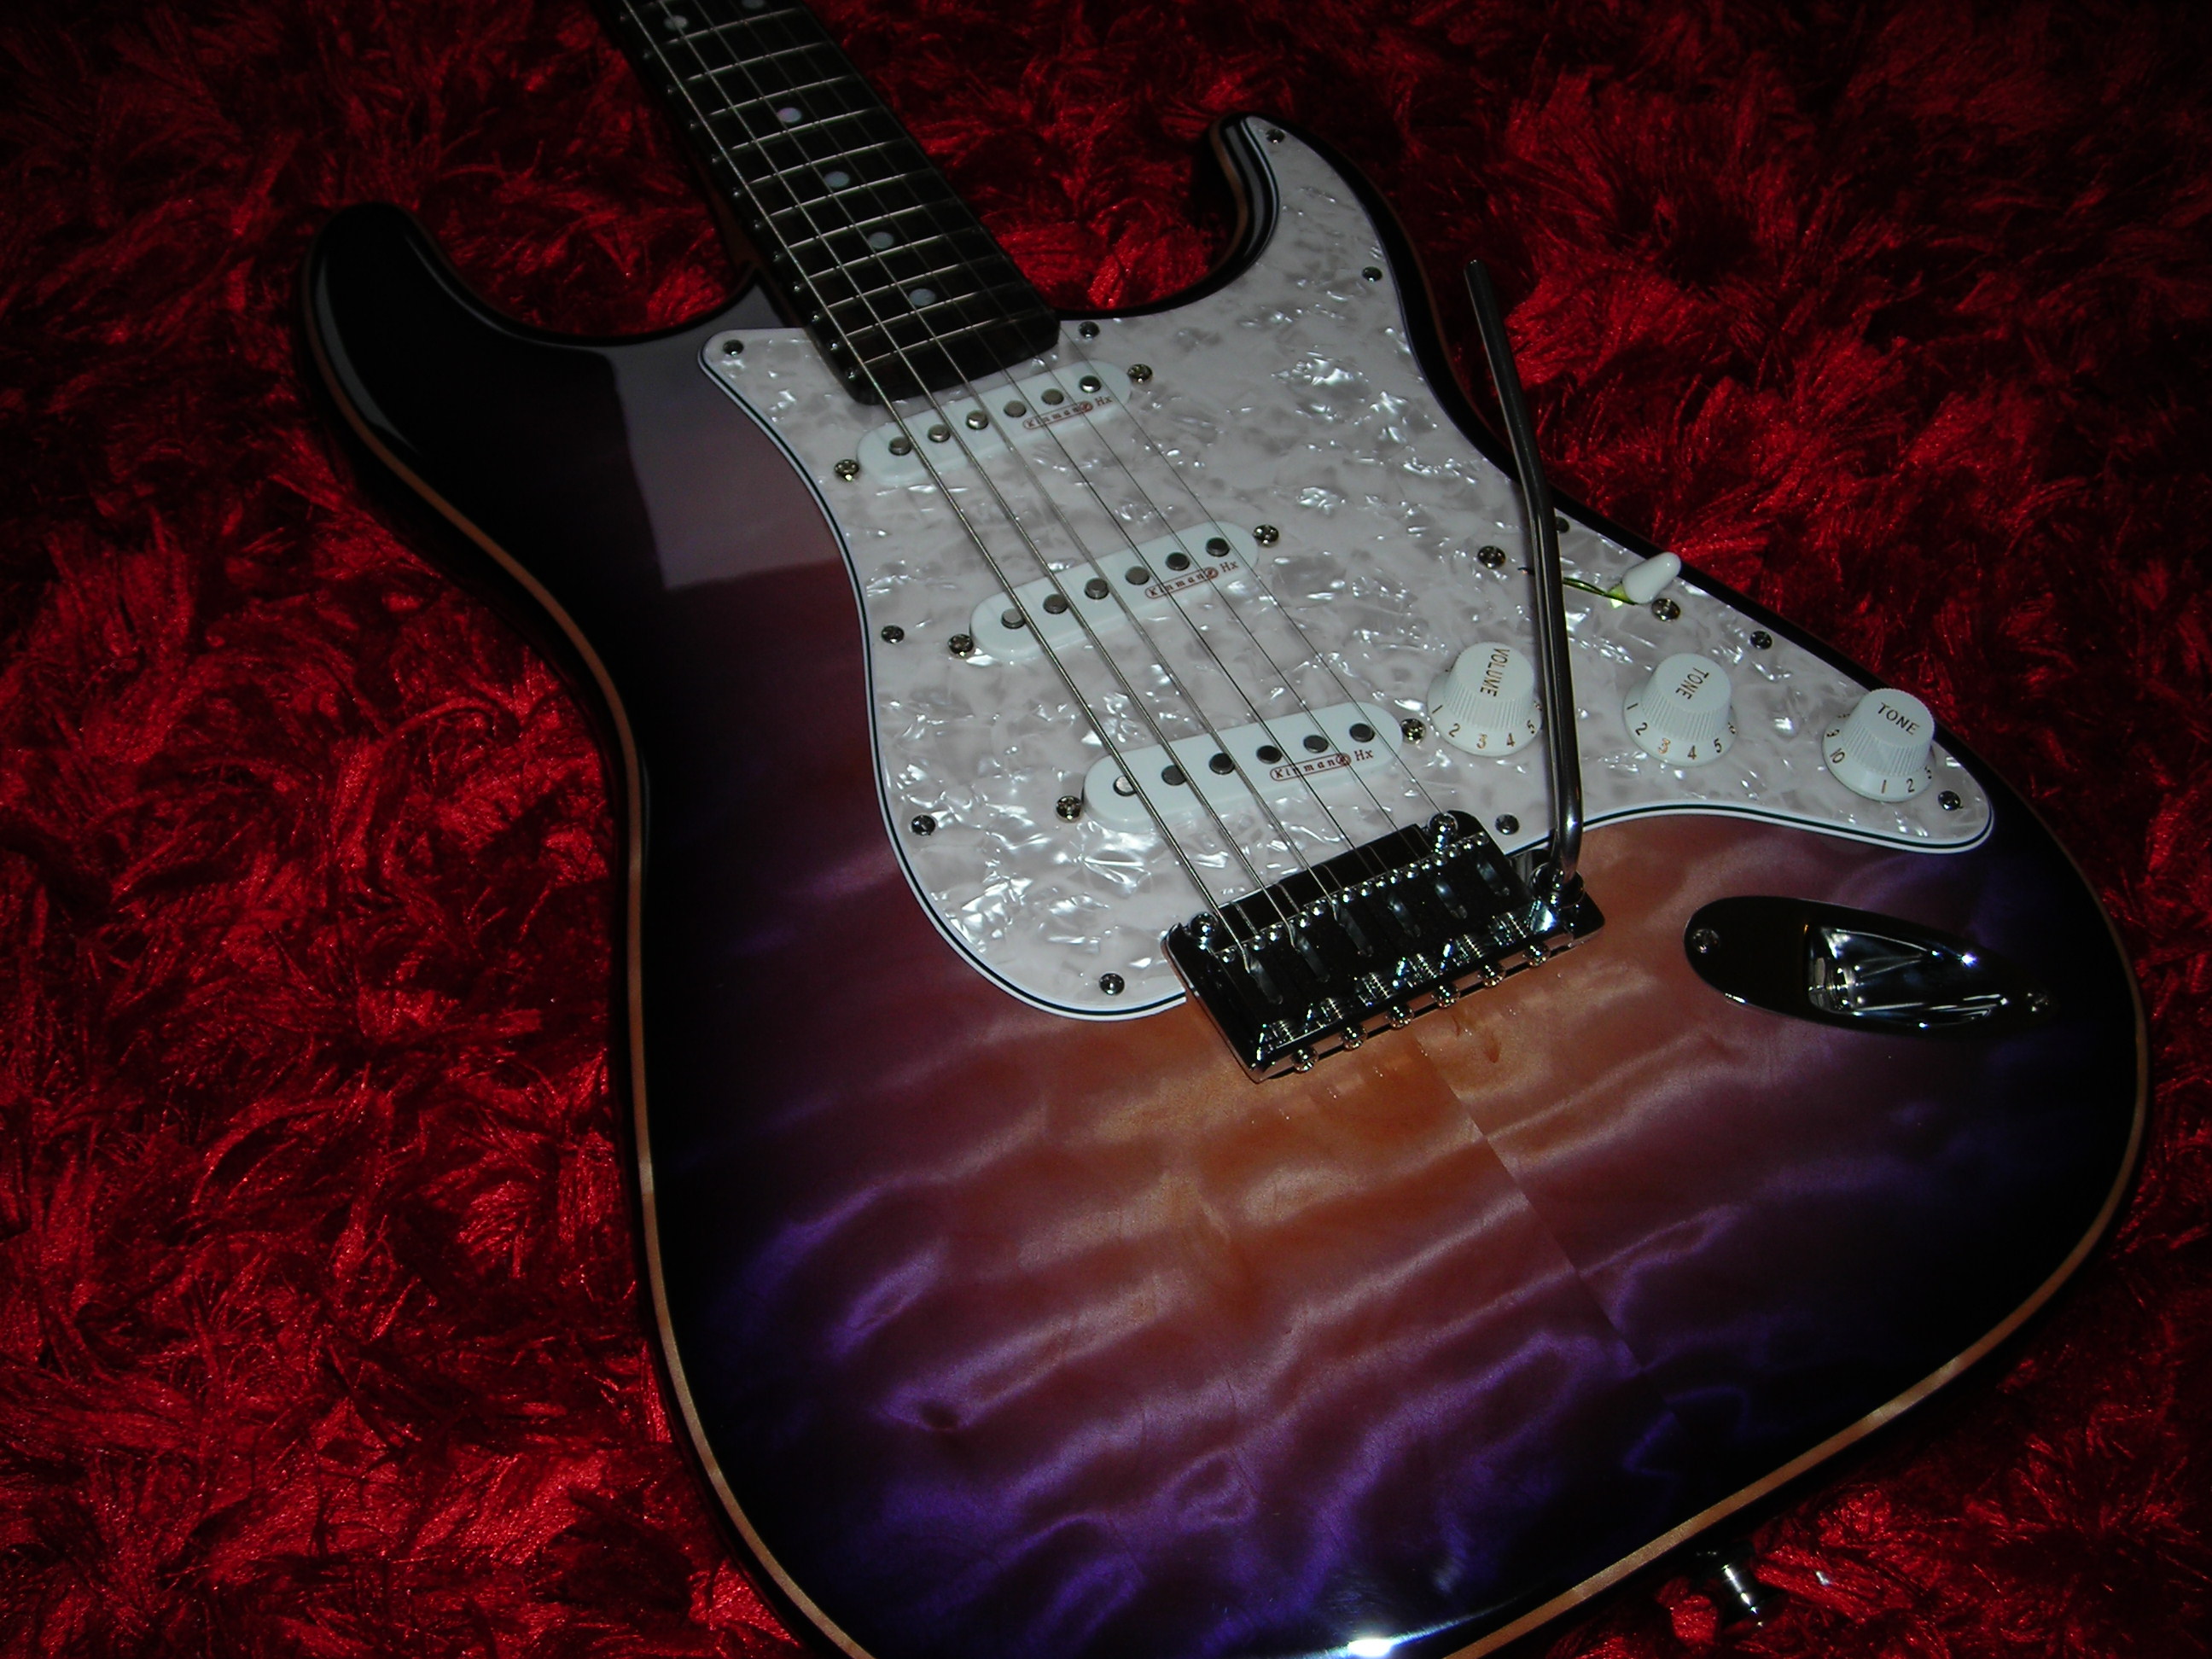
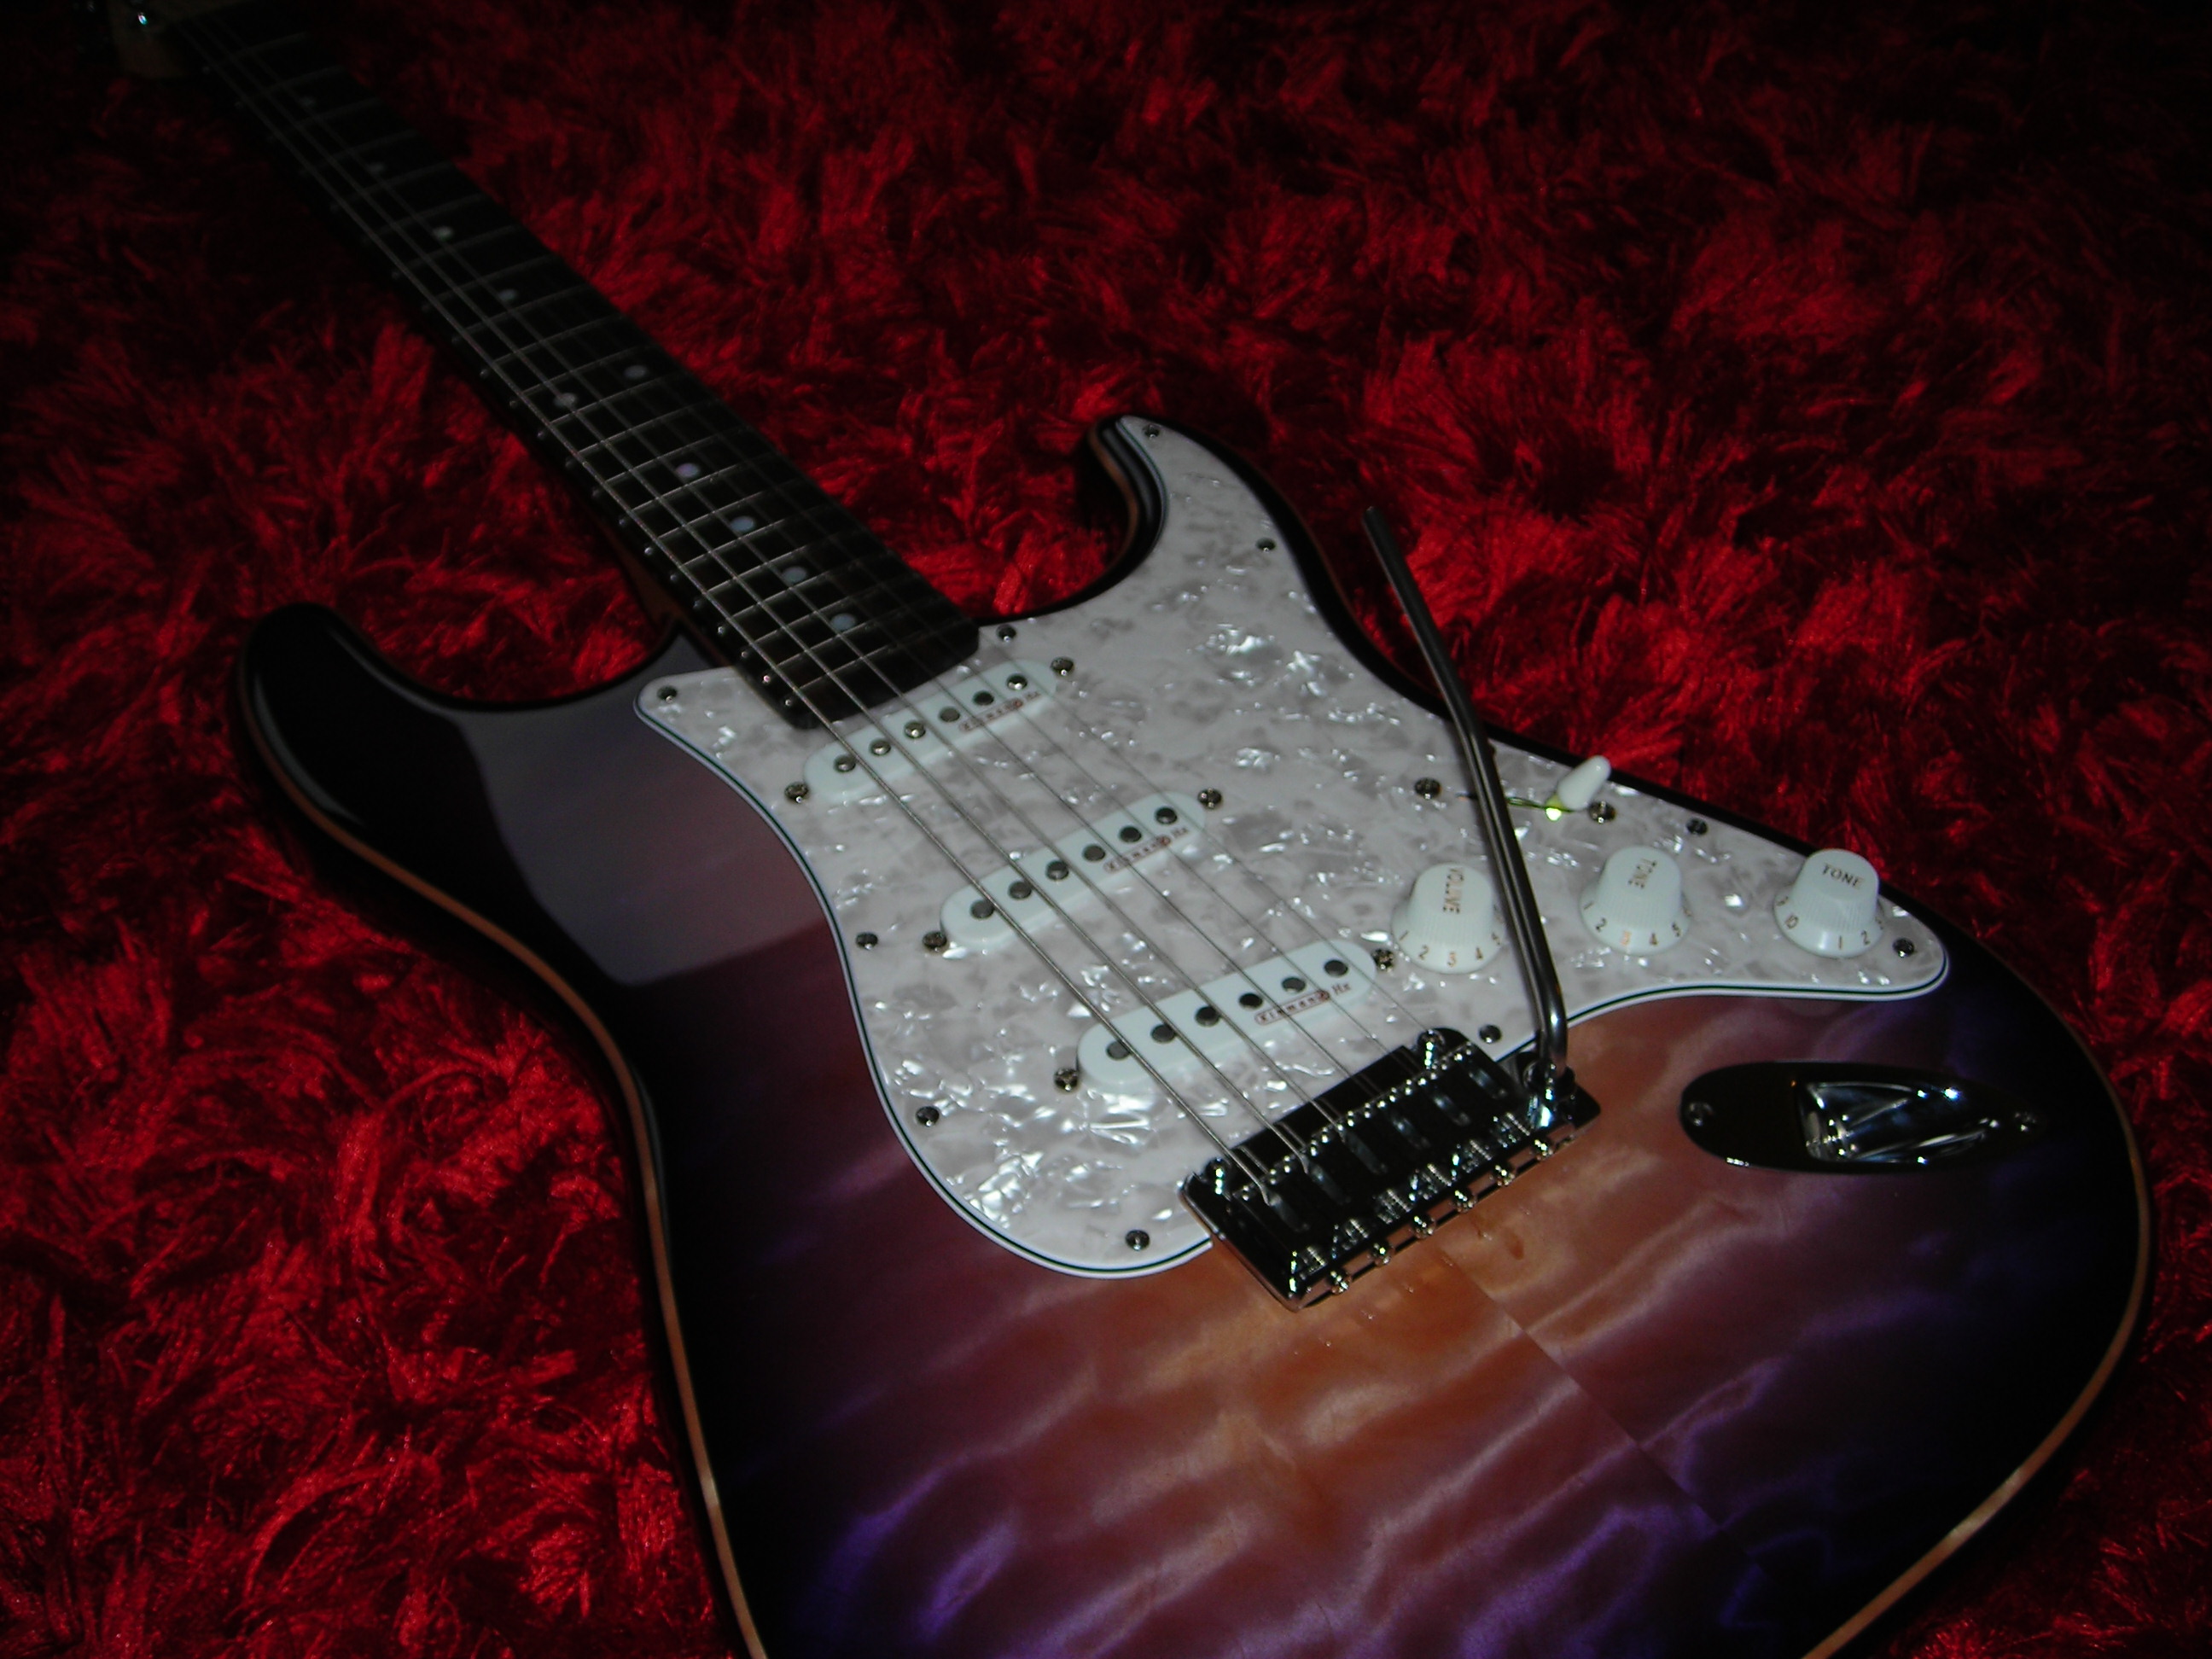
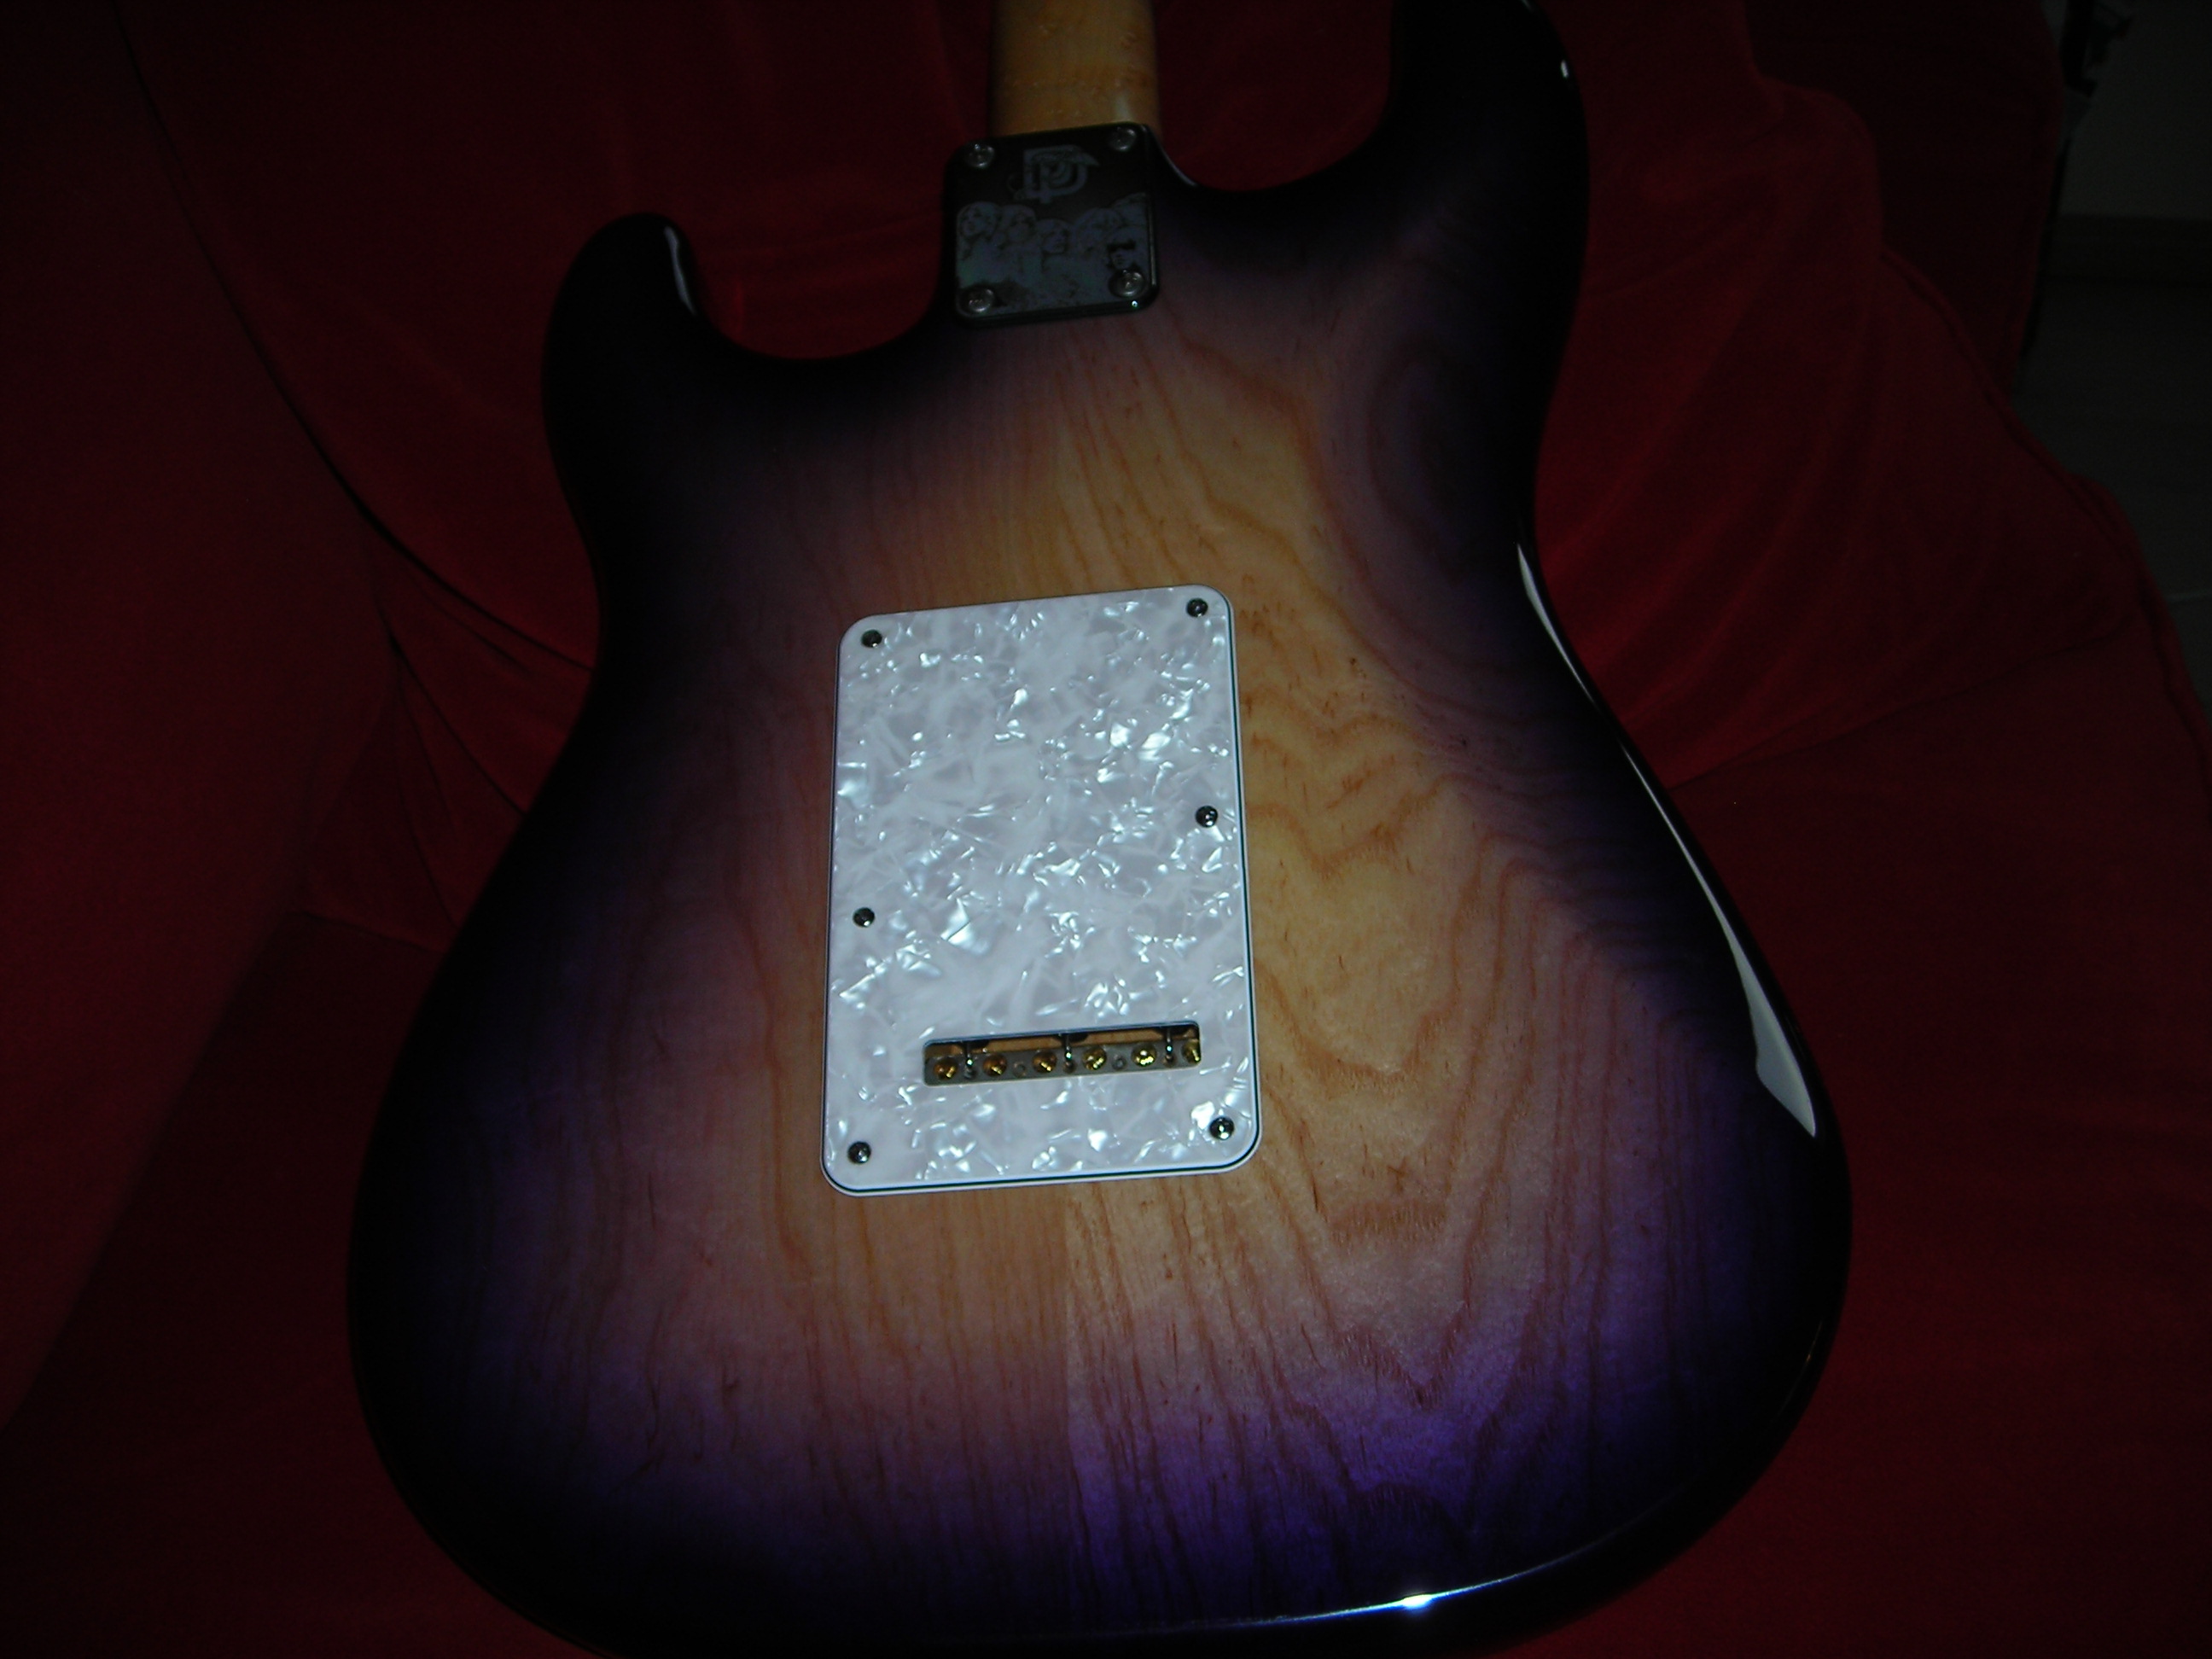
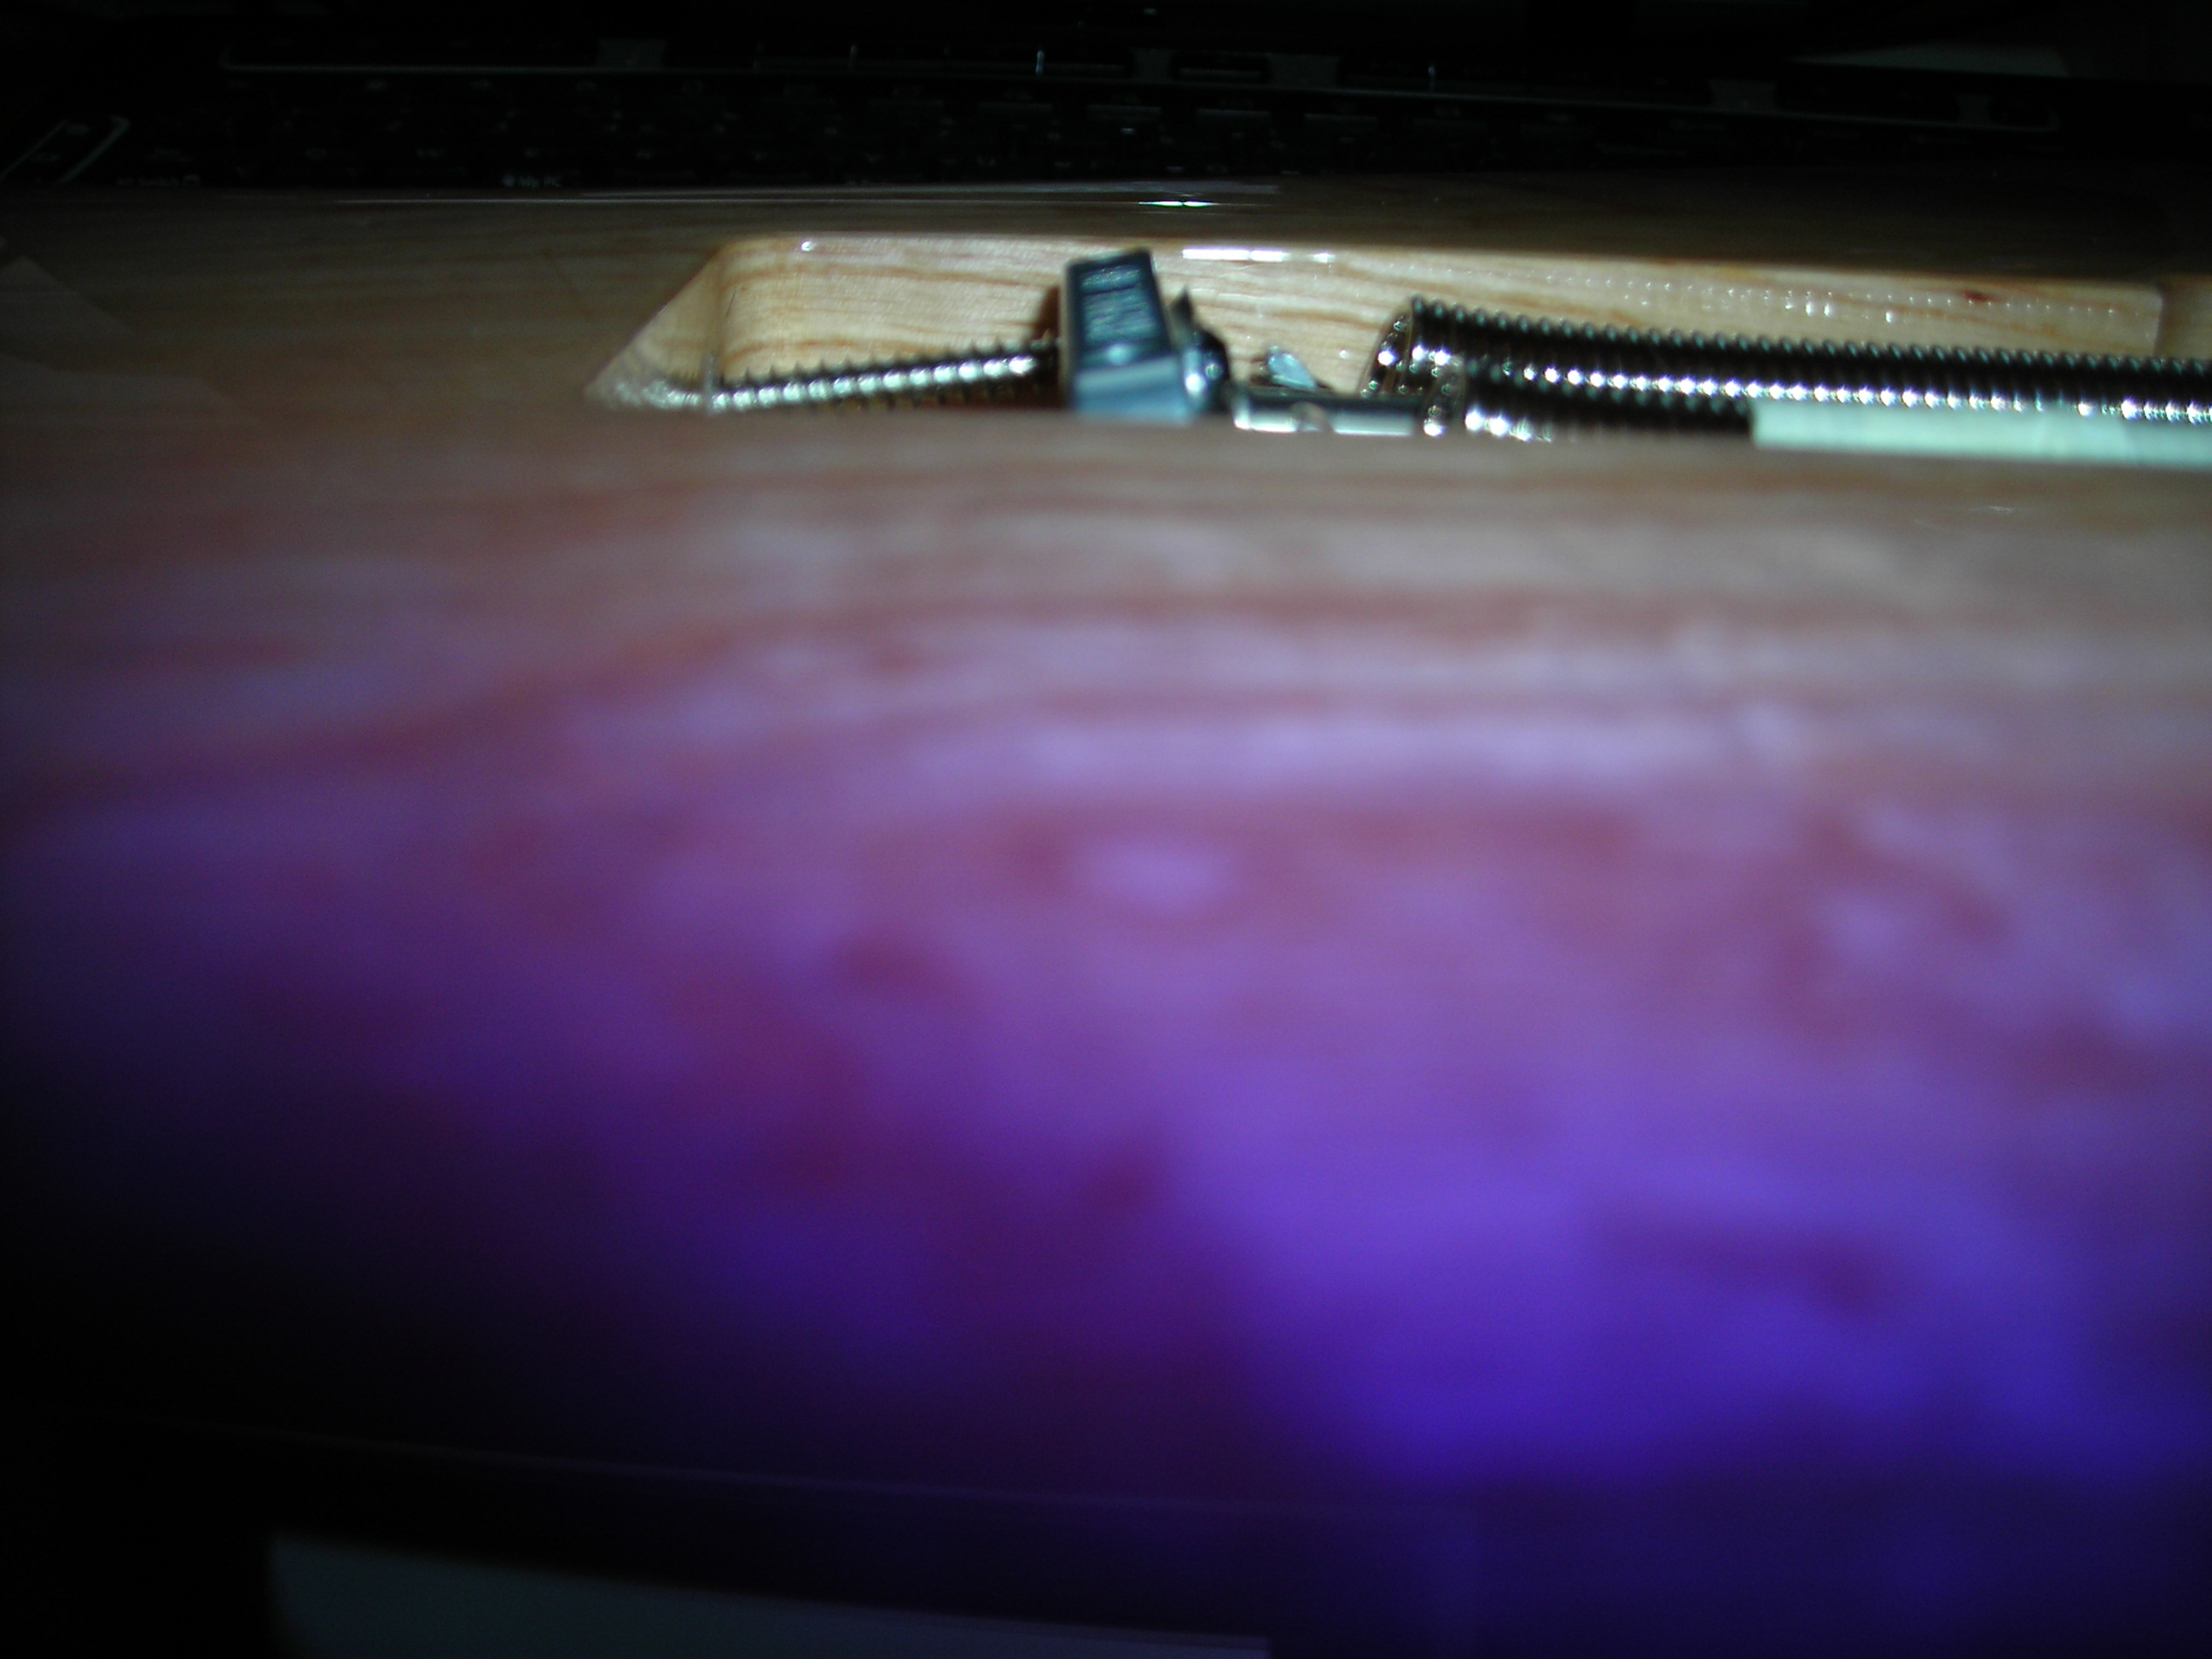
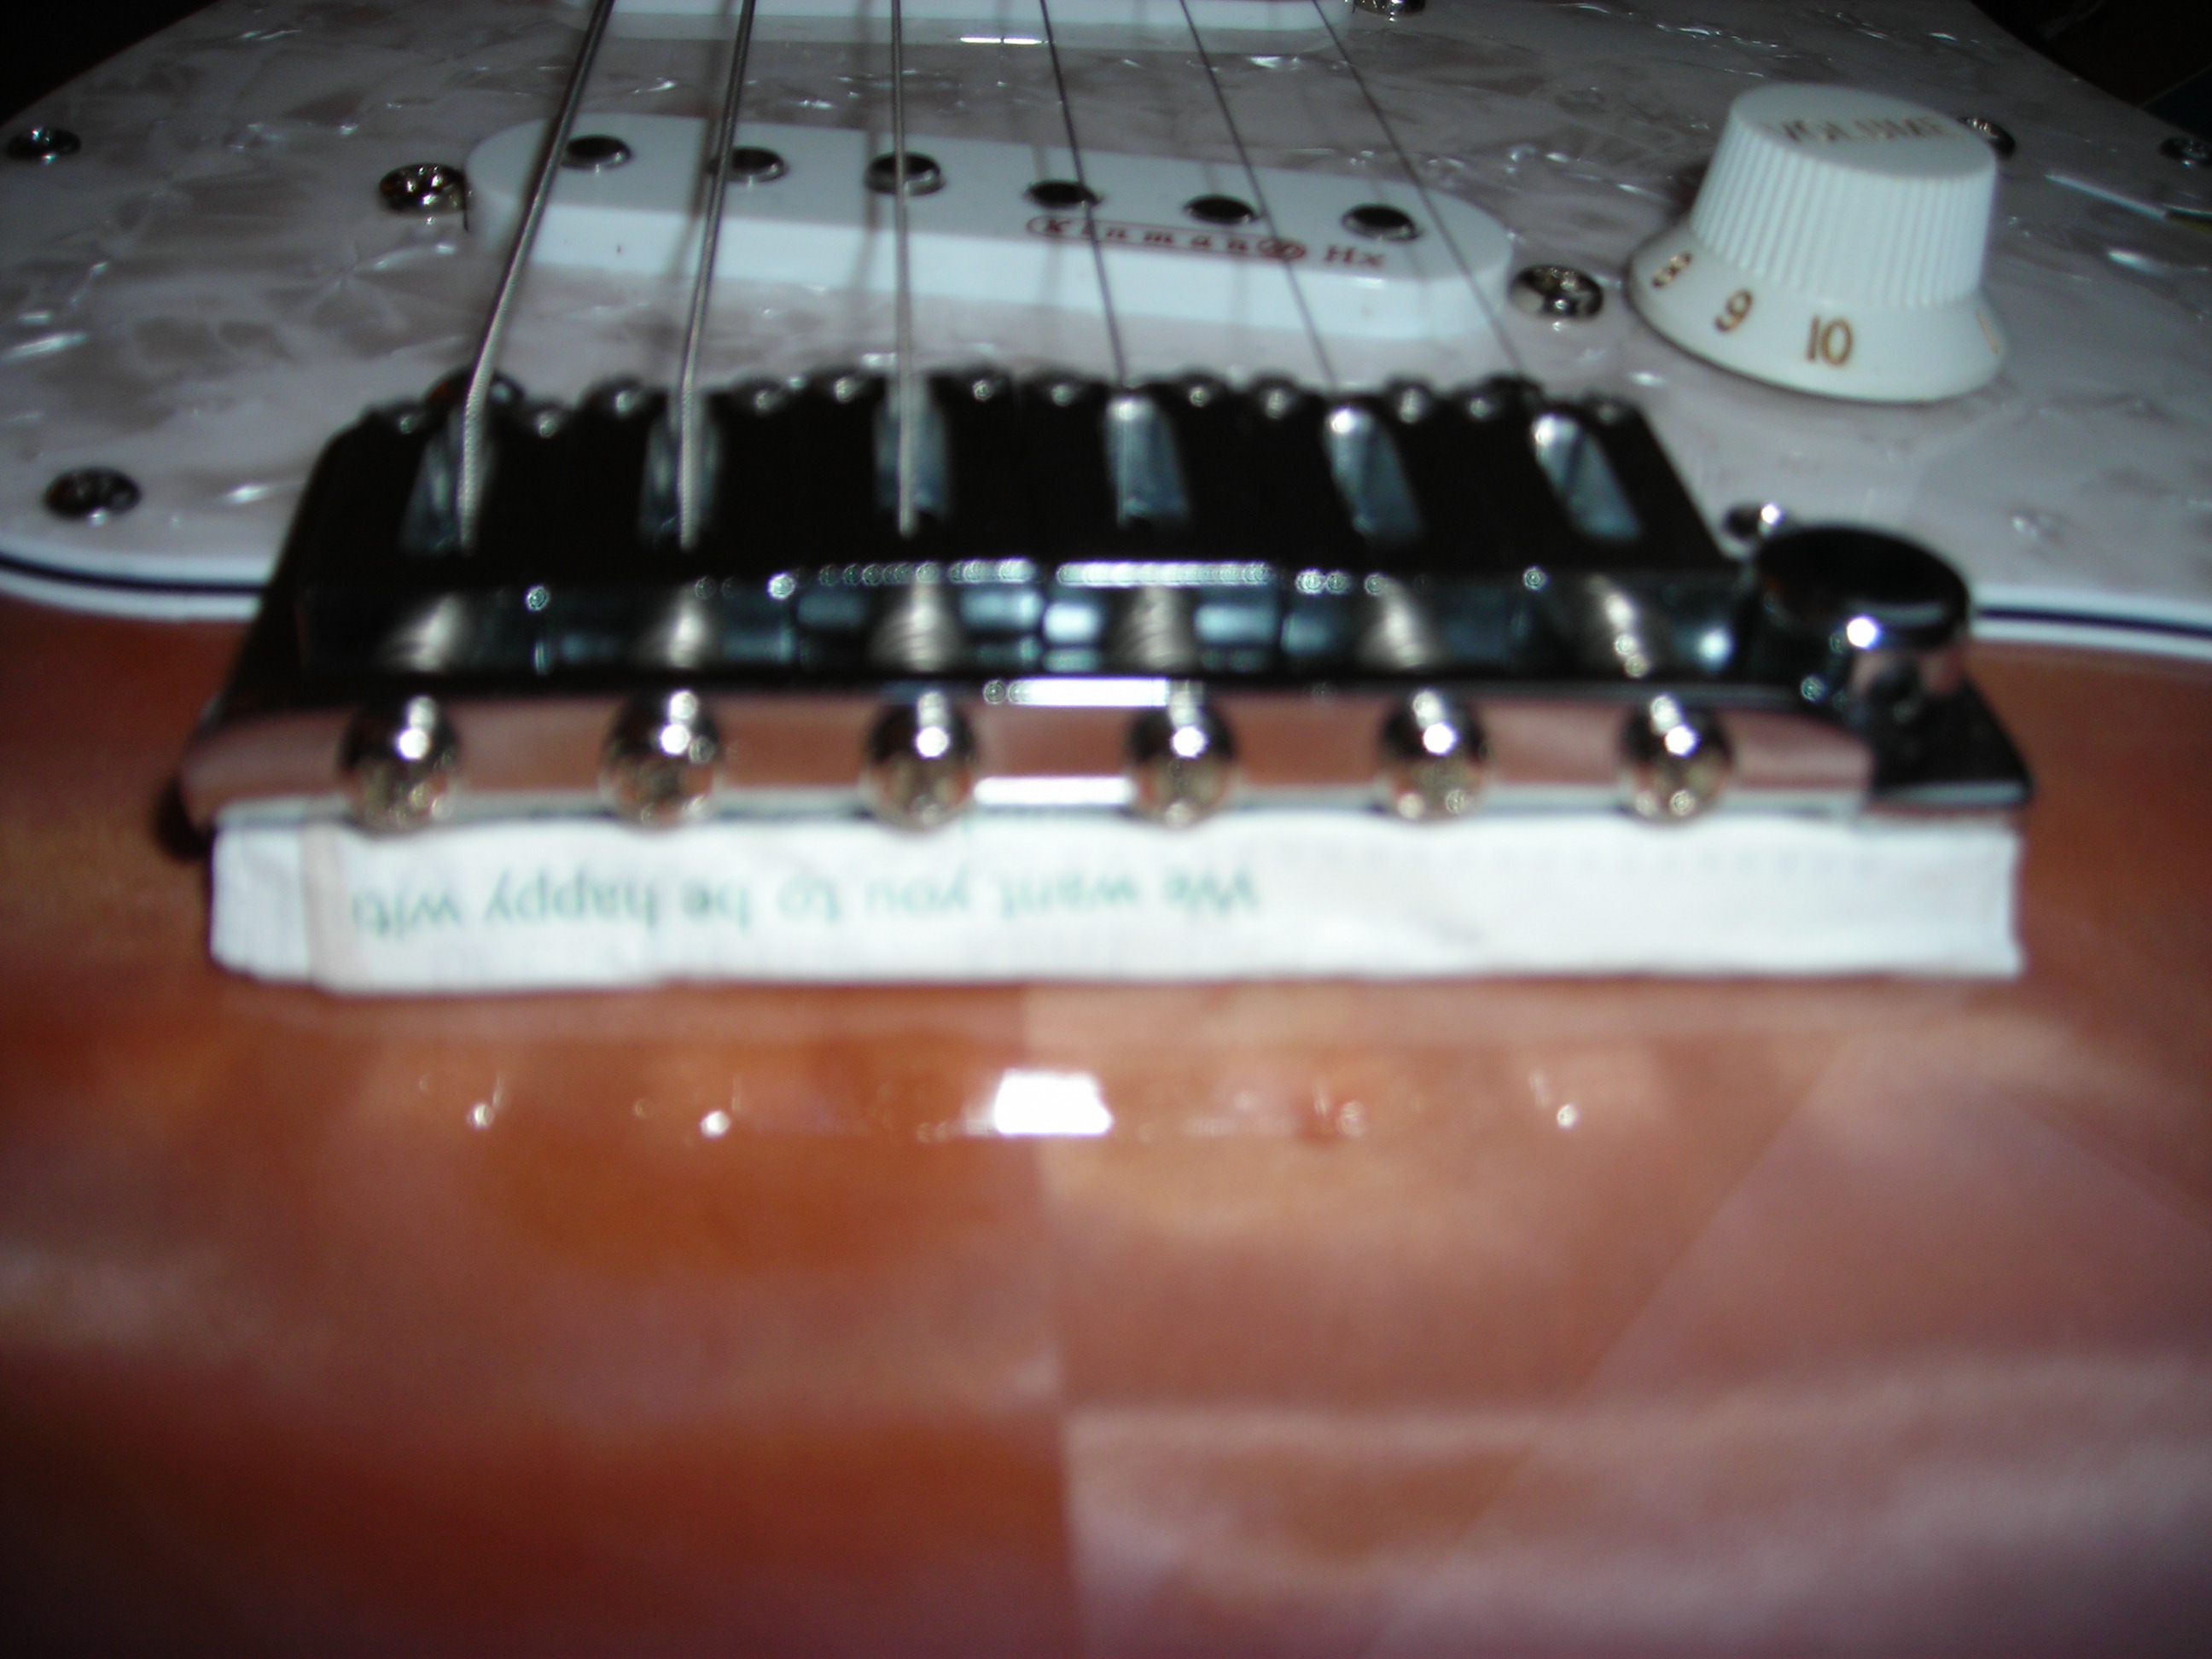
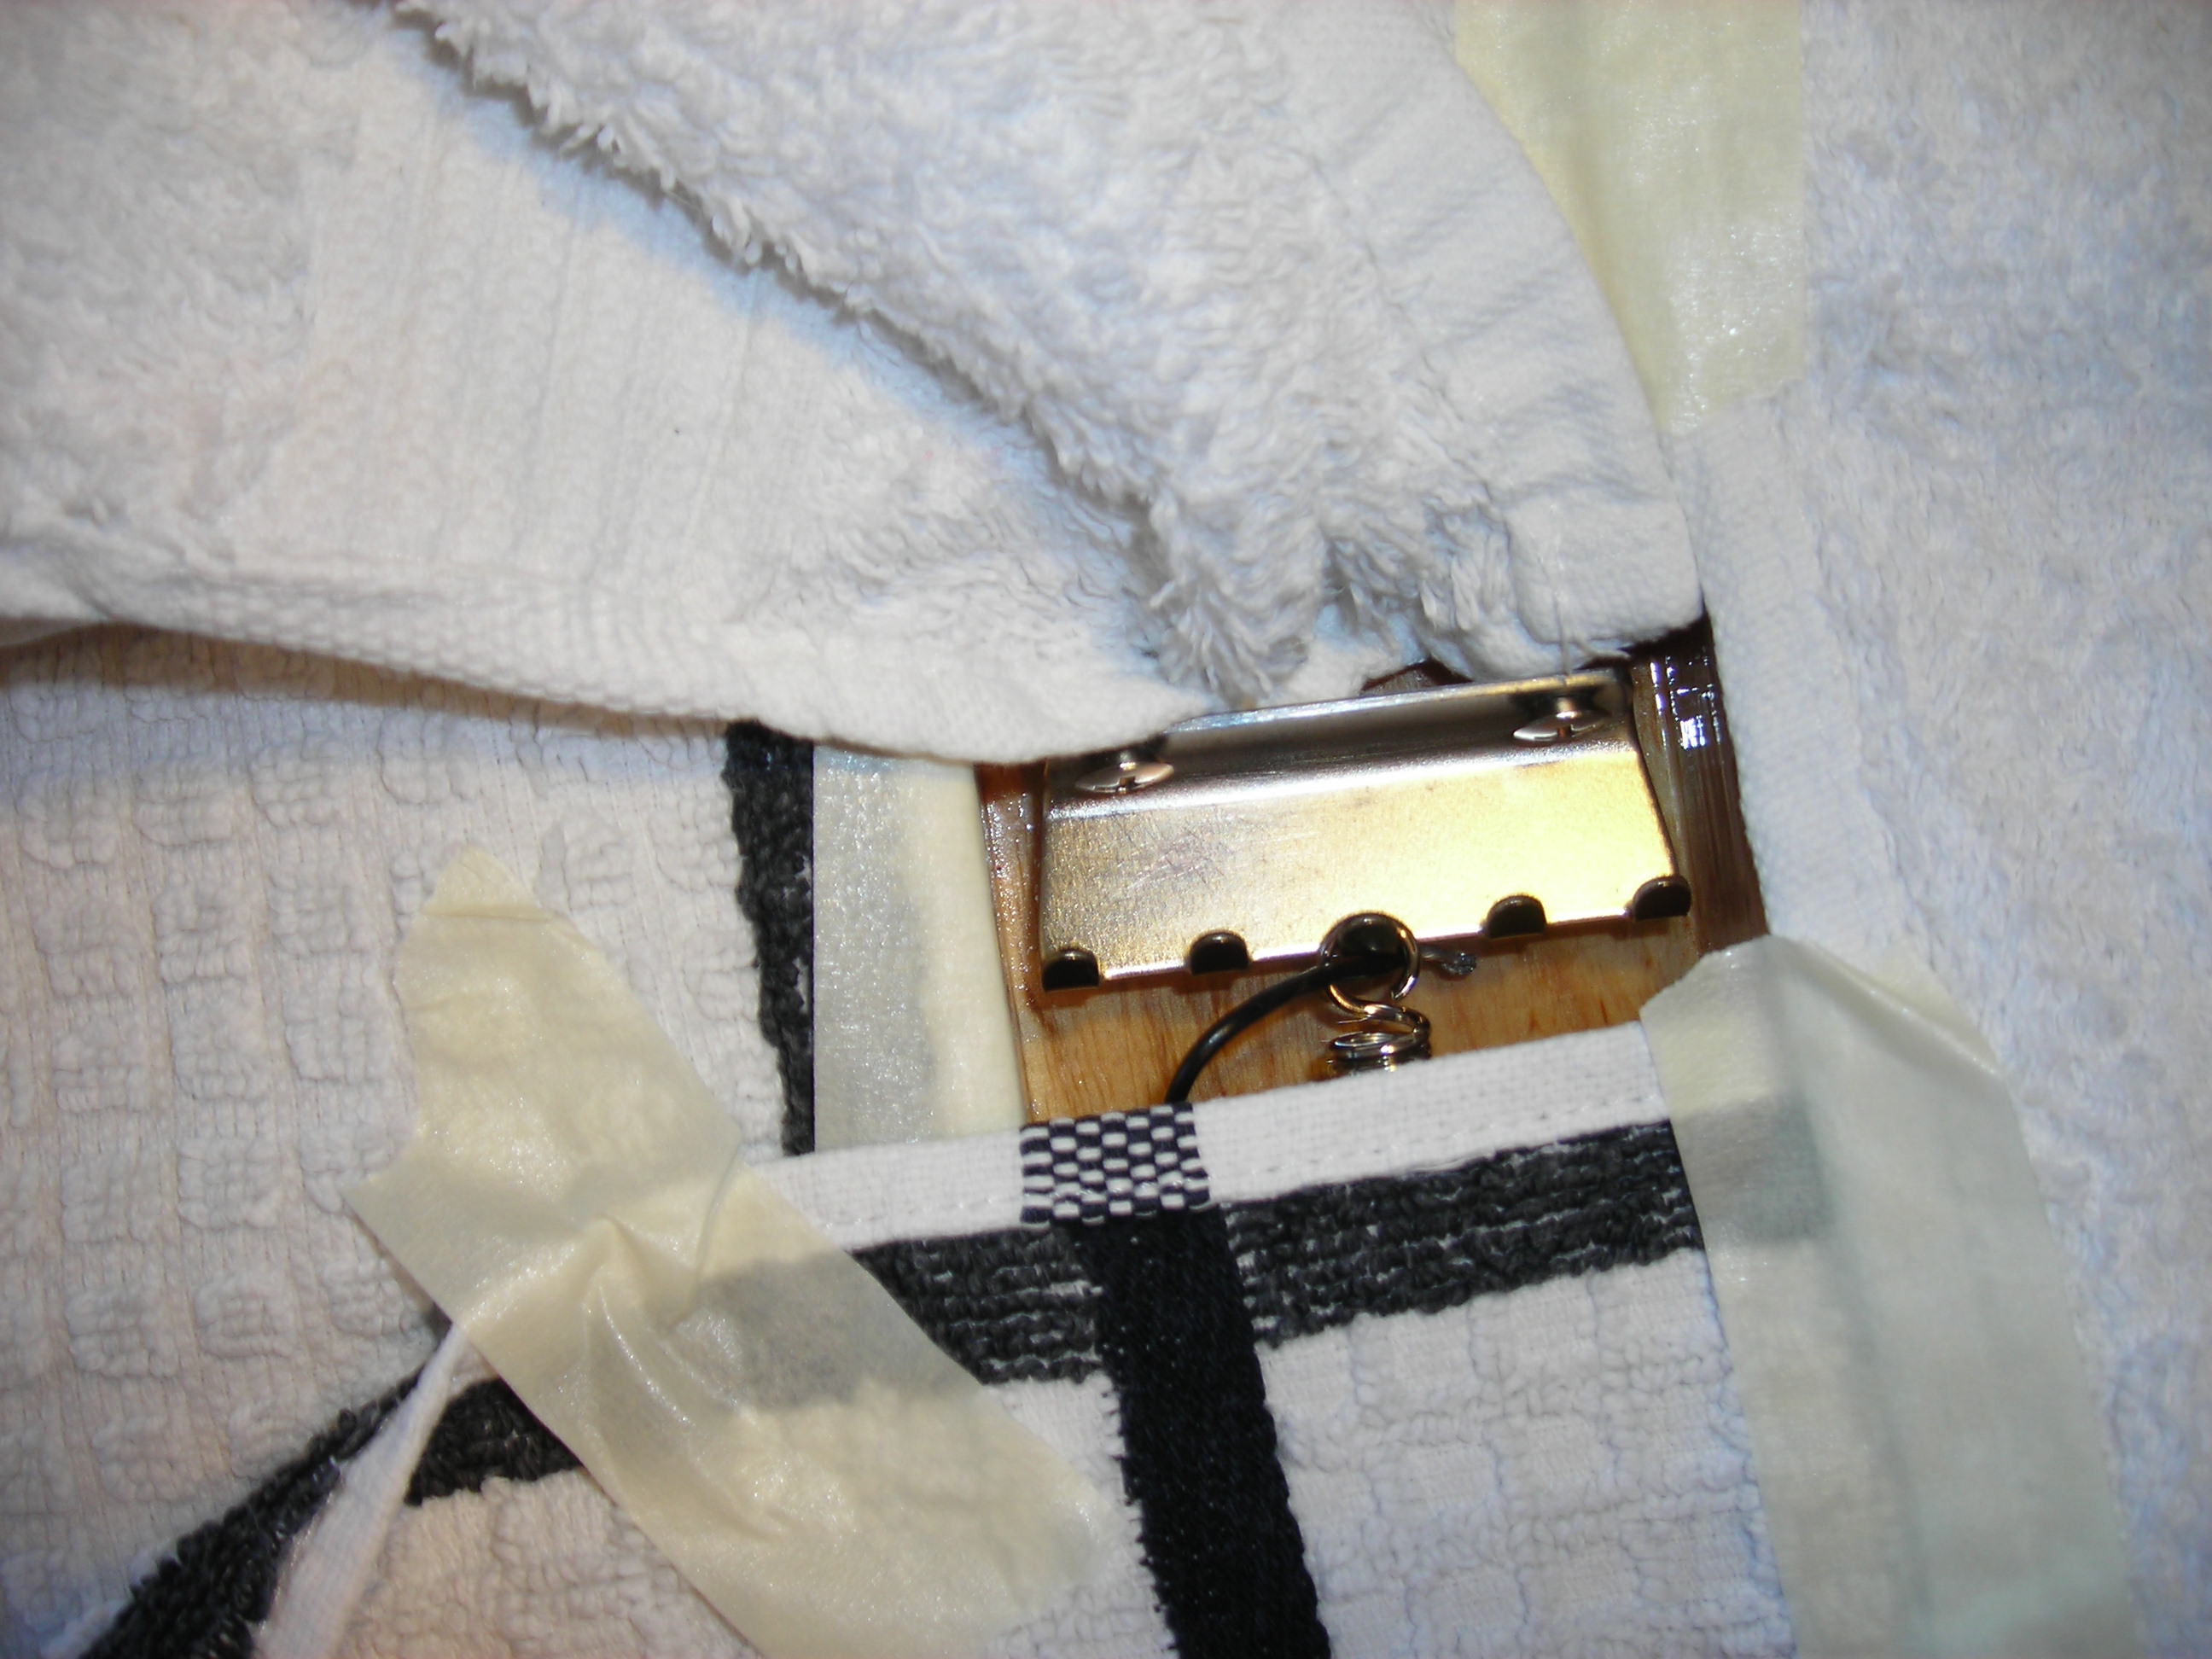
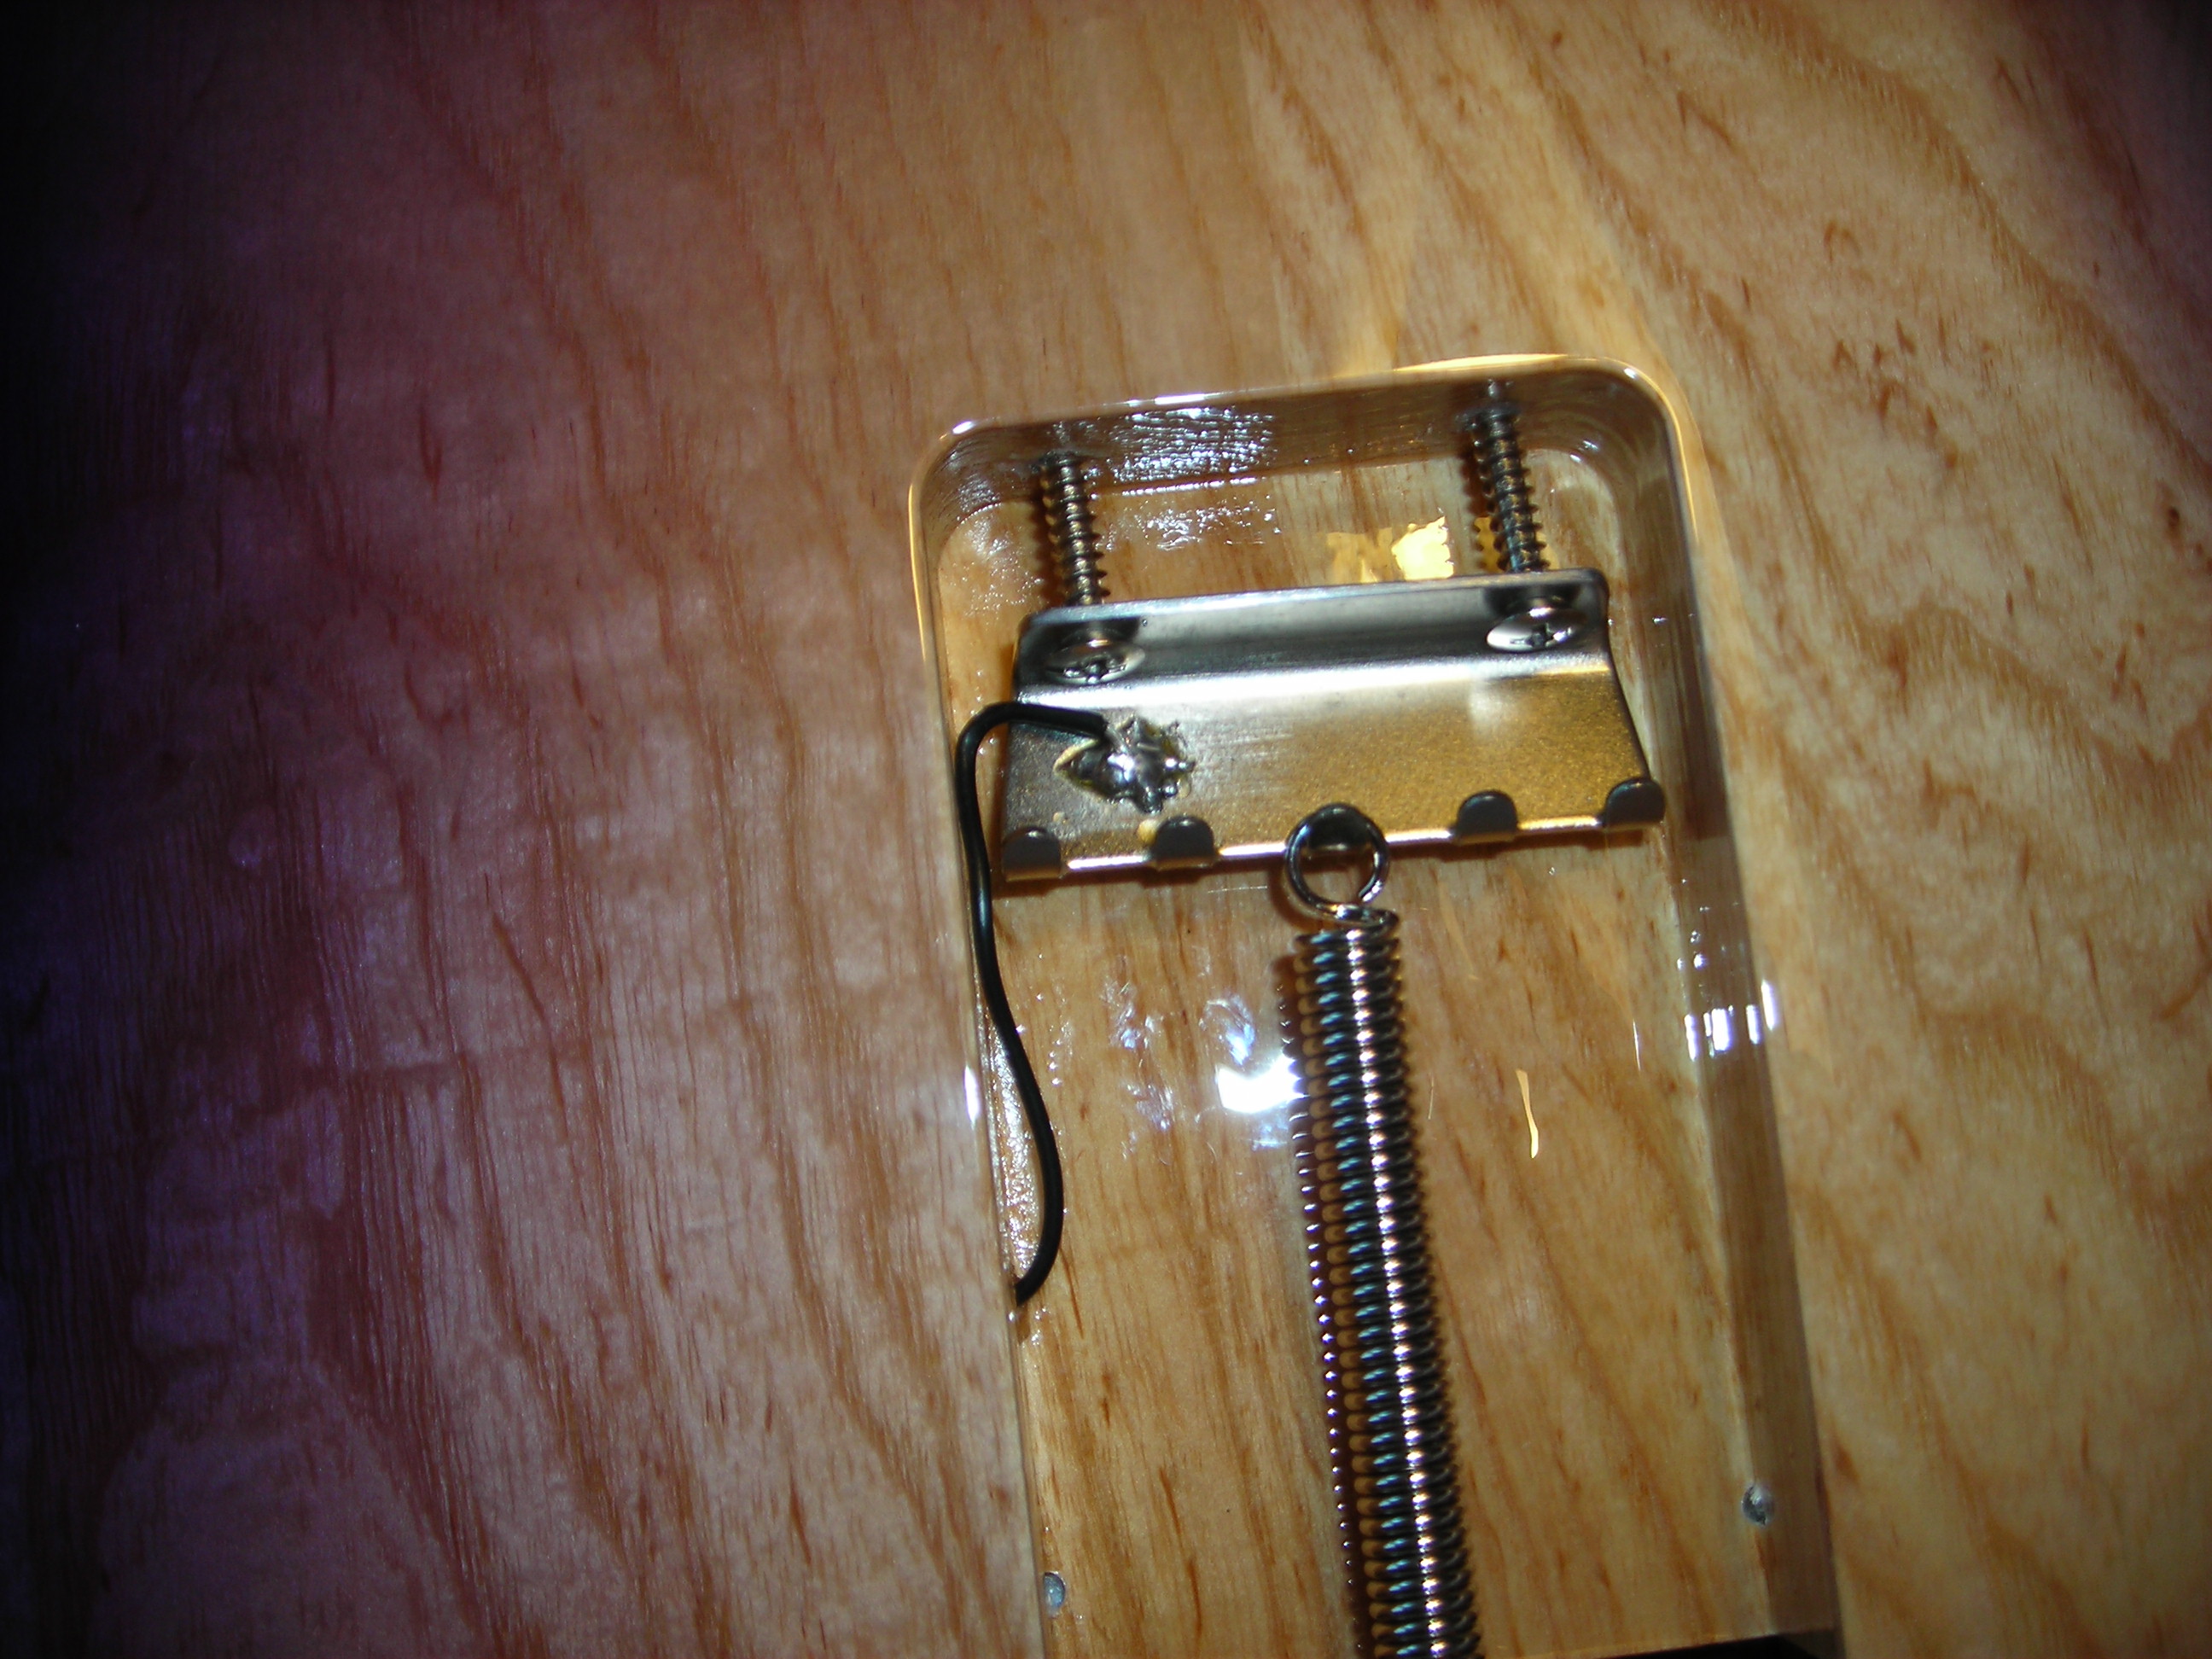
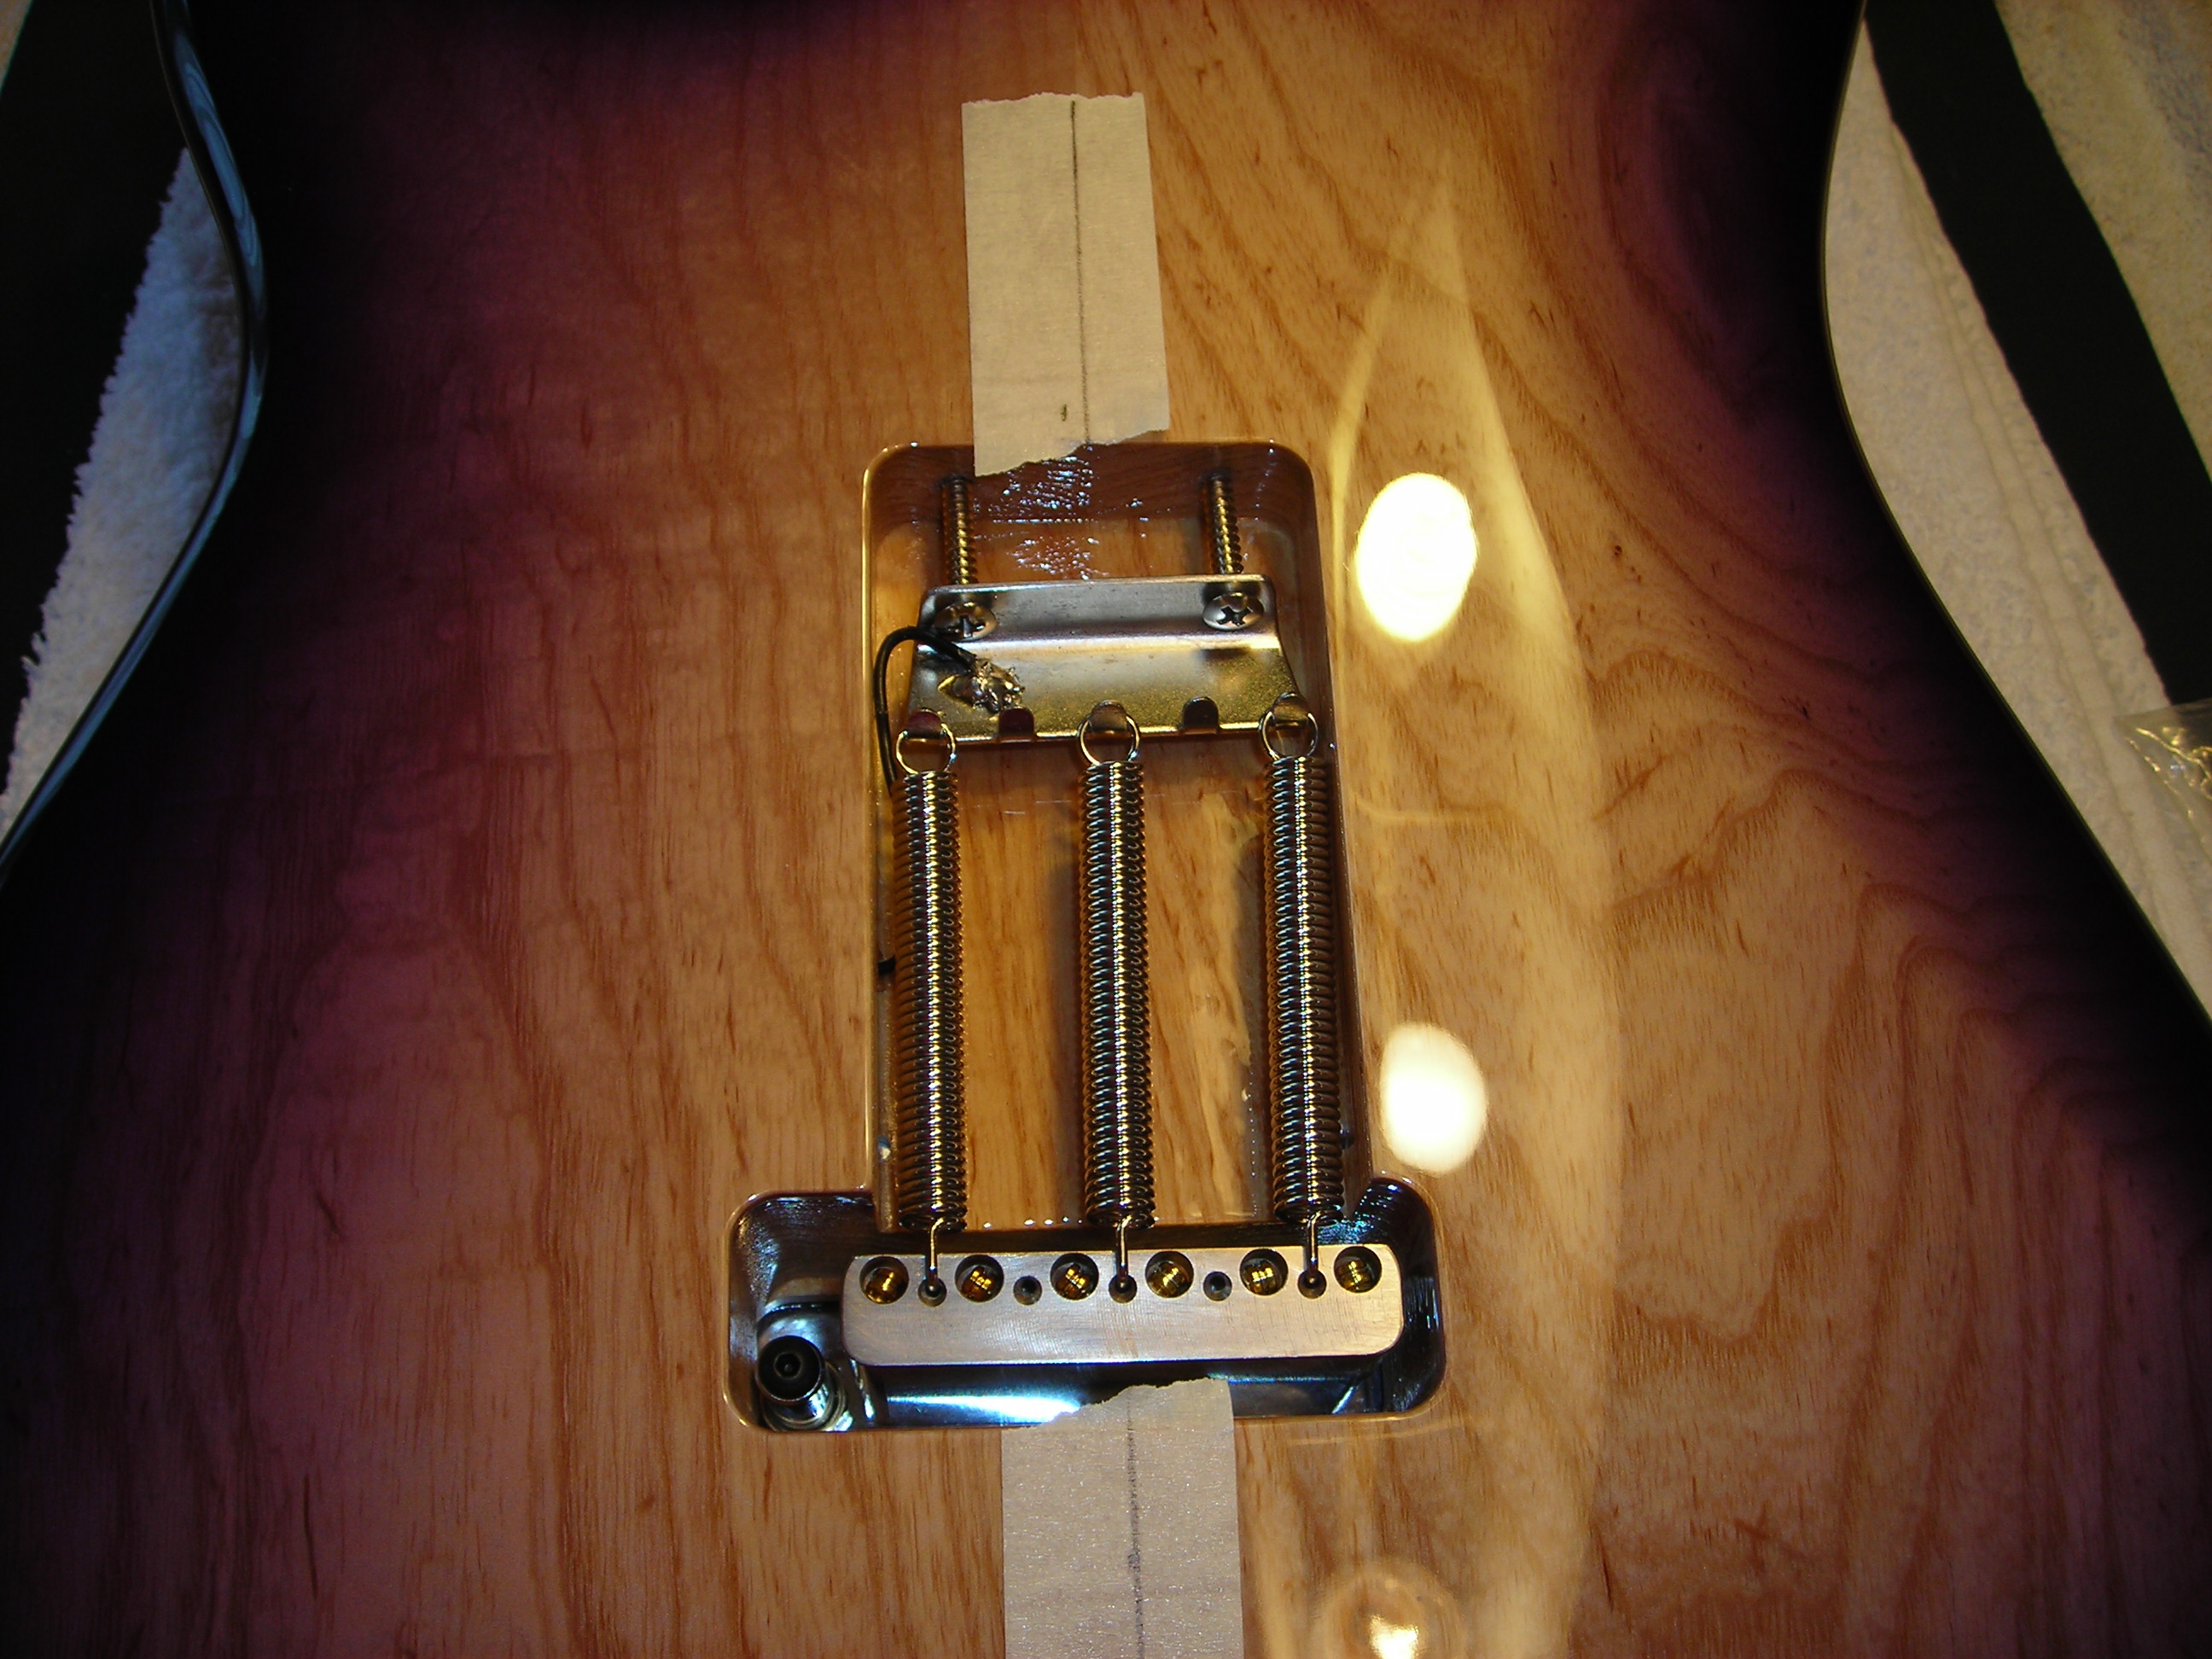
If you take a look at this photo it may be possible to see that the Tremel-No Claw is slightly proud of the trem cavity by about 1- 2mm meaning a backplate would not sit flush. Even if a backplate was not used I did not like the idea of something being proud of the body however slight.
 Metal_Work_2
 by
stratamania, on Flickr
Although the holes were predrilled and I pre-threaded the tremolo claw screws very carefully for whatever reason the situation is as it was. I looked around and found I was not the first to encounter this "Strat tremolo claw problem" http://unofficialwarmoth.com/index.php?topic=17241.0 I didn't get around to having a look inside one of my Fenders, as I am wondering if the claws they make are slightly smaller which may account for why this may have happened.
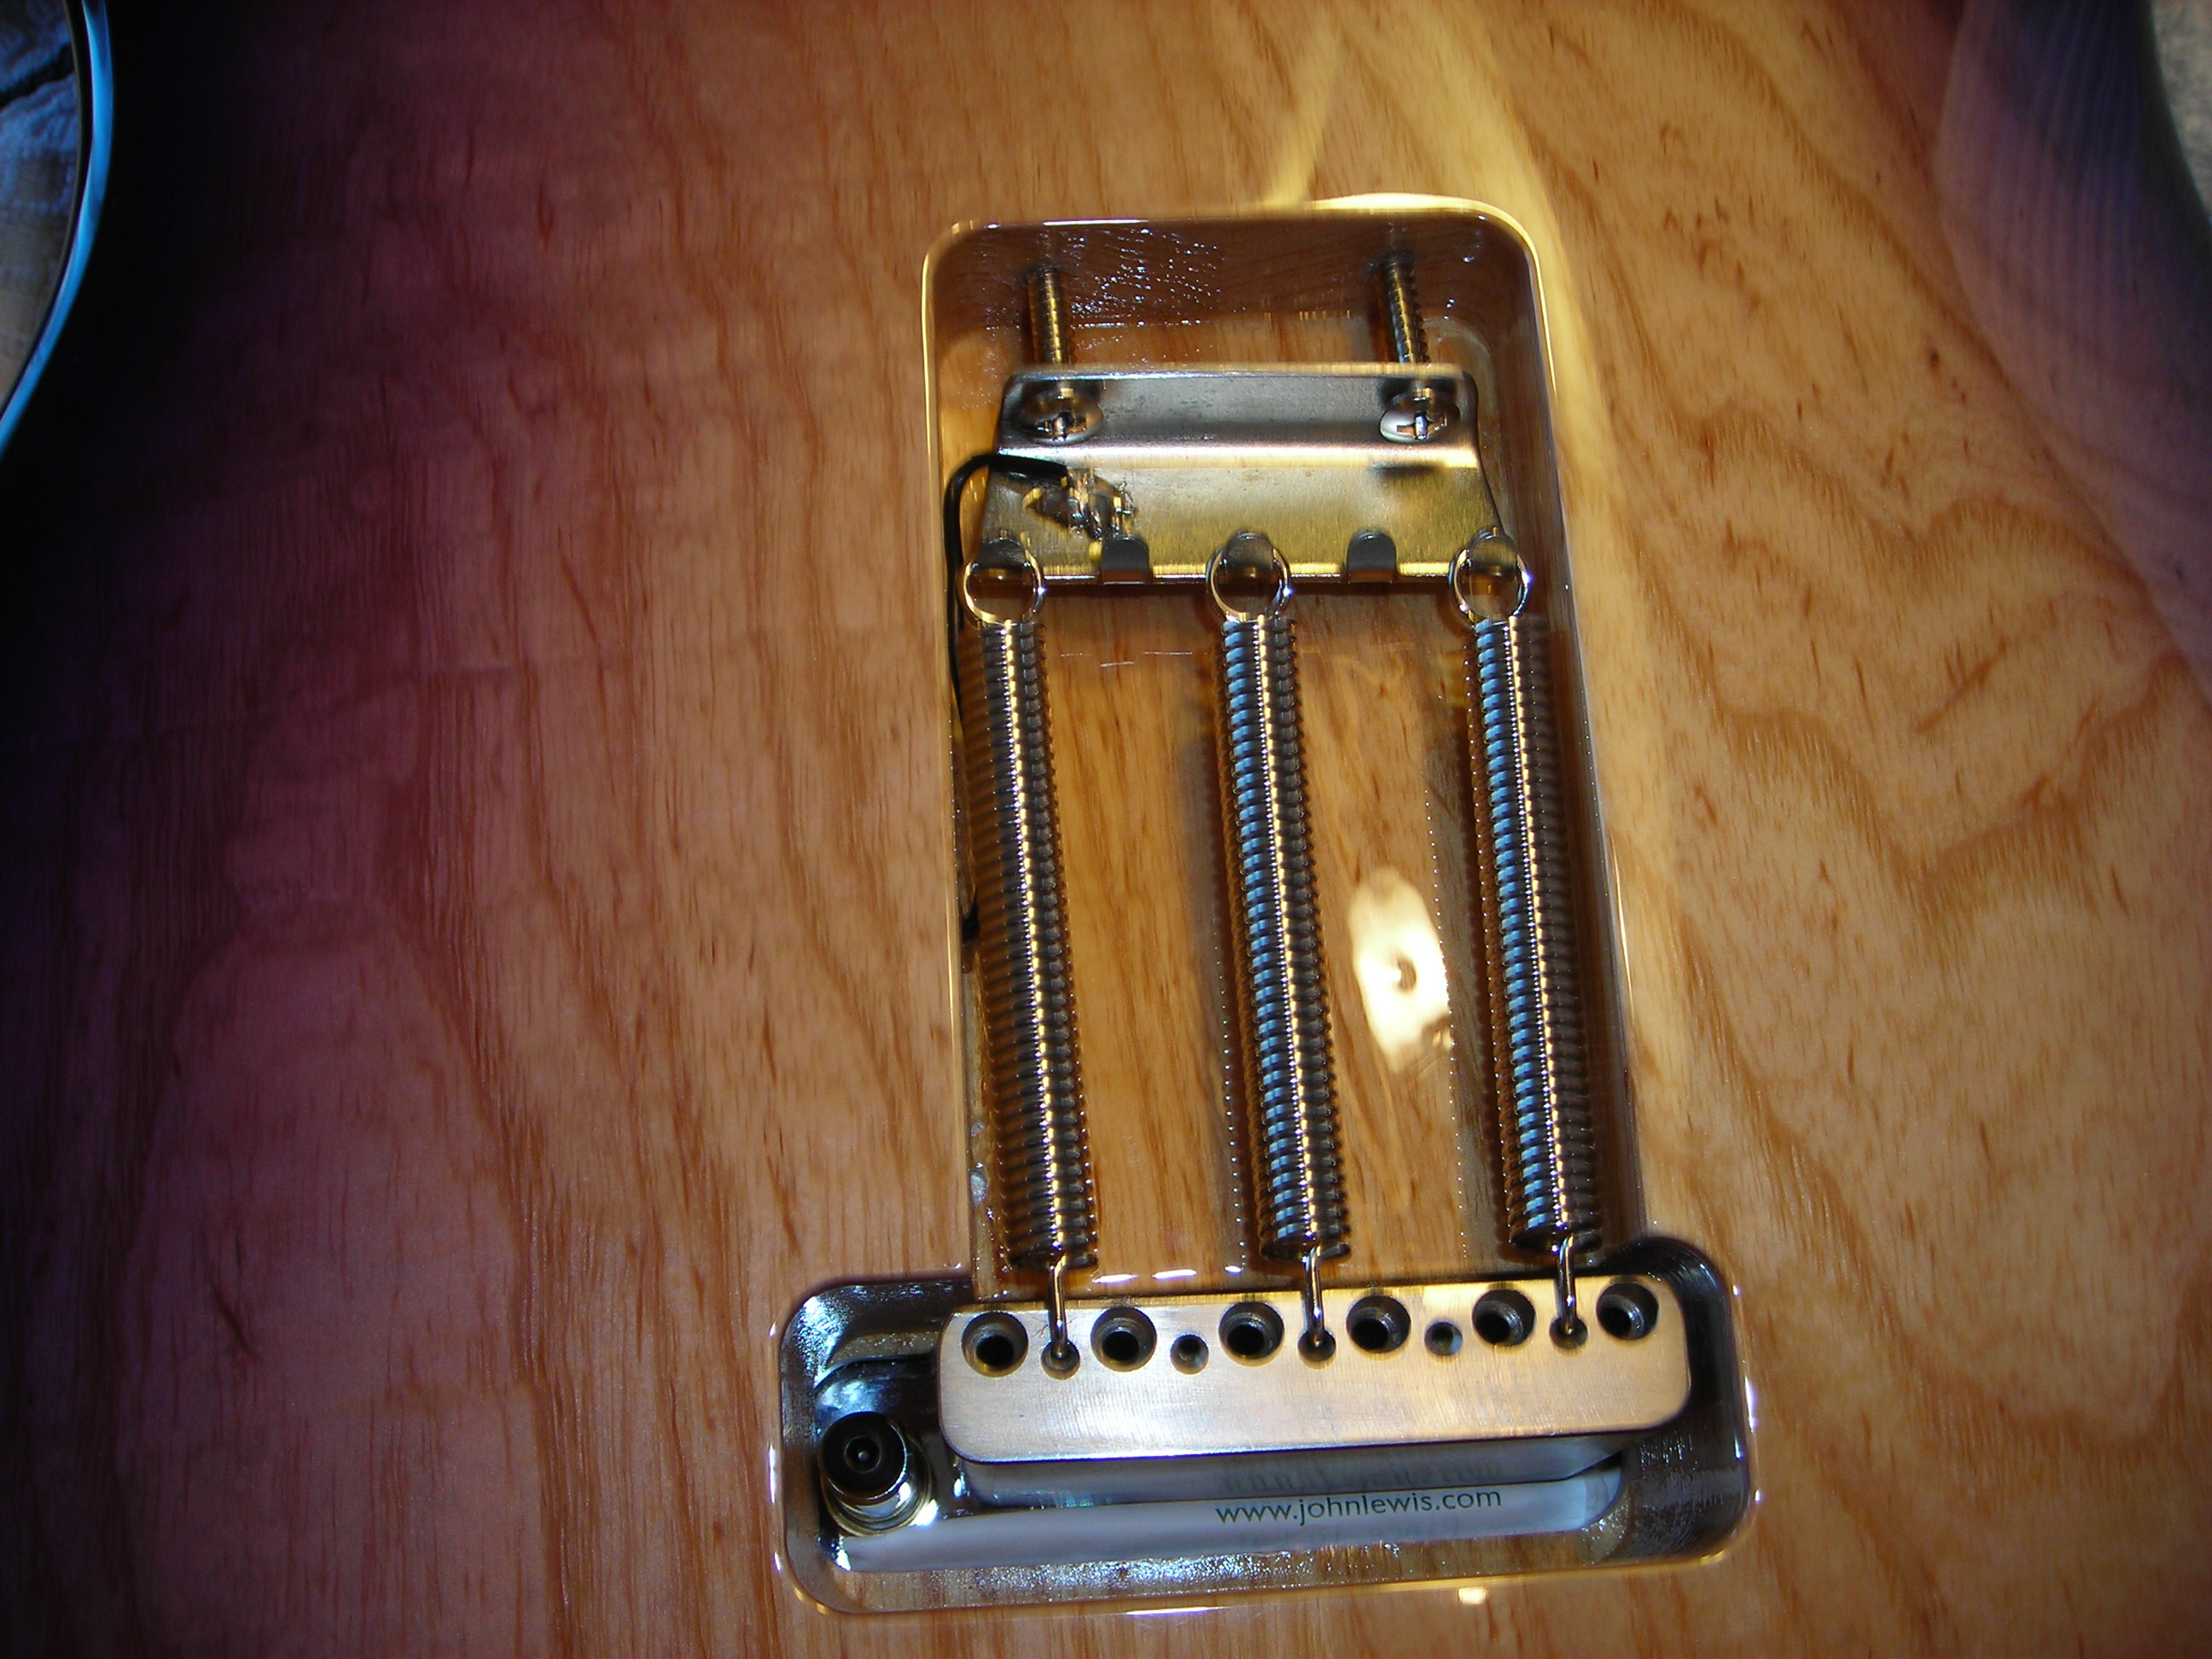
So filing down the claw looks to be my best option, however, the Tremel-No also has Allen screws in it that tighten down onto the claw screws so filing here may damage the integrity of the Tremel-No. However I have the Gotoh claw that came with the trem unit itself, this on checking would also sit just slightly proud also but it will file down and still be structurally sound.
So the possibilities of using the tremel-no will be gone on this build as I adapt and improvise for the situation at hand. The Gotoh claw it is then, filed appropriately to size.
As the strings obviously need to come off, I first rolled up a paper receipt which went under the tremolo to stop it going into the body when the string tension is released.
 Metal_Work_1
 by
stratamania, on Flickr
After the strings and the tremolo block were carefully removed, the tremel-no packed away for possible future use that meant it was metal work time.
Here is the Gotoh Claw after filing off about 3mm at the top above the screw holes. Basically, you mark what you want to take off and file down to it with whatever tools you have to hand and then round off the corners so there are no sharp bits. There is still plenty of metal above the holes.
 Metal_Work_3
 by
stratamania, on Flickr
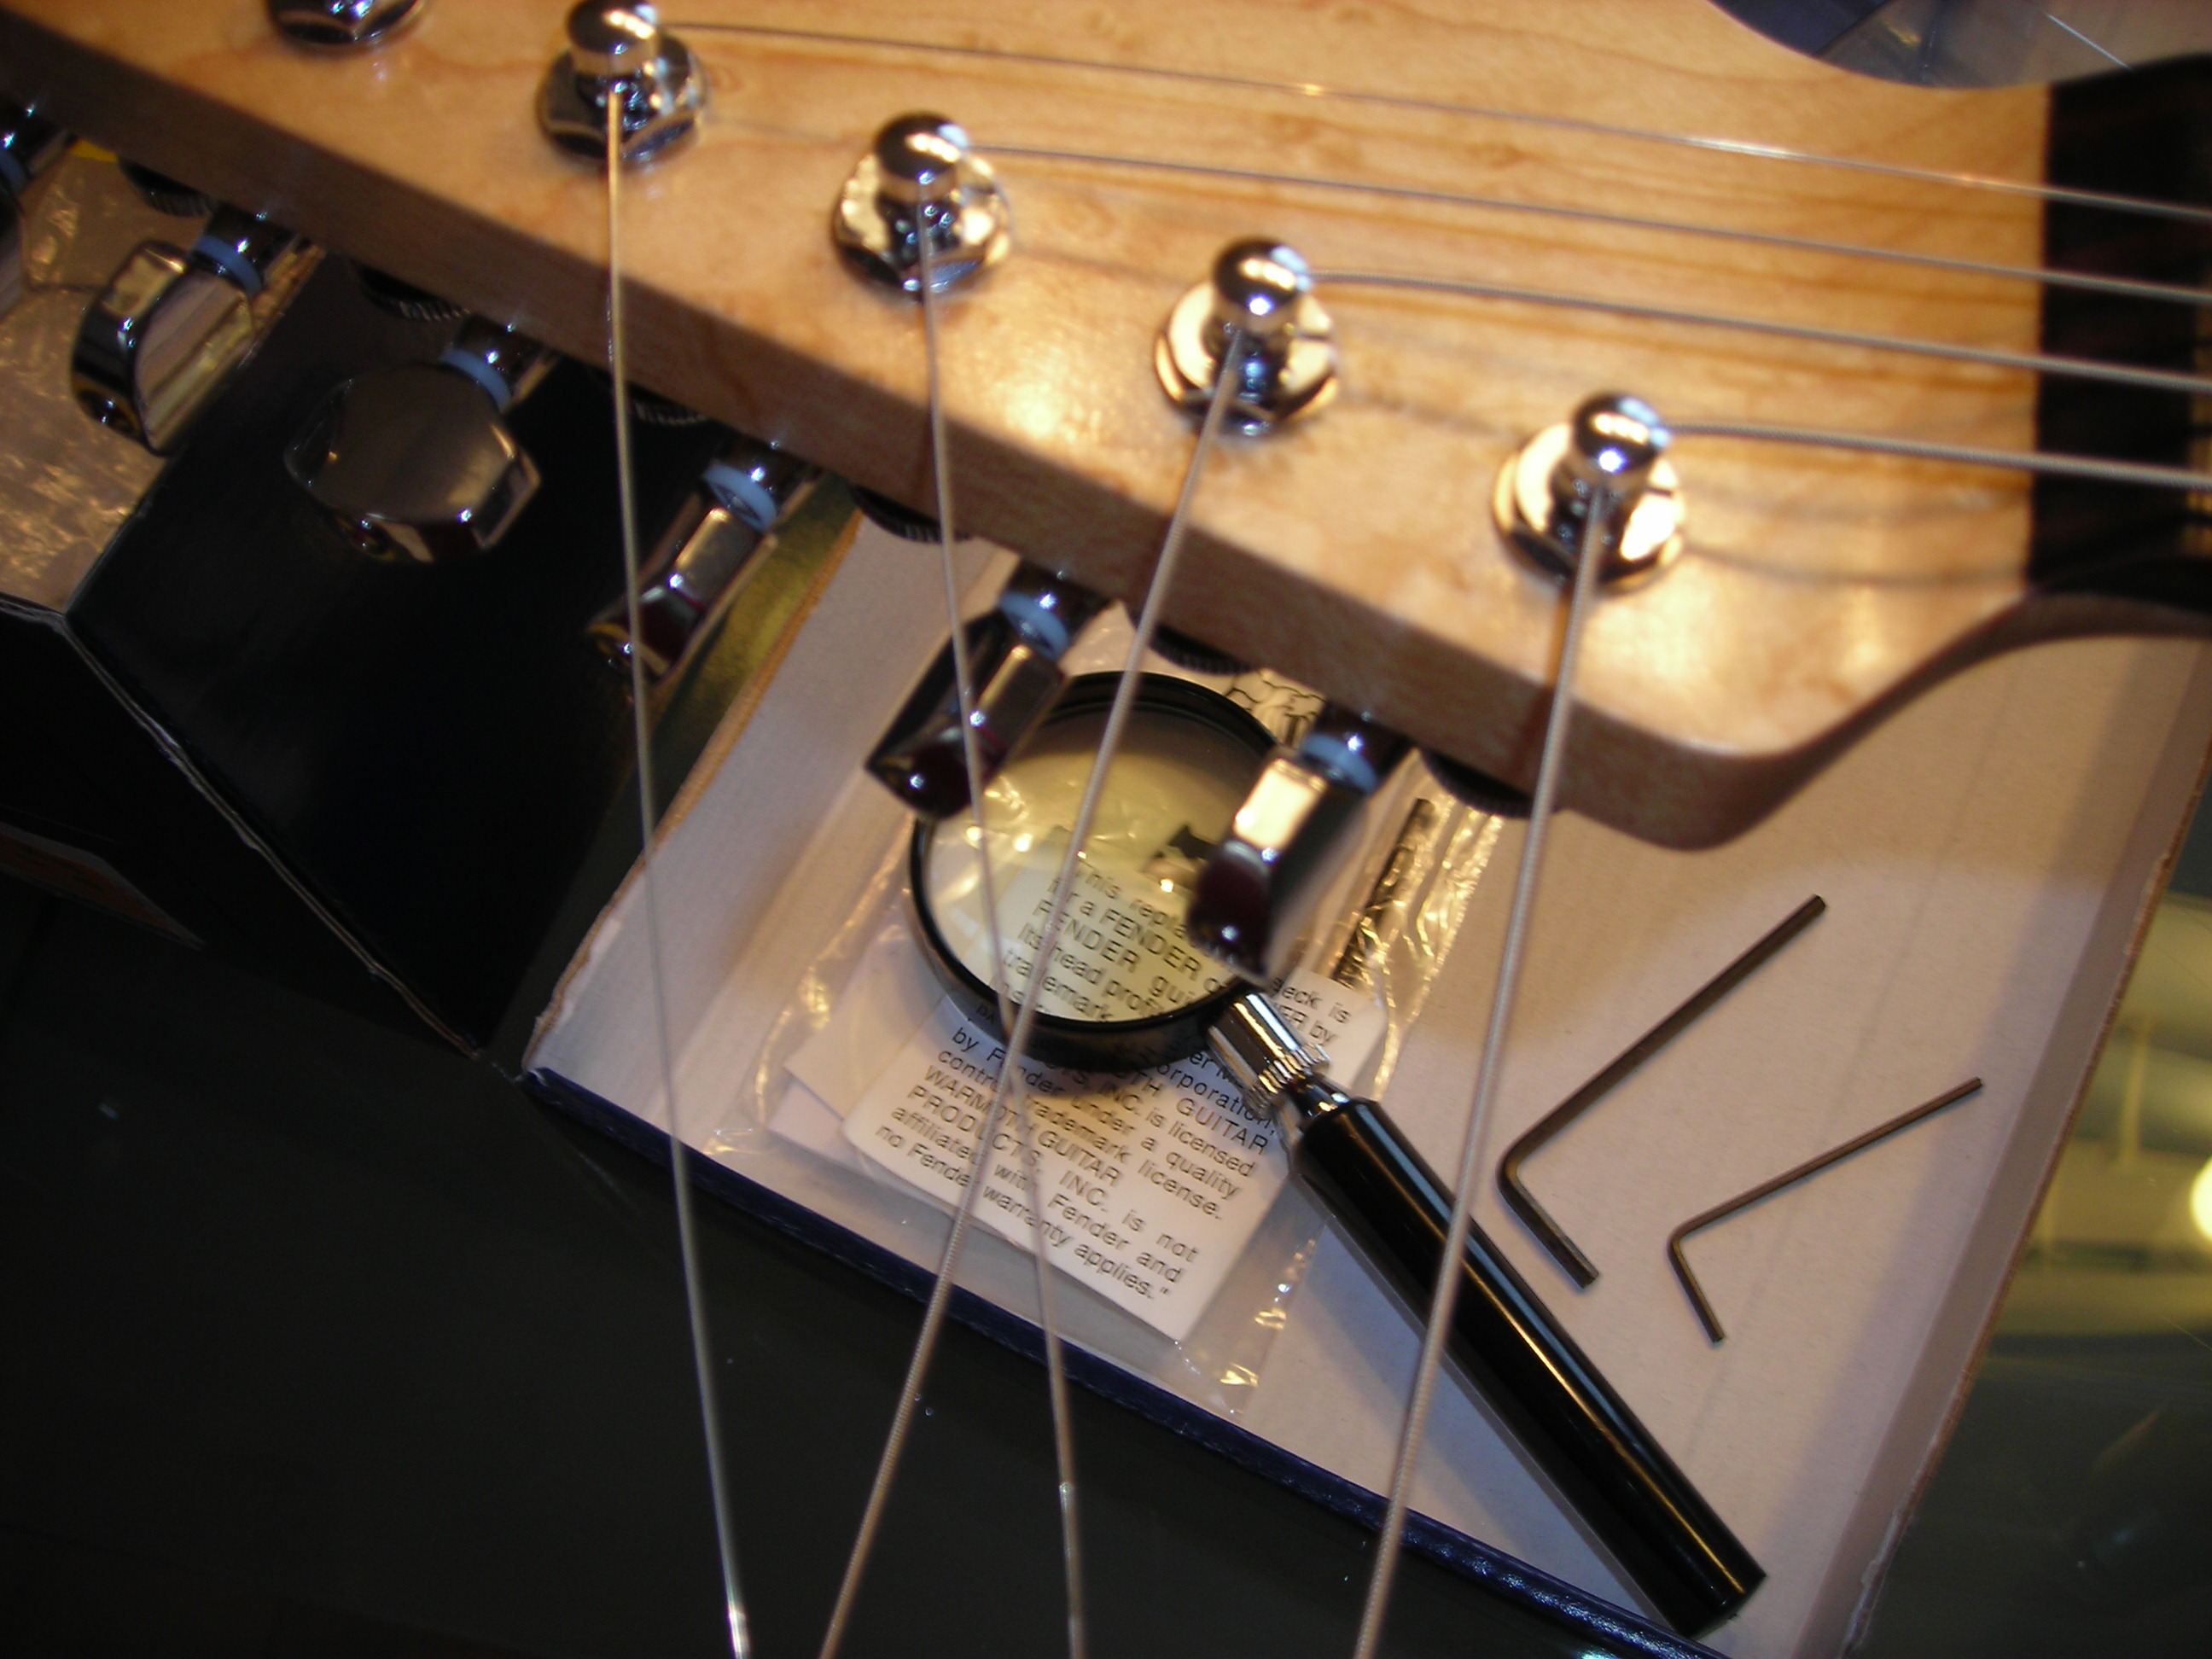
Earlier in the thread, there were photos of fret leveling, polishing and so on. But the player had pointed out to the quality control department that he could feel something not as smooth as was would be preferred when doing bends in certain parts of the neck. Seen as the player had asked nicely and seemed like a rather decent chap, I put our best fret man onto it as the strings were off the guitar in any case.
On investigation with an optivisor it appeared that although the frets were shiny and polished and overall done very well, there were indeed one or two spots where there were some marks on the land part of the fret where the finer grits had not been able to take out the marks on the original polishing. Fortunately, while your intrepid reporter was away over the last couple of weeks or so, he had popped into Halfords, in the UK and bought wet and dry in every grit that exists between 600 and 1500 and a nice rubber block to put it in. Prior to this, I had down to 600 as it was all I could get hold of in DIY stores, I also had Micromesh starting at 1500 and going down to 12000. When the initial polishing was done, it was the missing grits that had caused the issue.
As I now had every grit between 400 - 1500 in wet and dry, and then micro mesh from 1500 - 12000 and the strings were off, what was possibly going to be looked at is maintenance when changing strings has now become part of the build. Note: don't skip grits...
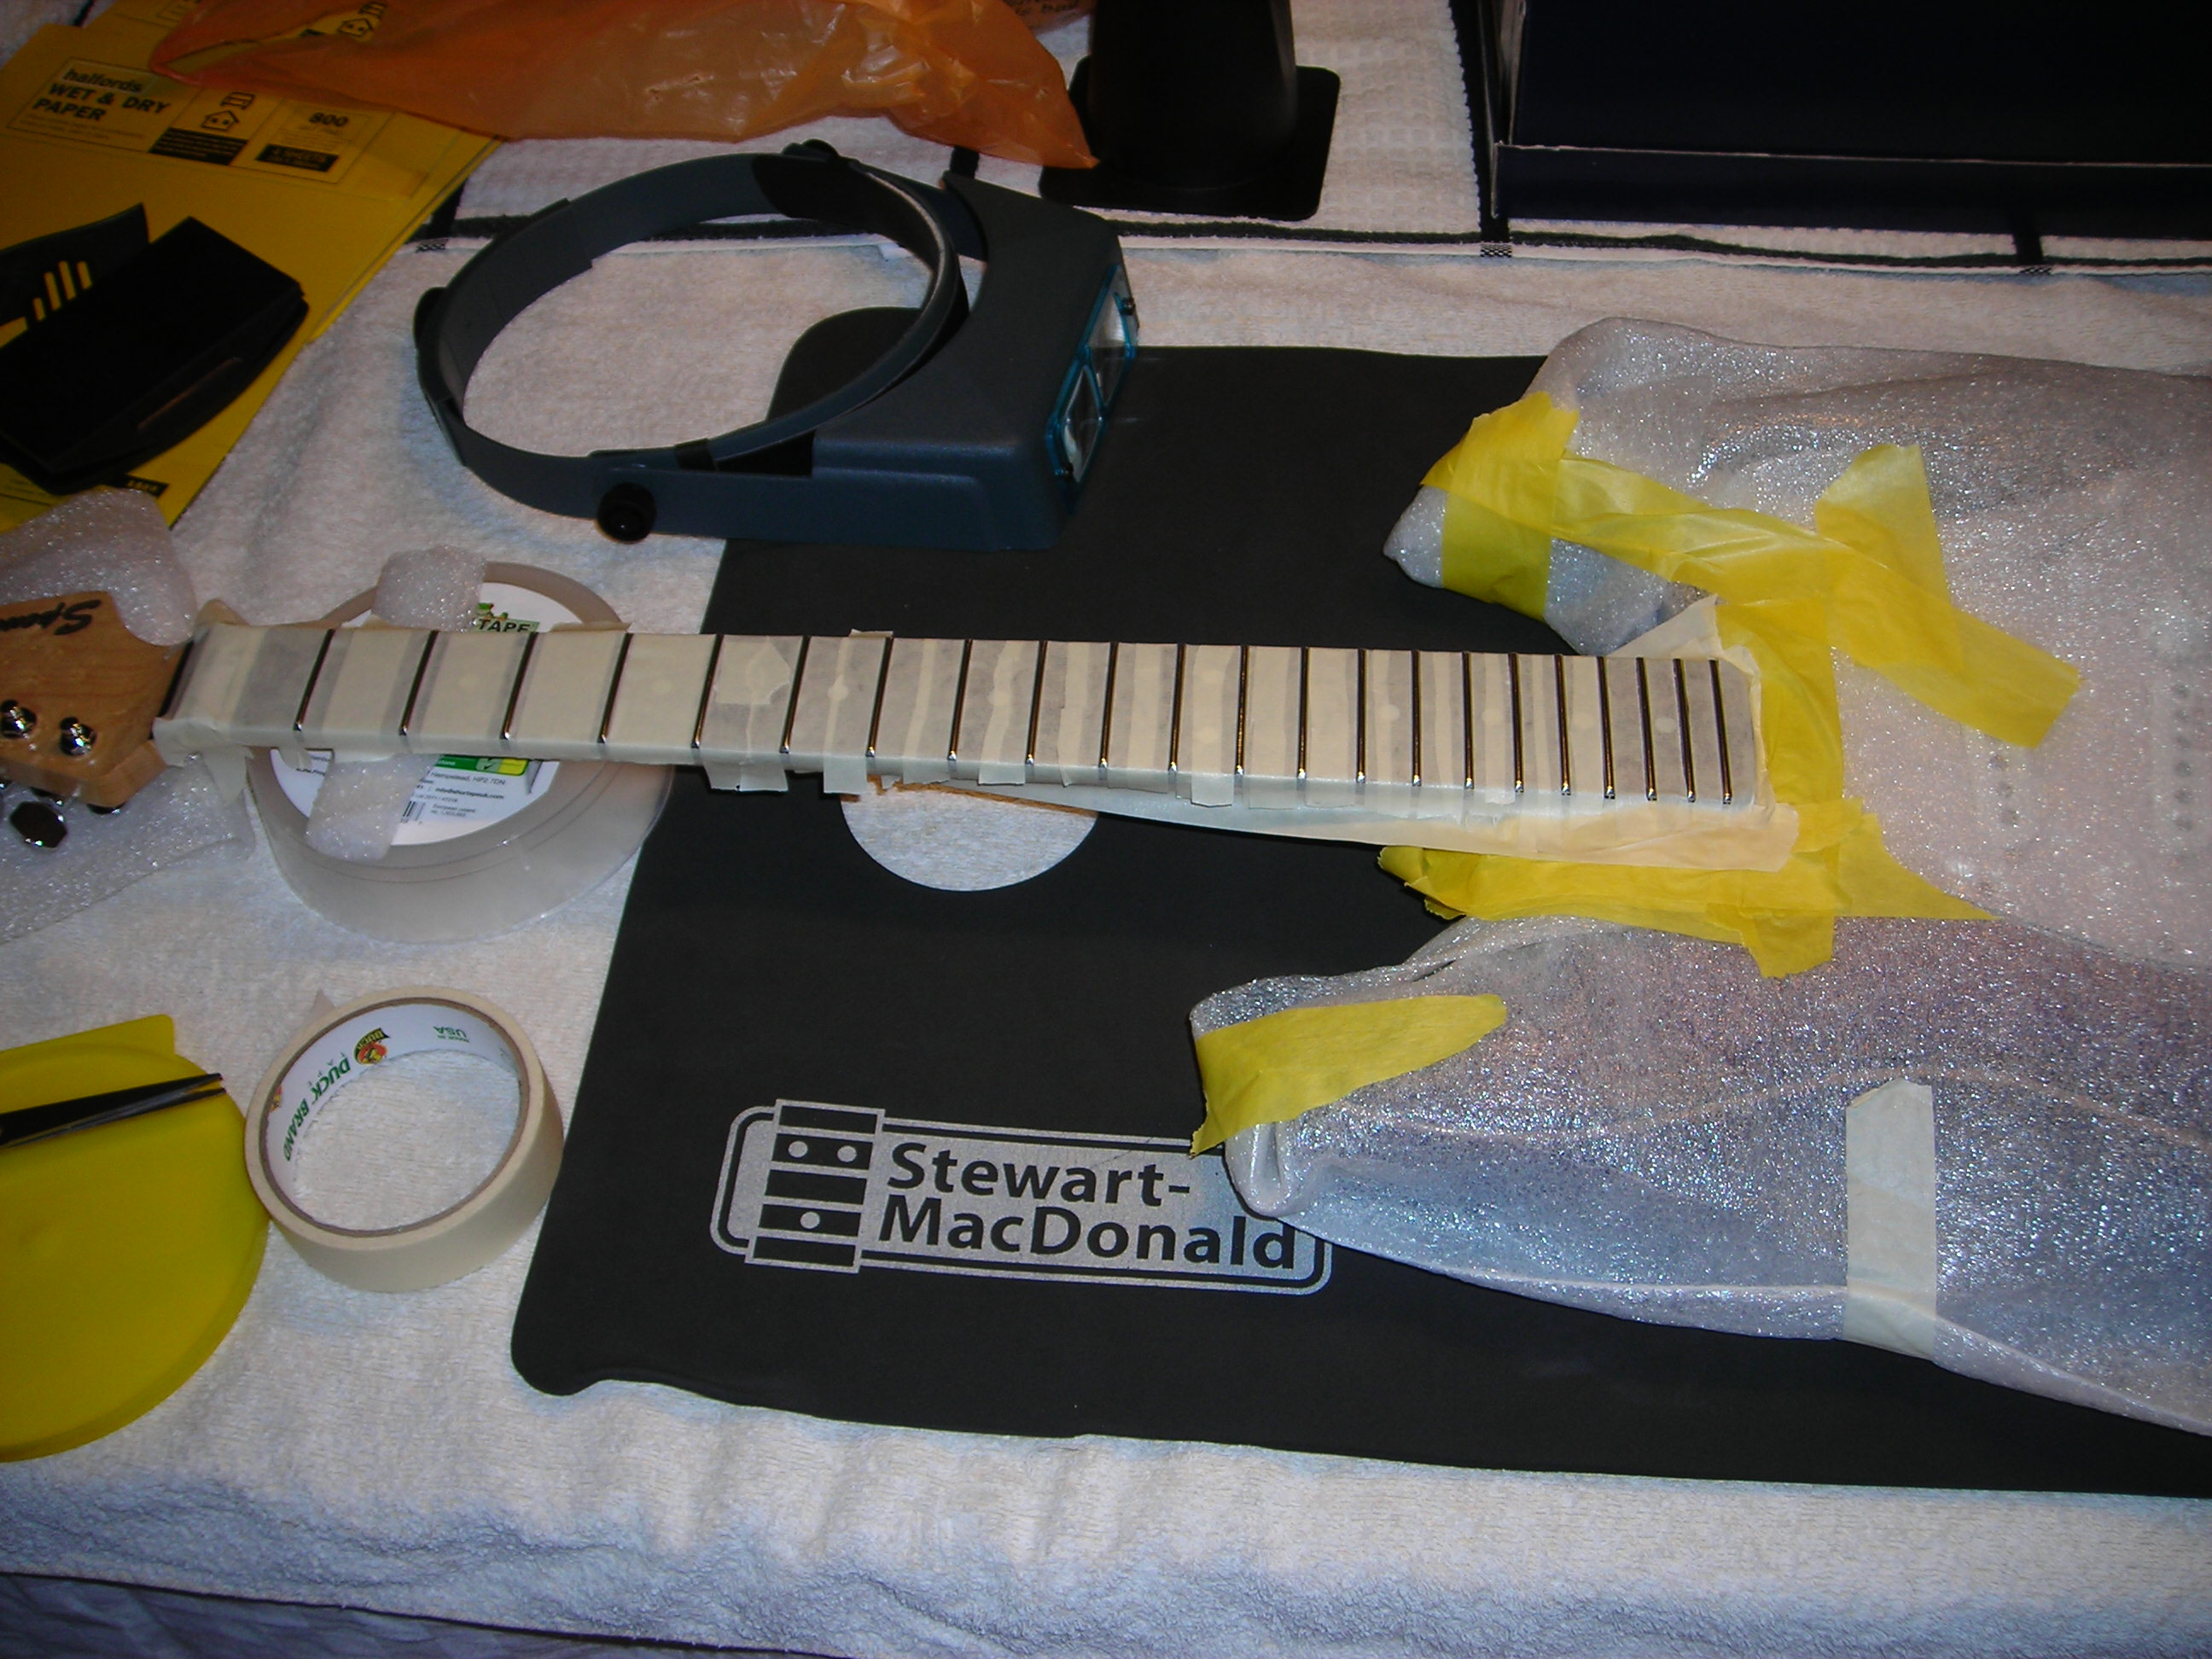
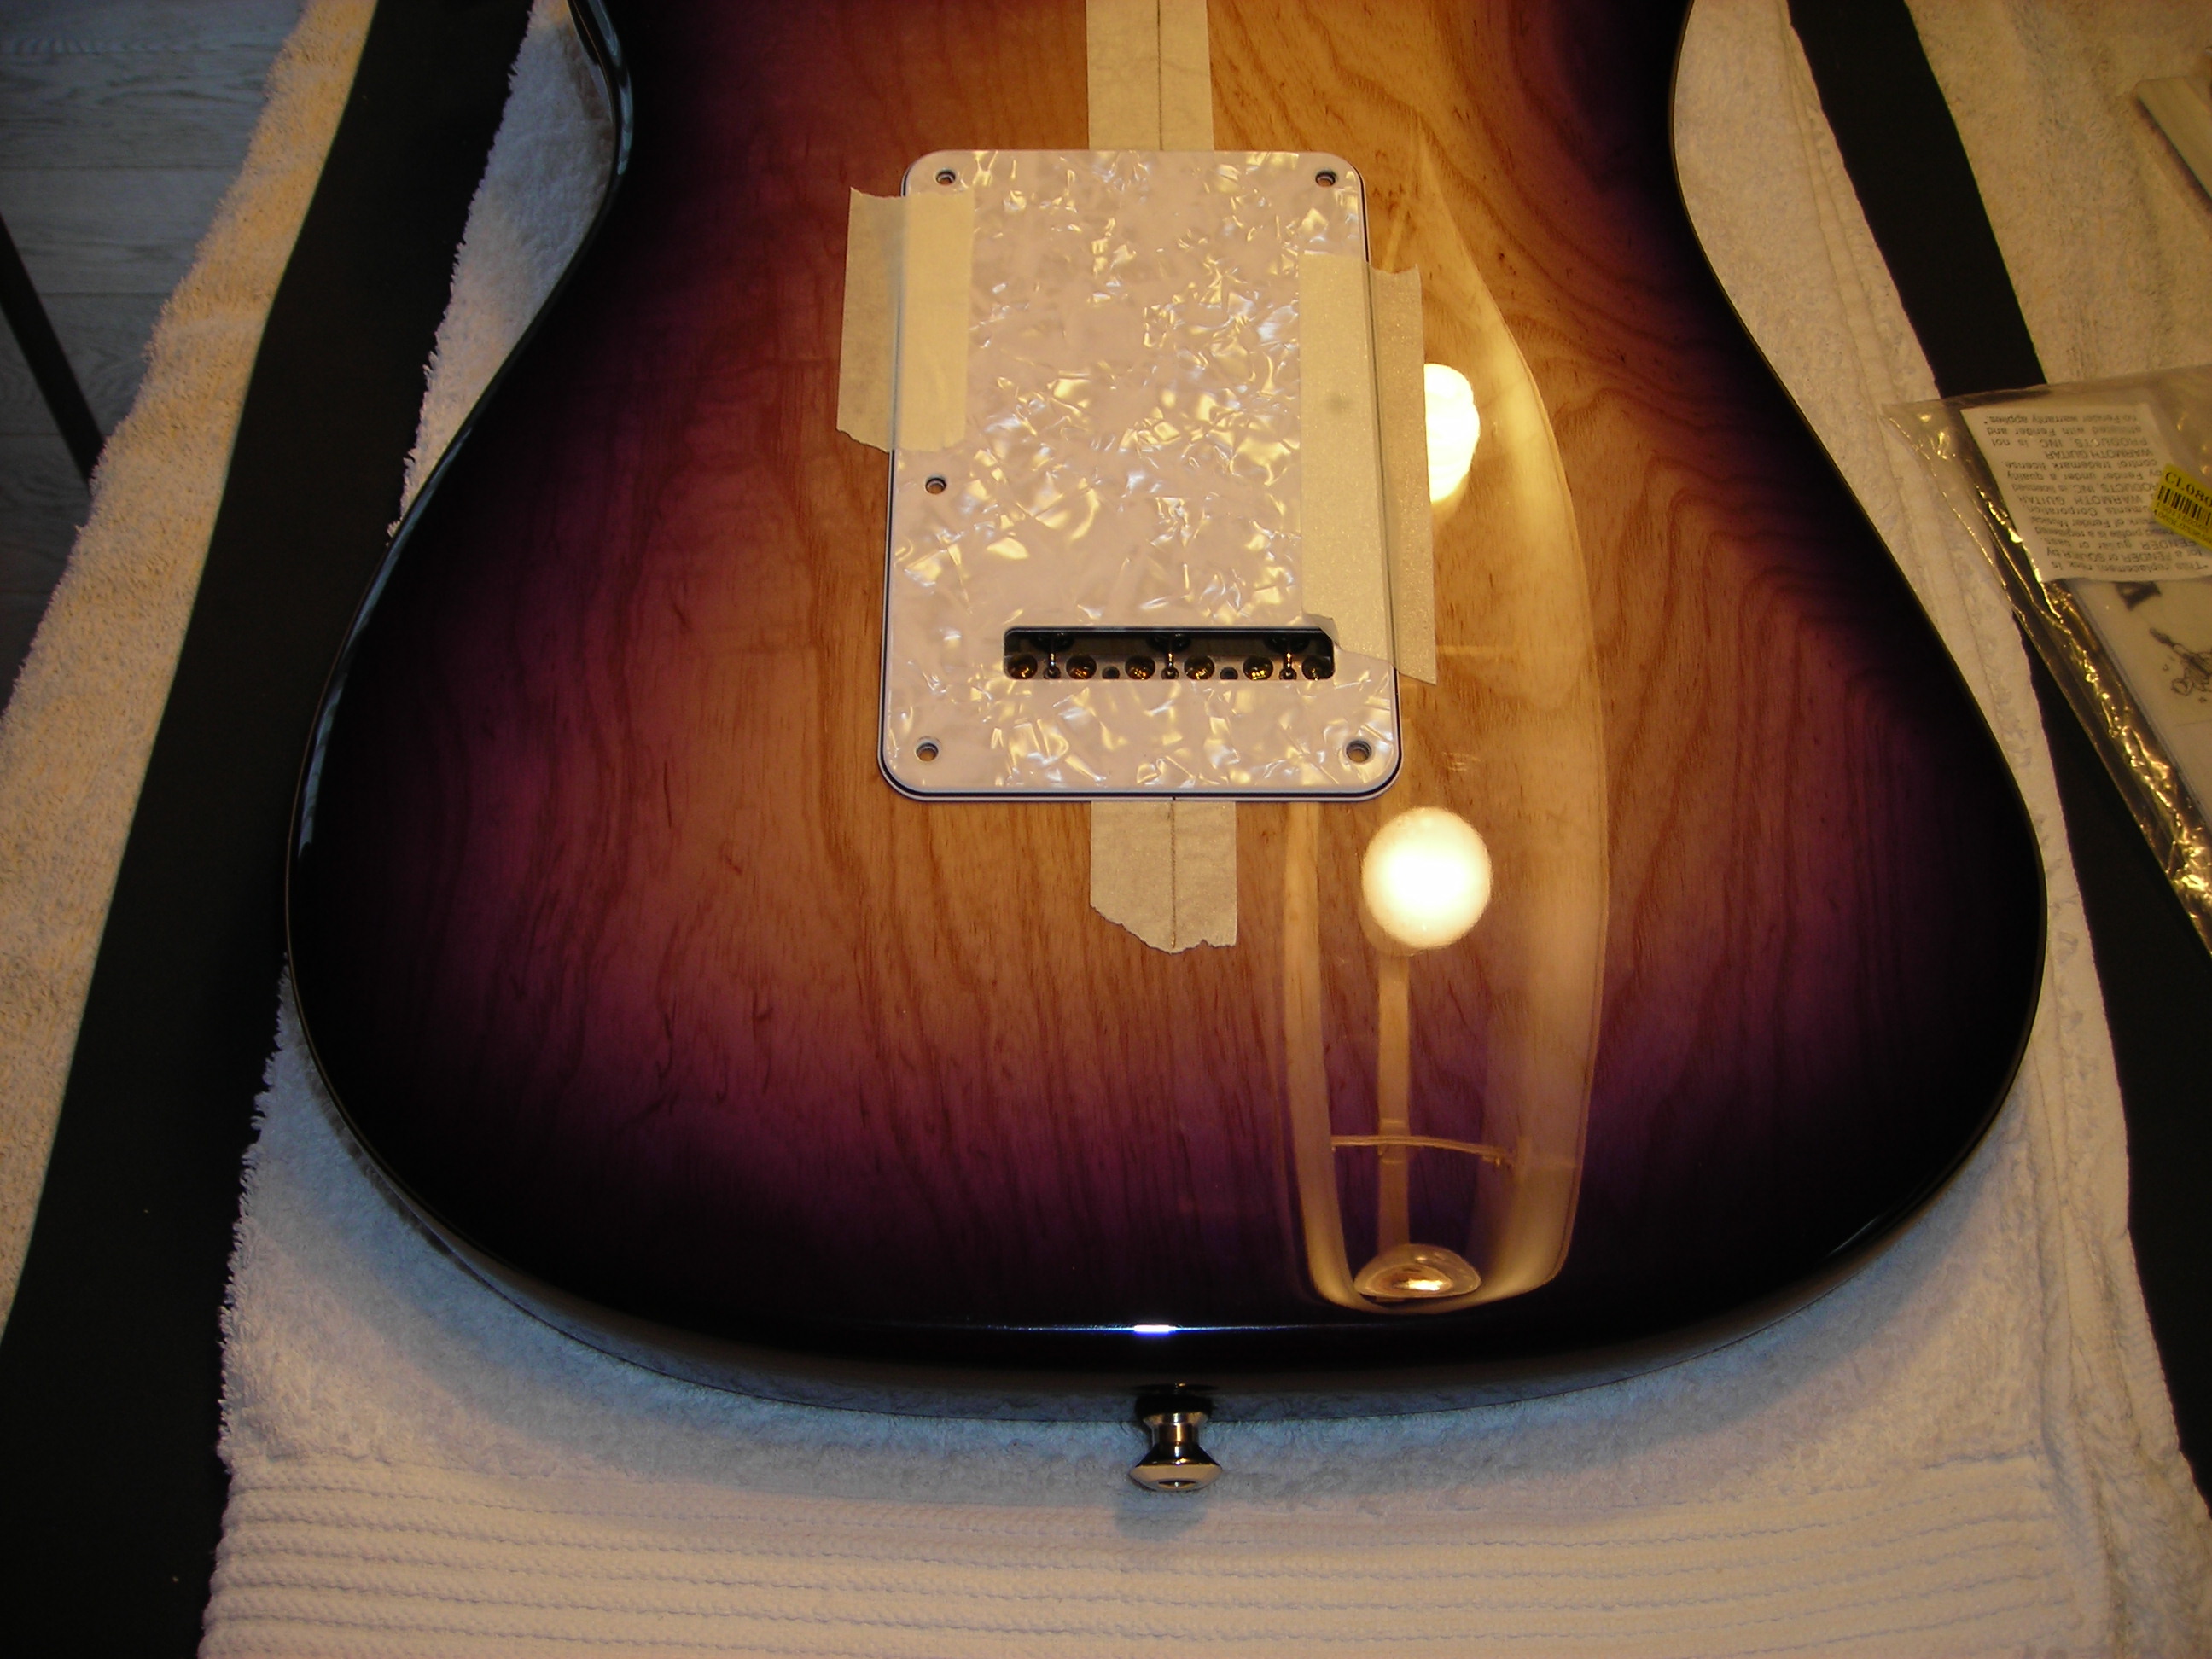
So here we are masked off for the third time. The first time was for the initial fret work, the second as I was waiting for a beveling file and decided to get on with finish work in the meantime and now a third time due to lessons learned along the way and an insistent player and quality control department insisting on fret polish correction.
 Metal_Work_4
 by
stratamania, on Flickr
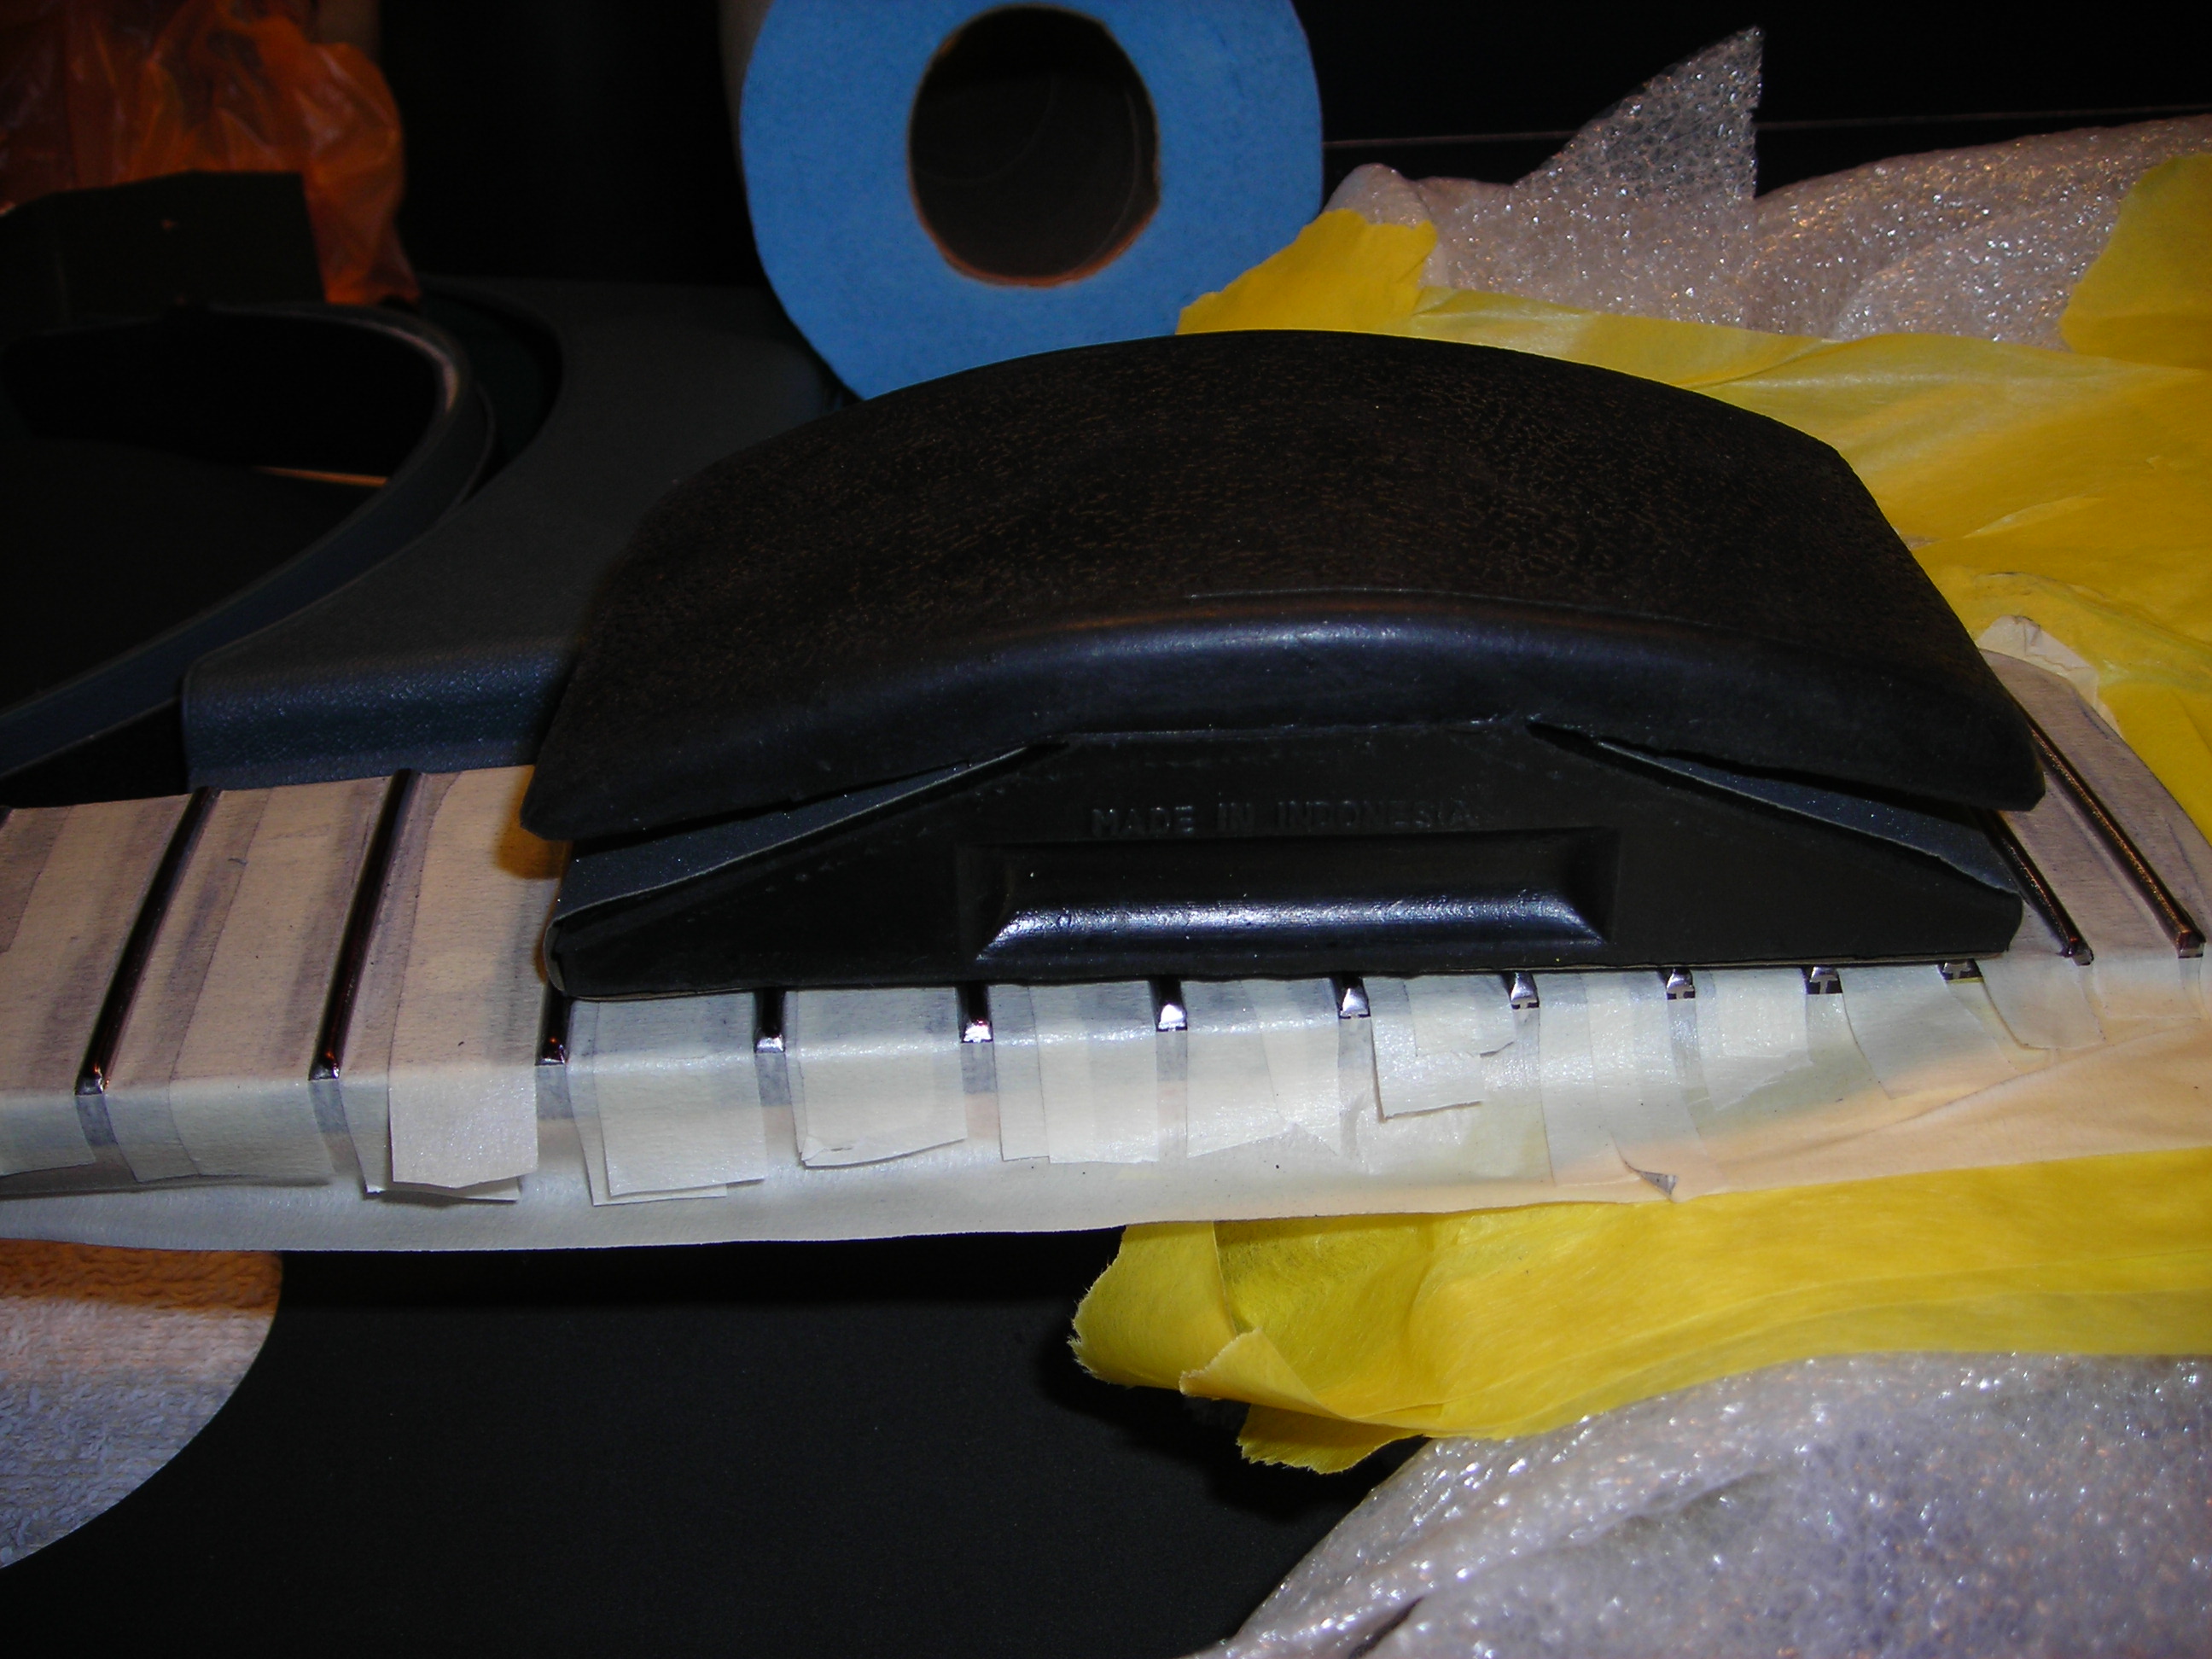
A handy rubber block for holding wet and dry and working on fret polishing.
 Metal_Work_5
 by
stratamania, on Flickr
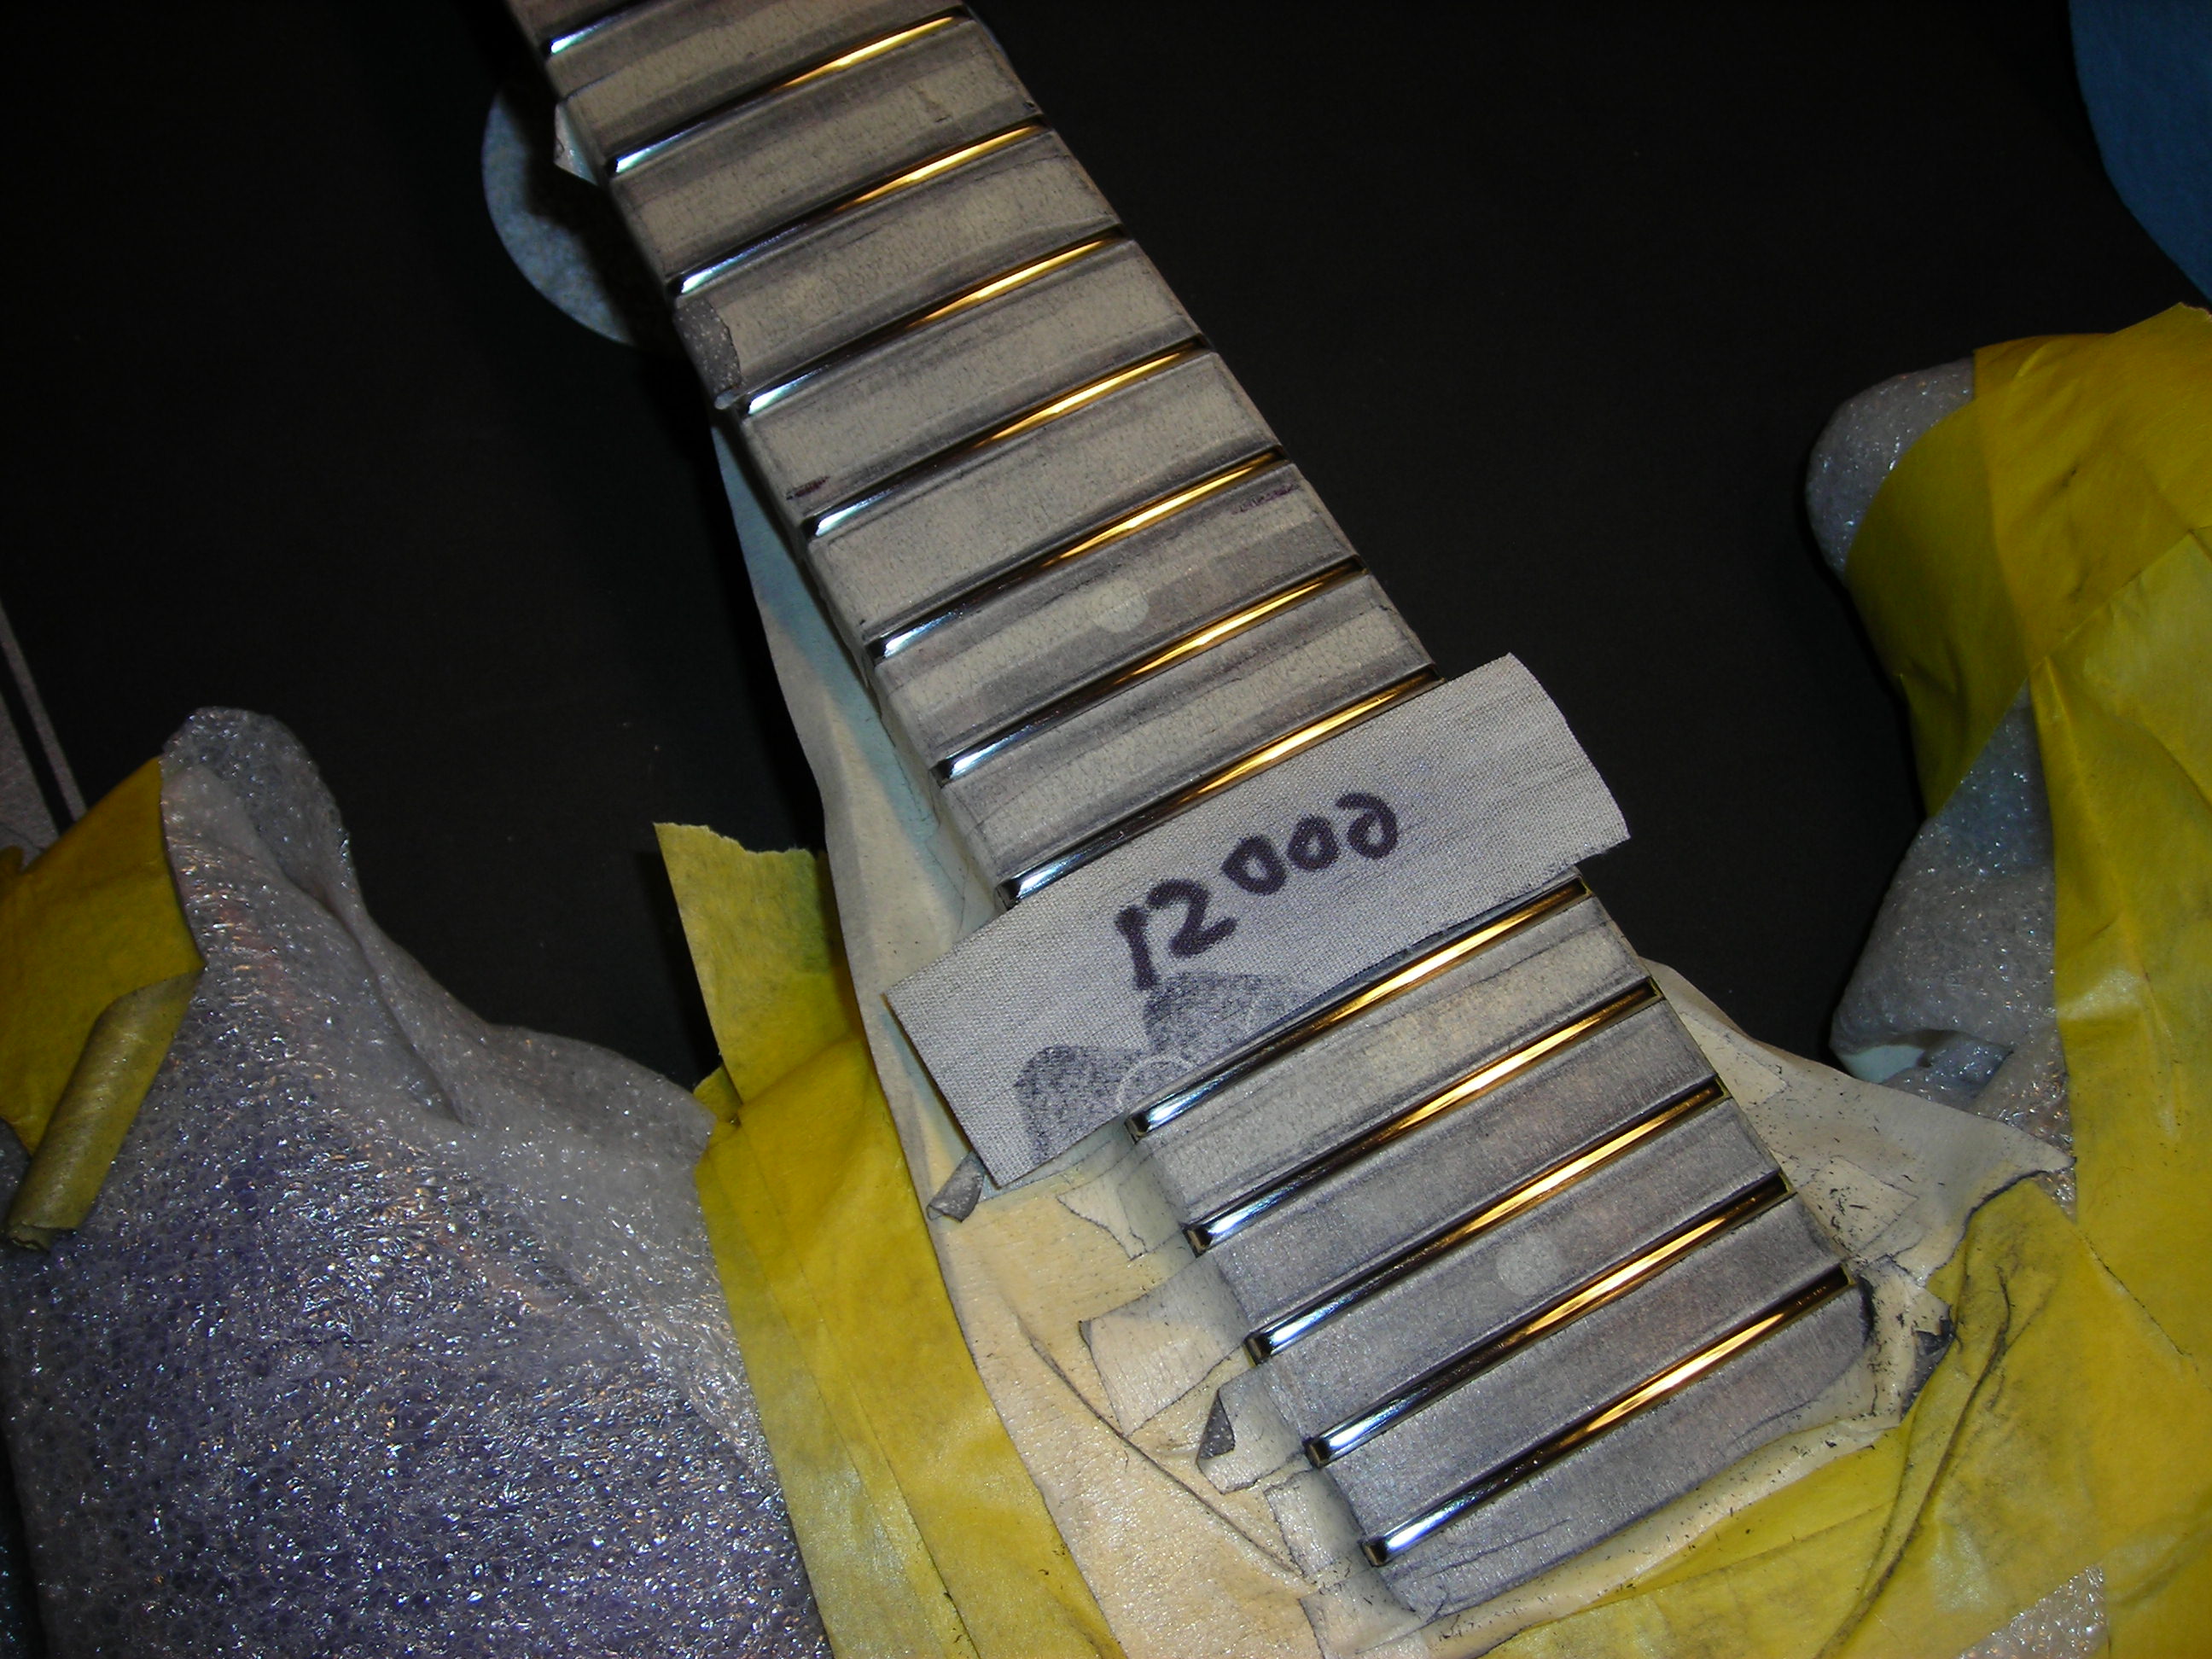
So basically I worked down through the wet and dry grits from around 600 - 1500, without any skipped grits, and then my micro-mesh starts at 1500 - 12000. I also checked with my optivisor after each grit every fret and only moved to the next grit when totally satisfied. I also used a marker to mark the frets so I could see my progress. When I did them the first time I didn't have an Optivisor and so could not see the tiny marks that as a player I could feel. So good light and vision are important, who would have thought
")
After working my way to 12000
 Metal_Work_6
 by
stratamania, on Flickr
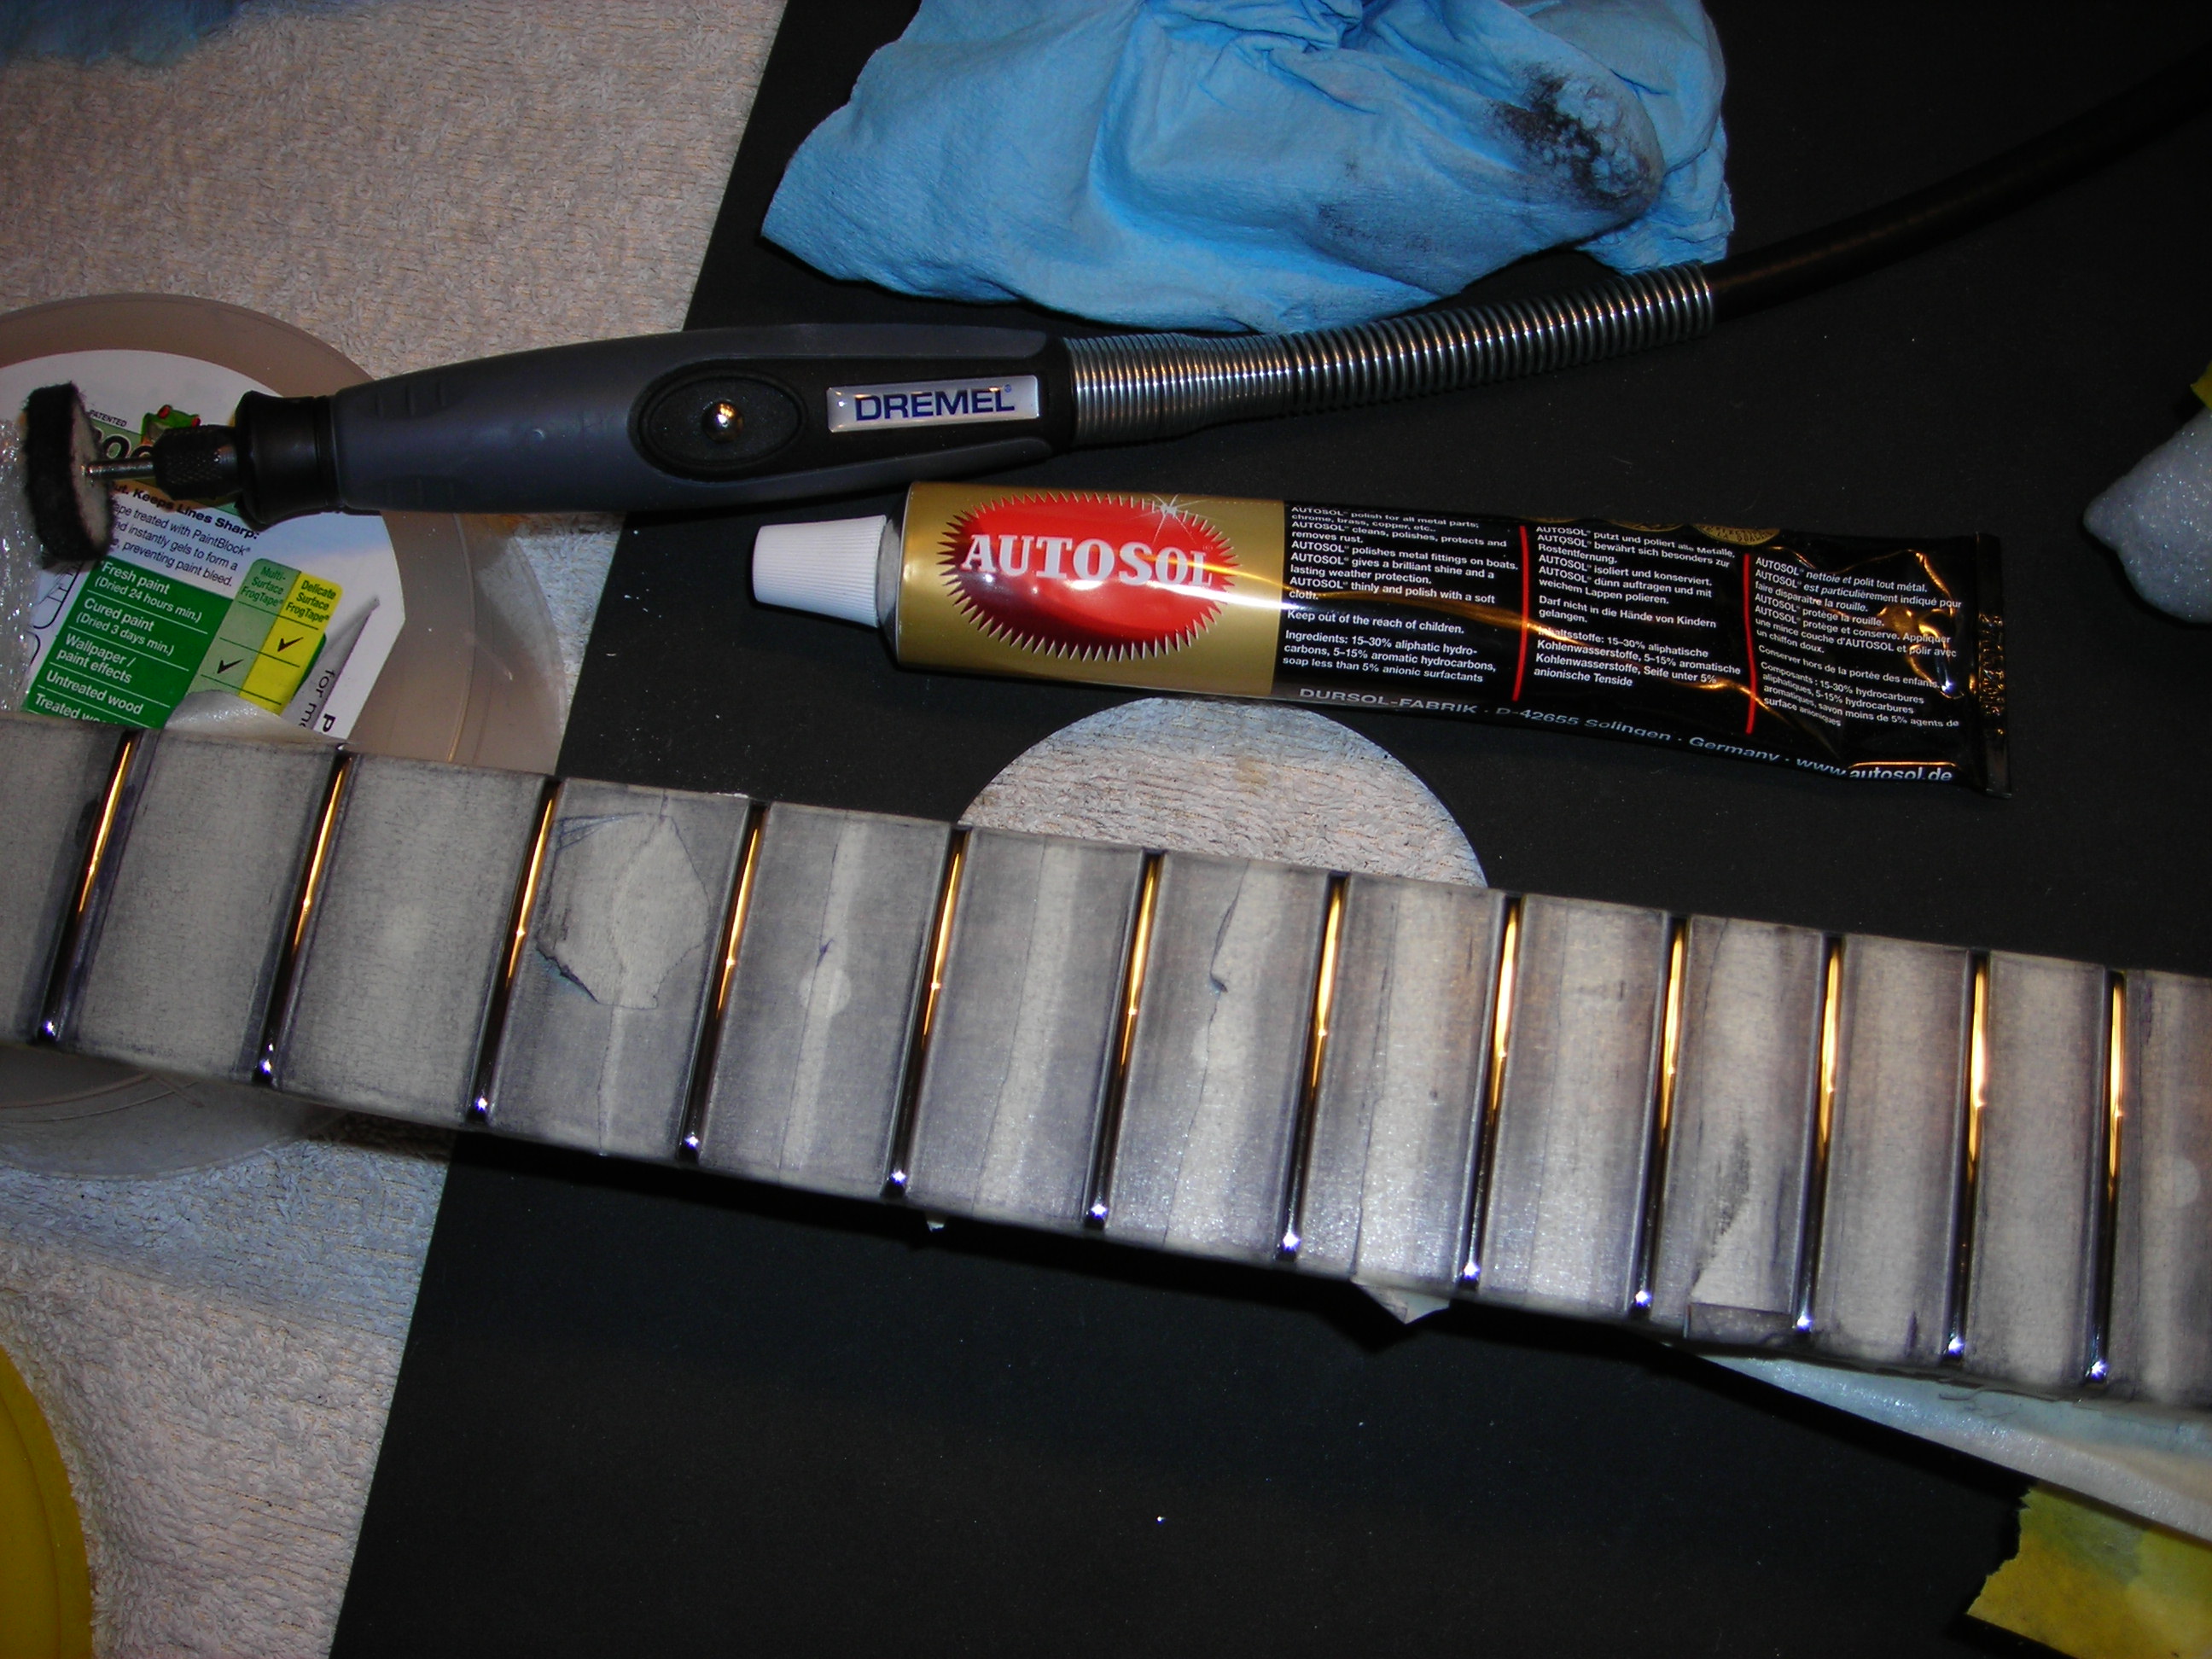
Autosol chrome and metal polish in progress with a Dremel buffing wheel and shop towel. I worked quickly with the Dremel to prevent the frets getting hot, which may melt any glue holding them in.
 Metal_Work_7
 by
stratamania, on Flickr
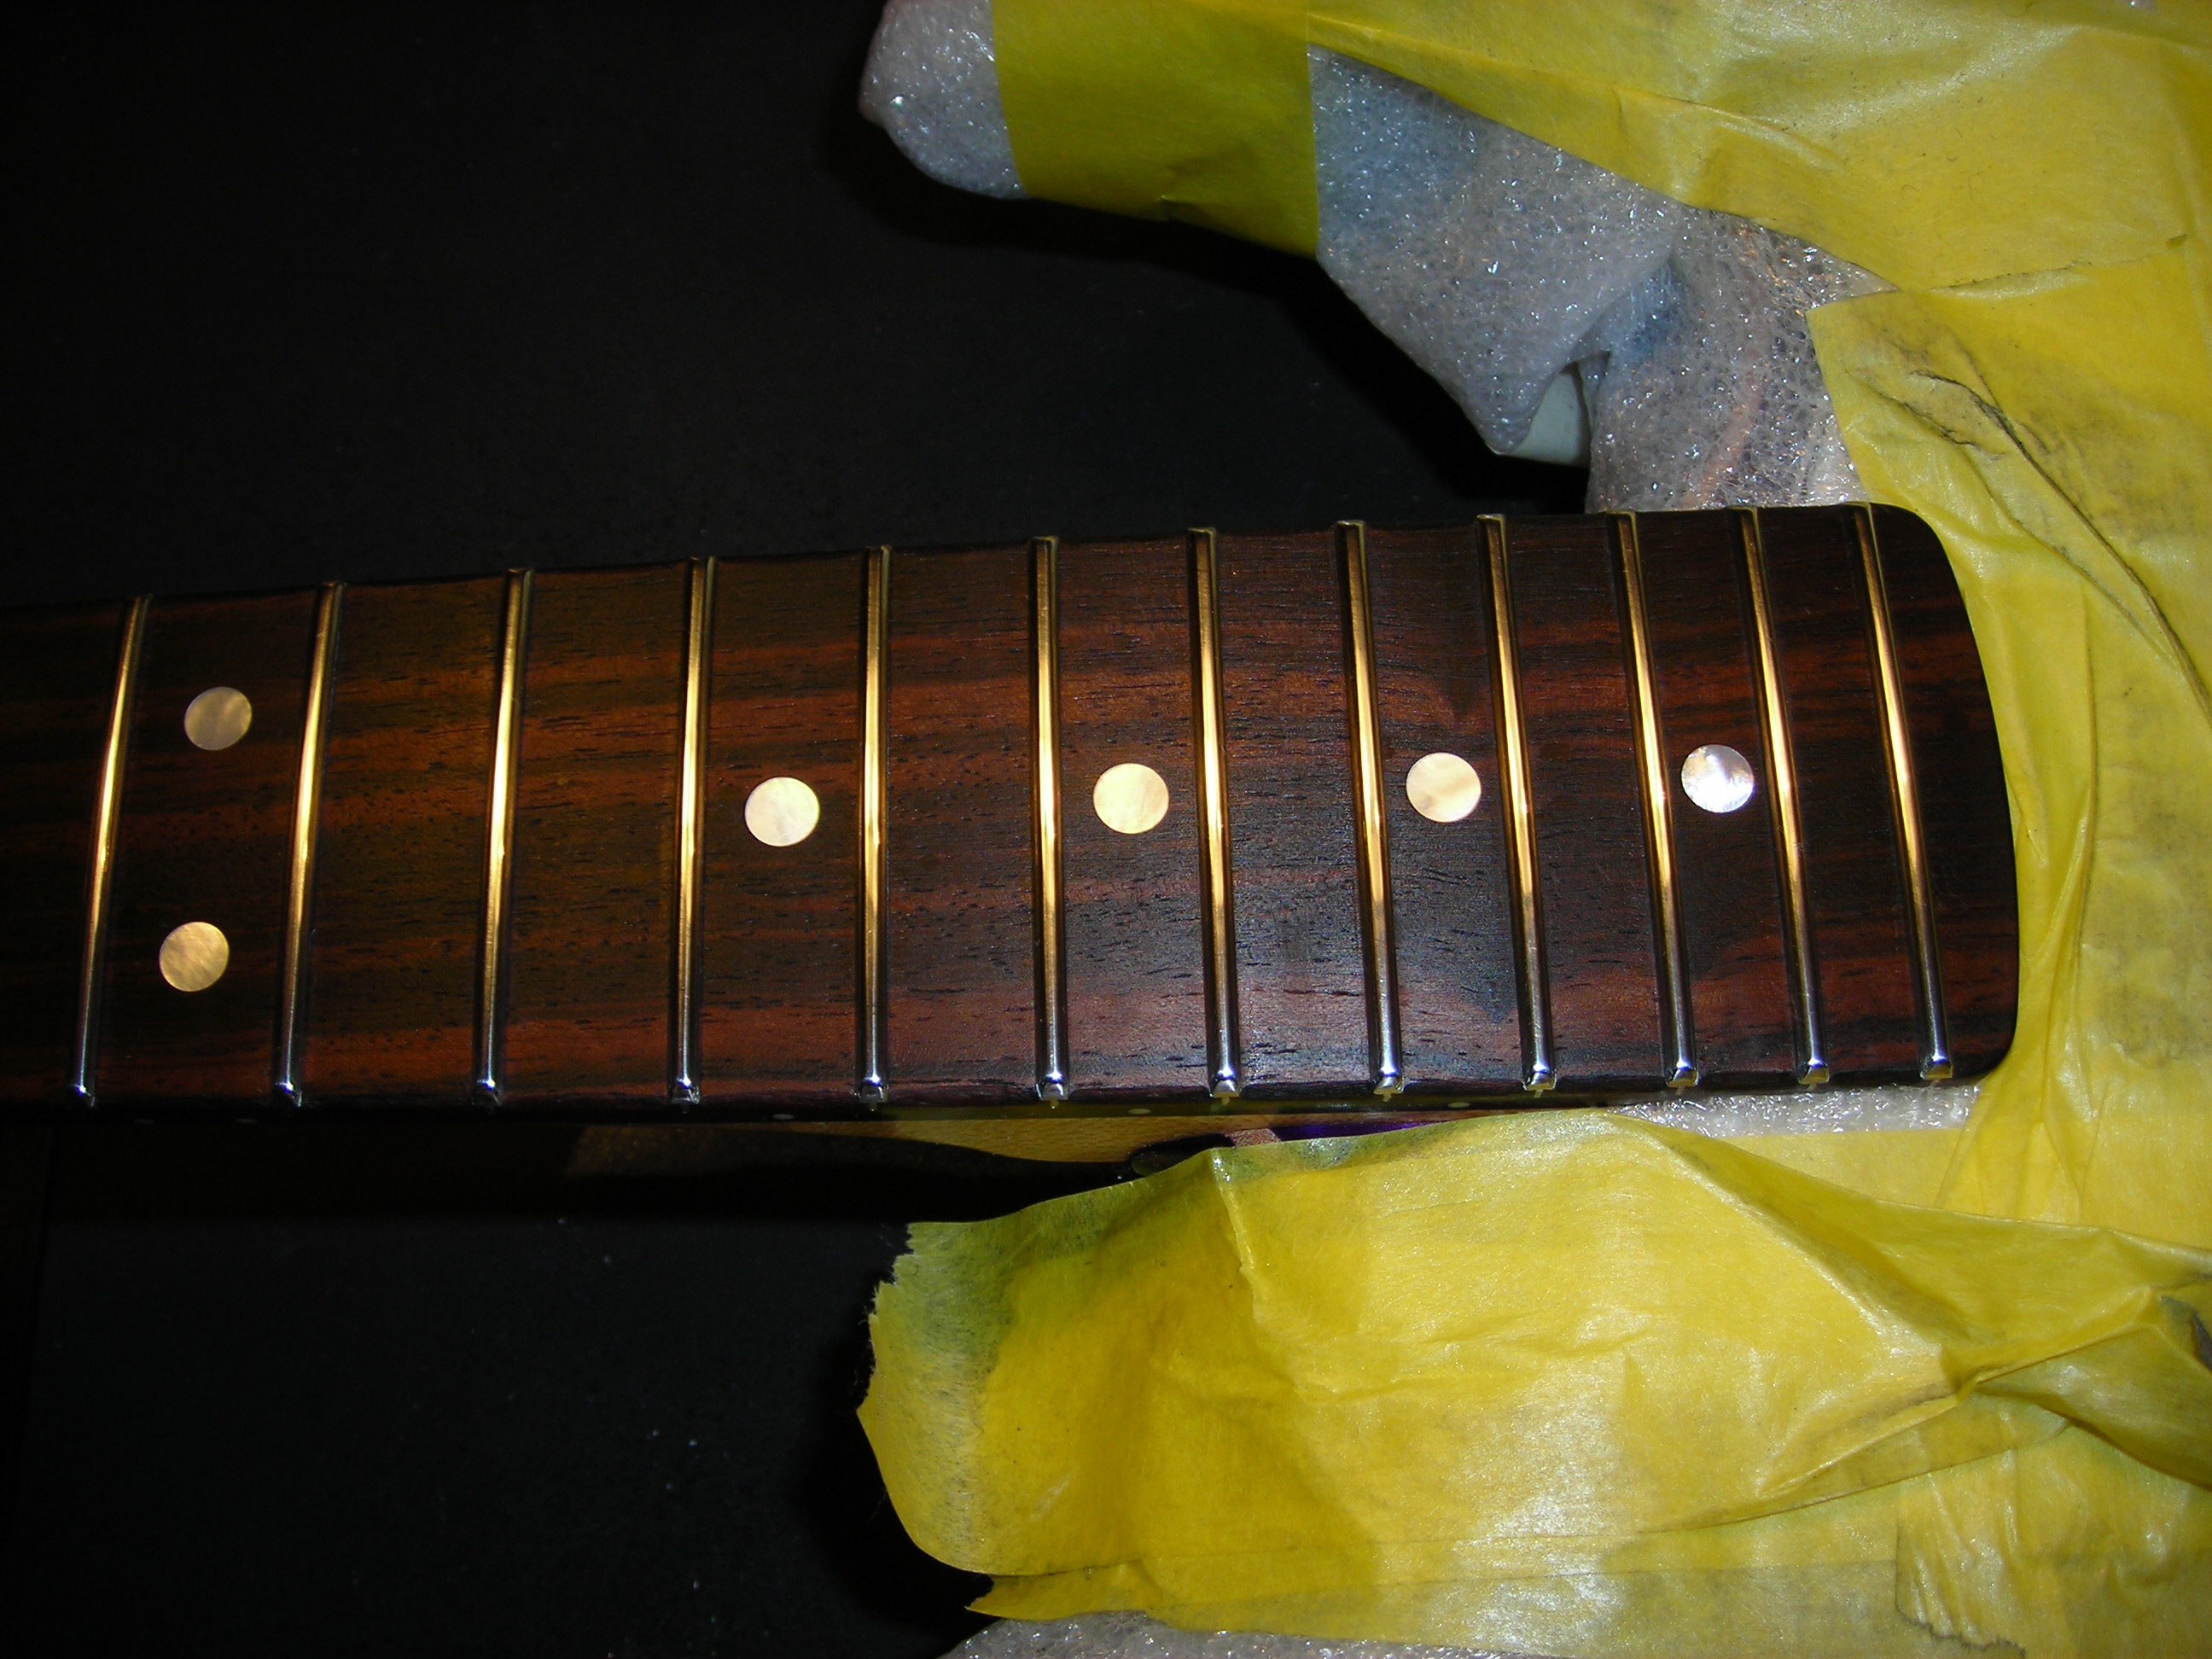
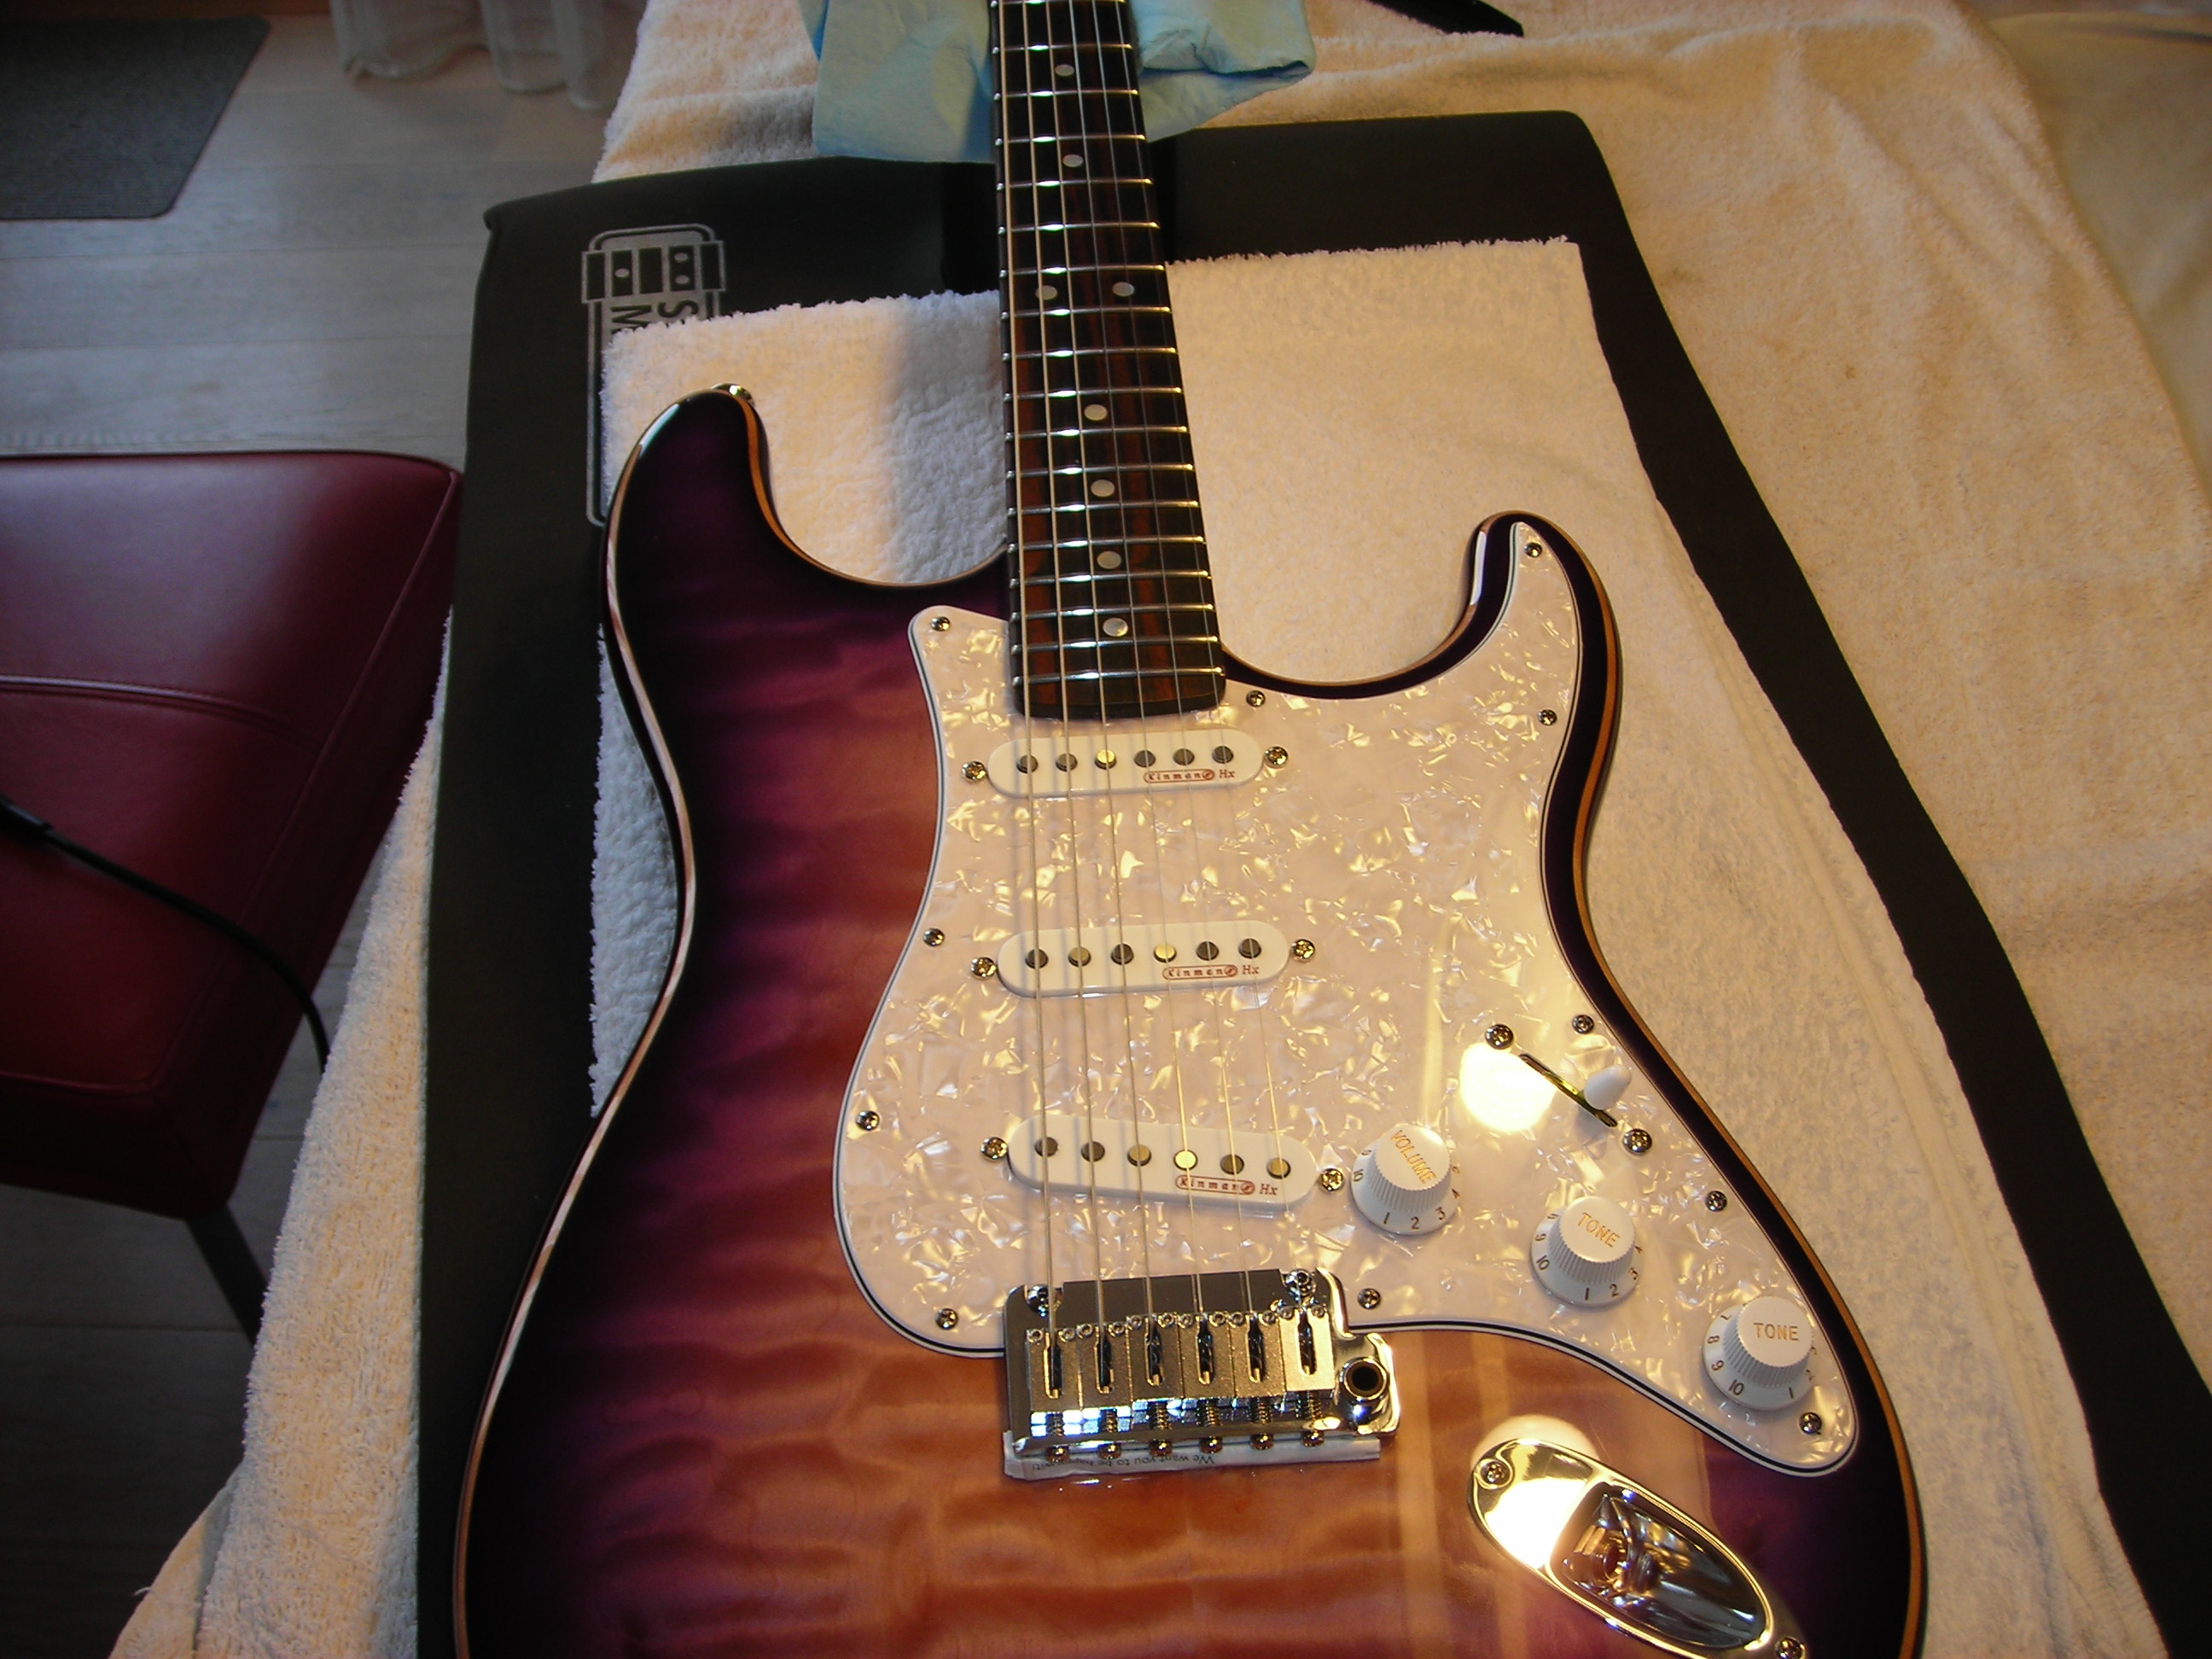
And the results.
 Metal_Work_8
 by
stratamania, on Flickr
 Metal_Work_9
 by
stratamania, on Flickr
 Metal_Work_10
 by
stratamania, on Flickr
 Metal_Work_11
 by
stratamania, on Flickr
In case anyone is wondering, when doing this type of work on the frets very little material gets removed, so although it looks like I have done them three times, I basically have ended up with the result that I could have arrived at the first time of masking off. In other words, they have only been leveled, crowned and beveled once, but the polishing needed revisiting.
All in all more experience and lessons learned for future projects.
Next up is soldering the ground wire to the claw, restringing and backplate fitting, then its done.
<<< Thanks for looking and Christmas Greetings to all >>>
All characters and departments in this thread were played and directed by yours truly


 ccasion14:
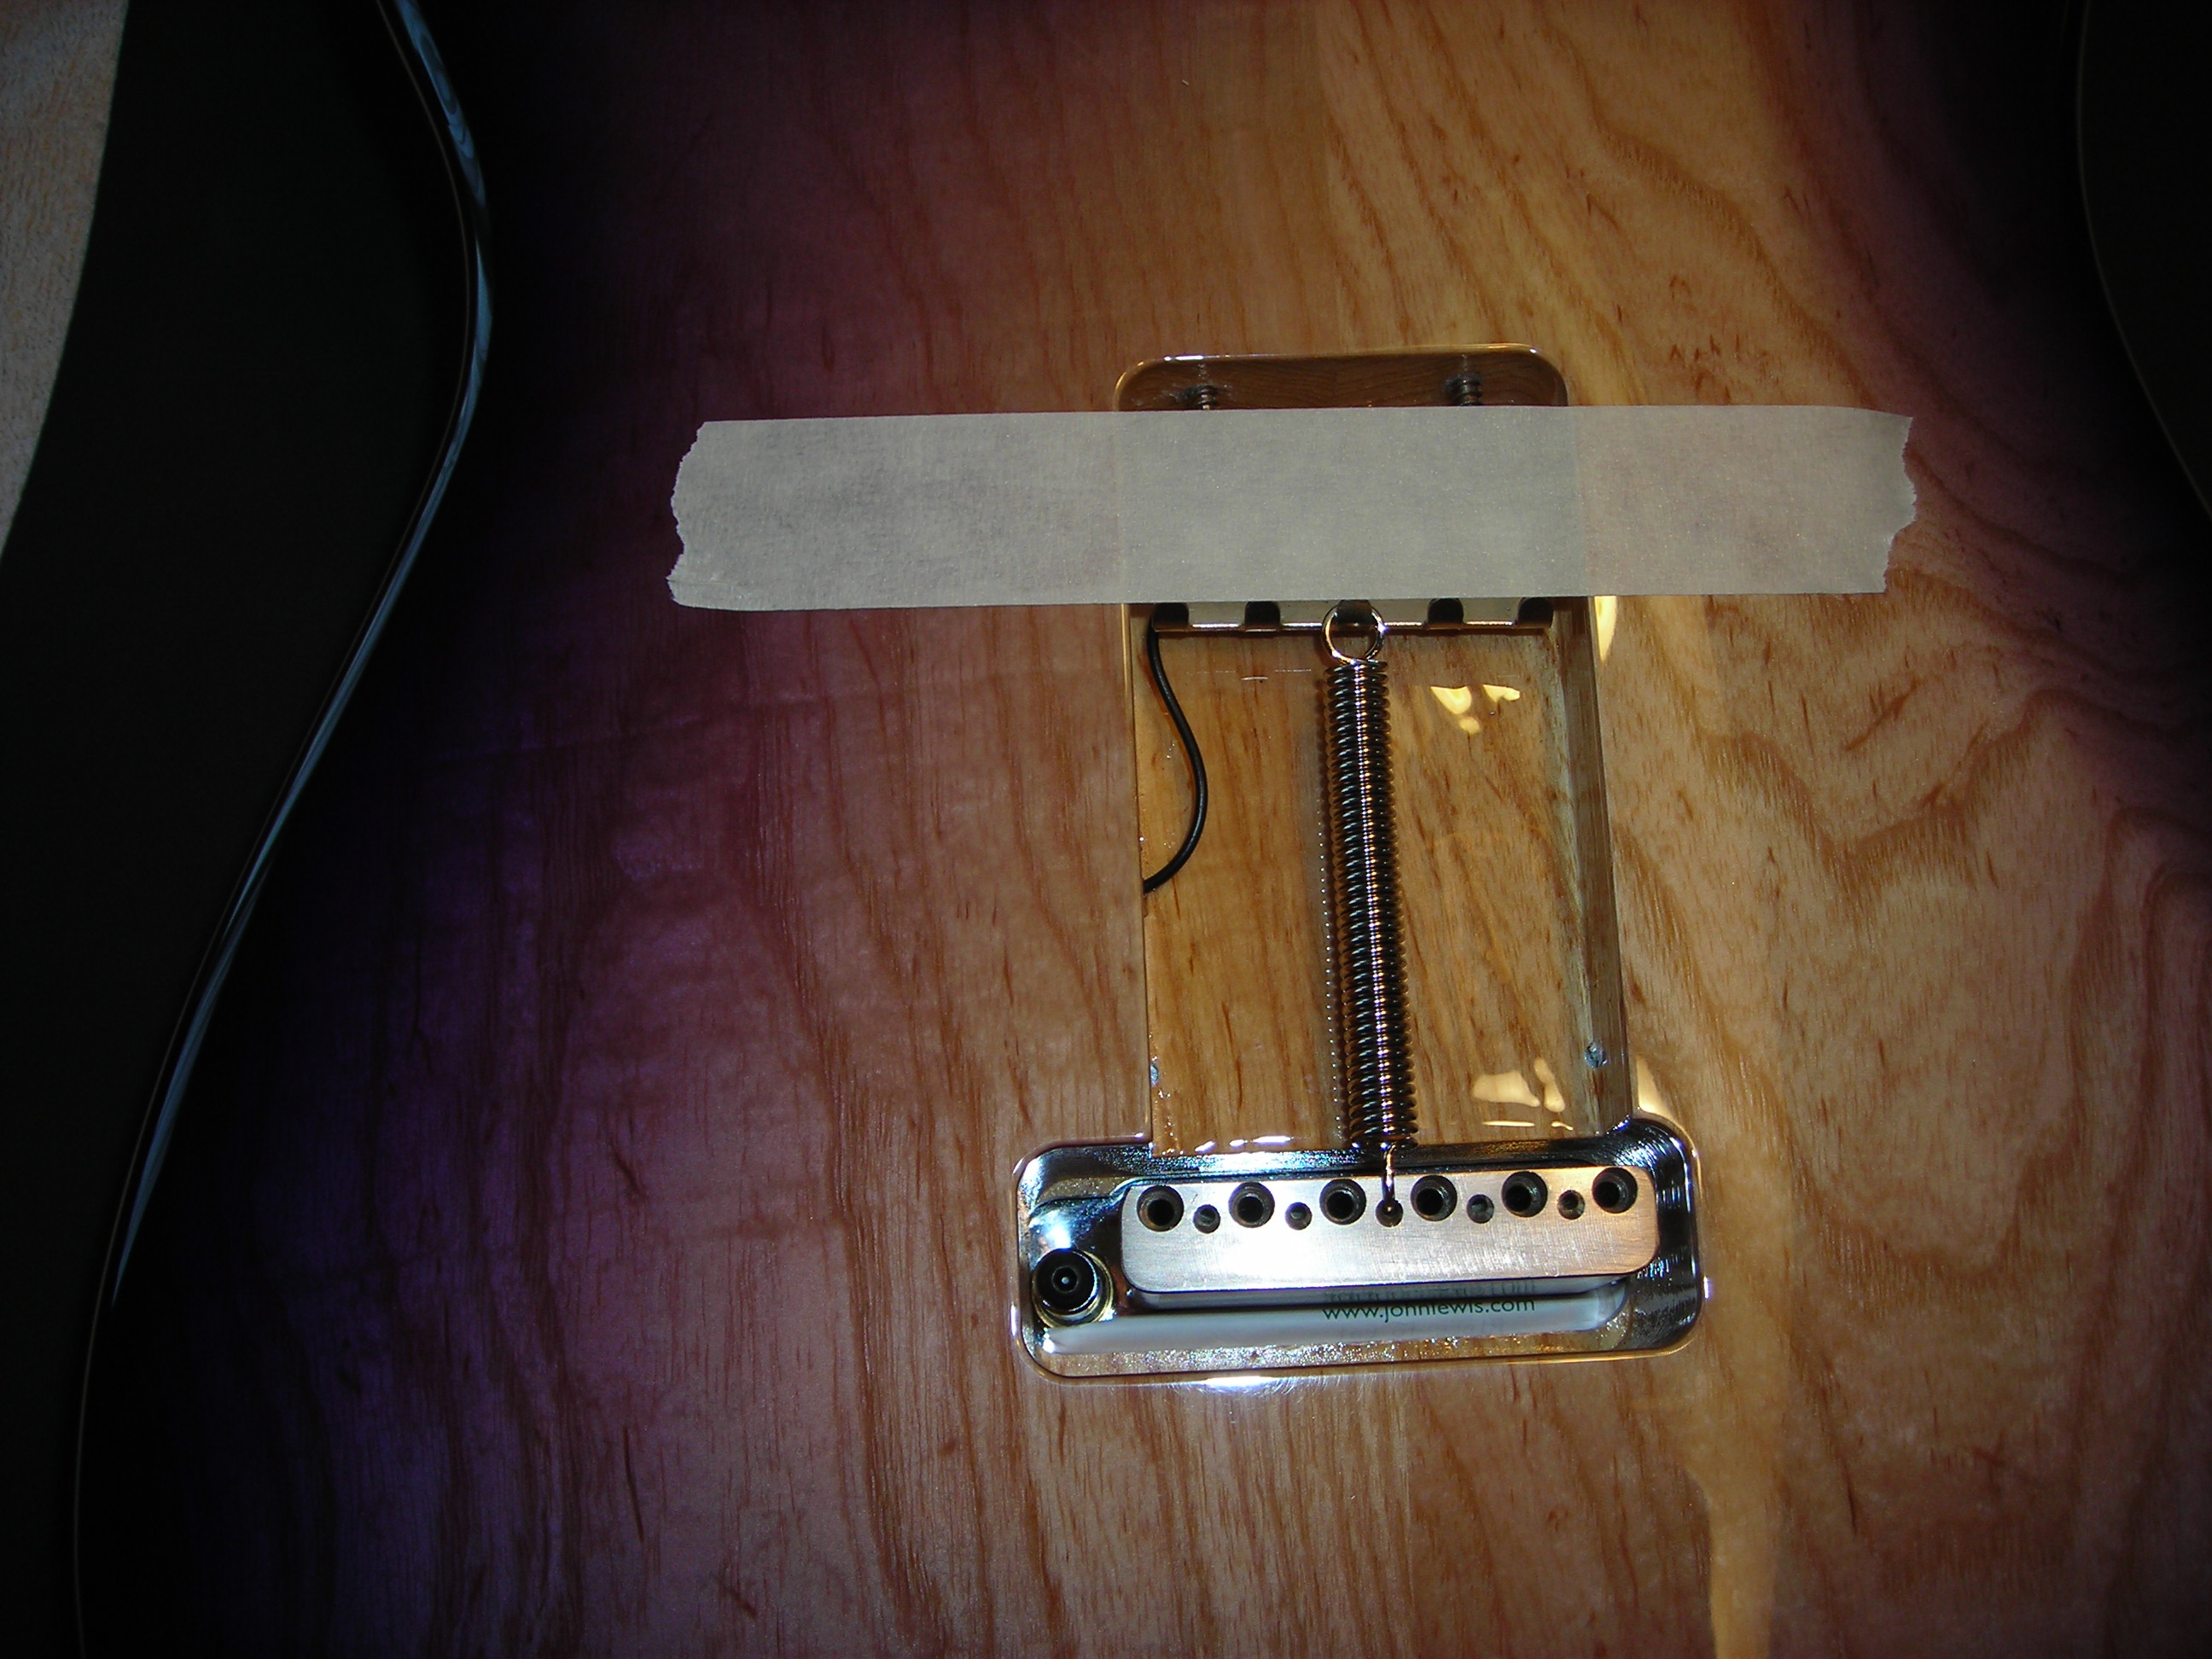
 arty07: