

You are using an out of date browser. It may not display this or other websites correctly.
You should upgrade or use an alternative browser.
You should upgrade or use an alternative browser.
Quilted Purple Strat Build
- Thread starter stratamania
- Start date
croquet hoop
Senior Member
- Messages
- 443
stratamania said:Dry fitting of pick-guard successful.


This shot needed more light! It's going to look killer, seriously.
And good job on the shielding, this is something that I hate to do. It may be thought as useless with noiseless single coils, but for the sake of completeness, I would have done it too (I won't do it on my Strat with EMGs, though).
stratamania
Mythical Status
- Messages
- 12,390
croquet hoop said:This shot needed more light! It's going to look killer, seriously.
And good job on the shielding, this is something that I hate to do. It may be thought as useless with noiseless single coils, but for the sake of completeness, I would have done it too (I won't do it on my Strat with EMGs, though).
Thanks, I must admit I am just getting the shots quickly with my 5.1 Megapixel Nikon compact camera. Perhaps I need some better photography kit
")
On the screening, it took a while to do but I think its worth it for completeness. Another reason I put it in is if for any reason I change the pickups in the future for traditional single coils the body is already shielded.
stratamania
Mythical Status
- Messages
- 12,390
Cagey said:Holy mackerel! That's some pretty aggressive shielding, especially considering how useless it is. And that on top of using noiseless pickups! Good job, anyway. Next time, don't work so hard. You'll live longer.
Thanks Cagey... I could play next to power lines, but that may guarantee not living long. :icon_jokercolor:
stratamania
Mythical Status
- Messages
- 12,390
Axl12 said:Really enjoy viewing the Build, its like we are sharing the excitement with you. the Purple really pops! great taste.
Thanks Axl12...
stratamania
Mythical Status
- Messages
- 12,390
More Fret work and Neck Finish Started
I had a little extra fret work to do. For some reason probably to do with ordering files at 3 am I ended up with a duplicate set of crowning files and no beveling file. This was exchanged and now I had a beveling file I could add a little more bevel.
After the beveling.
 FinalFrets_1 by stratamania, on Flickr
Masking off again, as I needed to now redress the bevel and didn't want to risk accidental damage to the fretboard.
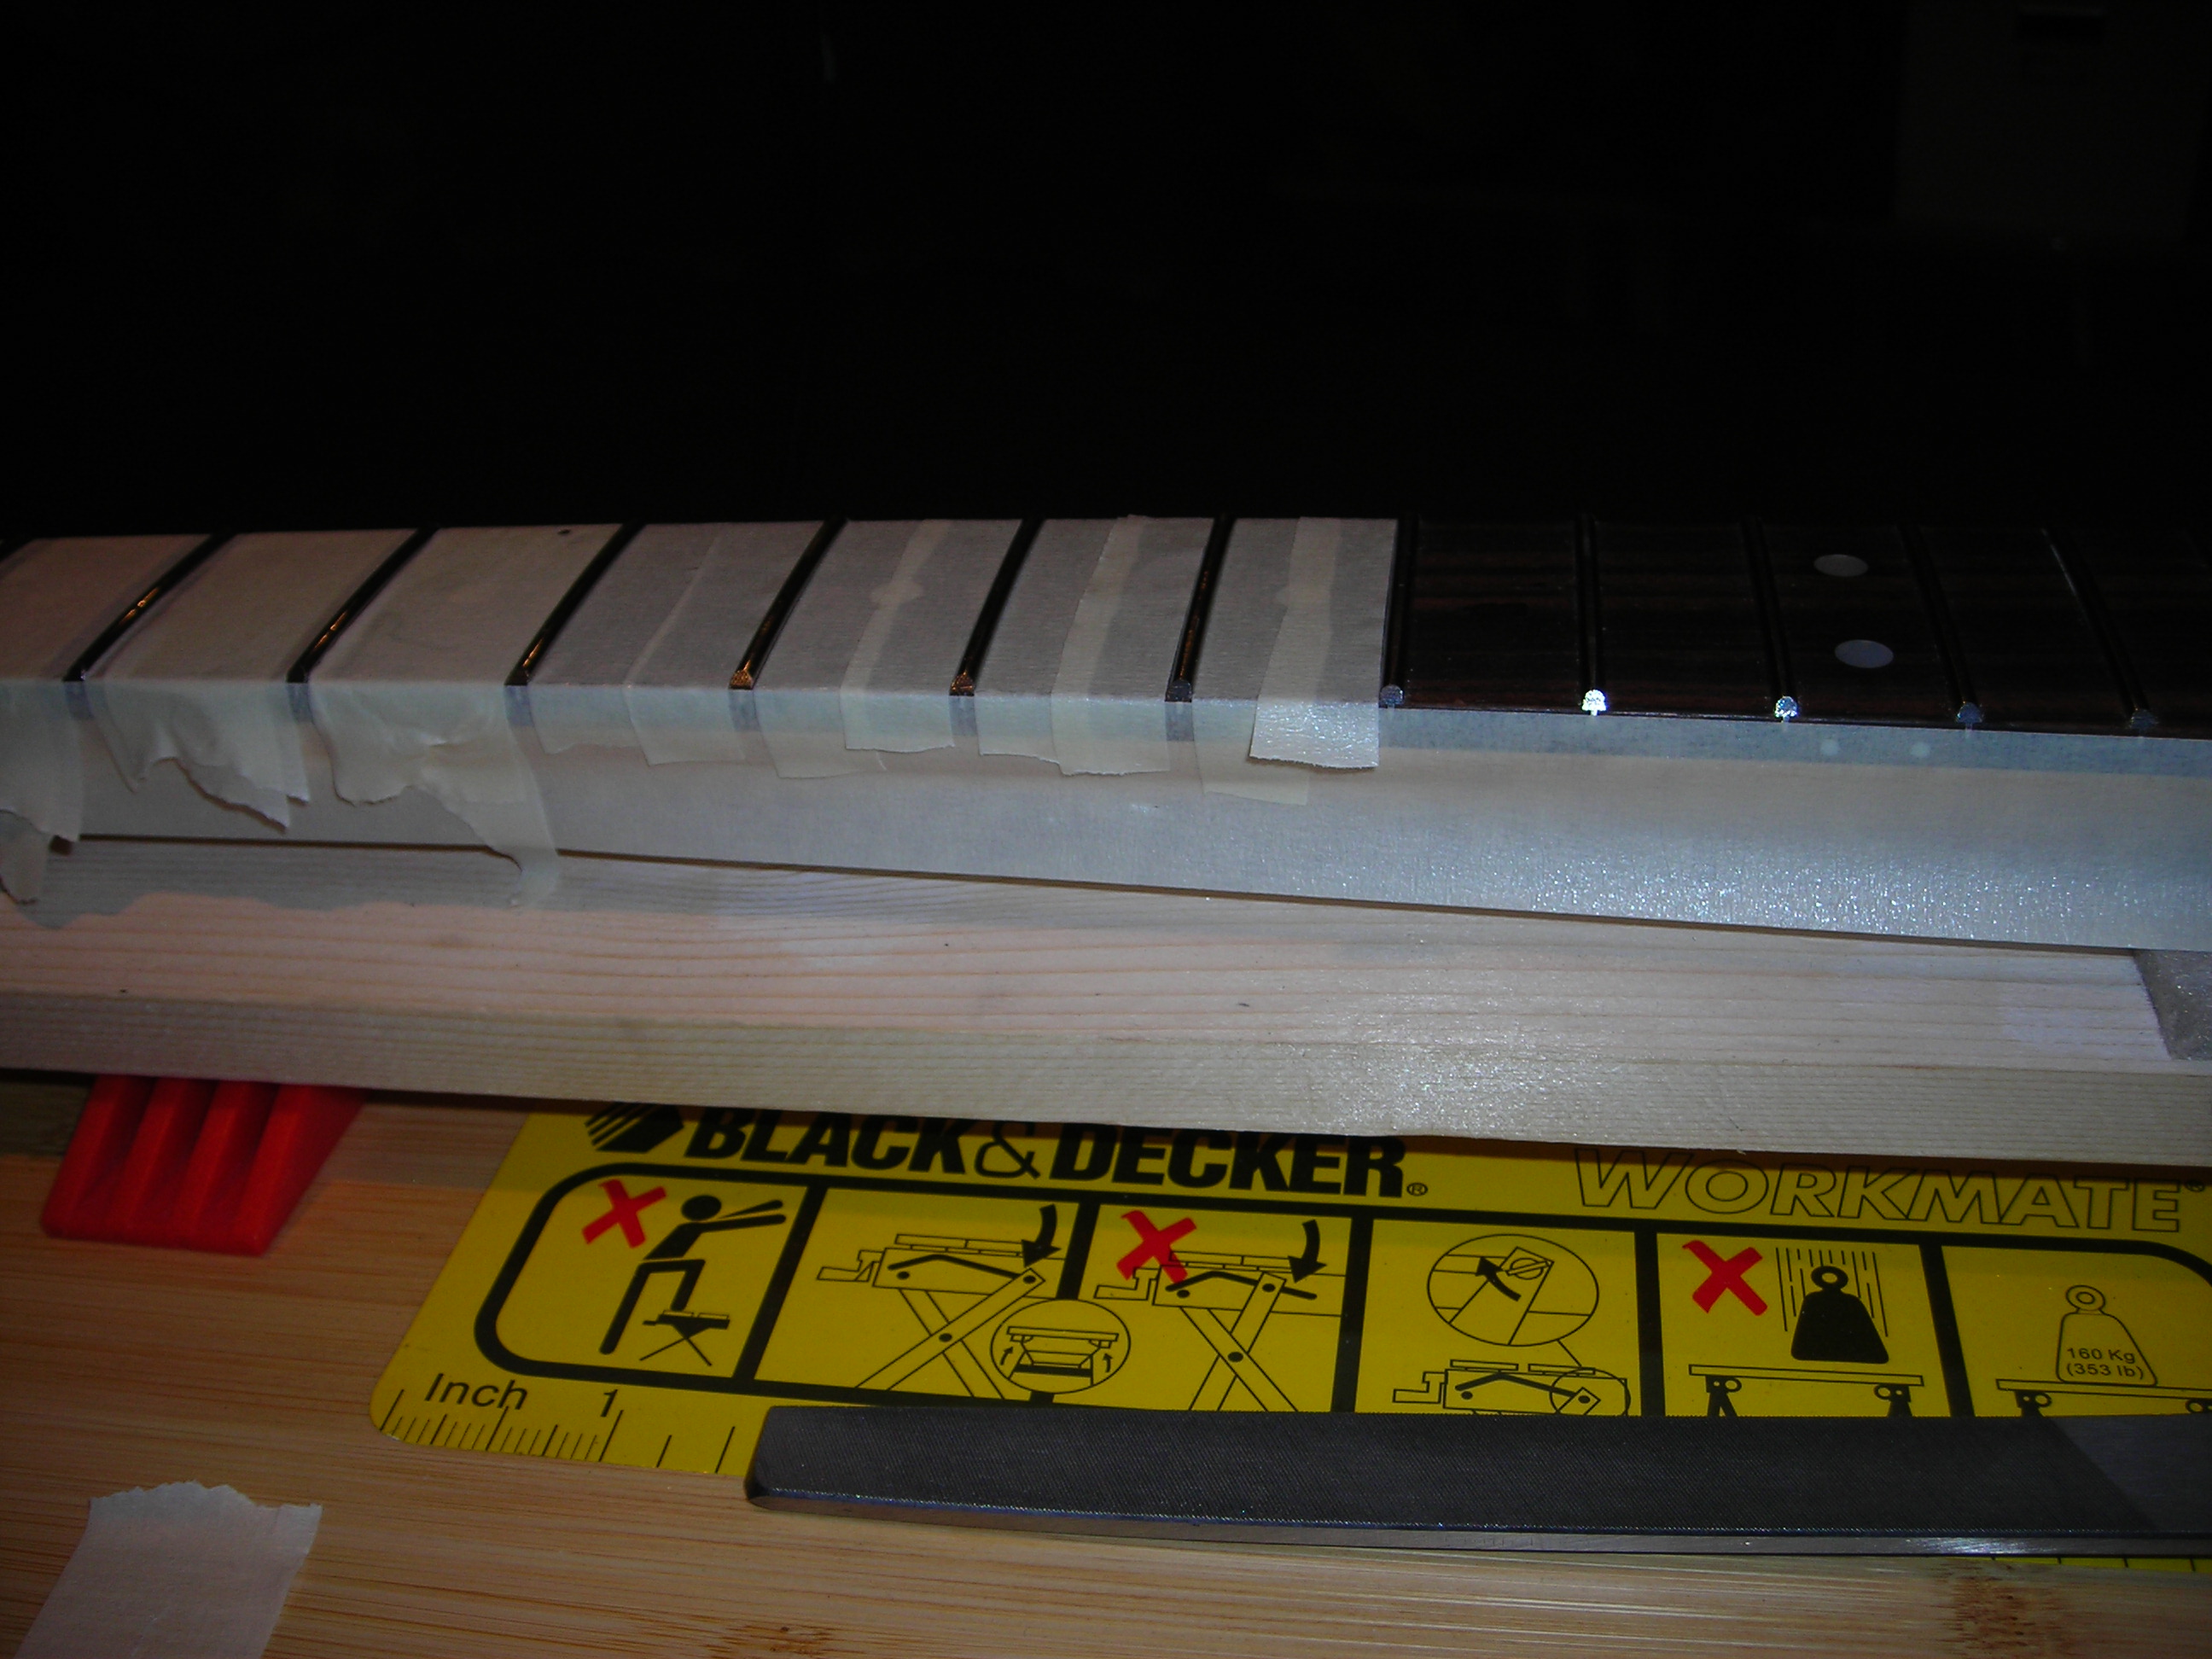 FinalFrets_2 by stratamania, on Flickr
So after dressing the fret ends and for good measure polishing them up again the masking was removed and then some ebony scraping for the fretboard roll.
 FinalFrets_3 by stratamania, on Flickr
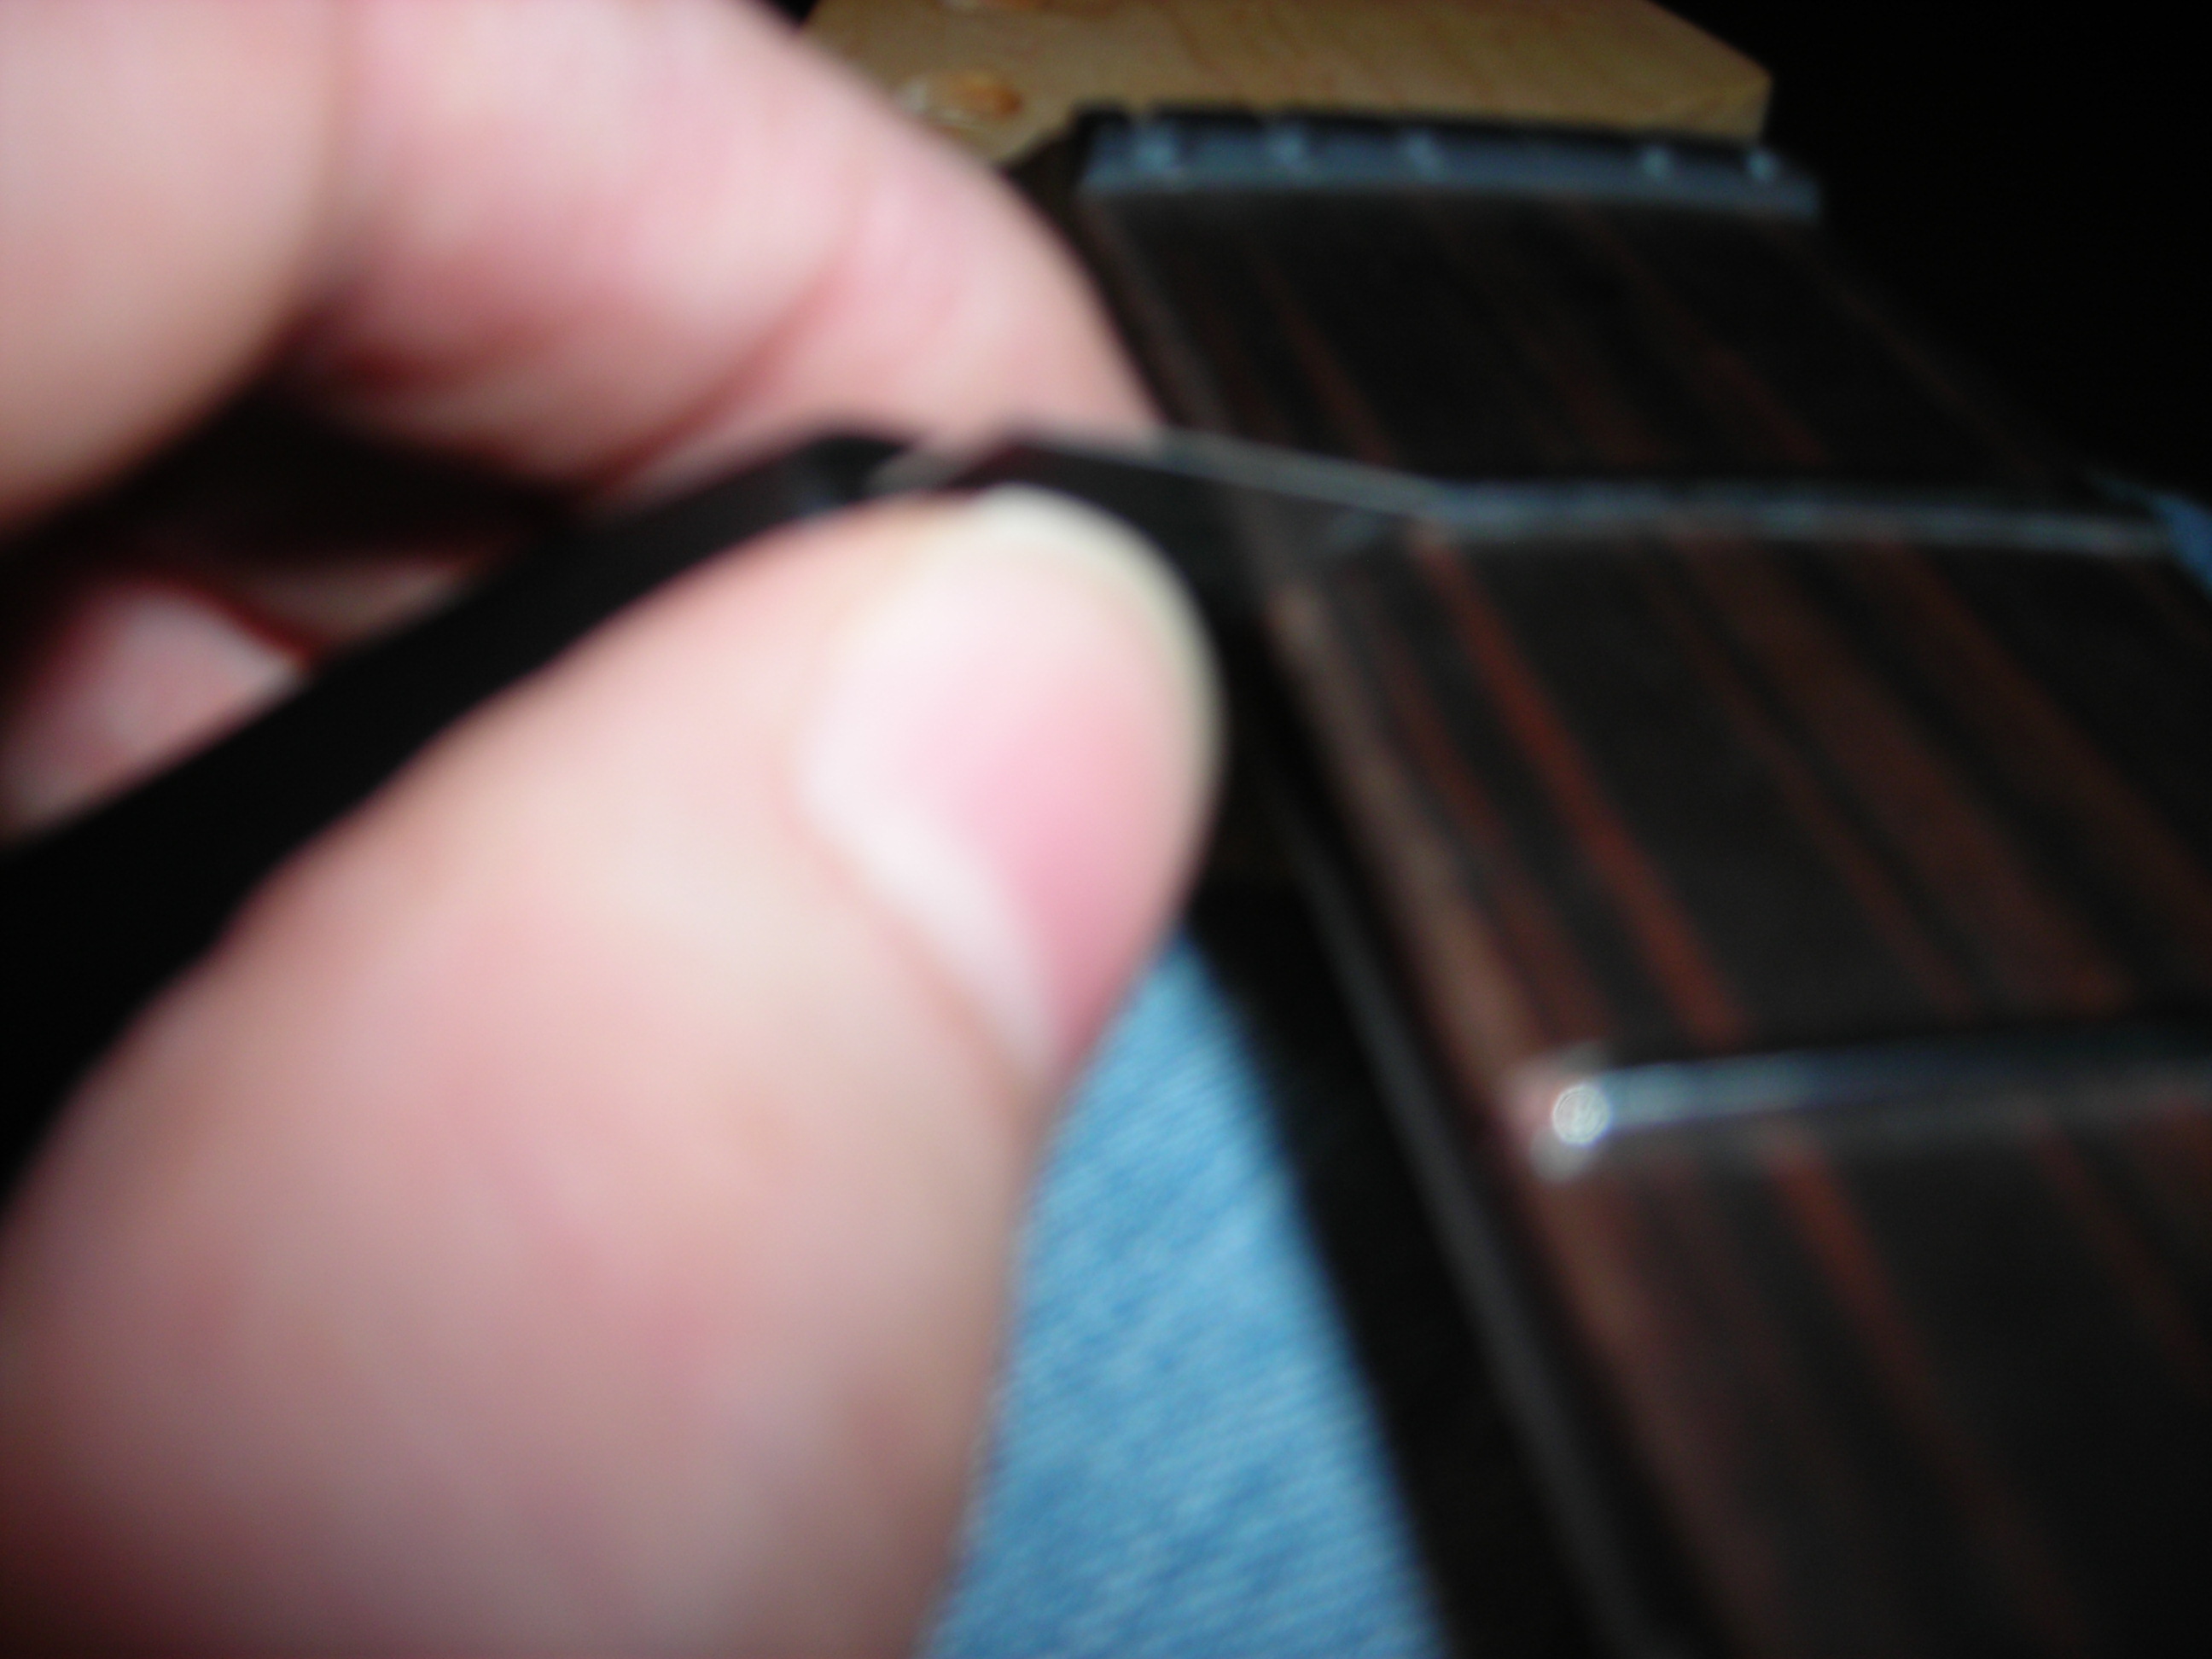
Scraping with the neck still in the jig I was finding a little awkward...
 FinalFrets_4 by stratamania, on Flickr
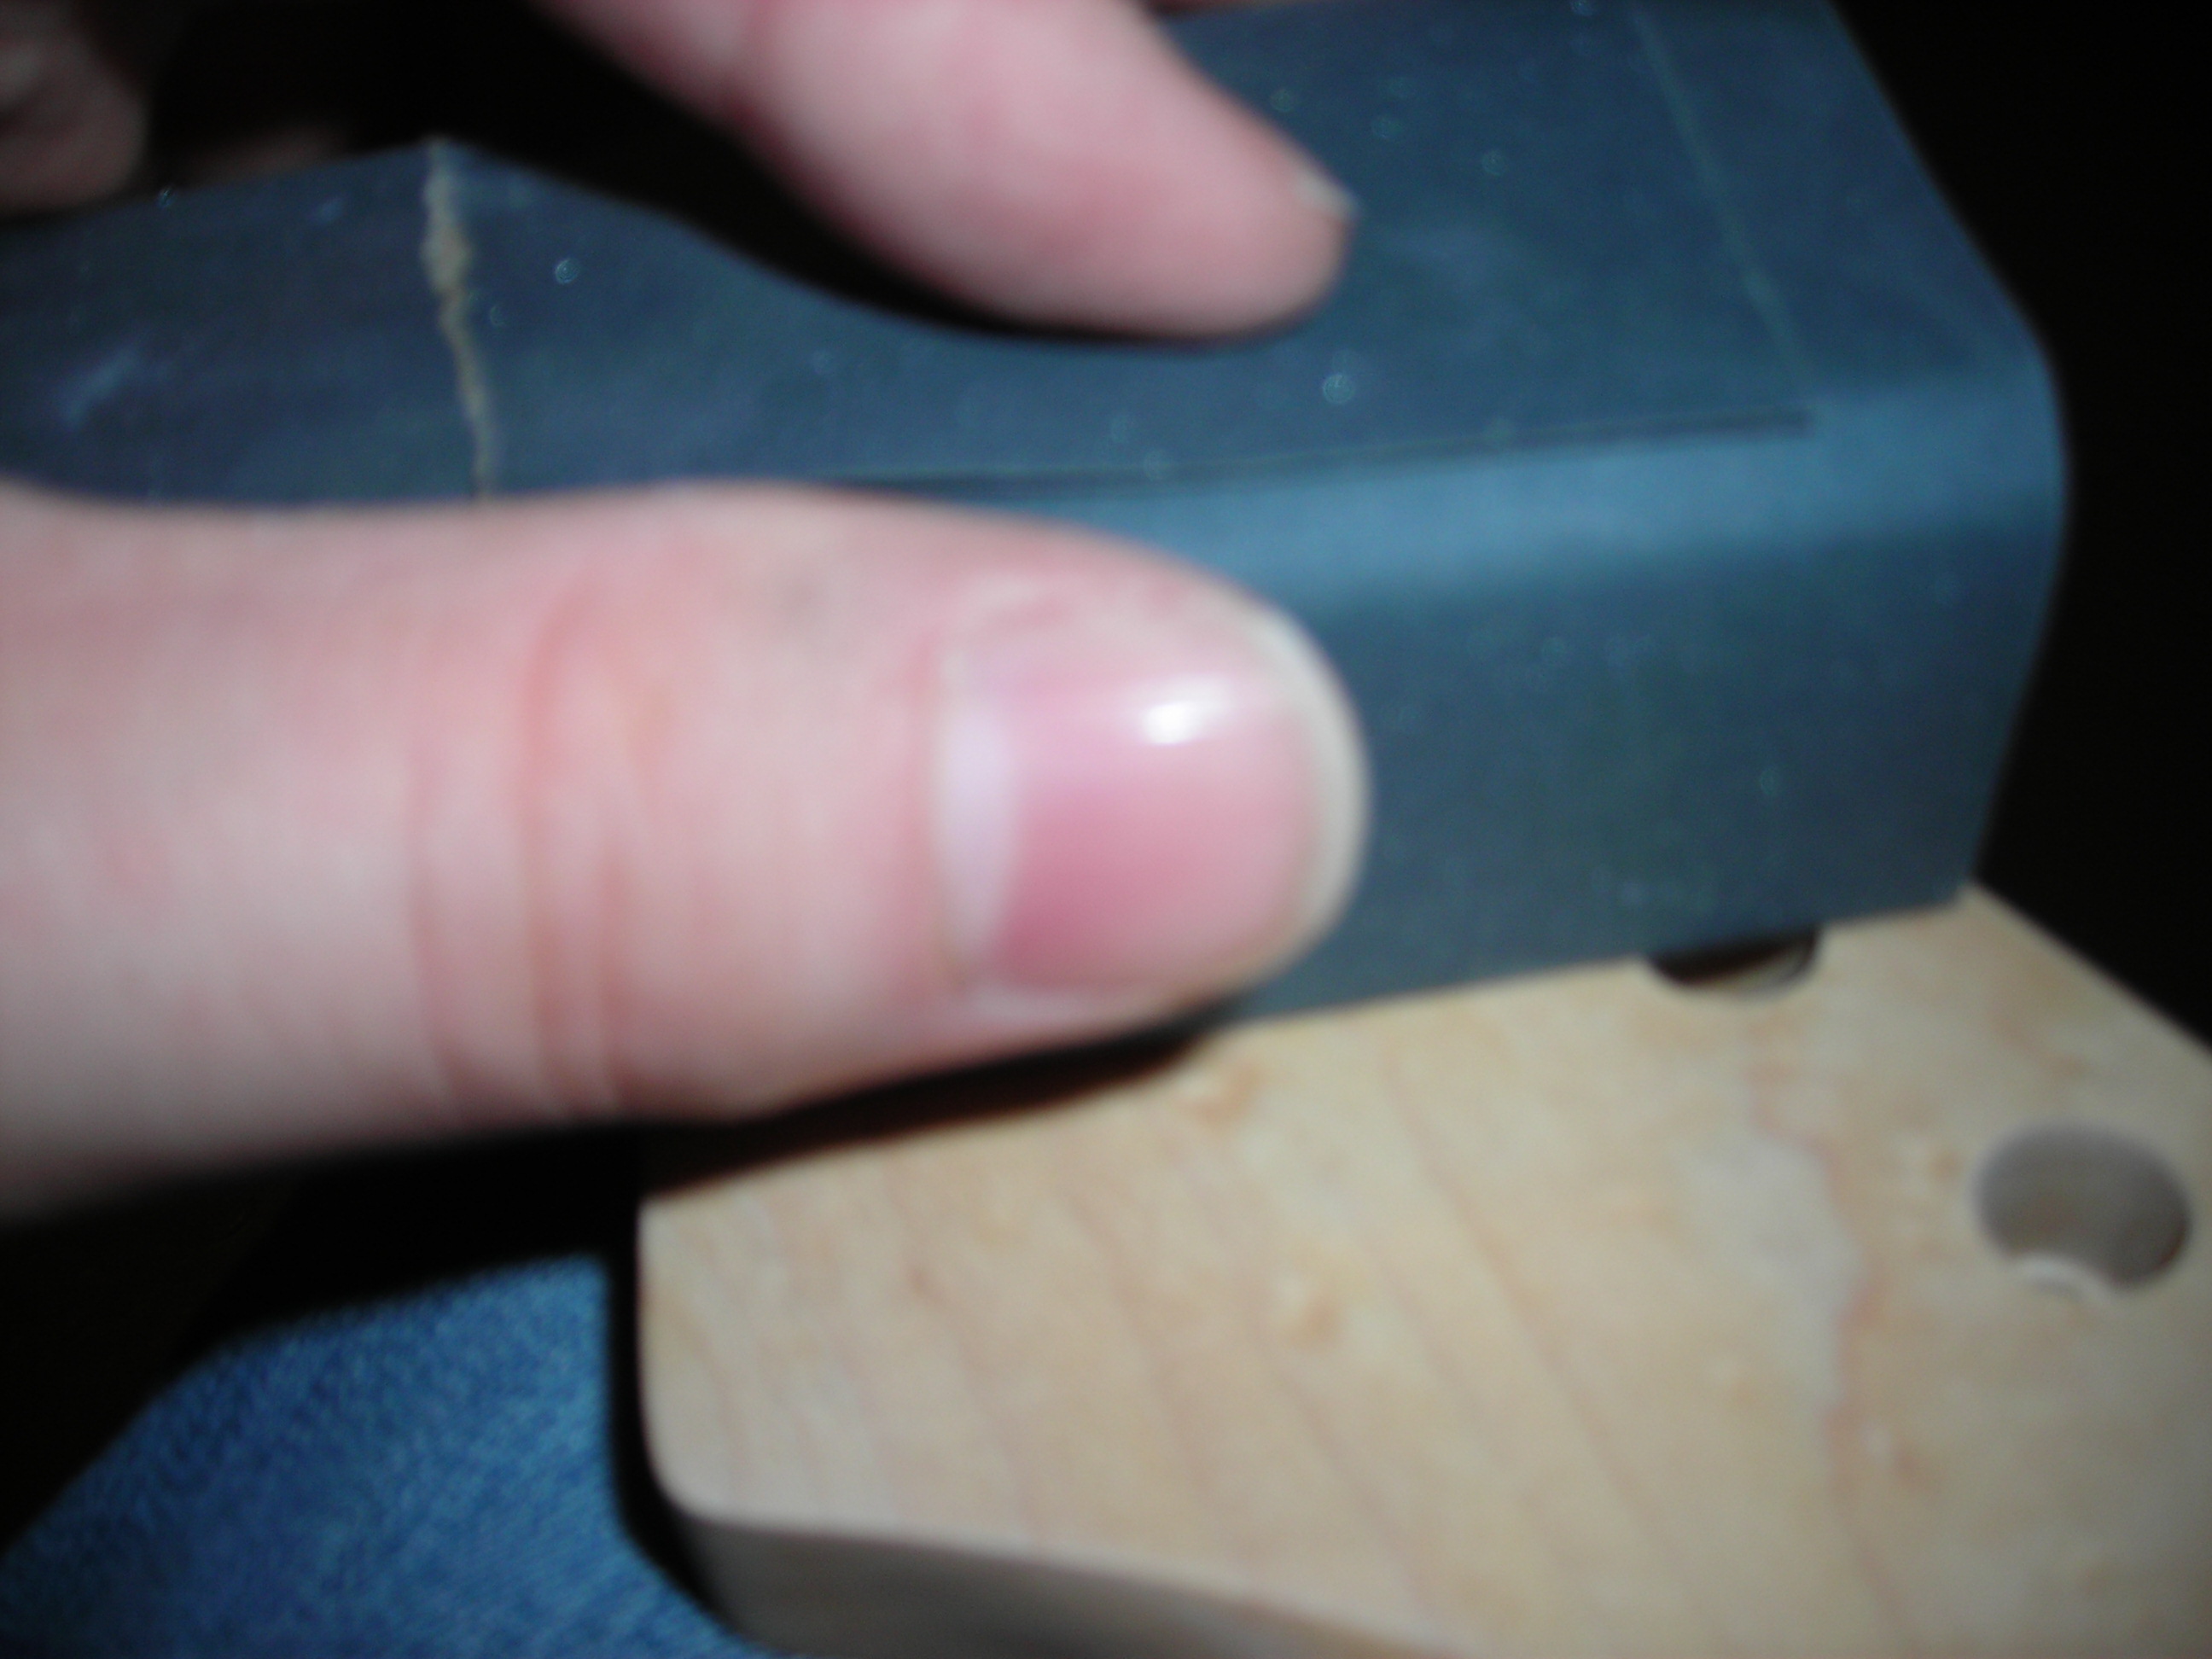
so the neck came out of the jig and was easier done sitting down with the neck. (Levis denim featured here
 FinalFrets_5 by stratamania, on Flickr
This shot is out of focus but was a one-handed shot. Just showing how it seems easier at least to me to do this job sitting down.
 FinalFrets_6 by stratamania, on Flickr
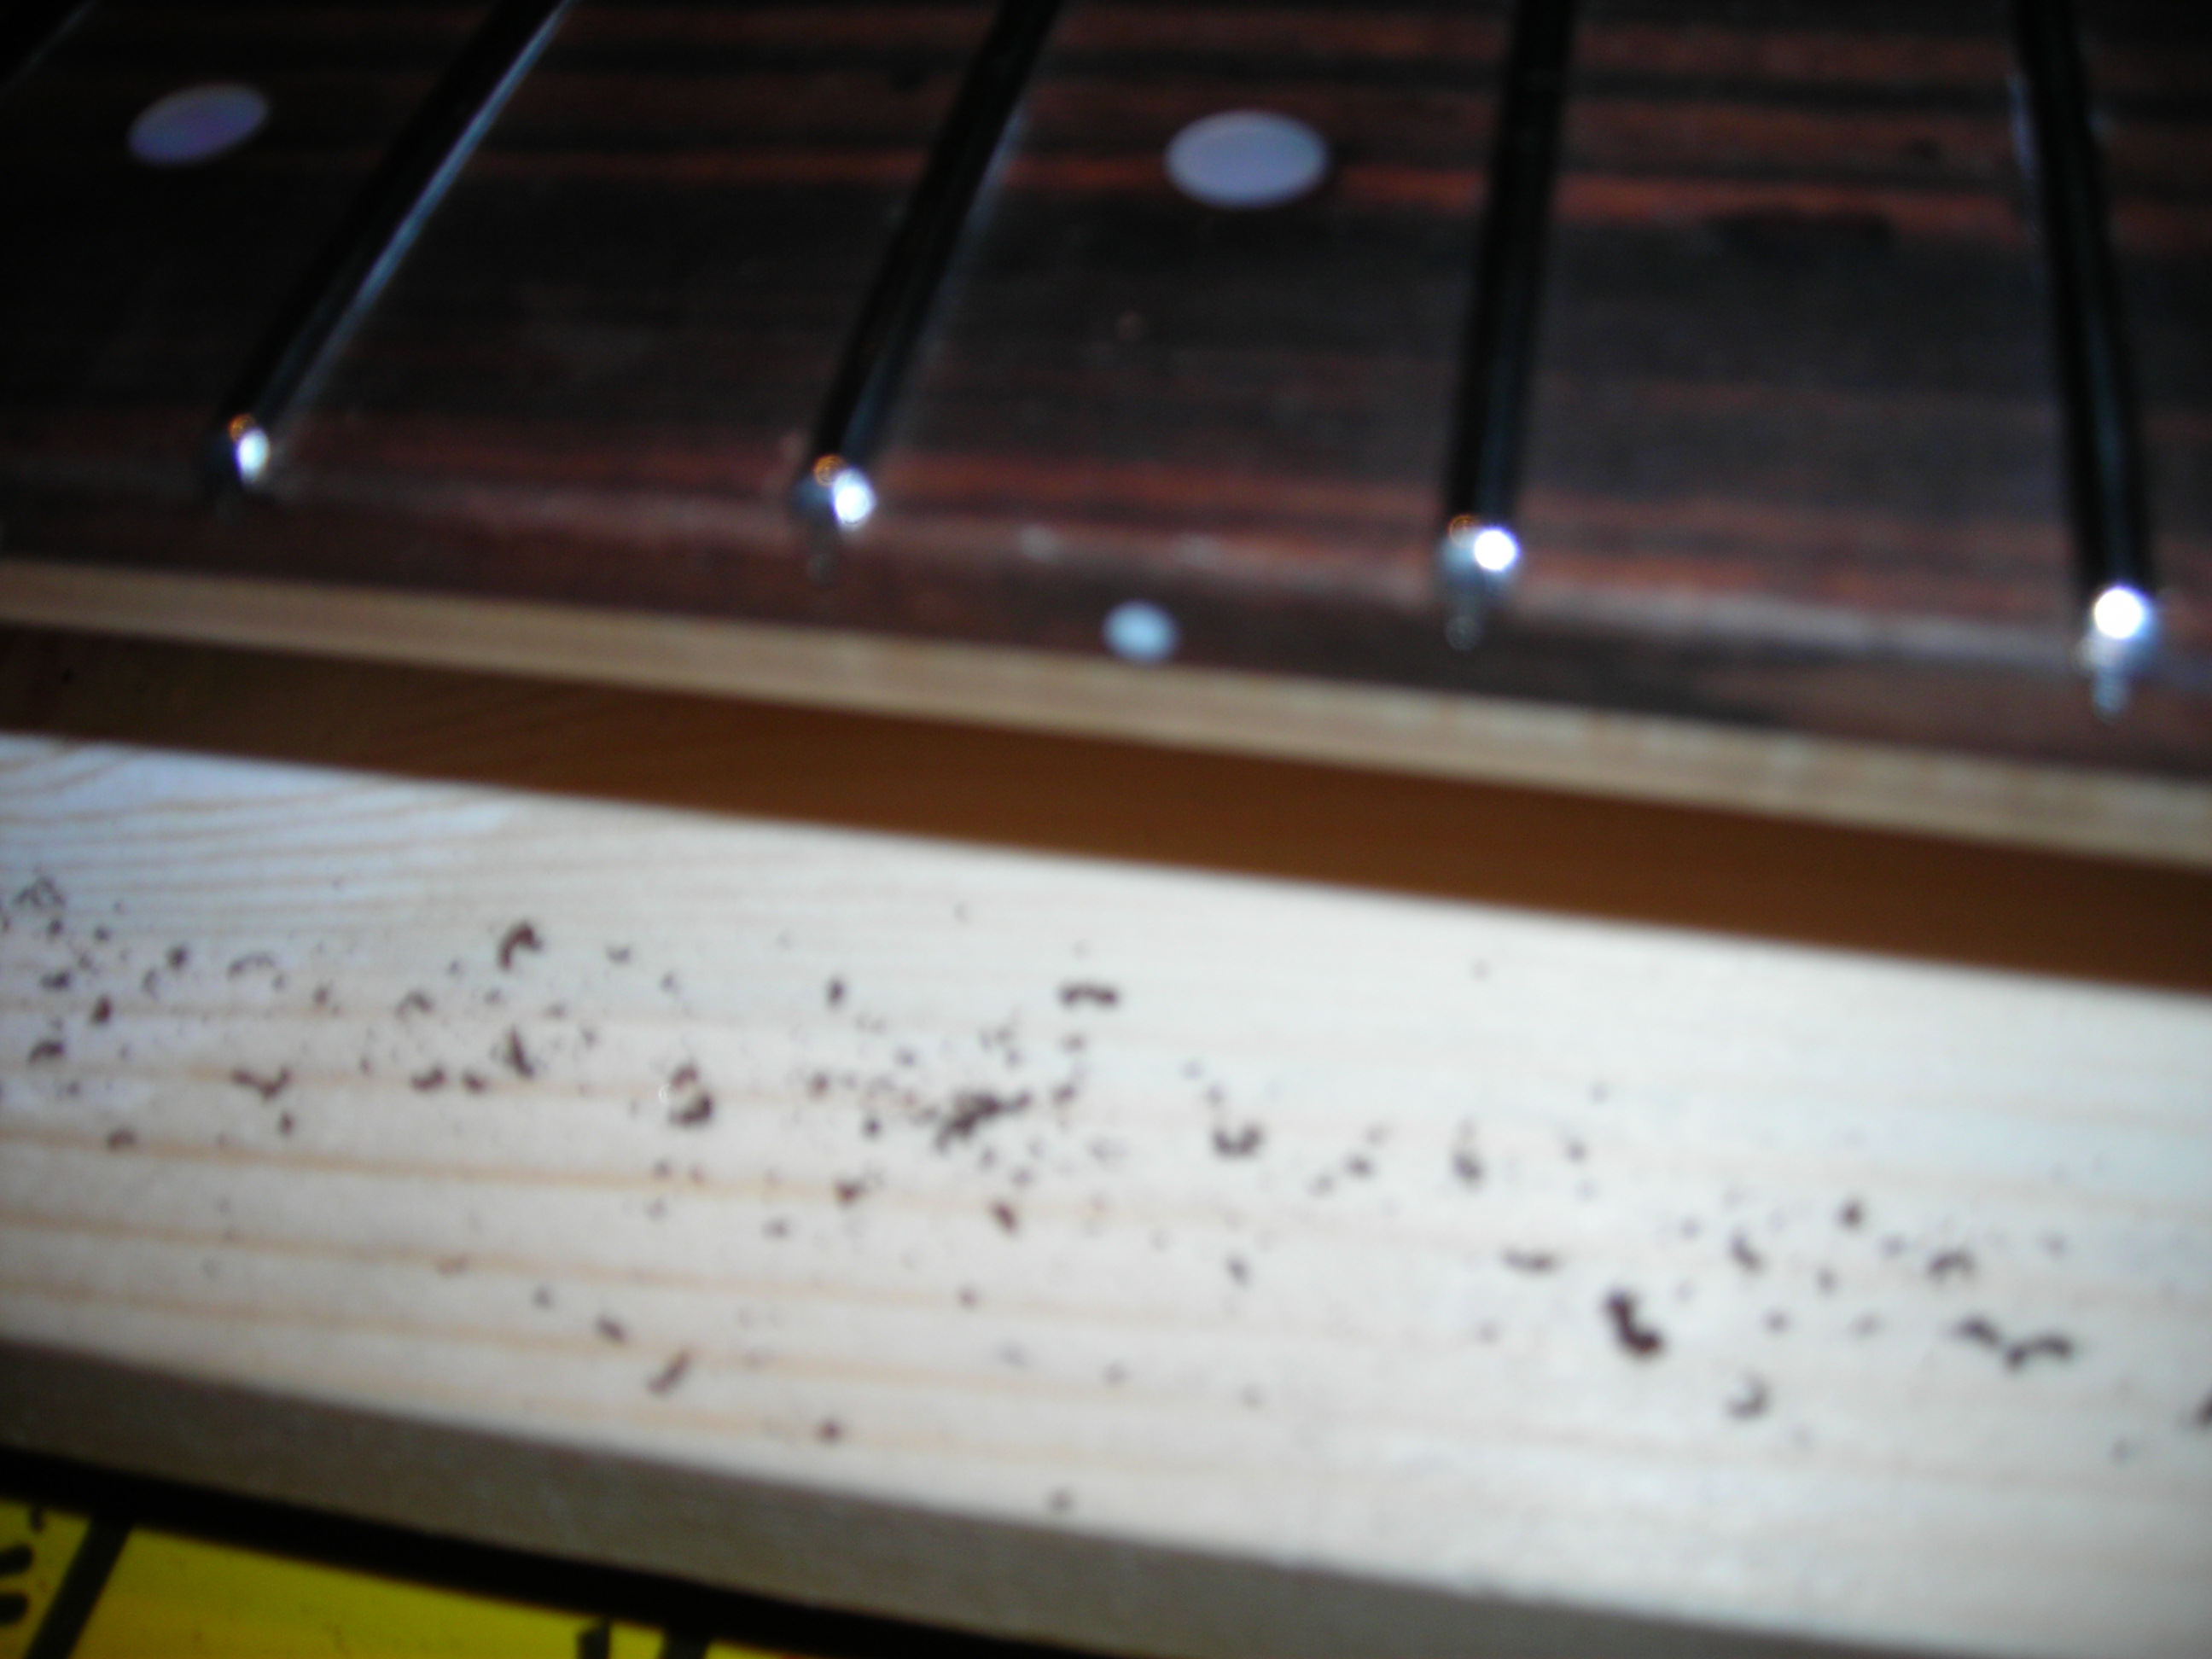
Fingerboard edge roll completed. Probably I will use some light sandpaper when all the finish work is done.
 FinalFrets_7 by stratamania, on Flickr
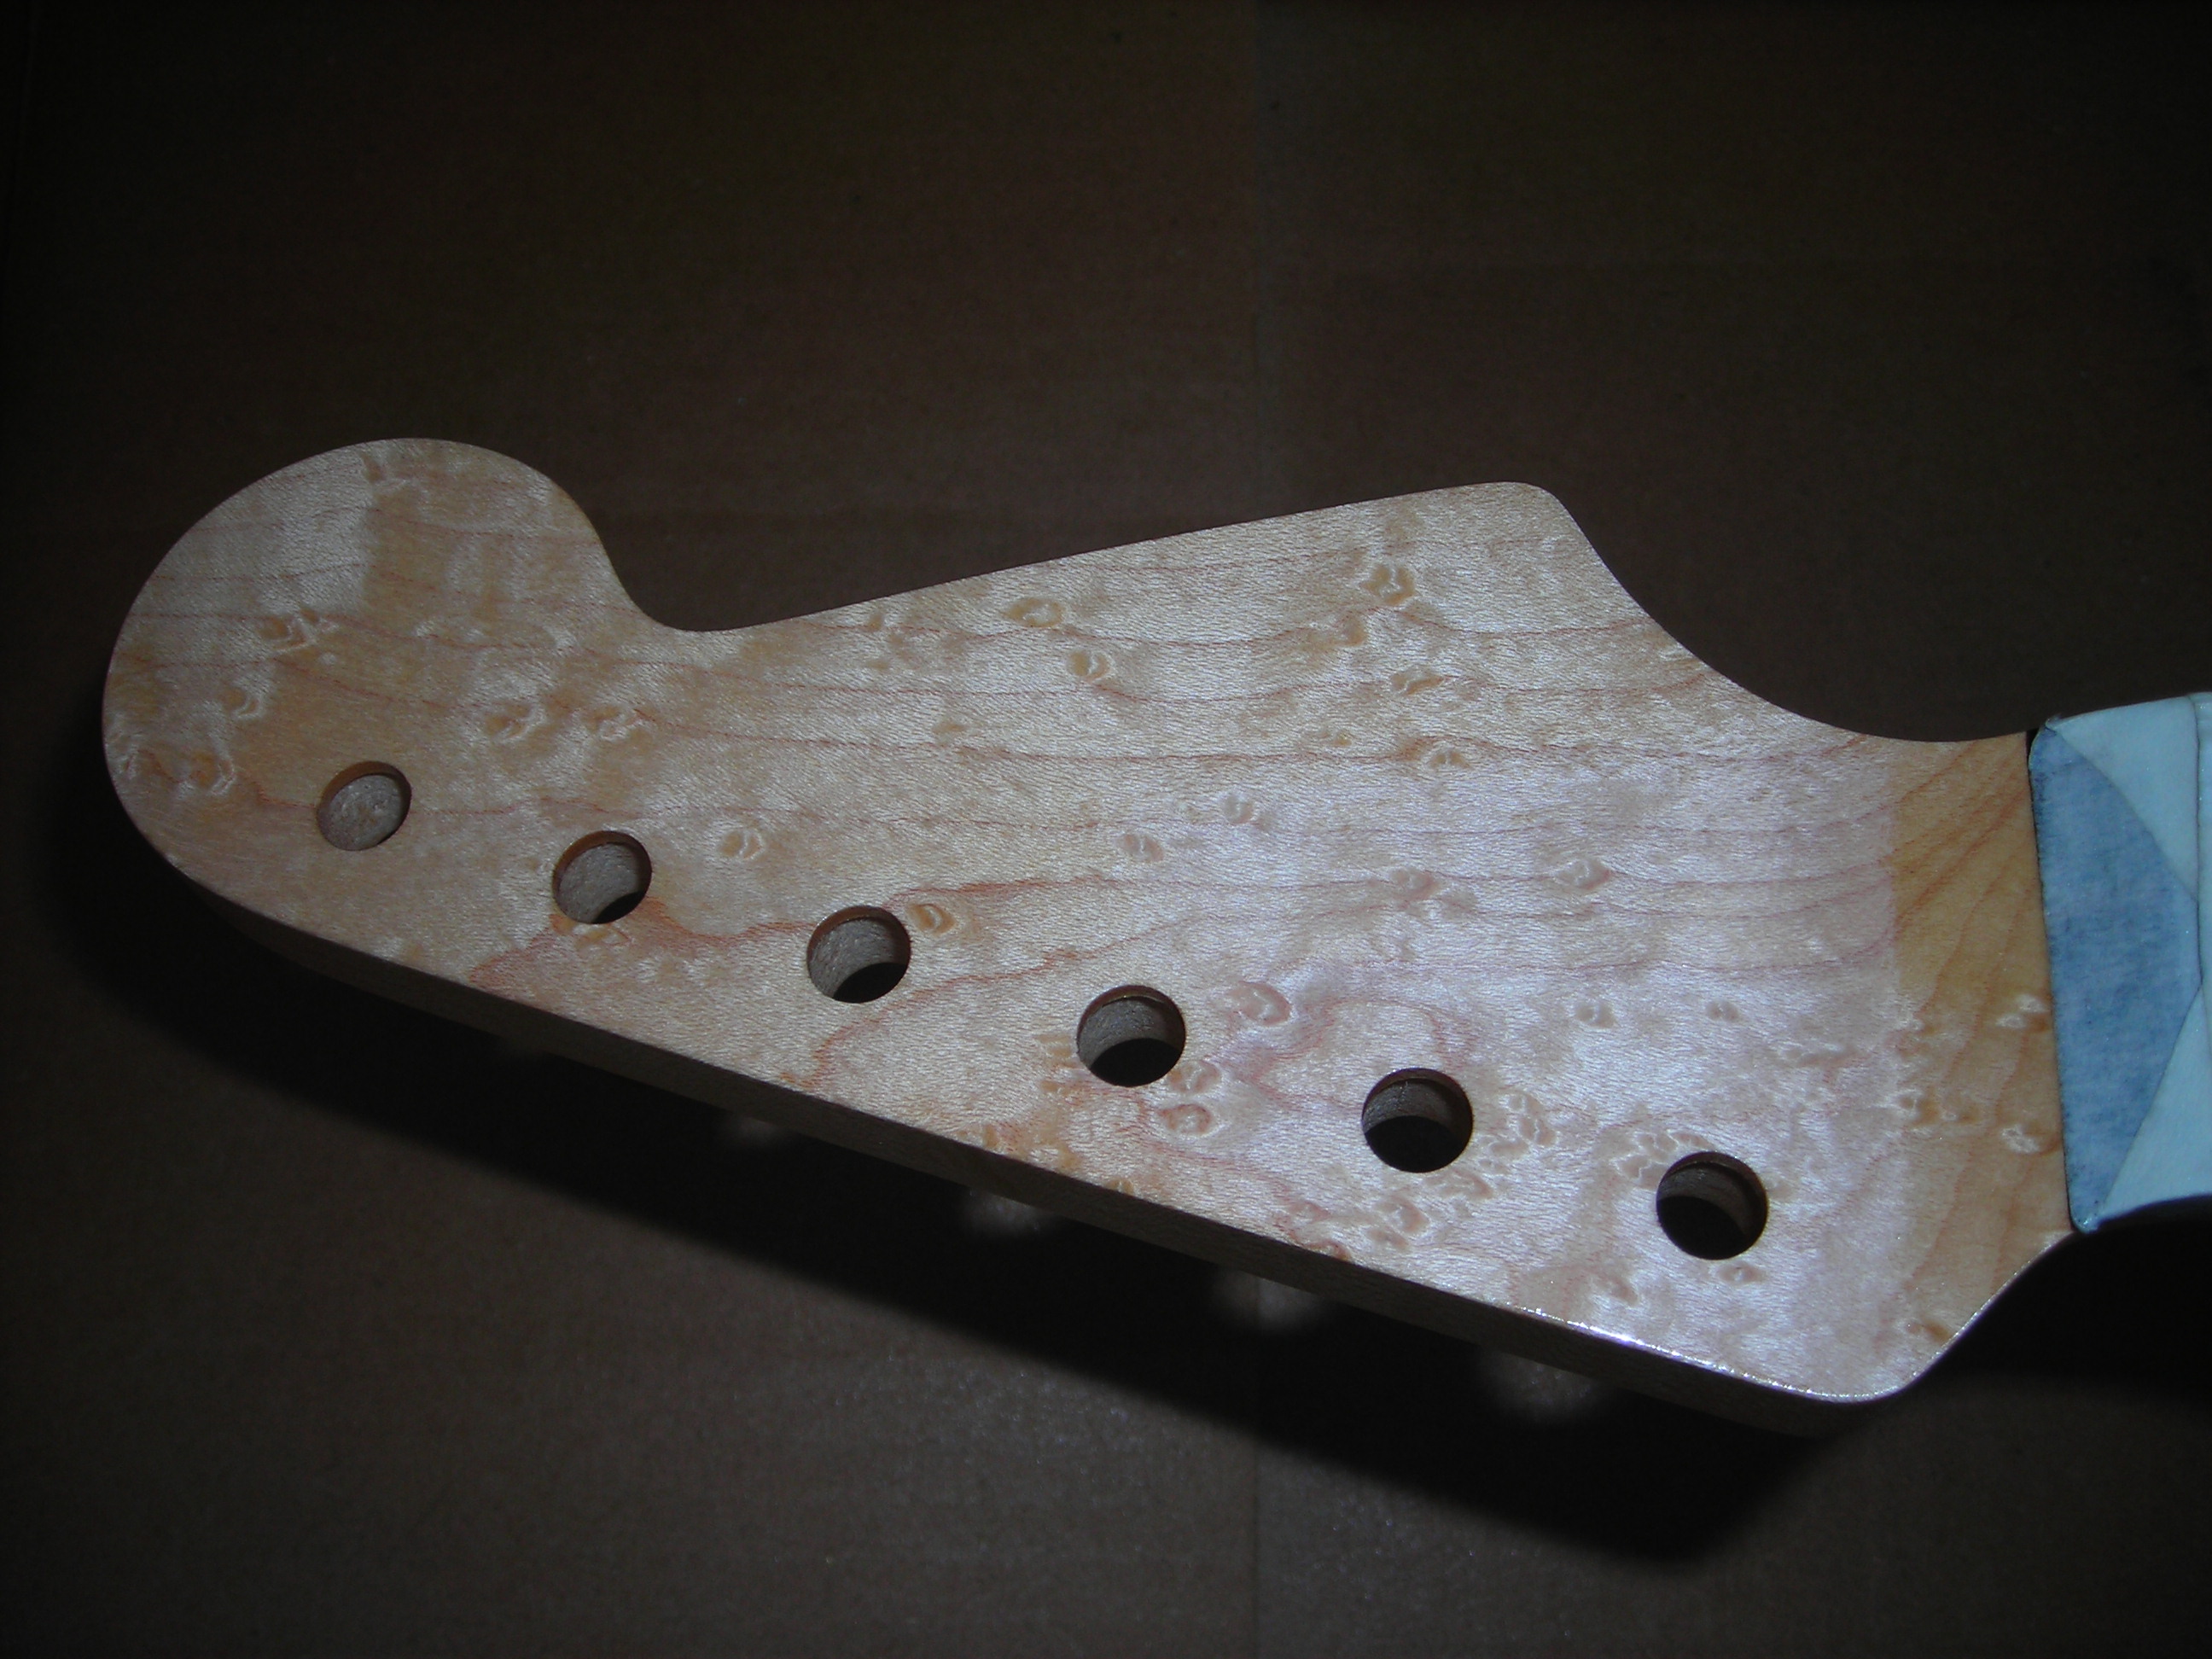
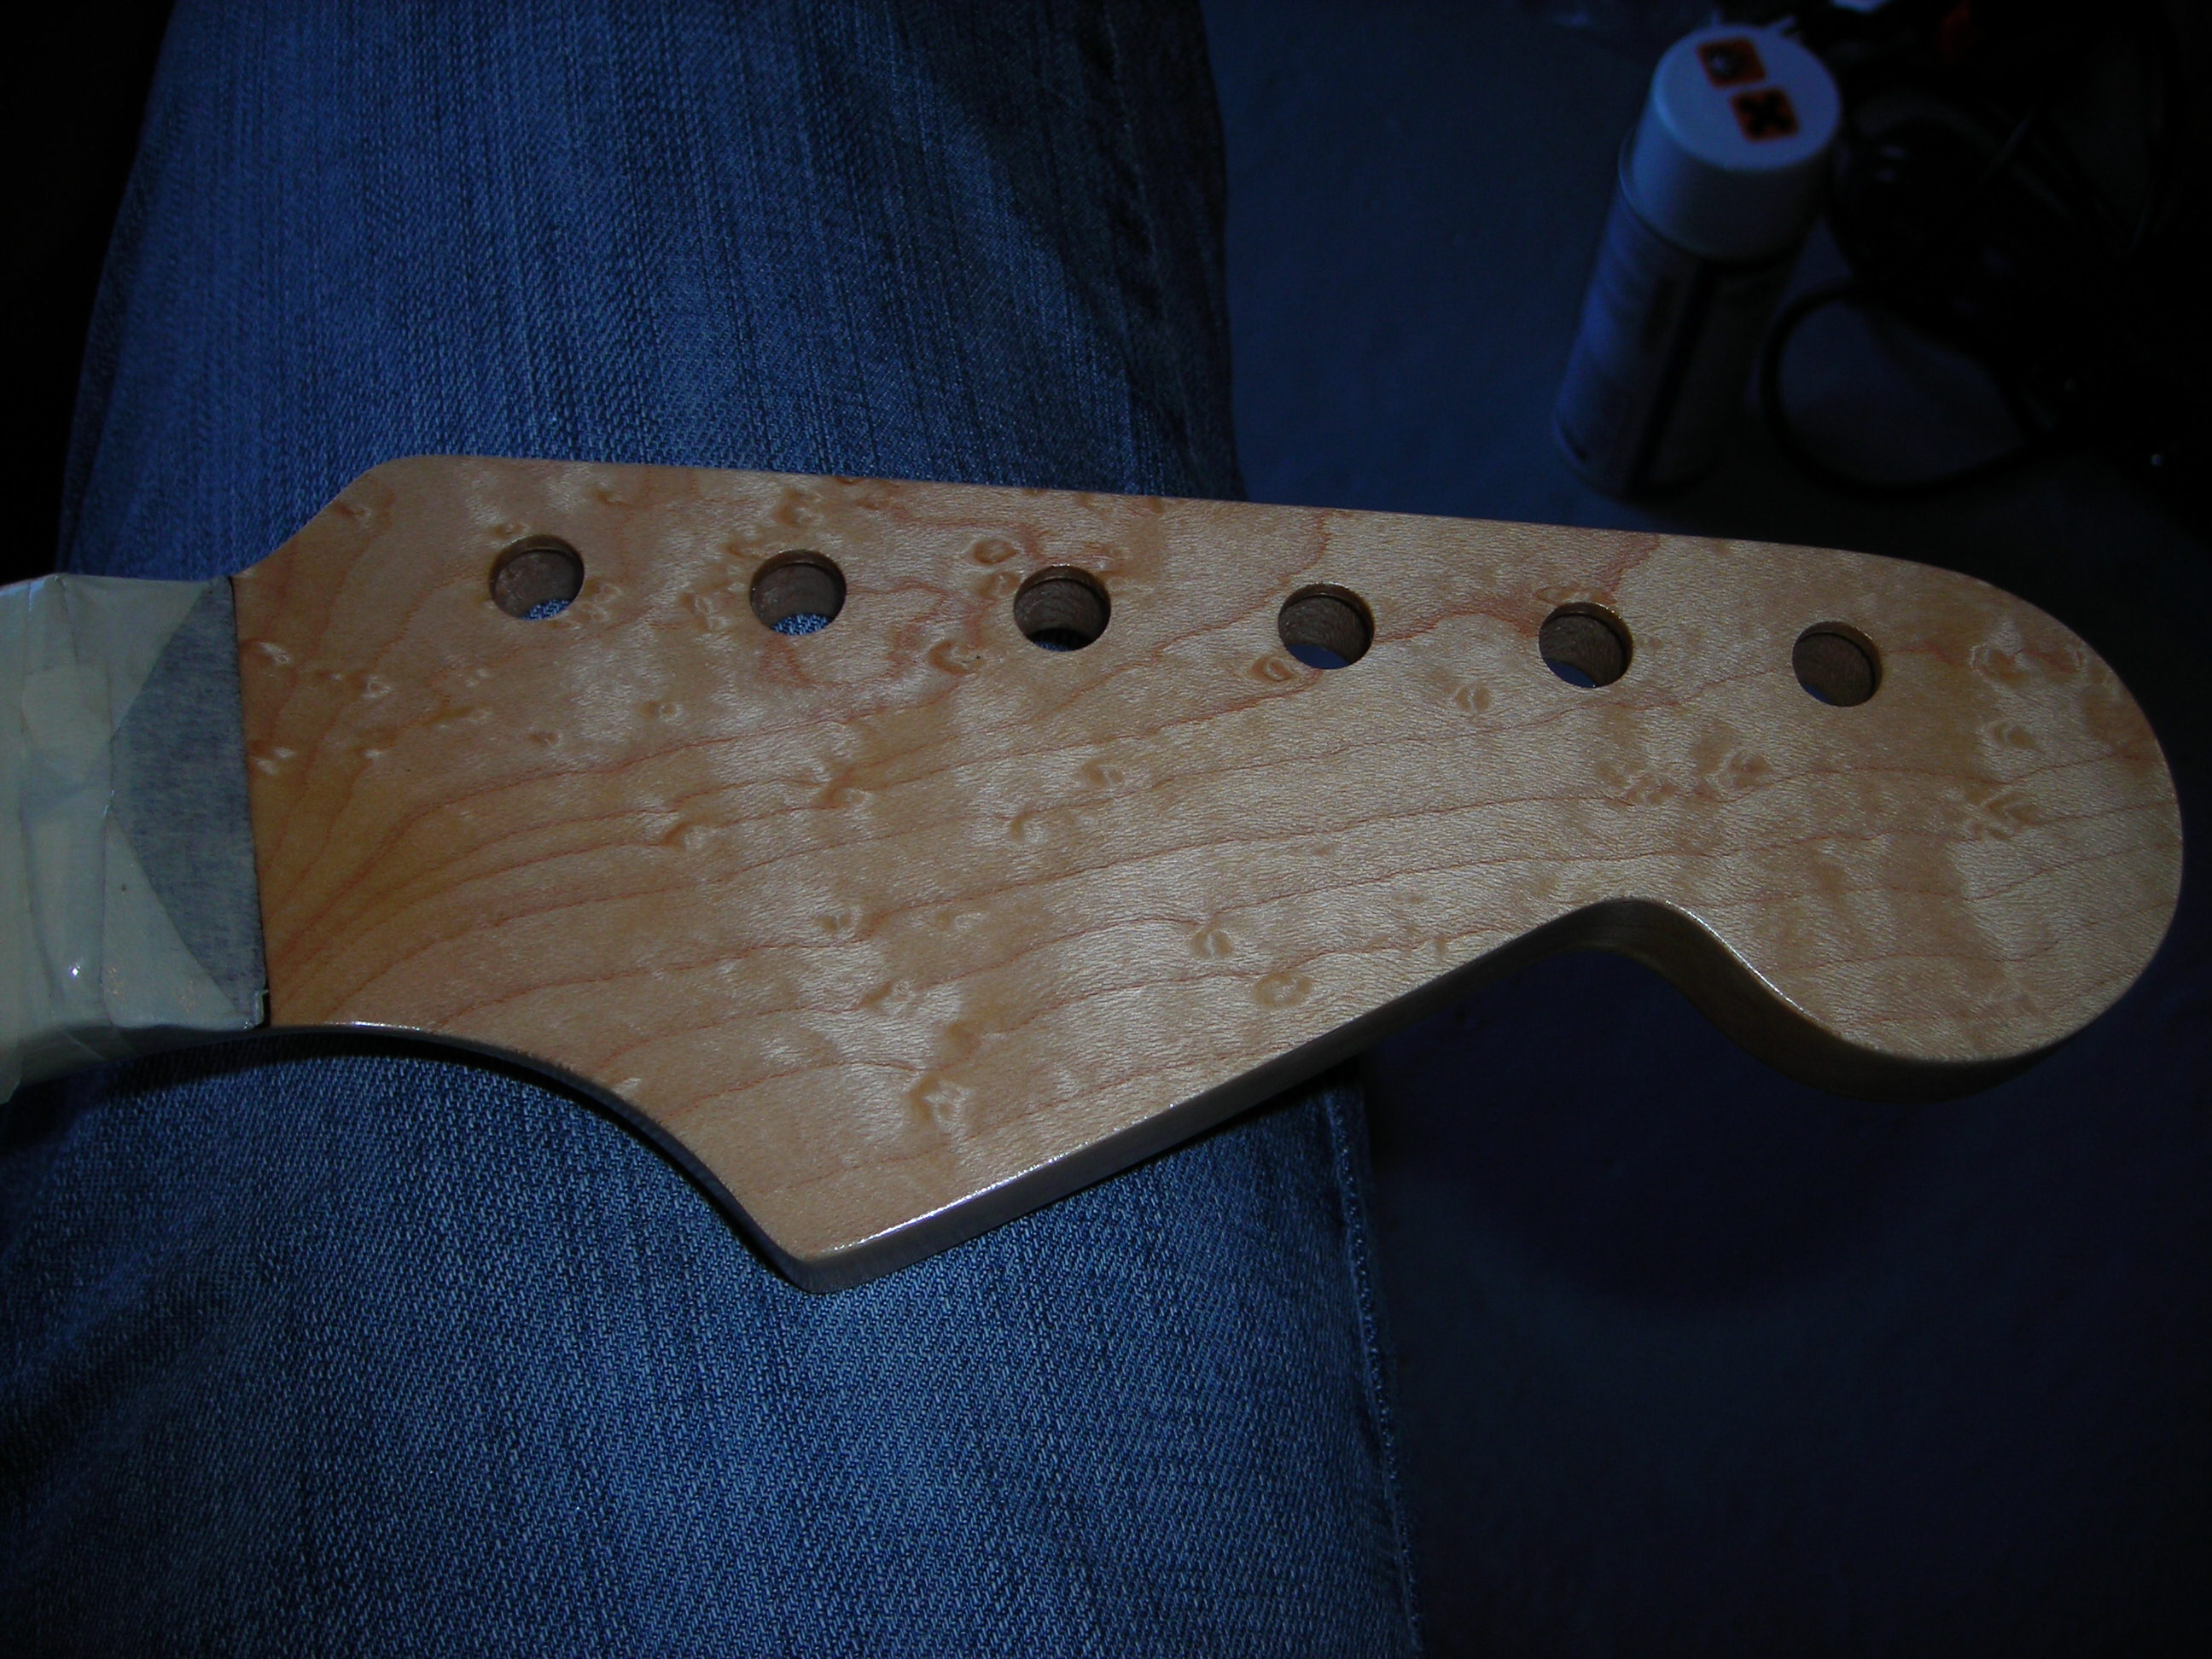
So now moving on the finish work for the neck. This is the first time I have done this on a guitar neck so after some research I decided to try and get something like an EBMM type of headstock finish to go with the Tru-oil that will be on the neck.
The first photo here was more of a placeholder, as a memory jog for myself. Prior to any finishing, I did a light dry sanding using 400 grit followed by 600 grit.
 Finishing_1 by stratamania, on Flickr
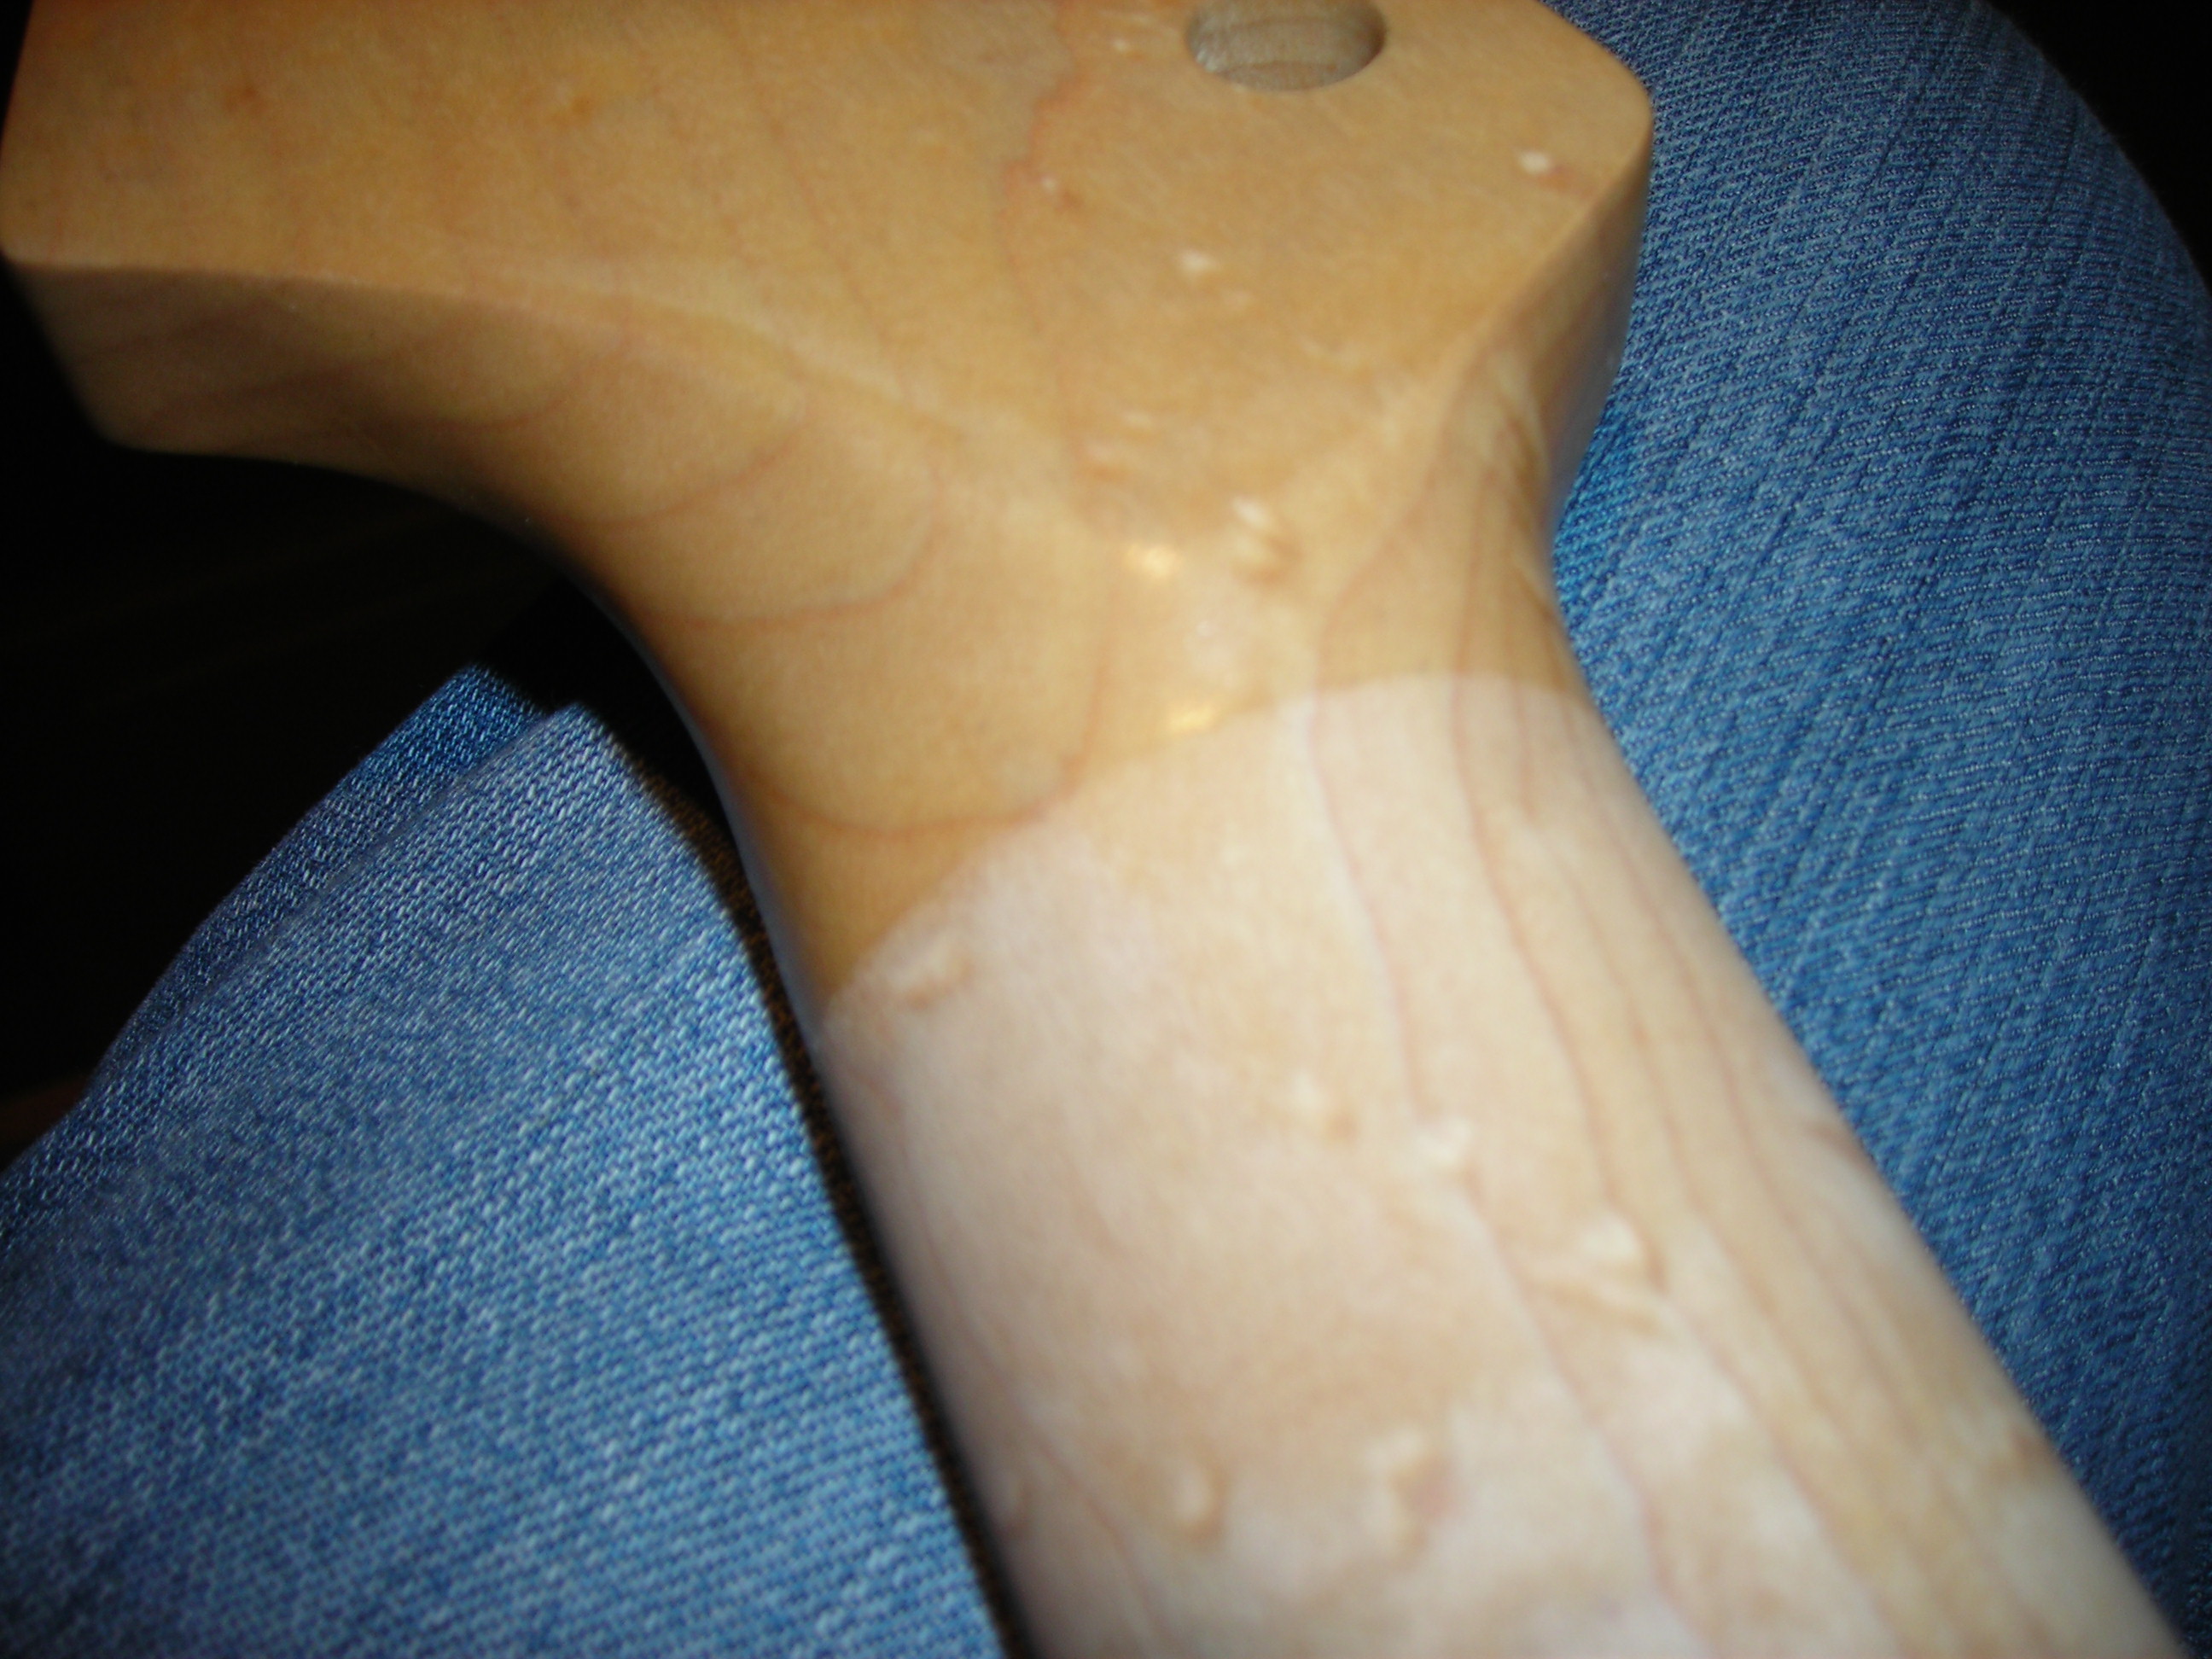
Checking the sanding I reminded myself of what the grain of the neck looked like as it had been hidden on the jig for a while. This photo is slightly out of focus but features calluses starting to build on my fingers...
 Finishing_2 by stratamania, on Flickr
Starting to mask off ready for finishing the headstock with nitro.
 Finishing_3 by stratamania, on Flickr
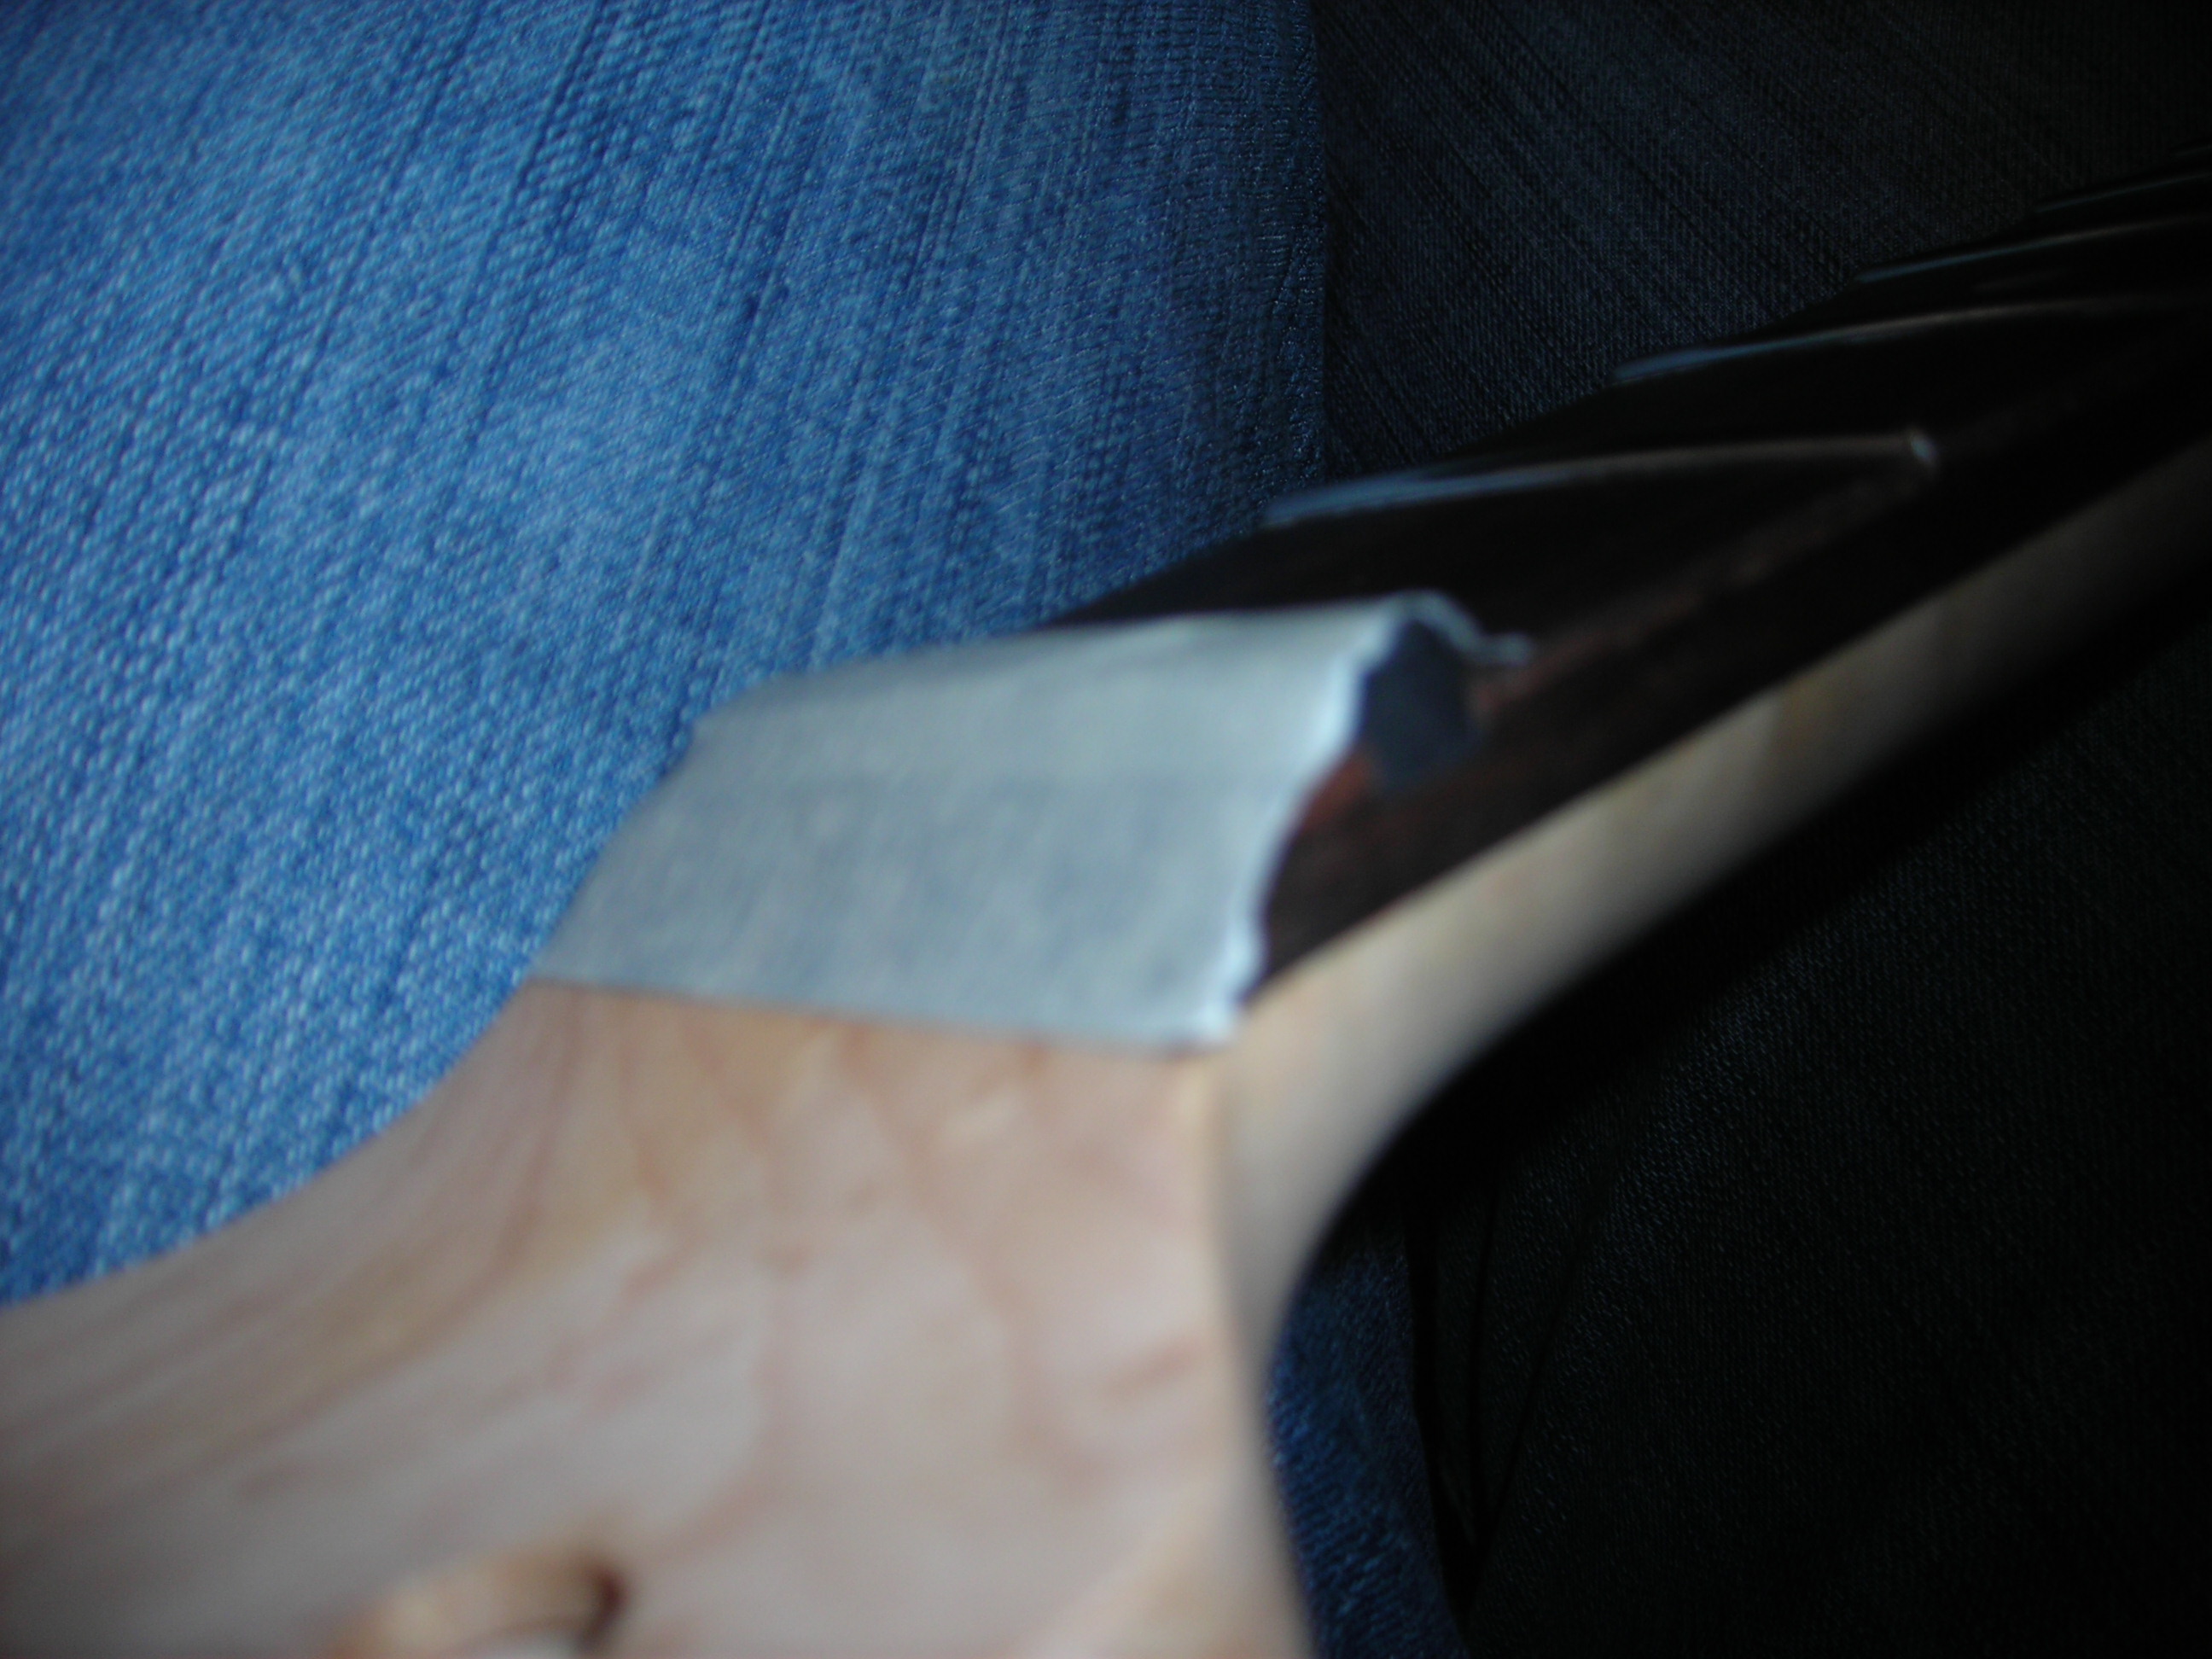
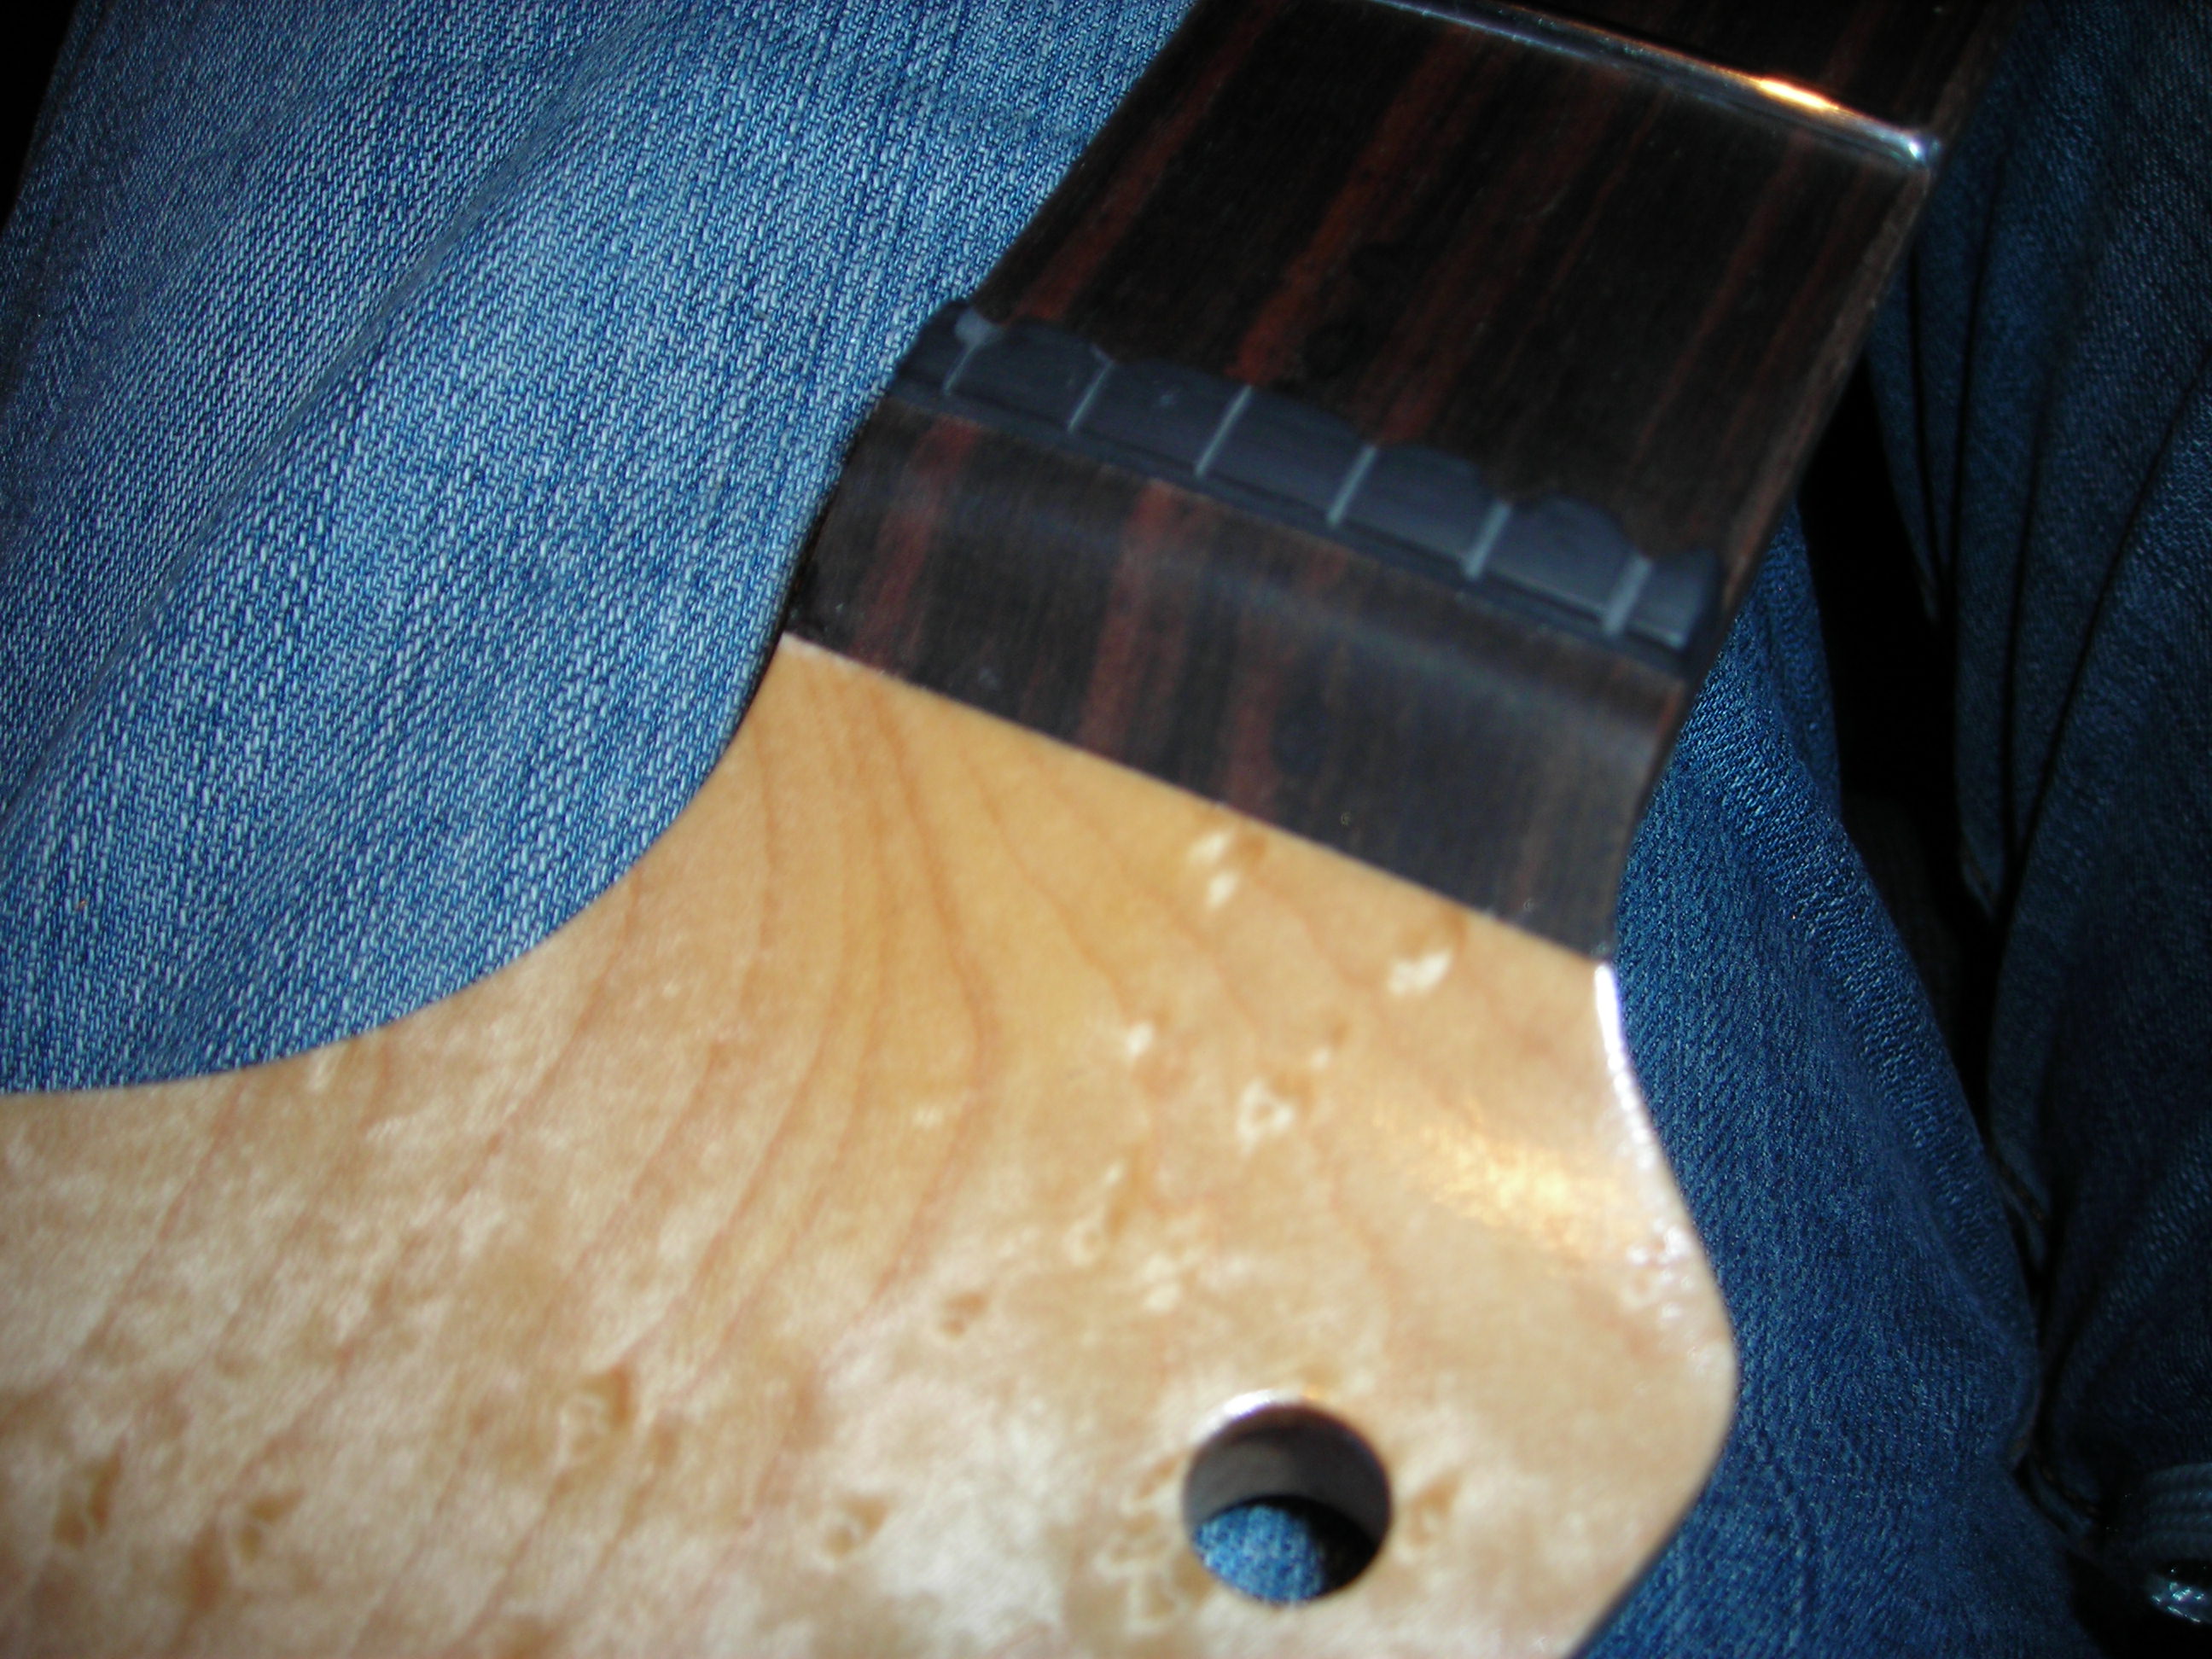
Masking around the neck using the nut as a line, where the nitro will end and the Tru-oil will begin.
 Finishing_4 by stratamania, on Flickr
 Finishing_5 by stratamania, on Flickr
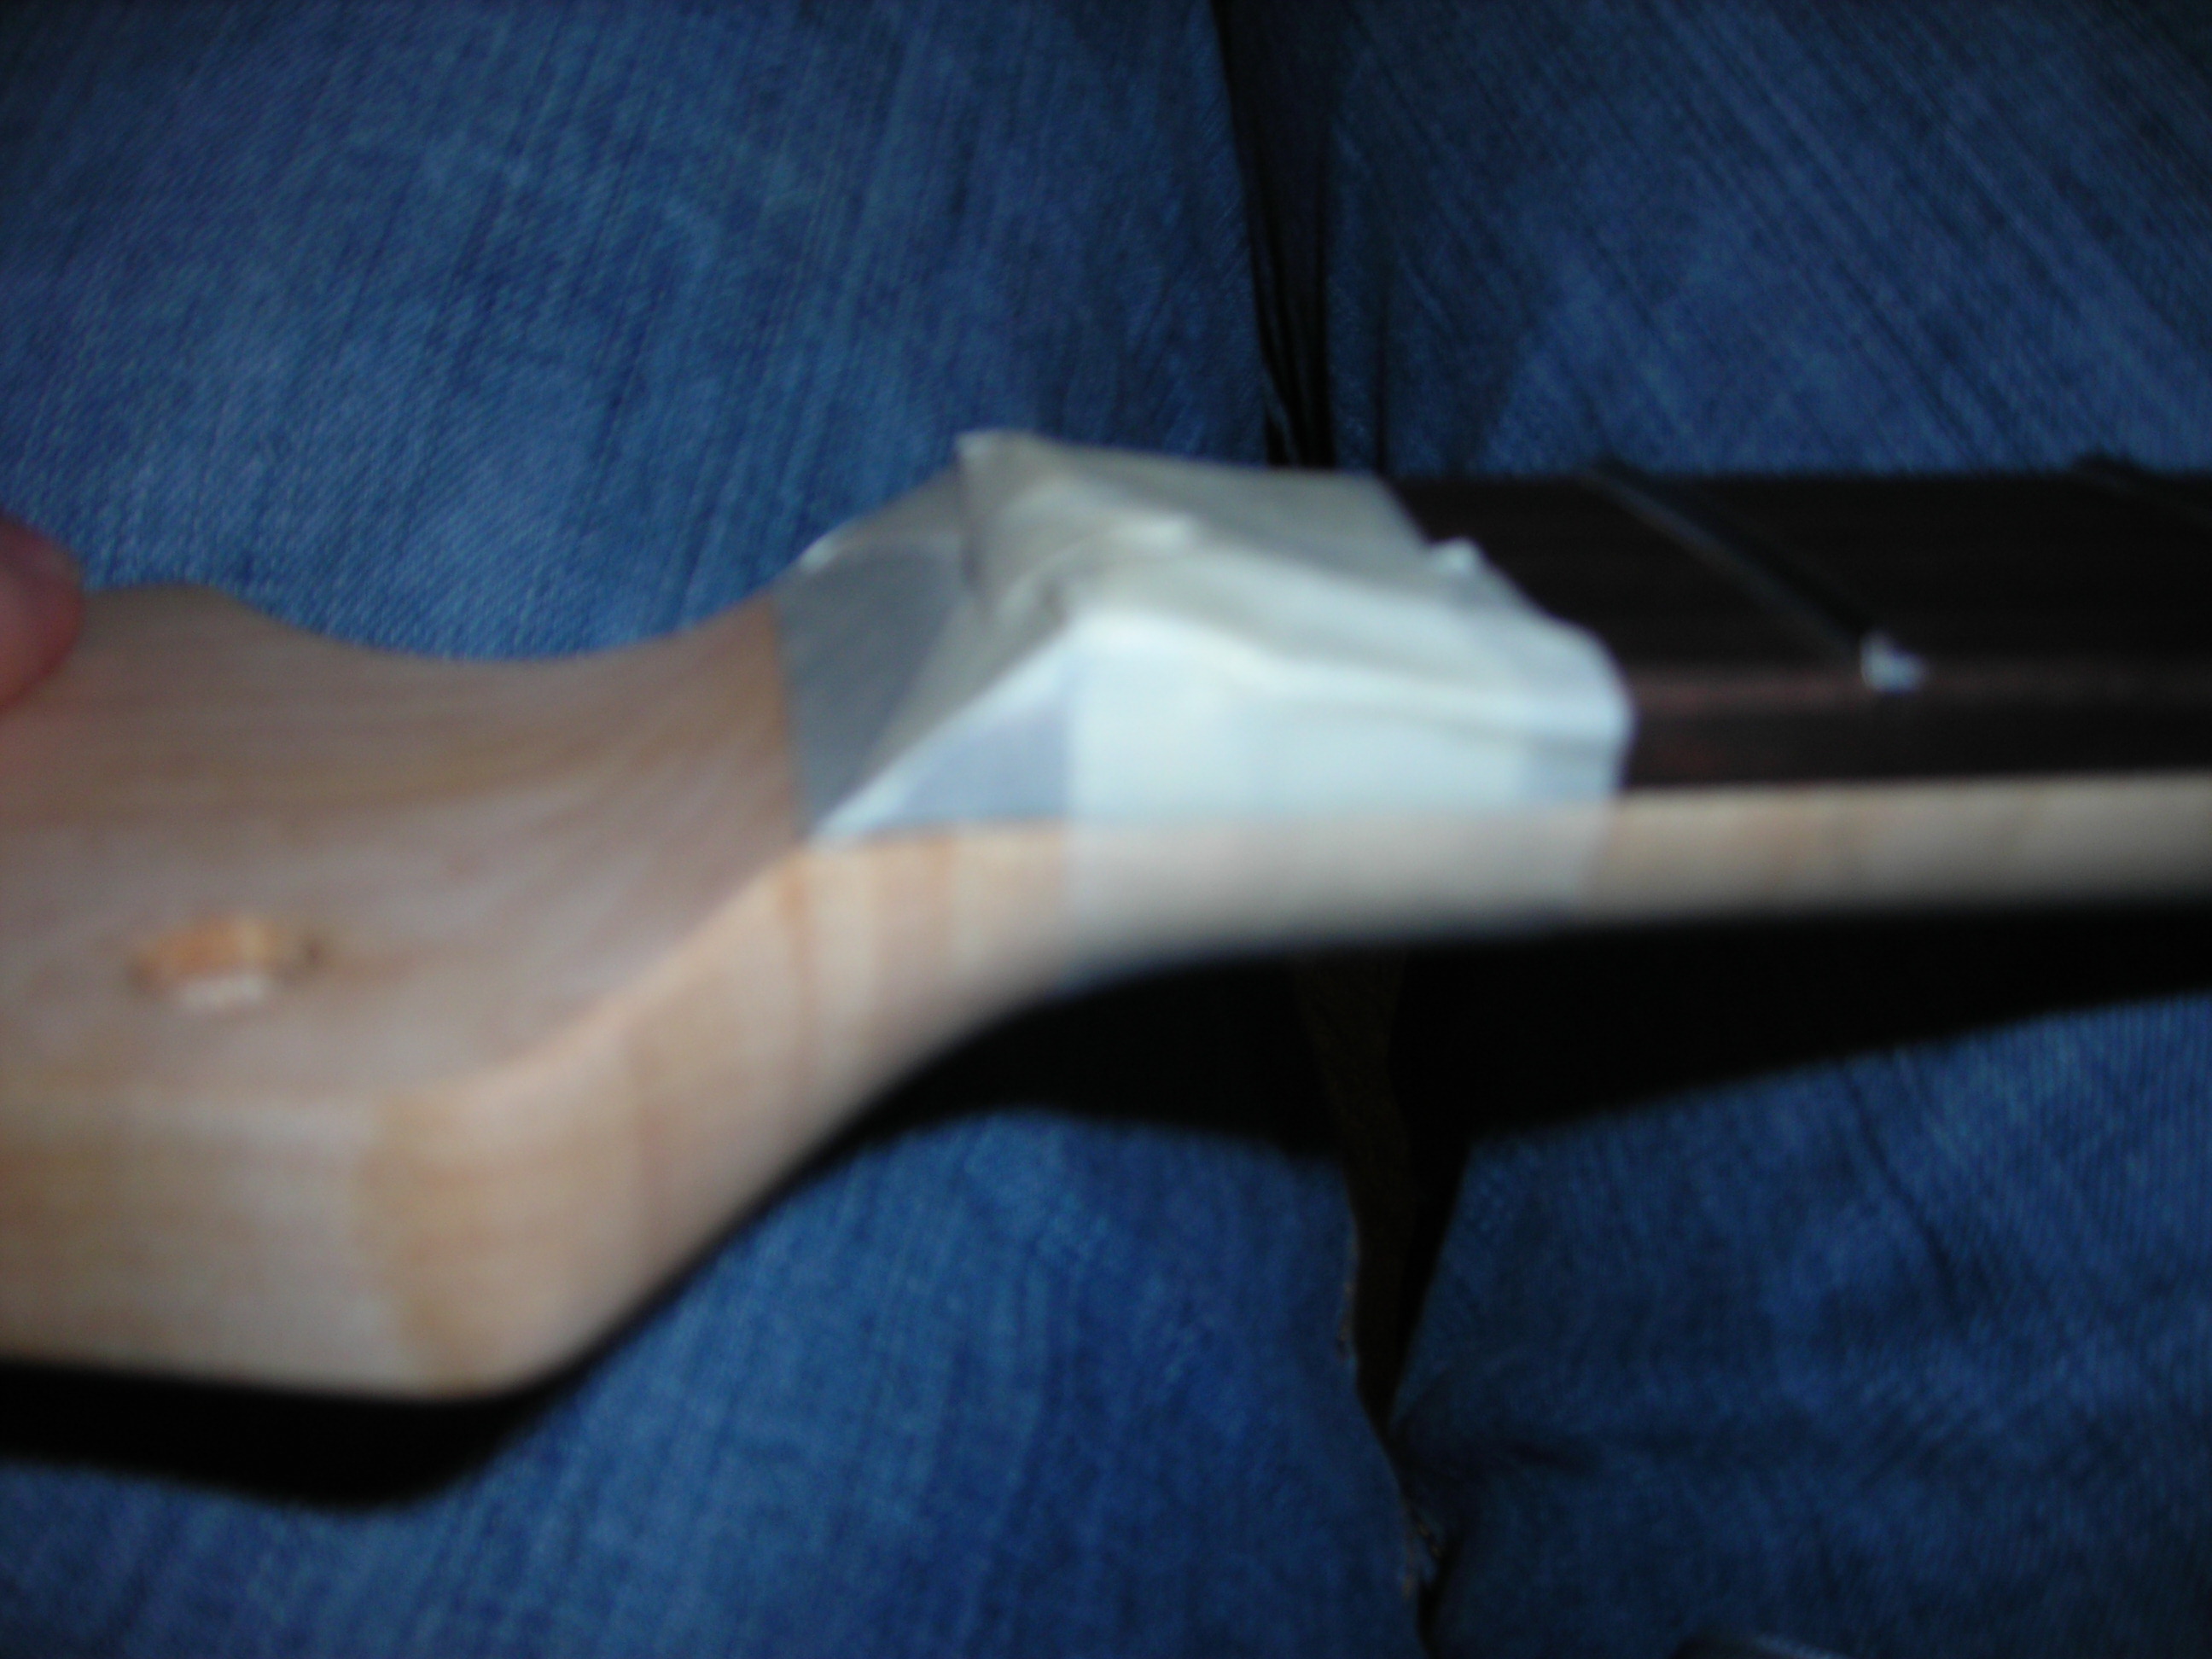
A couple of shots showing the entire neck apart from the headstock covered up. Part of a well dressed guitar perhaps.
 Finishing_6 by stratamania, on Flickr
 Finishing_7 by stratamania, on Flickr
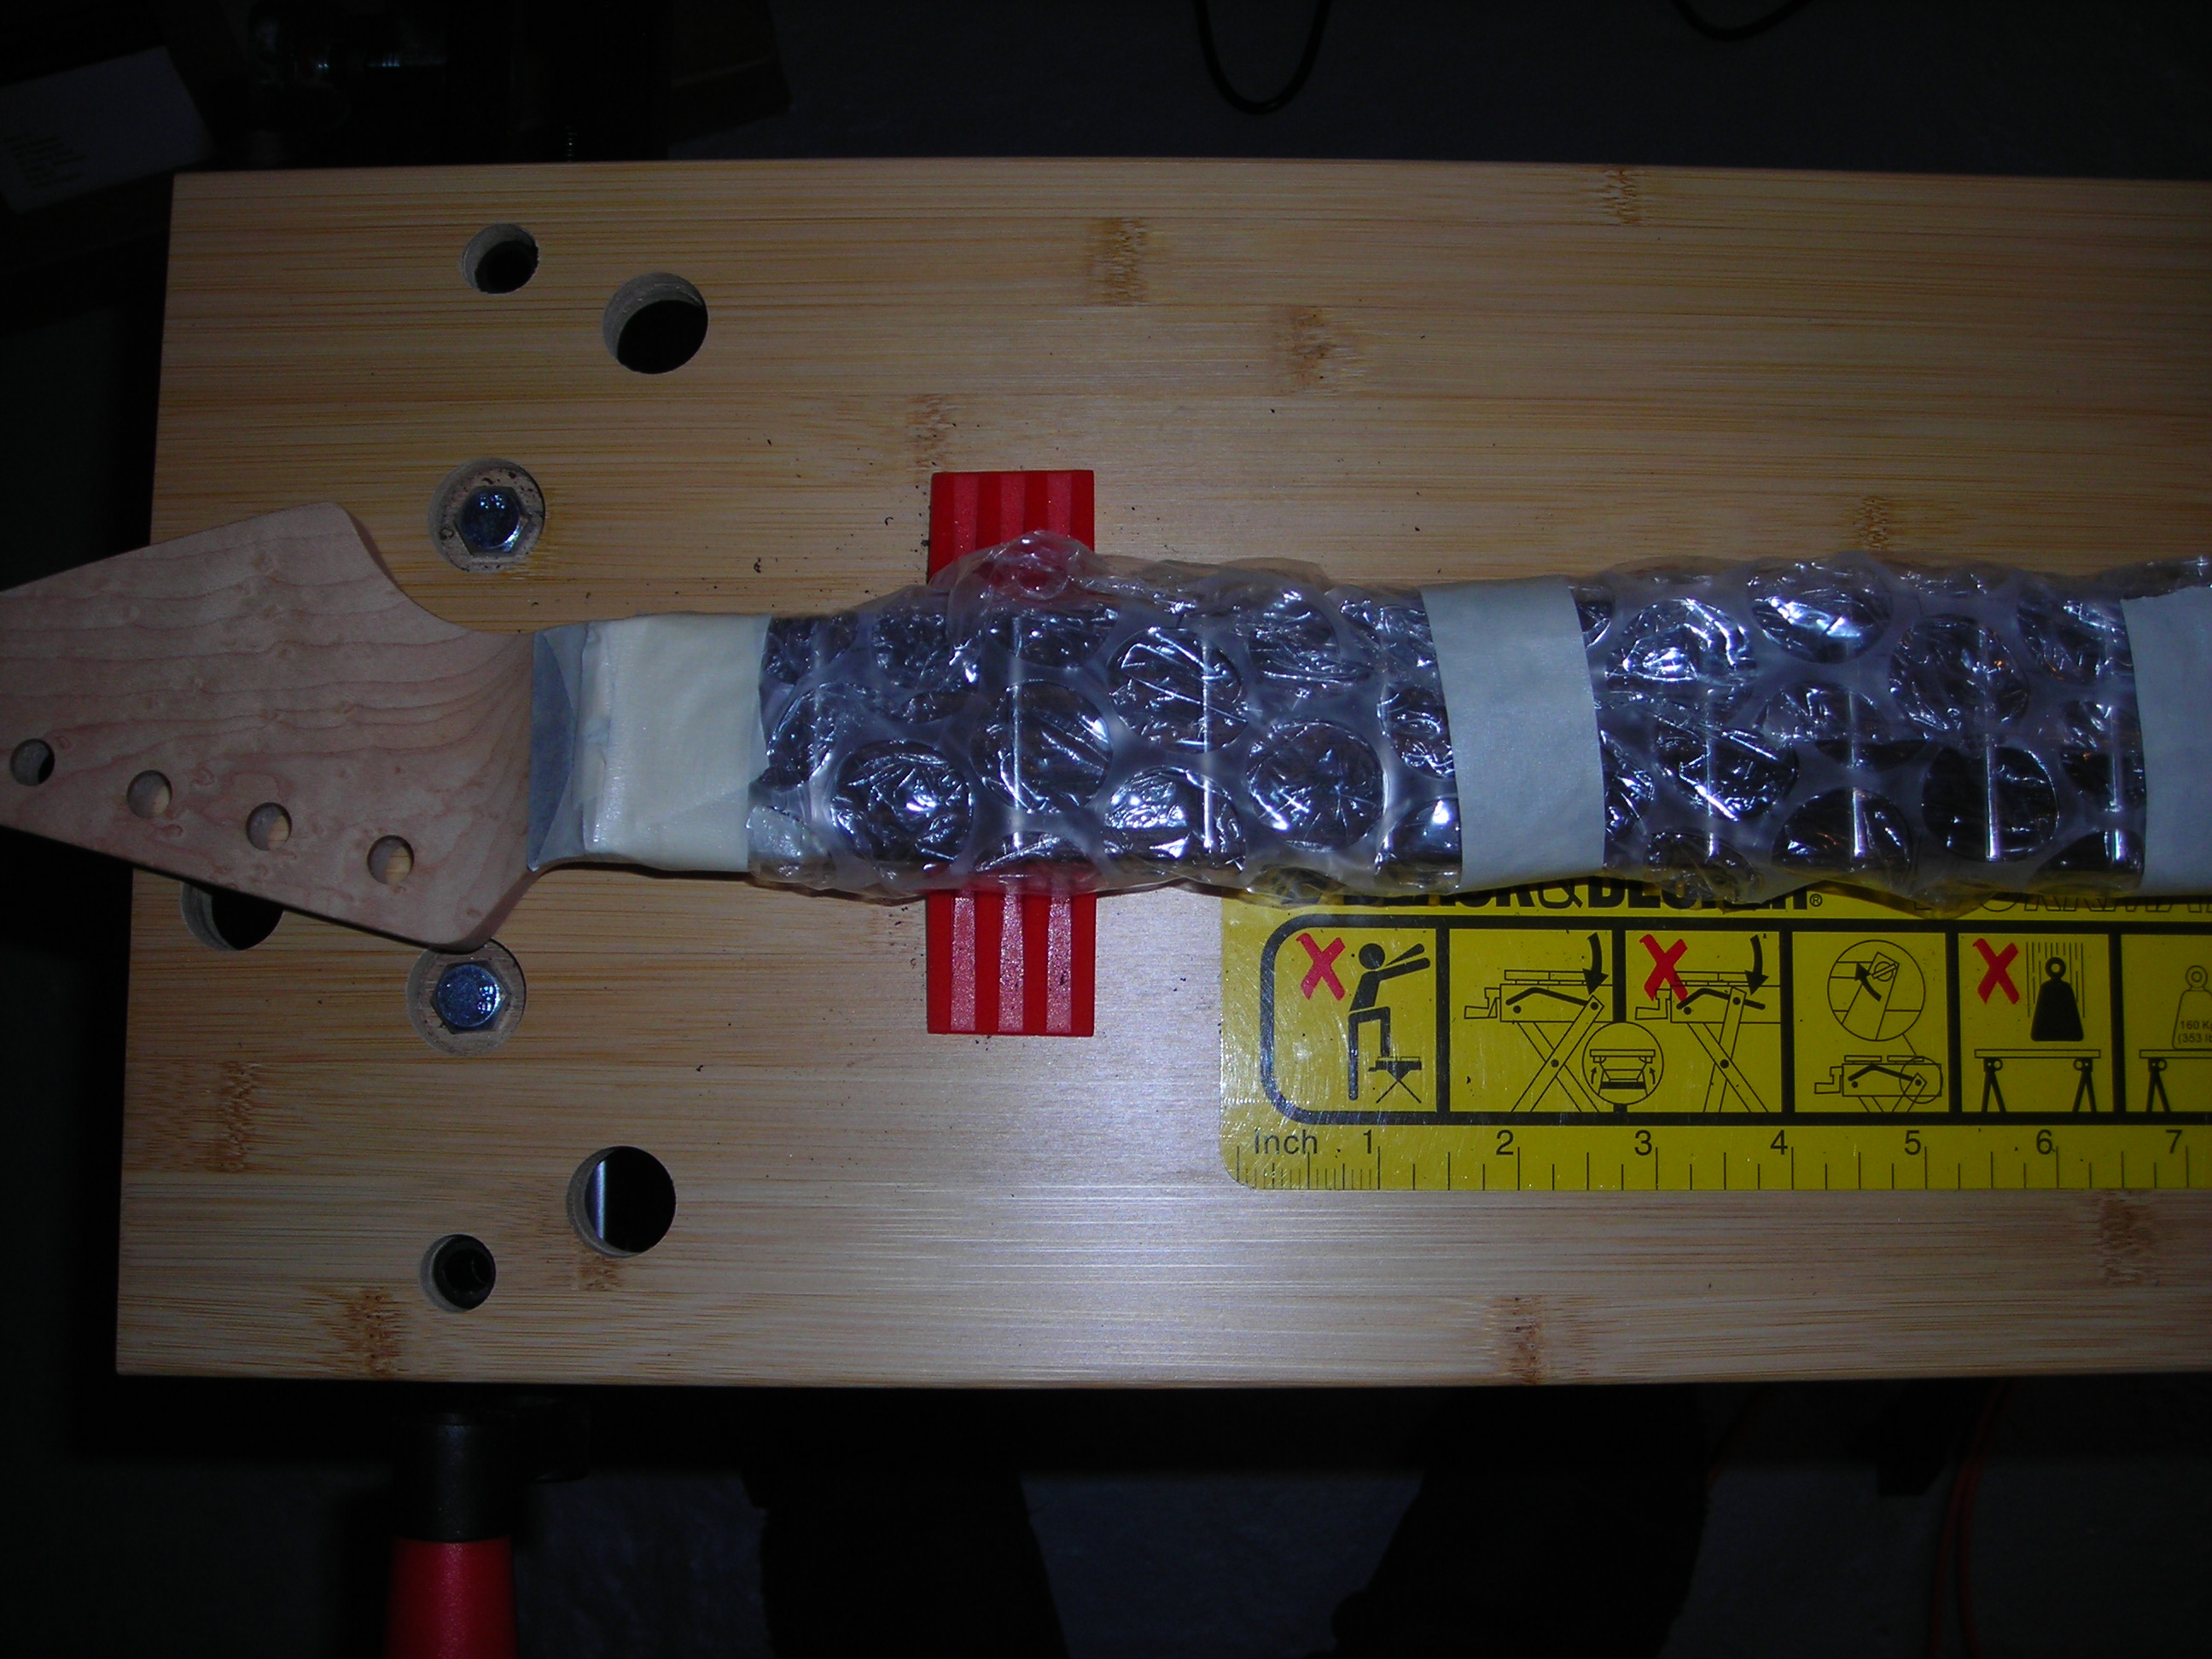
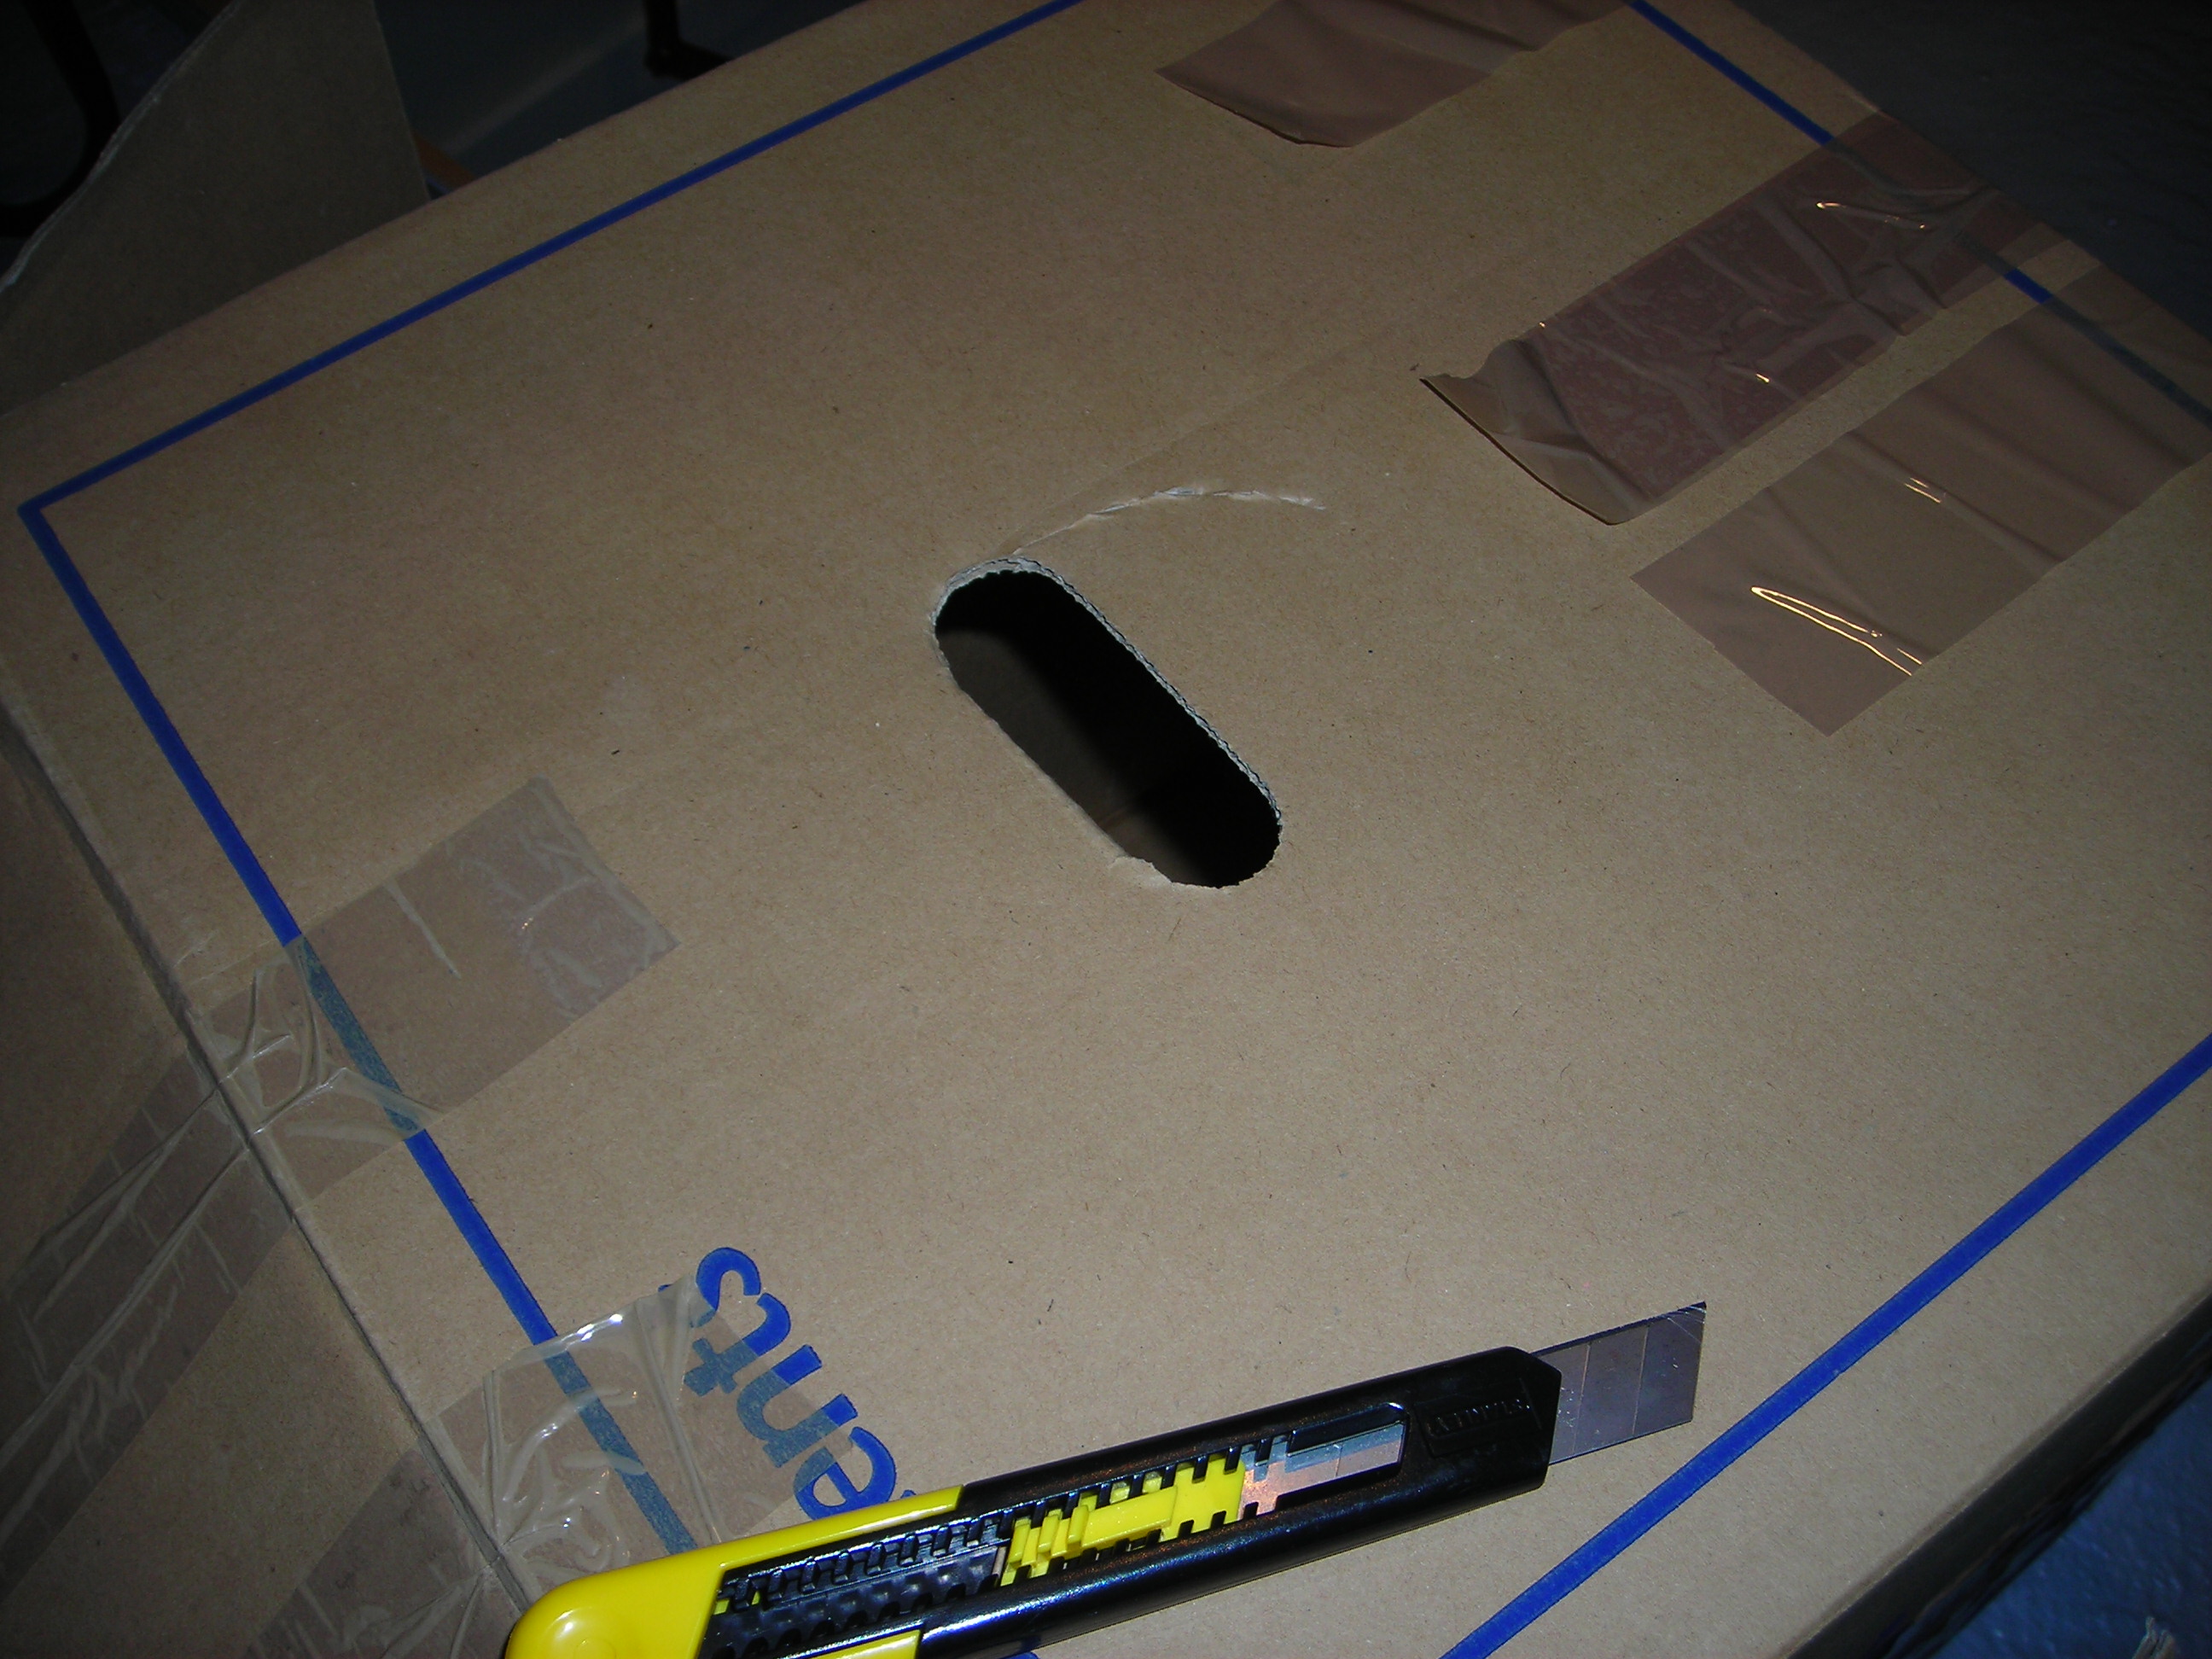
A knife and a box, not interesting in itself. But part of this work.
 Finishing_8 by stratamania, on Flickr
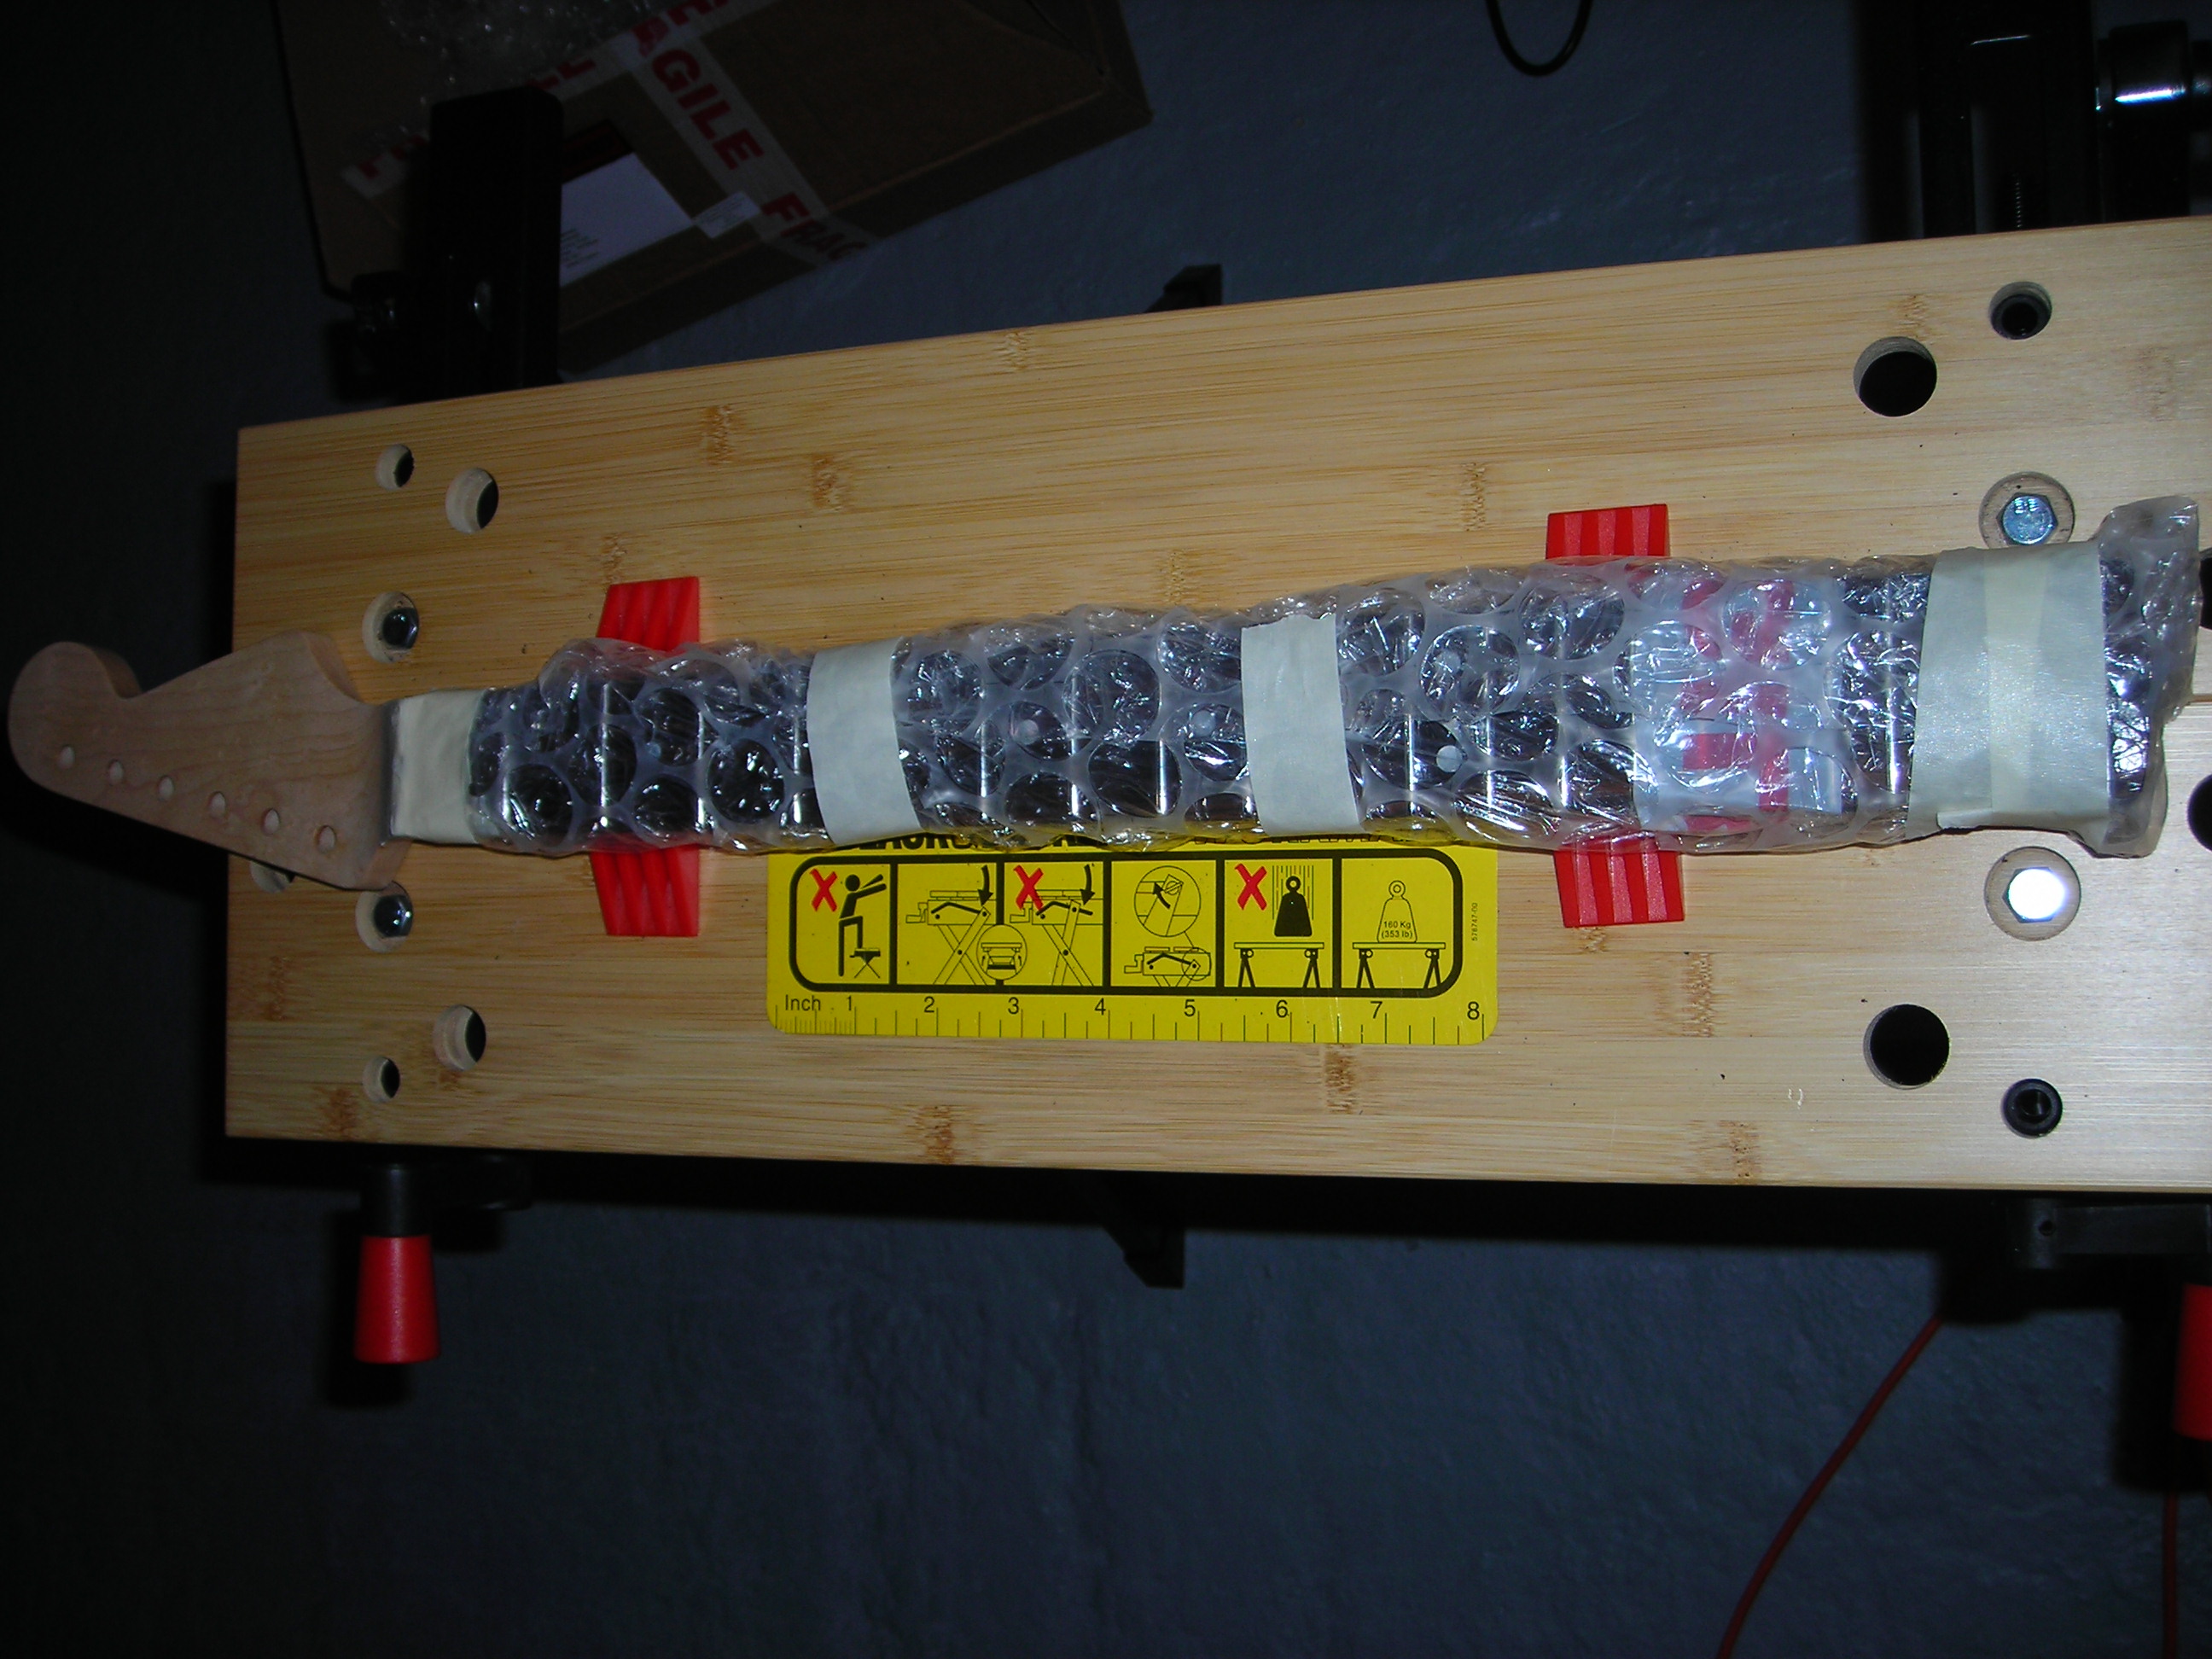
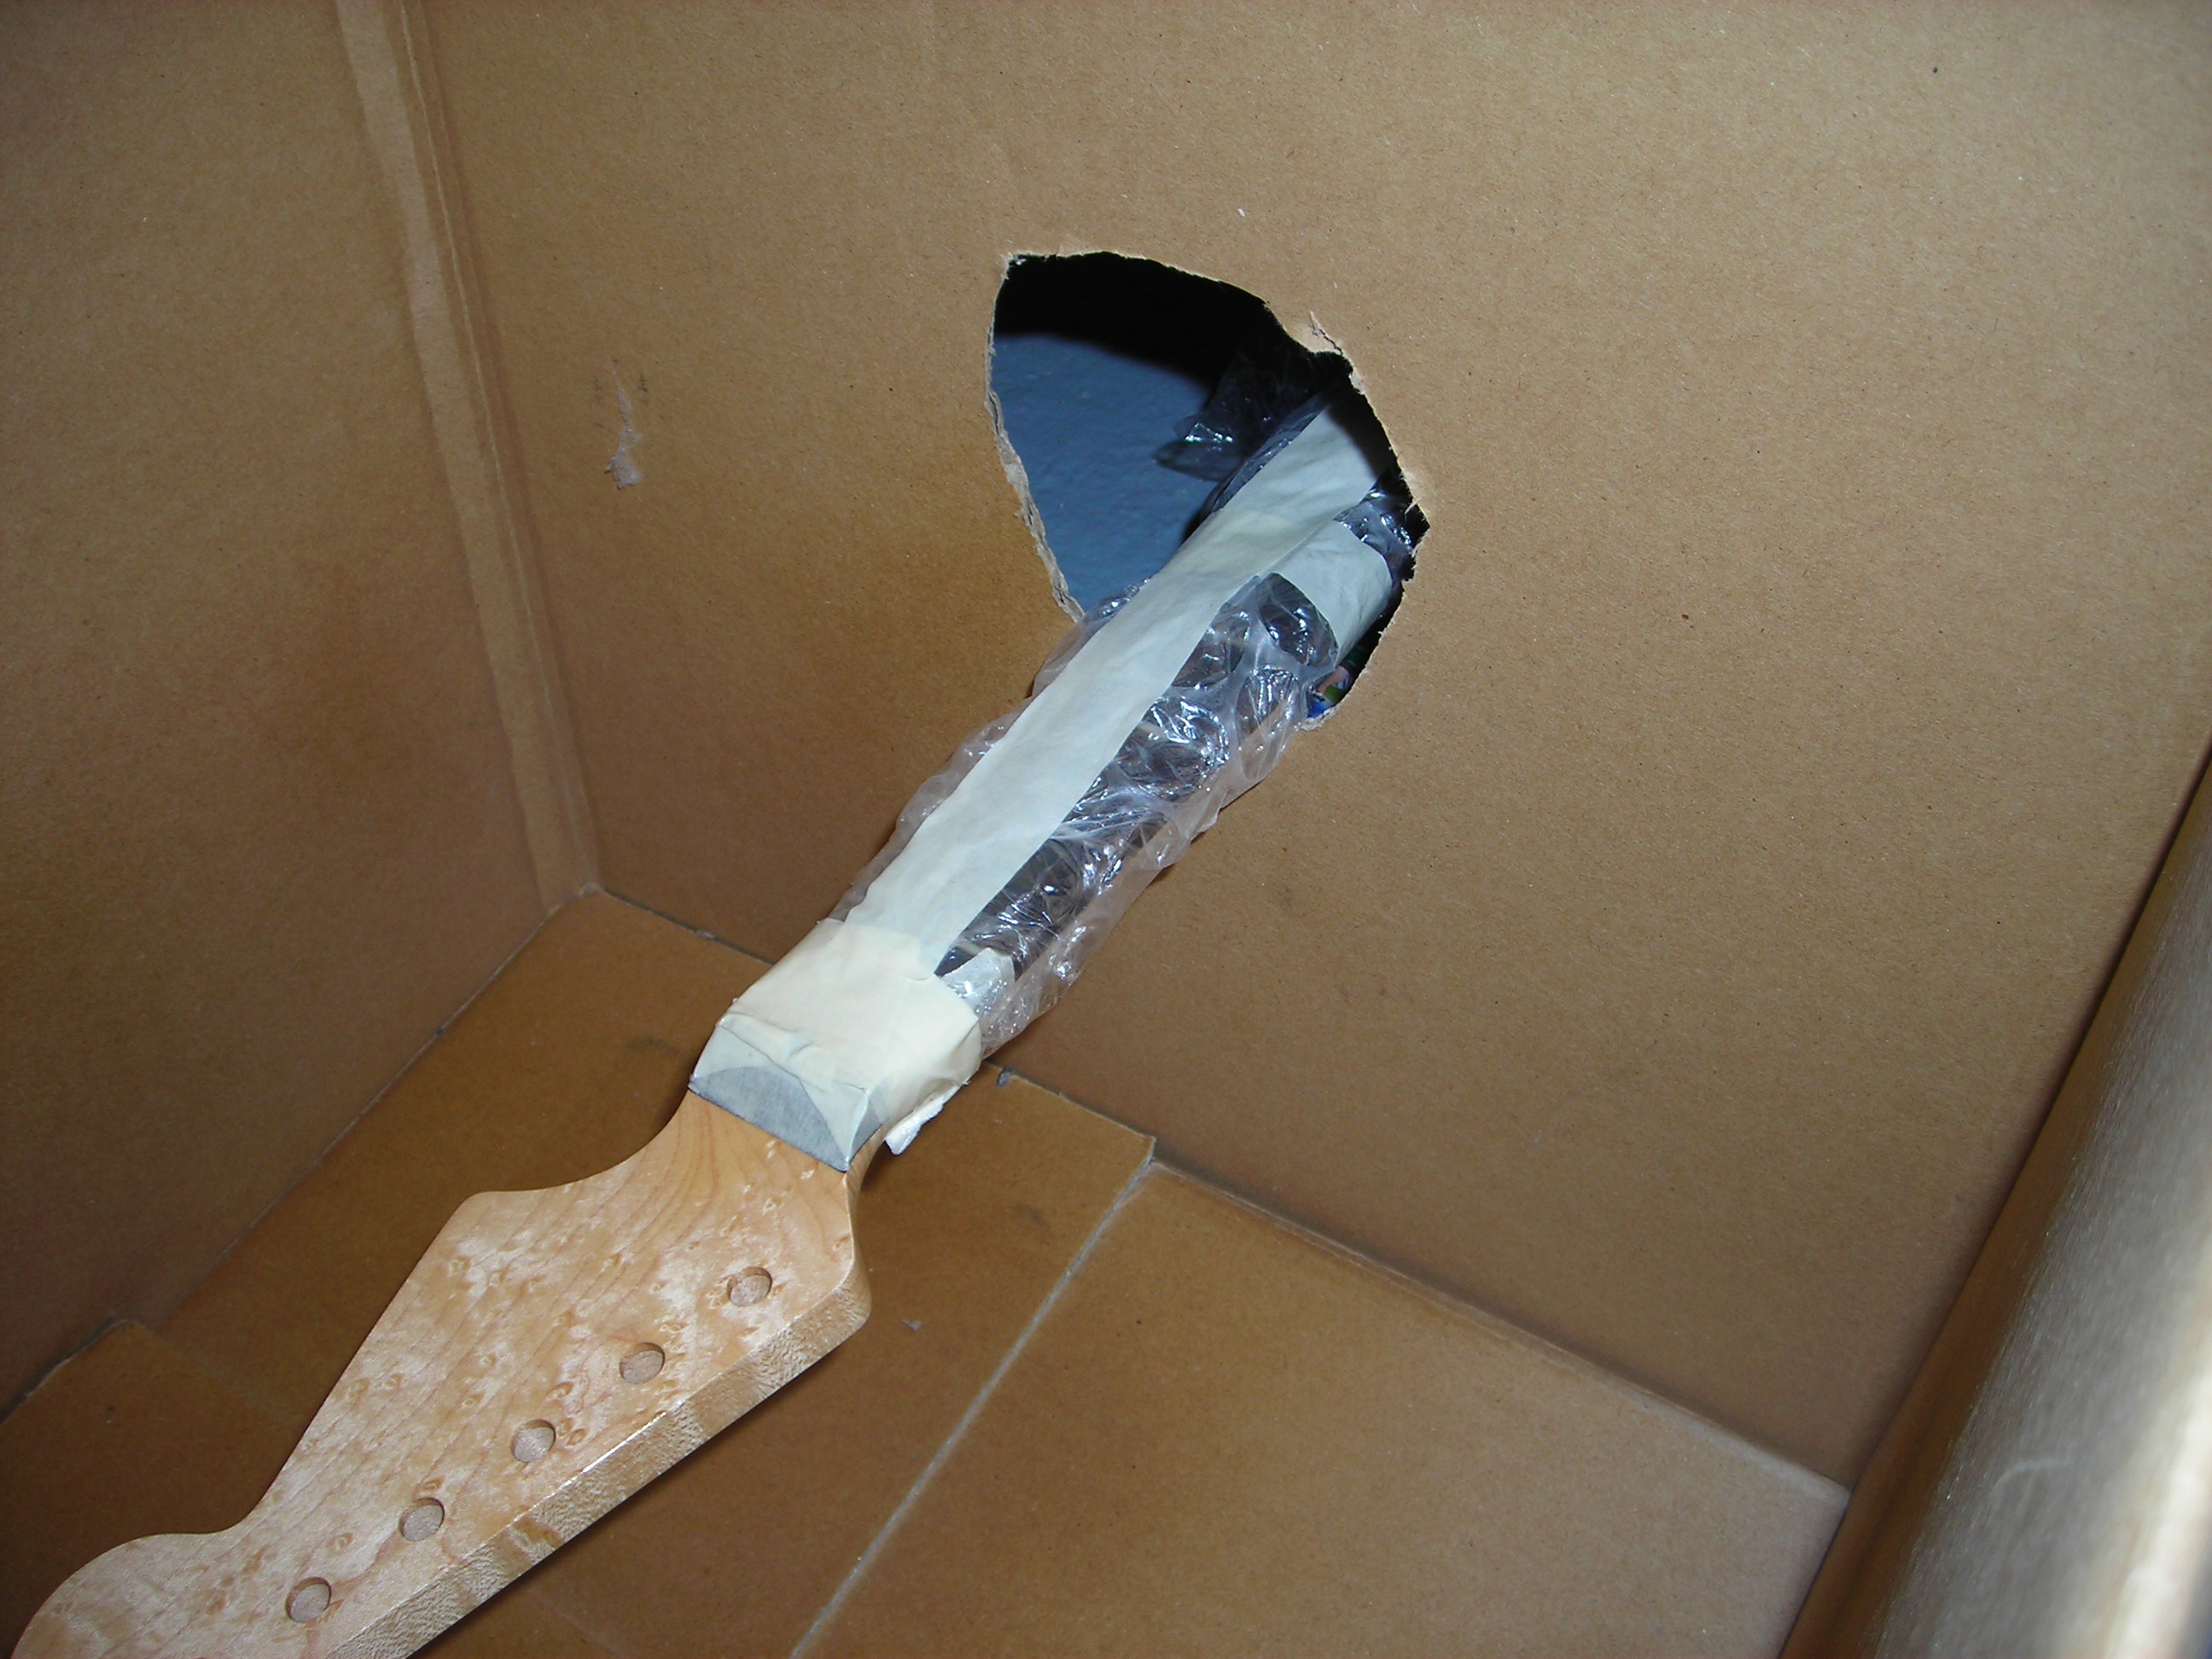
An improvised spray booth in the attic as the weather here in Europe is now too cold and damp to do this out in the garage. Actually this particular day this was done there was a storm outside with heavy wind and rain.
The Bosch IXO tin helps to hold the neck level after spraying and the enlarged hole where the box "handle" was will allow me to remove the neck to do any light sanding between coats and also I can rotate the neck with my right hand while spraying with my left.
 Finishing_9 by stratamania, on Flickr
After the first pass with the nitro, the smell of the stuff reminds me of almost forty years ago building model aircraft.
 Finishing_11 by stratamania, on Flickr
The rest of the shots show a progression of building up the passes of lacquer over time. I did about three light passes separated by about an hour in between. After a day I would give a very light sand, blow away the dust and repeated over about three days.
Its Behlens Satin Nitro, in an aerosol, if anyone is wondering.
 Finishing_12 by stratamania, on Flickr
 Finishing_13 by stratamania, on Flickr
 Finishing_14 by stratamania, on Flickr
 Finishing_15 by stratamania, on Flickr
 Finishing_16 by stratamania, on Flickr
Thanks for looking and feedback appreciated.
I had a little extra fret work to do. For some reason probably to do with ordering files at 3 am I ended up with a duplicate set of crowning files and no beveling file. This was exchanged and now I had a beveling file I could add a little more bevel.
After the beveling.
FinalFrets_1 by stratamania, on FlickrMasking off again, as I needed to now redress the bevel and didn't want to risk accidental damage to the fretboard.
FinalFrets_2 by stratamania, on FlickrSo after dressing the fret ends and for good measure polishing them up again the masking was removed and then some ebony scraping for the fretboard roll.
FinalFrets_3 by stratamania, on FlickrScraping with the neck still in the jig I was finding a little awkward...
FinalFrets_4 by stratamania, on Flickrso the neck came out of the jig and was easier done sitting down with the neck. (Levis denim featured here
FinalFrets_5 by stratamania, on FlickrThis shot is out of focus but was a one-handed shot. Just showing how it seems easier at least to me to do this job sitting down.
FinalFrets_6 by stratamania, on FlickrFingerboard edge roll completed. Probably I will use some light sandpaper when all the finish work is done.
FinalFrets_7 by stratamania, on FlickrSo now moving on the finish work for the neck. This is the first time I have done this on a guitar neck so after some research I decided to try and get something like an EBMM type of headstock finish to go with the Tru-oil that will be on the neck.
The first photo here was more of a placeholder, as a memory jog for myself. Prior to any finishing, I did a light dry sanding using 400 grit followed by 600 grit.
Finishing_1 by stratamania, on FlickrChecking the sanding I reminded myself of what the grain of the neck looked like as it had been hidden on the jig for a while. This photo is slightly out of focus but features calluses starting to build on my fingers...
Finishing_2 by stratamania, on FlickrStarting to mask off ready for finishing the headstock with nitro.
Finishing_3 by stratamania, on FlickrMasking around the neck using the nut as a line, where the nitro will end and the Tru-oil will begin.
Finishing_4 by stratamania, on FlickrFinishing_5 by stratamania, on FlickrA couple of shots showing the entire neck apart from the headstock covered up. Part of a well dressed guitar perhaps.
Finishing_6 by stratamania, on FlickrFinishing_7 by stratamania, on FlickrA knife and a box, not interesting in itself. But part of this work.
Finishing_8 by stratamania, on FlickrAn improvised spray booth in the attic as the weather here in Europe is now too cold and damp to do this out in the garage. Actually this particular day this was done there was a storm outside with heavy wind and rain.
The Bosch IXO tin helps to hold the neck level after spraying and the enlarged hole where the box "handle" was will allow me to remove the neck to do any light sanding between coats and also I can rotate the neck with my right hand while spraying with my left.
Finishing_9 by stratamania, on FlickrAfter the first pass with the nitro, the smell of the stuff reminds me of almost forty years ago building model aircraft.
Finishing_11 by stratamania, on FlickrThe rest of the shots show a progression of building up the passes of lacquer over time. I did about three light passes separated by about an hour in between. After a day I would give a very light sand, blow away the dust and repeated over about three days.
Its Behlens Satin Nitro, in an aerosol, if anyone is wondering.
Finishing_12 by stratamania, on FlickrFinishing_13 by stratamania, on FlickrFinishing_14 by stratamania, on FlickrFinishing_15 by stratamania, on FlickrFinishing_16 by stratamania, on FlickrThanks for looking and feedback appreciated.
stratamania
Mythical Status
- Messages
- 12,390
Headstock Masking Removed
The second update today, which brings the thread of the build up to date.
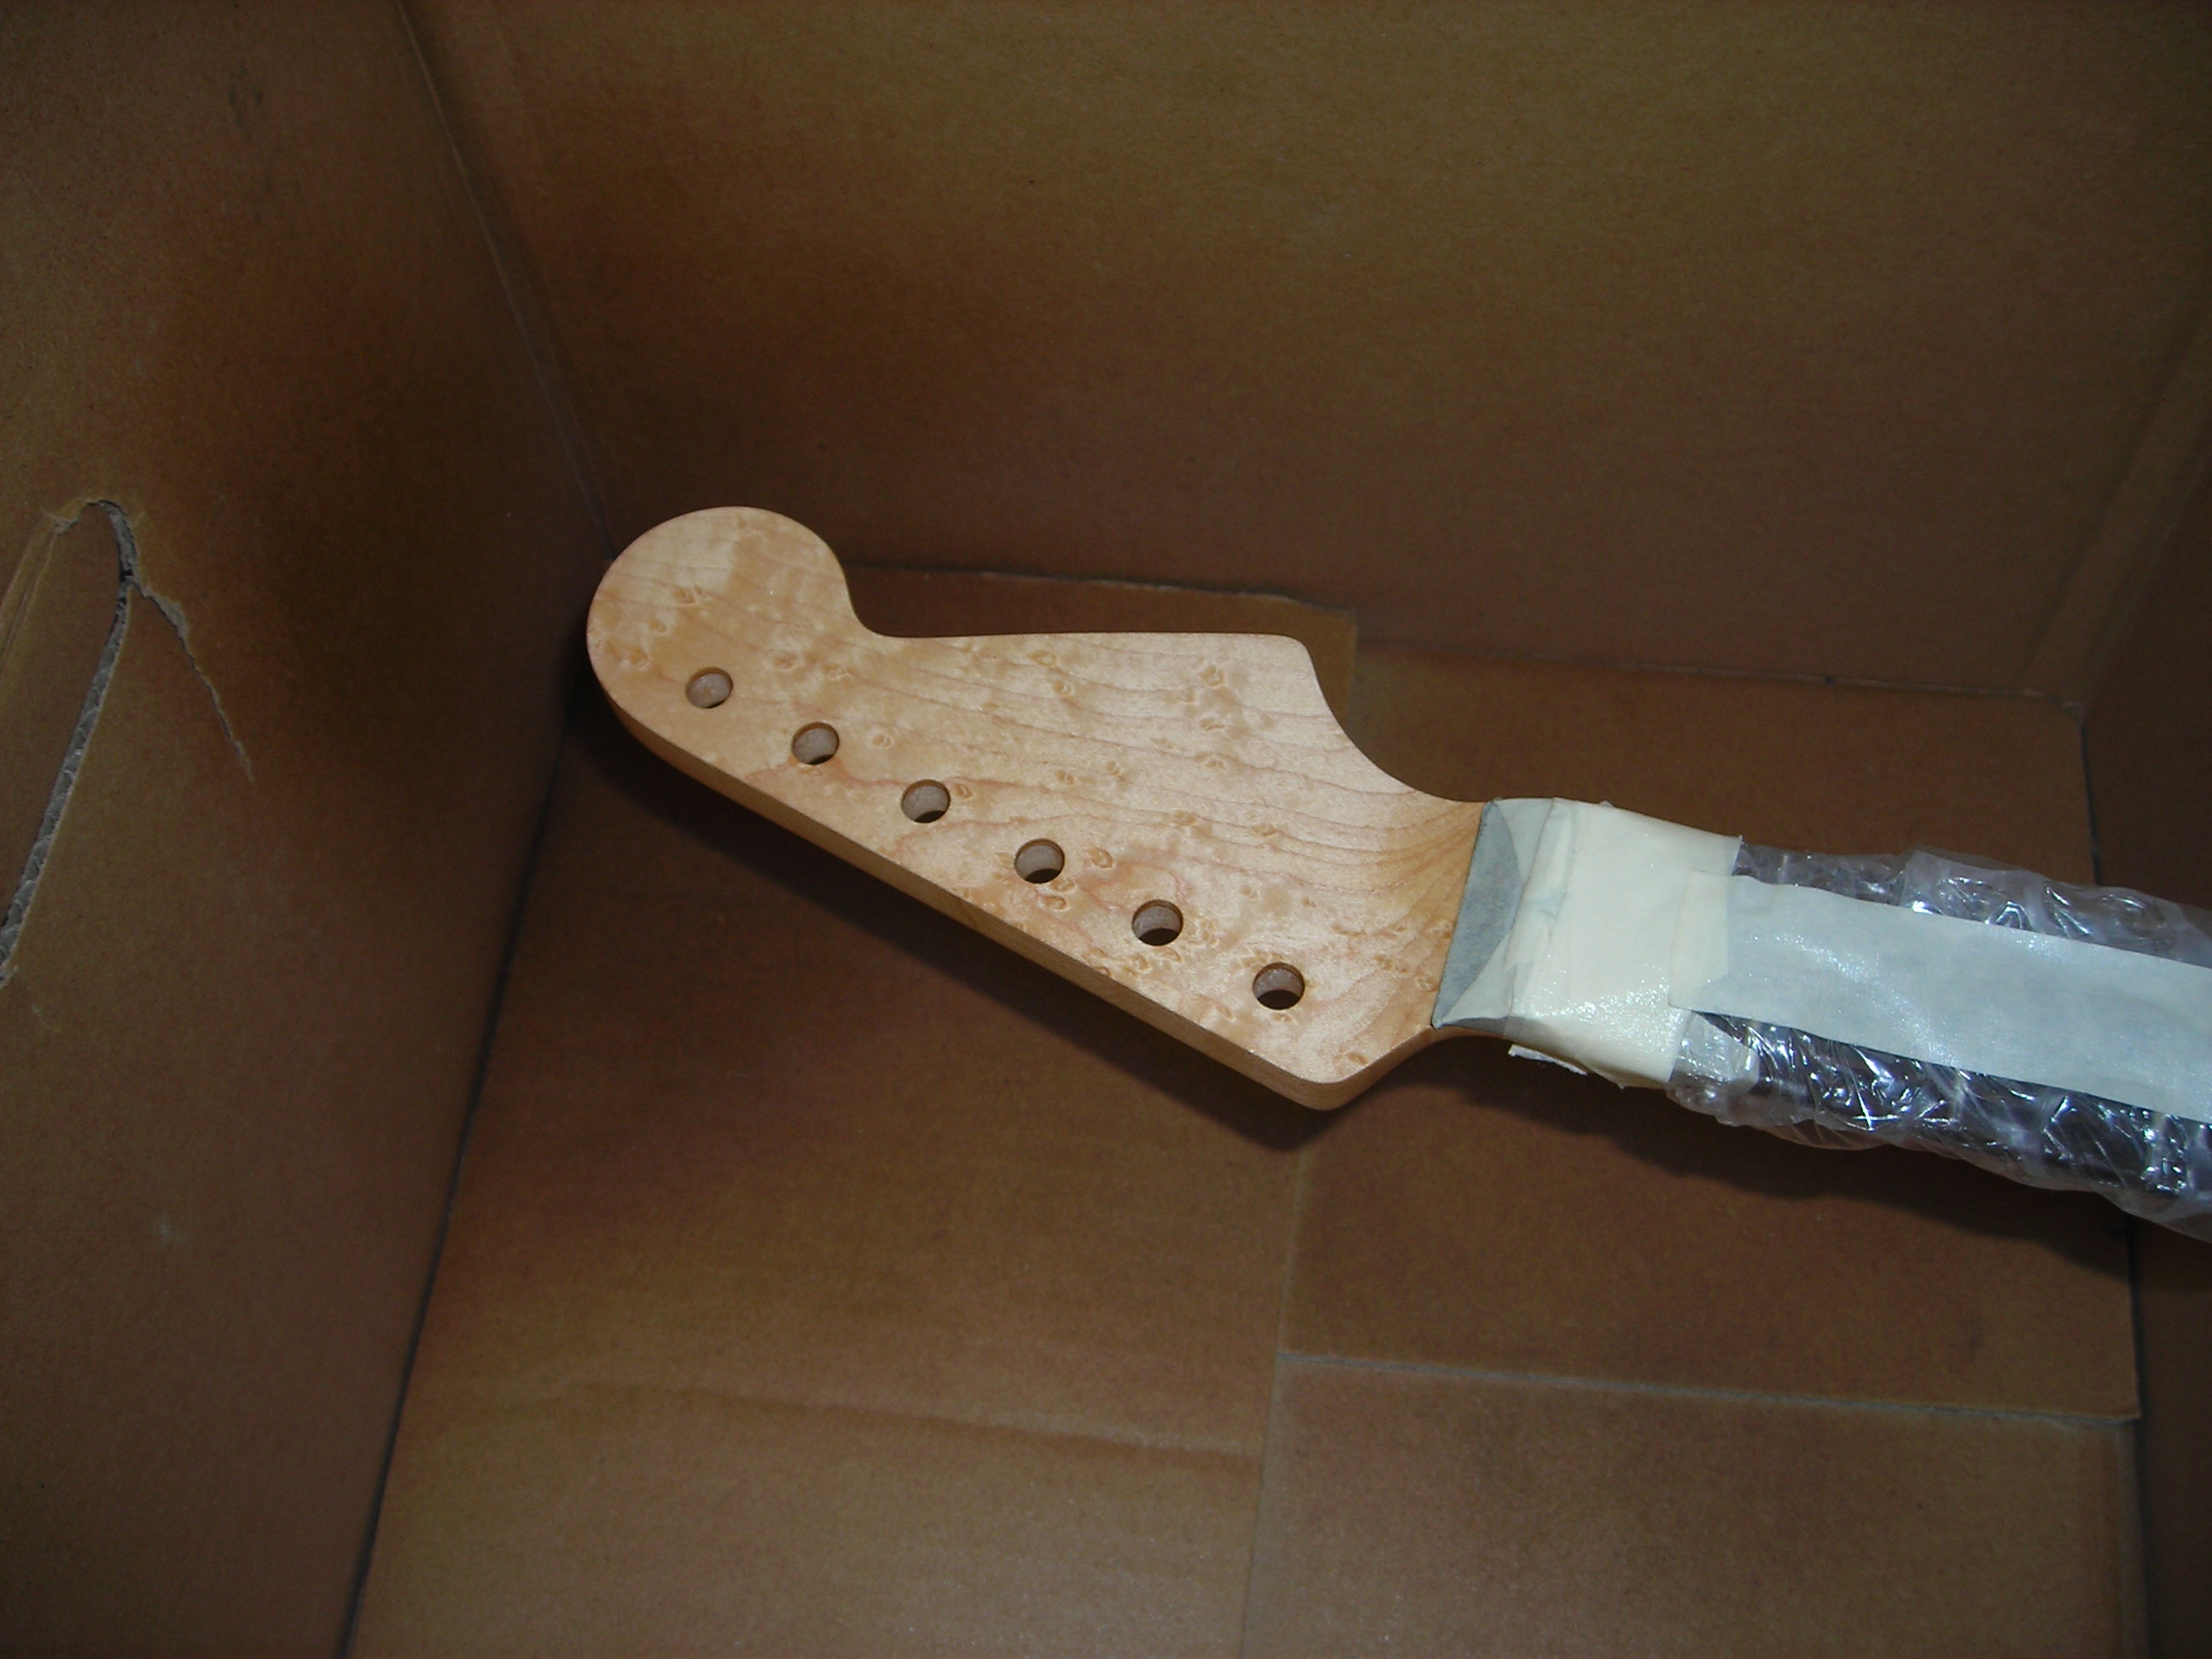
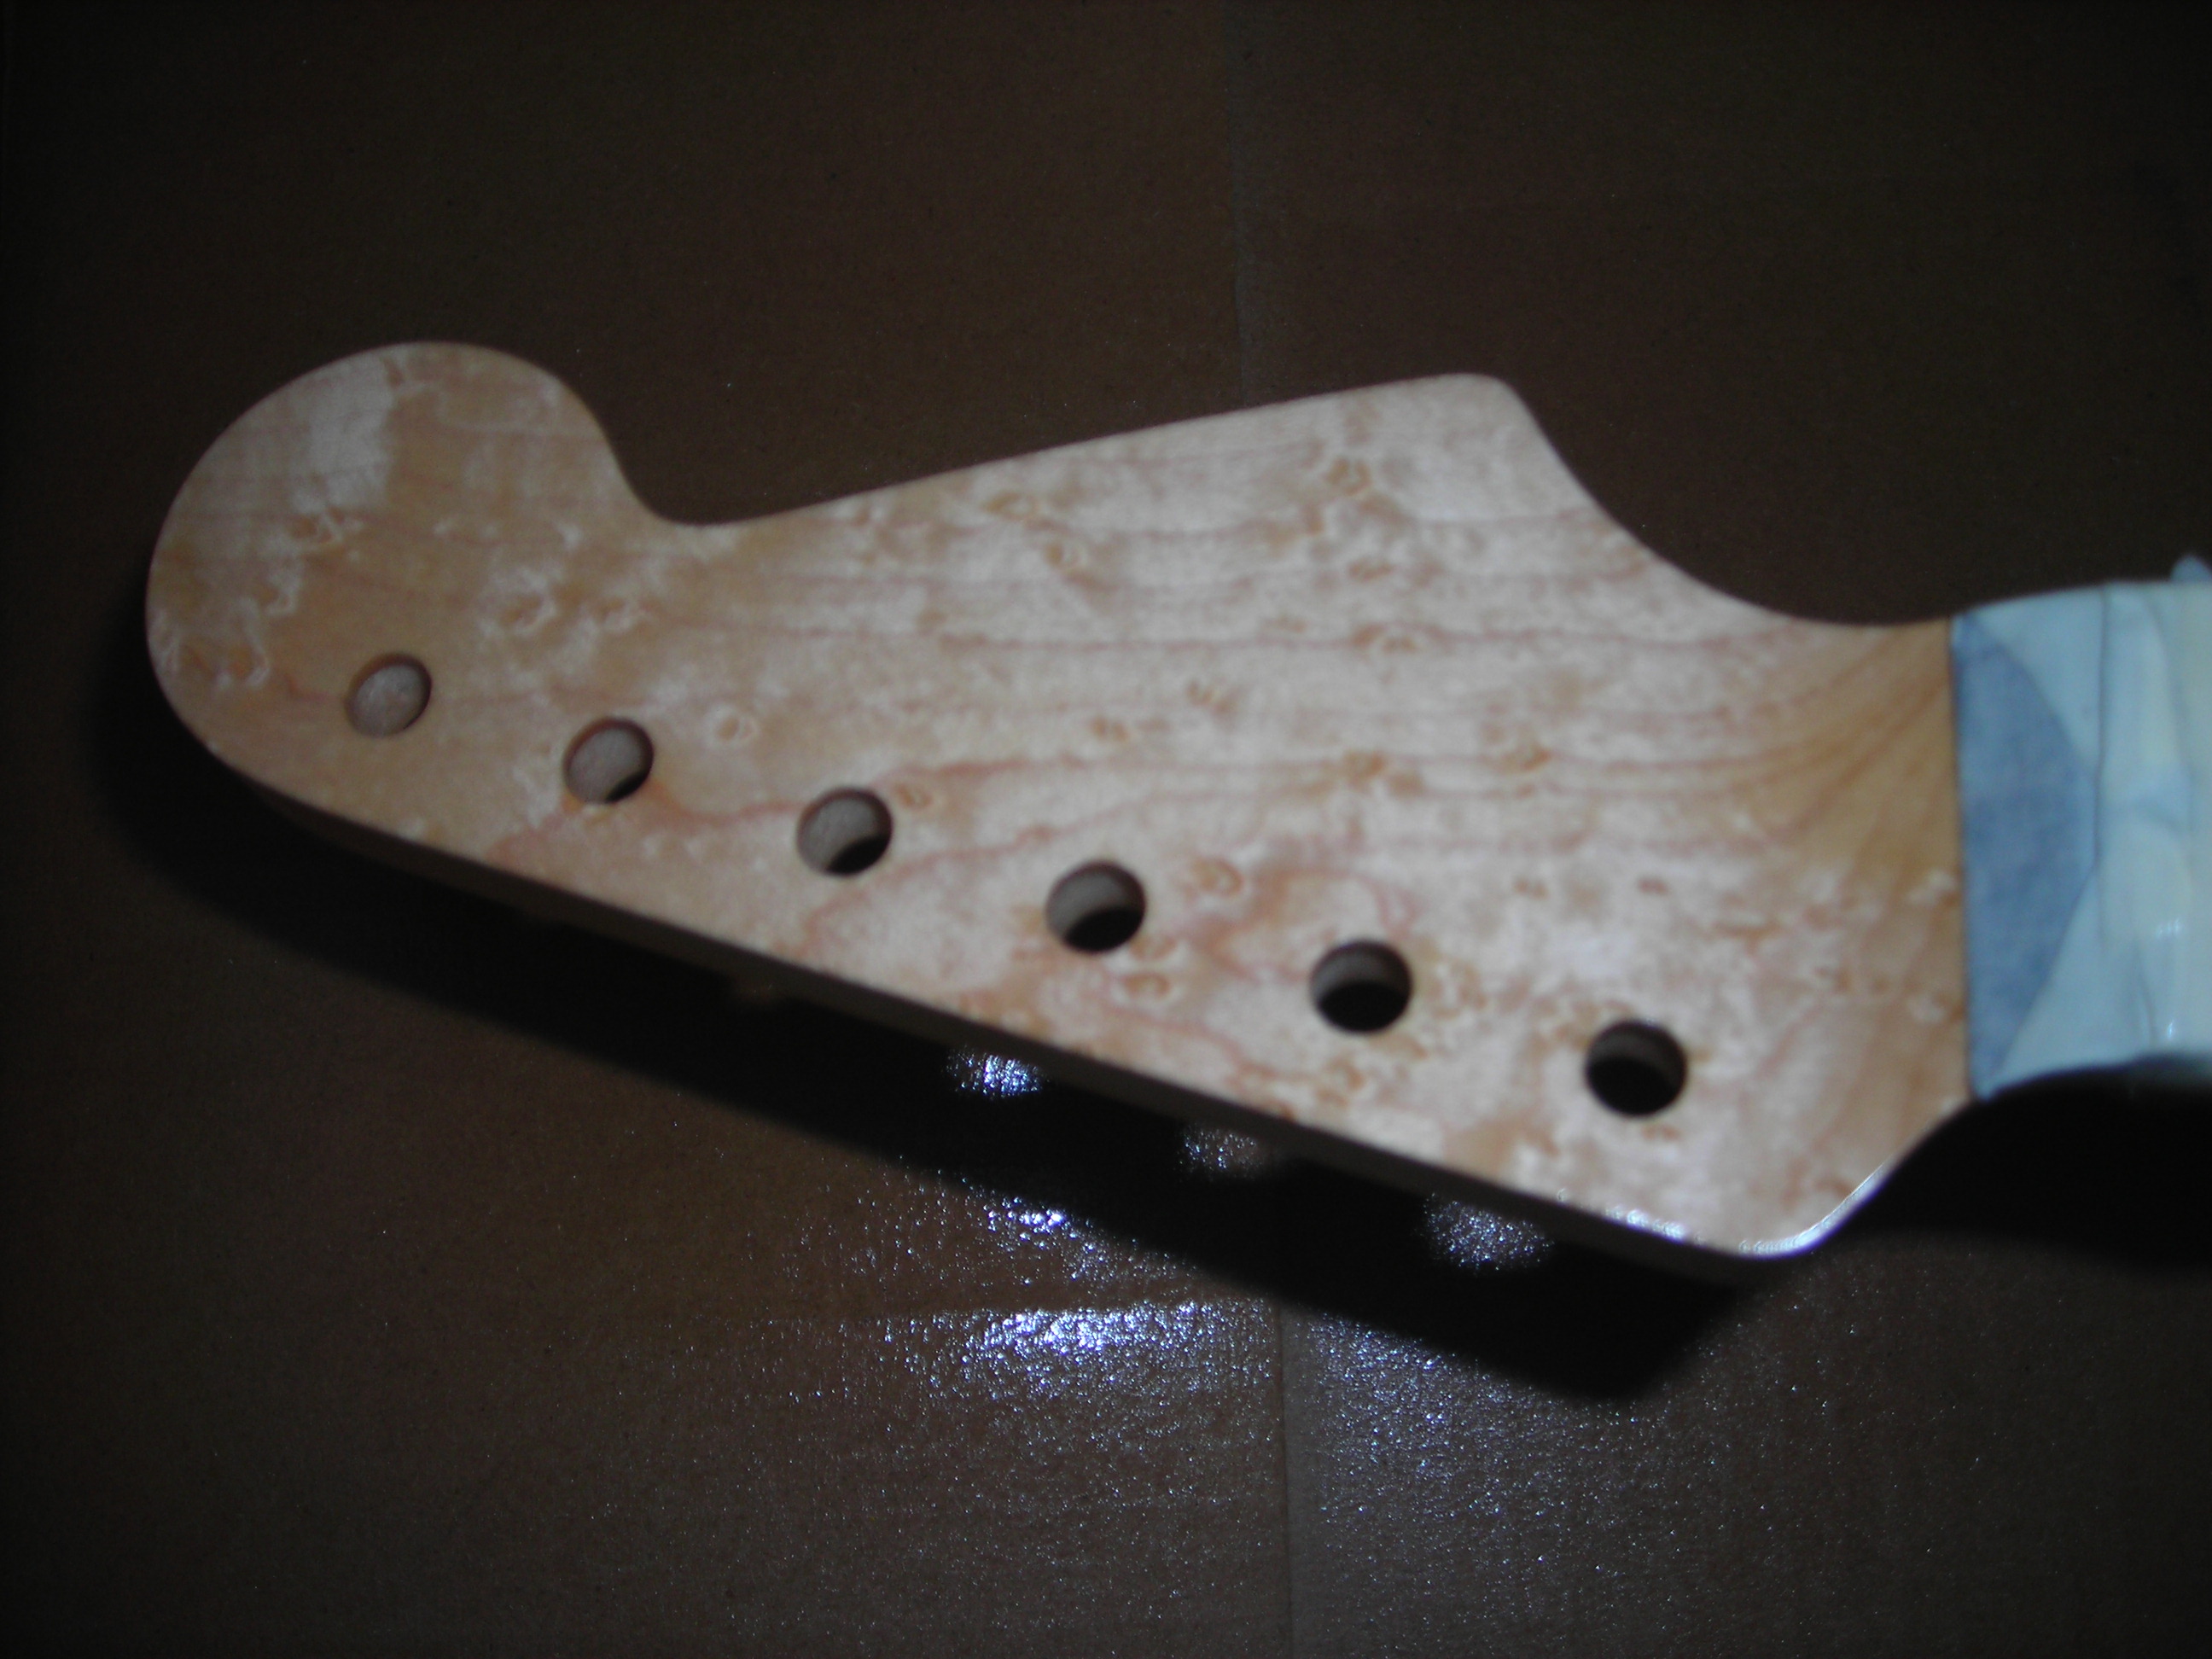
So here are some shots of the neck before and after the masking was removed after applying the nitro to the headstock. The line was quite clean after removing the masking and there was only a small amount I needed to scrape where it had bled under the tape.
 HeadstockFinish_1 by stratamania, on Flickr
 HeadstockFinish_2 by stratamania, on Flickr
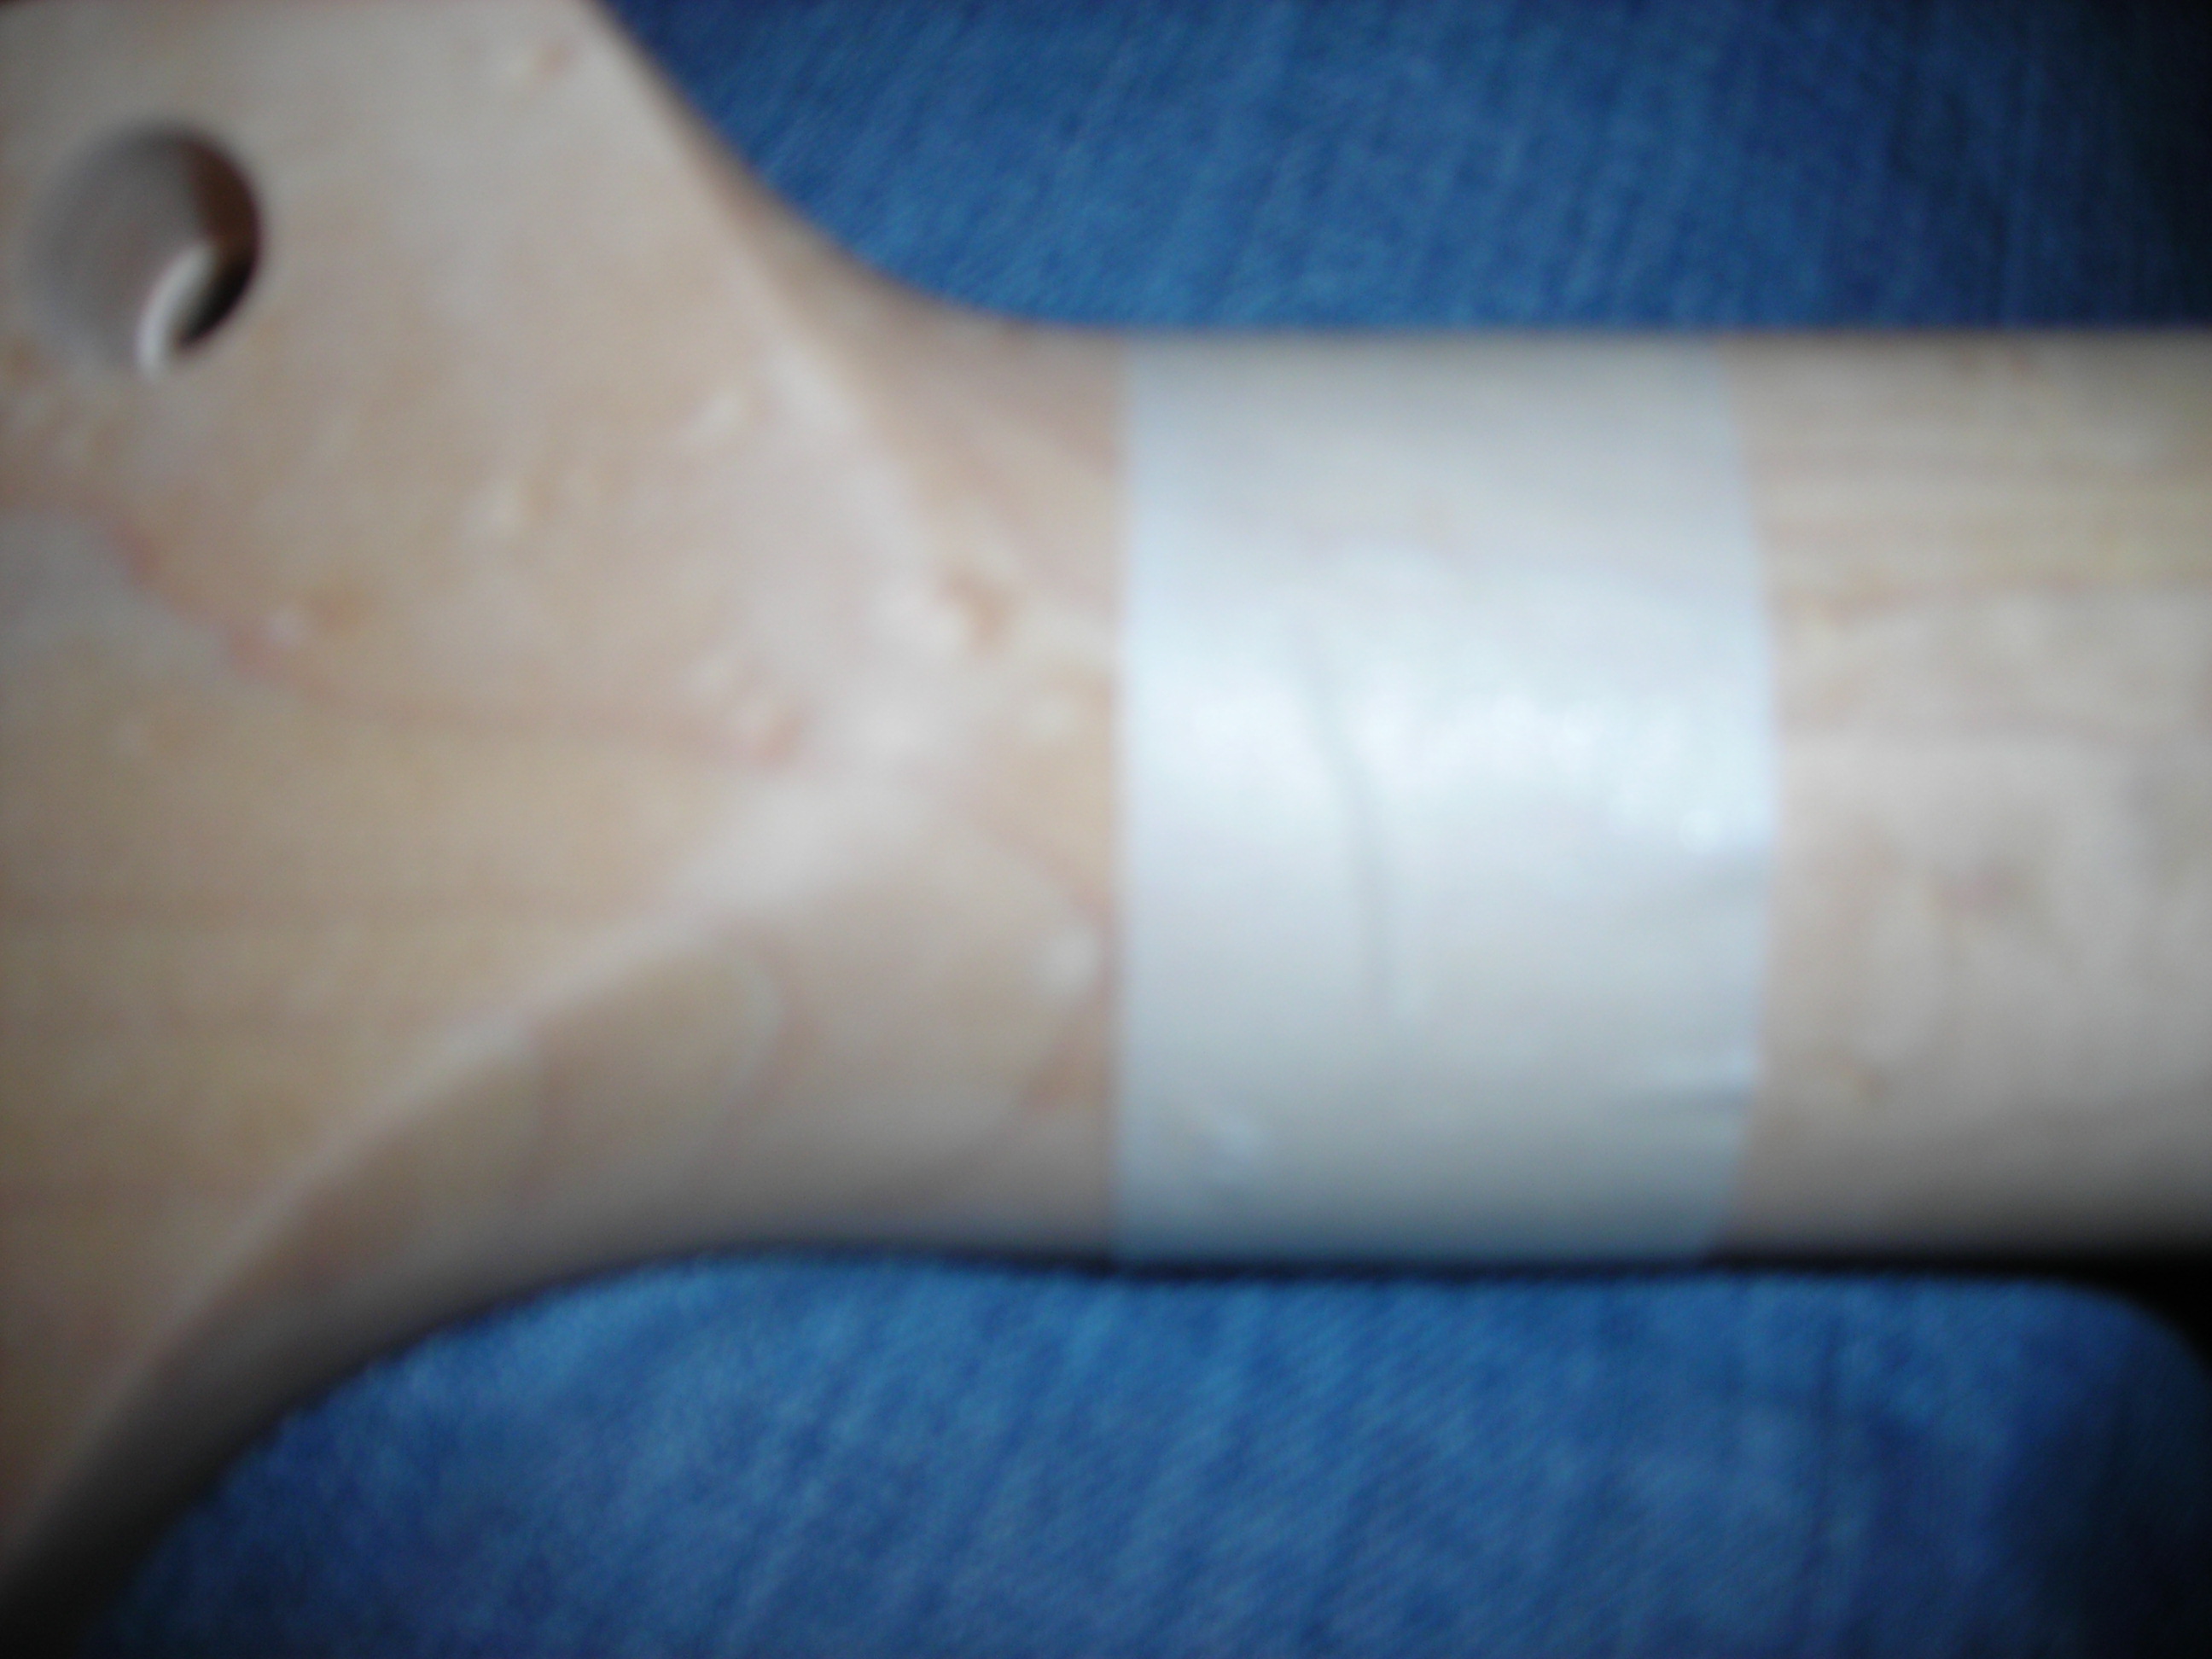
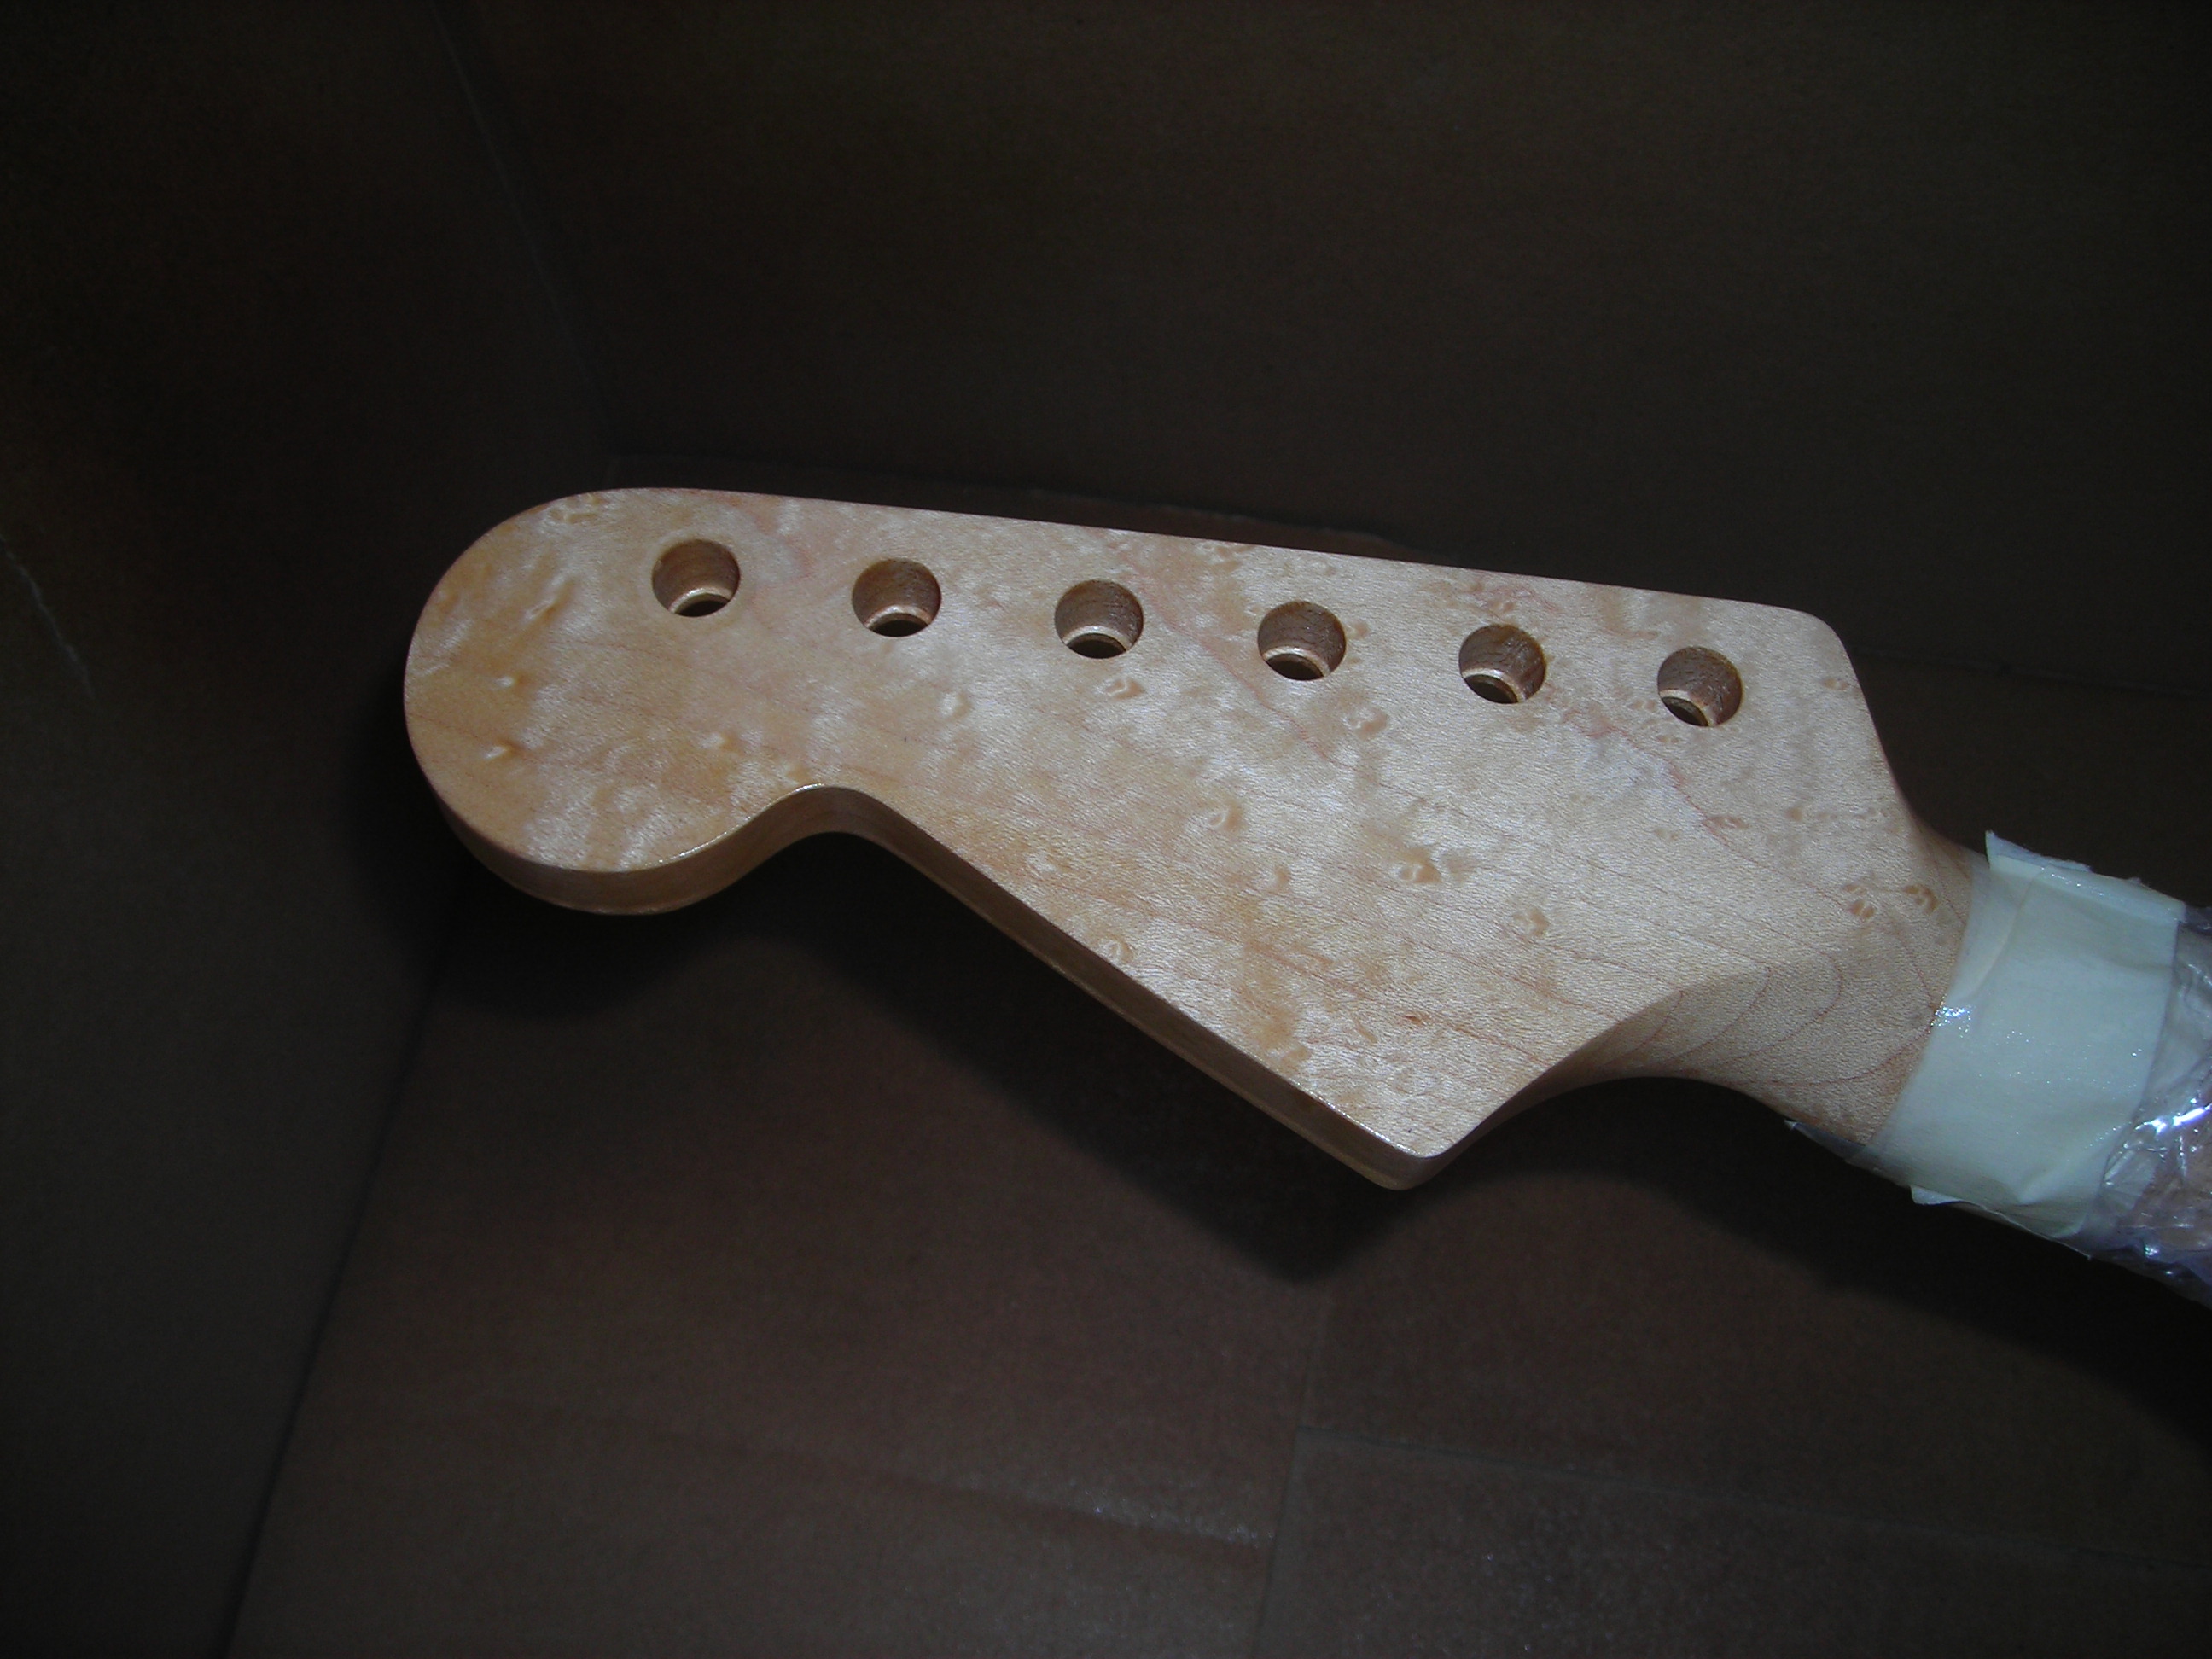
The line where the nitro ends and the tru-oil will begin. I have also feathered back the edges slightly with some sandpaper to get rid of any obvious ridge.
 HeadstockFinish_3 by stratamania, on Flickr
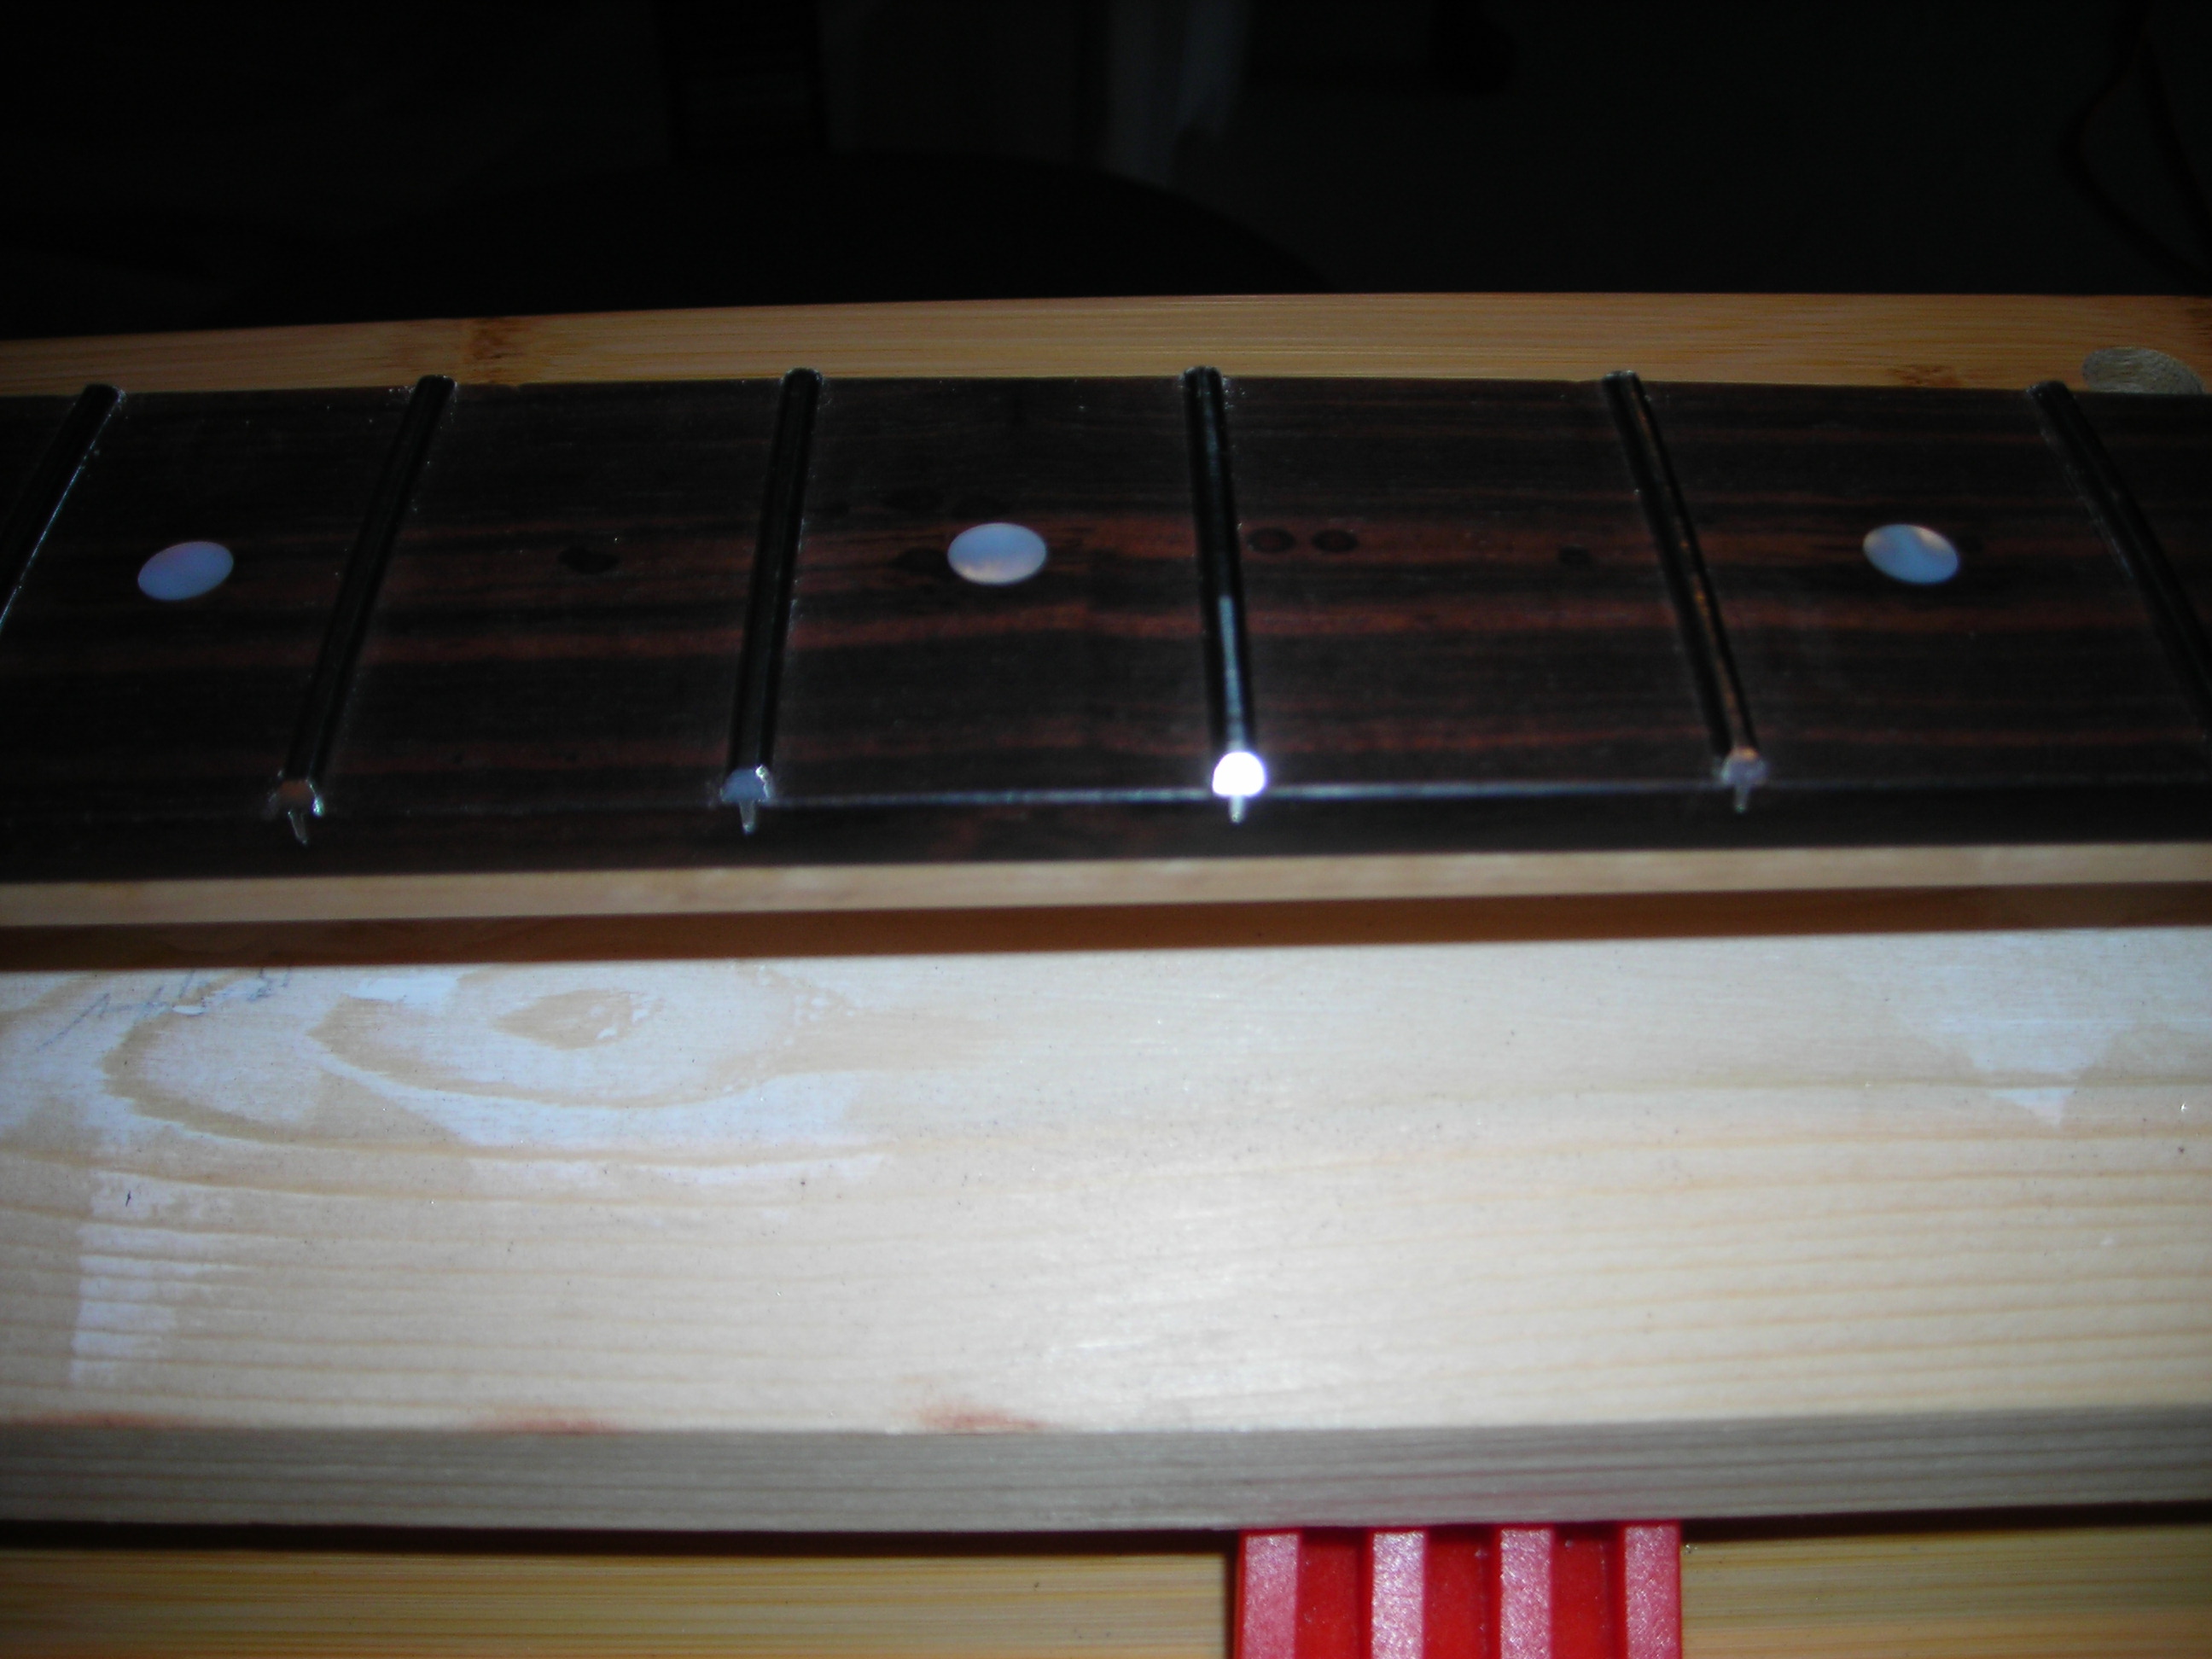
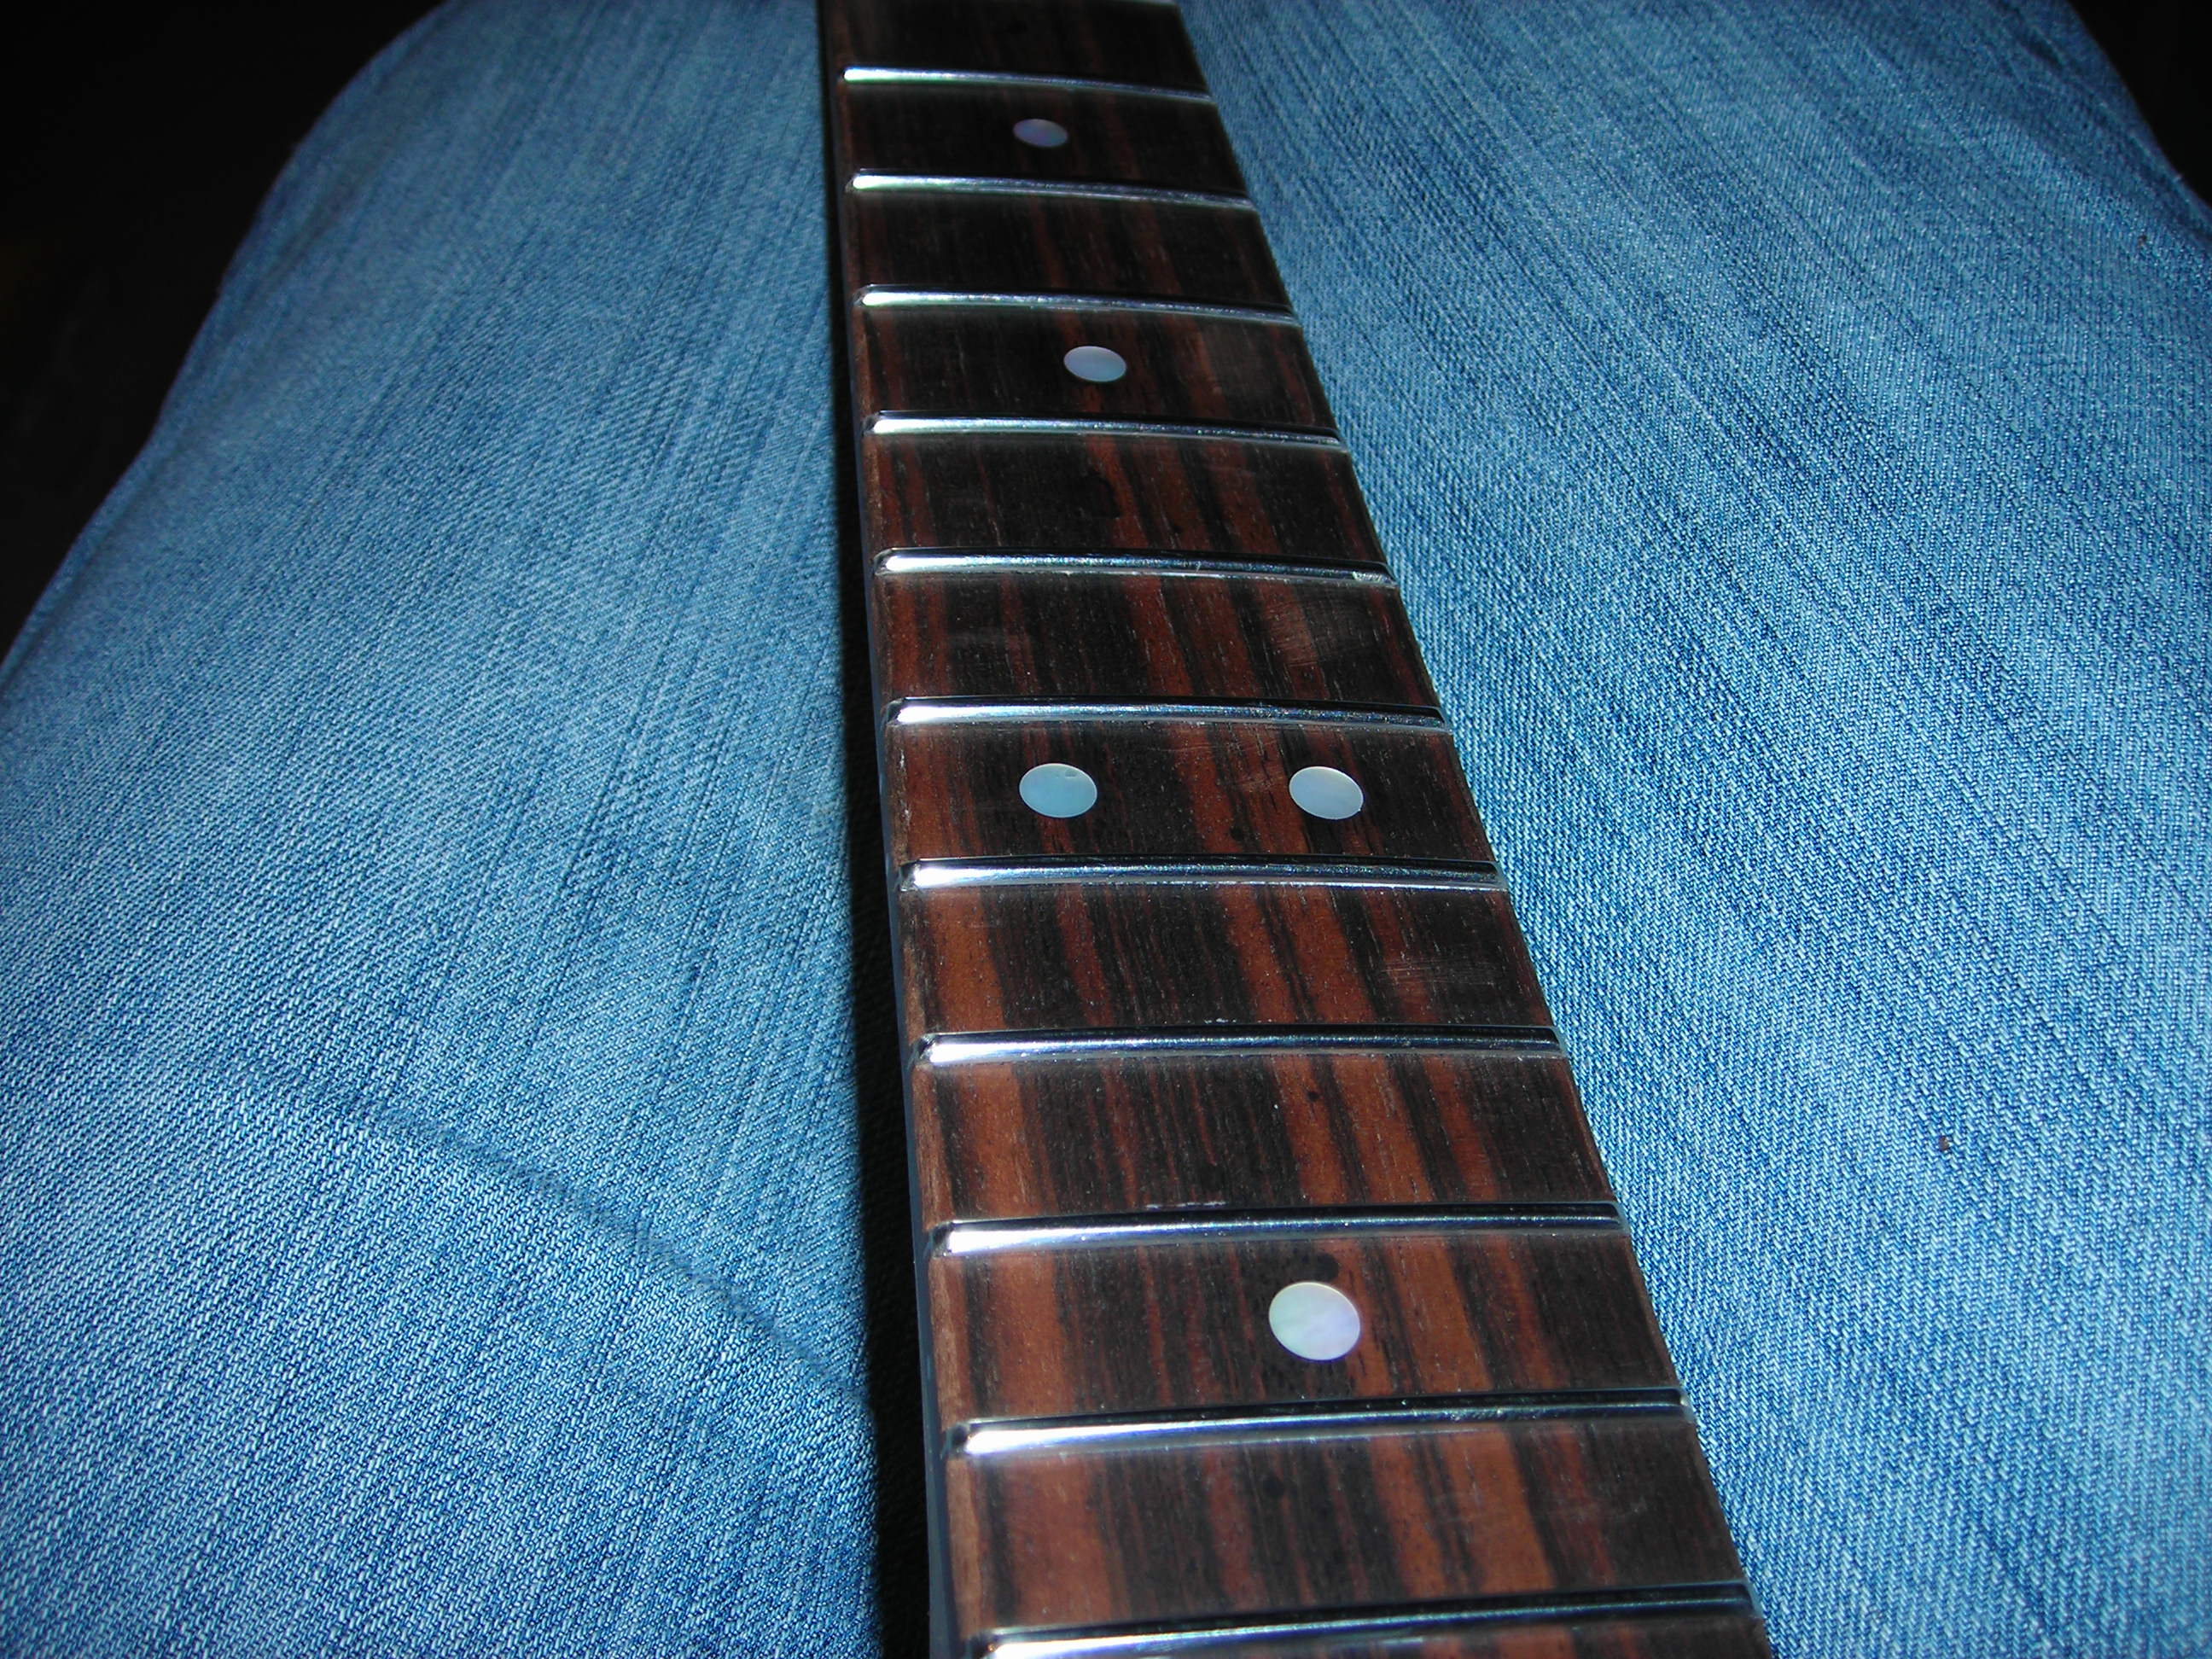
A close up of one of the fret ends and the fingerboard roll. I have put quite a heavy roll onto it as I also play scalloped necks and this one with jumbo frets and no scallop is a bit of an experiment for me.
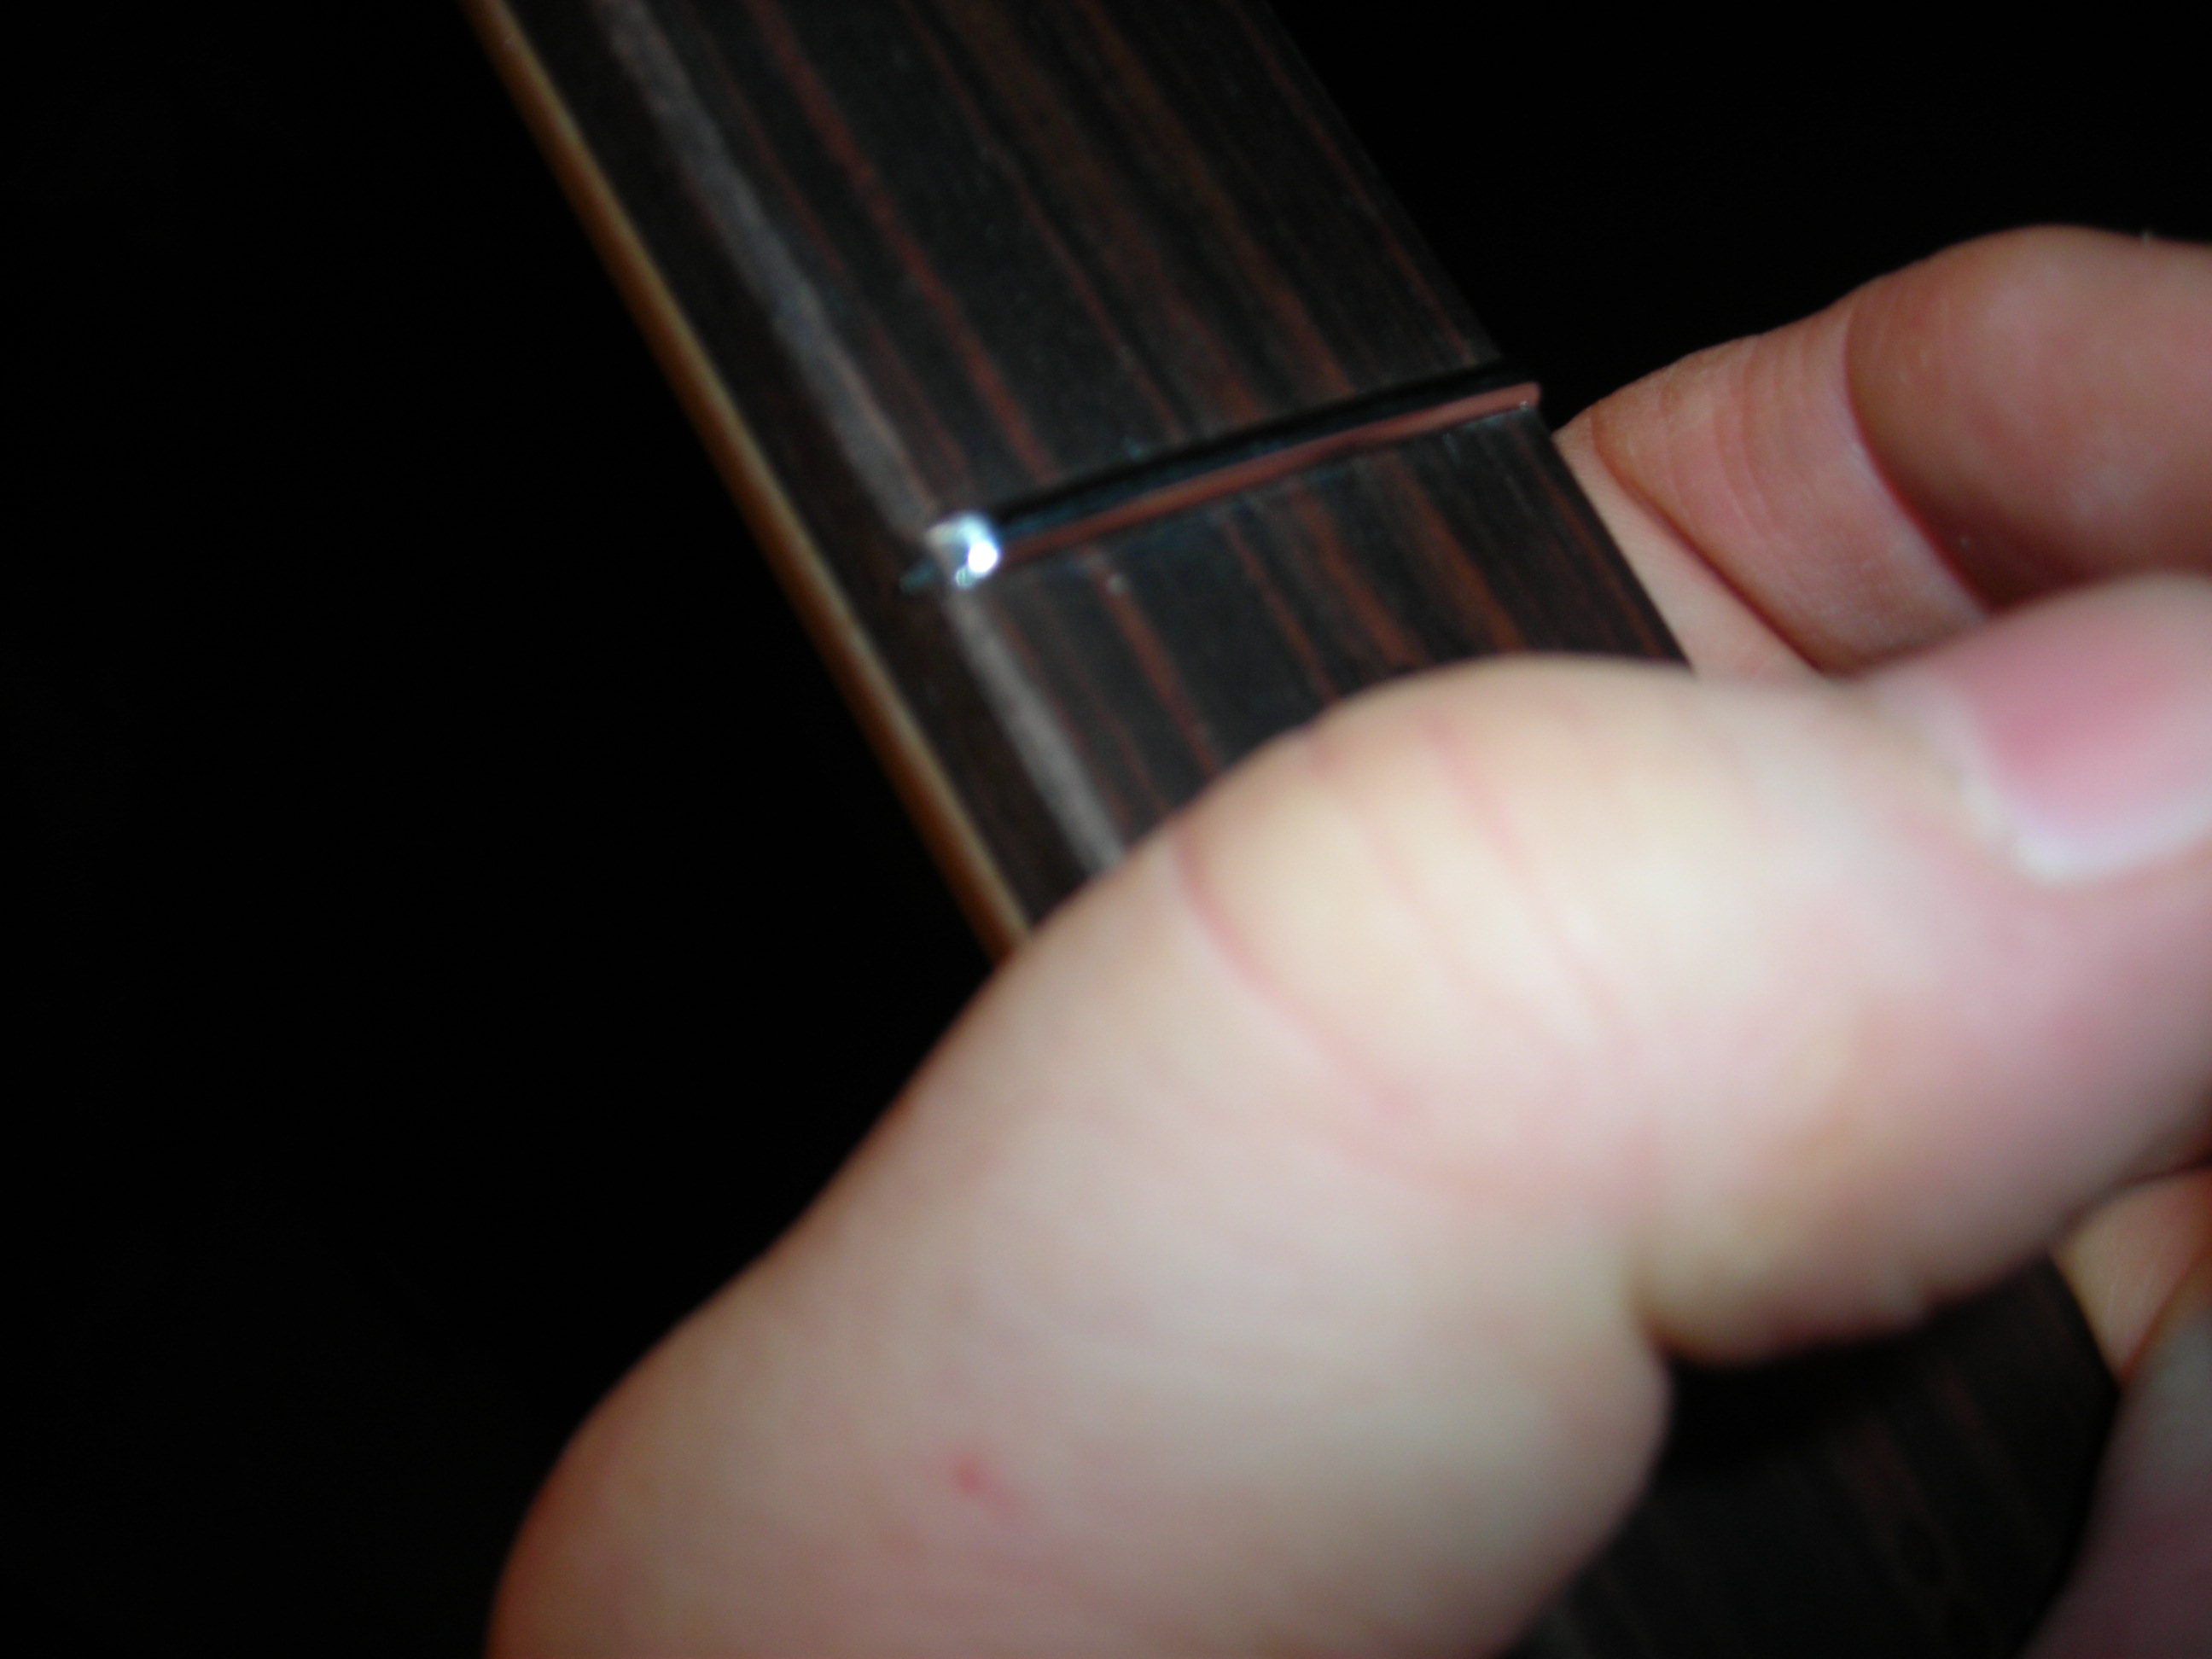 HeadstockFinish_4 by stratamania, on Flickr
Ok, the next (or is it neck-st ) installment will be tru-oil.
As always any feedback is appreciated
The second update today, which brings the thread of the build up to date.
So here are some shots of the neck before and after the masking was removed after applying the nitro to the headstock. The line was quite clean after removing the masking and there was only a small amount I needed to scrape where it had bled under the tape.
HeadstockFinish_1 by stratamania, on FlickrHeadstockFinish_2 by stratamania, on FlickrThe line where the nitro ends and the tru-oil will begin. I have also feathered back the edges slightly with some sandpaper to get rid of any obvious ridge.
HeadstockFinish_3 by stratamania, on FlickrA close up of one of the fret ends and the fingerboard roll. I have put quite a heavy roll onto it as I also play scalloped necks and this one with jumbo frets and no scallop is a bit of an experiment for me.
HeadstockFinish_4 by stratamania, on FlickrOk, the next (or is it neck-st ) installment will be tru-oil.
As always any feedback is appreciated
croquet hoop
Senior Member
- Messages
- 443
The headstock looks amazing when wet by the lacquer! Where do you buy nitro cans, by the way? And, any reason you choose not to use tru-oil on the headstock as well? (it dries as a hard finish and can be buffed to a gloss)
stratamania
Mythical Status
- Messages
- 12,390
croquet hoop said:The headstock looks amazing when wet by the lacquer! Where do you buy nitro cans, by the way? And, any reason you choose not to use tru-oil on the headstock as well? (it dries as a hard finish and can be buffed to a gloss)
Thanks...
I ordered the lacquer from Behlens, in the UK. http://www.behlen.co.uk/
The nitro on the head-stock idea was because originally I had thought of putting an abalam inlay into it and applying lacquer over it, but have decided on using a logo as the abalam that arrived was smaller than I thought. I did a little research and Ernie Ball Musicman, use Birchwood Casey tru-oil but the head-stocks seem to be done in a similar way to what I have used here. They possibly don't use nitro but probably poly.
But anyway the logo supplier say "Waterslide decals cannot be applied to oiled surfaces. " Of course tru-oil dries, so perhaps it can but I had the nitro already so just thought I would do it this way.
So I have the tru-oil to do, will let it harden during an upcoming work trip. Then the logo can go on and more lacquer, wet sand and final finishing. And then I can get it all put together.
croquet hoop
Senior Member
- Messages
- 443
Thanks for the link and for the details! I think Tonar uses lacquer on the headstock and oil on the back too, by the way.
stratamania
Mythical Status
- Messages
- 12,390
croquet hoop said:Thanks for the link and for the details! I think Tonar uses lacquer on the headstock and oil on the back too, by the way.
If Tonar, does so then I will be in good company. He has done some spectacular finishes.
I ordered the lacquer in the UK, and I brought it to Europe by car as I travel back and forth for work. So not sure if they will mail from the UK. But worth a try.
stratamania
Mythical Status
- Messages
- 12,390
hannaugh said:This is going to be very nice. You're patient for taking the time to document the whole process, but it is very helpful for those who need guidance on their own builds. Props to you for that. Can't wait to see the finished product.
Thanks, documenting it was partly as a record and also if it helps anyone it's even better.
The latest guitar called Sue you posted is very nice indeed by the way.
stratamania
Mythical Status
- Messages
- 12,390
Here are the latest shots of the tru-oil work done. I had taken some in progress shots but they have been lost I am afraid due to a technical glitch with an SD card so just a written overview this time.
For an overview of the process I used Birchwood Casey tru-oil products for this bought in 3 oz quantities which is more than enough for several necks.
Products used all from Birchwood Casey :-
The first step was to mask the line towards the head stock side that was done with the nitro as shown in an earlier post. This time the nitro side of the line is masked. I also masked off the fingerboard.
I then applied two thin coats of the Sealer and Filler product. The smell took me back years to oiling cricket bats with linseed oil. The sealer I applied with a finger and in between coats gave a light sand with 600 grit and wiped away any residue with shop towel.
Once the sealer was fully dry I built up five thin coats of the tru-oil with a light 600 grit sand and shop towel wipe in between. After the fifth thin coat I left it a day then a light 600 grit, followed by 1500 grit and shop towel.
Then finally two light coats of the gun stock wax, which were wipe on with the shop towel and buffed with some lint free cotton (part of an old T shirt was put to good use here)
So here is the result.
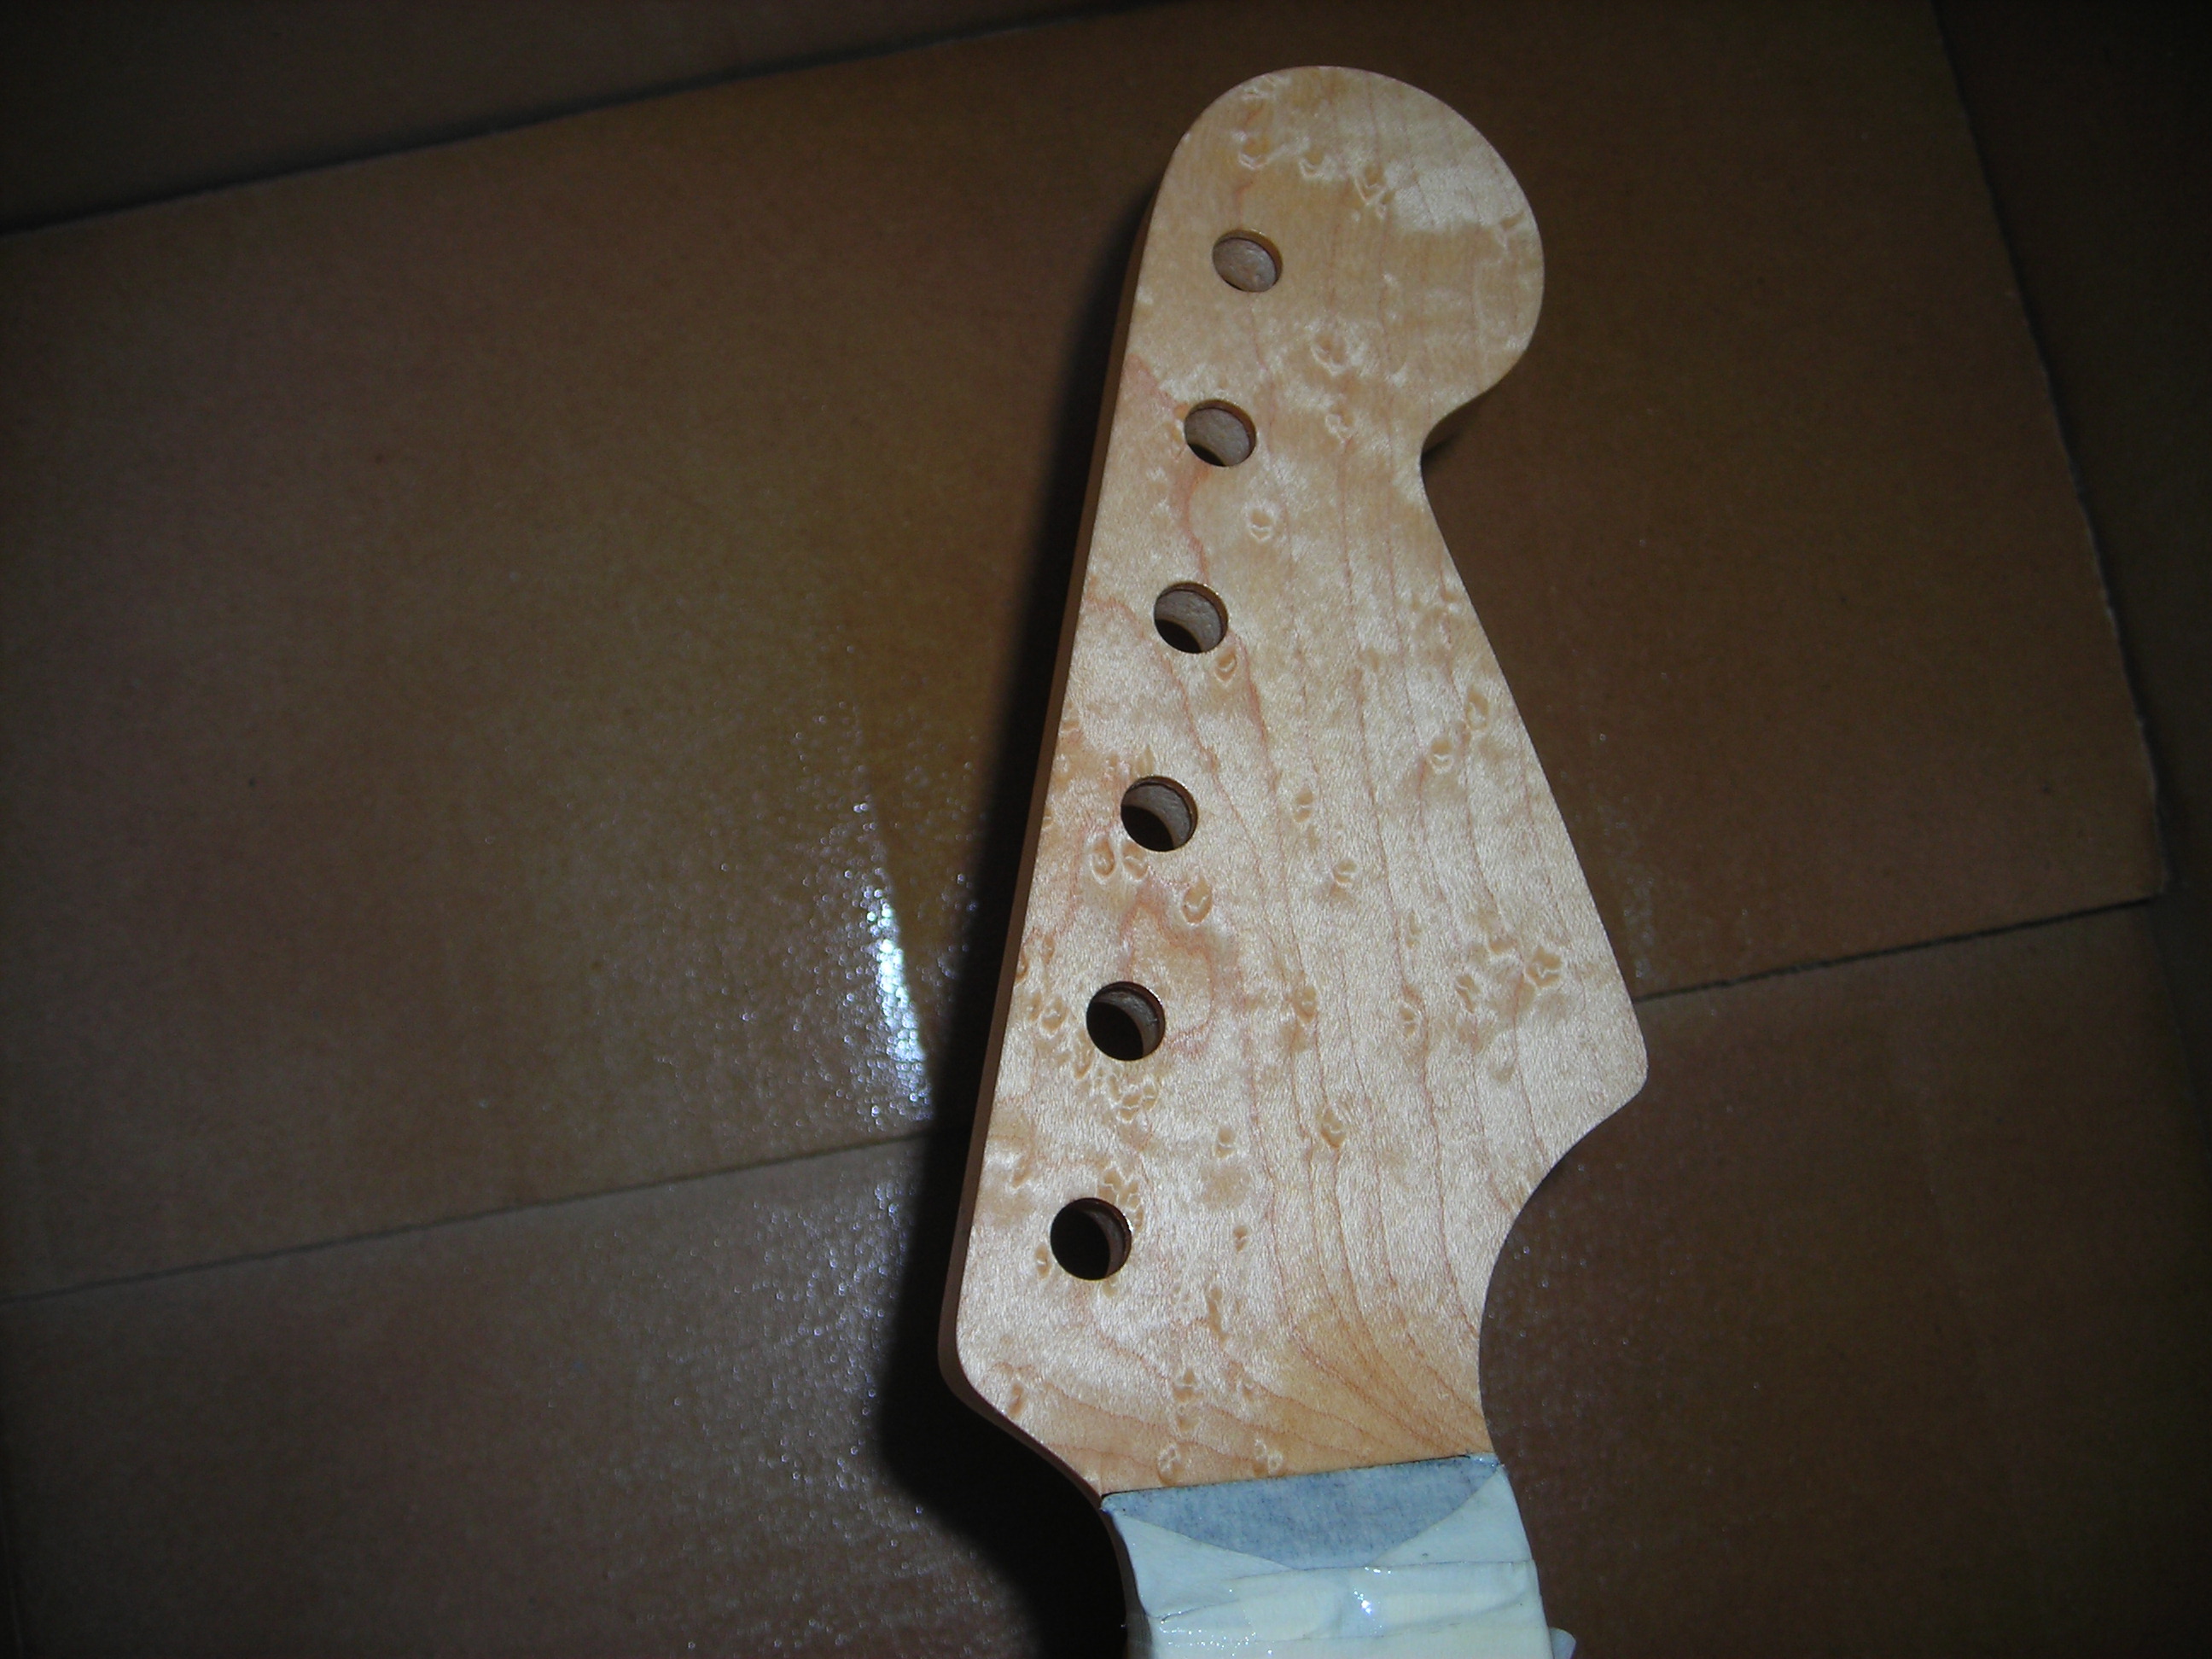
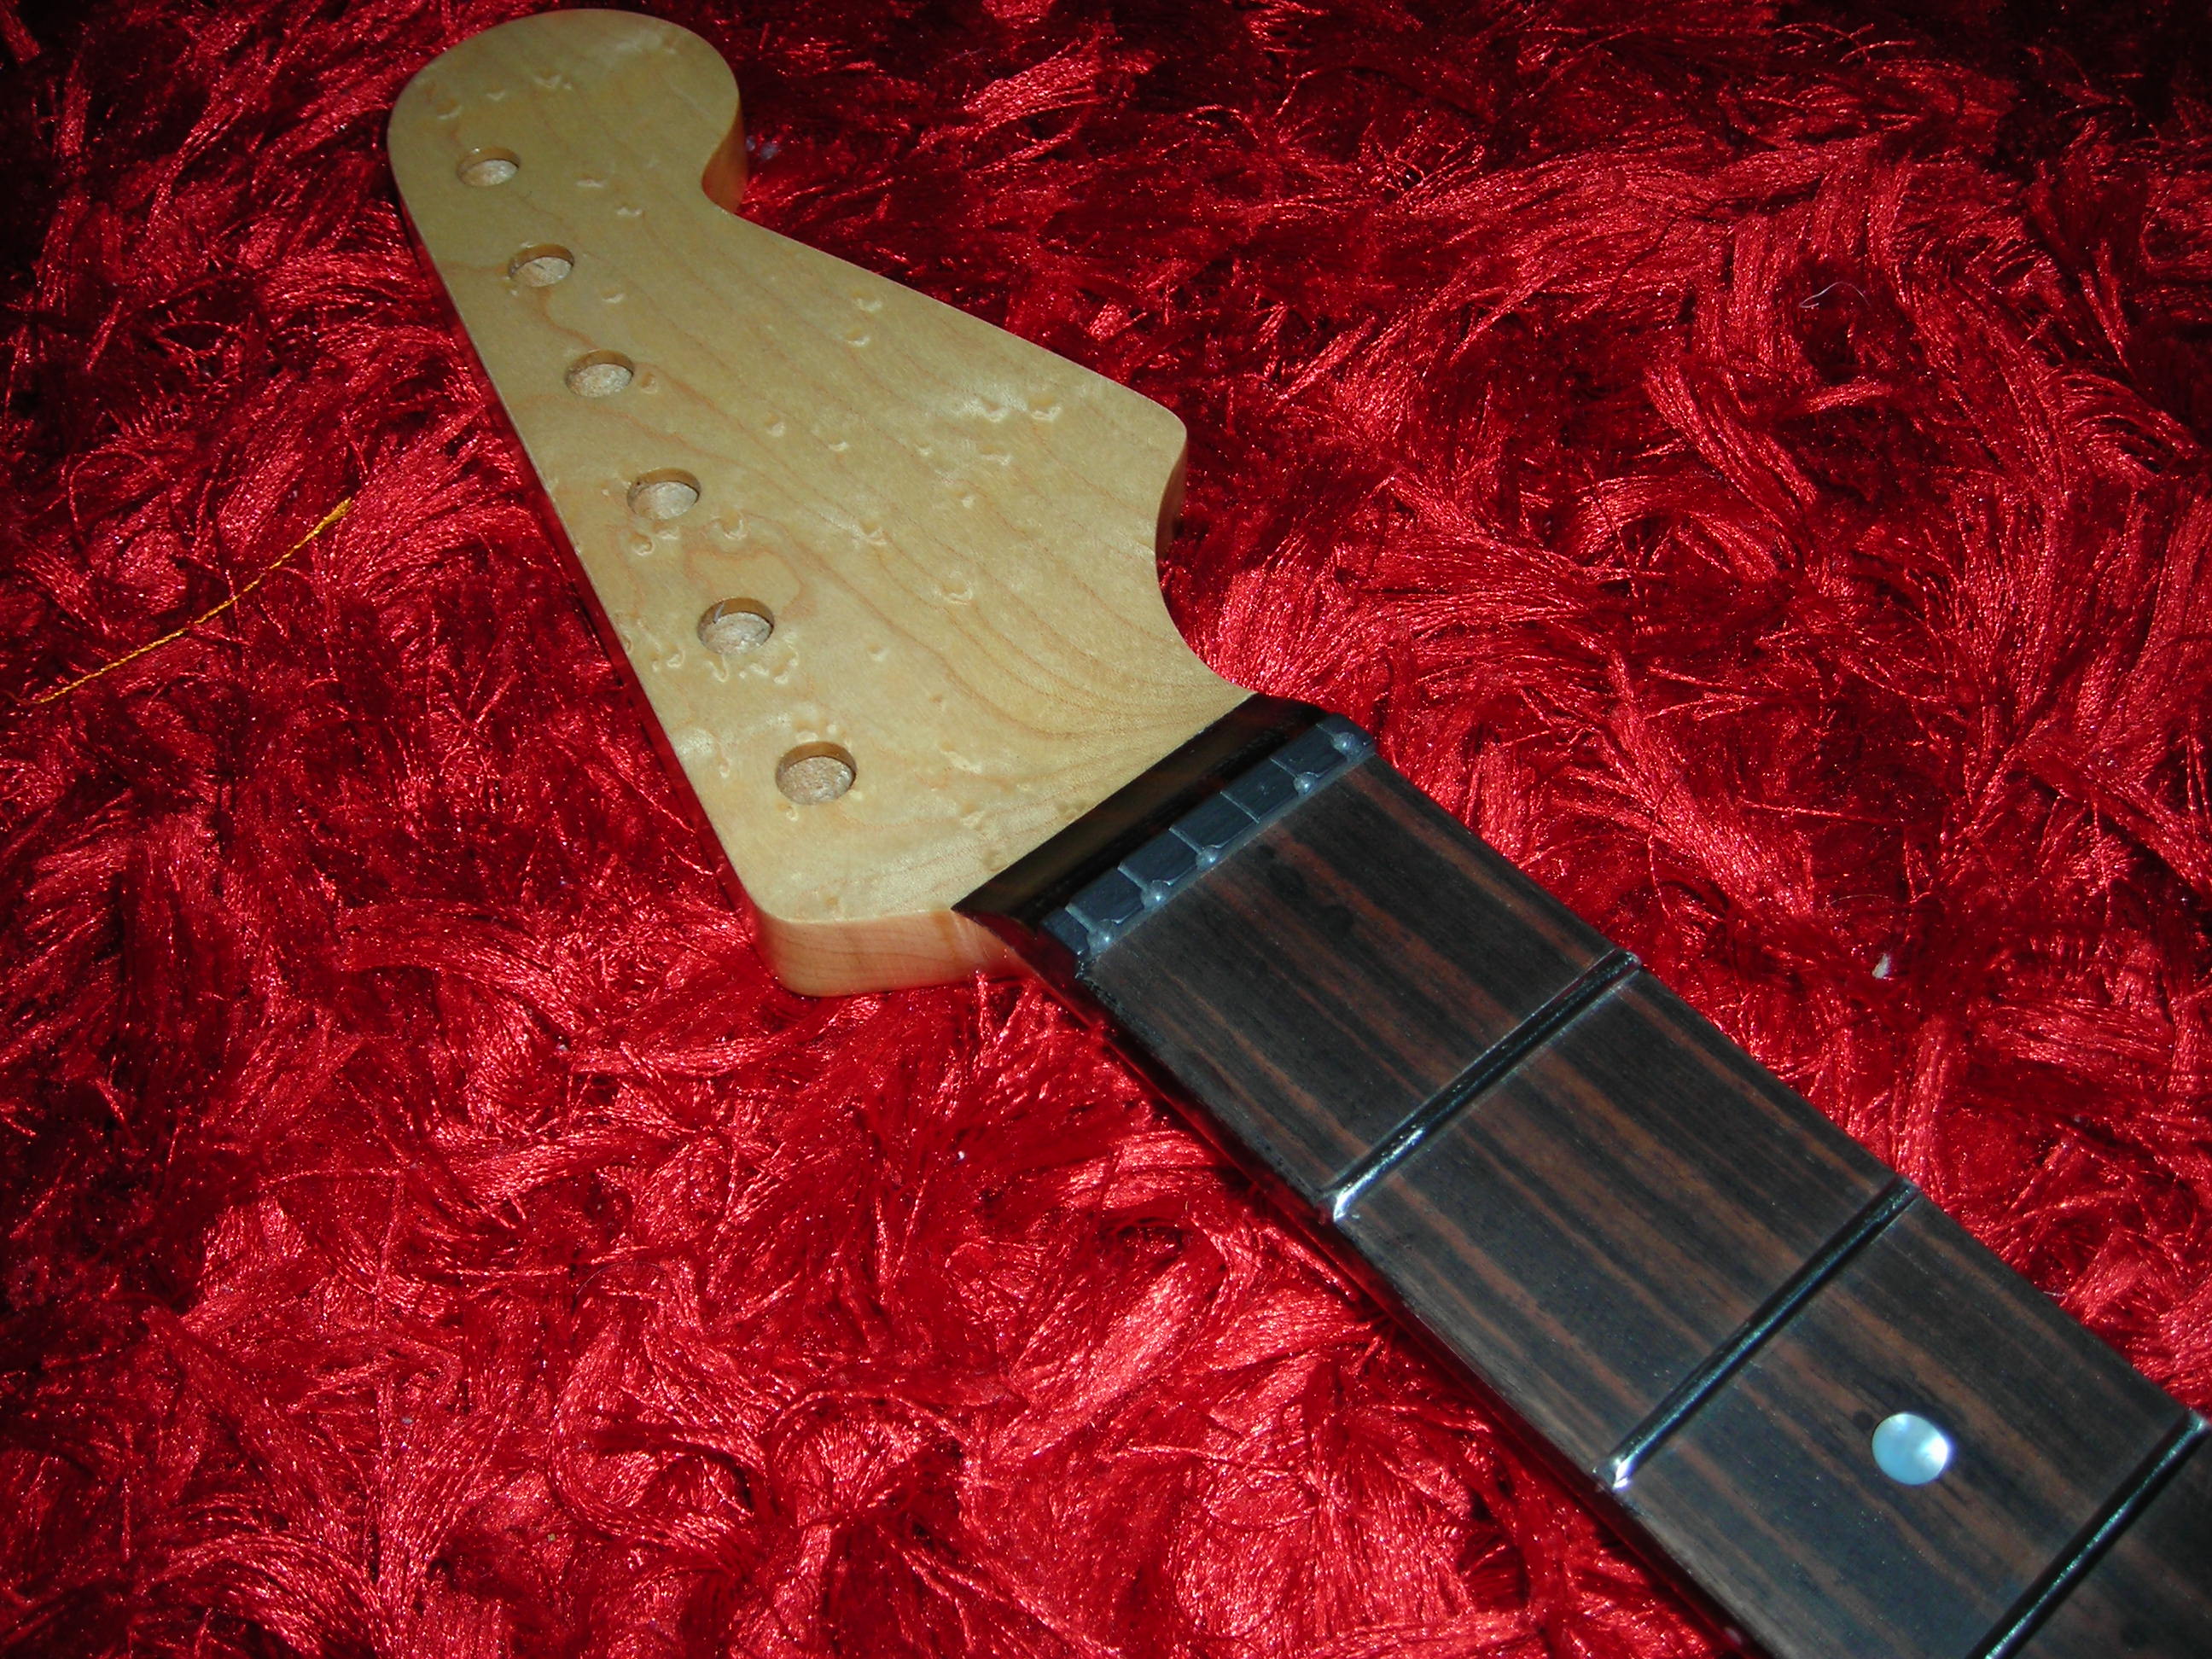
The first shot shows the line where the nitro and tru oil finish meet.
 TruOil_1 by stratamania, on Flickr
The headstock, showing also the ebony above the nut also got some tru oil as did the fret board edges. Final cleaning of the fret board will be done later.
 TruOil_4 by stratamania, on Flickr
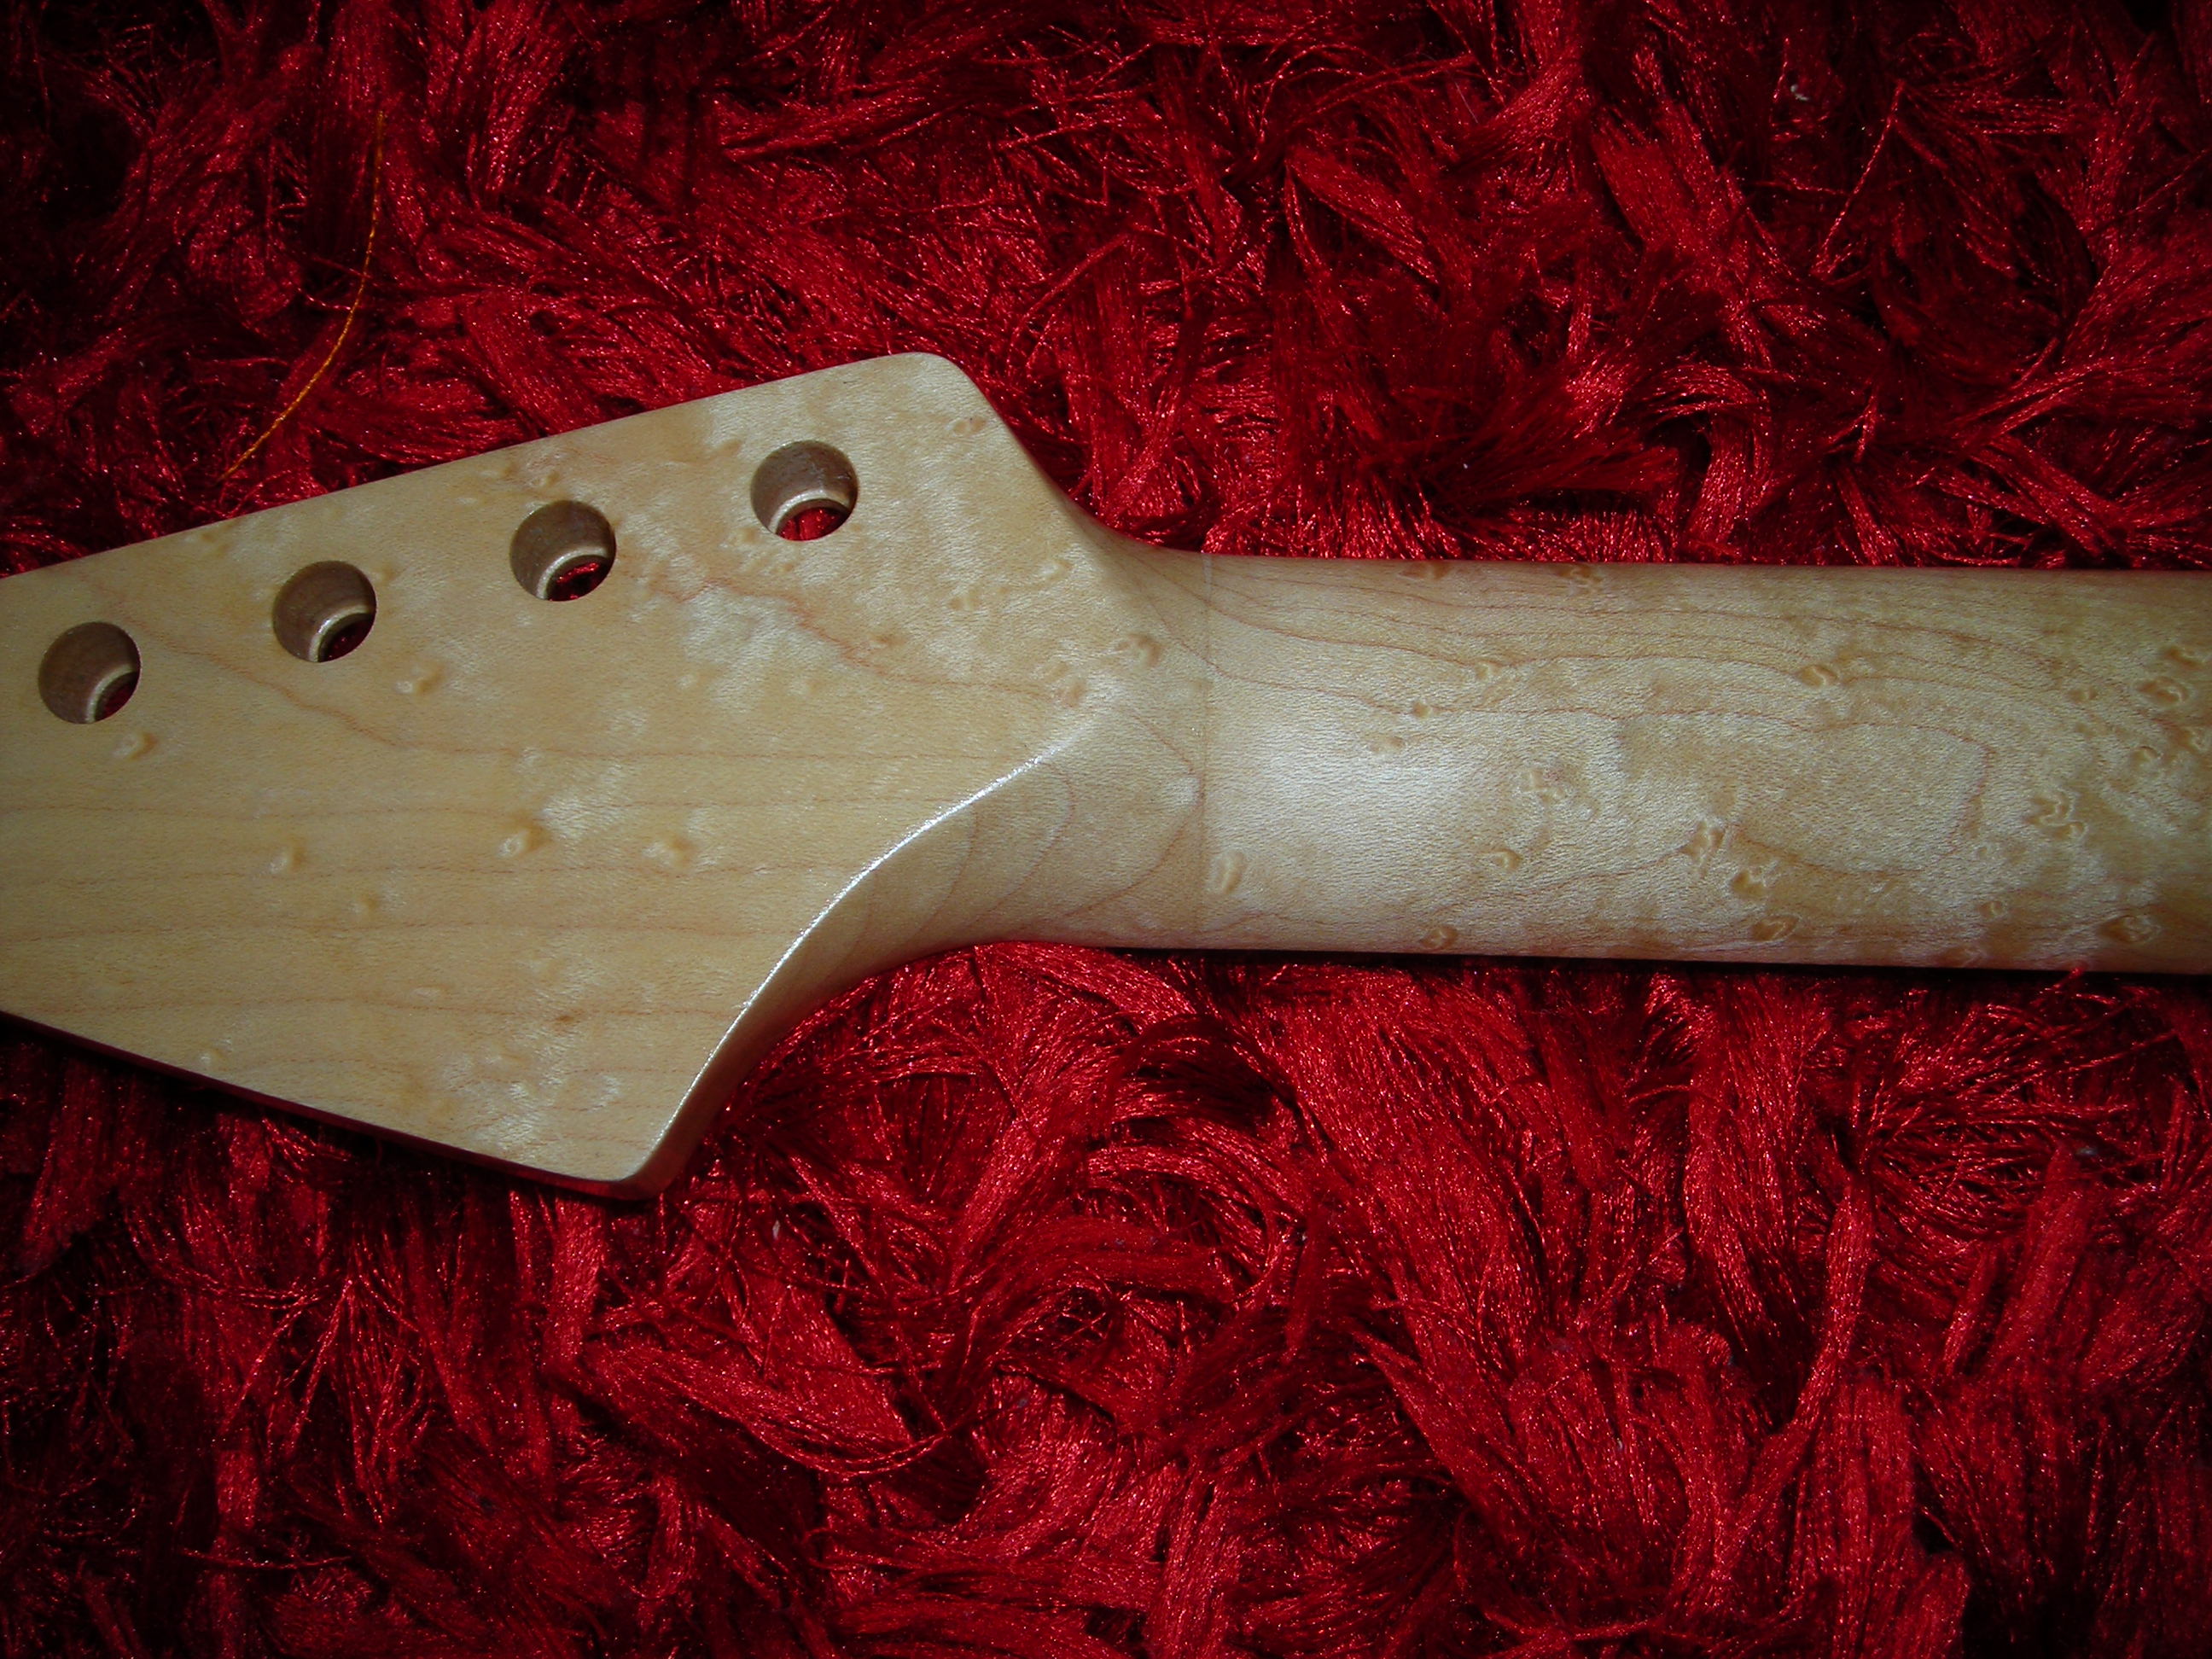
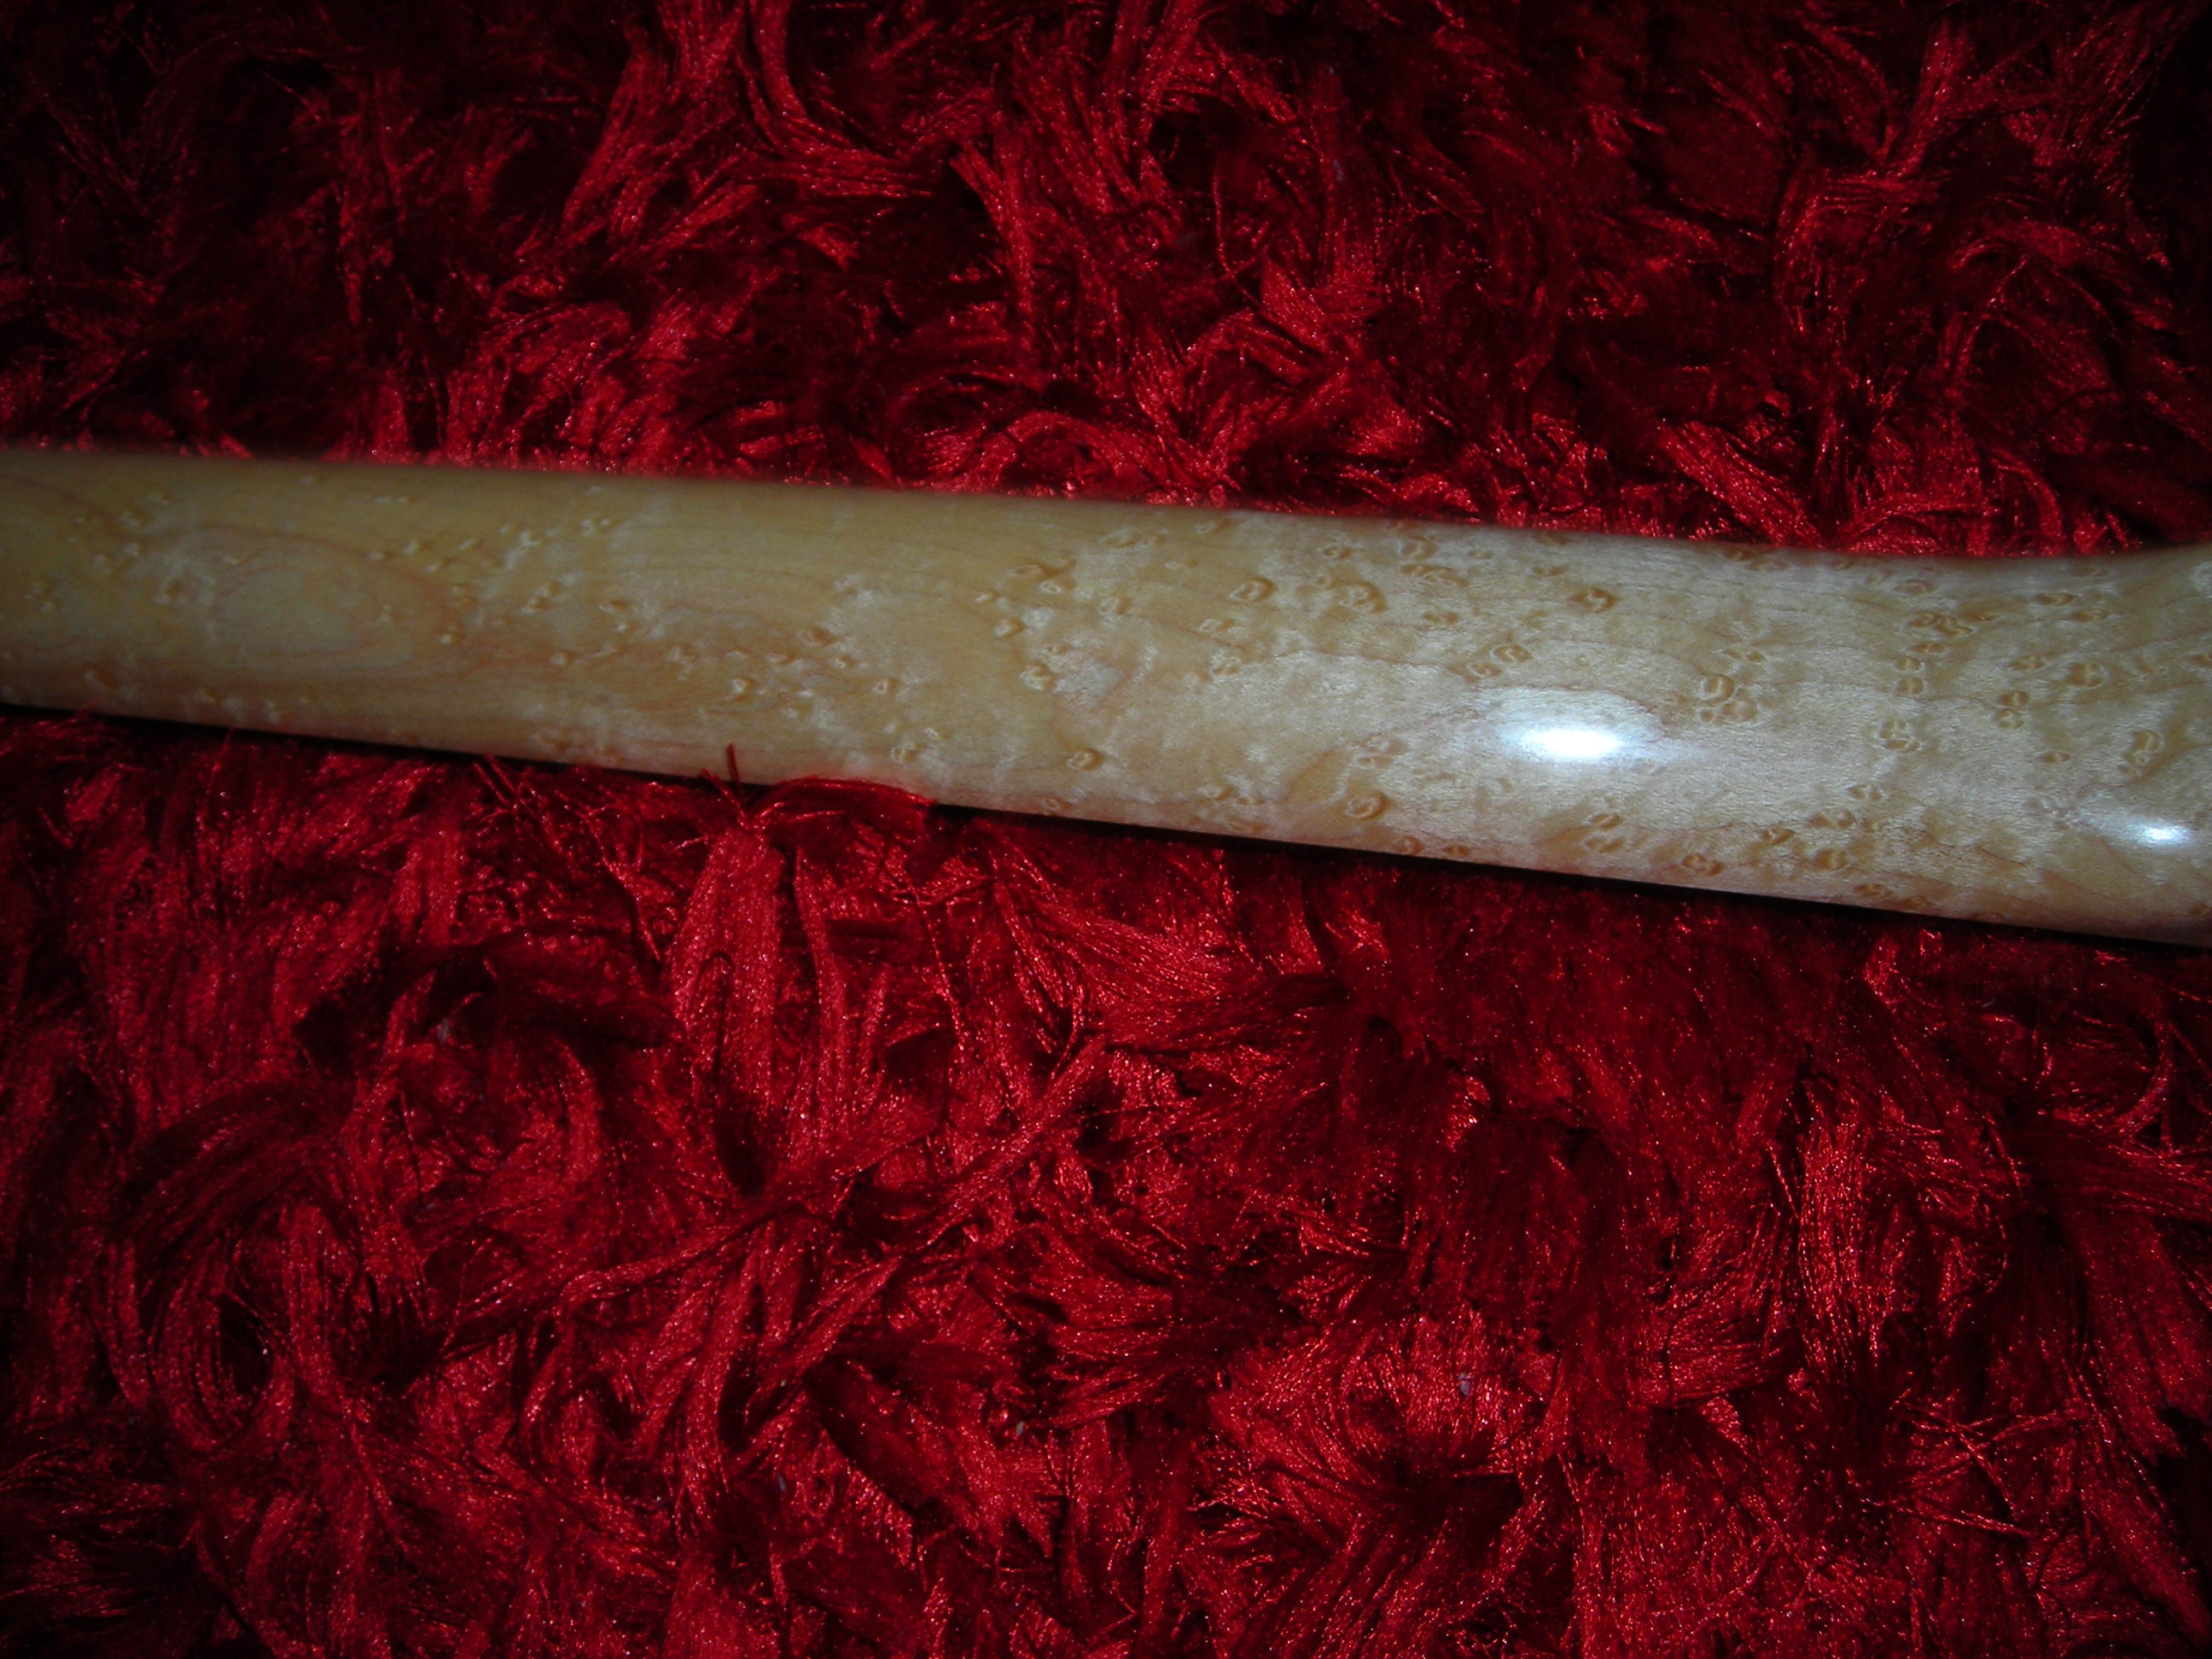
An overview of the neck and a closer up view. I am pleased with the way this has turned out. It feels very smooth and the birdseye maple has "popped" with the finish.
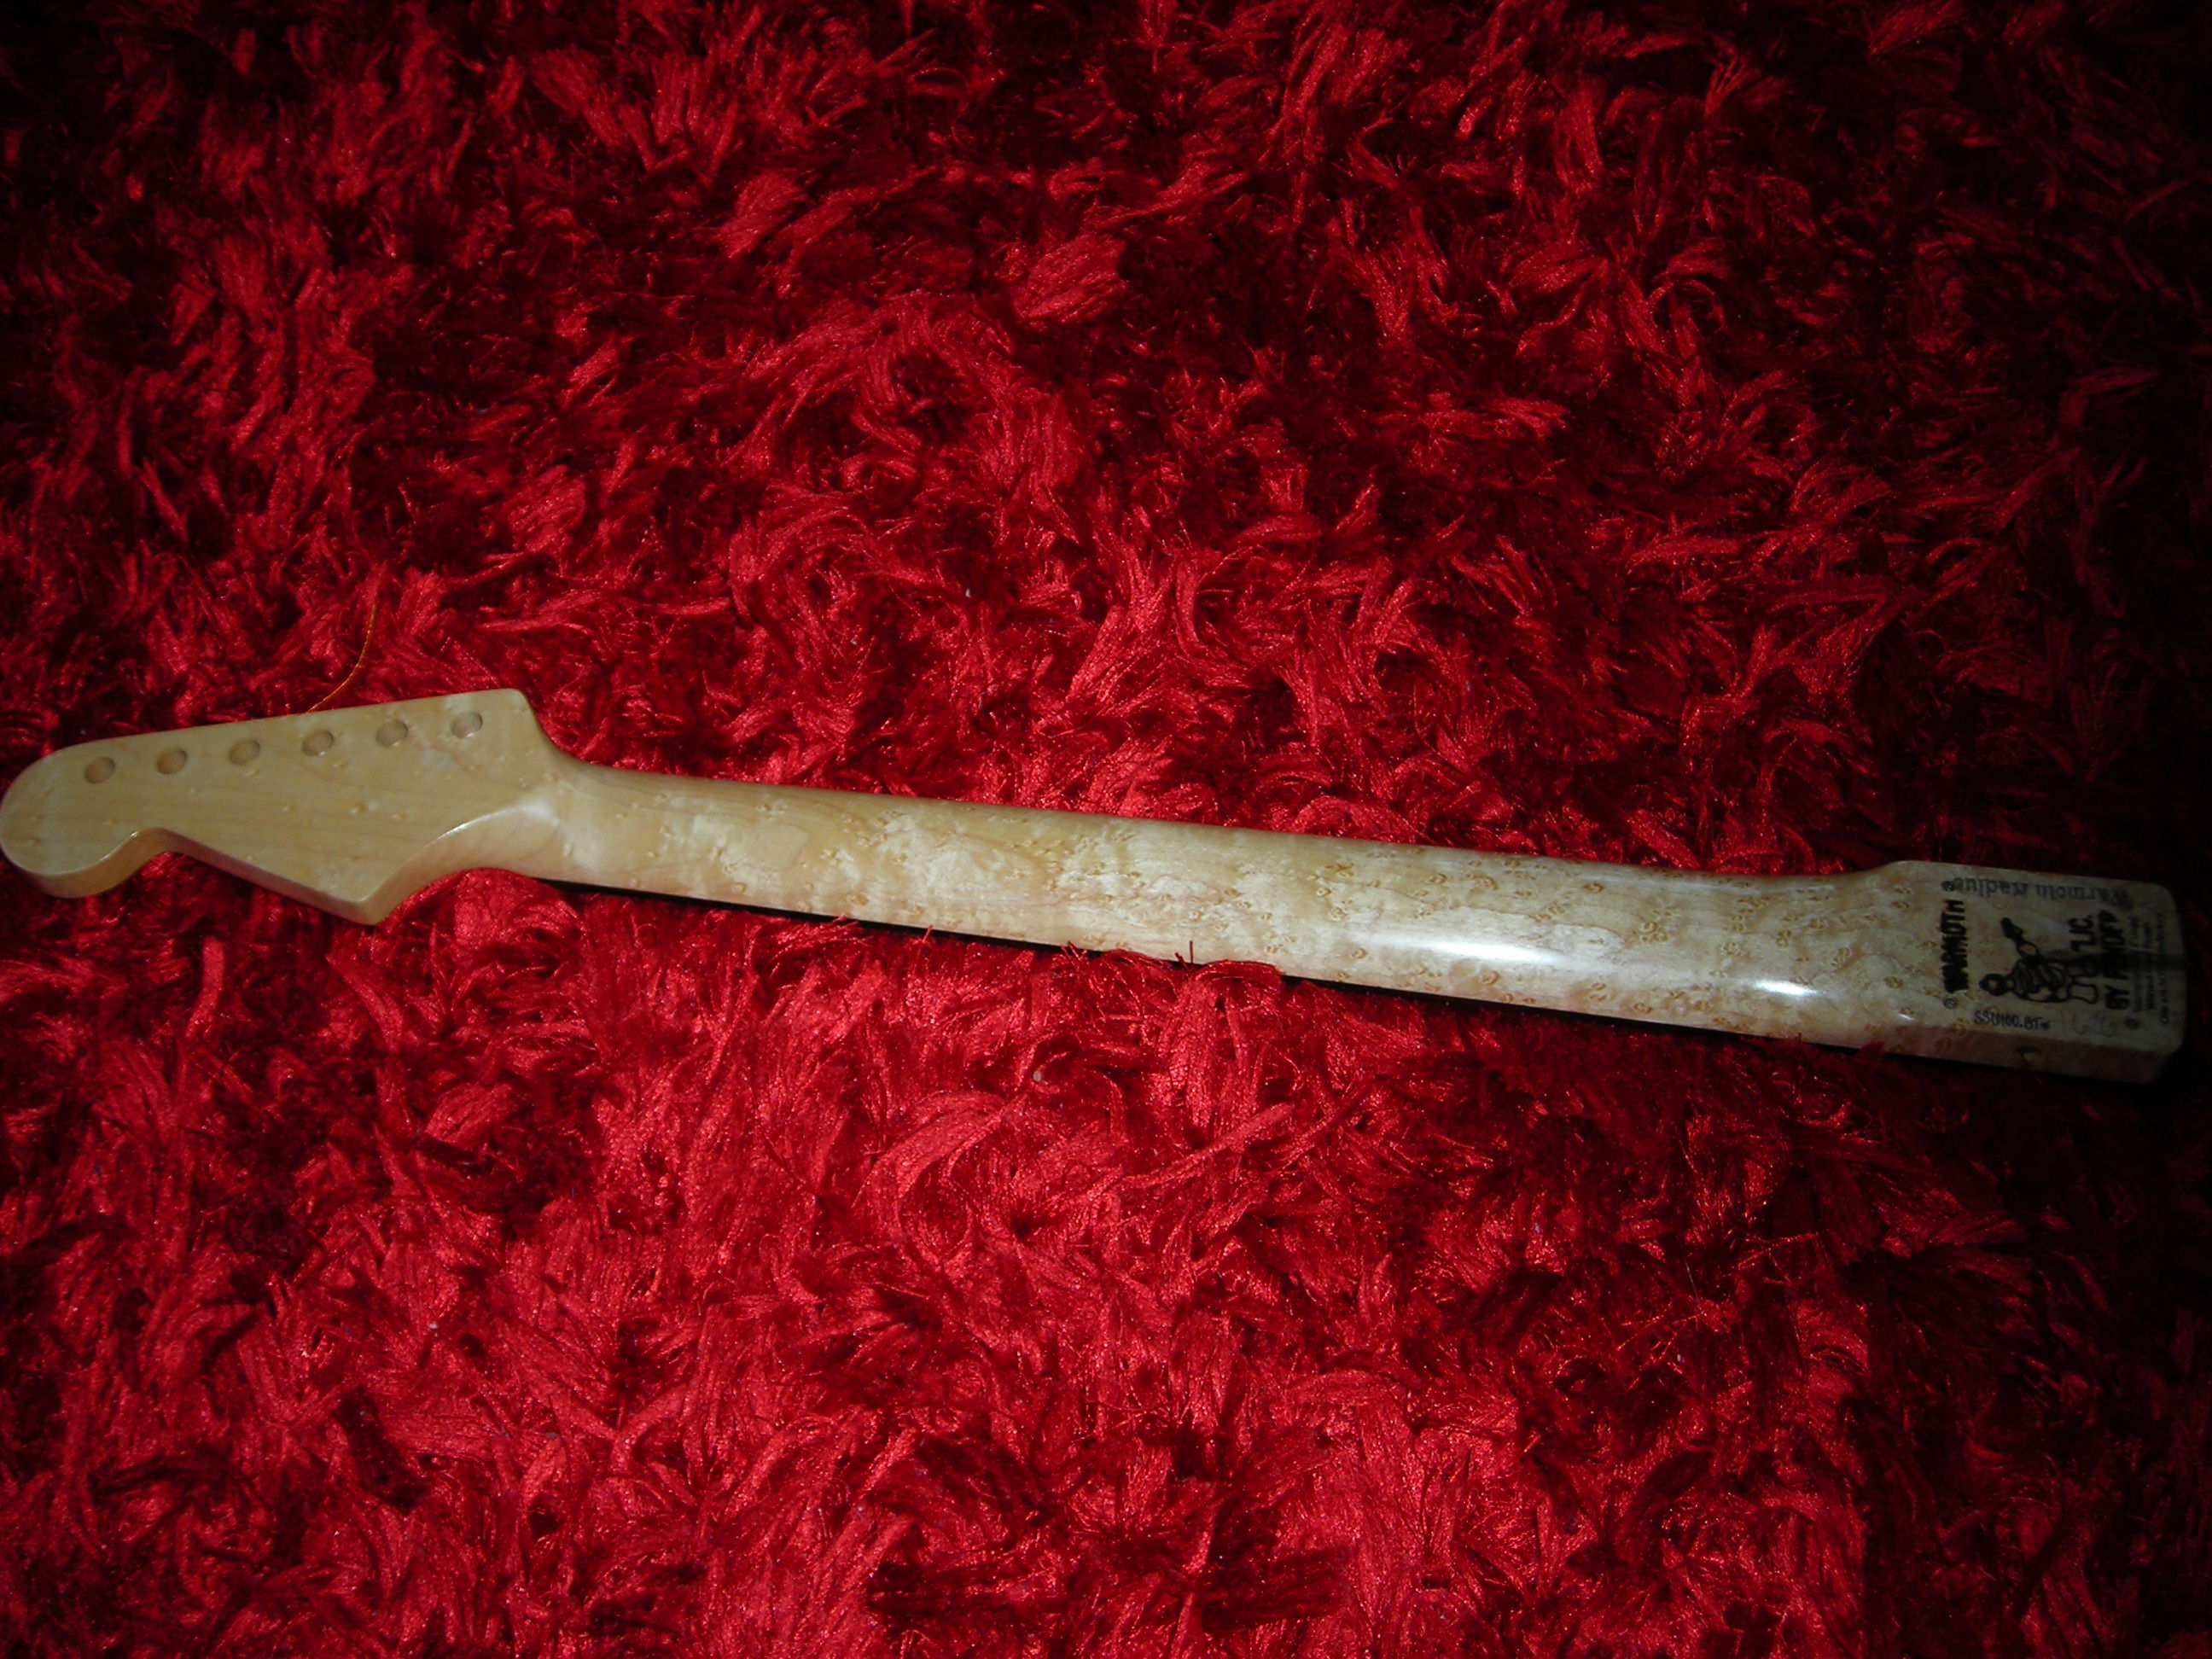 TruOil_3 by stratamania, on Flickr
 TruOil_2 by stratamania, on Flickr
In case anyone wants to know I sourced the tru oil products from www.uttings.co.uk
I have ordered a water slide decal, which if I use it will mean a bit more masking and nitro work. That will have to wait for a fortnight or so due to some work travel.
Its getting closer, to complete. I think I have left to do the headstock logo, tremelo fitting, body hardware, machine head fittng, neck to body attachment, check alignment and then pick guard fitting and set up. I will see what I can get done prior to the work trip.
Thanks for looking etc...
For an overview of the process I used Birchwood Casey tru-oil products for this bought in 3 oz quantities which is more than enough for several necks.
Products used all from Birchwood Casey :-
- Gun Stock Sealer & Filler
- Tru-Oil Gun Stock Finish
- Gun Stock Wax
The first step was to mask the line towards the head stock side that was done with the nitro as shown in an earlier post. This time the nitro side of the line is masked. I also masked off the fingerboard.
I then applied two thin coats of the Sealer and Filler product. The smell took me back years to oiling cricket bats with linseed oil. The sealer I applied with a finger and in between coats gave a light sand with 600 grit and wiped away any residue with shop towel.
Once the sealer was fully dry I built up five thin coats of the tru-oil with a light 600 grit sand and shop towel wipe in between. After the fifth thin coat I left it a day then a light 600 grit, followed by 1500 grit and shop towel.
Then finally two light coats of the gun stock wax, which were wipe on with the shop towel and buffed with some lint free cotton (part of an old T shirt was put to good use here)
So here is the result.
The first shot shows the line where the nitro and tru oil finish meet.
TruOil_1 by stratamania, on FlickrThe headstock, showing also the ebony above the nut also got some tru oil as did the fret board edges. Final cleaning of the fret board will be done later.
TruOil_4 by stratamania, on FlickrAn overview of the neck and a closer up view. I am pleased with the way this has turned out. It feels very smooth and the birdseye maple has "popped" with the finish.
TruOil_3 by stratamania, on FlickrTruOil_2 by stratamania, on FlickrIn case anyone wants to know I sourced the tru oil products from www.uttings.co.uk
I have ordered a water slide decal, which if I use it will mean a bit more masking and nitro work. That will have to wait for a fortnight or so due to some work travel.
Its getting closer, to complete. I think I have left to do the headstock logo, tremelo fitting, body hardware, machine head fittng, neck to body attachment, check alignment and then pick guard fitting and set up. I will see what I can get done prior to the work trip.
Thanks for looking etc...
stratamania
Mythical Status
- Messages
- 12,390
vai777 said:good god that body is nice
Thank you vai777, I must say I had similar thoughts when I saw it in the showcase
 ccasion14:
croquet hoop
Senior Member
- Messages
- 443
The back of the neck looks great! Did you applied the TO with a finger too, like the sealer?
stratamania
Mythical Status
- Messages
- 12,390
croquet hoop said:The back of the neck looks great! Did you applied the TO with a finger too, like the sealer?
Thanks again... The tru-oil was also with my finger.
Many years ago I used to fix and finish split cane fly rods which were also quite good to apply varnish with the finger.
It's only the wax that I applied and buffed with the materials mentioned above.
Similar threads
- Replies
- 49
- Views
- 3K
- Replies
- 18
- Views
- 2K