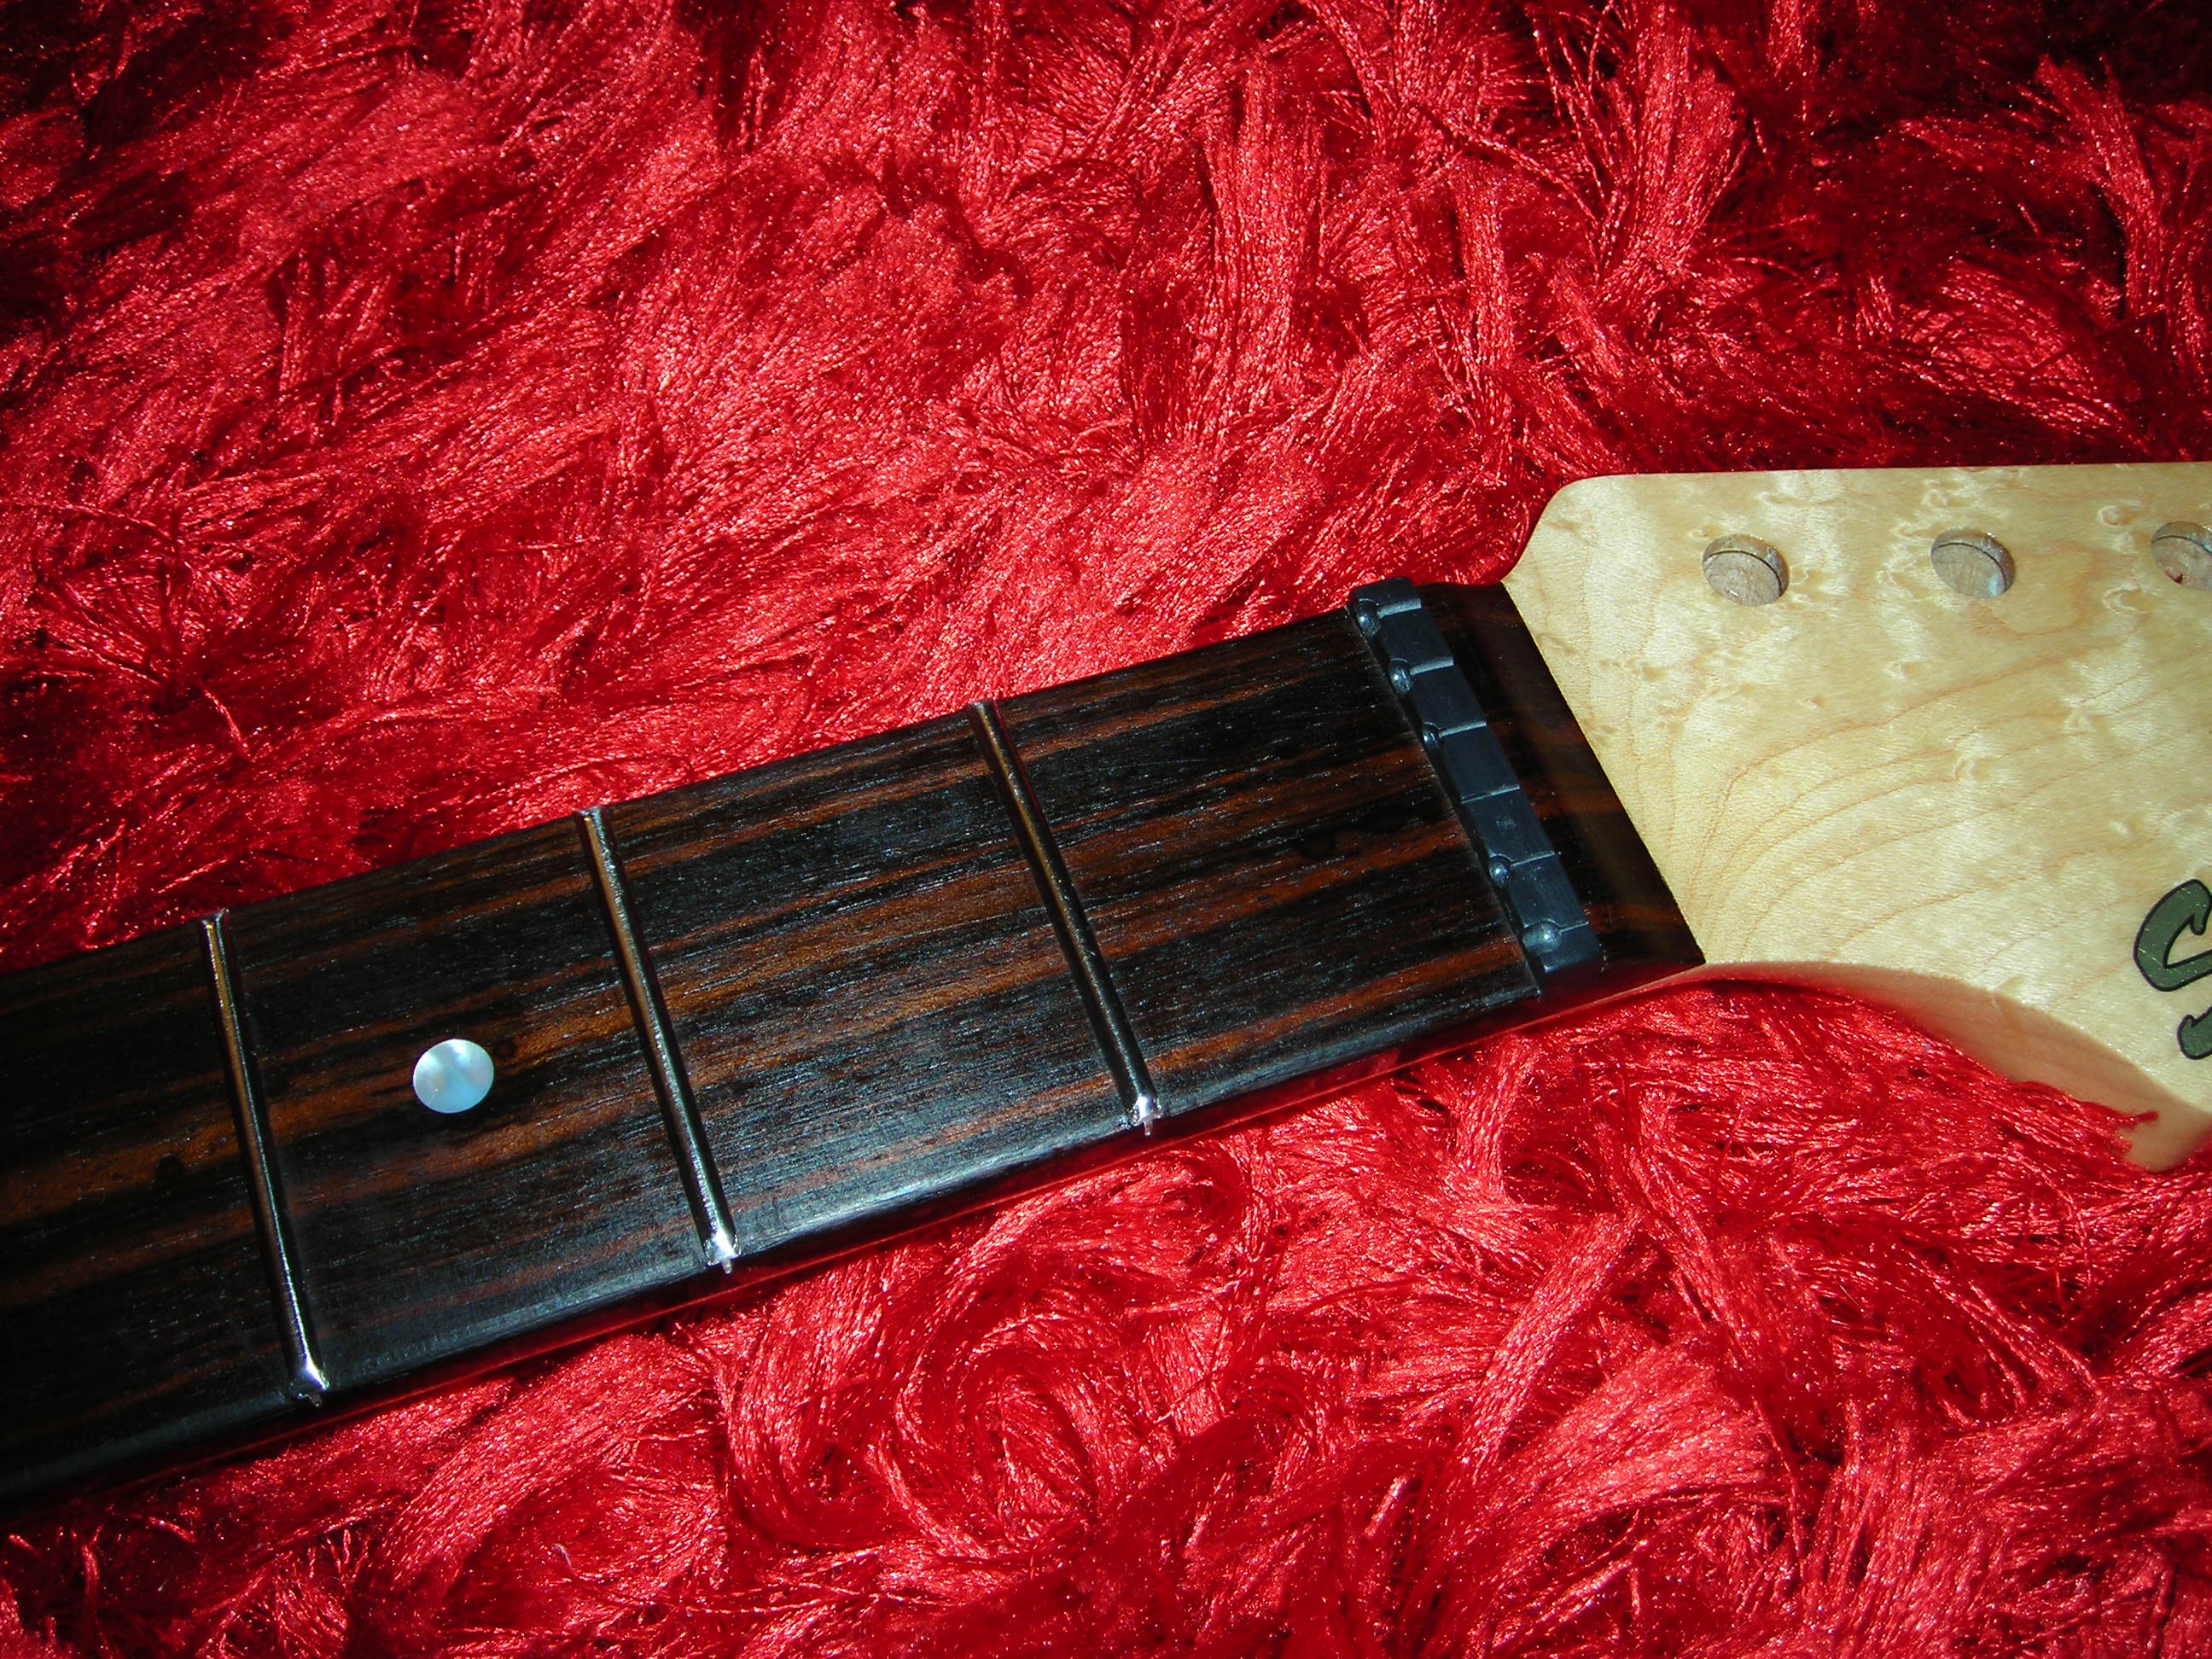
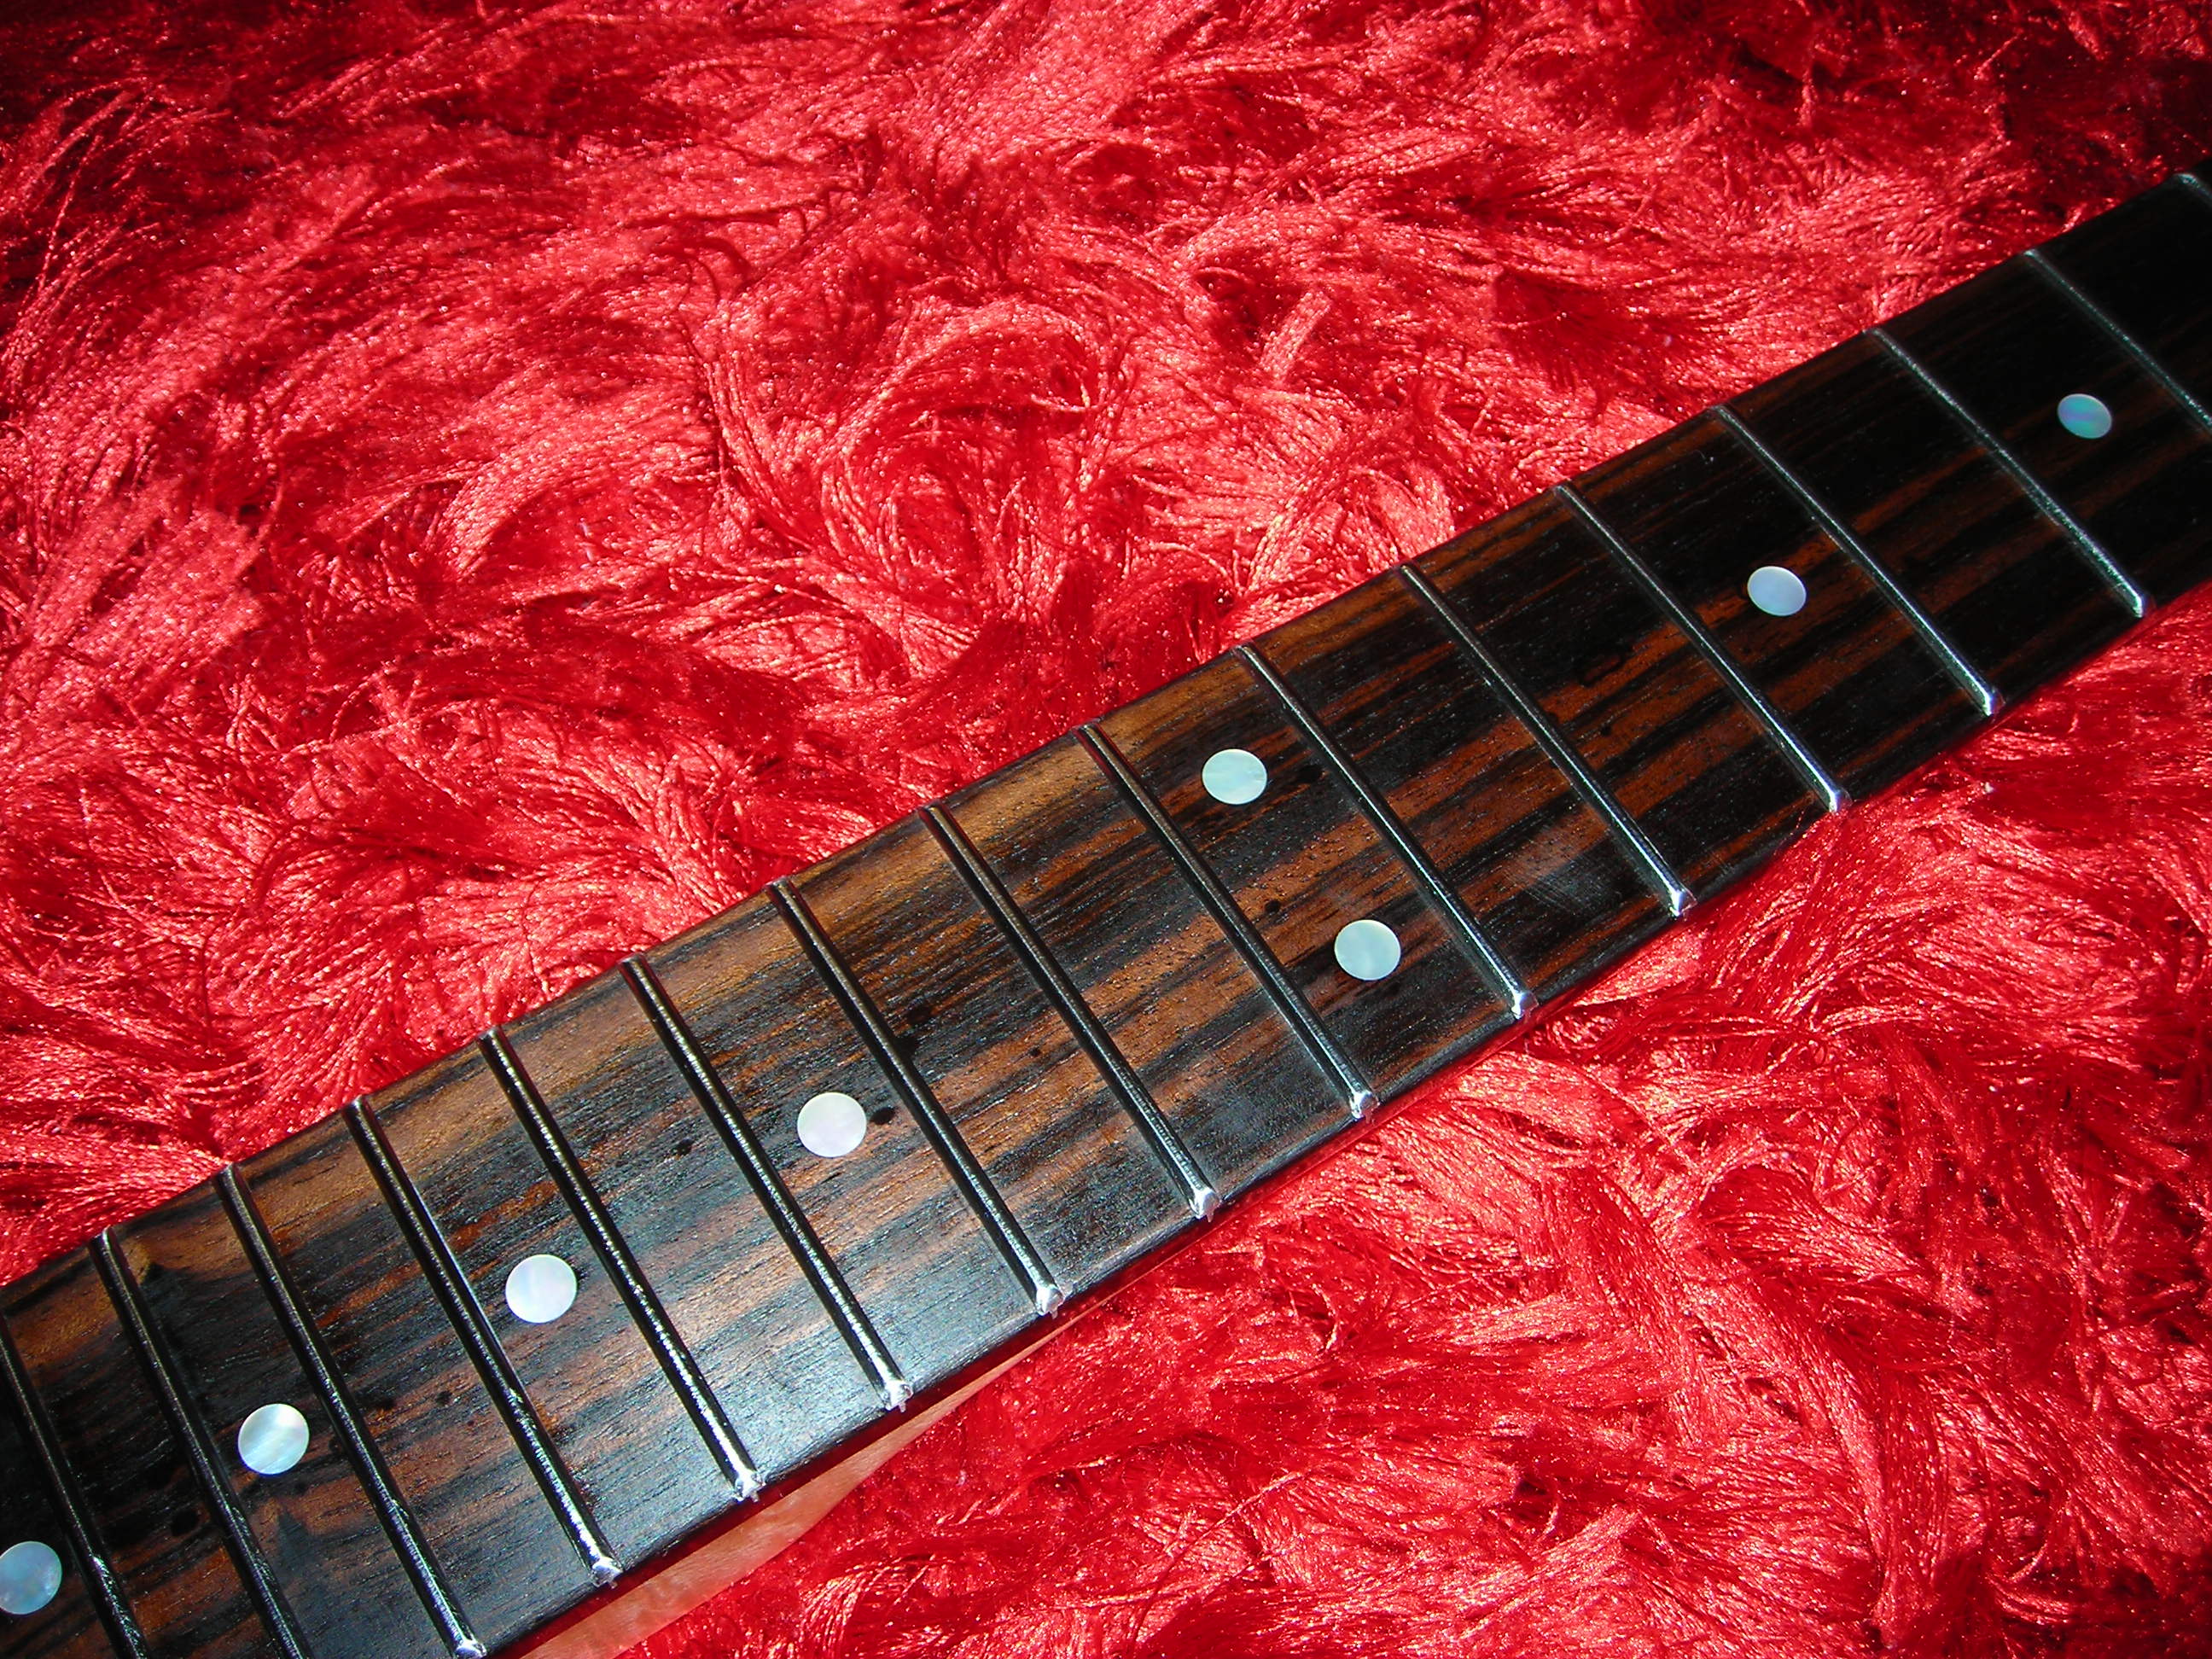
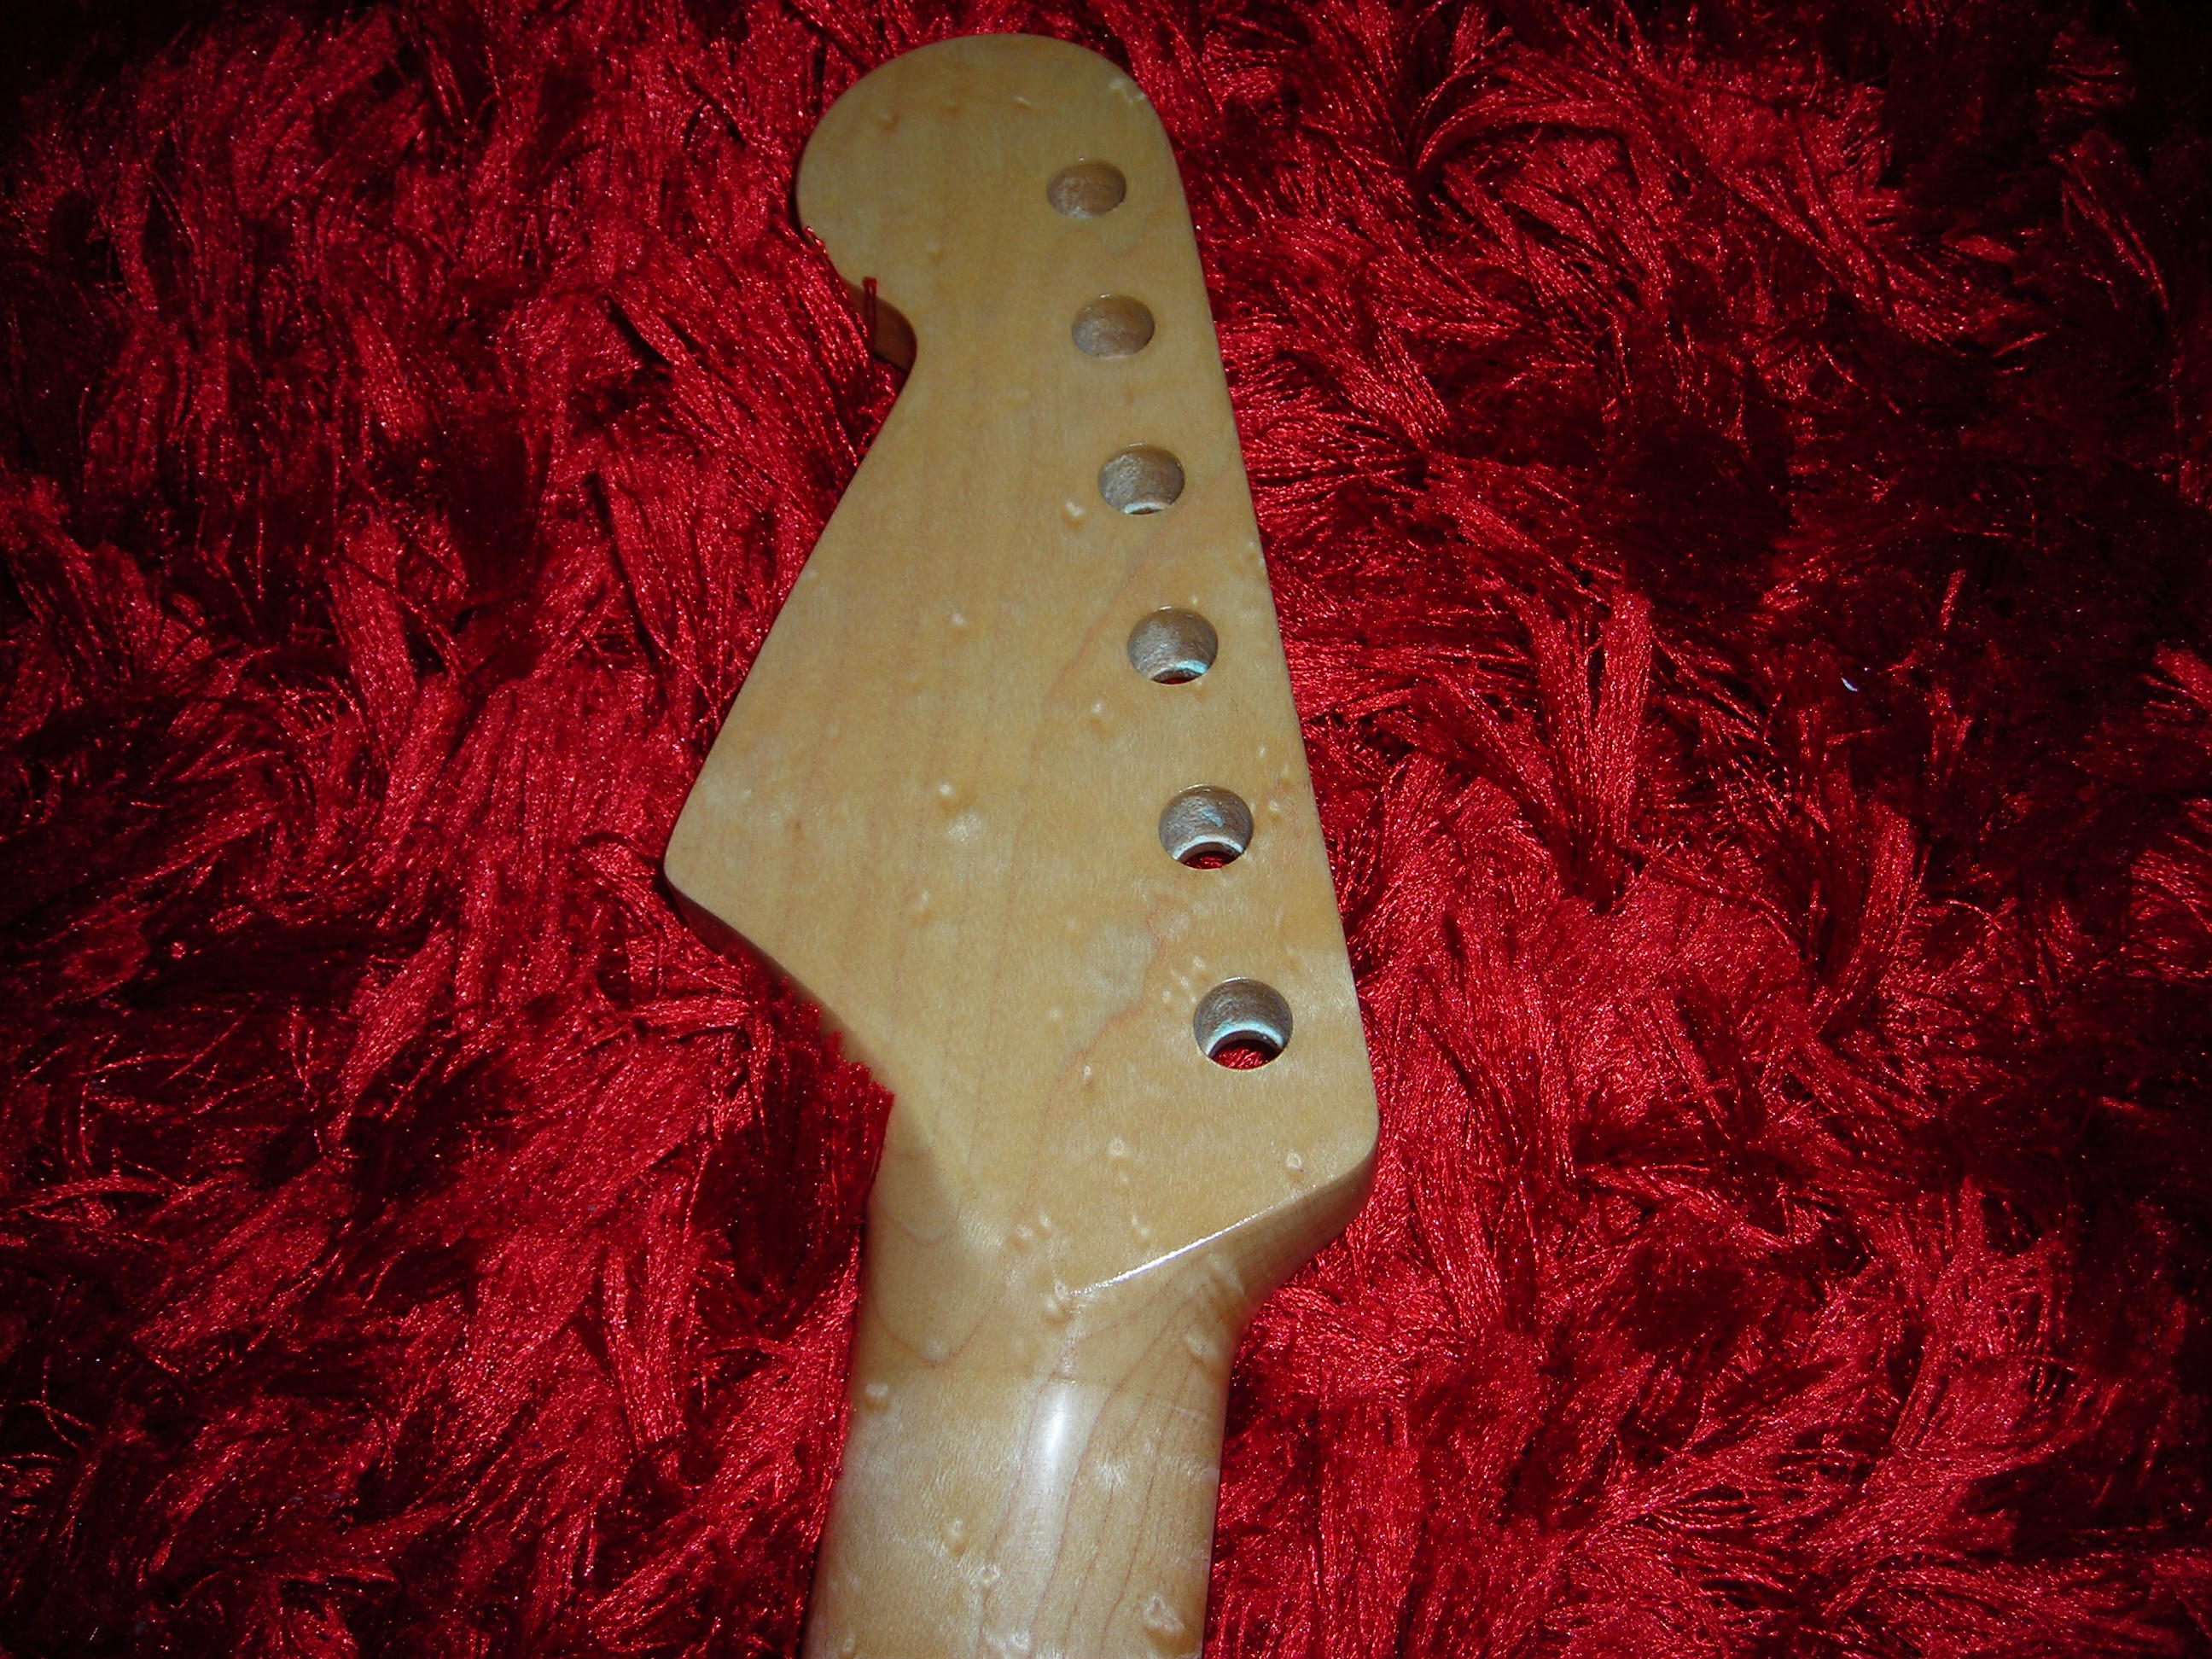
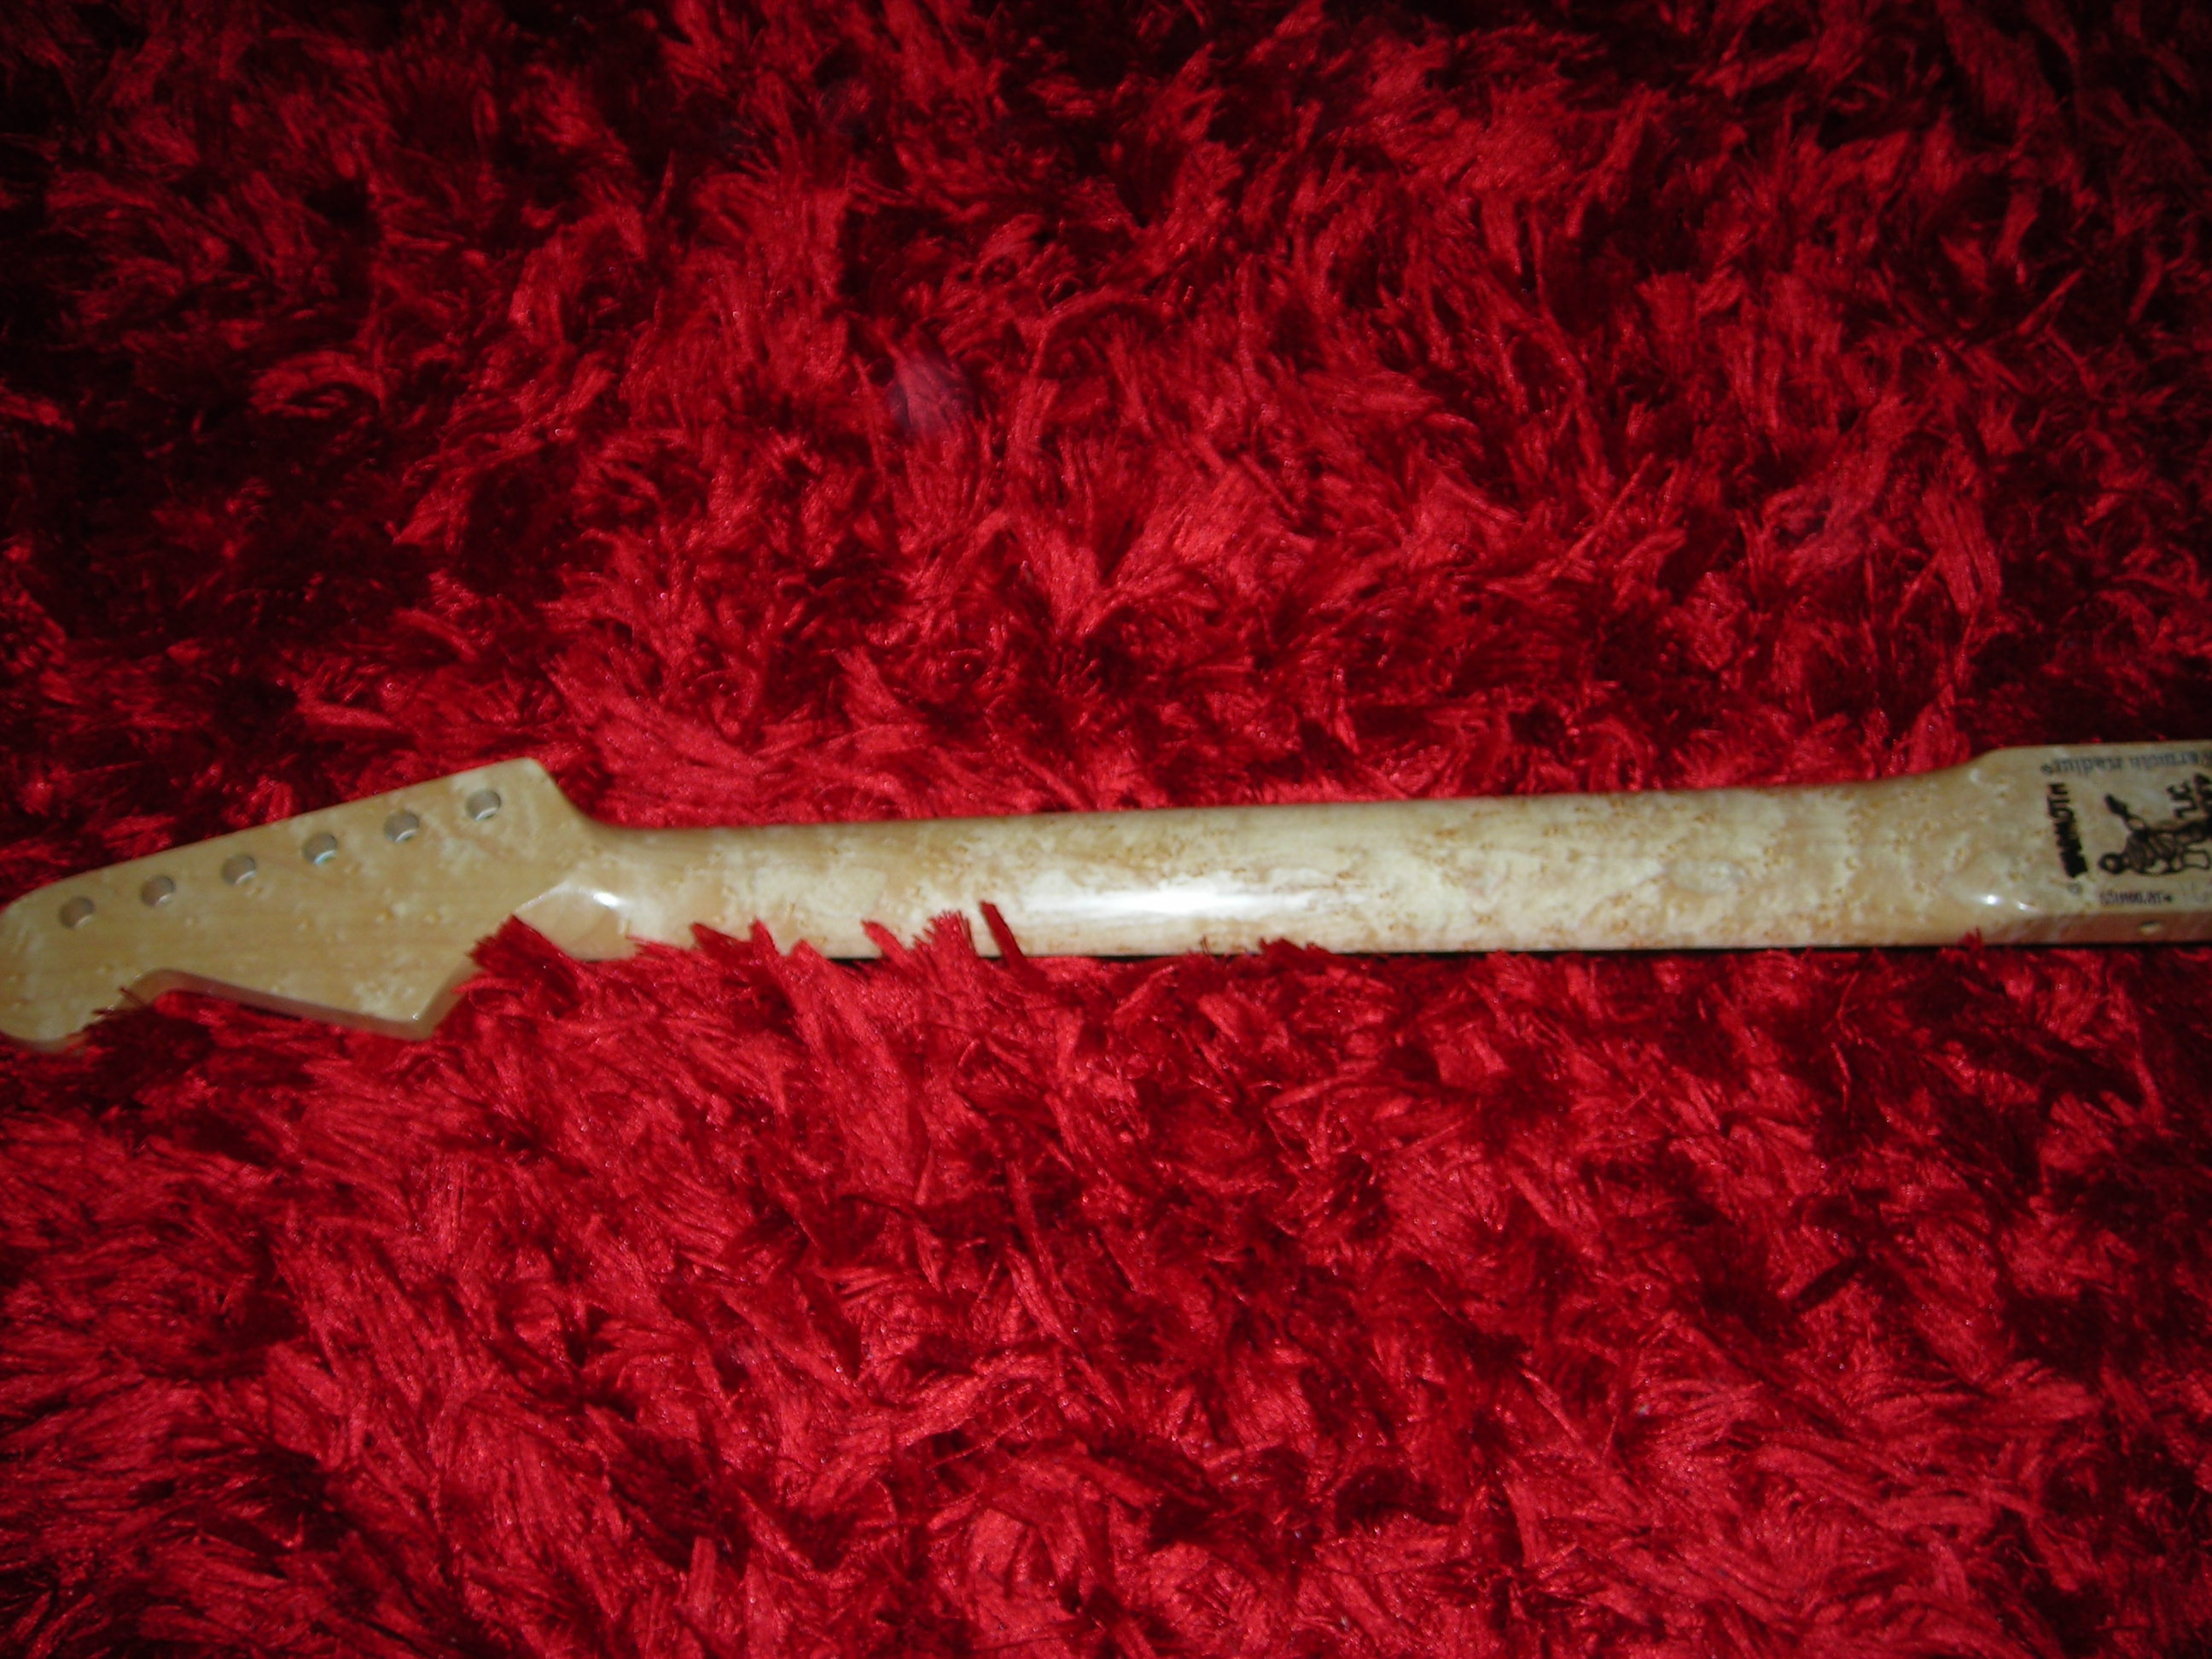
Quilted Purple Strat Build

I missed the early excitement but I want to add one point for those interested in this as a model or guideline - understanding why you're doing the things to the frets that you're doing, makes it almost impossible to blow it. The double inking - after the first inking, a run of a very flat abrasive over all the frets removes the ink from all the high spots - what's left is the low spots, which all the rest of the frets must be matched to. But the ink tells you exactly what to do, only OVER-working can be dangerous.

And the second inking is for the crowning, and it's almost opposite - you want to remove material up the sides to leave a thin, even line of ink on the top (and re-inking is no sin if it's needed). Or if you use the modern curved-channel crowning files, just being consistent is the key to a fine job. When you understand it and work as methodically (not too strato-maniacal!) as this, the process keeps you from screwing up. Which is kind of neat, and a great relief. I have found with Warmoth & USACG necks that checking for high spots, maybe a bit of work on those, and doing the ends is usually all I want to do for a while - I'd just as soon let the neck settle for a year if I can get away with it (this is more relevant to the single-truss rod "vintage" type, Warmoth's moderns are pretty much bulletproof).

But tThis gent's about as methodically-careful as any first-timer I've ever seen, and I would be most surprised if he didn't come out with a mighty fine twanker here.
 
Hi StübHead, many thanks for adding those comments and that is exactly what I was doing with the ink etc.

It's great because I have been able to learn a lot from internet posts and YouTube users such as smbstressfest and Crimson Guitars videos amongst others, now I have done one fret job the next time should go even smoother as even informed doing gives that hands on experience and a ha moments.

Quick update, my guitar case for this guitar arrived for a Les Paul, so I dropped by the distribution centre today and swapped it over for the correct one. Any last little odds and ends I now have and my work related travels are soon over and the build should re commence on Sunday.

It is on the final straight...which also means I am thinking about ideas for the next one or so. Who knows I may video that one.
 
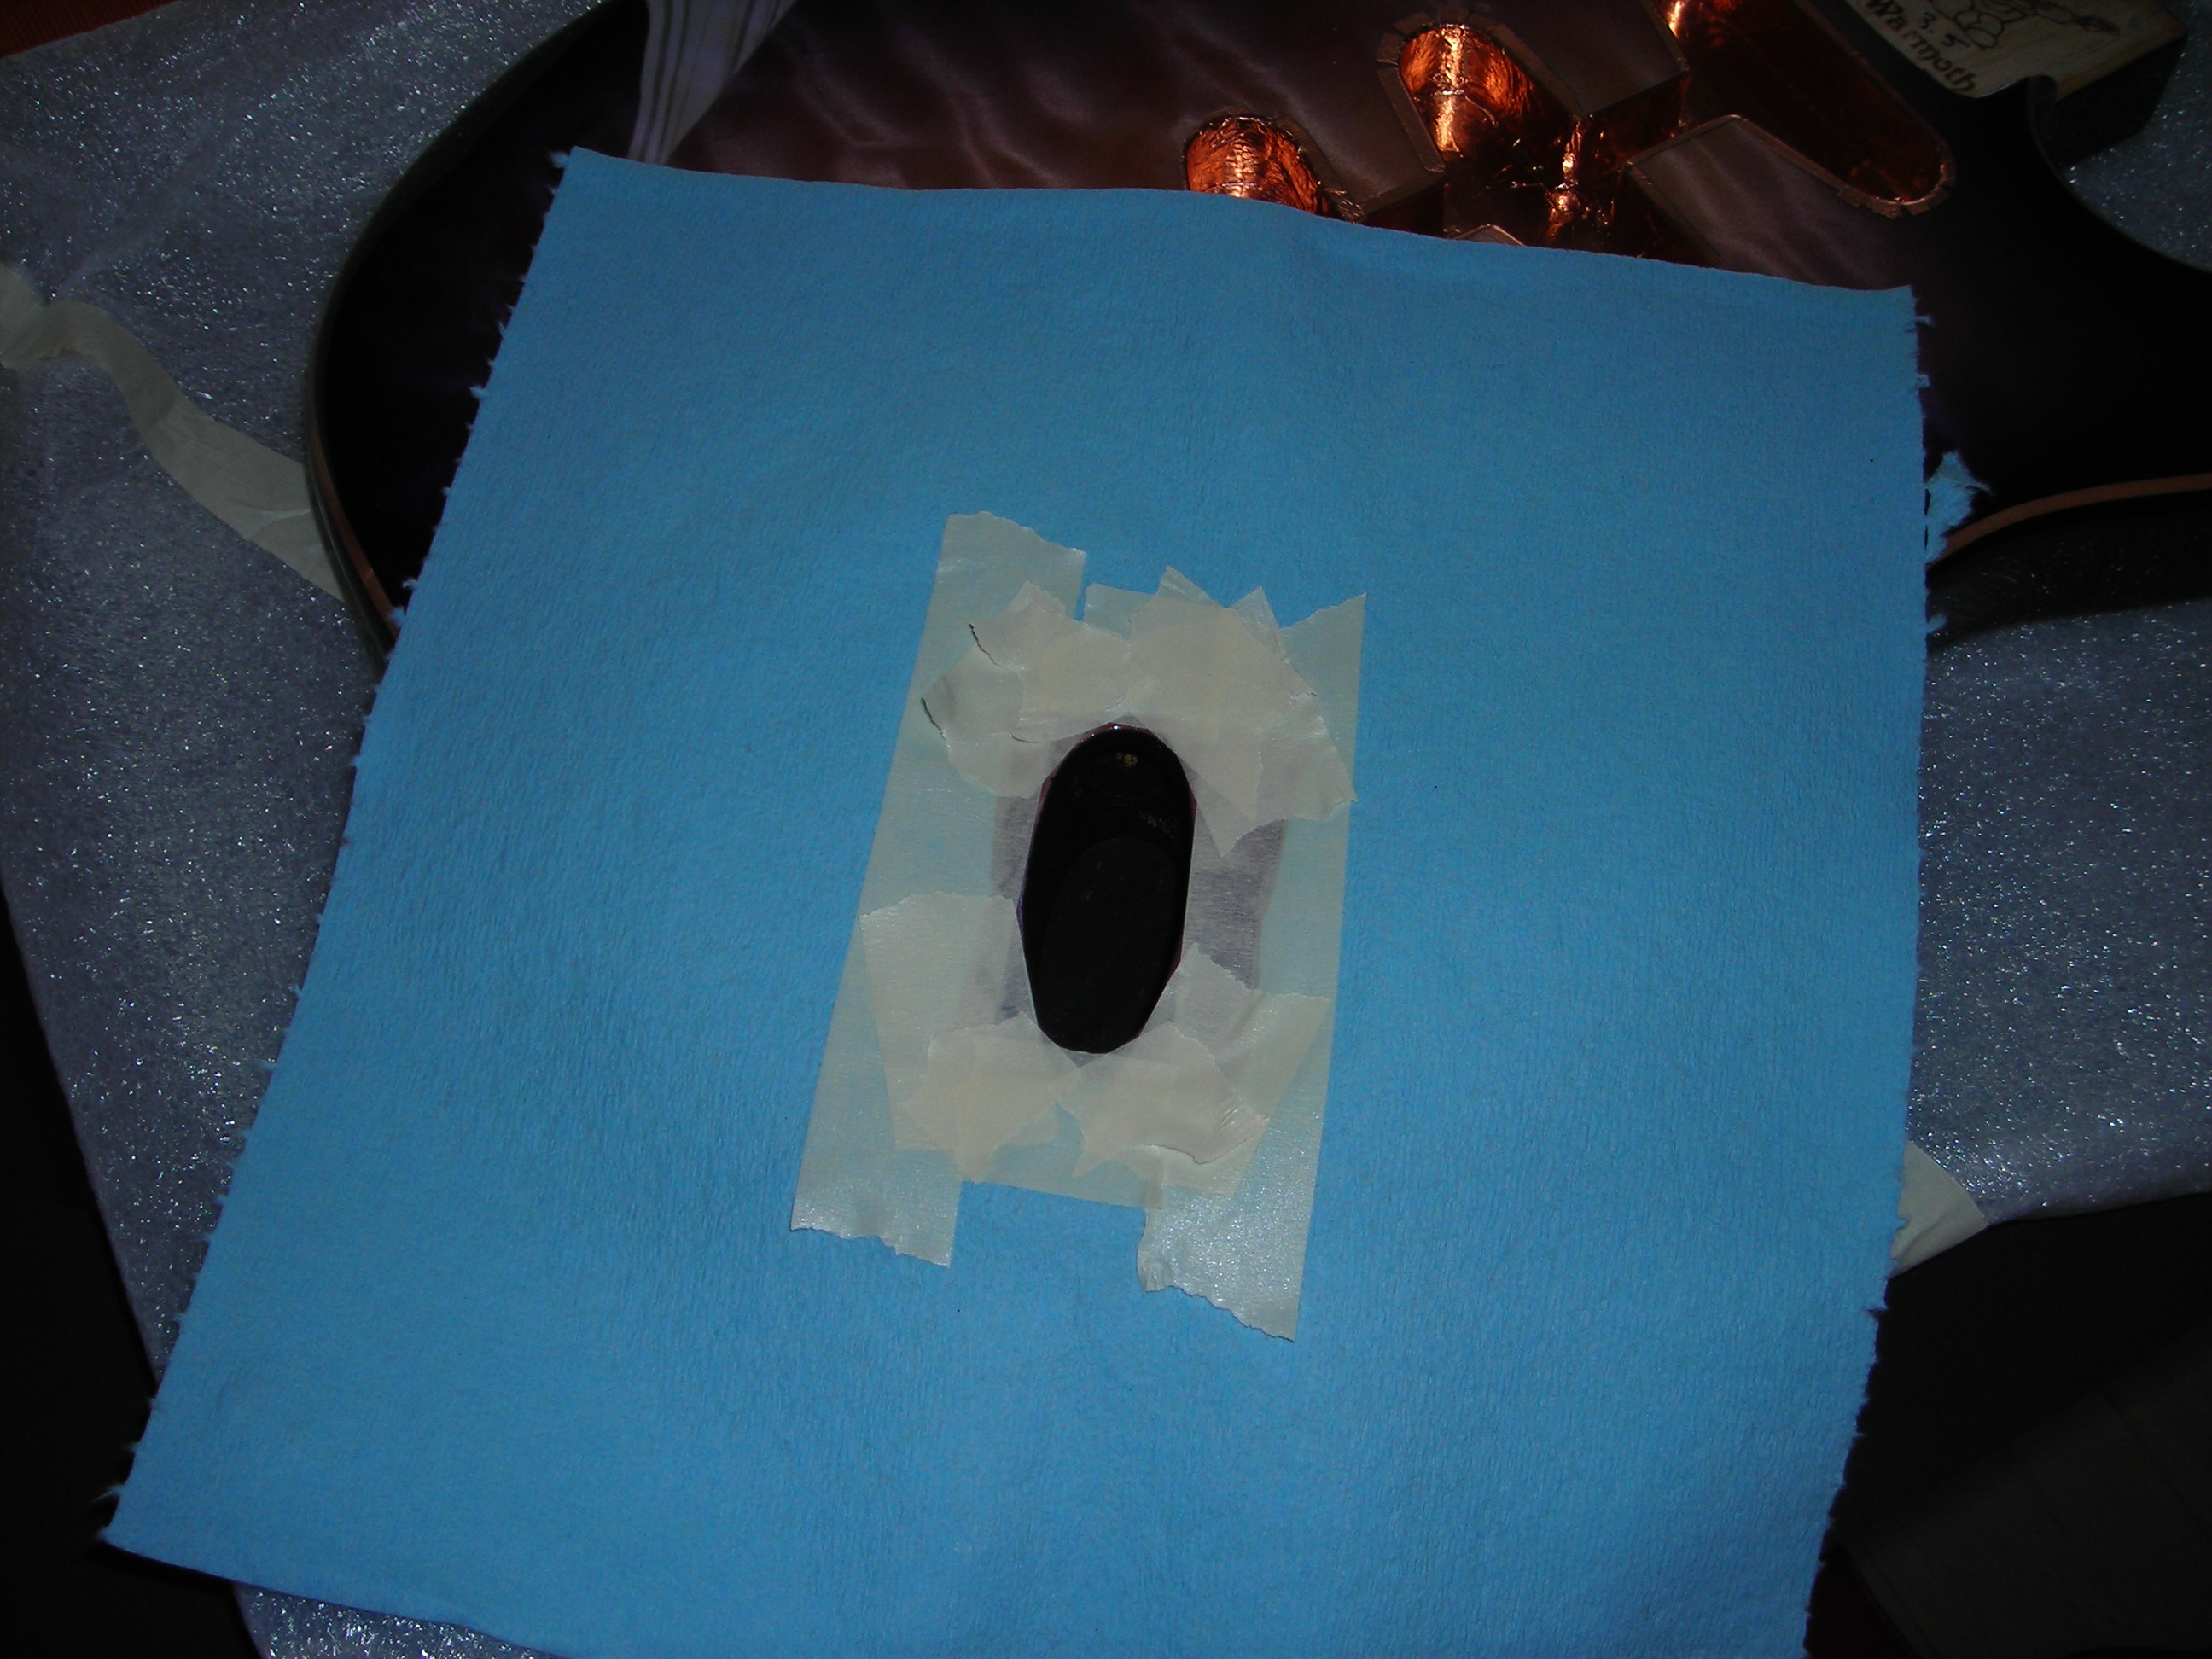
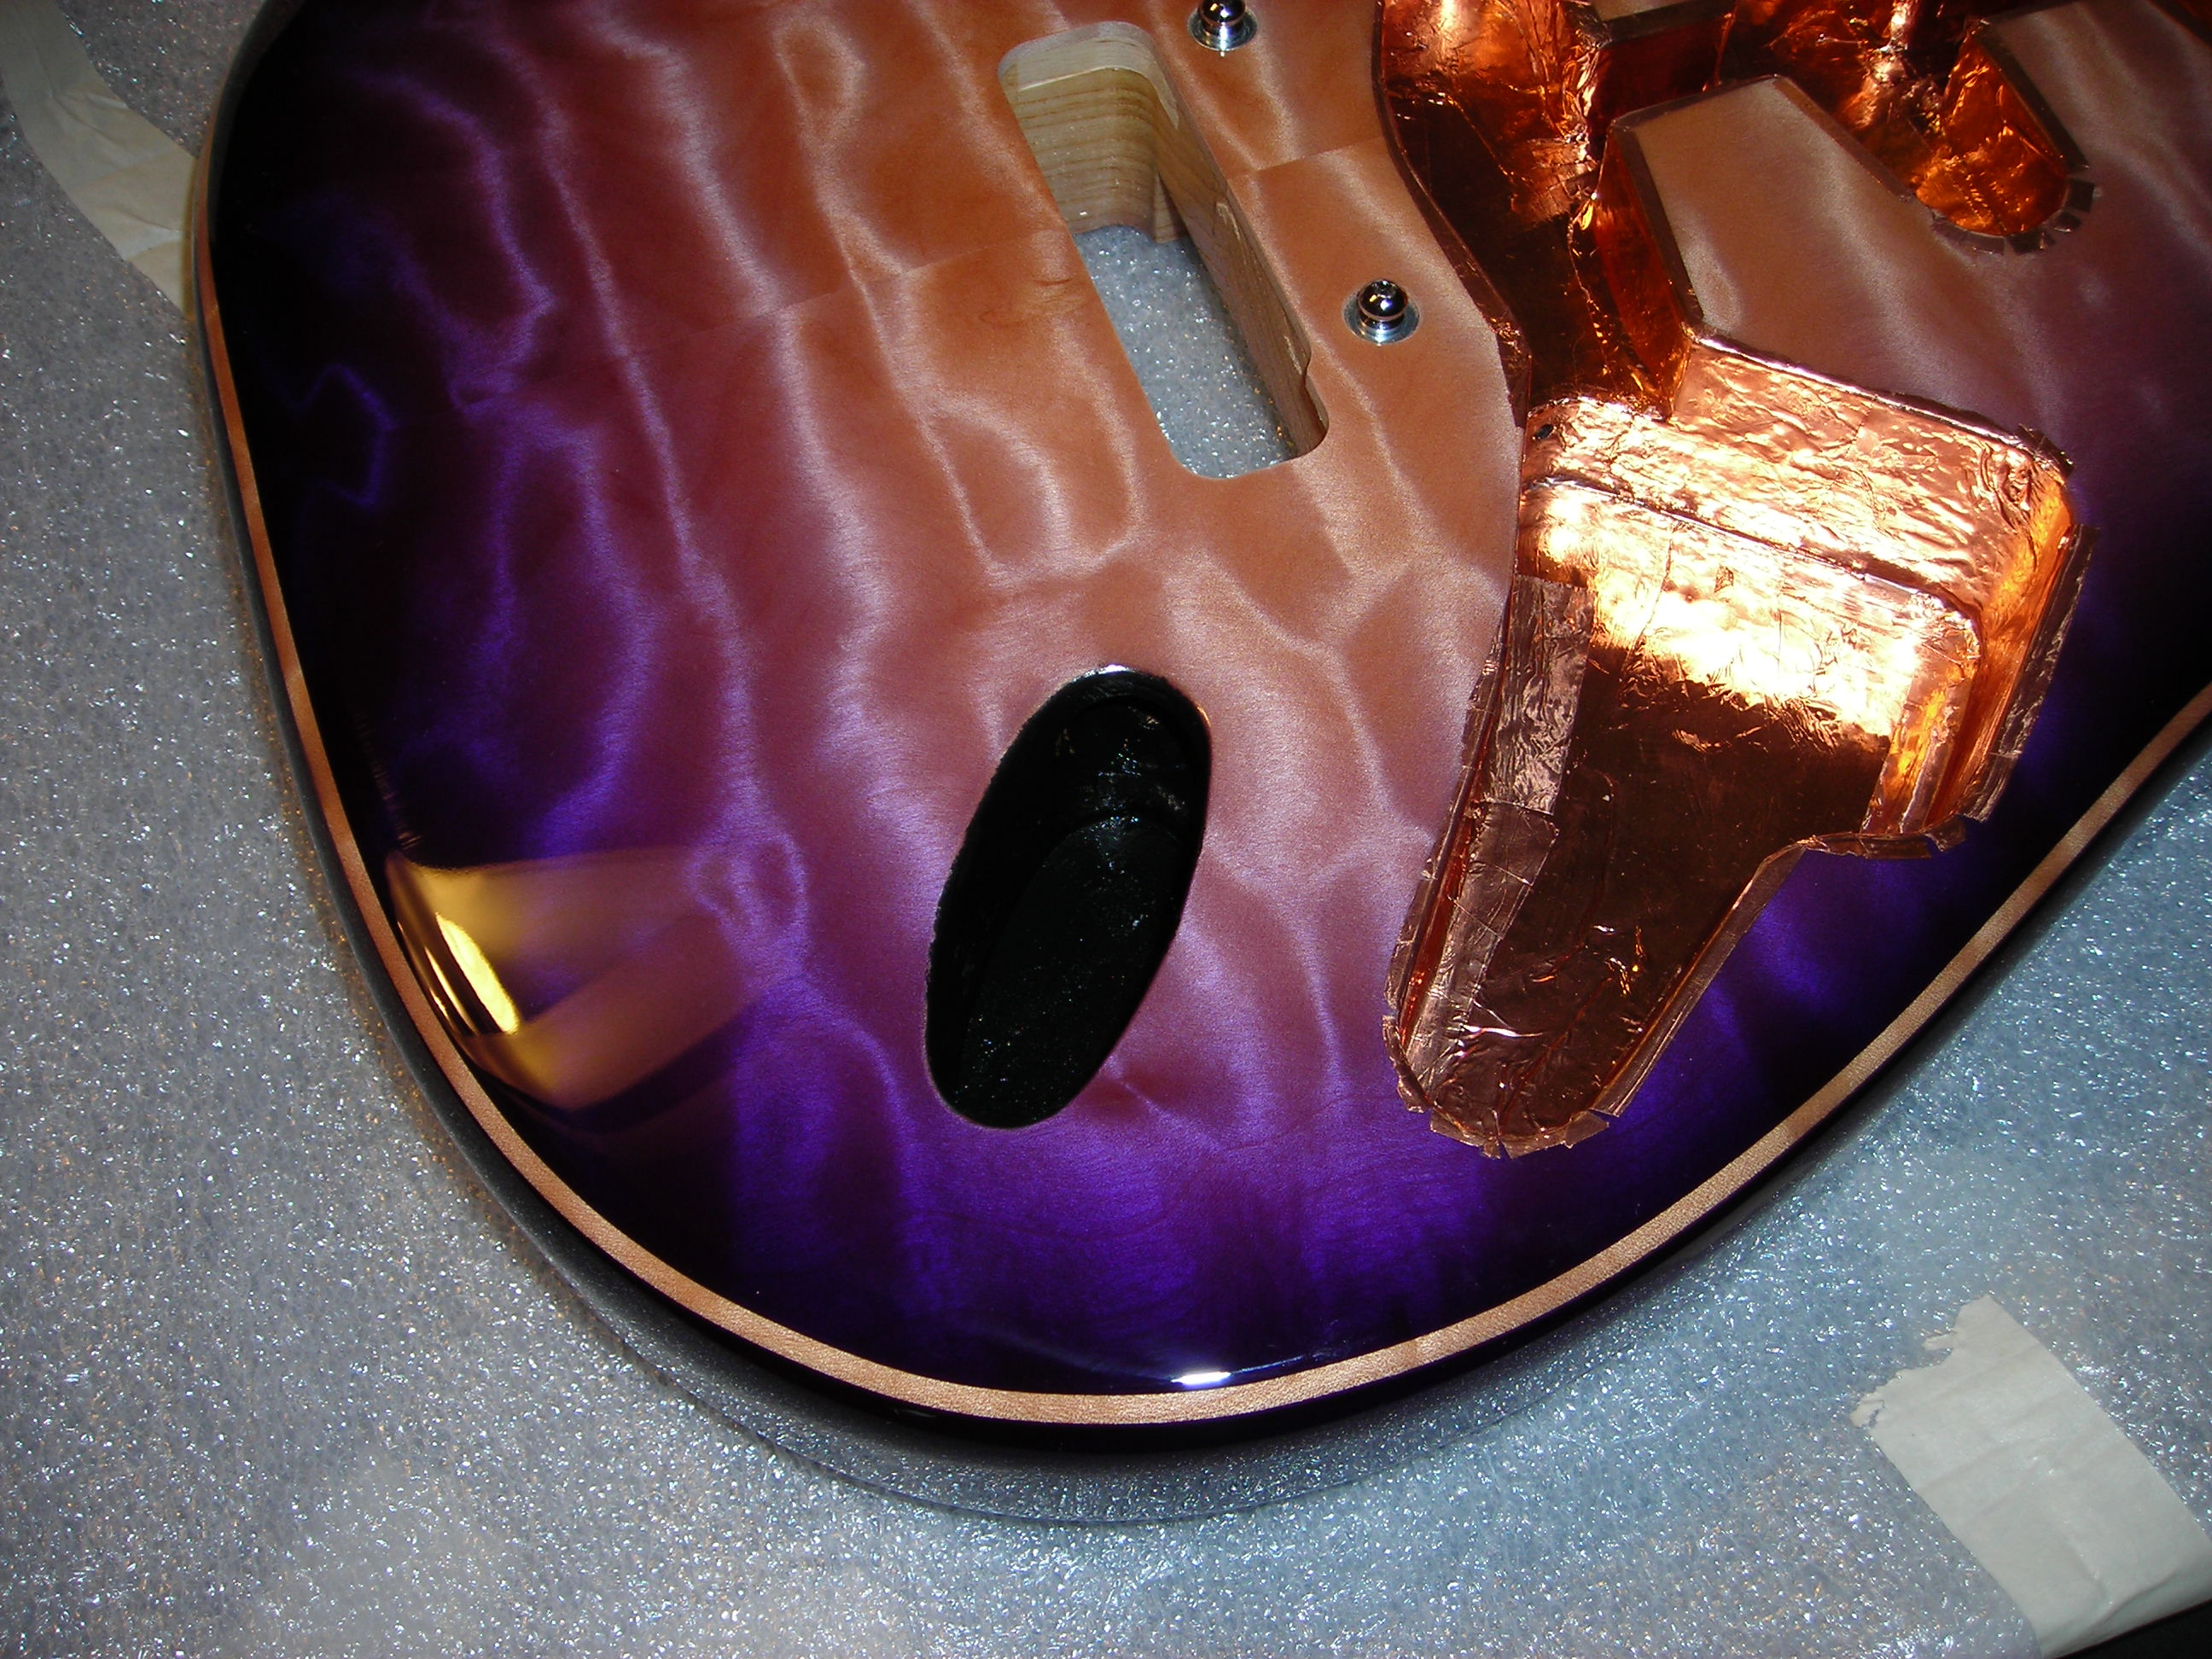
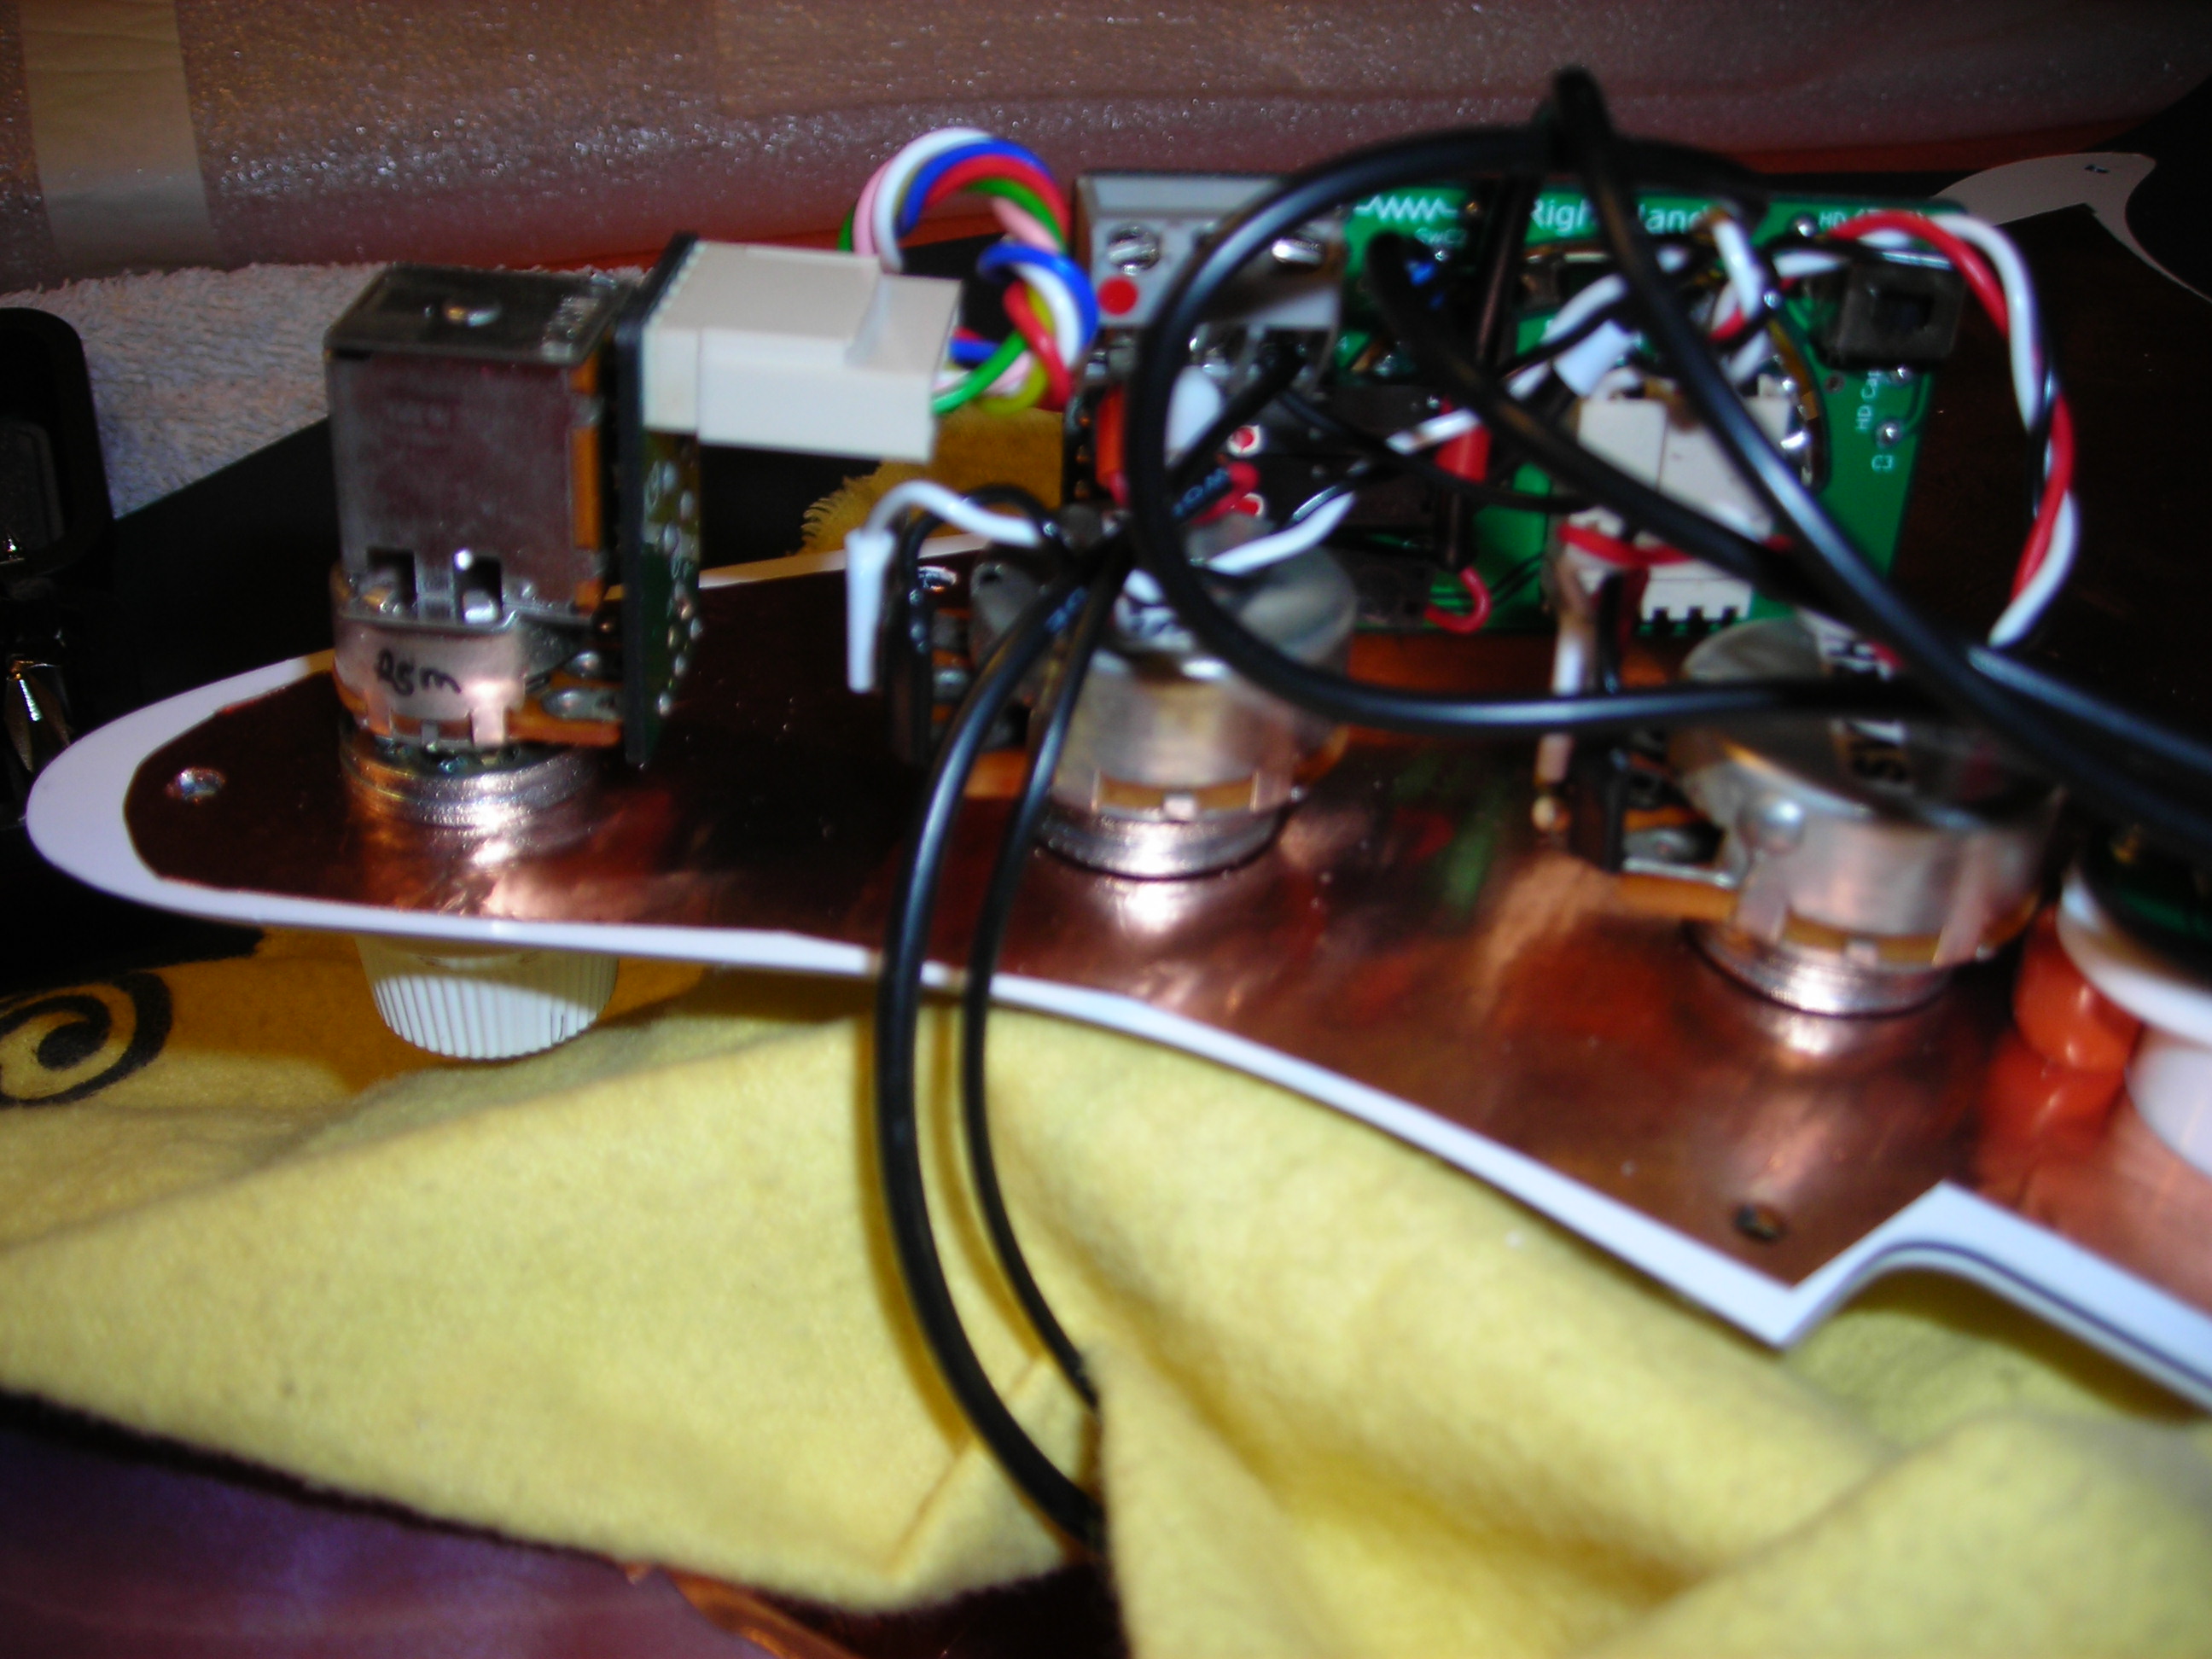
So a couple of shots of final shielding, or is it a black hole.

I used some shop towel with masking tape as shown to protect the body from this black conductive goo.

FinalShielding1 by stratamania, on Flickr

The job was done.

FinalShielding2 by stratamania, on Flickr

Perhaps this conductive paint may have been easier to do in the body routs rather than the copper but its done now.

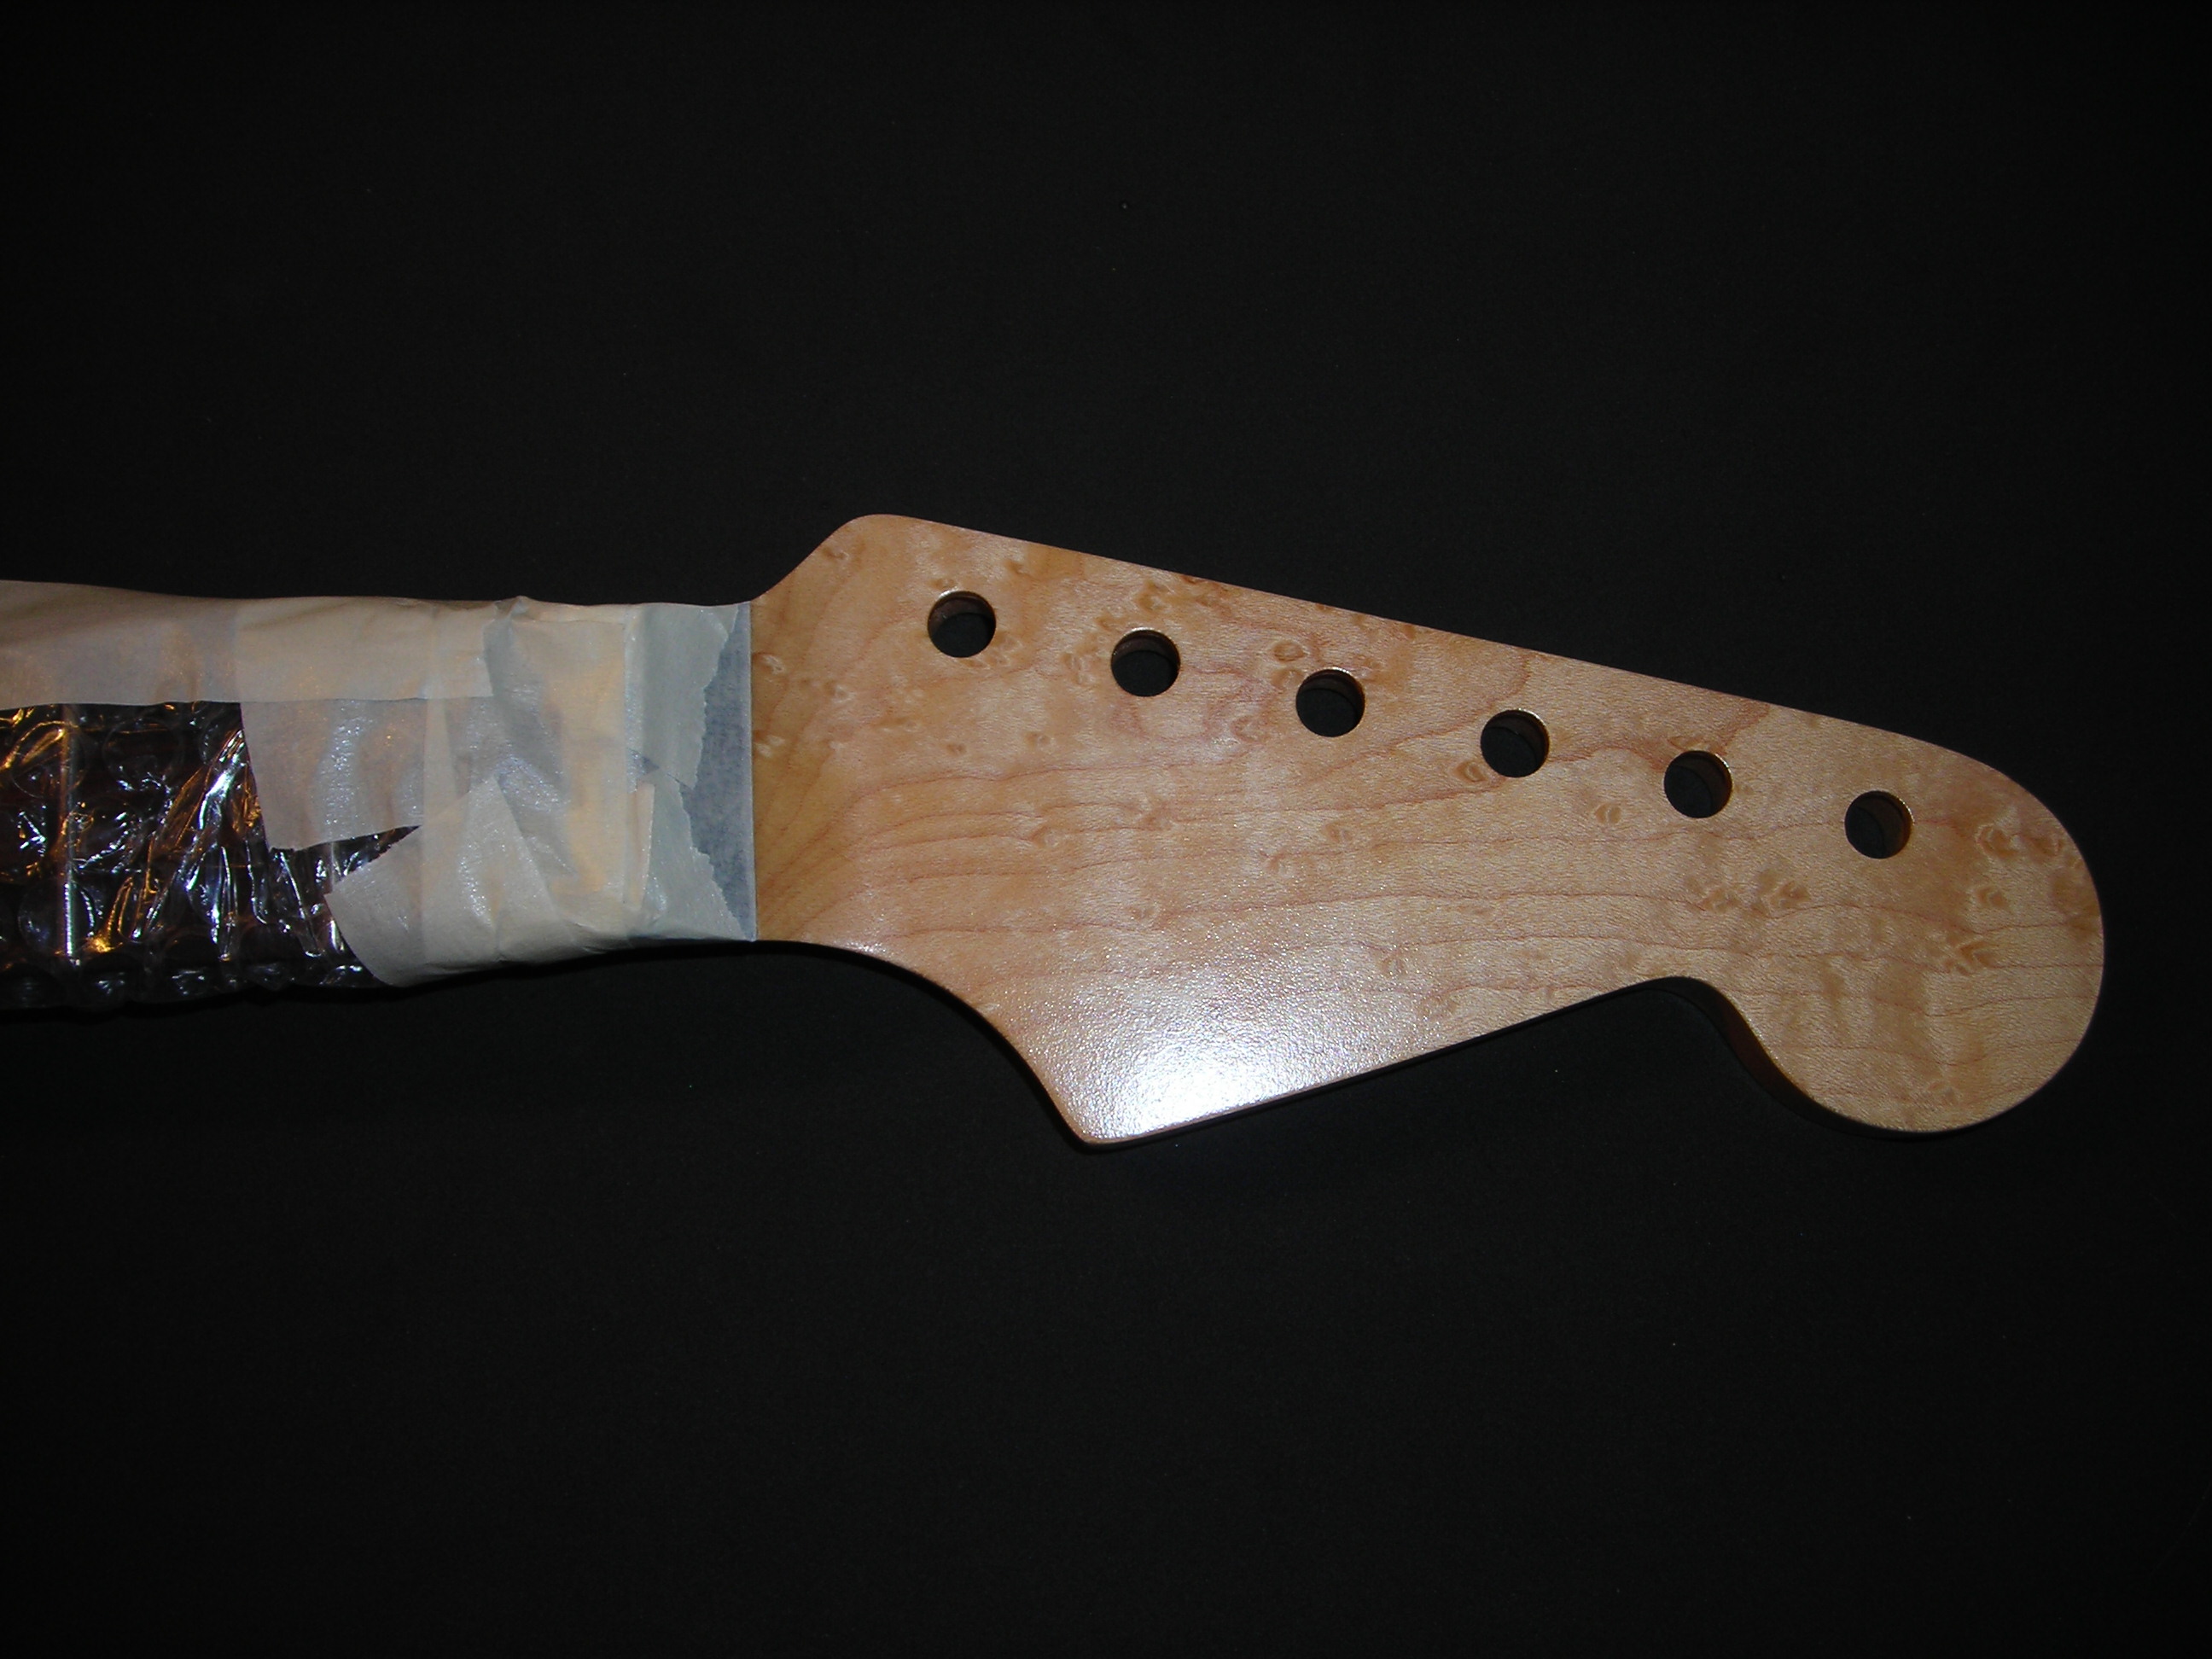
Next final finishing of the neck which is done, but still need to upload the photos.
 
Jumble Jumble said:
How will you be grounding the jack plate shielding?

Thanks for the question, there will be a little bit of copper from the paint going up onto the body slightly which will make contact with the jackplate, which in turn is in contact with the jack. That will be done as part of final assembly and will put up a photo.
 
So I just finished the final finish work on the neck.

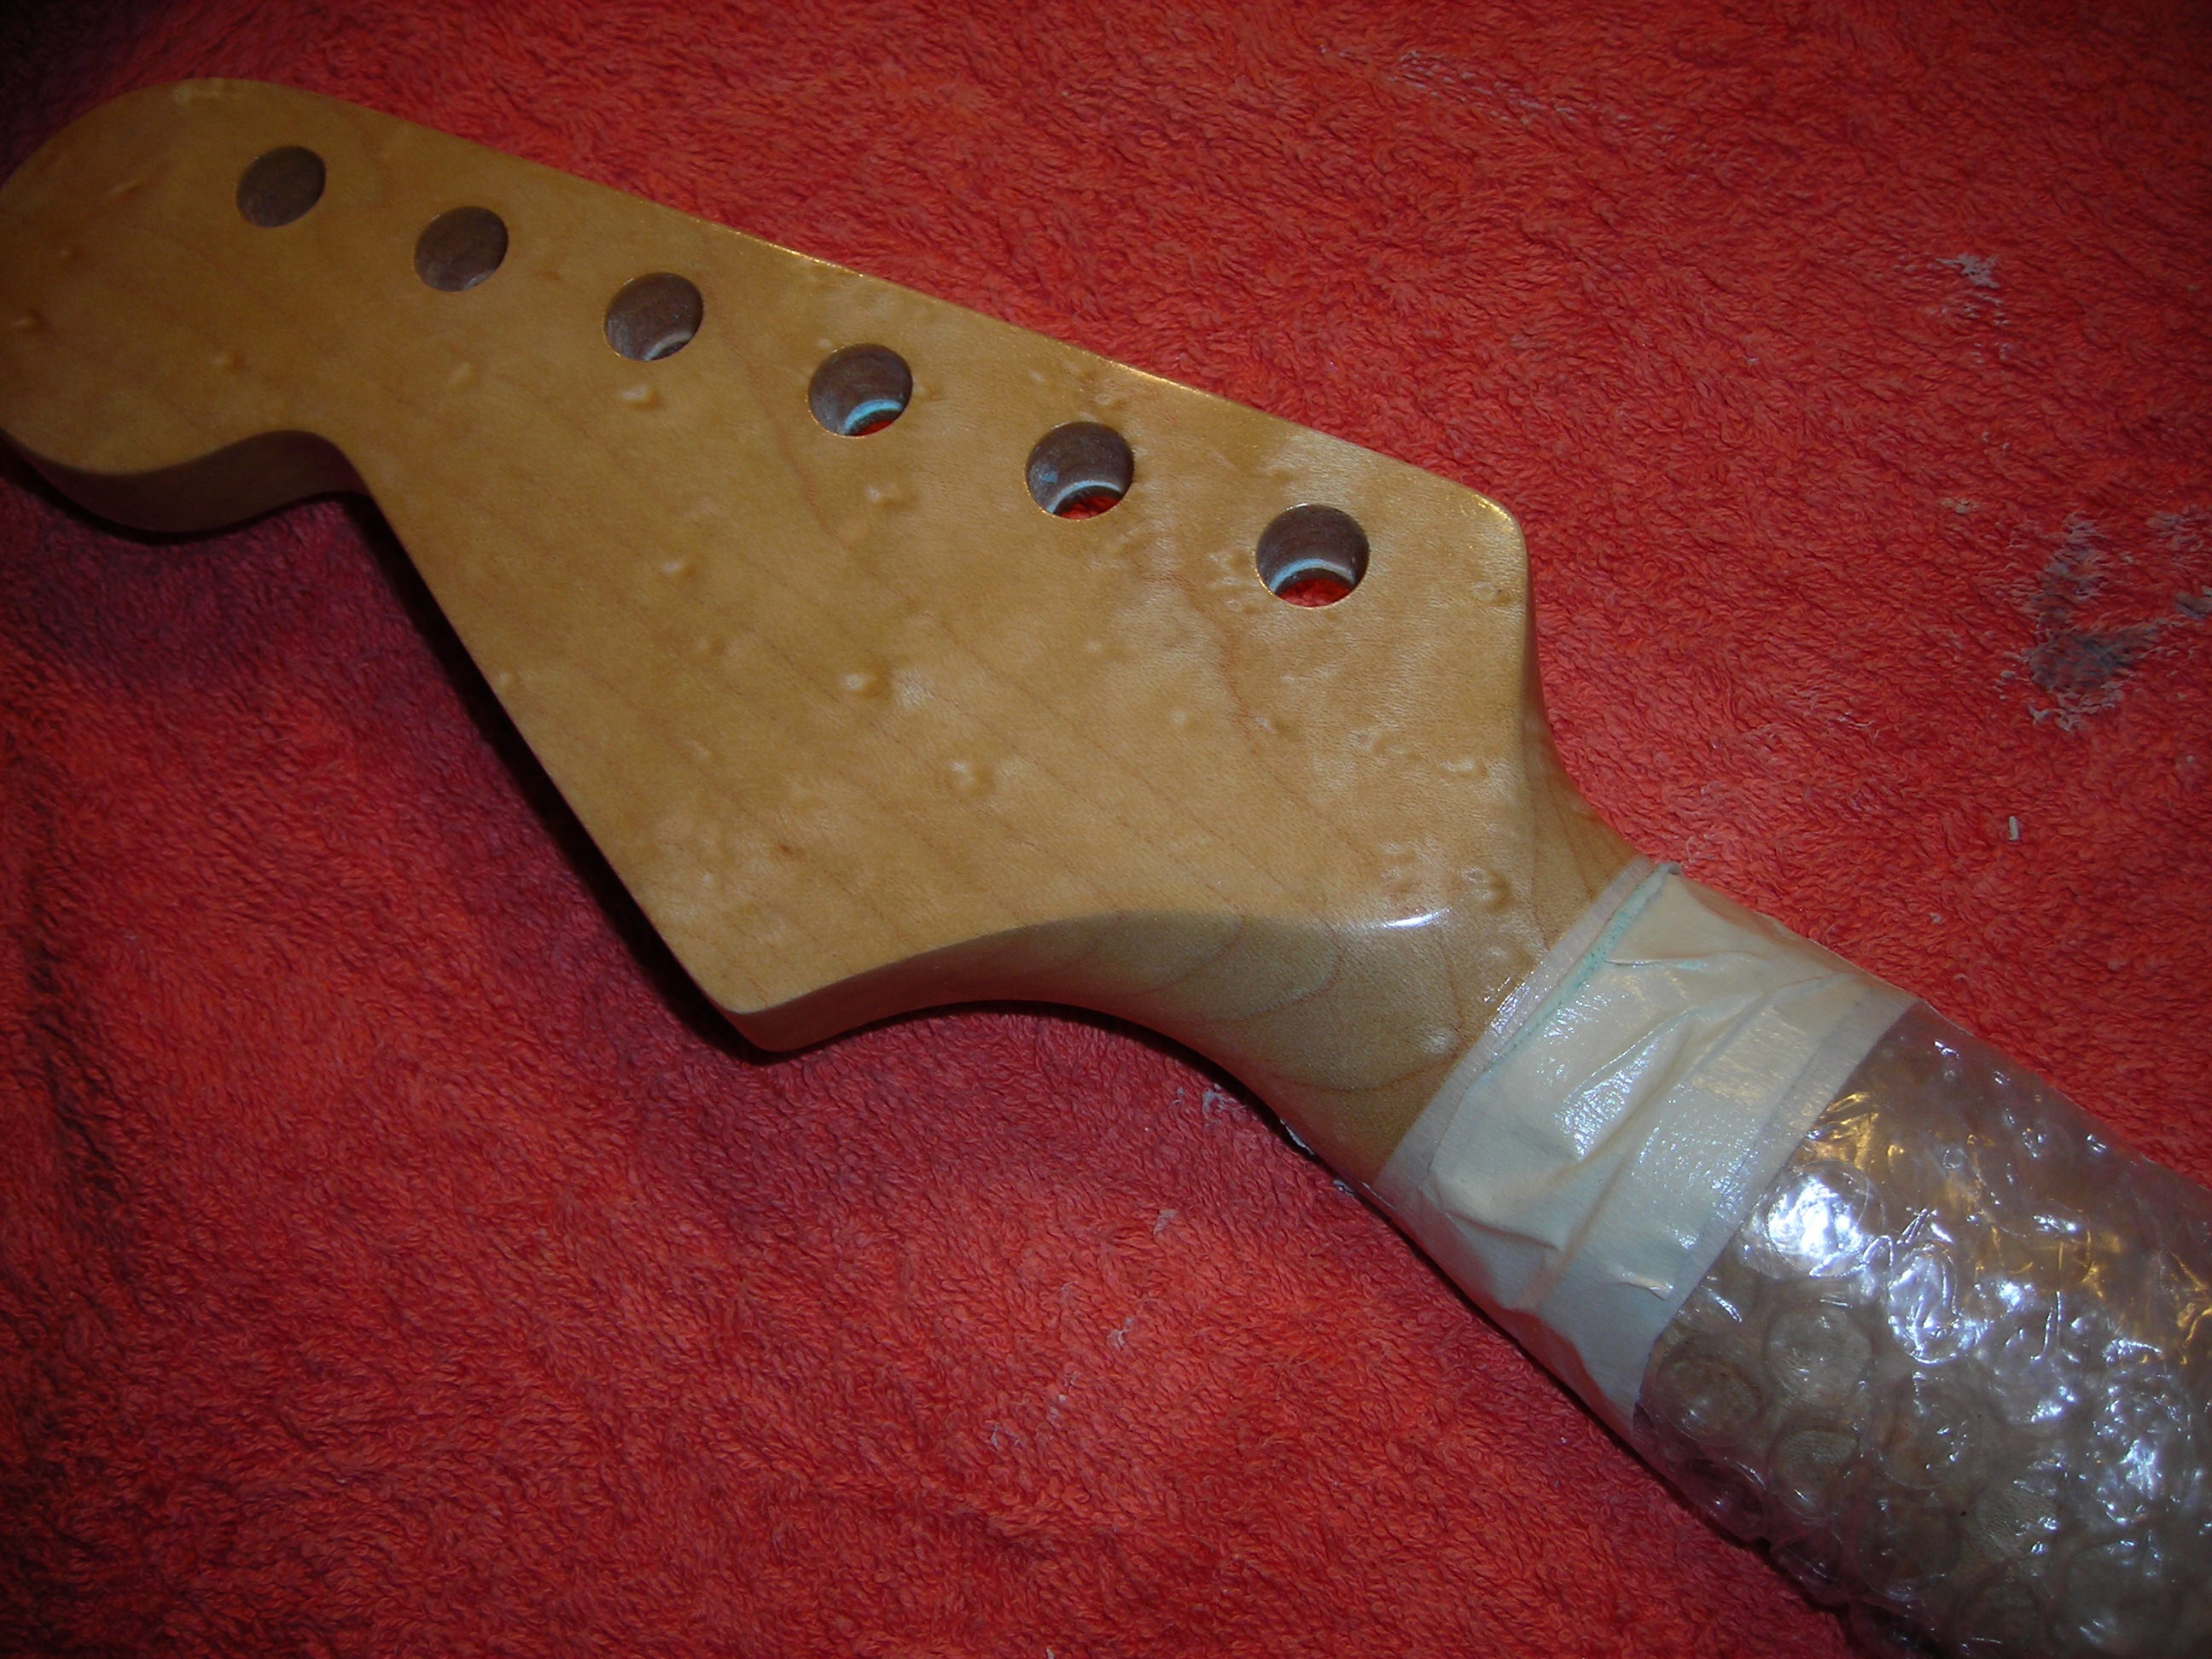
I ended up masking off the main part of the neck again so as not to disturb the tru-oil finish. It would of course have been more efficient if the head-stock logo had been in my possession earlier as I could have masked off once.

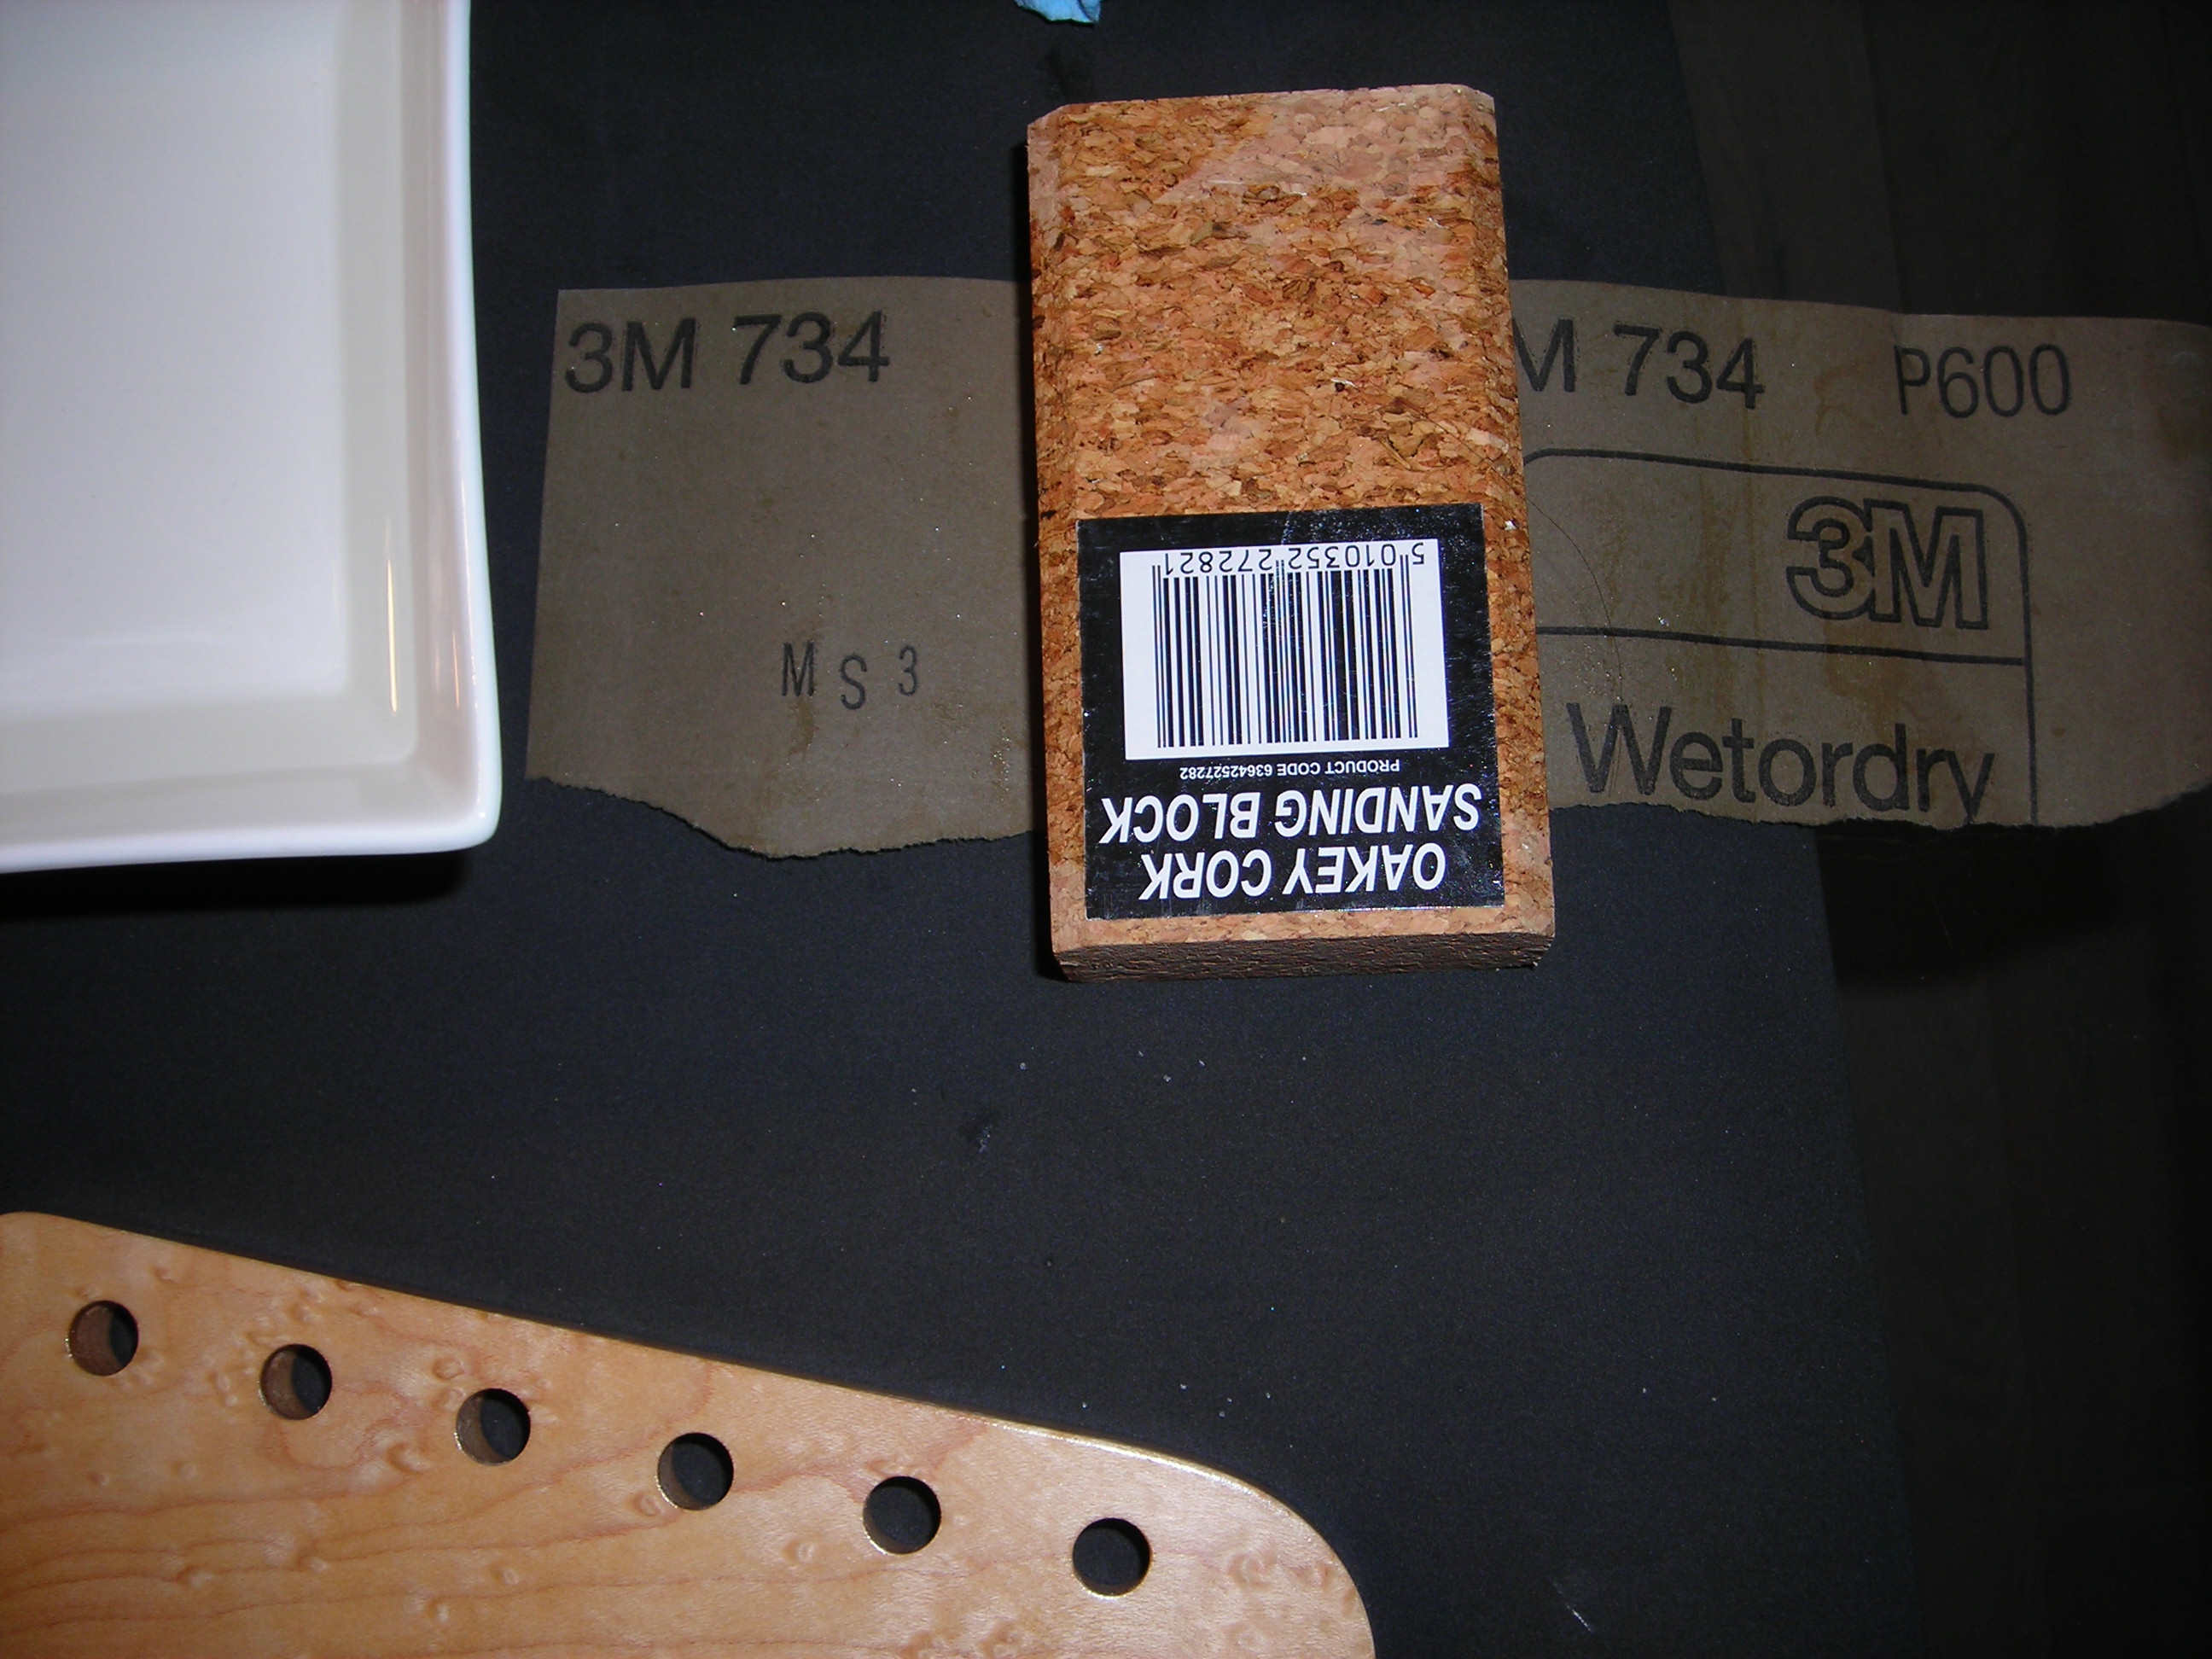
FInalNeckFinish_1 by stratamania, on Flickr

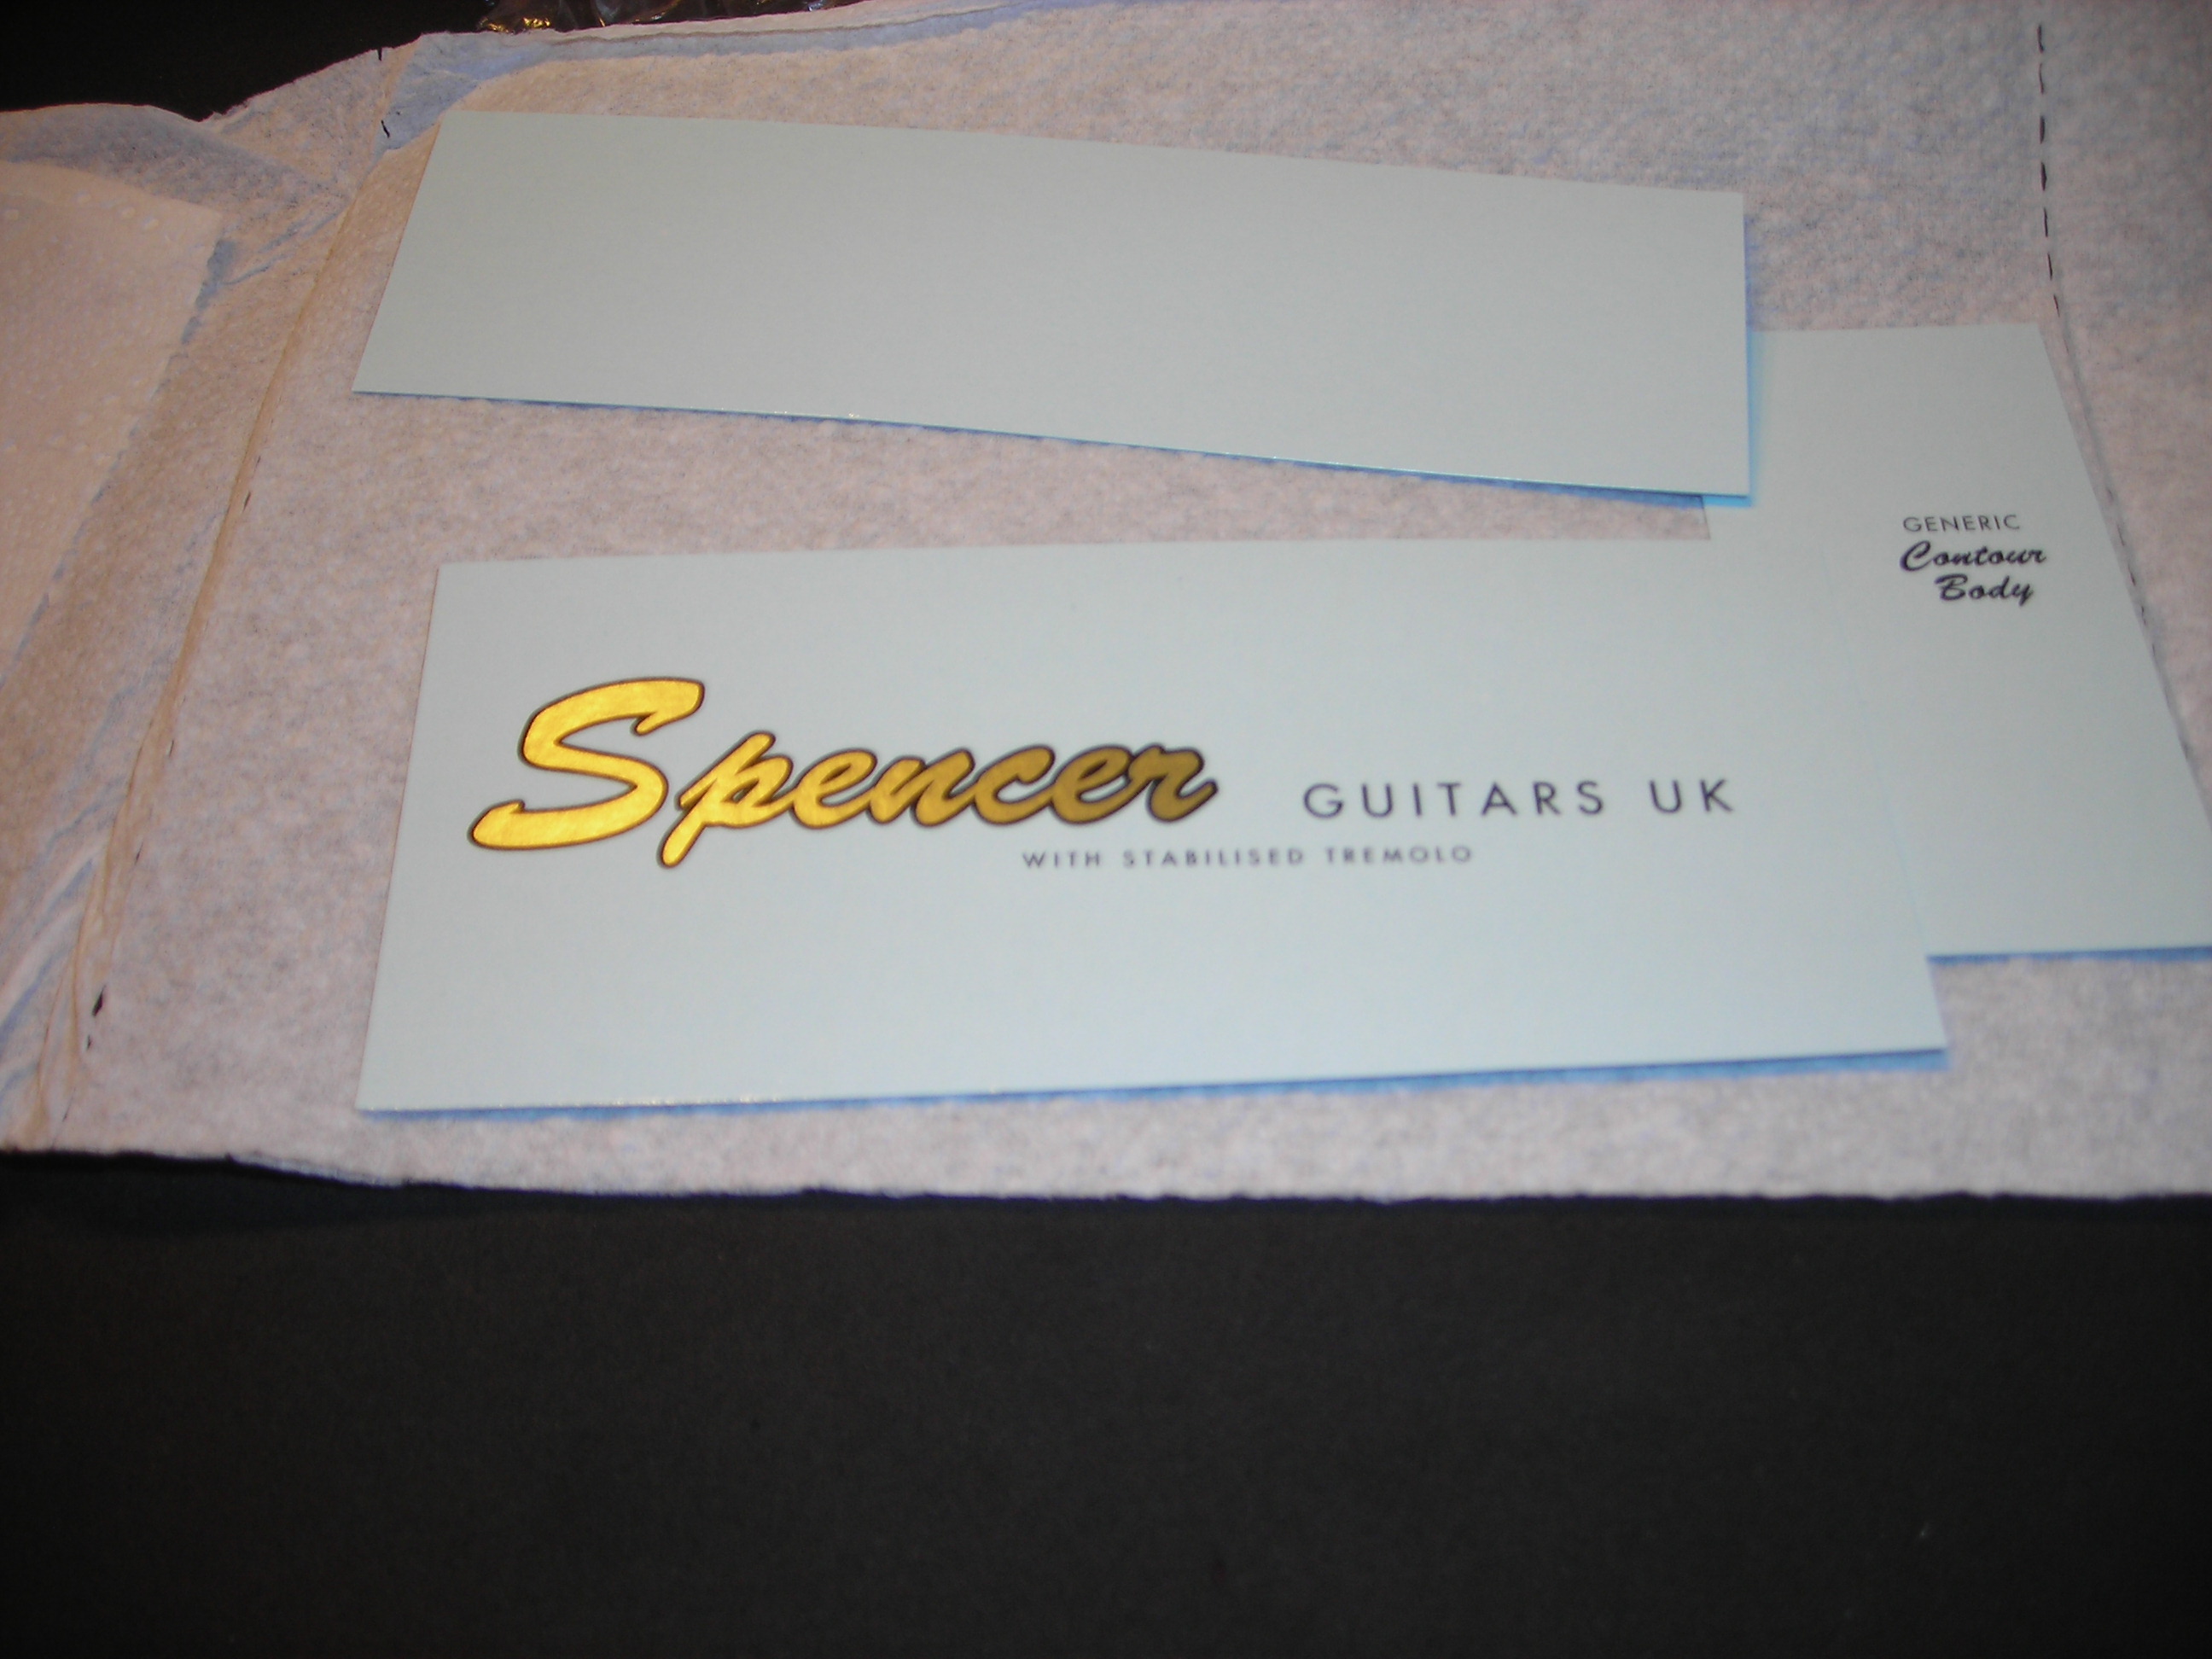
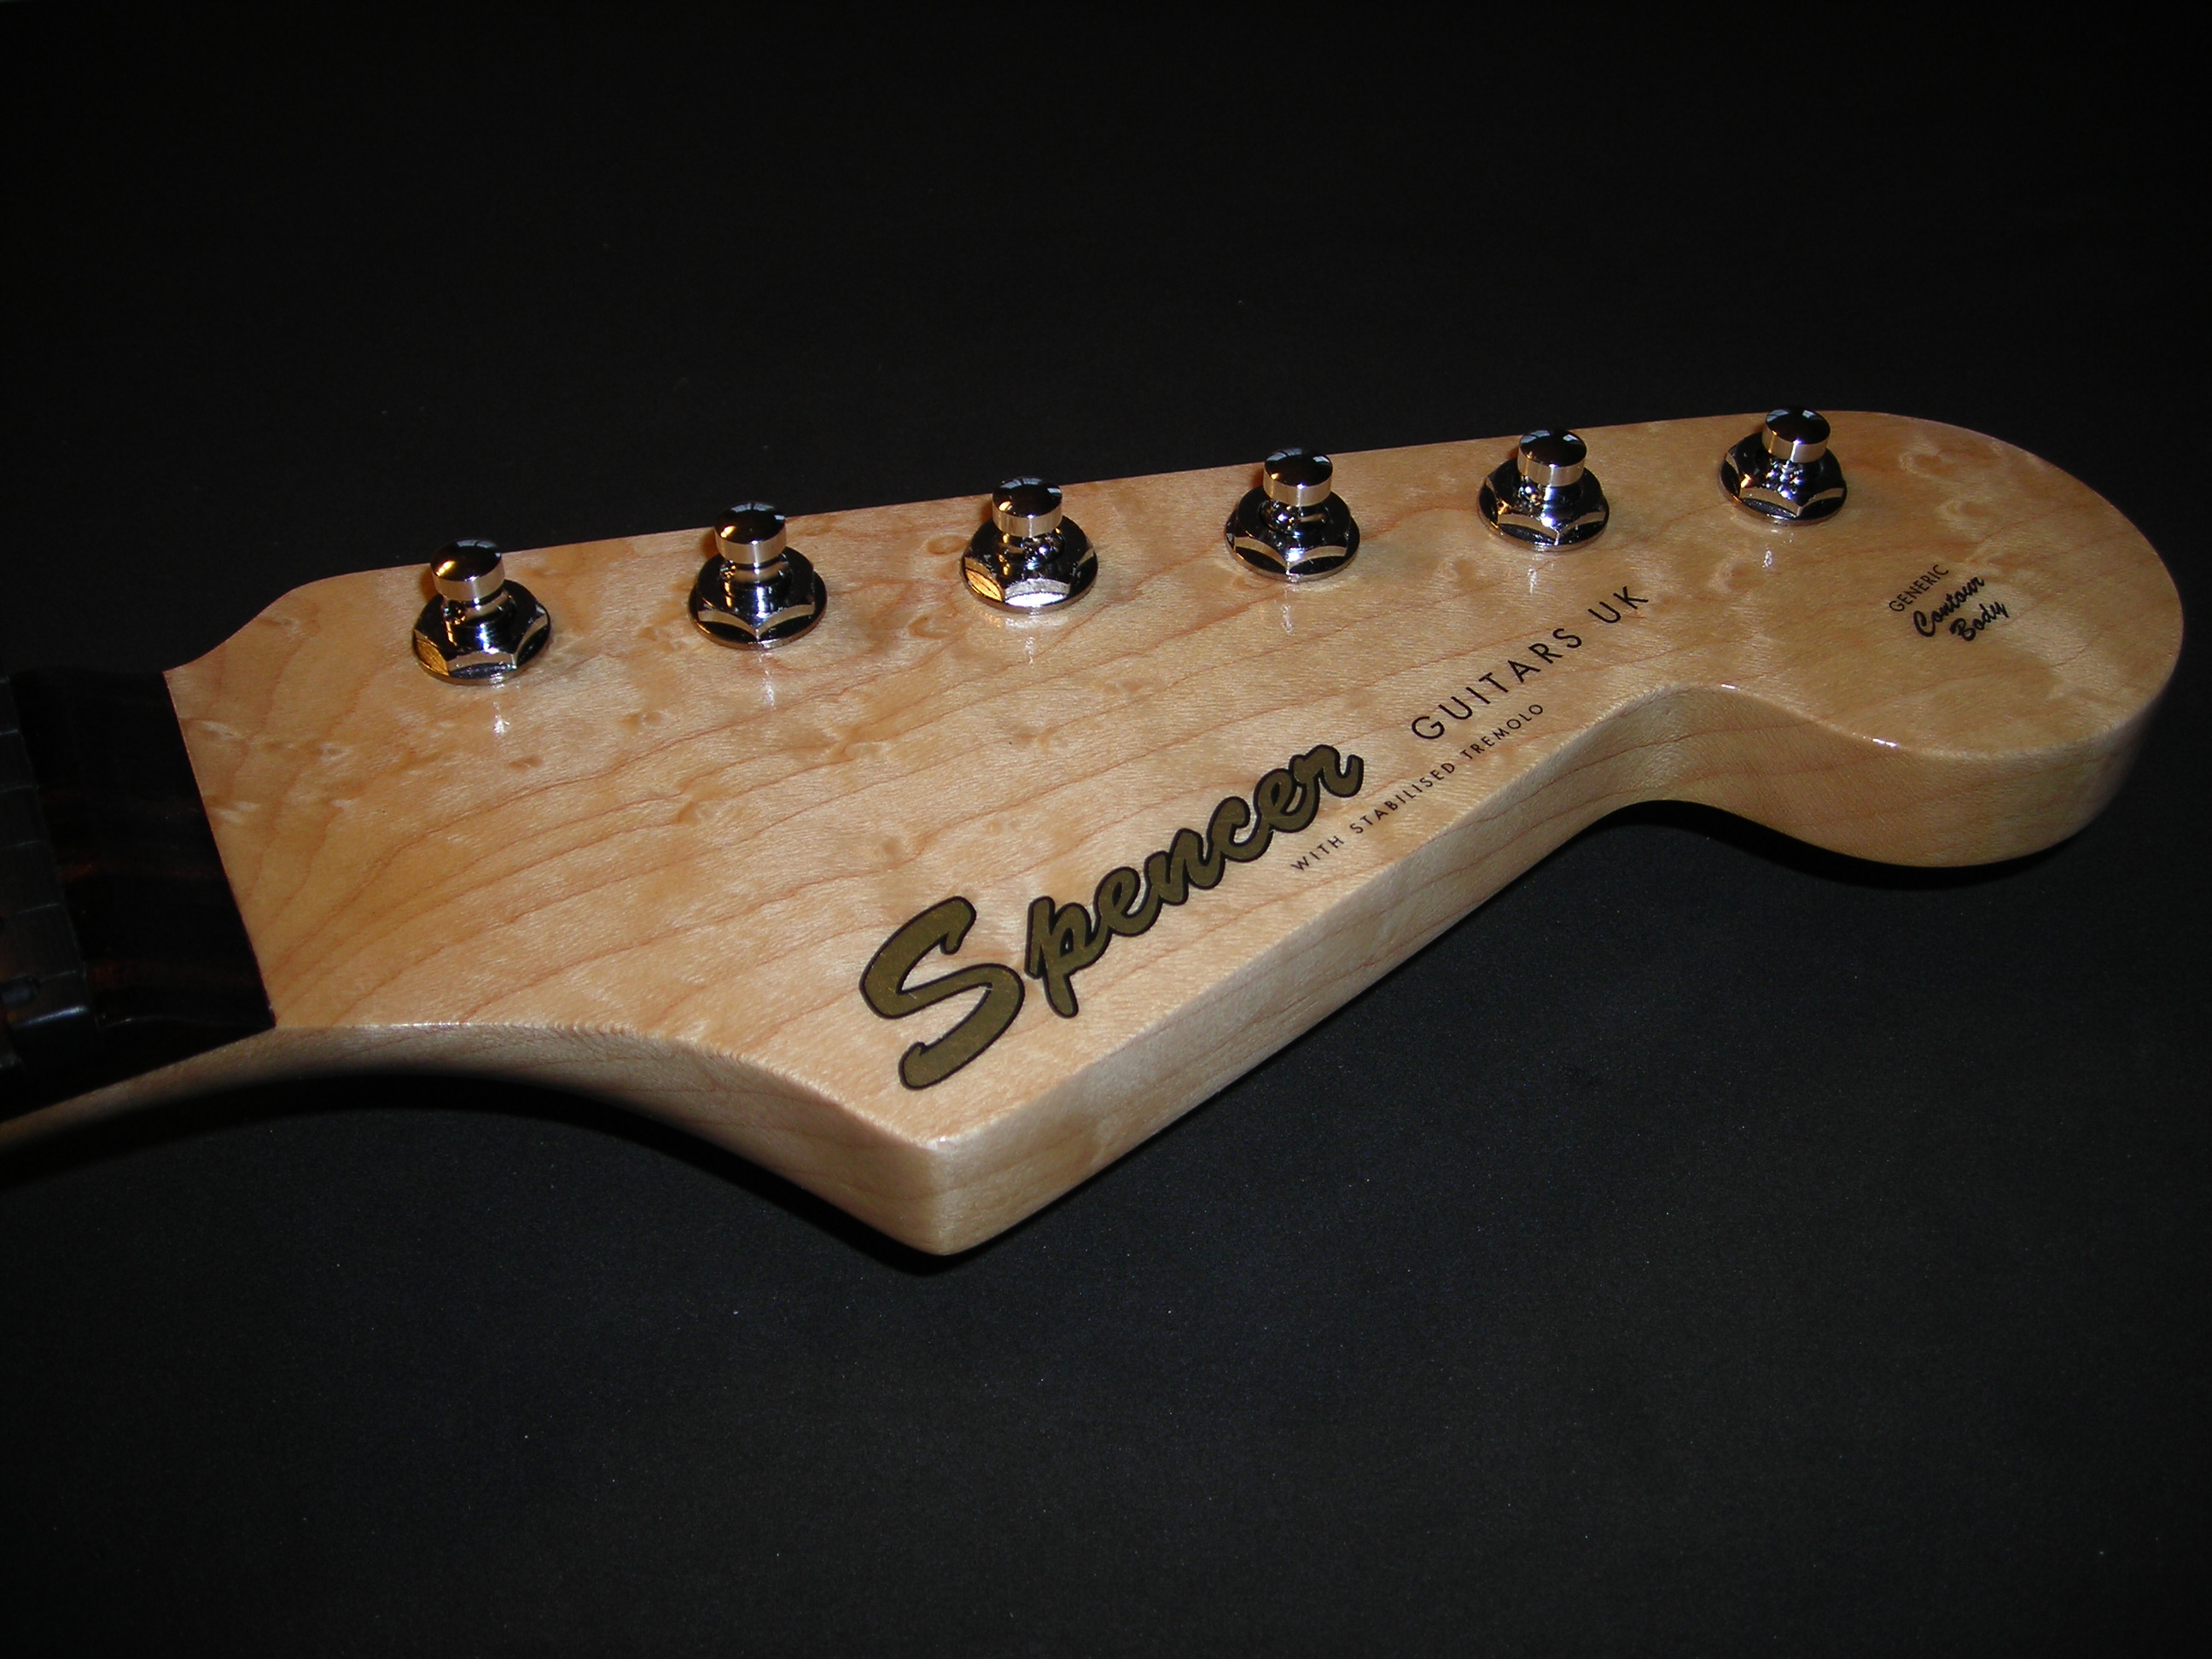
Heres the logo,  Rothko And Frost in the UK are the logo suppliers. Good work and very thin logo.


FInalNeckFinish_2 by stratamania, on Flickr

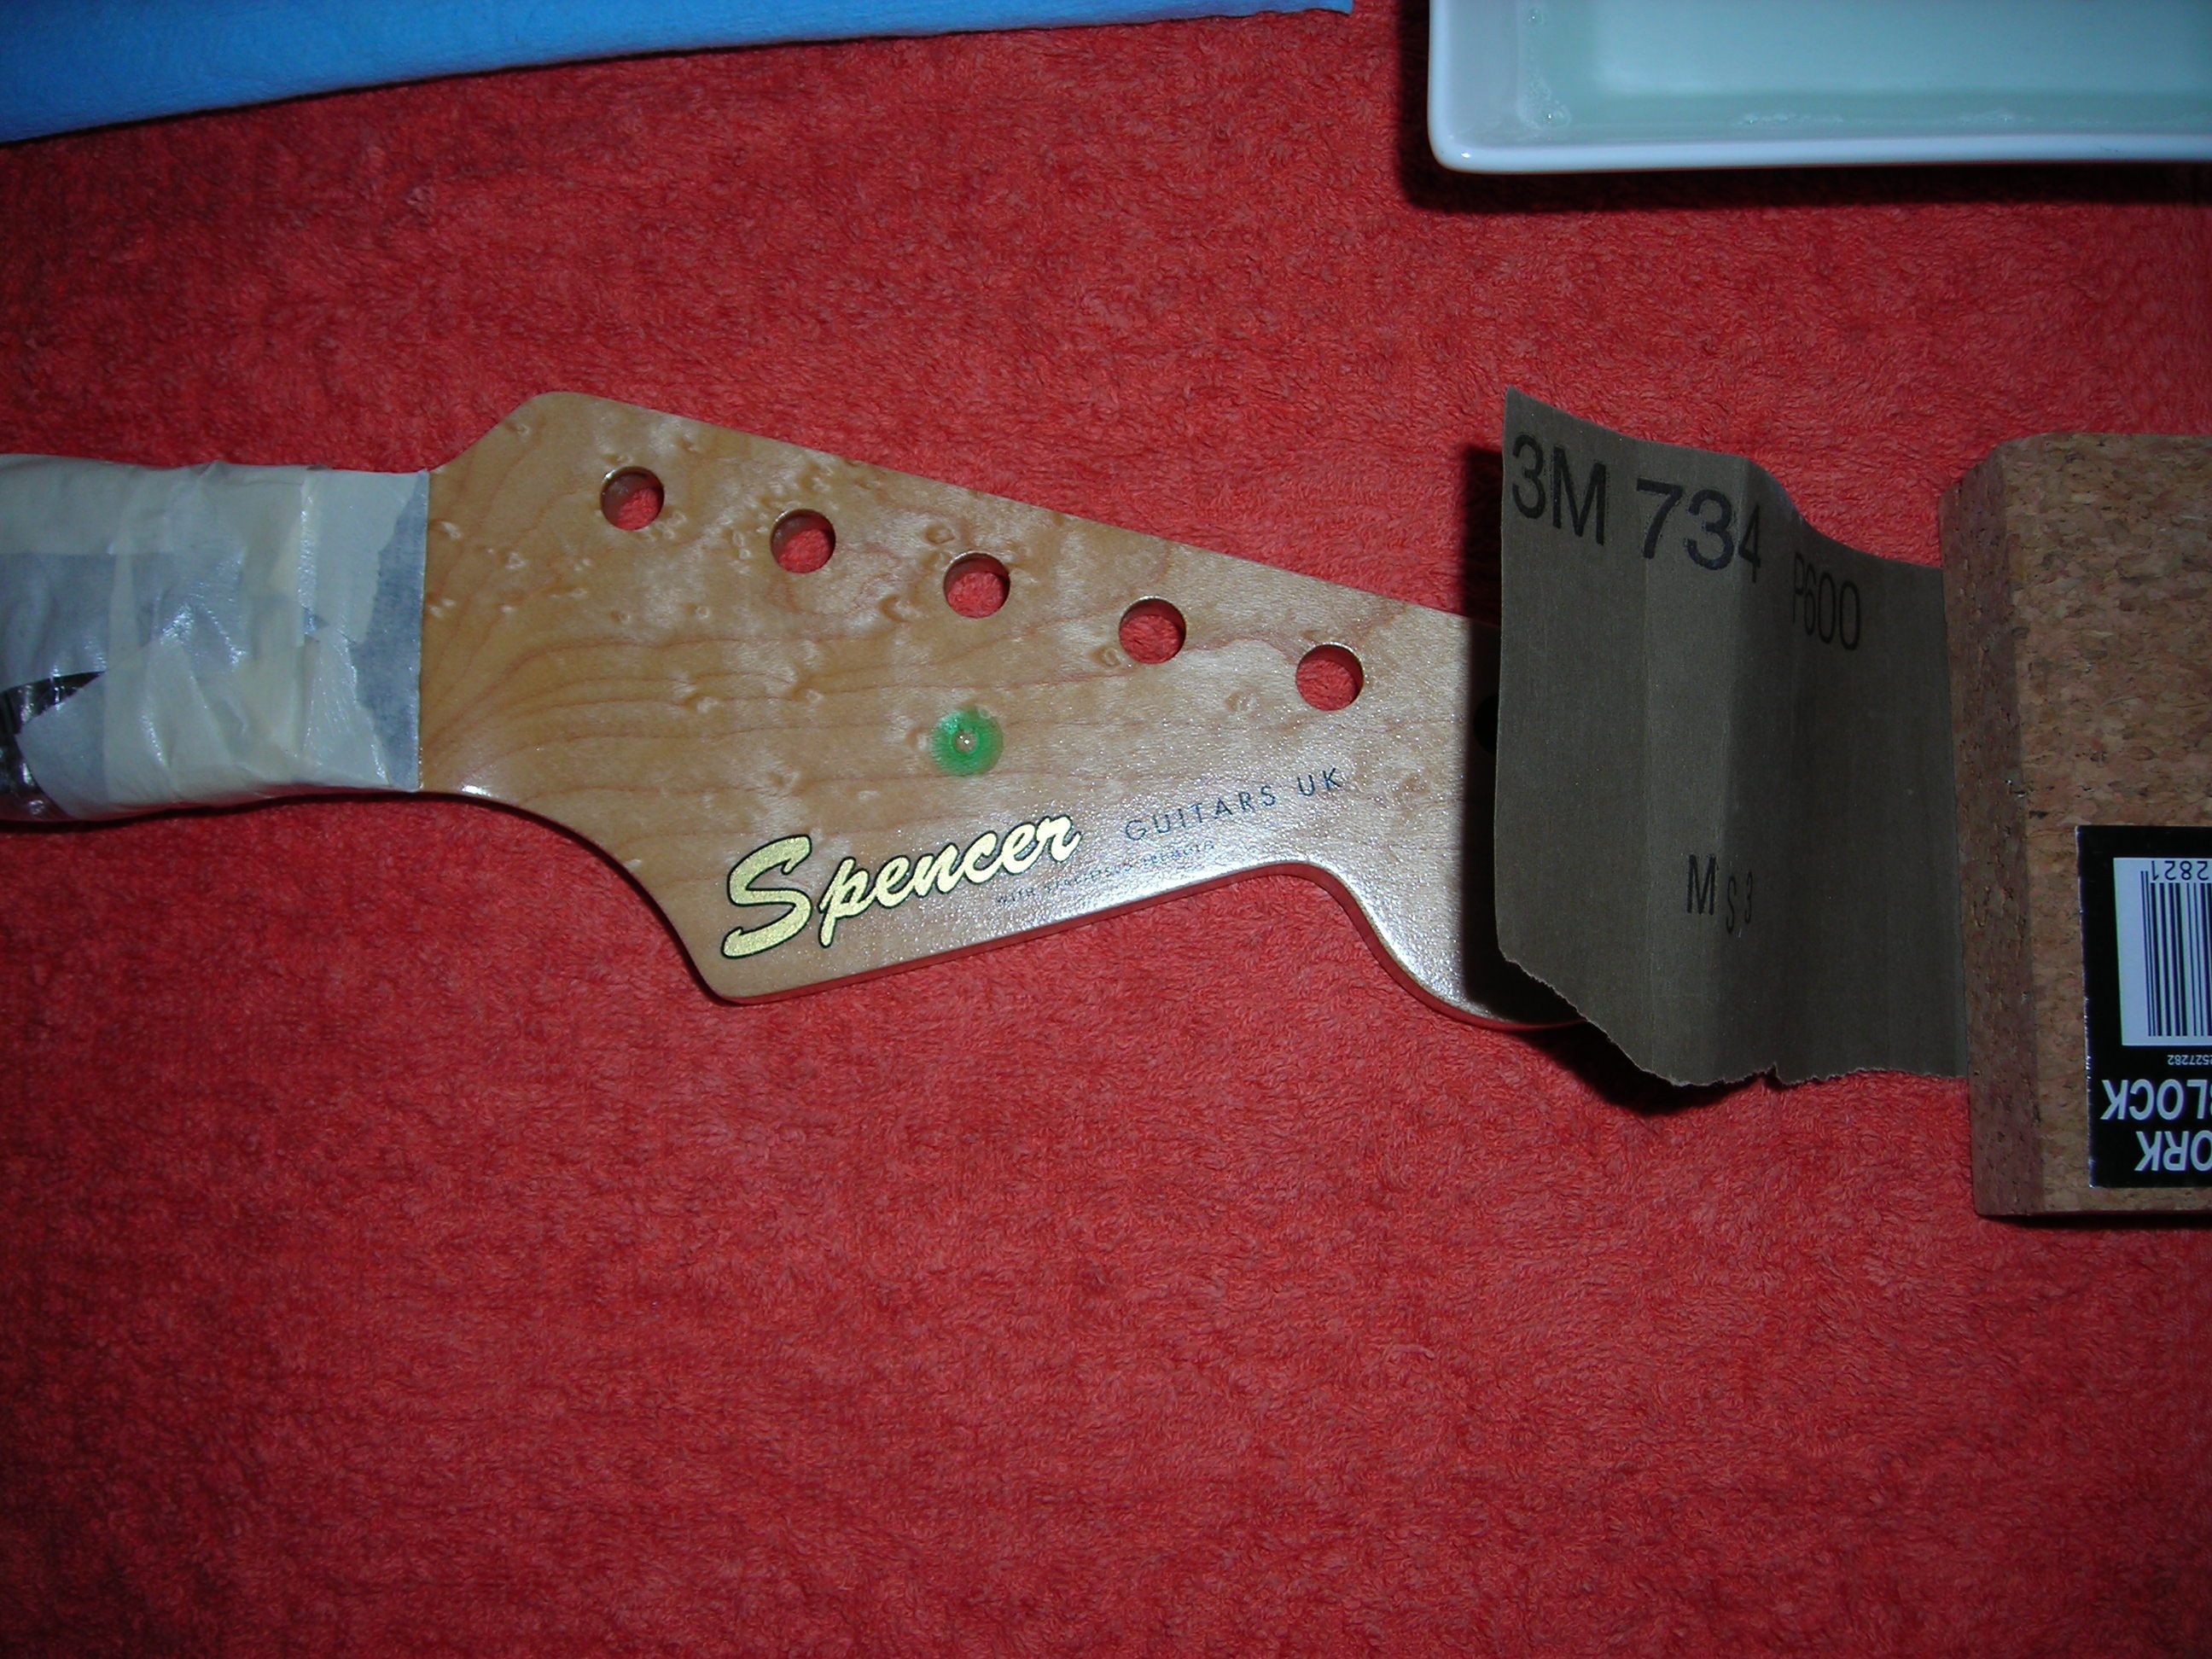
I did a bit of a wet sand with 600 grit wet and dry paper and a sanding block prior to logo application to ensure a good flat surface.

FInalNeckFinish_3 by stratamania, on Flickr


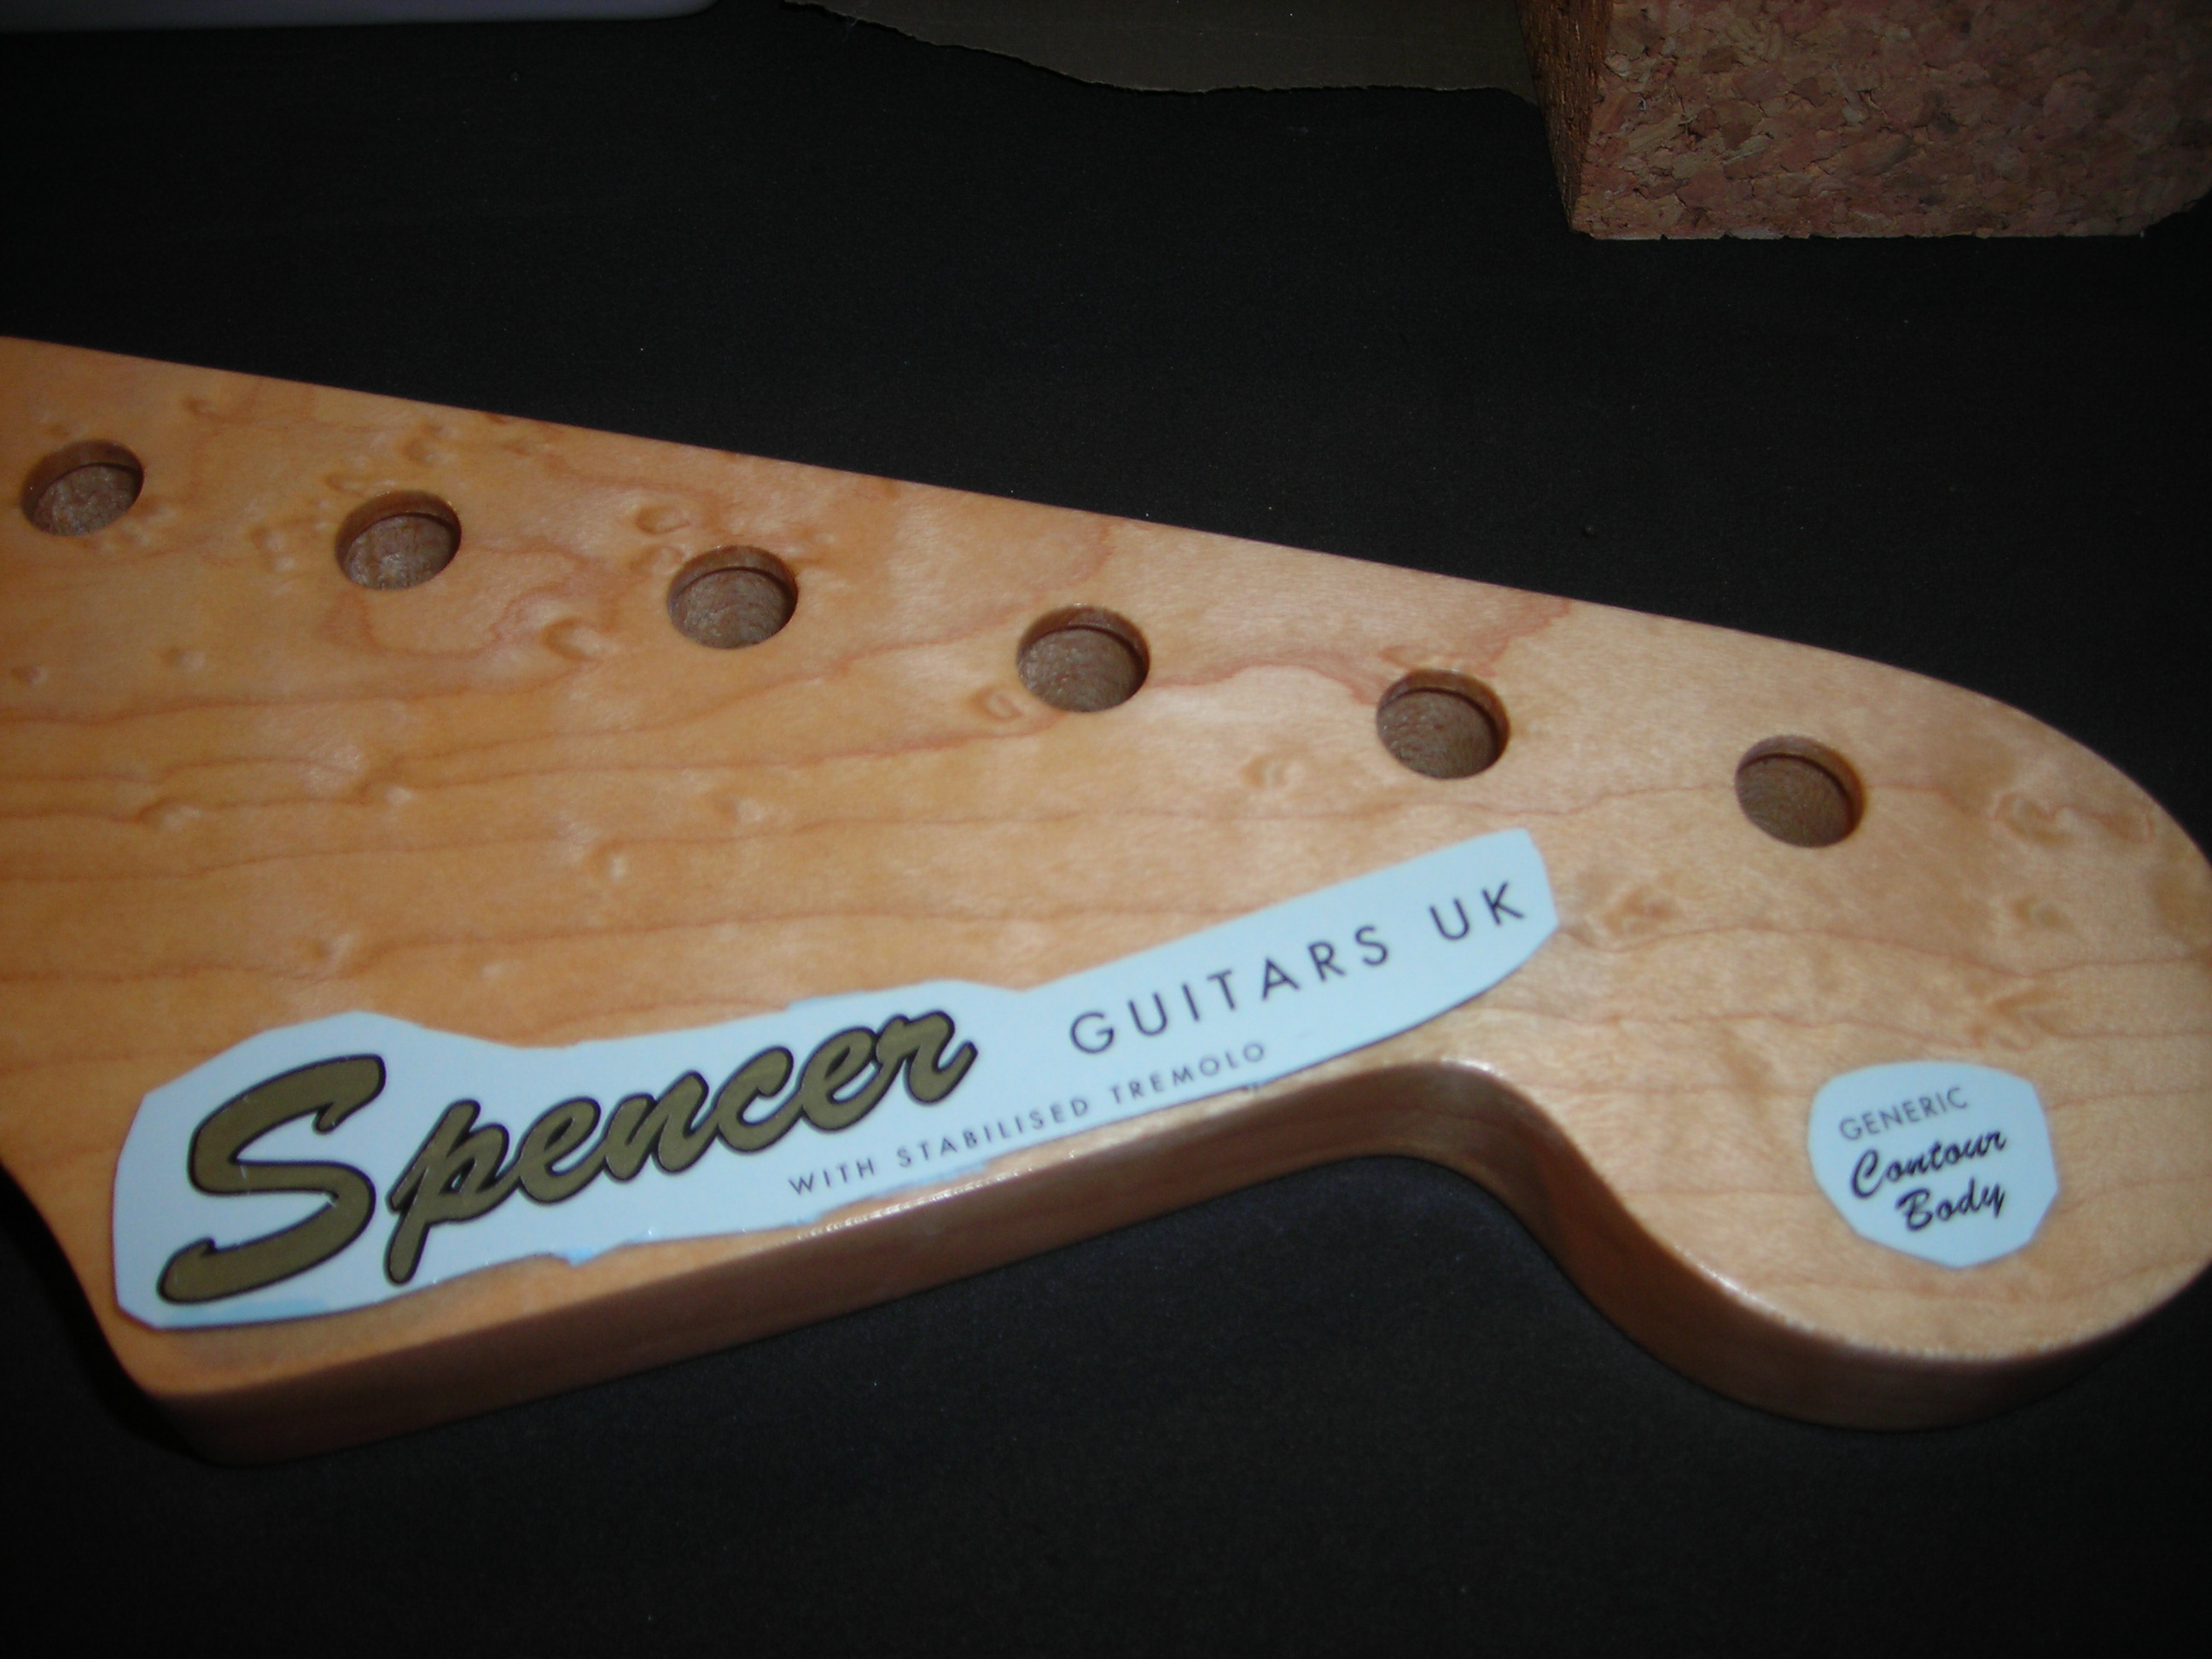
The logo cut out roughly to shape. This is like years ago when building model plastic aircraft that came with transfers of the insignia. Its the same technique, put them in not too warm water and when its ready you slide it into position.

FInalNeckFinish_4 by stratamania, on Flickr

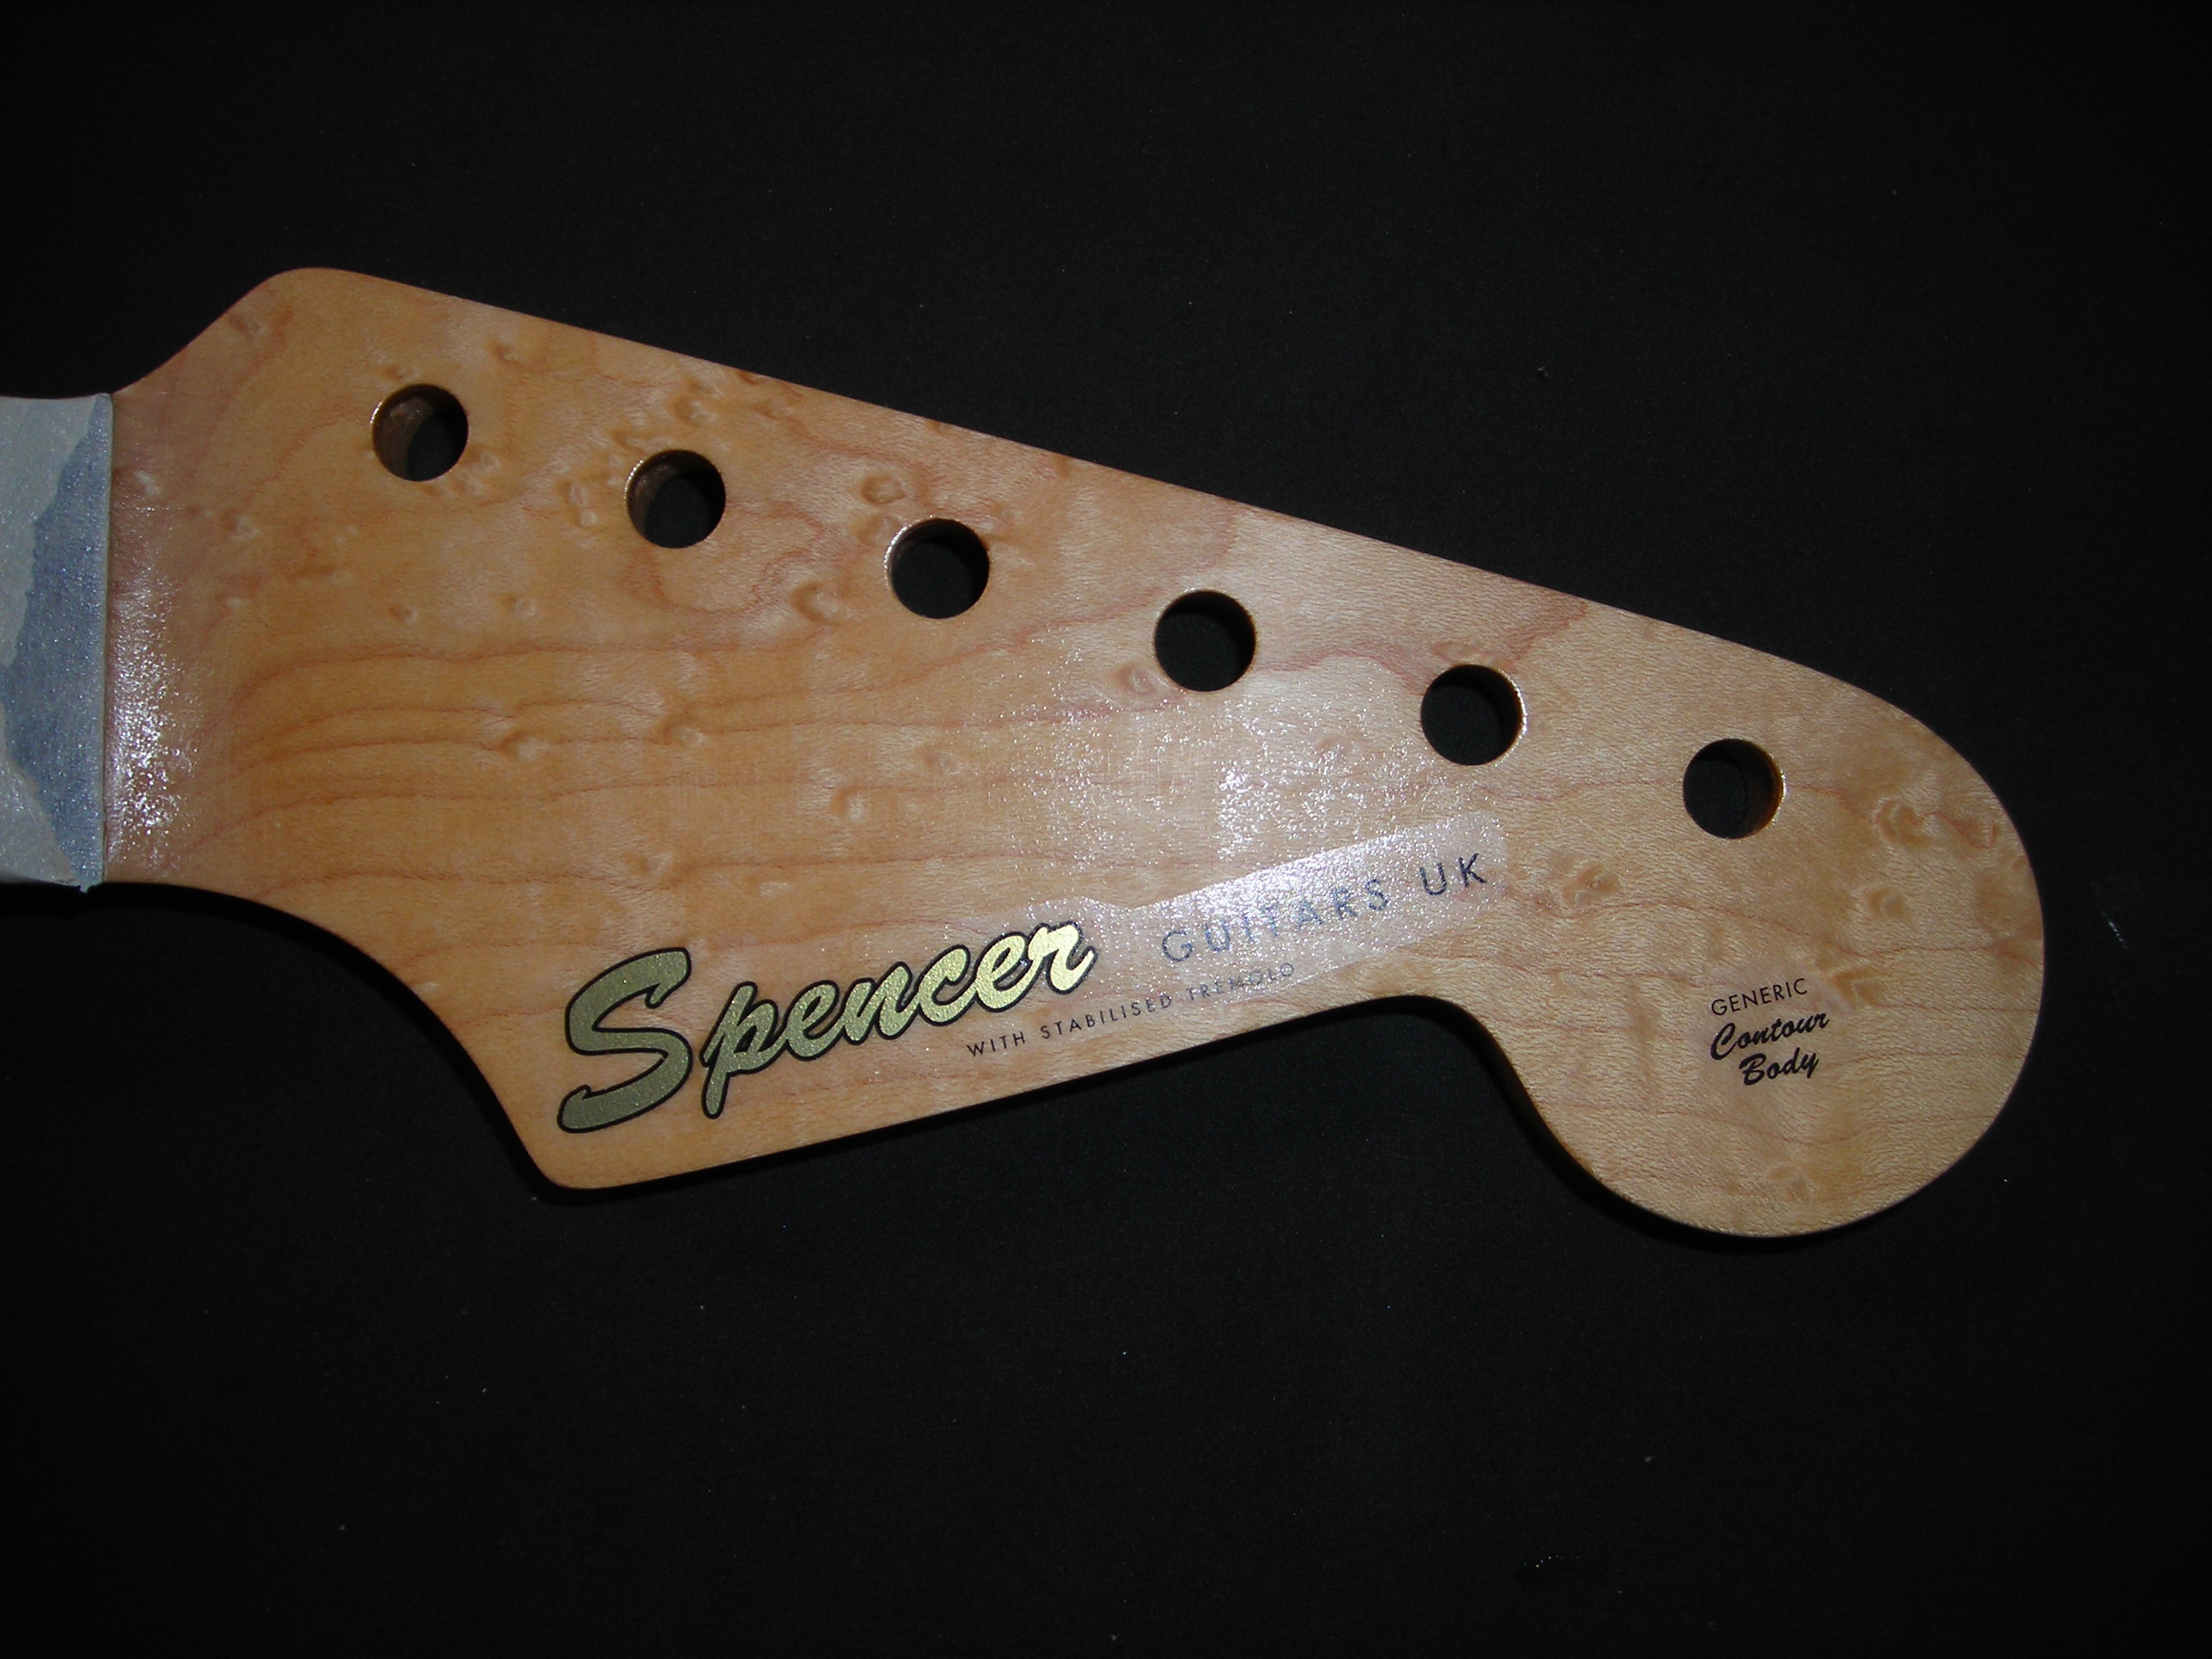
And here it is in position. By the way, the bit underneath says, WITH STABILISED TREMOLO, that should help it stay in tune surely?    :dontknow:

And the other small bit says, Generic Contour Body as a testament to the official Generic shape.

FInalNeckFinish_5 by stratamania, on Flickr

After letting the logo dry for about a day, its back into the high tech cardboard box spray booth as detailed in an earlier post of this very thread. It was given about three passes of nitro with about 45 minutes in between.

FInalNeckFinish_6 by stratamania, on Flickr


24 Hours later back for a light wet sand to level the nitro including over the logo. The green blob is a tiny bit of washing up liquid that is acting as a lubricant. Avoid getting things too wet, and I also blew it with a hairdryer just in case to get rid of any possible moisture.

FInalNeckFinish_7 by stratamania, on Flickr

Back in the box and more nitro.

FInalNeckFinish_8 by stratamania, on Flickr

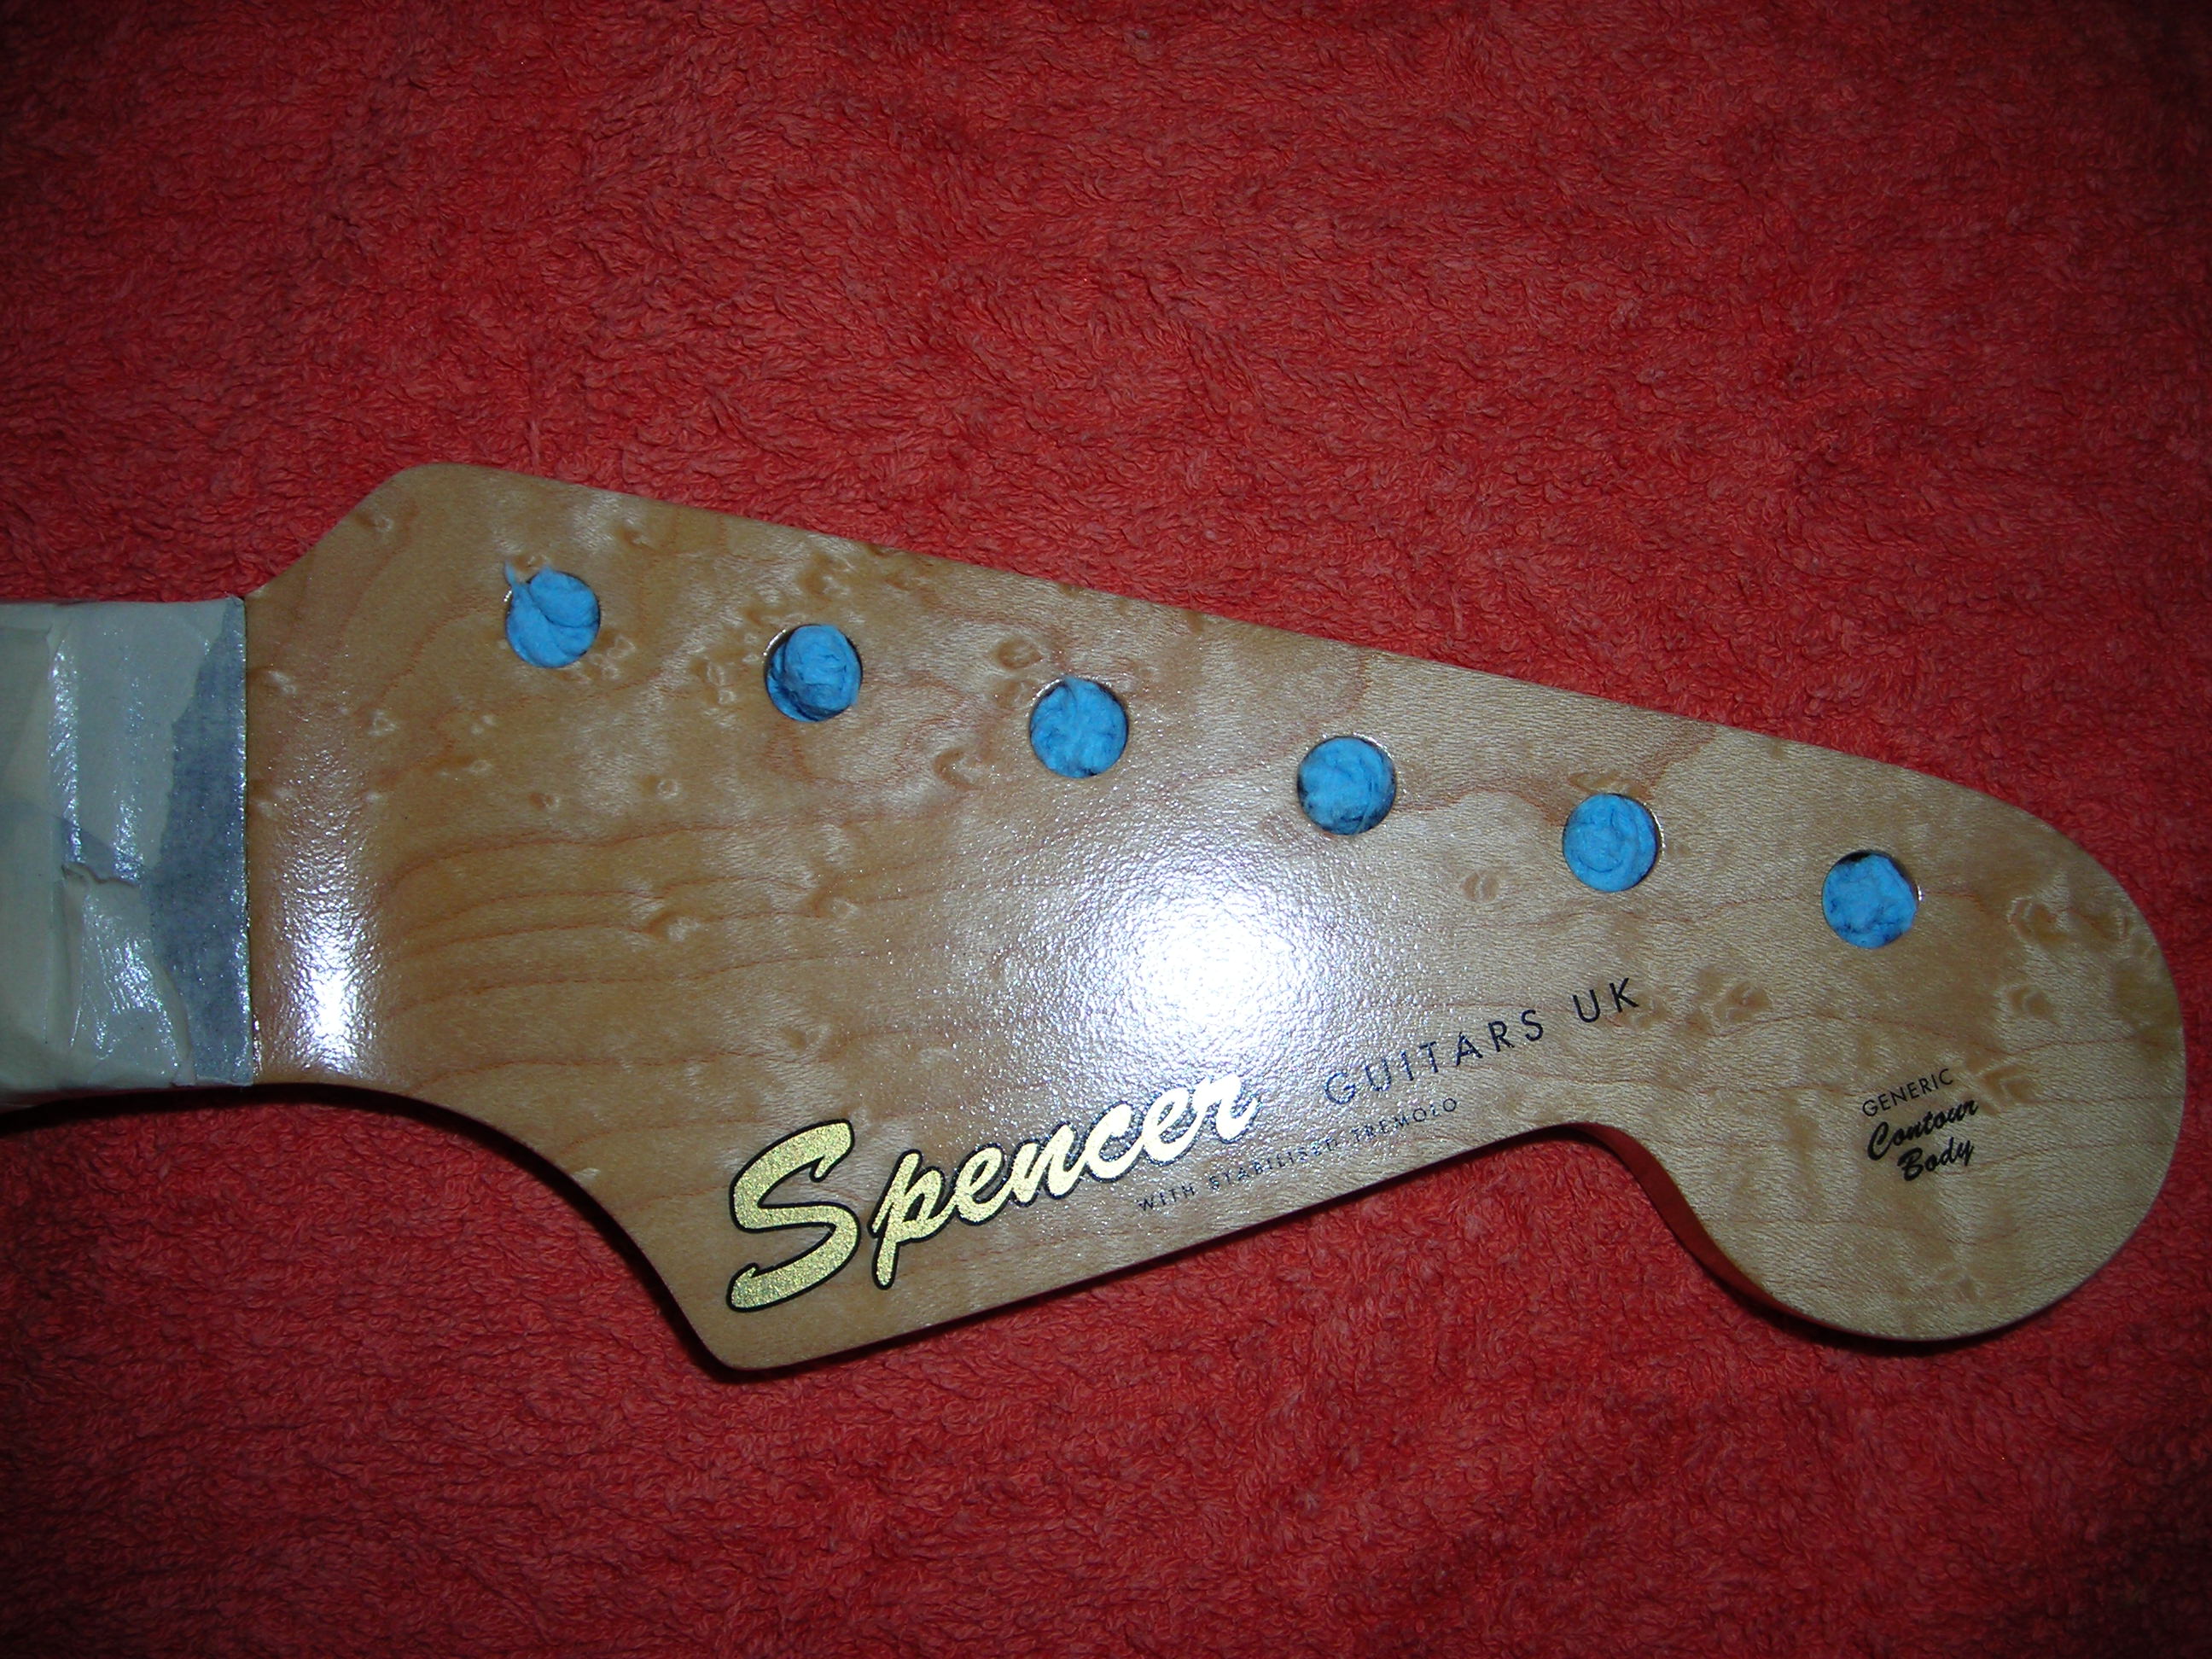
Now some wet sanding down the grits to about 2400 and some compounds and wax applied by hand to buff the surface. Its a satin finish so its just to get it to look ok not like a glass mirror or pair of boots on a parade ground :)

The blue bits in the machine head holes is just paper shop towel to catch any moisture.

FinalNeckFinish_9 by stratamania, on Flickr


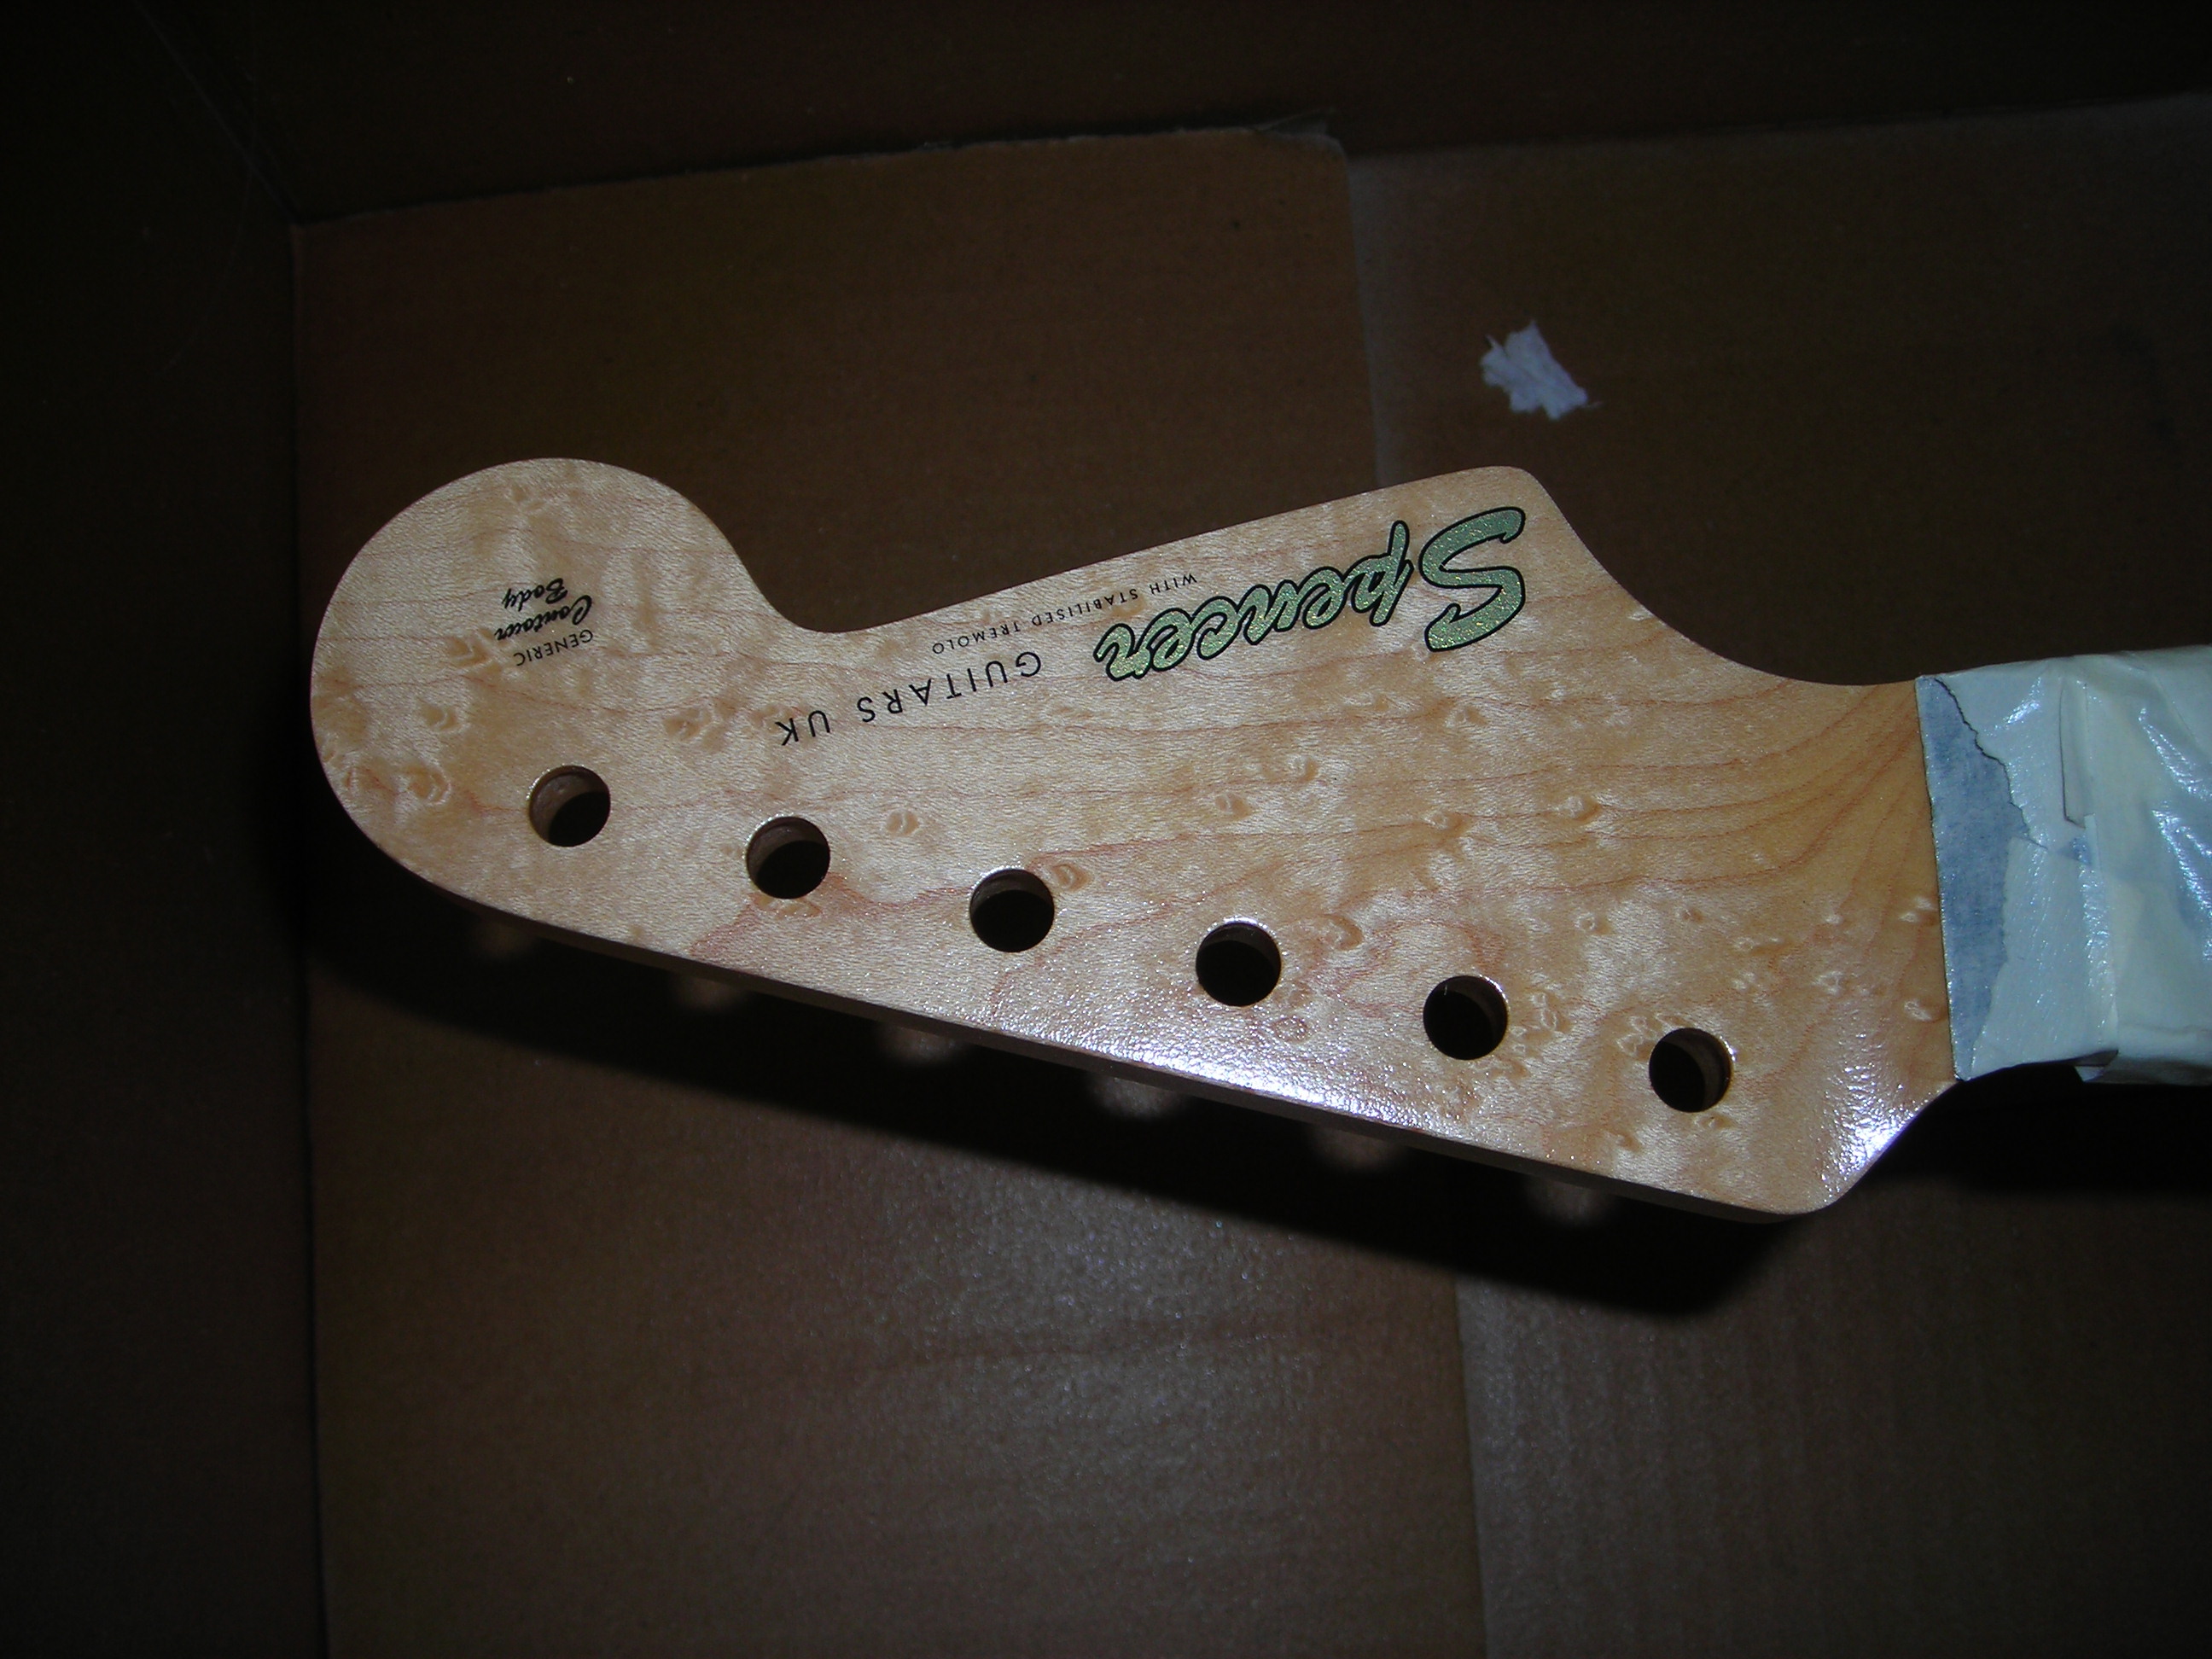
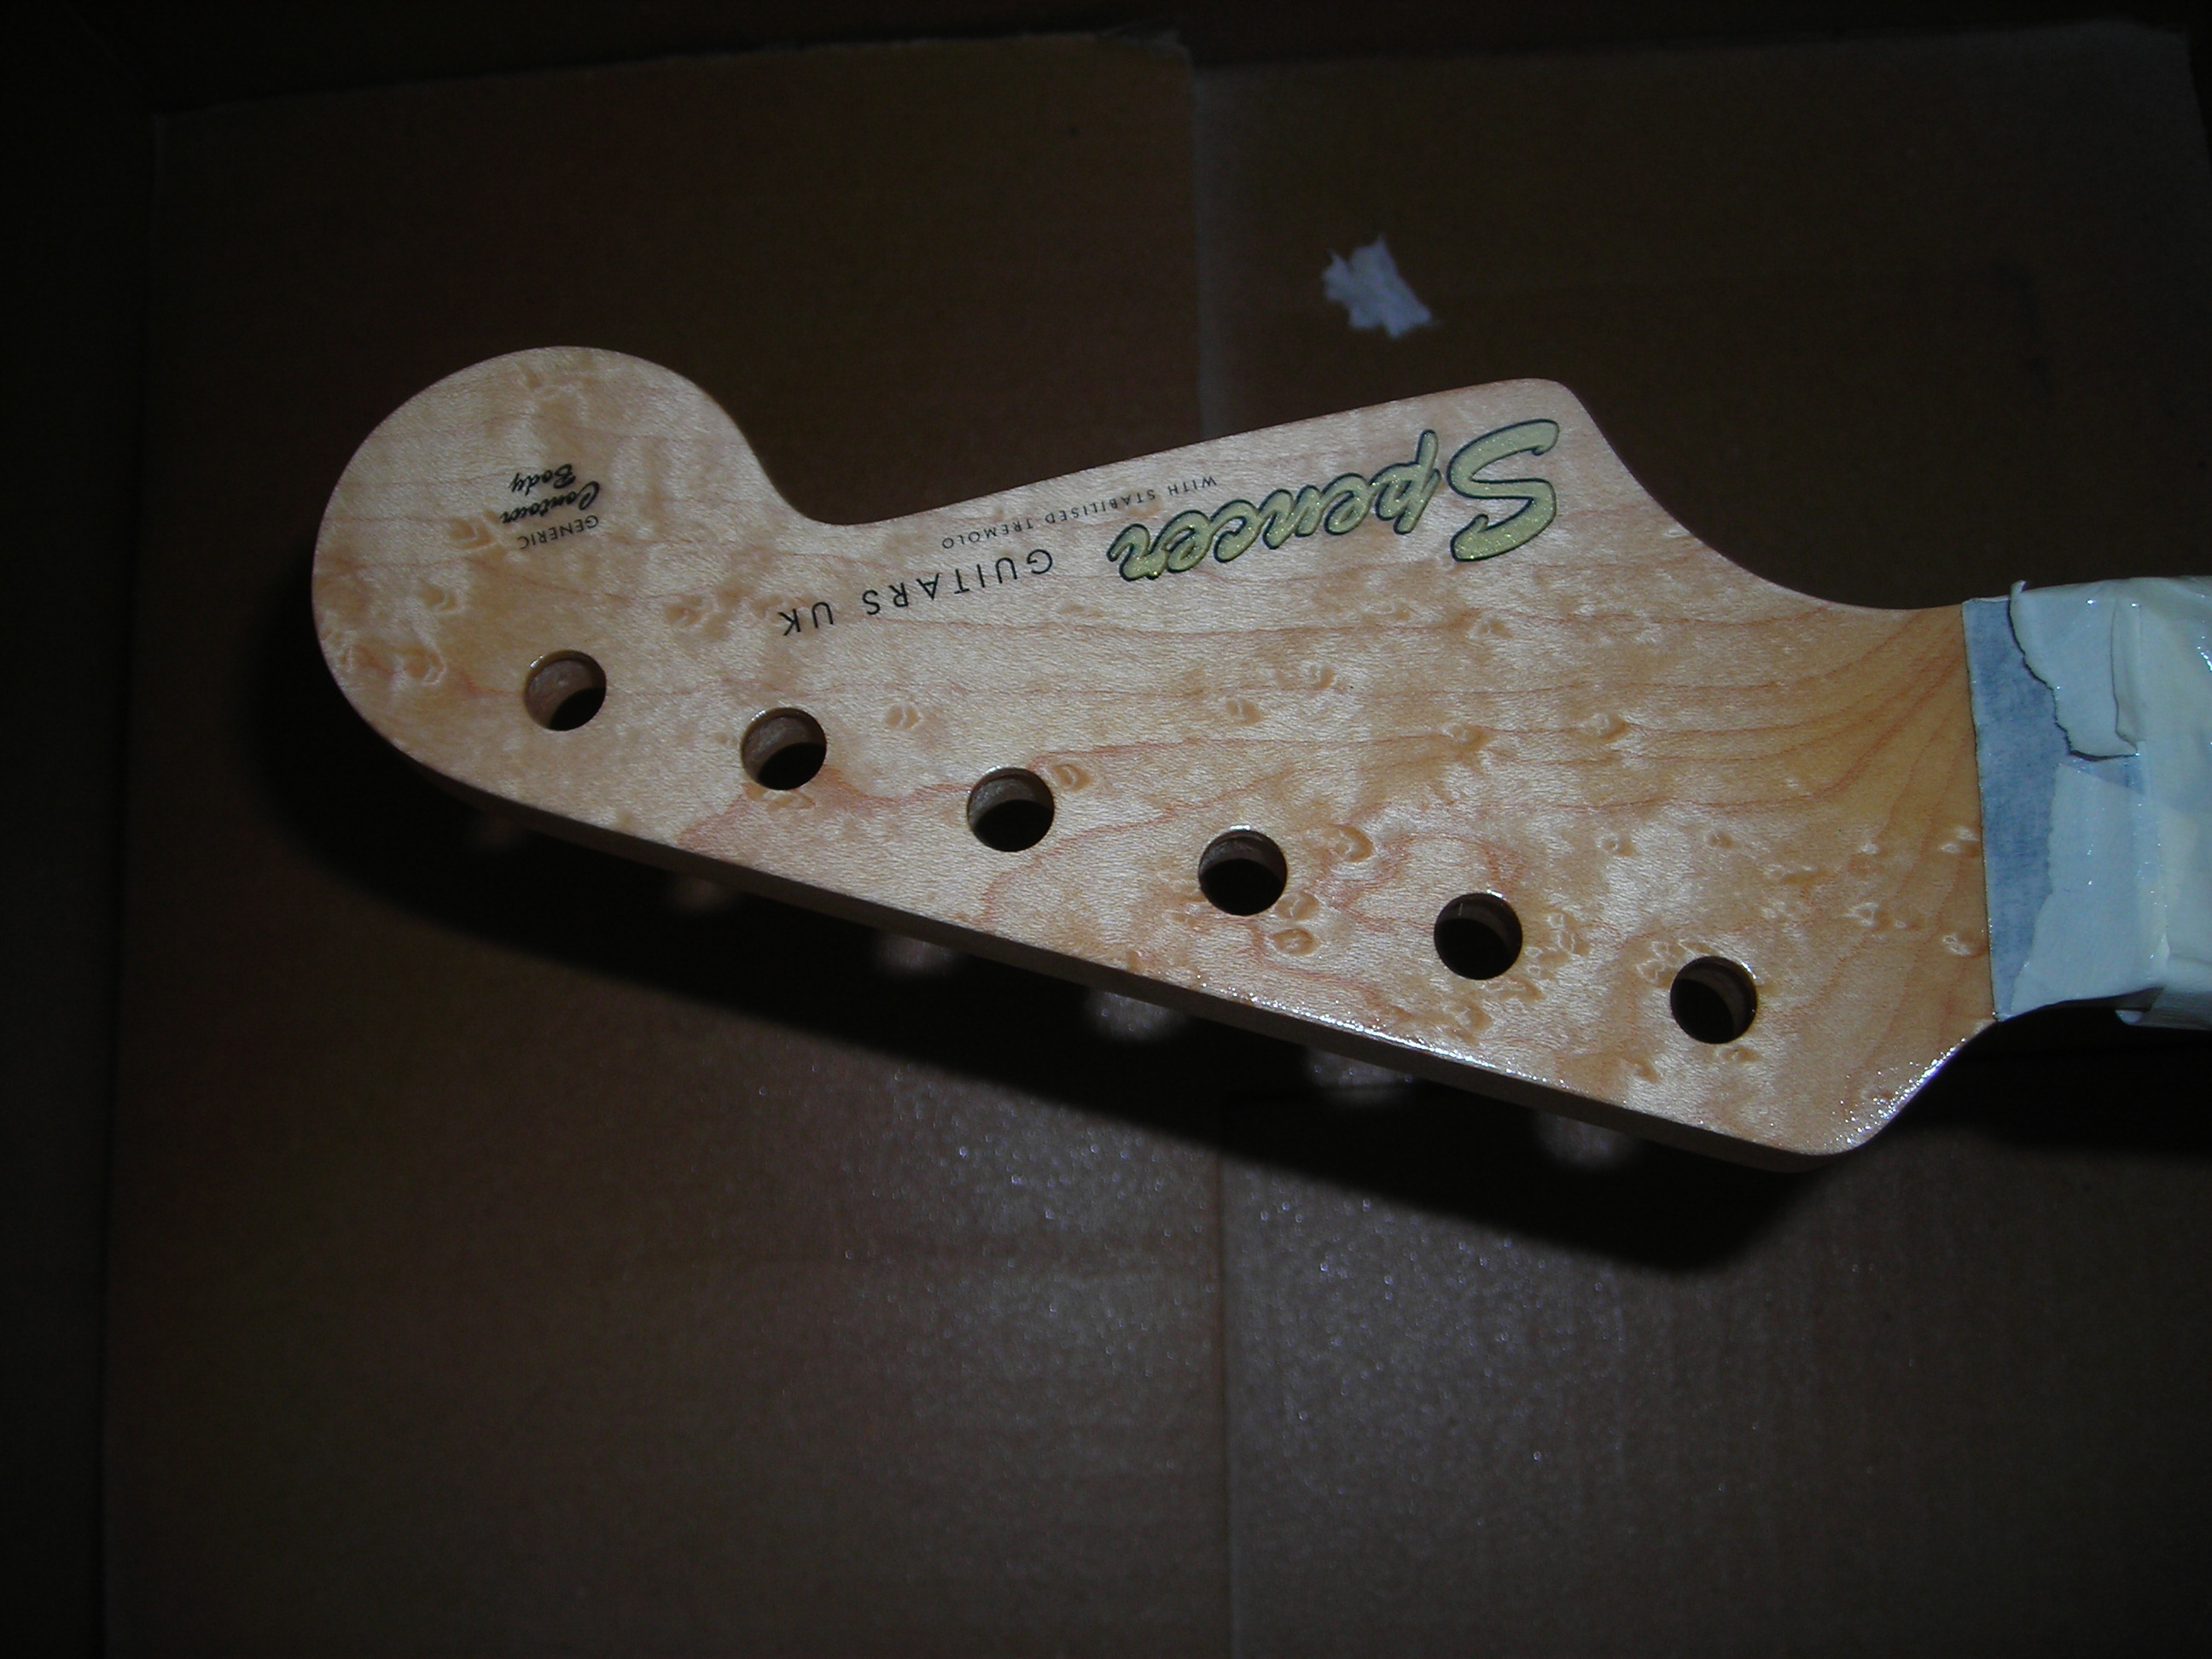
Back of the headstock.

FinalNeckFinish_10 by stratamania, on Flickr

Removed the masking and did the fretboard with Dunlop lemon oil wiped on and off as a final clean of the board.

FinalNeckFinish_11 by stratamania, on Flickr


FinalNeckFinish_12 by stratamania, on Flickr

Redid a little tru-oil wax on the rest of the neck and here you can see the join.

FInalNeckFinish_13 by stratamania, on Flickr

And a shot of the finished job.

FInalNeckFinish_14 by stratamania, on Flickr


I am really pleased how this has turned out for a first time attempt. I must admit I am really looking forward to getting this guitar finished... All the bits are in and final assembly is in sight. My target date for completion is this Sunday. Birthdays and all that so its on track.  :icon_biggrin:

As always thanks for looking and any feedback on this build diary really is appreciated.


Machine Head Fitting...


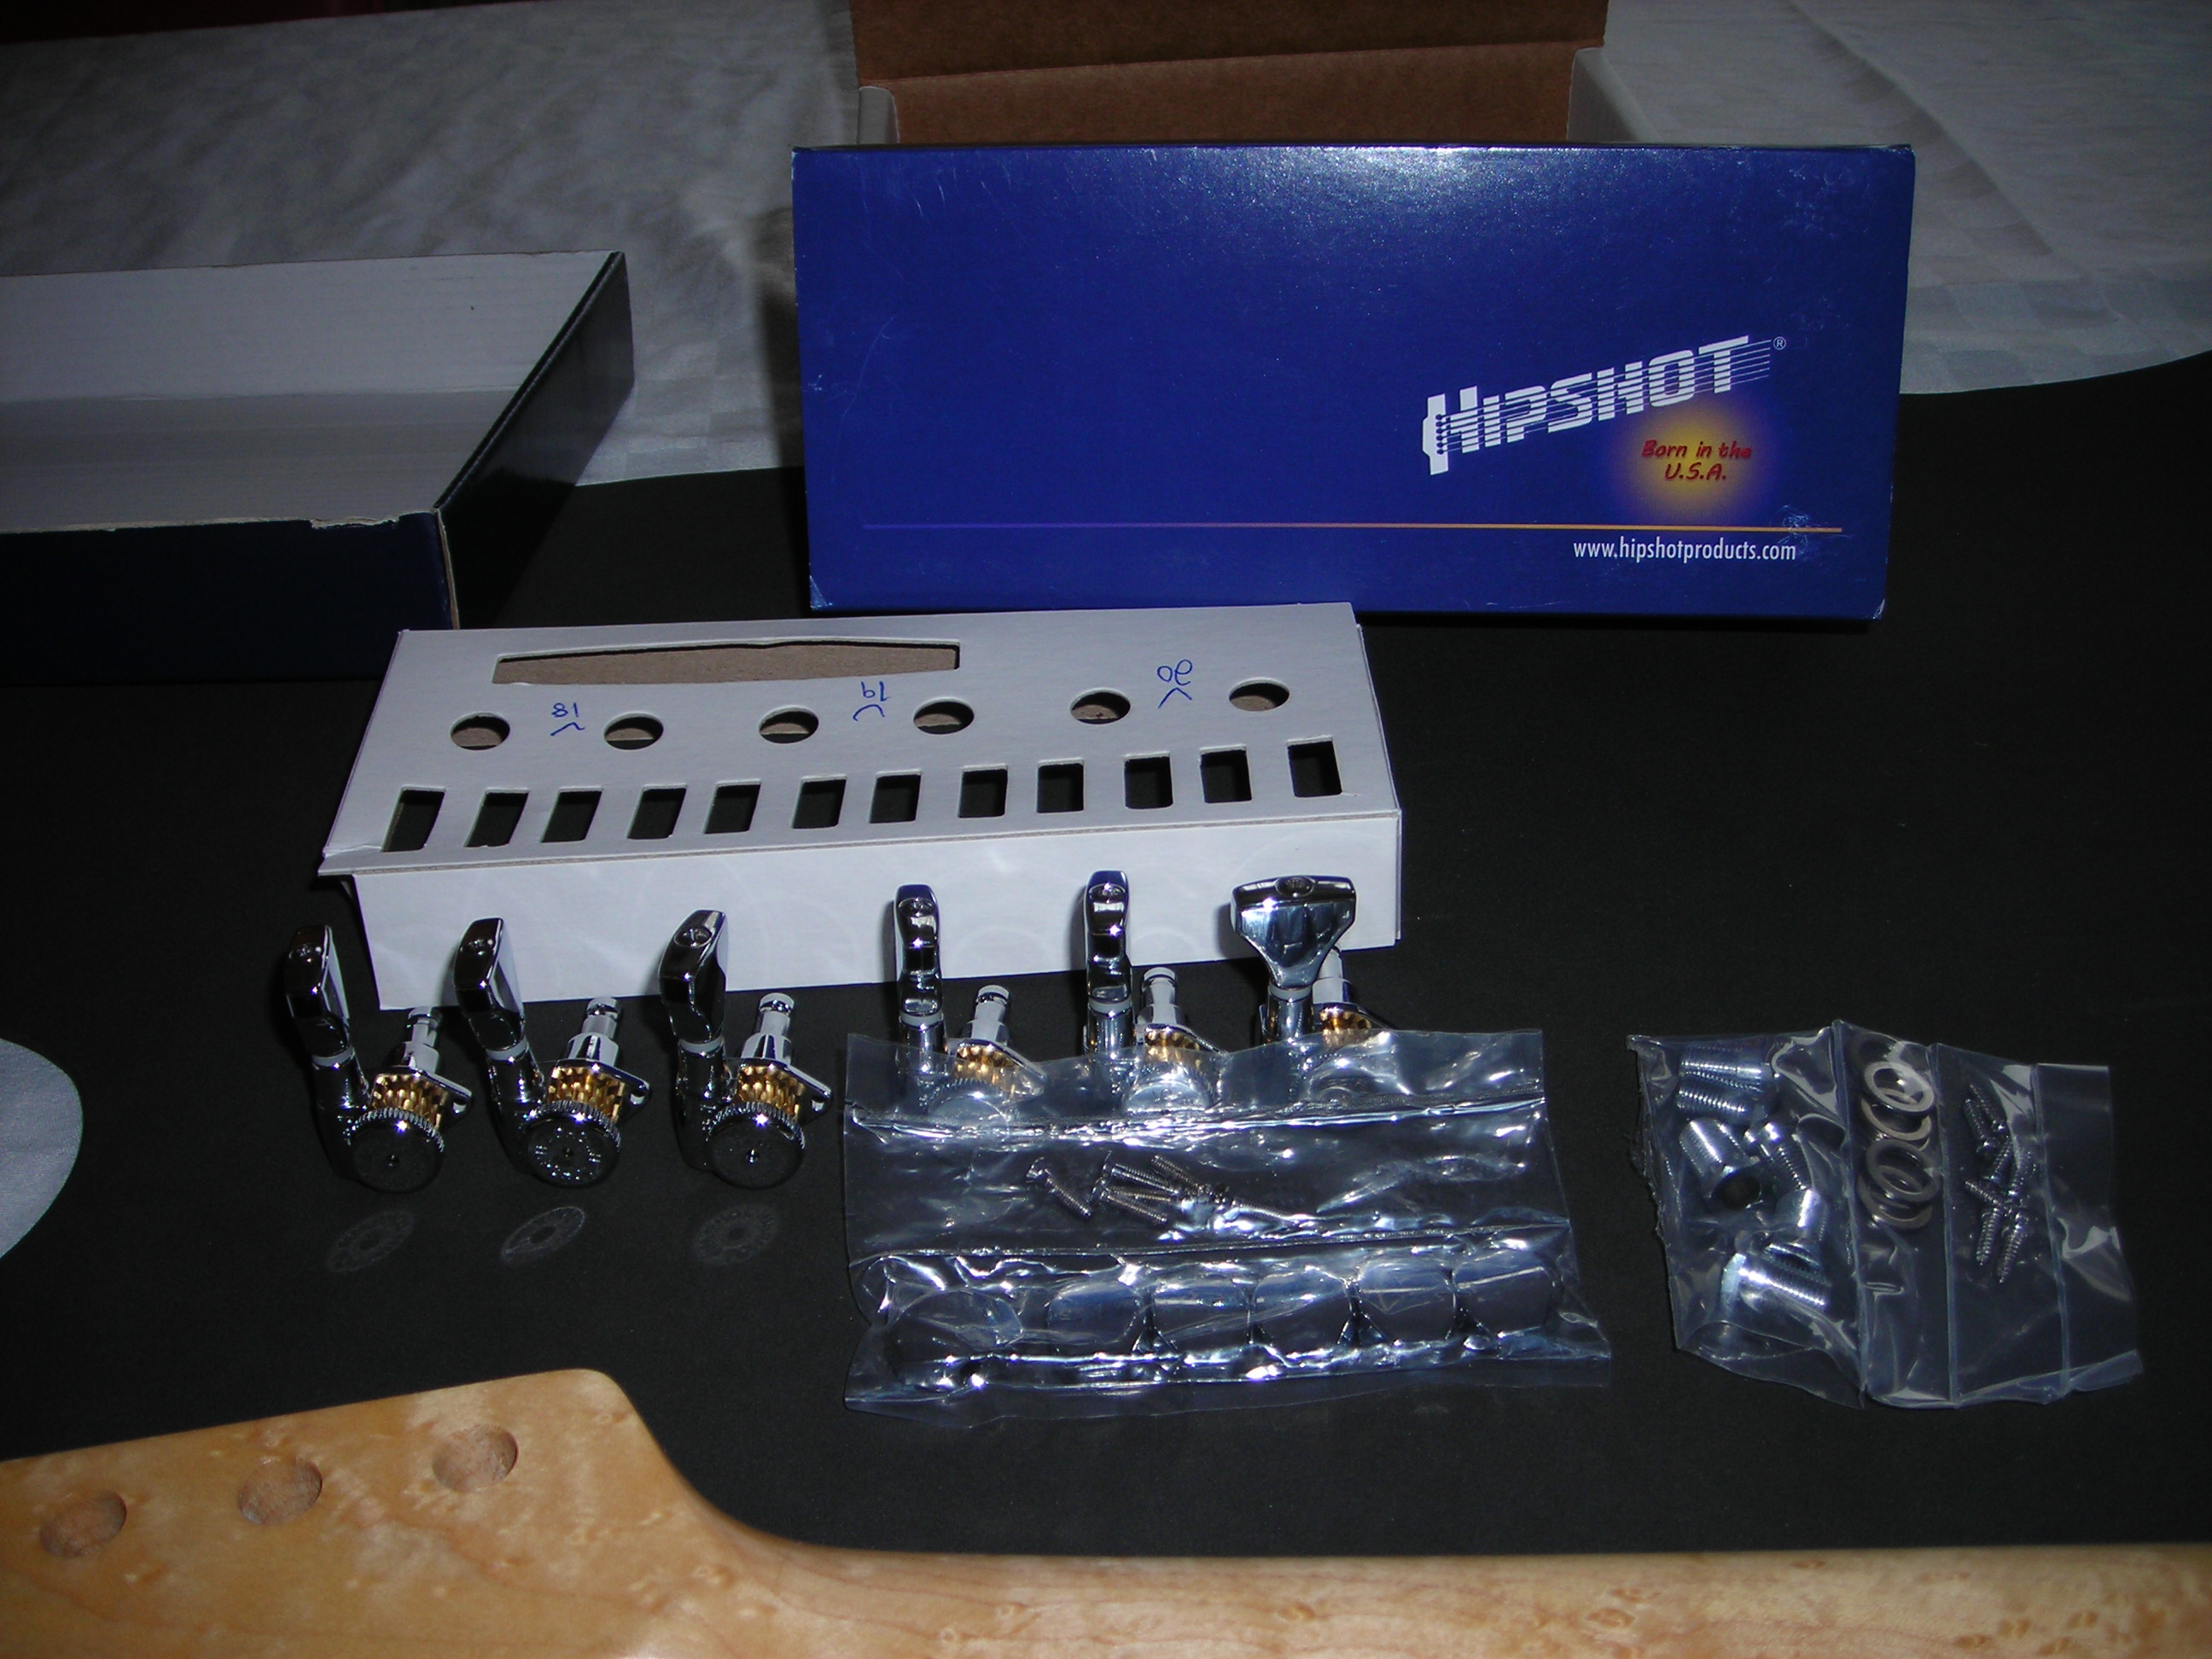
This is the last job on the neck apart from some potential set up adjustments after the guitar is assembled. The machine heads or tuning machines are Hipshot Grip-Lock Open Gear Locking staggered tuners with ultra smooth 18:1 gear ratio.

I have two with a 20mm, two 19mm and two 18mm posts, so no string trees.  I also got a set of buttons to replace the stock ones so they would look more like what would be expected to be seen on a Strat at least from the front. As I recall the part number for the replacements was D07. I could not find a UK stockist for the Hipshot tuners and managed to source them via E-Bay from a US Supplier. (Sporthitech)

Here is an overview.

Machine_Heads_1 by stratamania, on Flickr

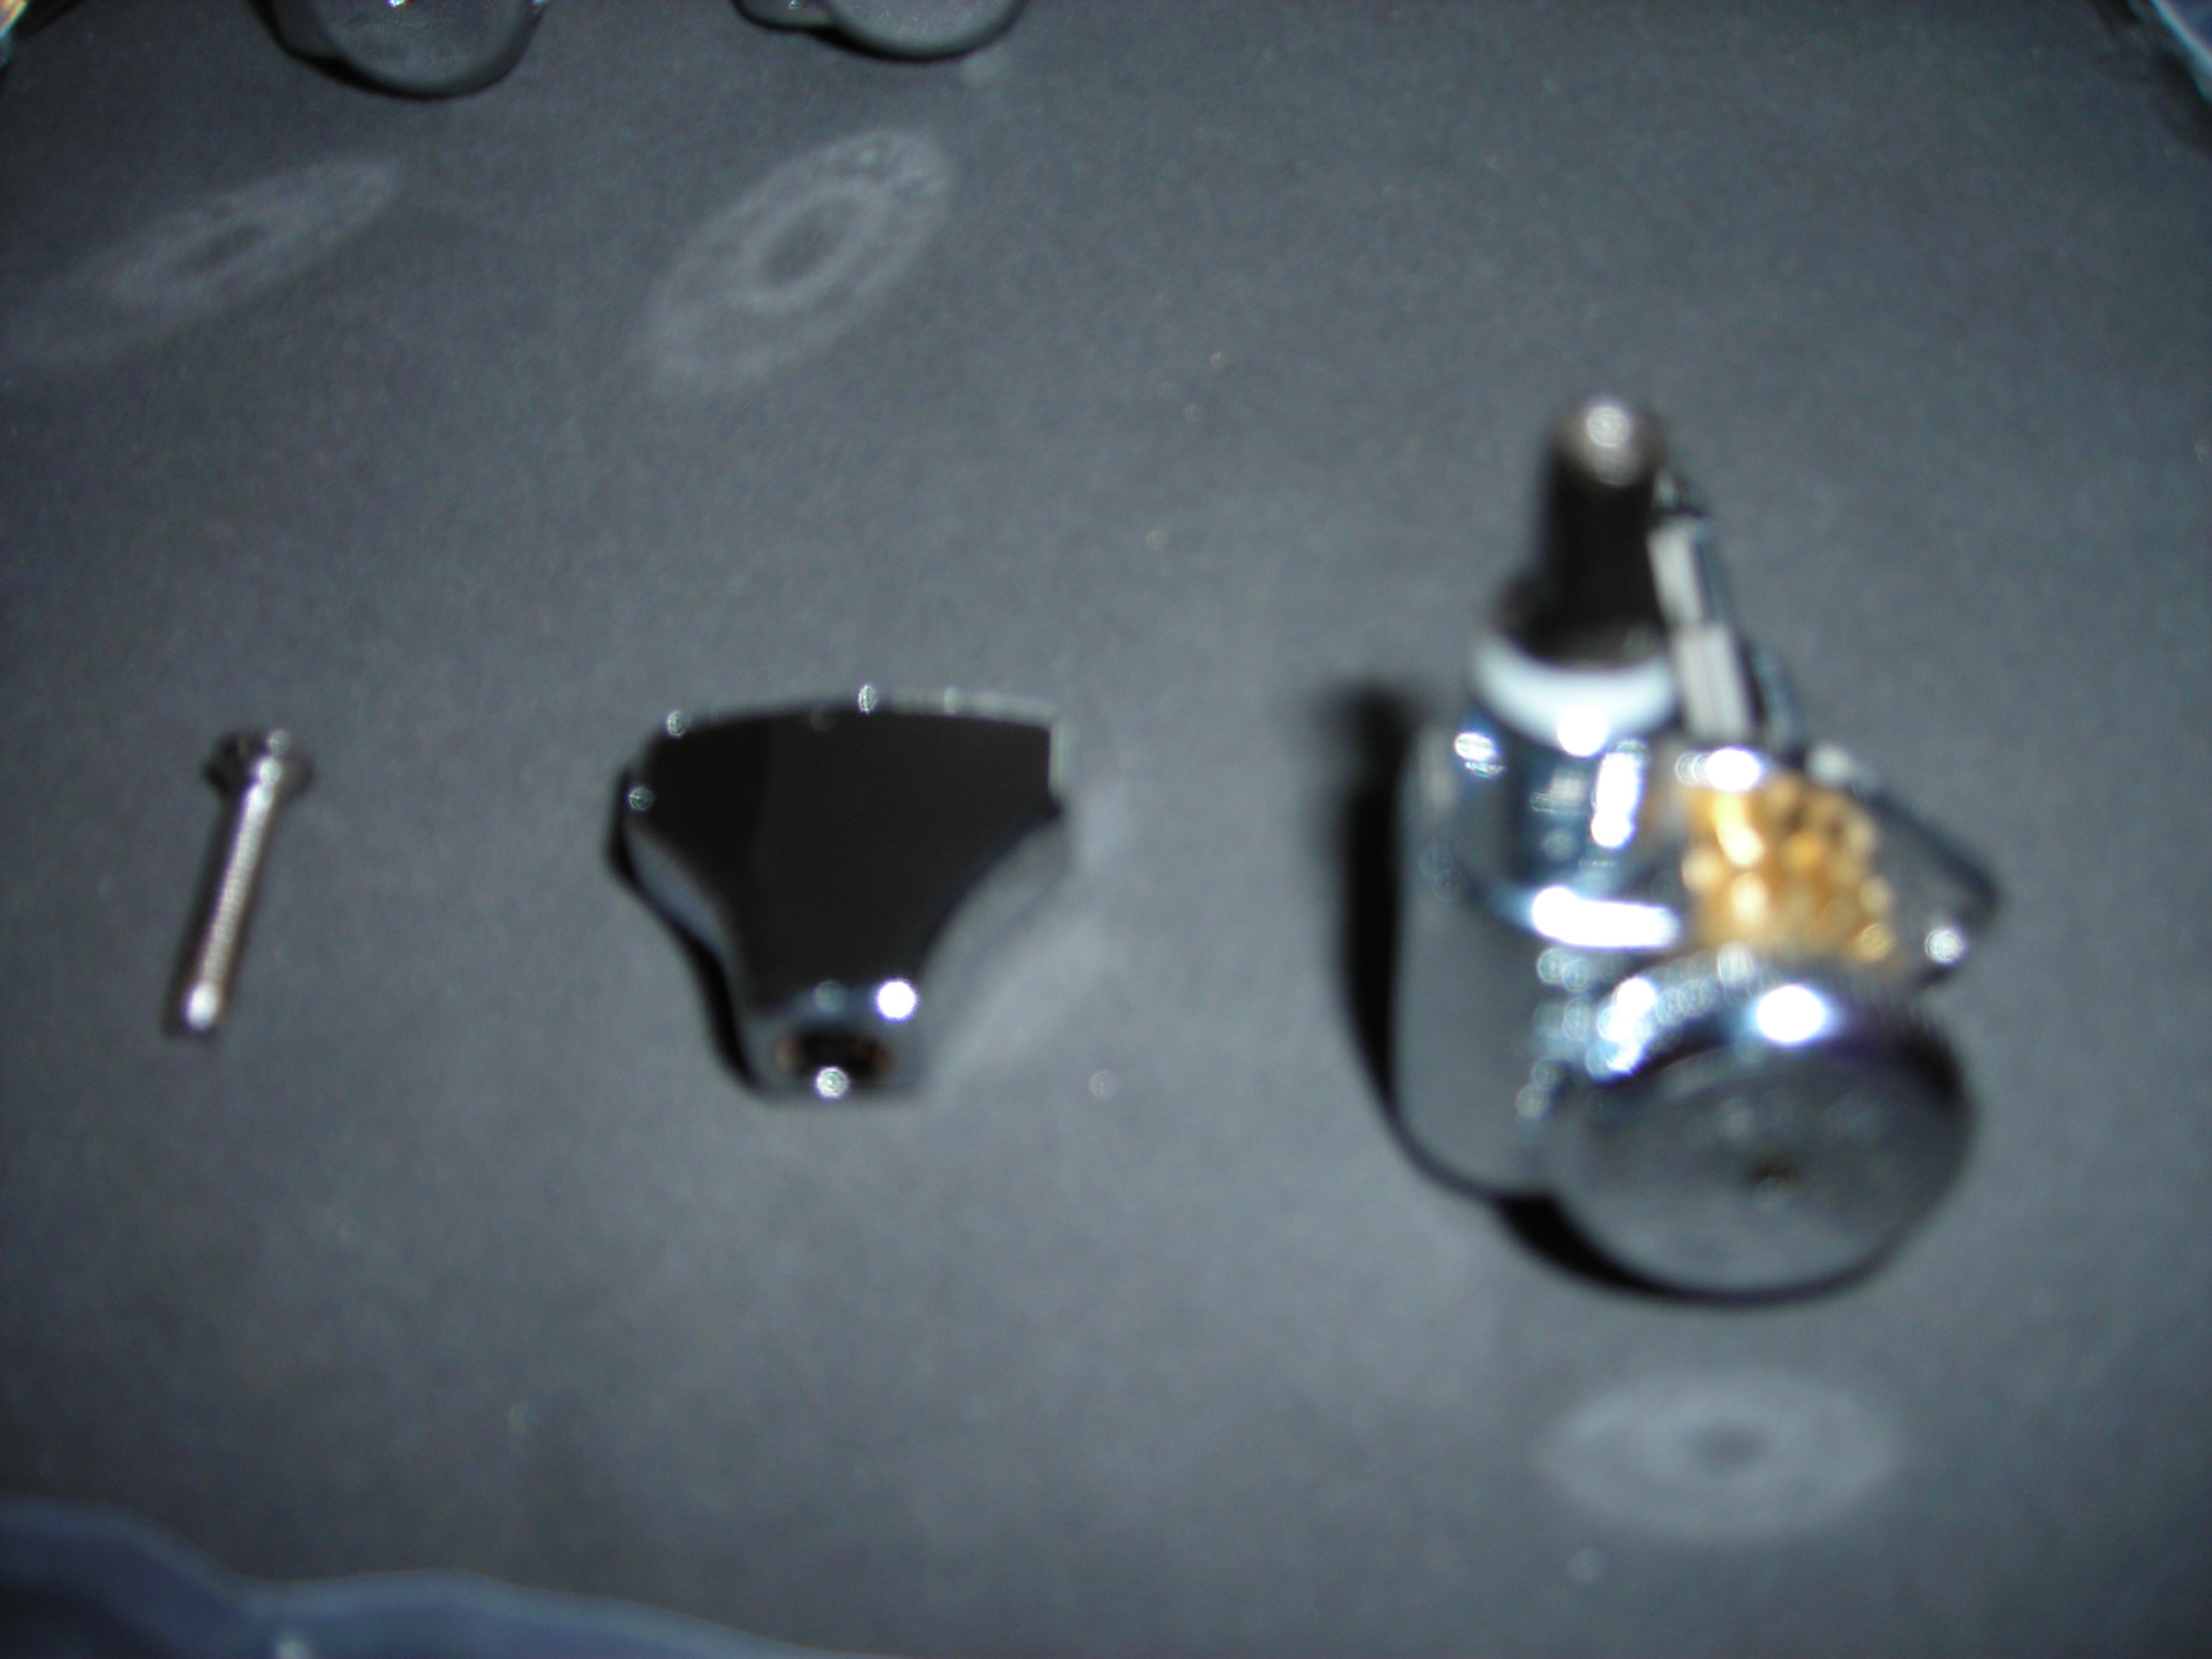
A bit out of focus, but the standard button removed ready to swap out with the others.

Machine_Heads_2 by stratamania, on Flickr

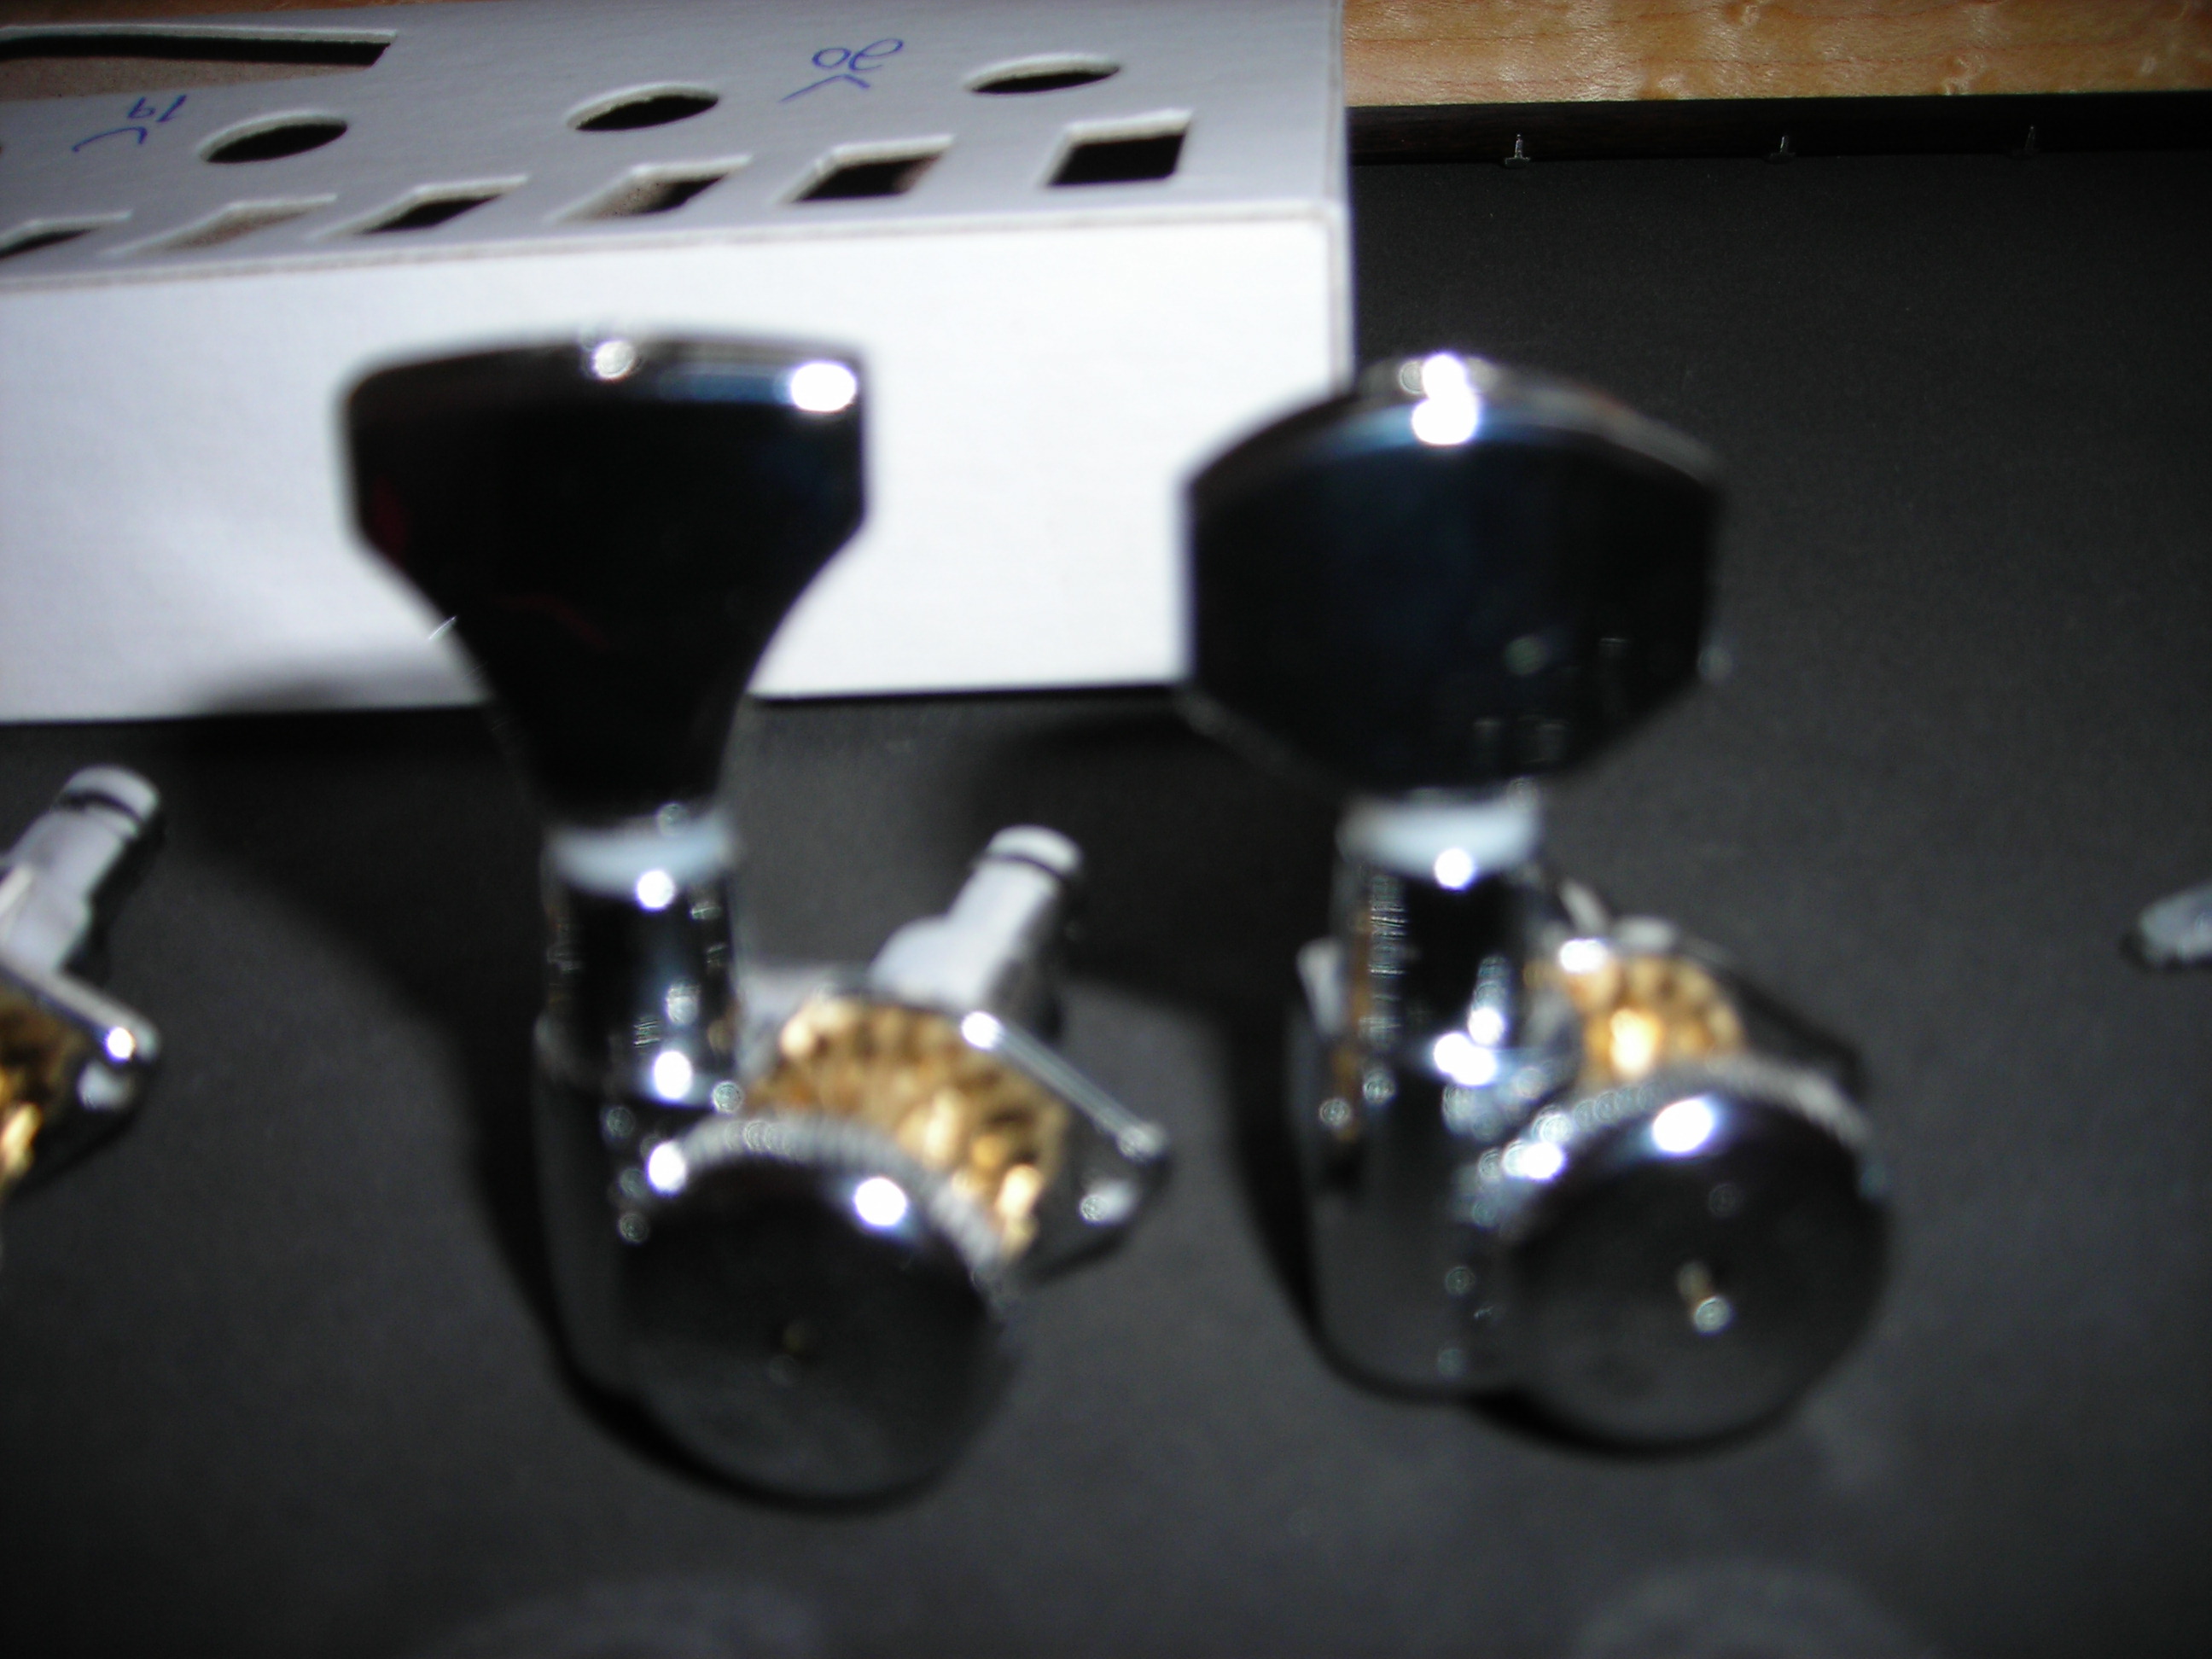
On the left the stock button, on the right the replacement.

Machine_Heads_3 by stratamania, on Flickr

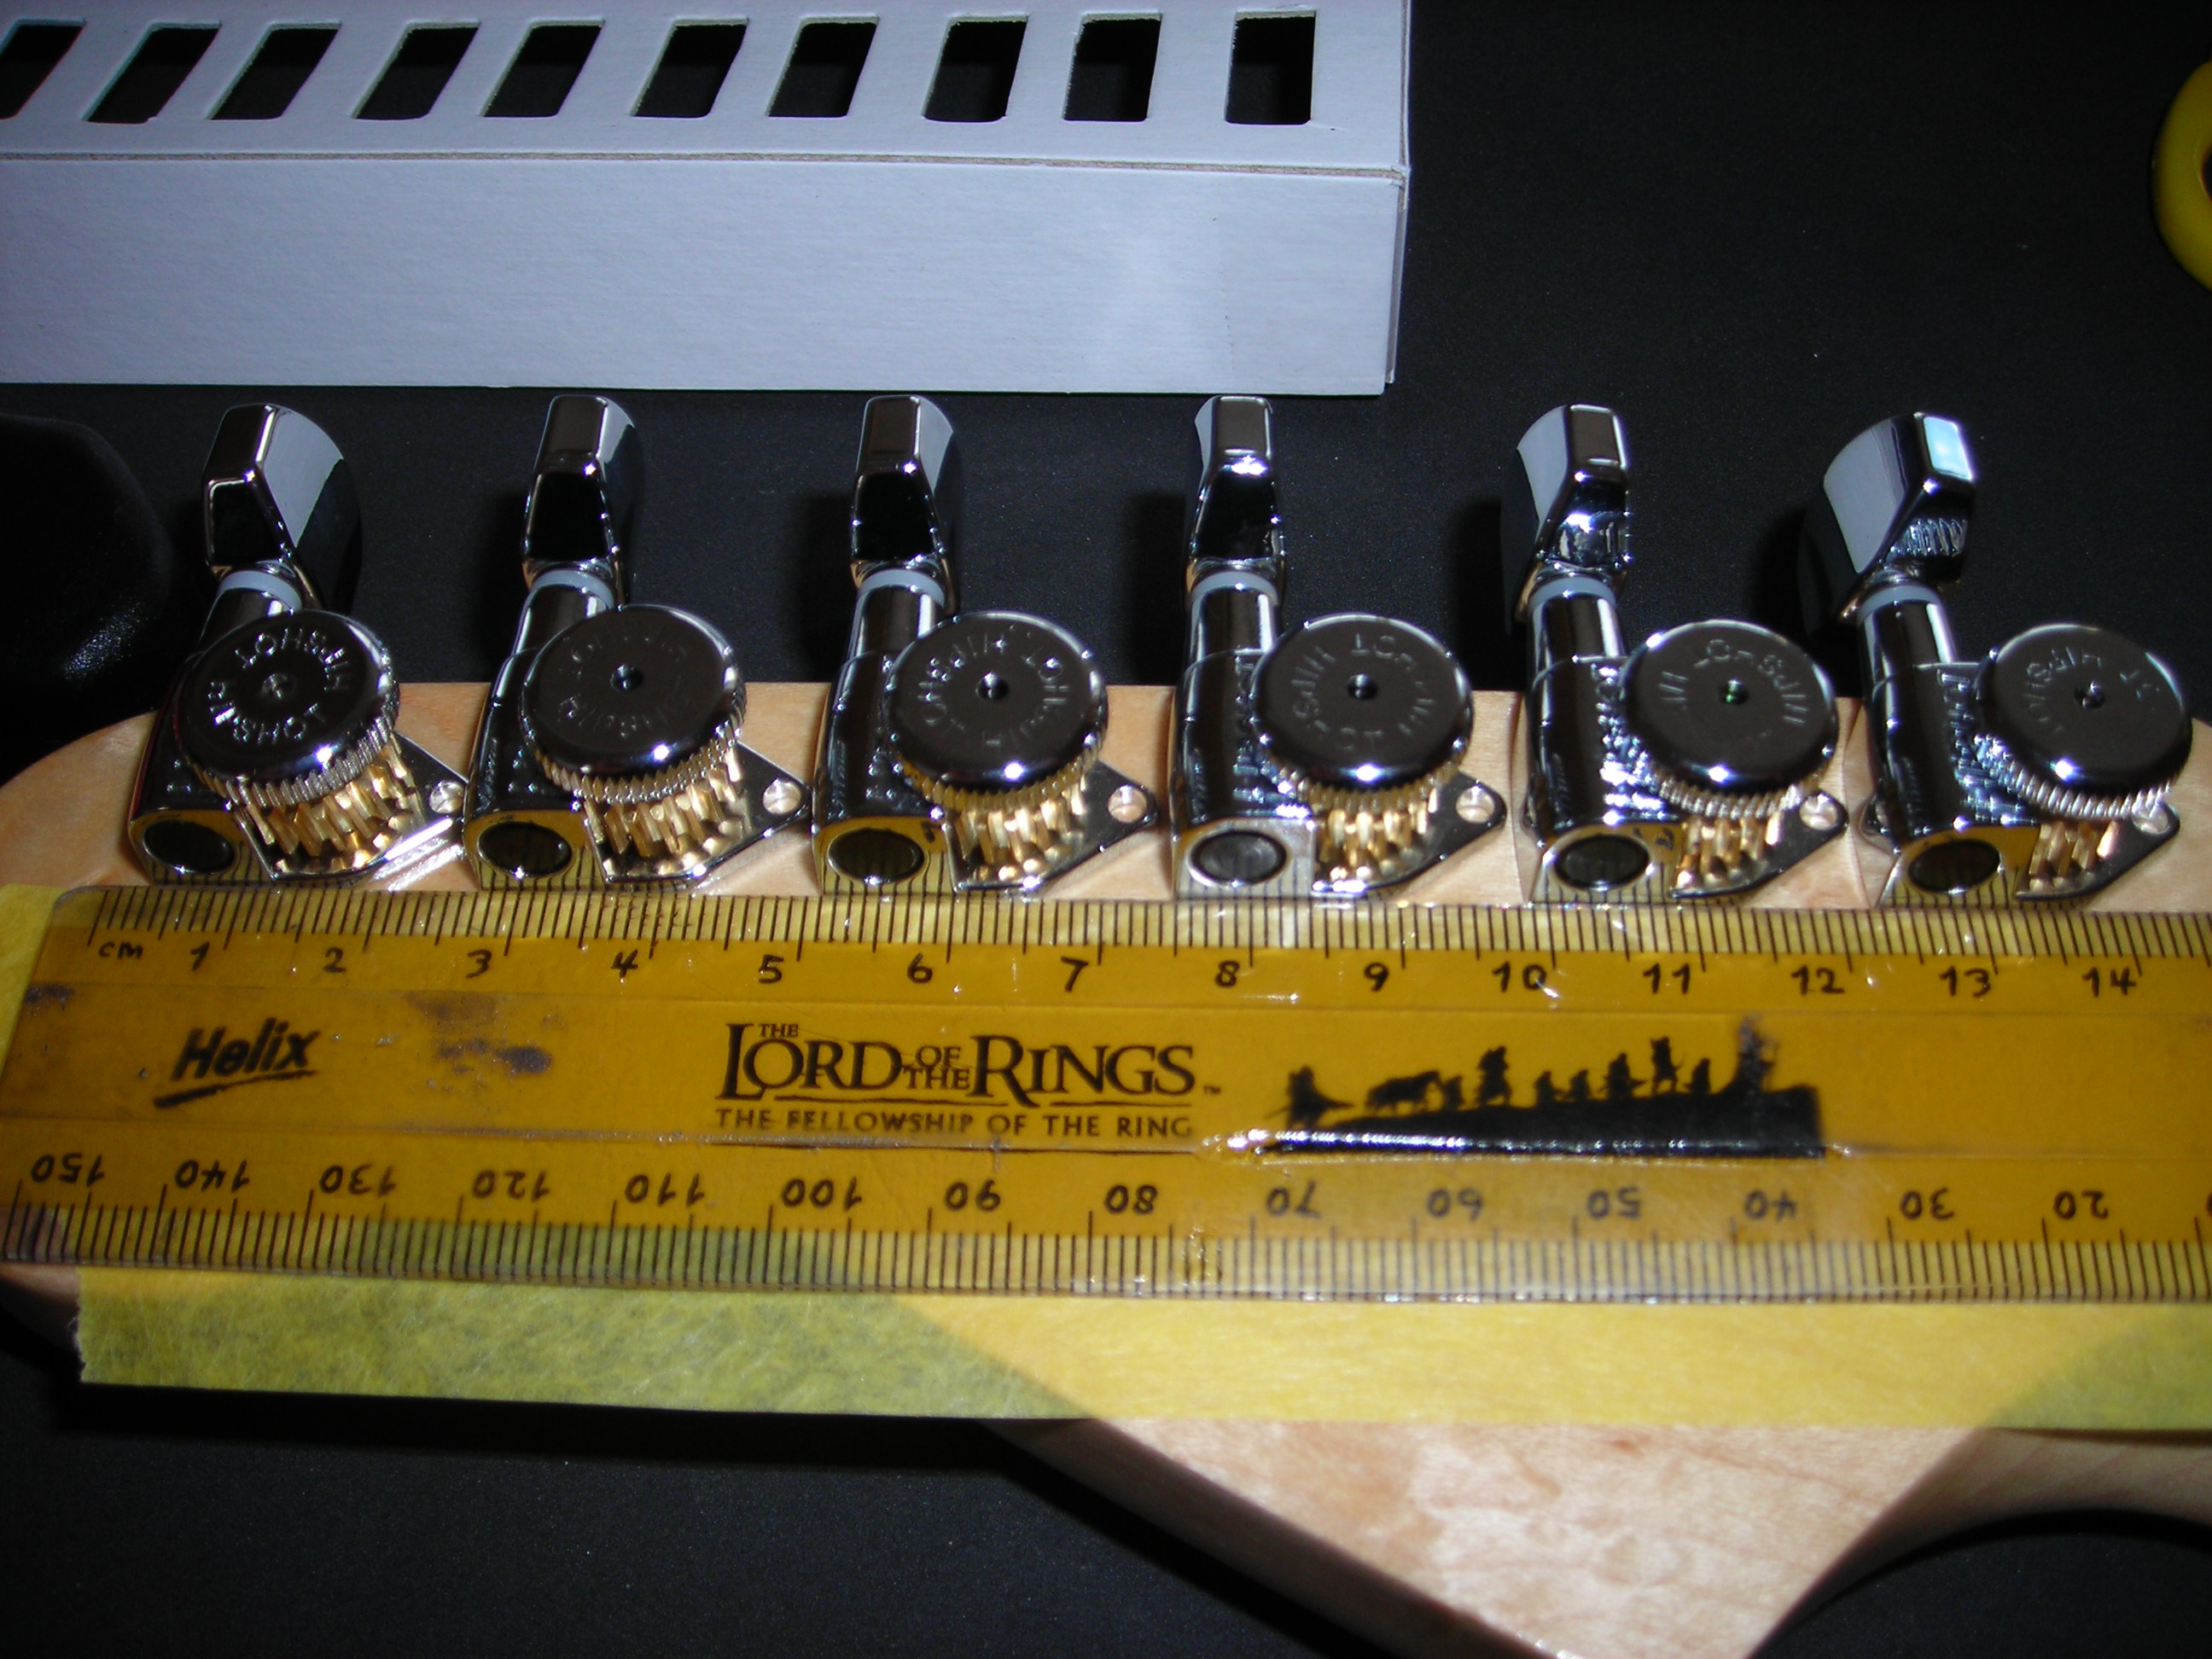
Some low tack tape on the back of the headstock and with the aid of the Fellowship of the Ring and a ruler I can line them up to mark the holes for the screws.

Machine_Heads_4 by stratamania, on Flickr

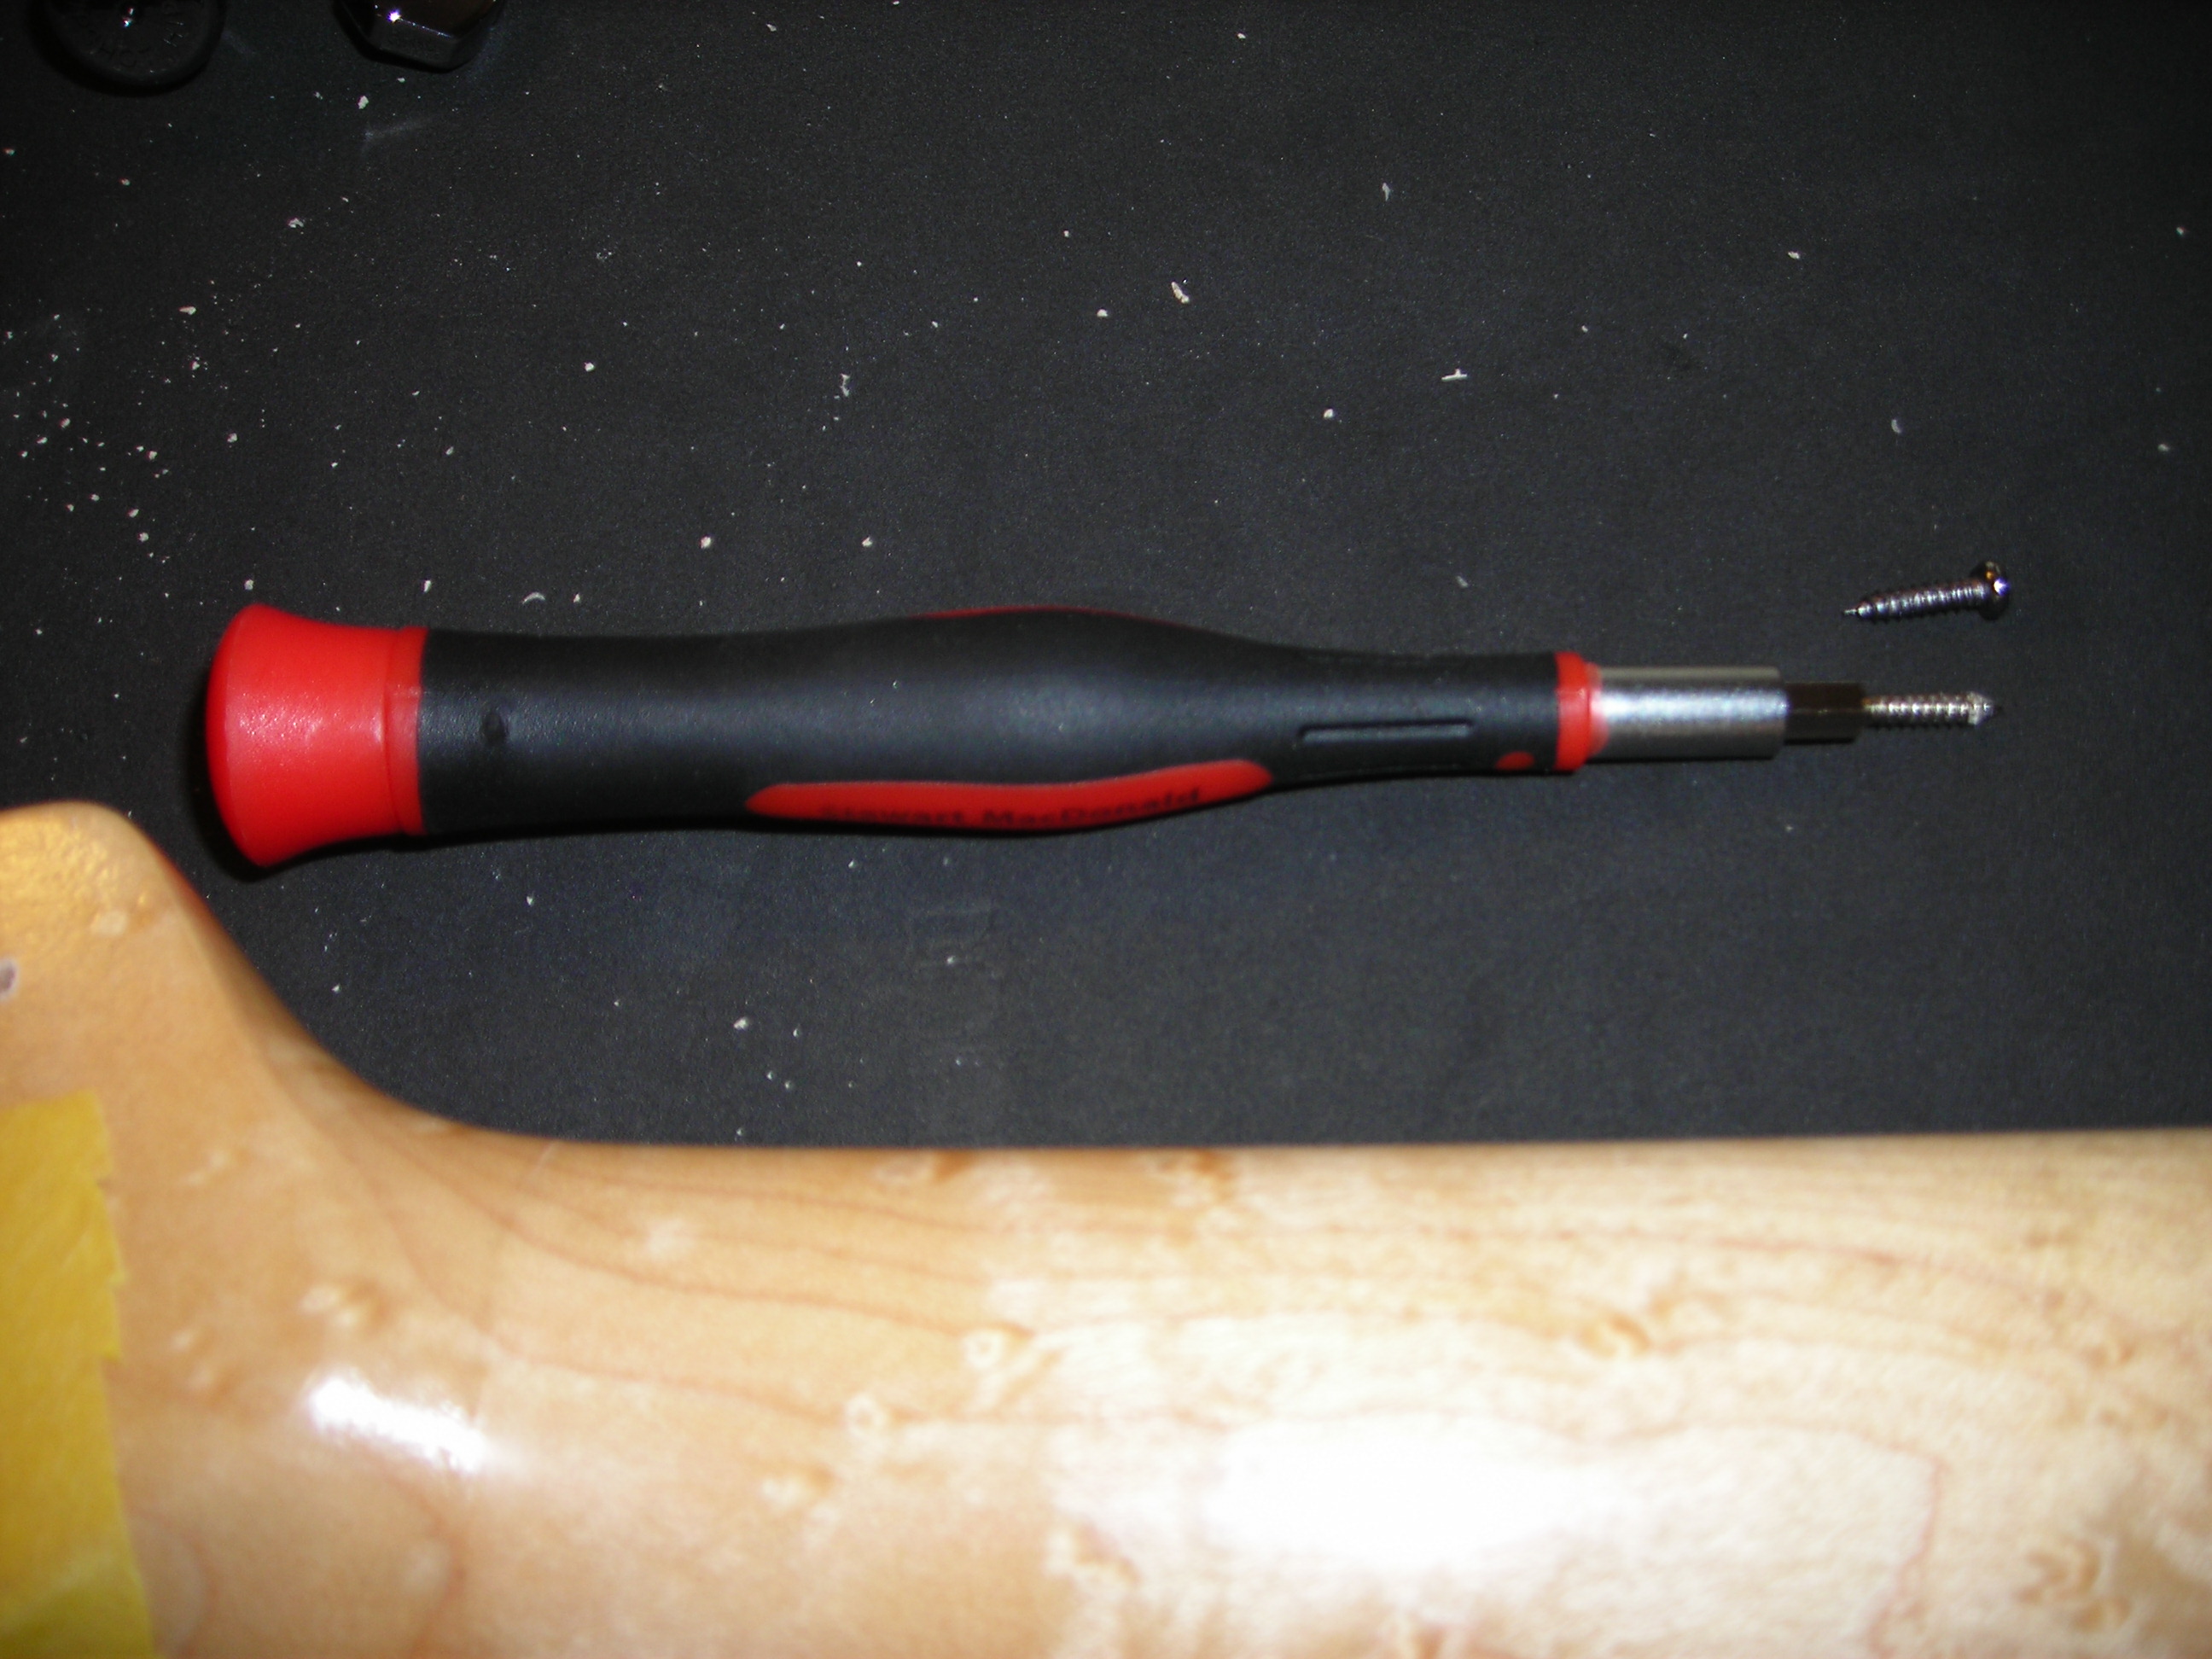
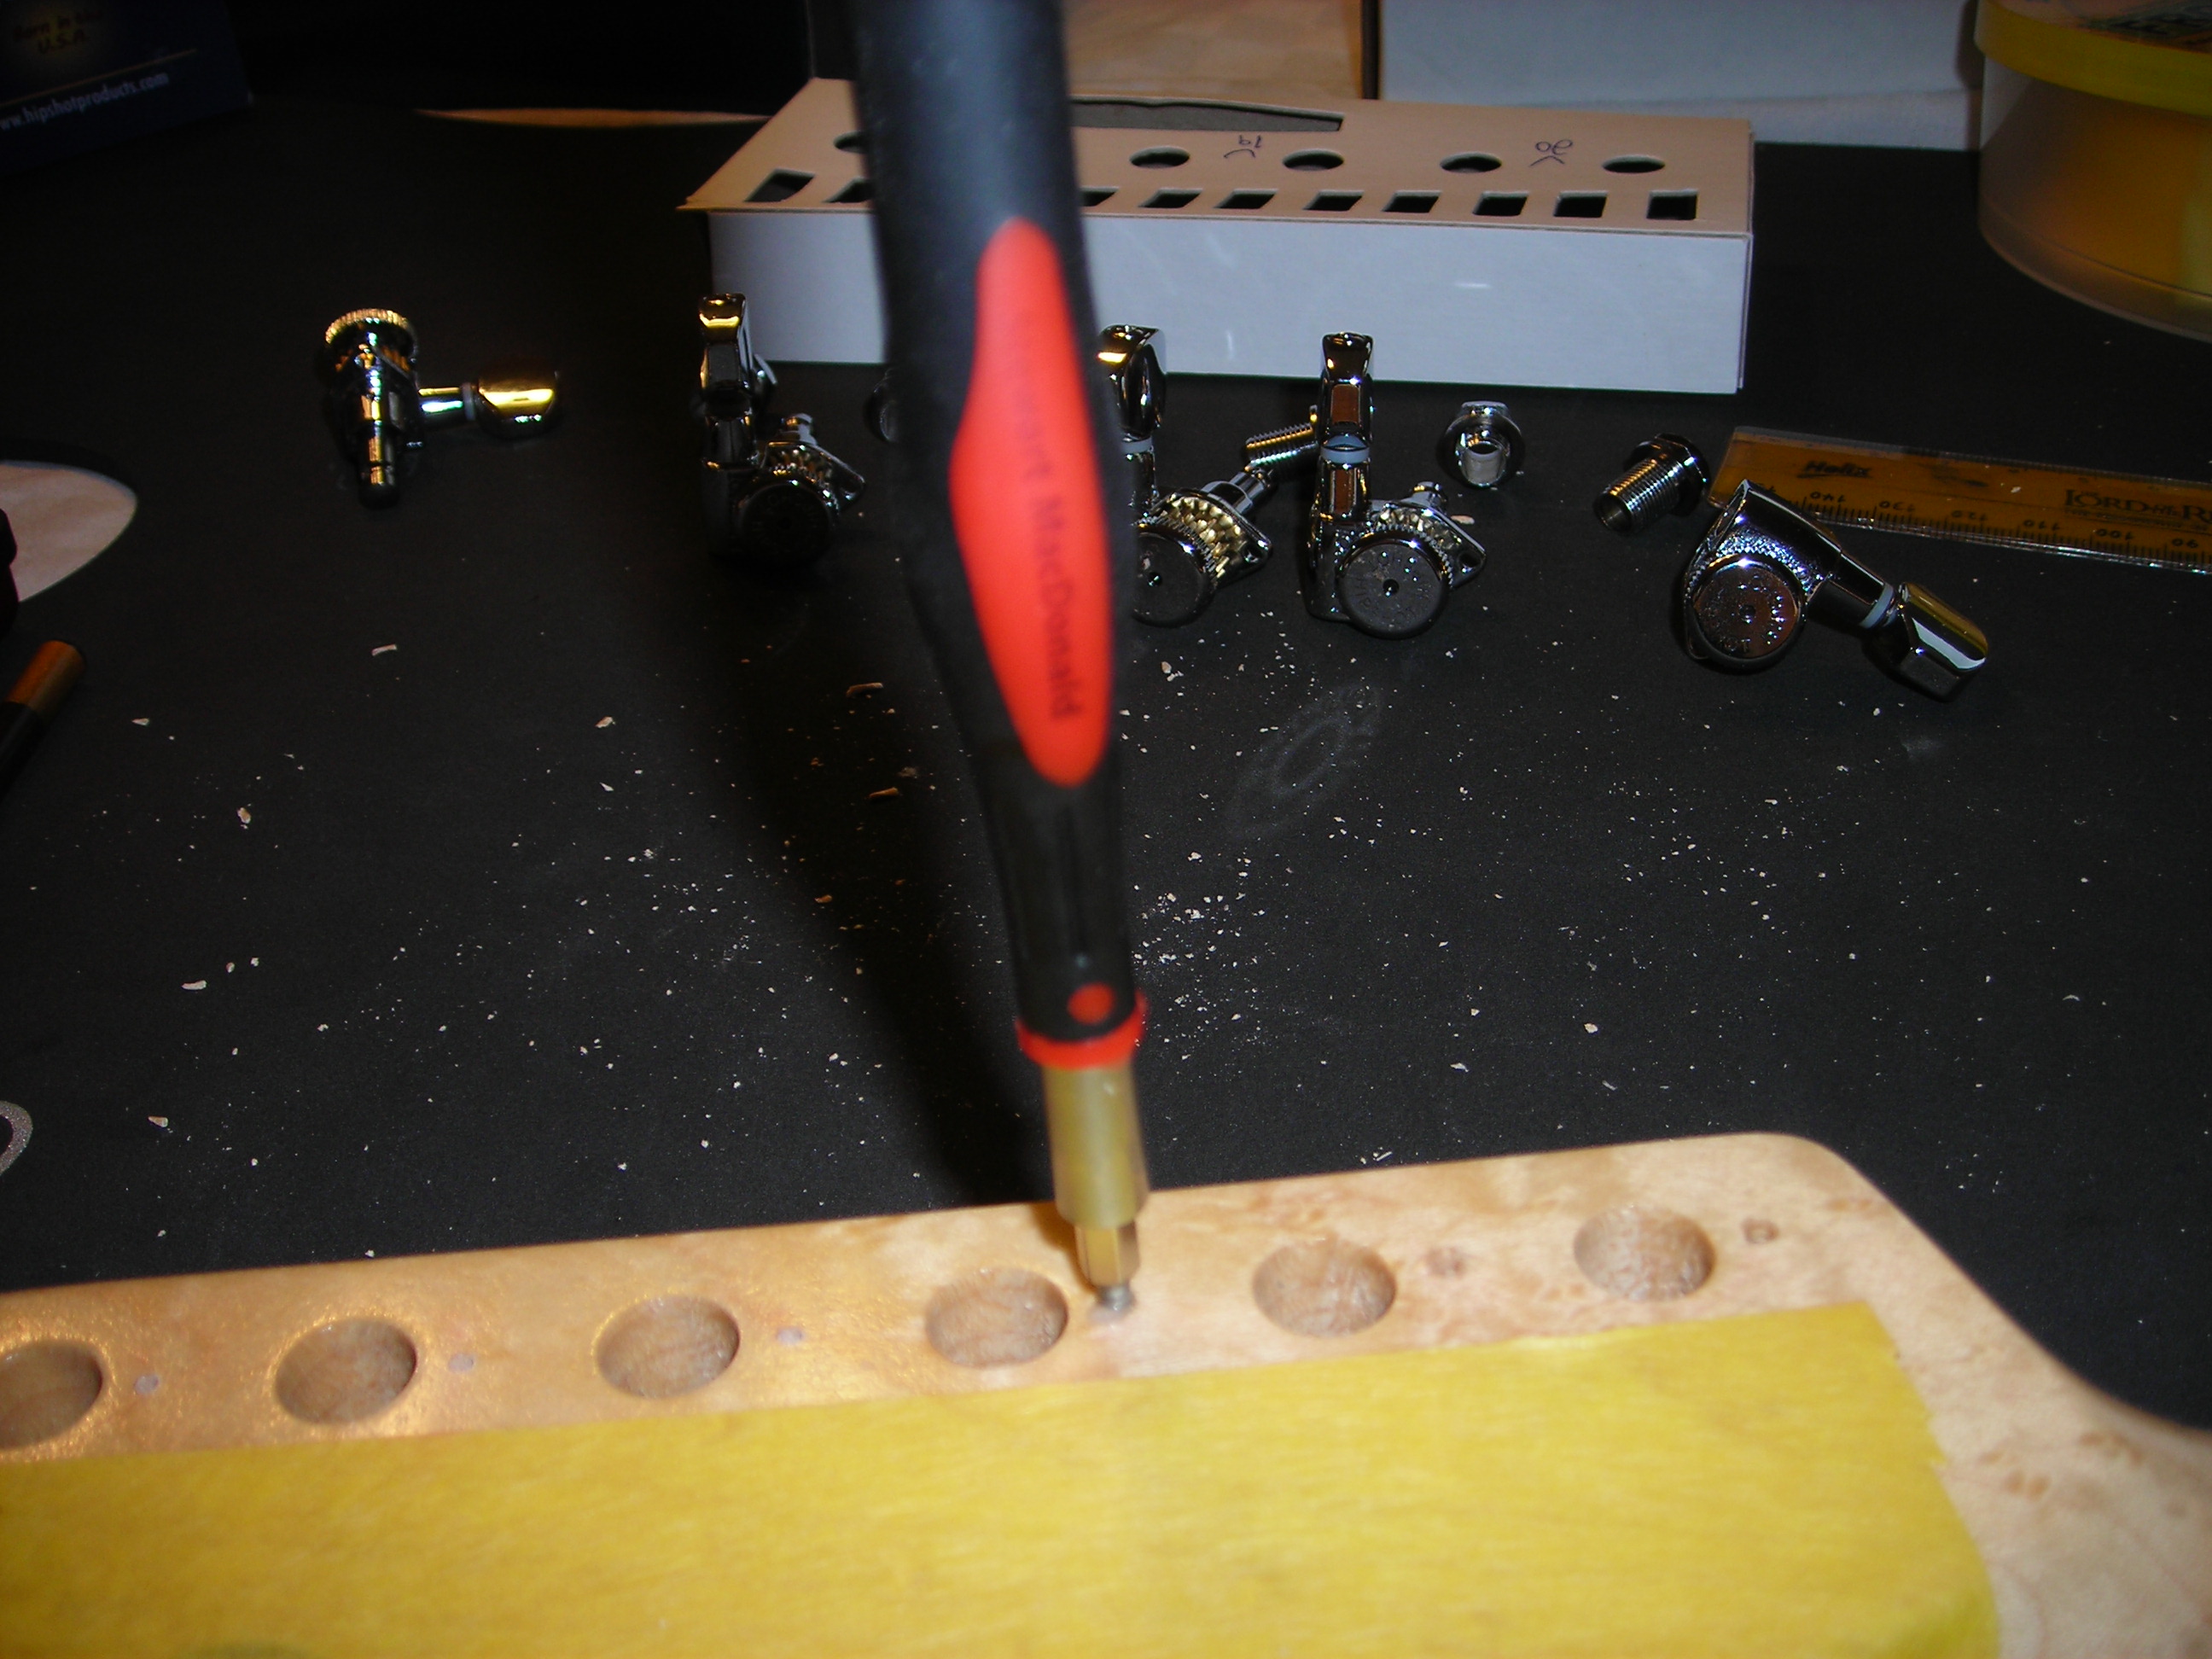
After marking the holes and using a small drill with the depth carefully marked with masking tape to avoid drilling too far. Then I used this tool from Stewmac to pre-thread the holes, this is a good idea as you don't want to break off a screw by not doing so.


Machine_Heads_5 by stratamania, on Flickr

Pre-threading the holes with the tool and slideez. Don't use the screws themselves to do this as you could break them in the hardwood.

Machine_Heads_6 by stratamania, on Flickr


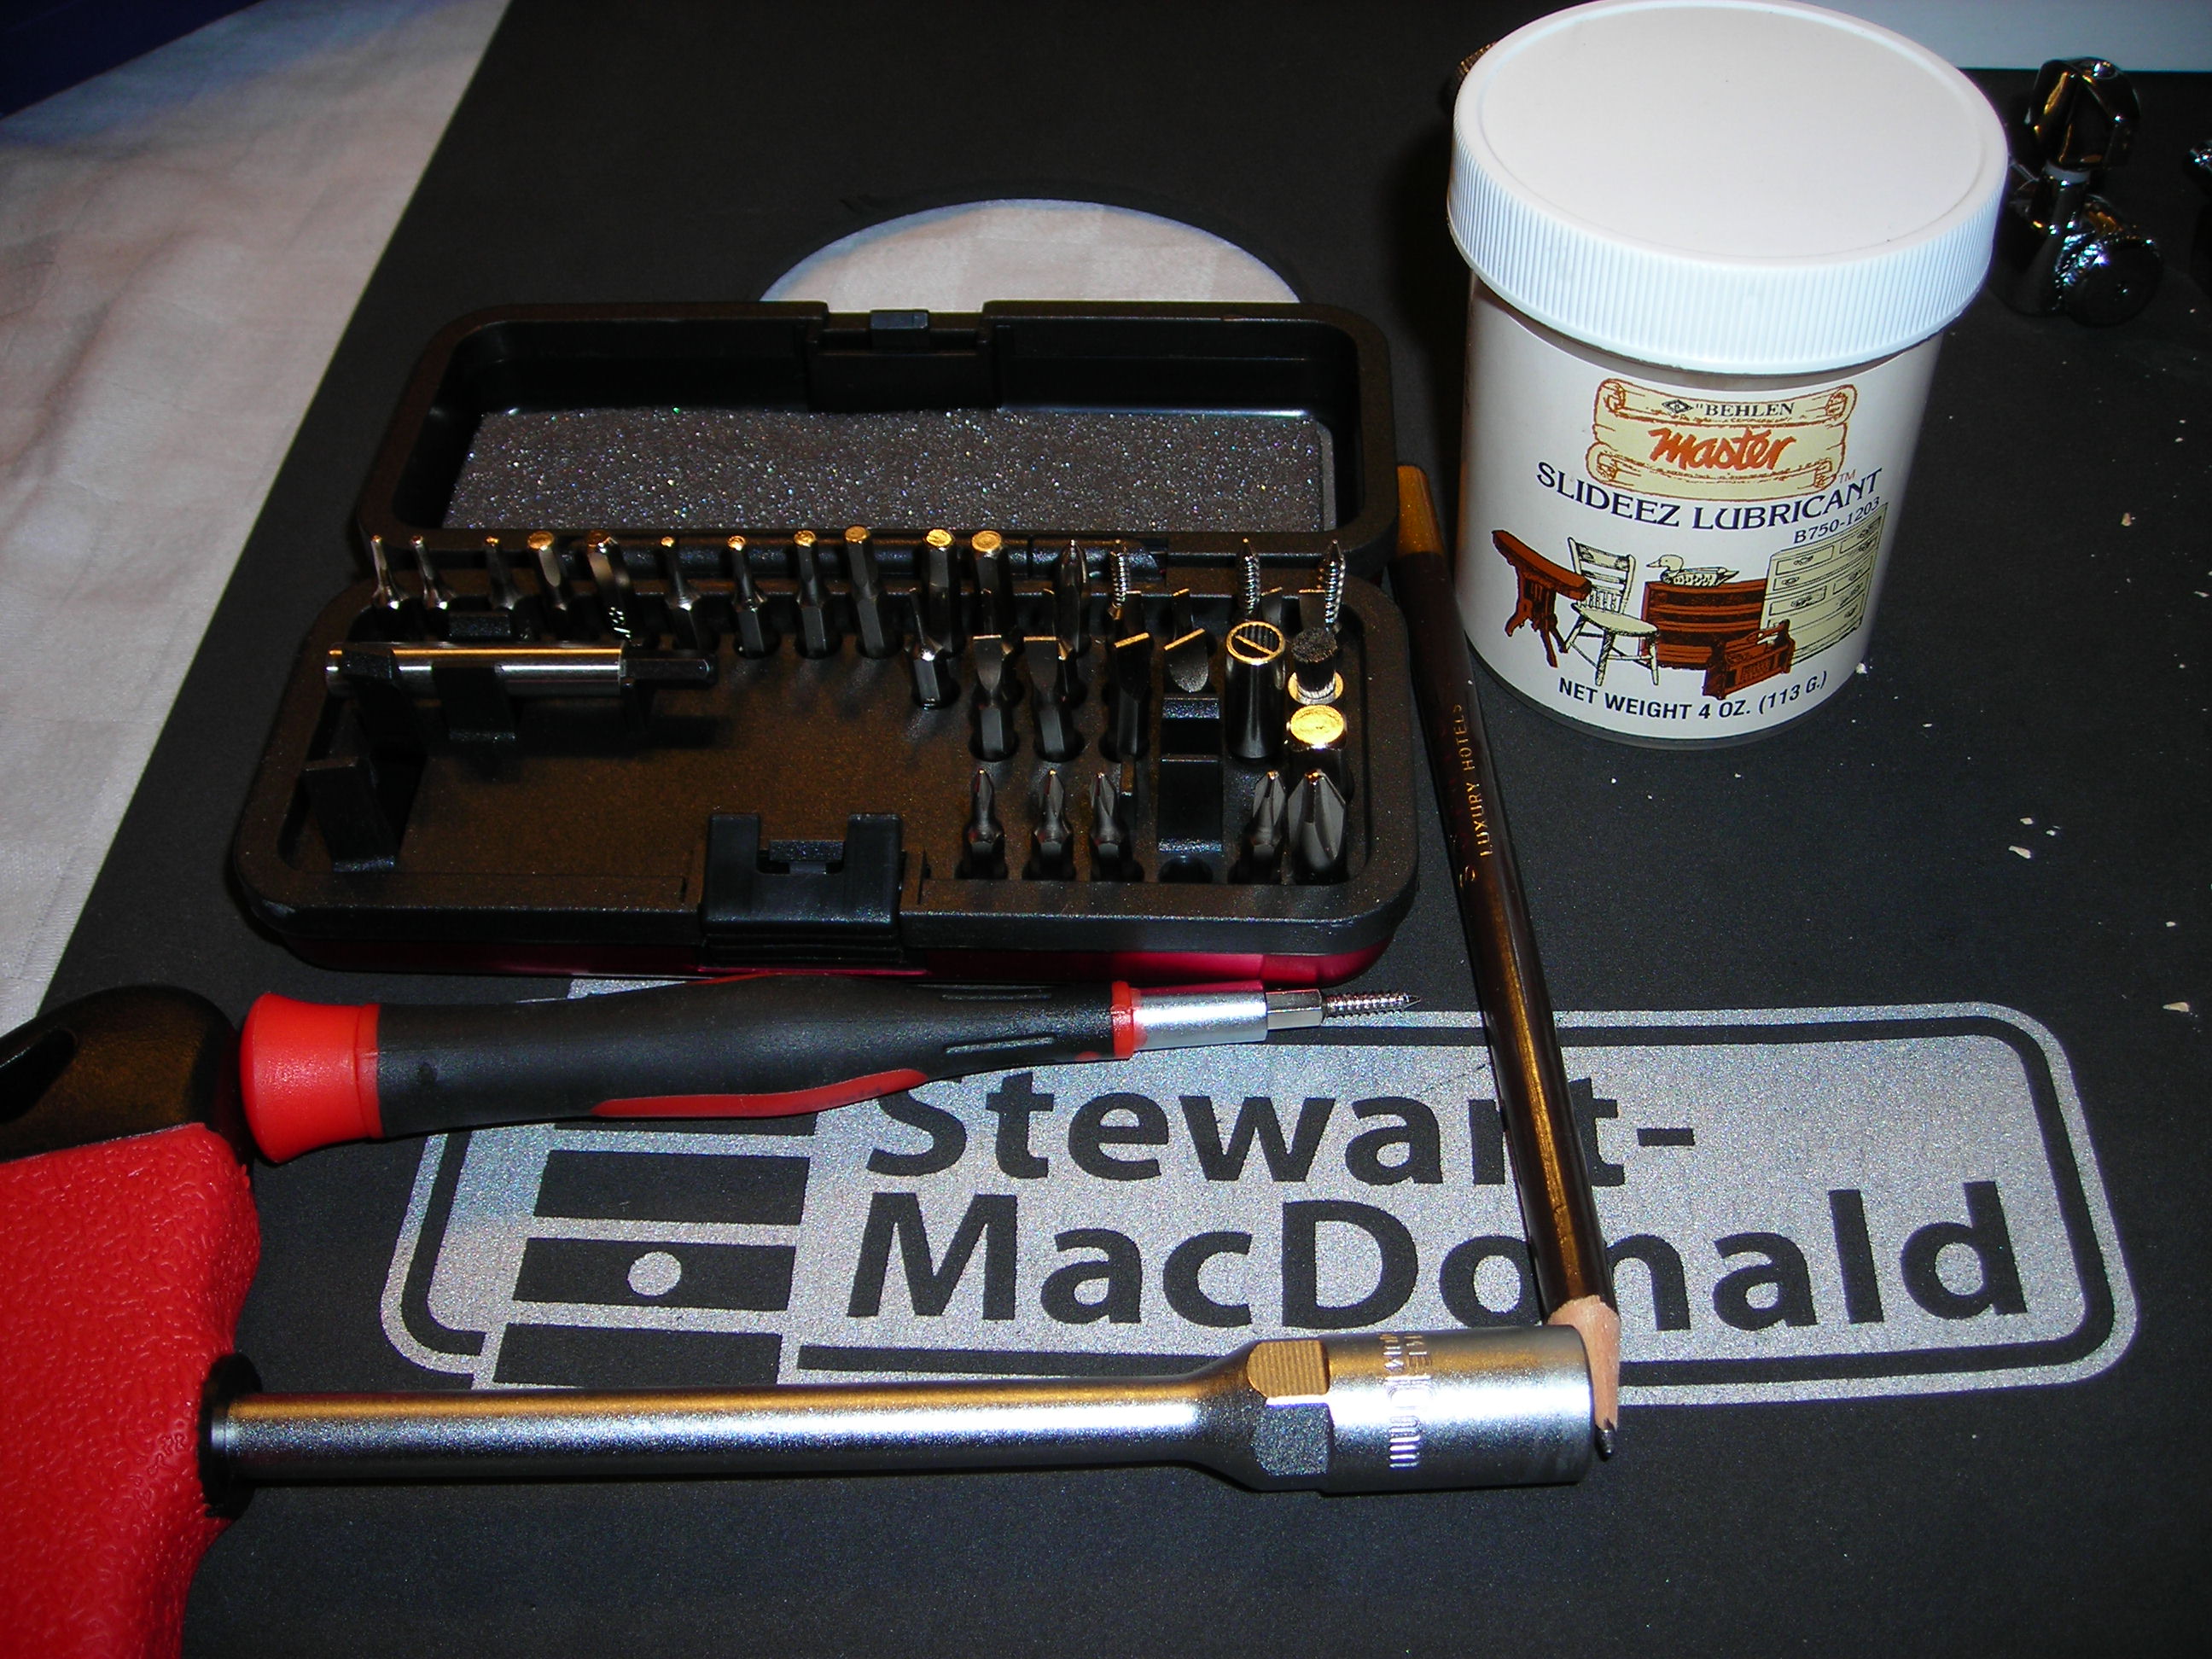
Some tools used here for this job and the slideez to lubricate the pre-threading.

Machine_Heads_7 by stratamania, on Flickr

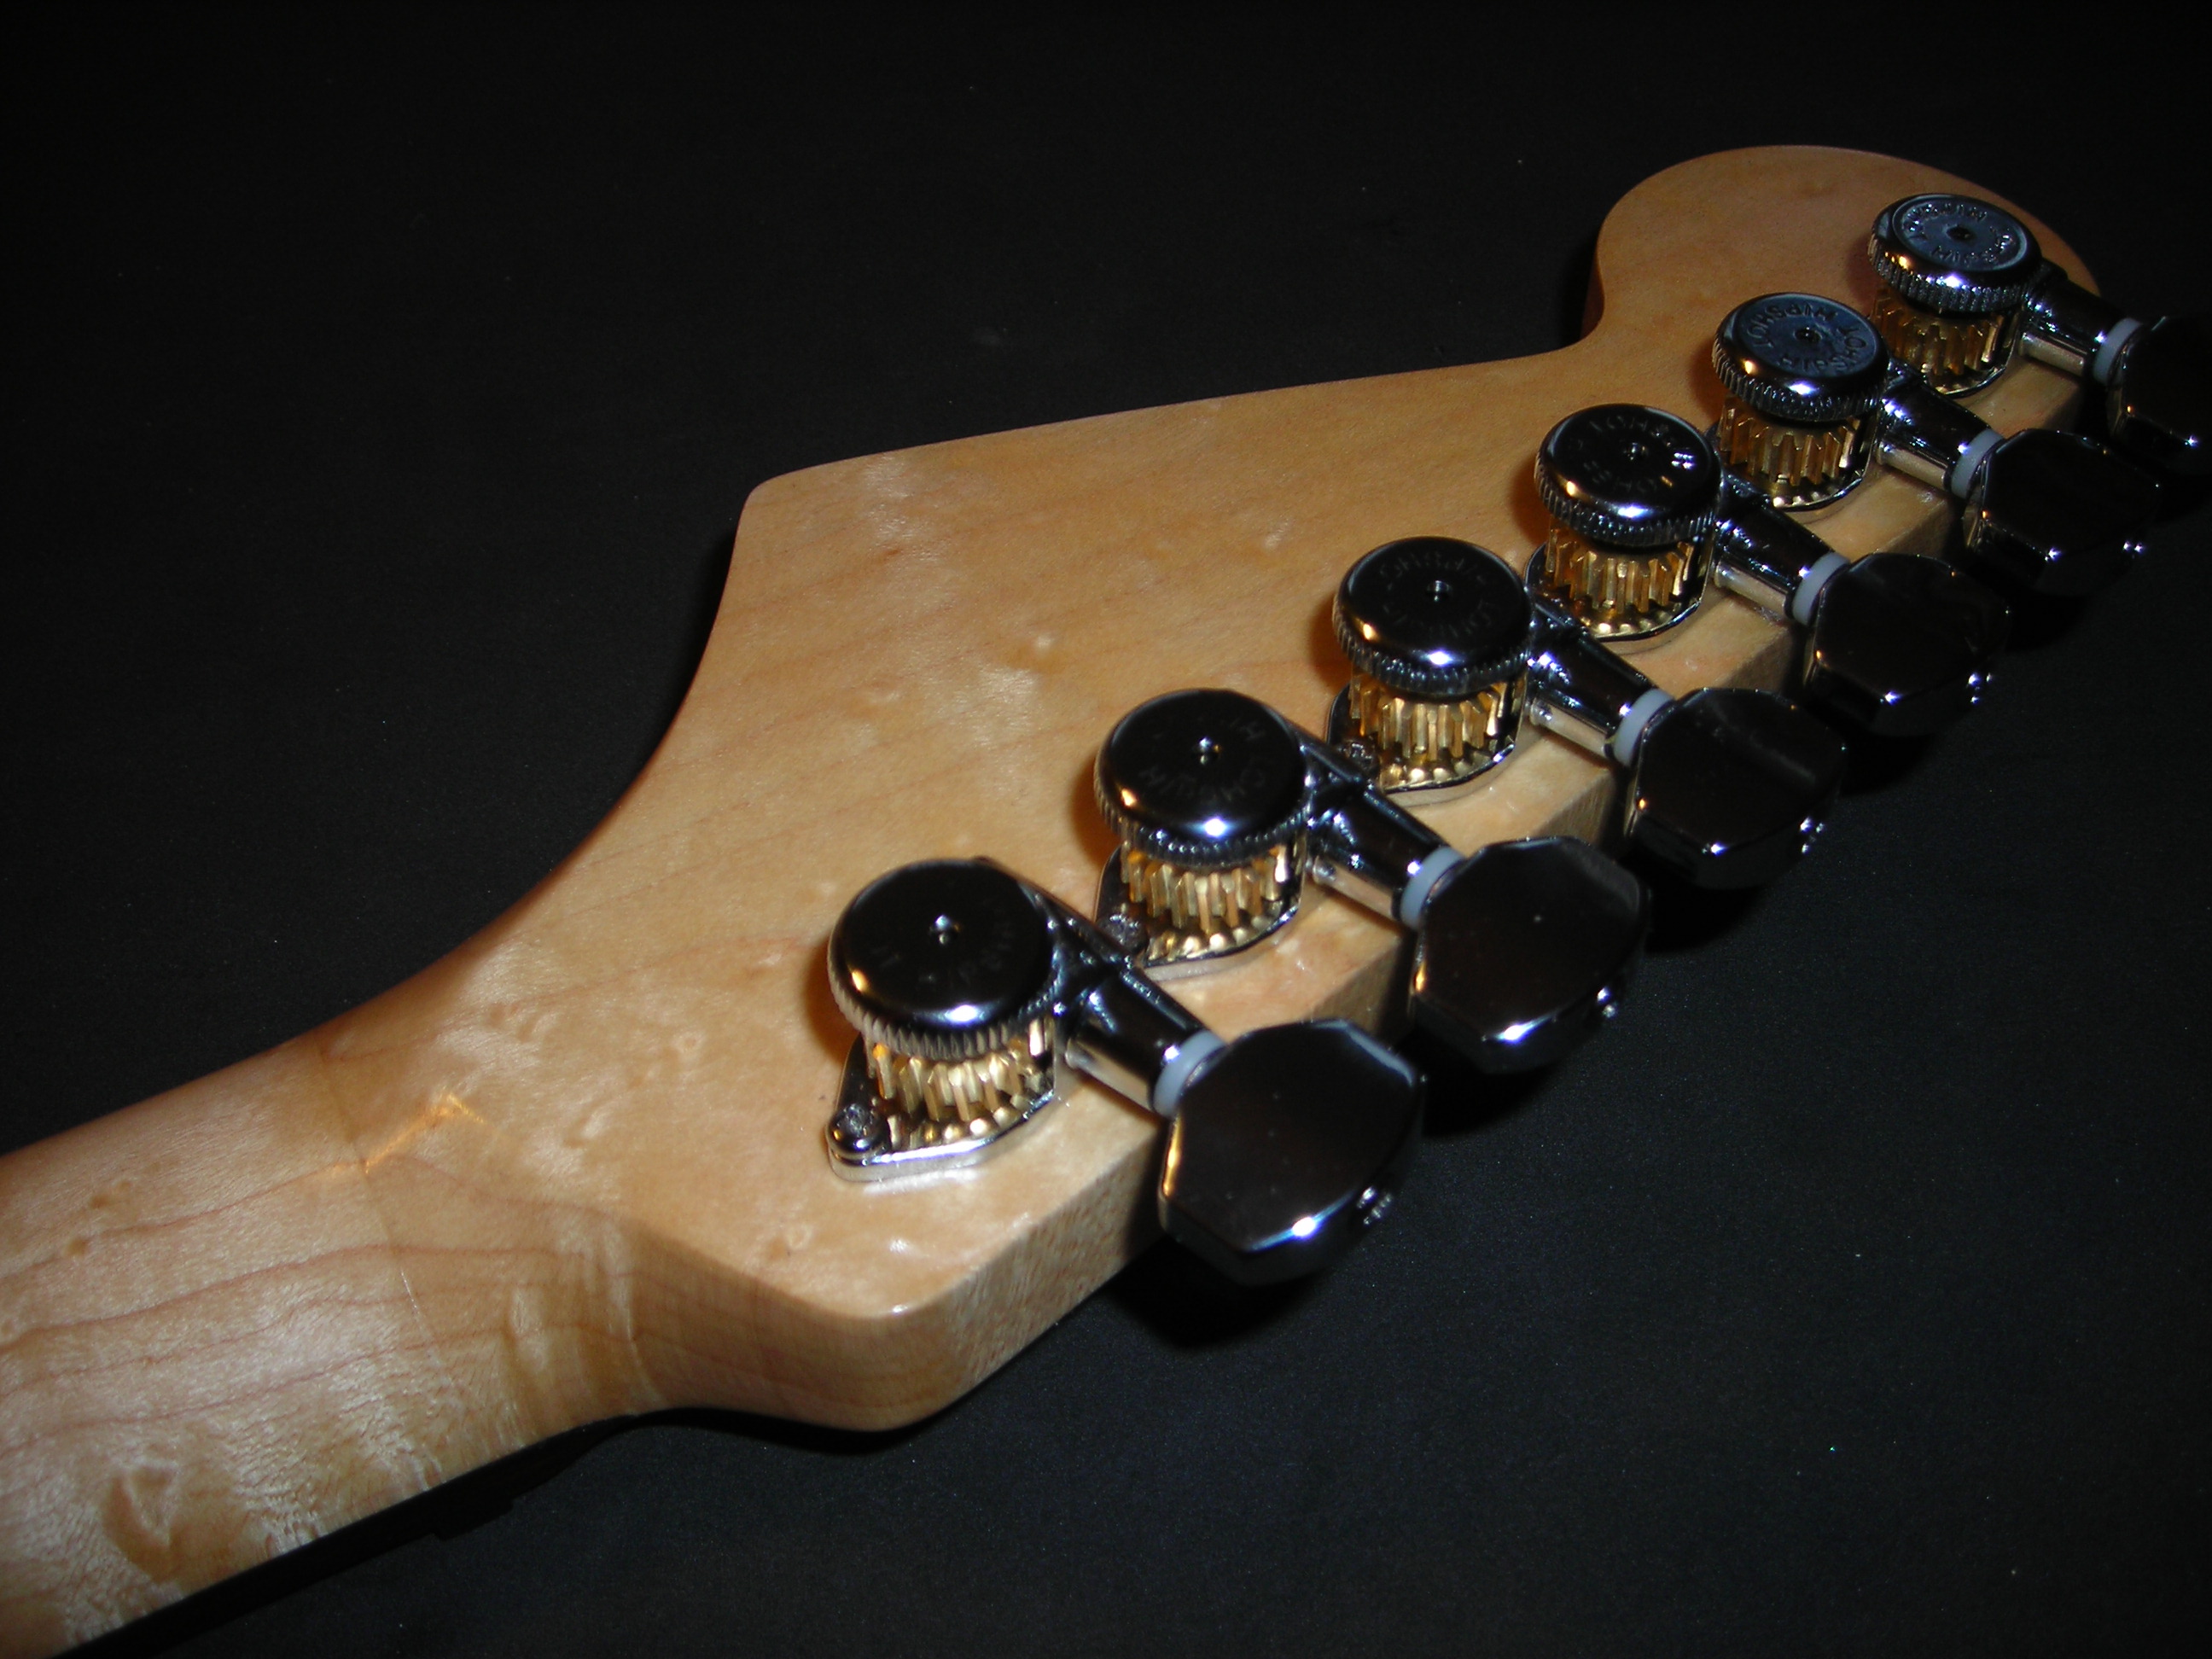
Job done, rear view.

Machine_Heads_8 by stratamania, on Flickr

Job done, front view.

Machine_Heads_9 by stratamania, on Flickr


Thanks for looking.
 
Now fitting the hardware to the body.

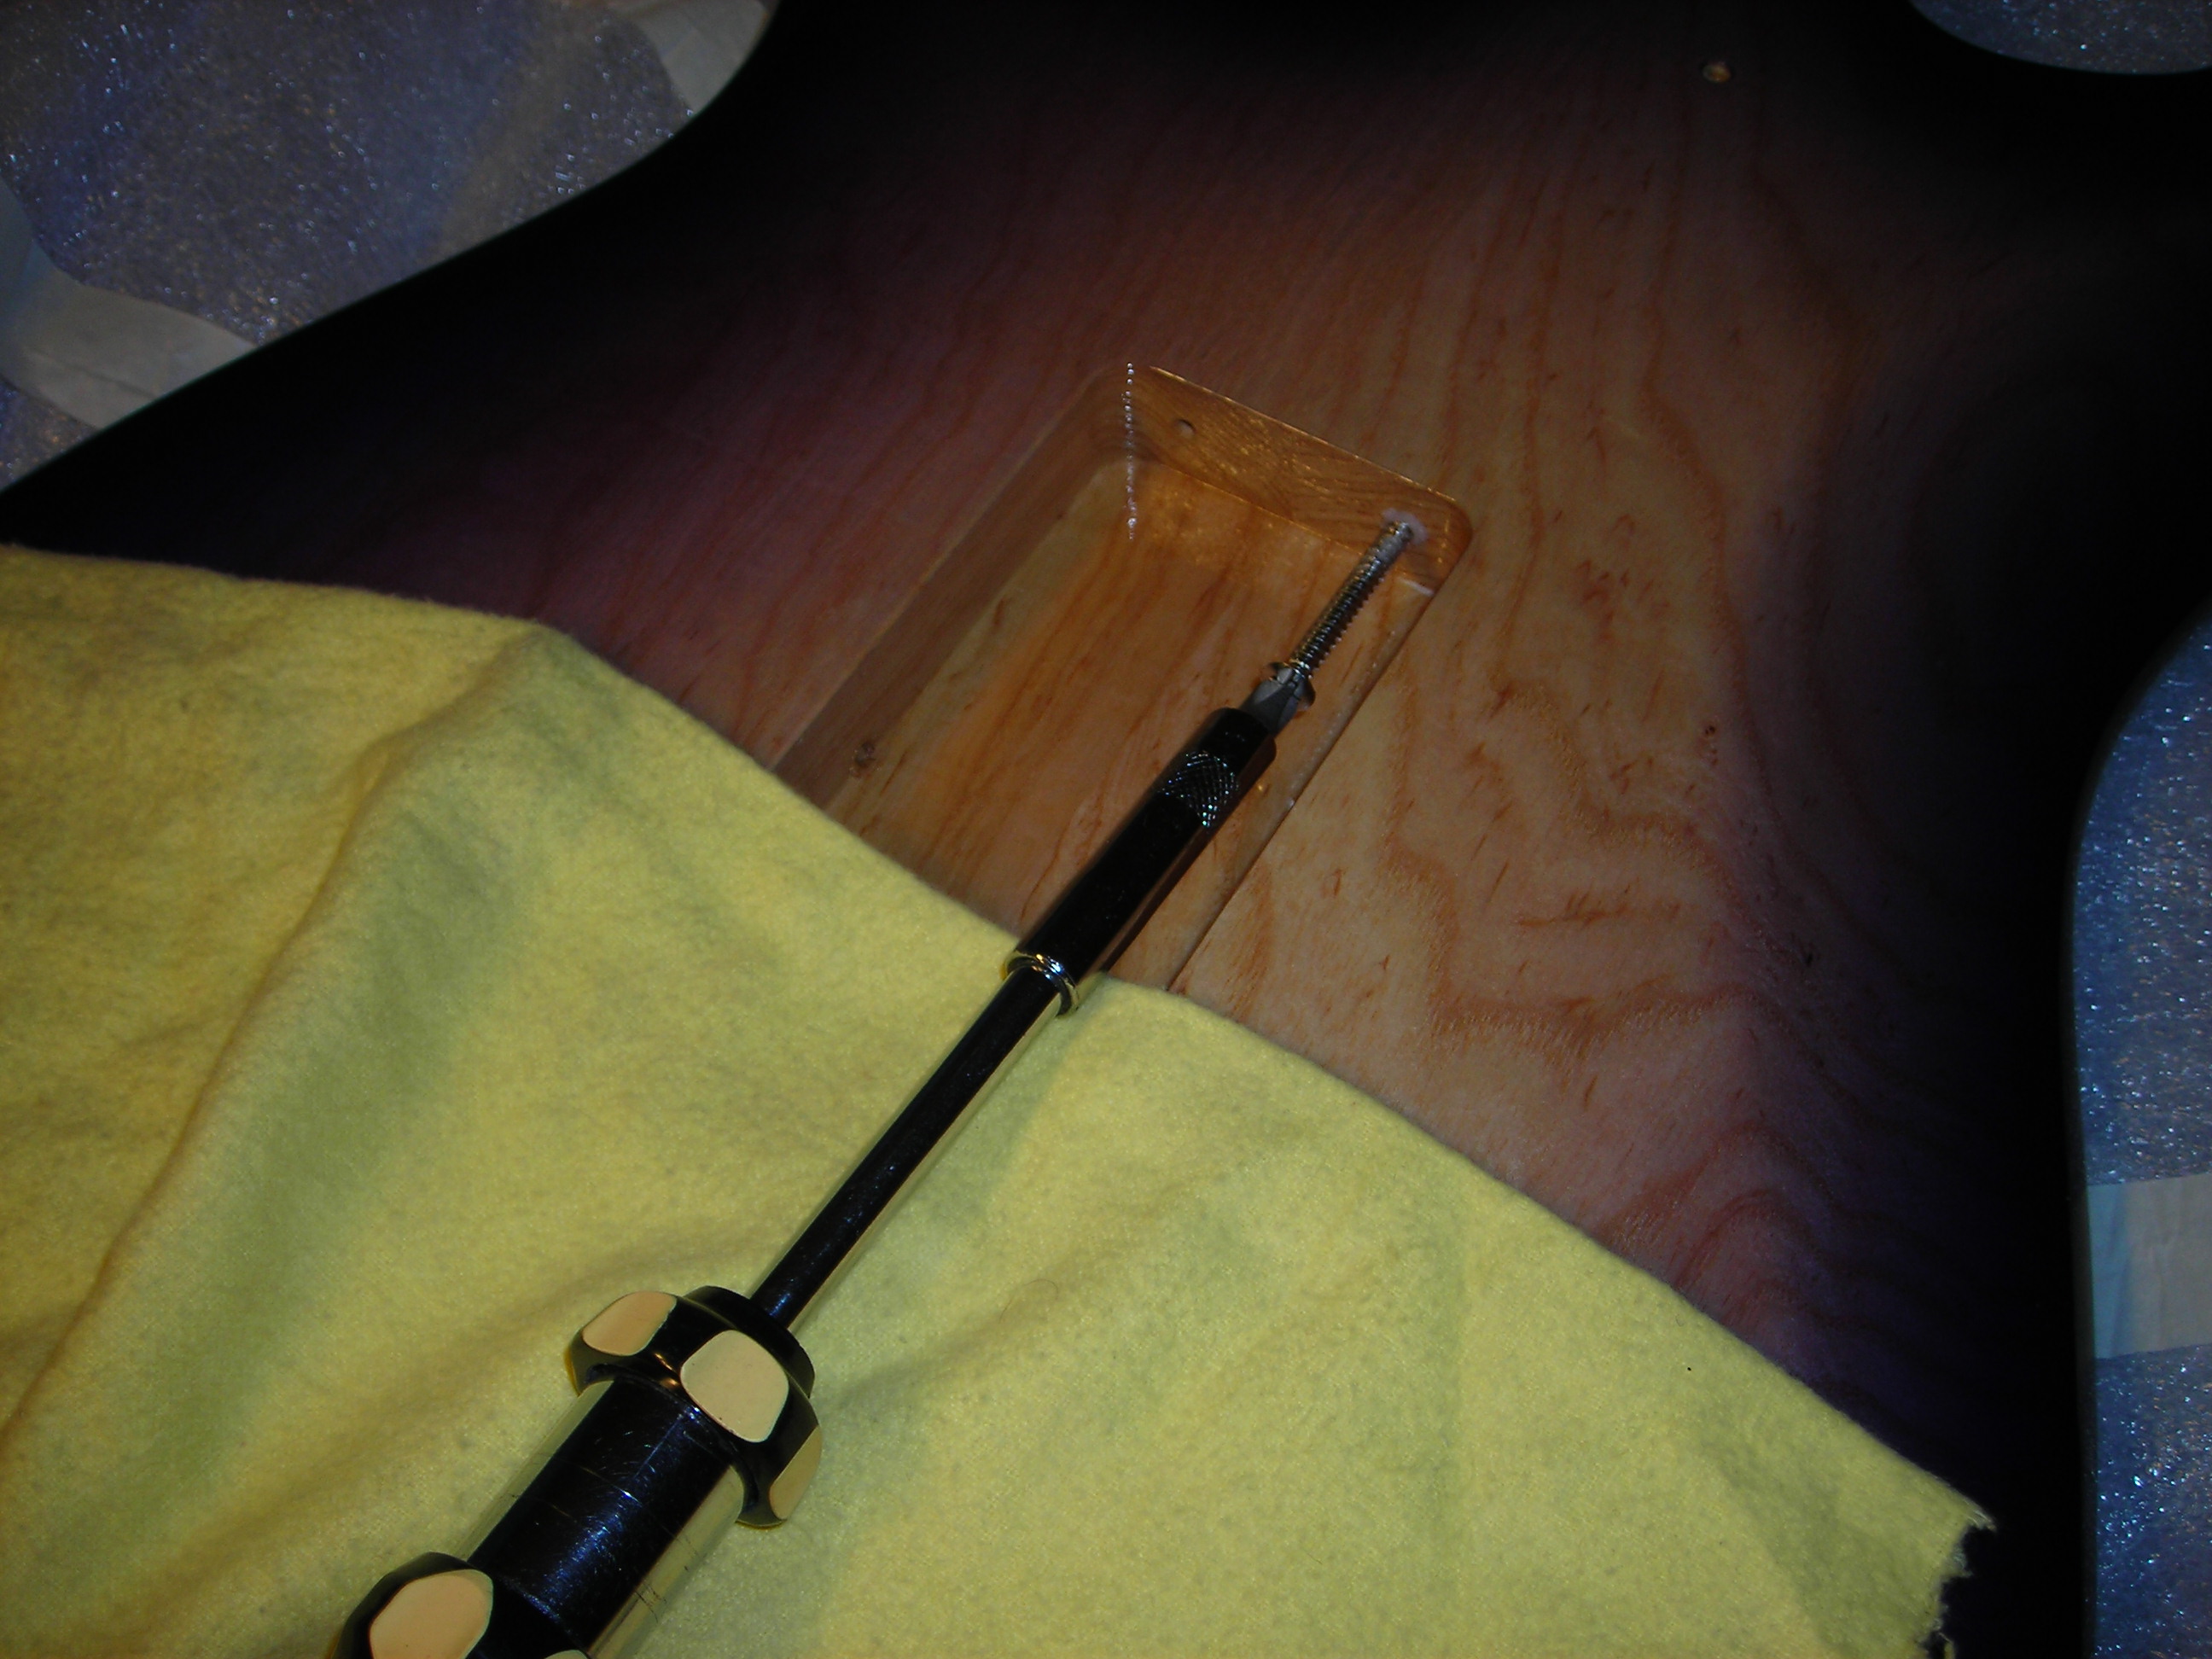
Prethreading the tremelo claw screw holes. Cloth for protection of the body finish.


Hardware_Fitting_1 by stratamania, on Flickr

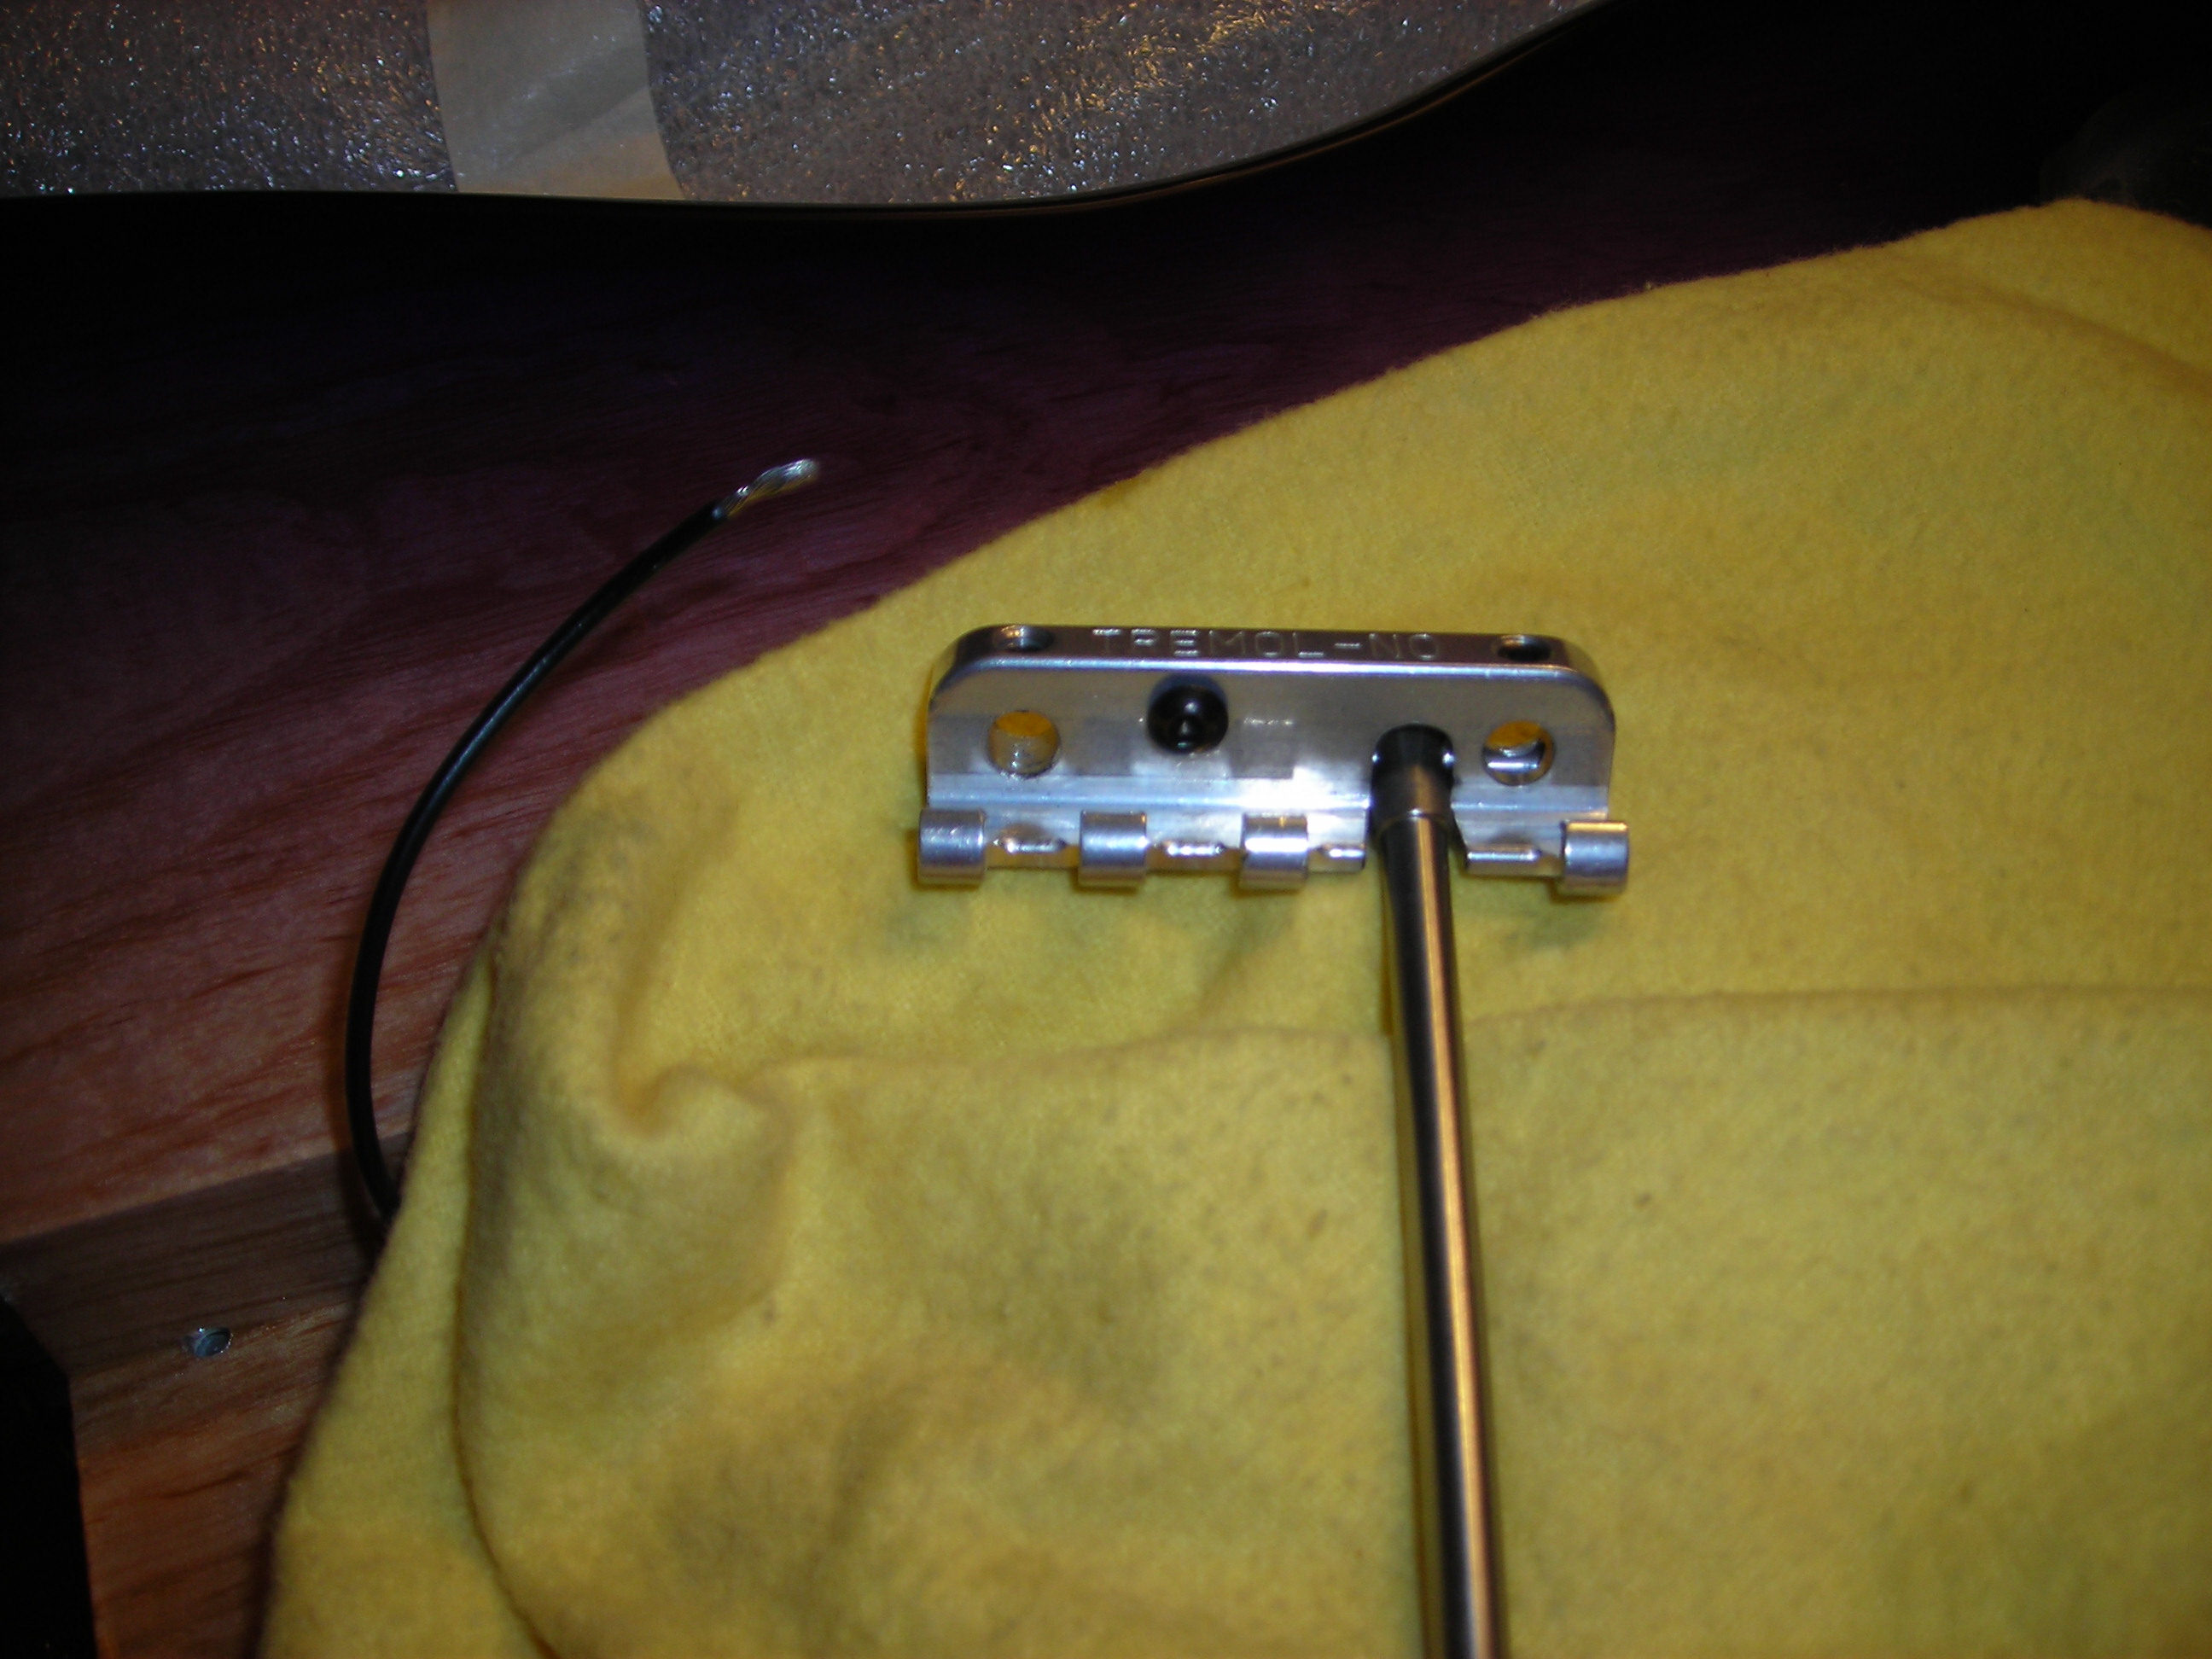
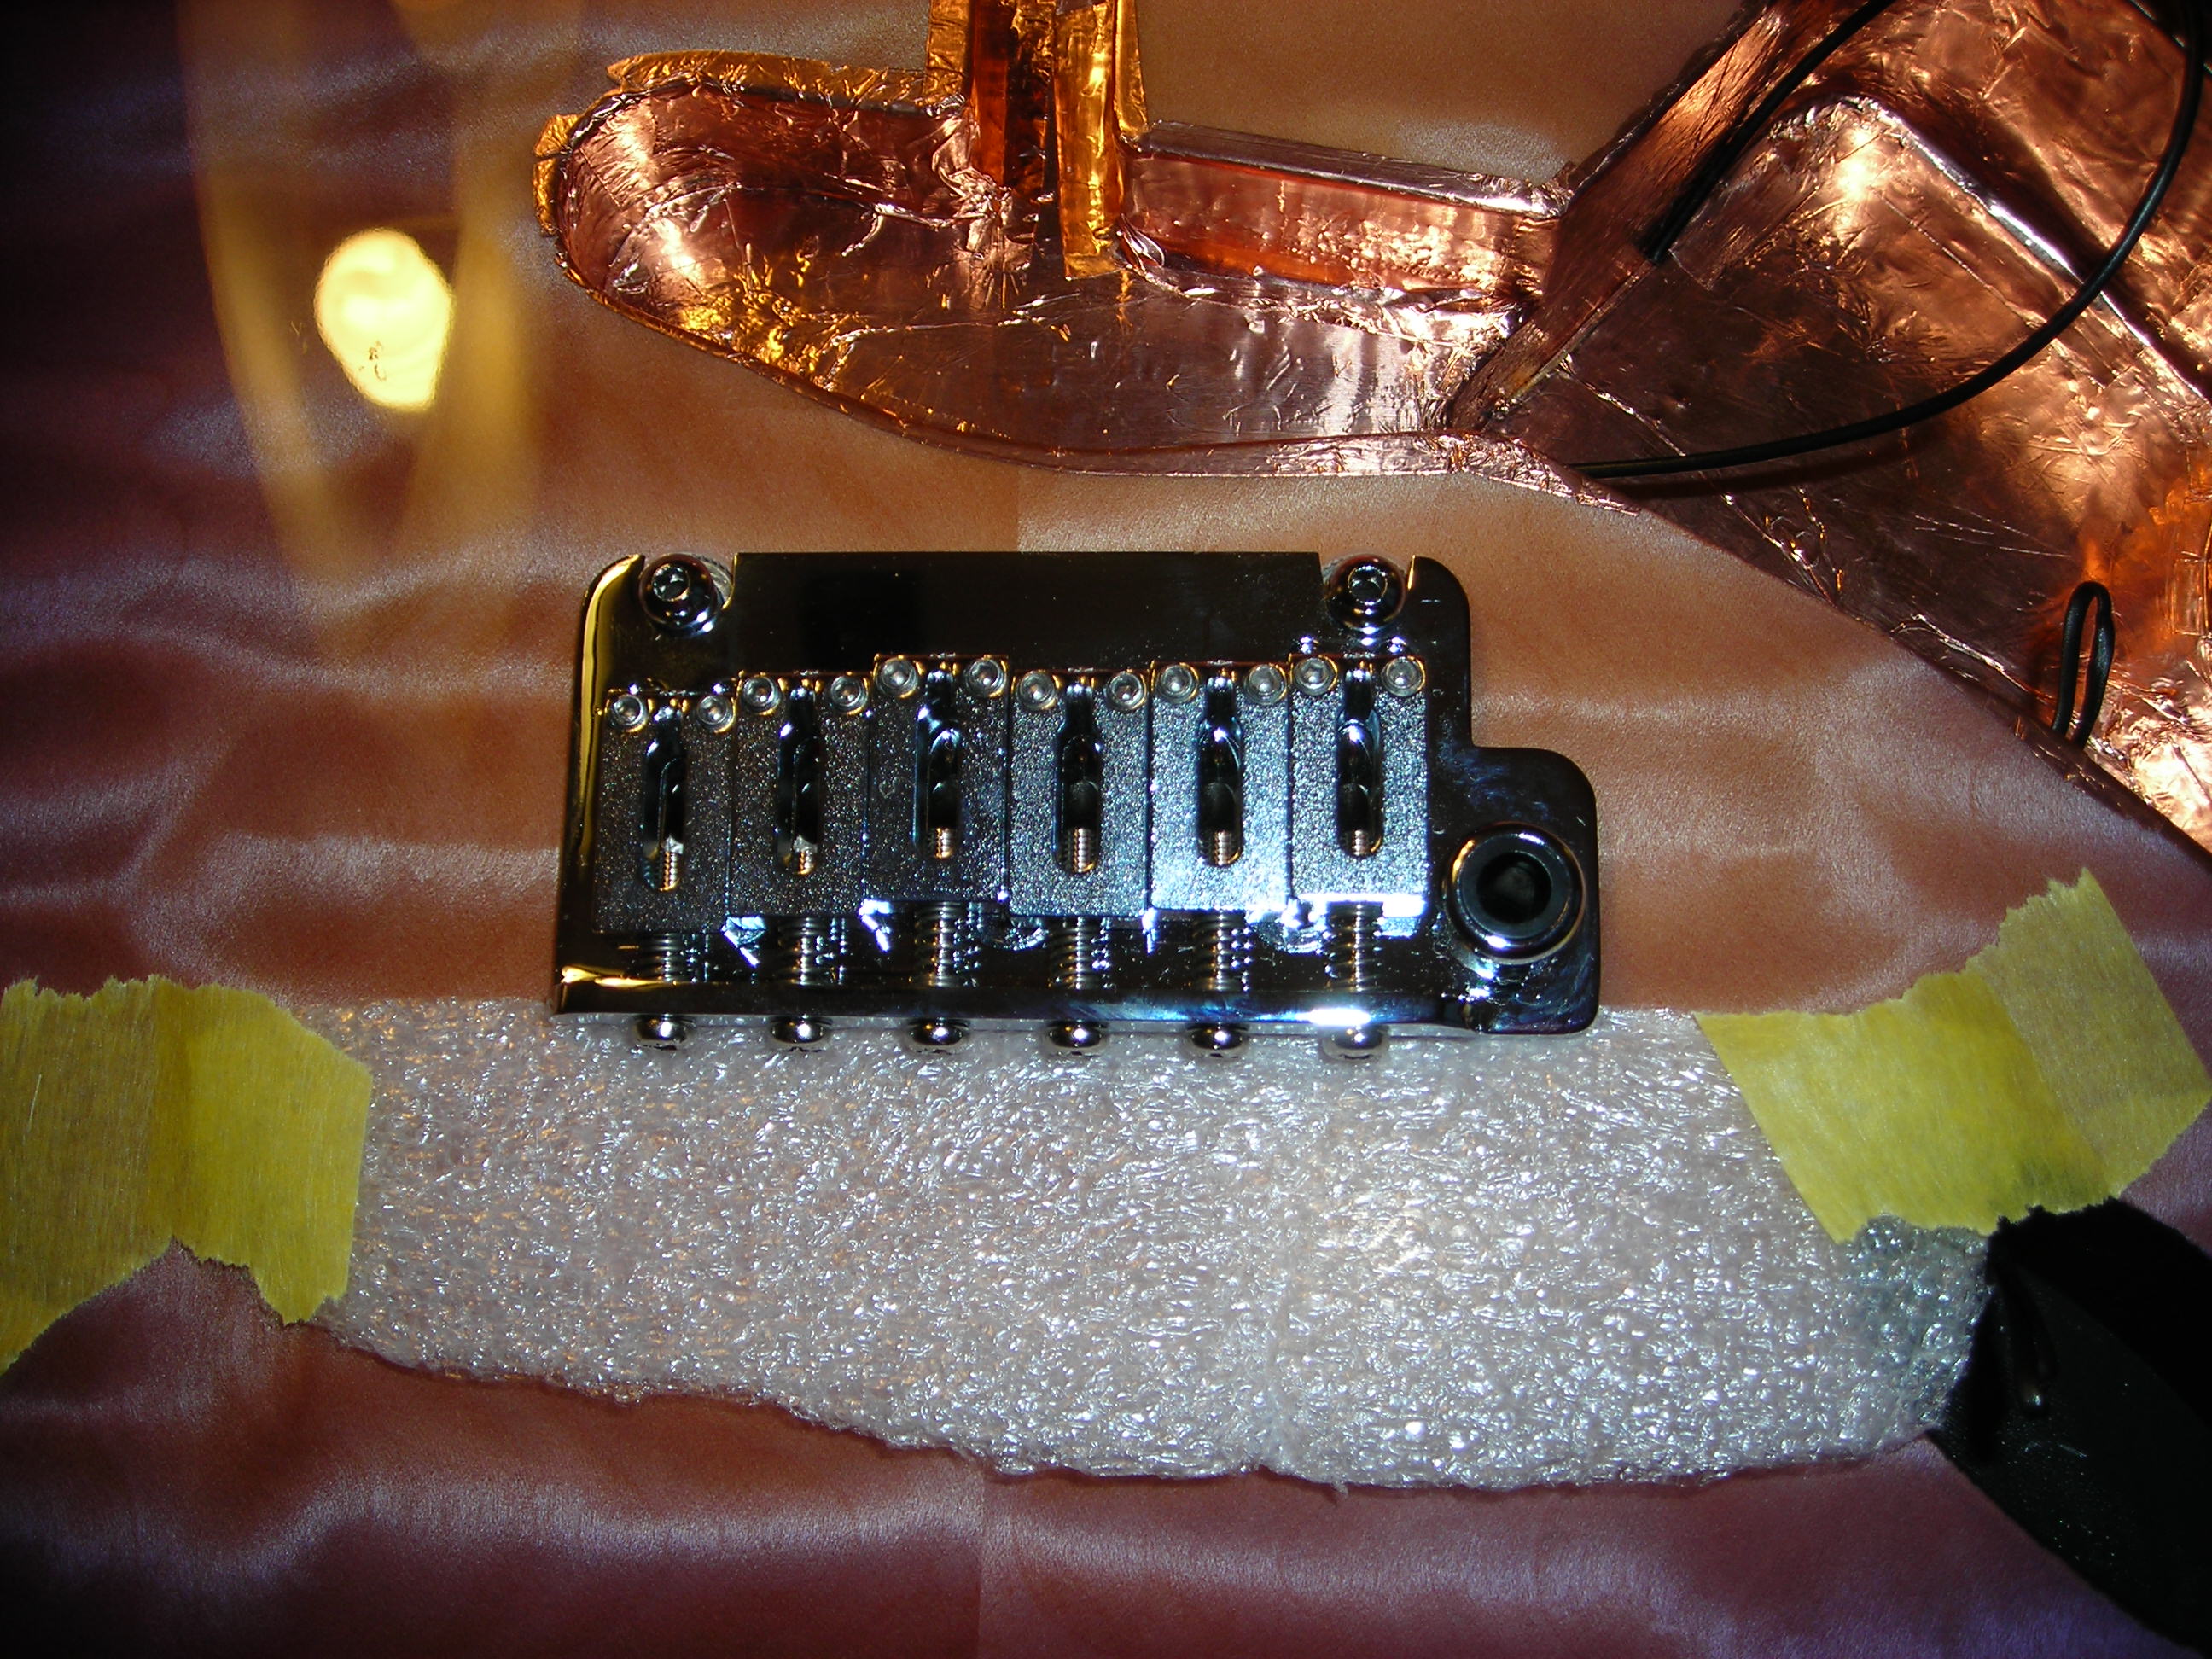
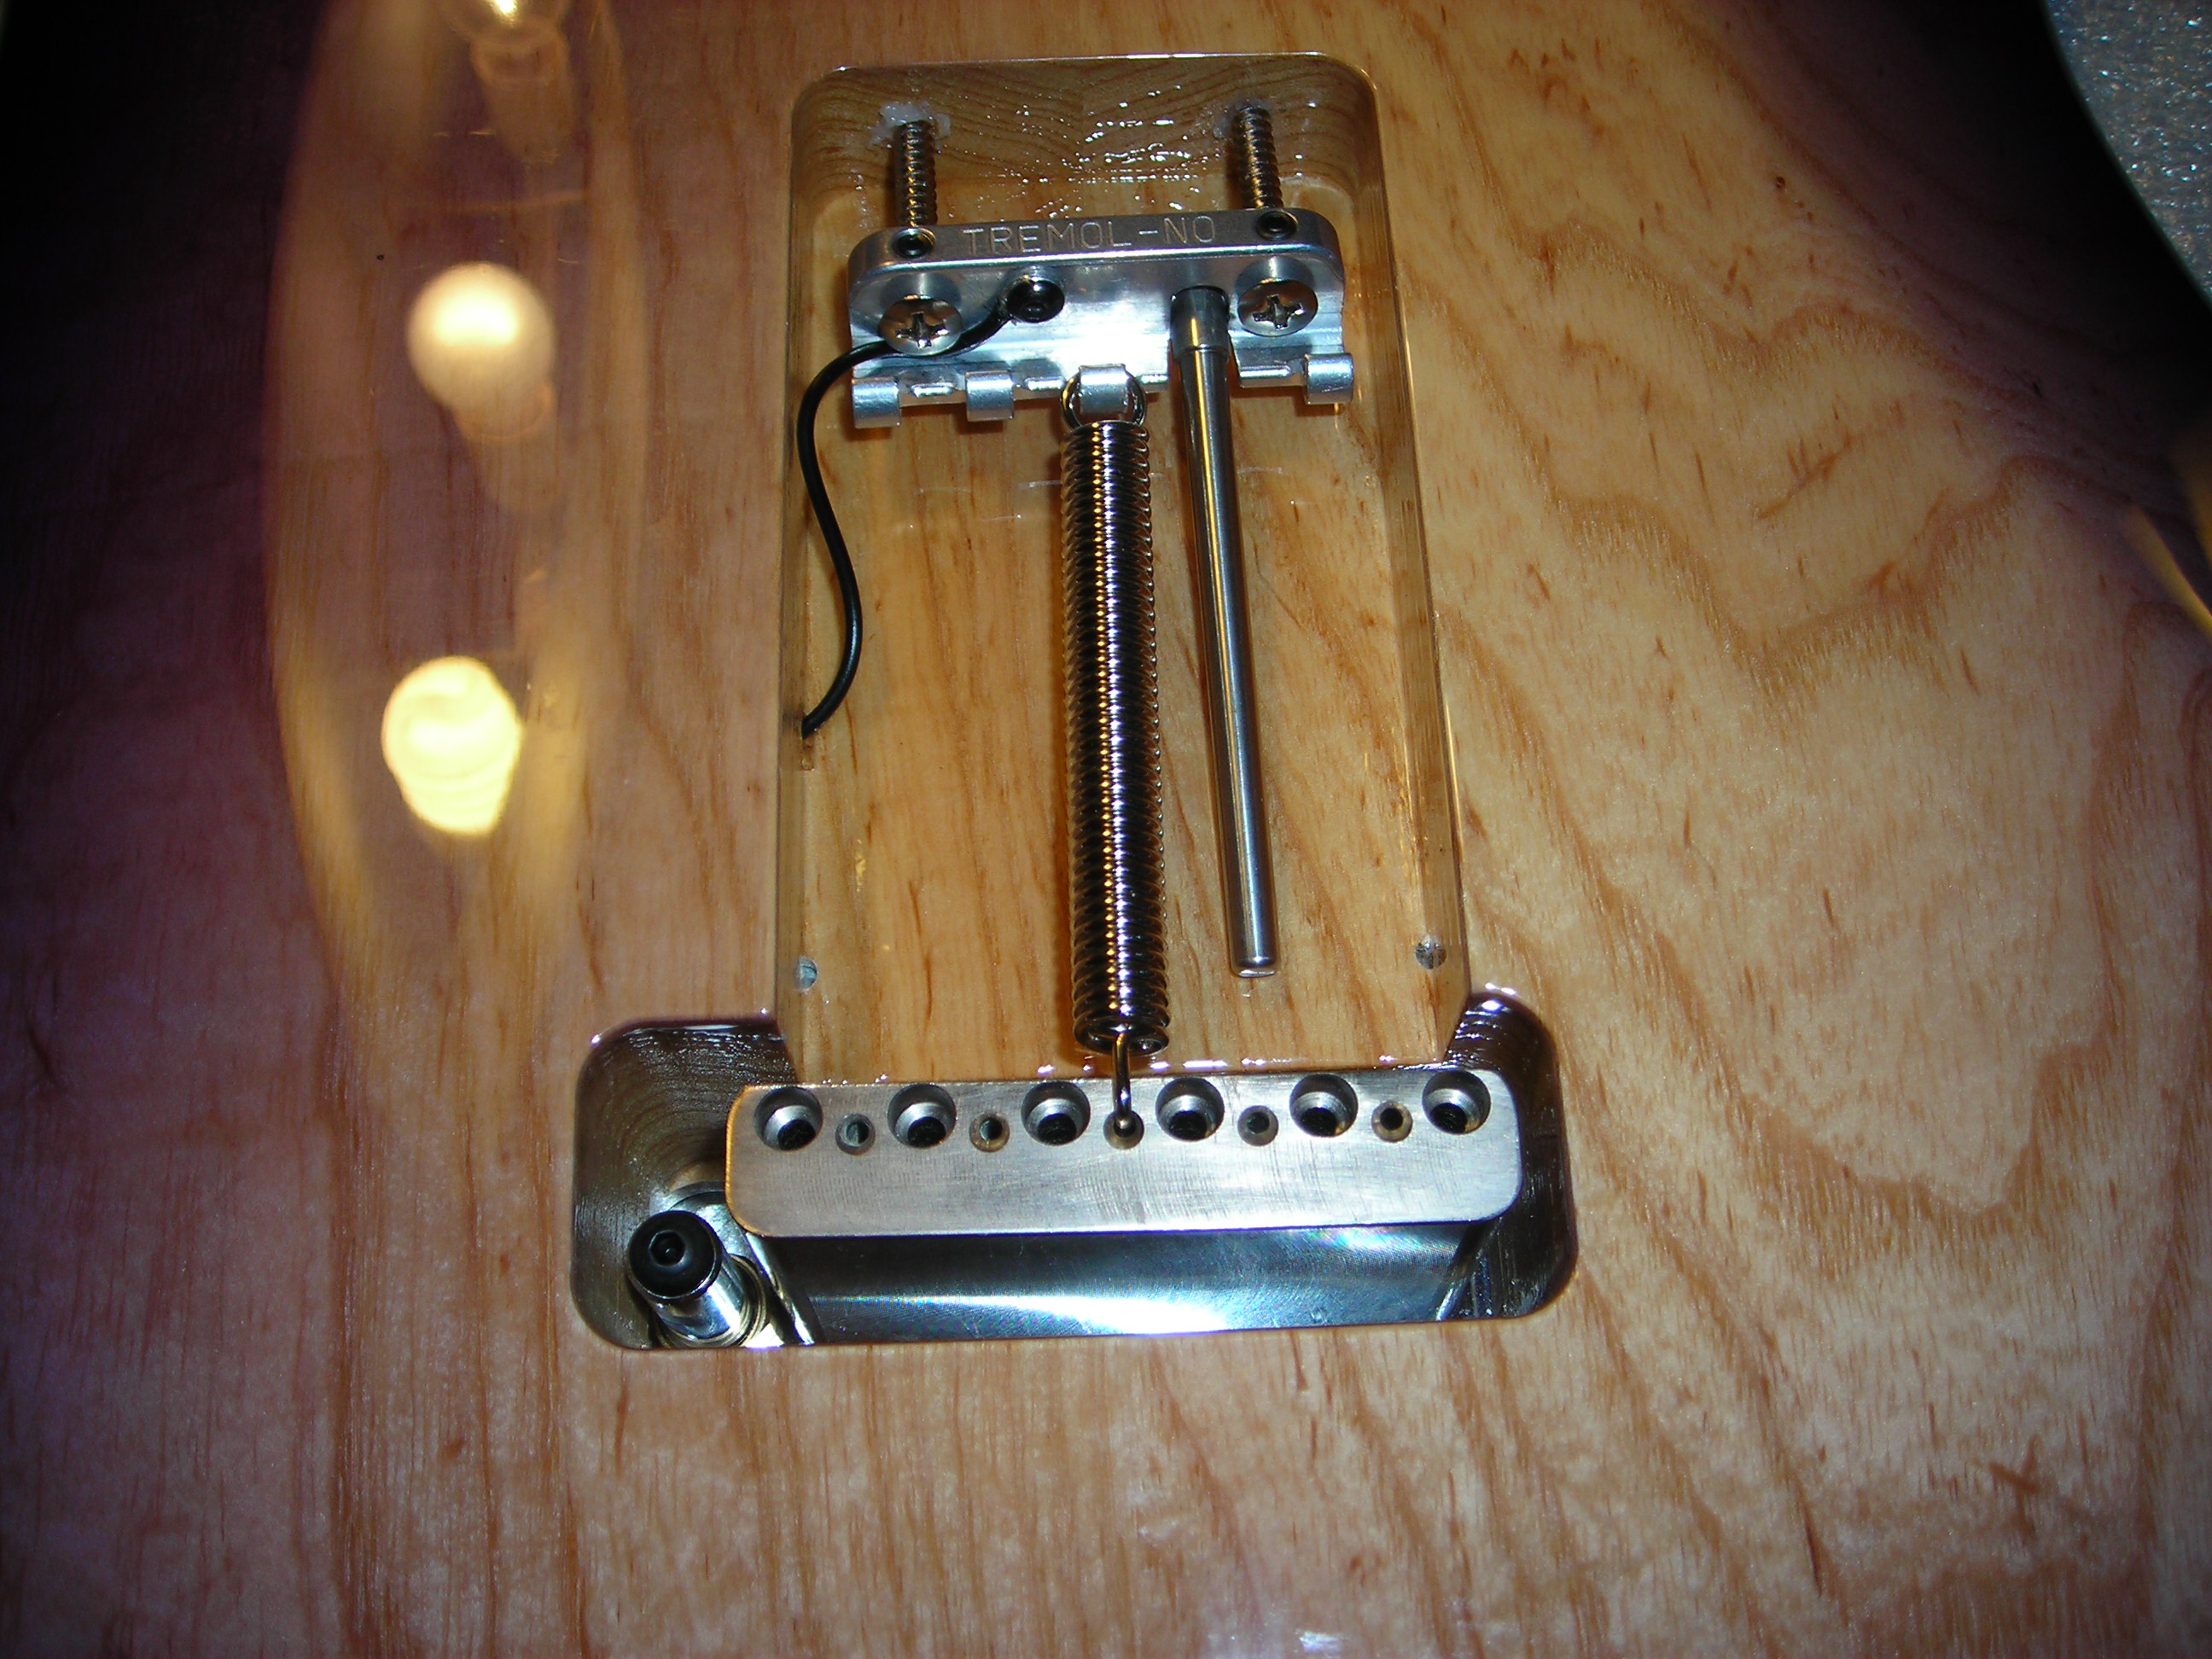
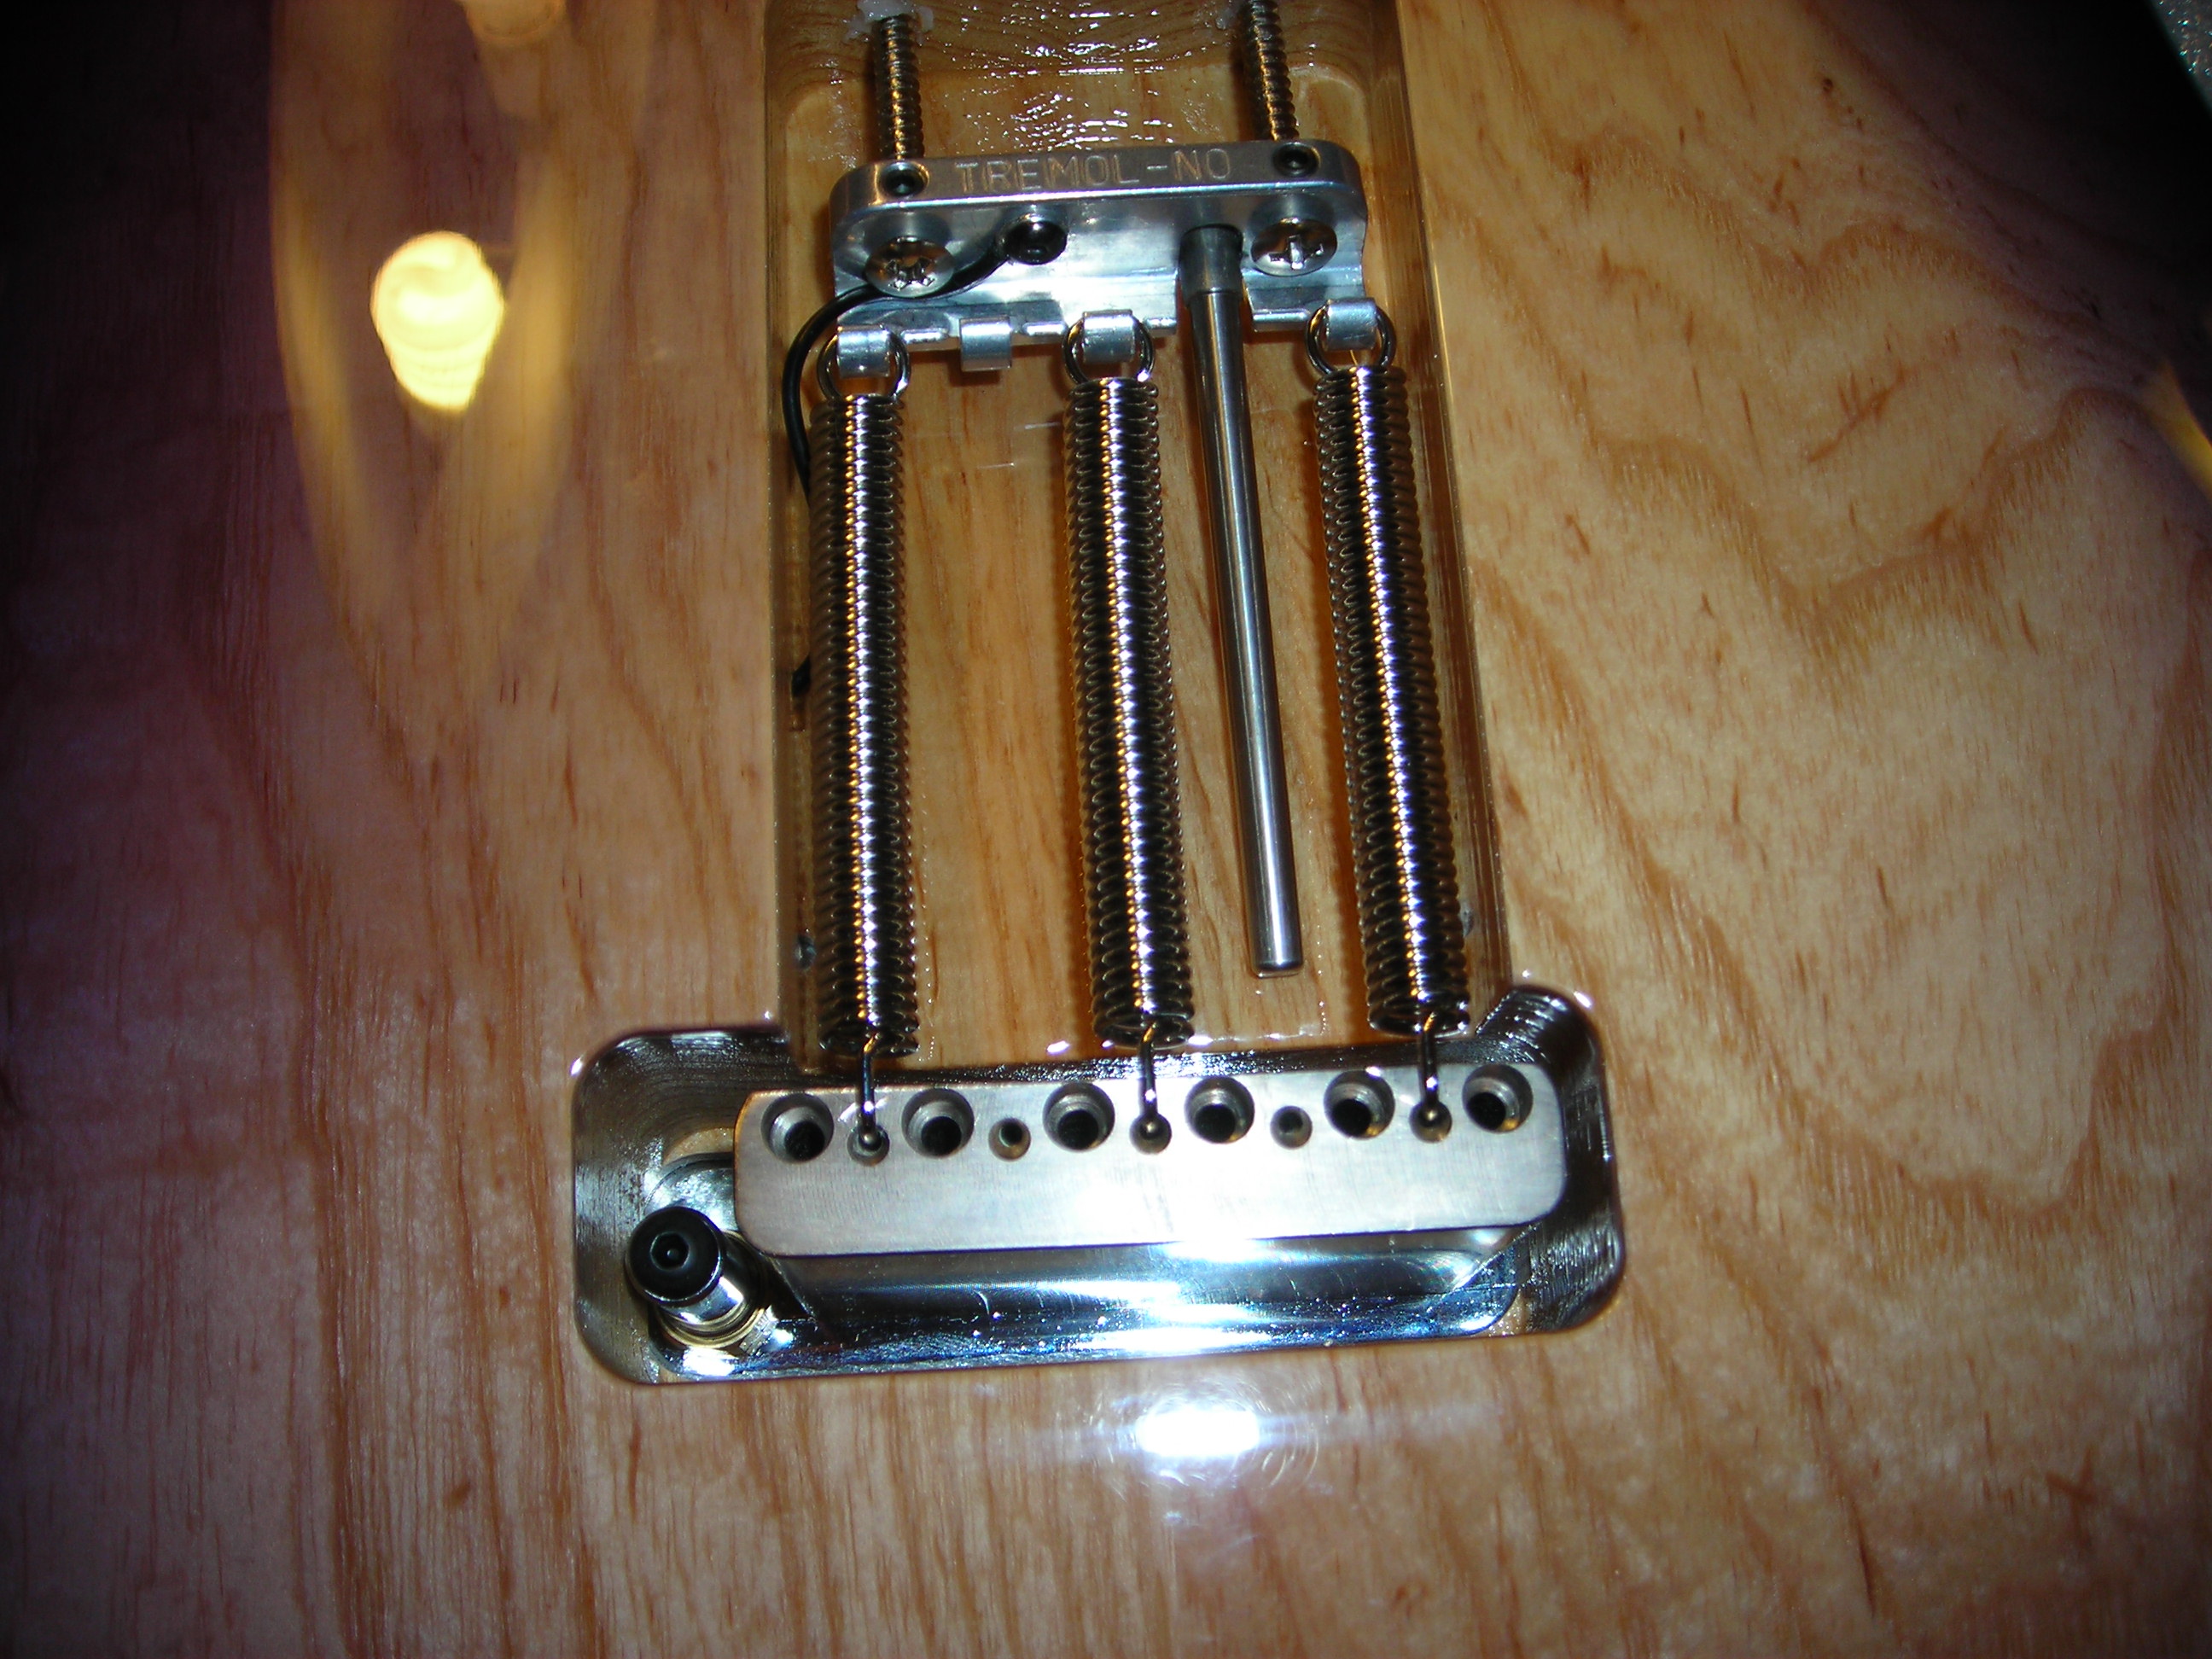
I am going to use a Tremel-no on this guitar so instead of fitting the standard claw that comes with the Gotoh tremelo I will be using the tremel-no claw is used instead. The rod is where part of the tremel-no mechanism will slide onto later.

The black wire is 22 AWG threaded from the control cavity for ground. I will fit this as an early part of the job as it just seems to be at least to me a less awkward job to do rather than later.

Hardware_Fitting_2 by stratamania, on Flickr

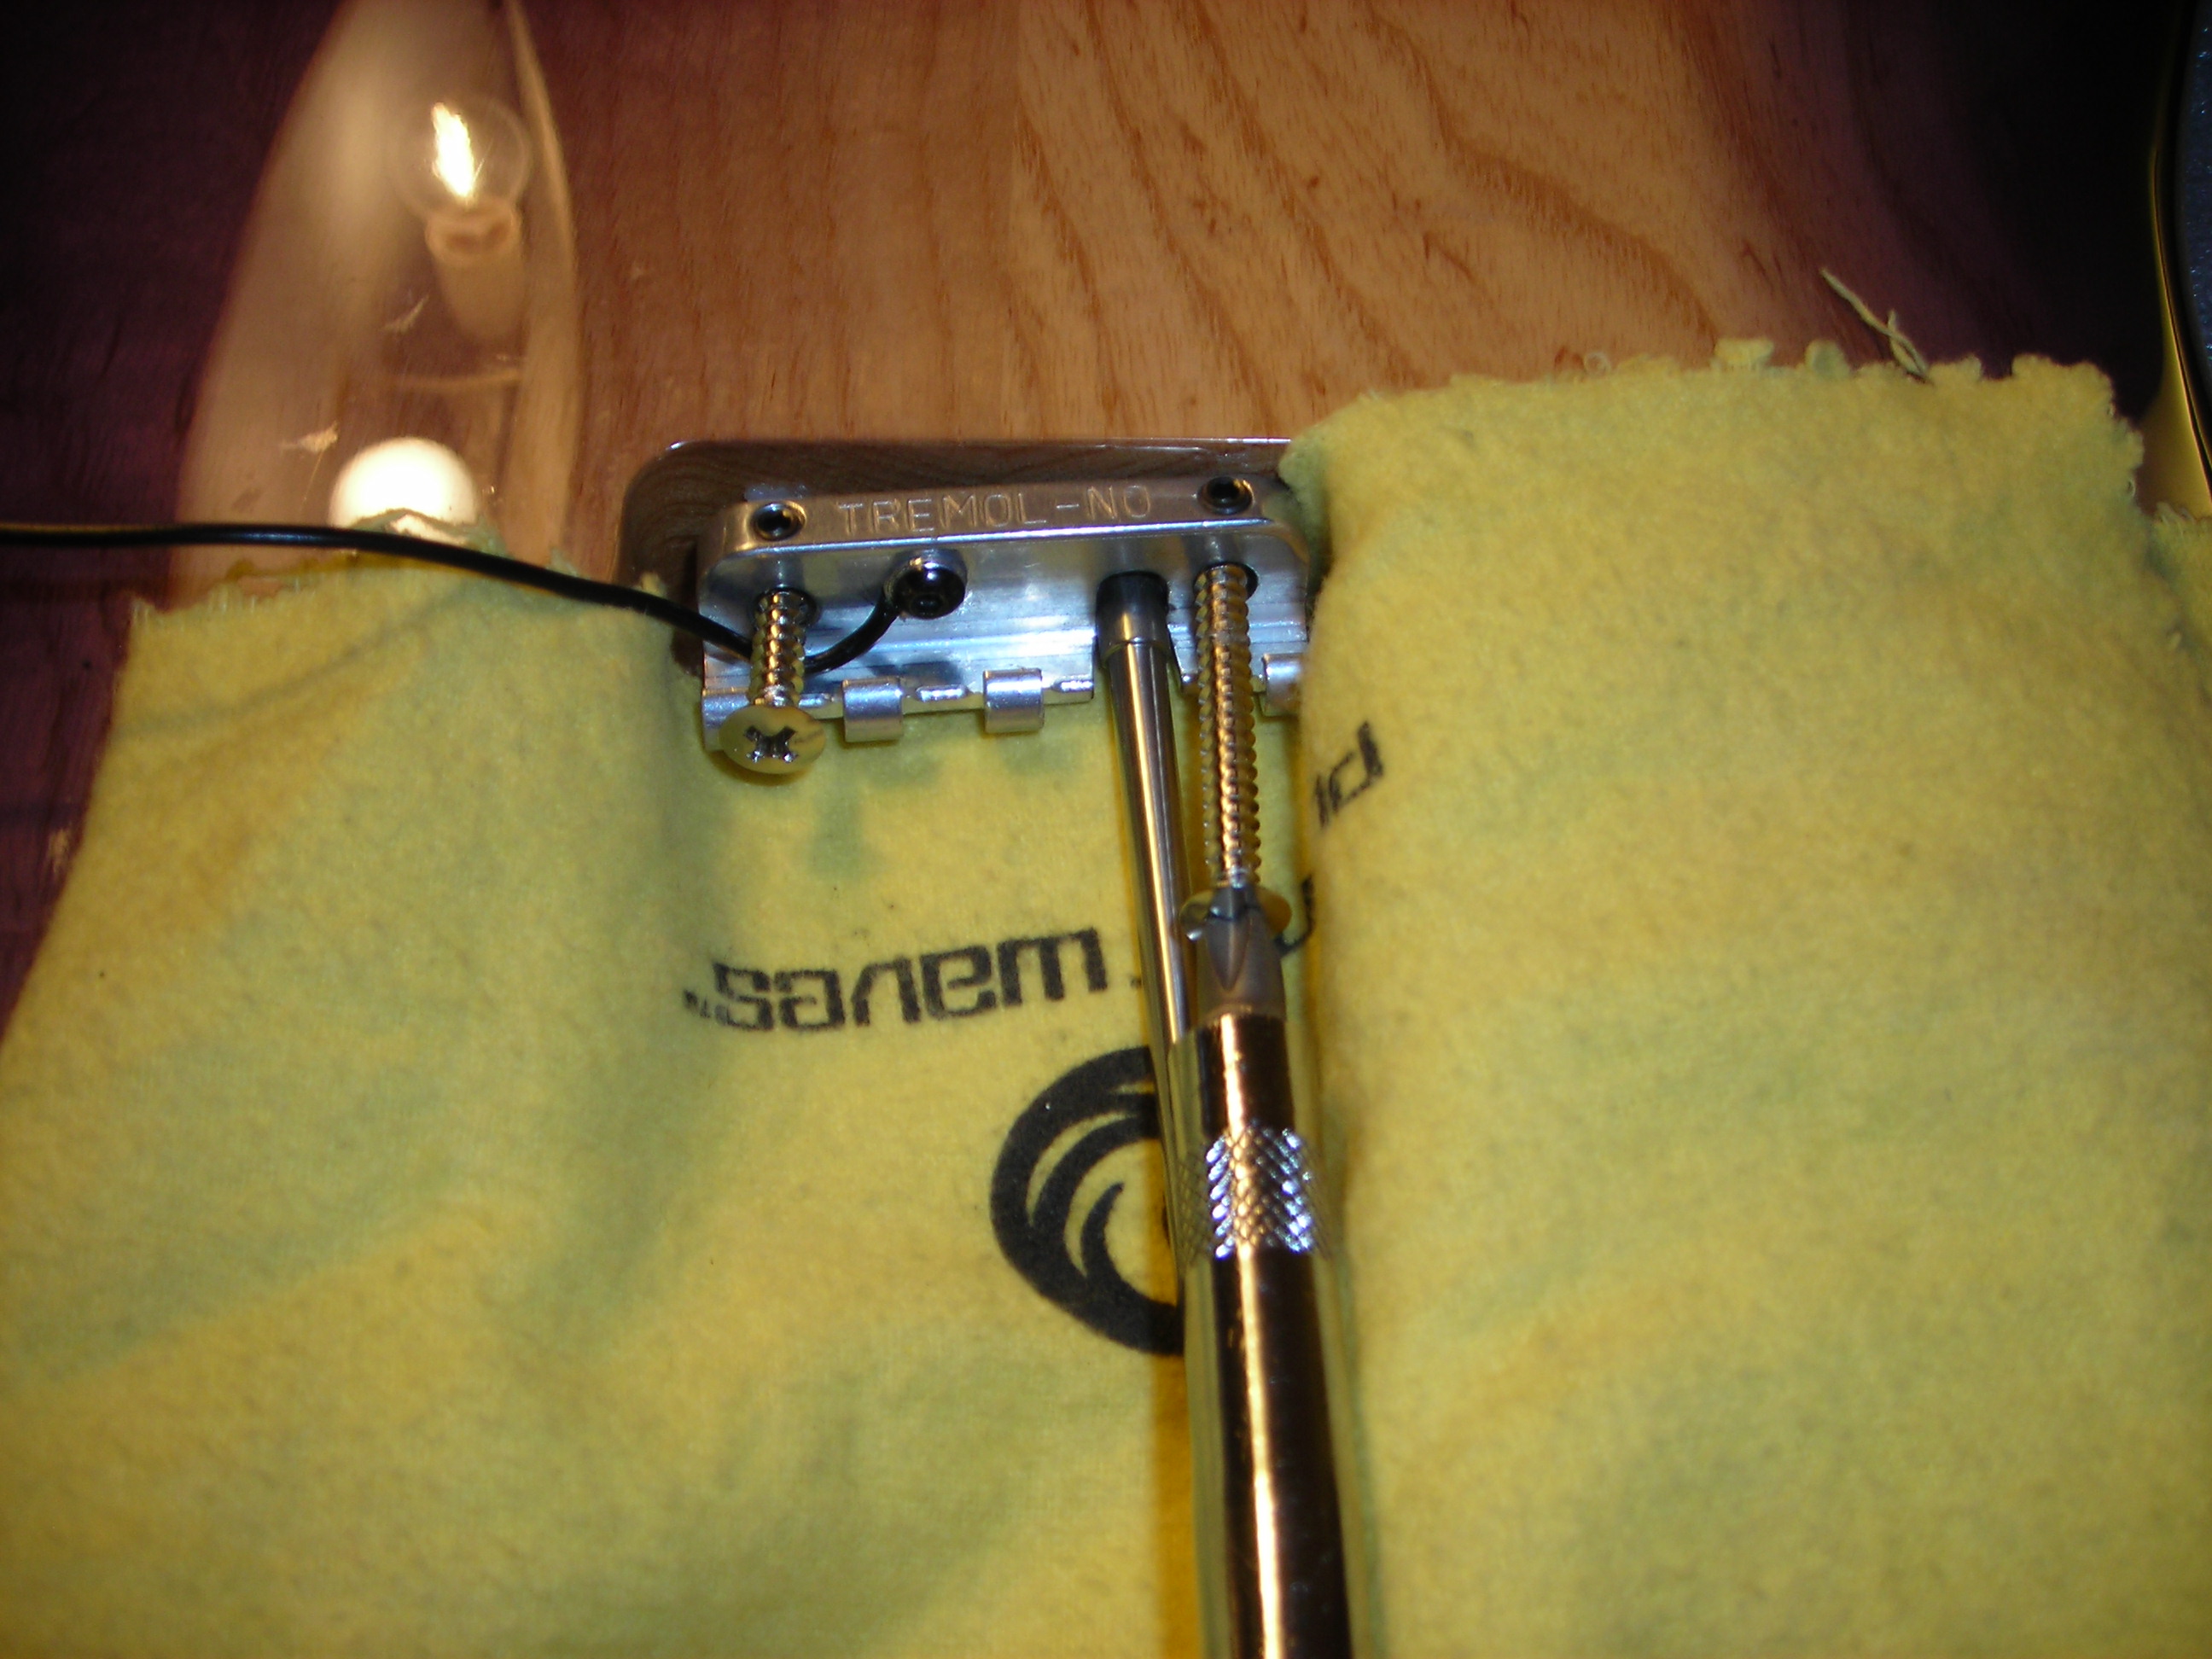
Careful with that screwdriver. Note the tremel-no claw has a useful mounting point for the ground wire.

Hardware_Fitting_3 by stratamania, on Flickr

Tremelo (or more technically correct vibrato) bridge in position.

Hardware_Fitting_4 by stratamania, on Flickr

First screw in place. Obviously the position of the claw is a guess and will need adjusting during set up.

Hardware_Fitting_5 by stratamania, on Flickr

All springs in place. 

Hardware_Fitting_6 by stratamania, on Flickr

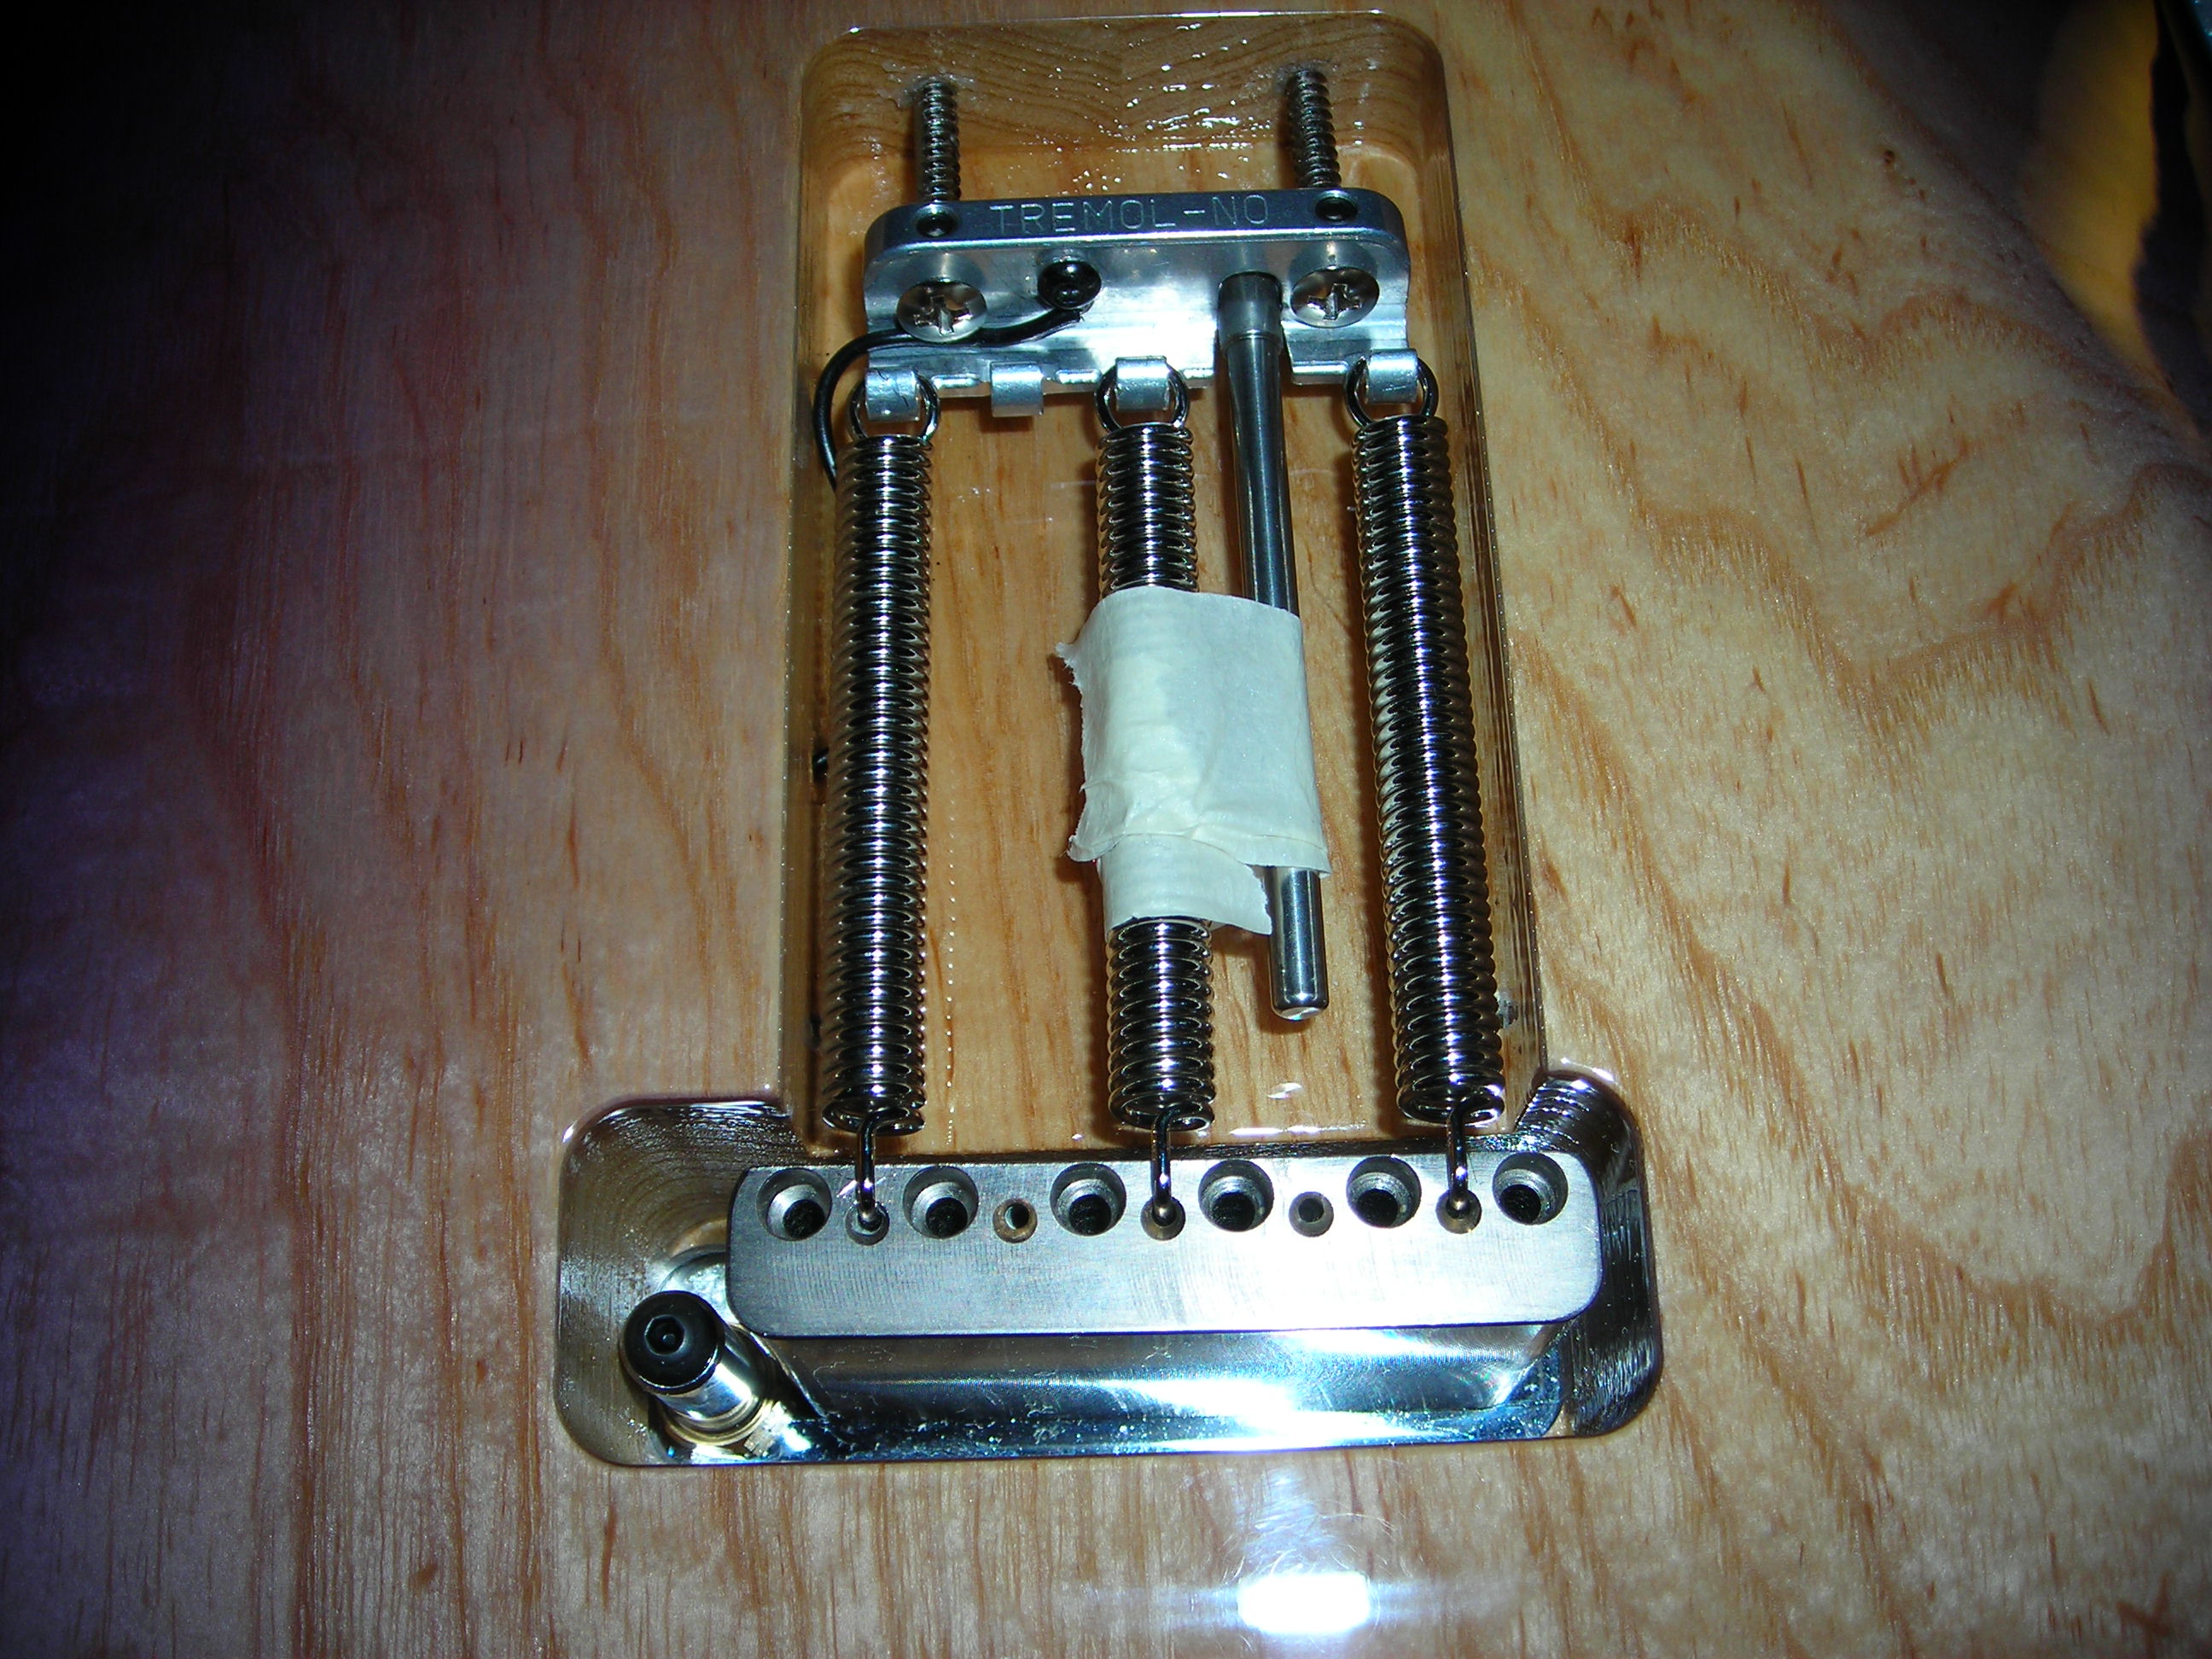
Taped up the rod that rotates in the tremel-no claw so it doesn't move around while I am still working on other things.

Hardware_Fitting_7 by stratamania, on Flickr


Marking out the position for the jack plate.

Hardware_Fitting_8 by stratamania, on Flickr

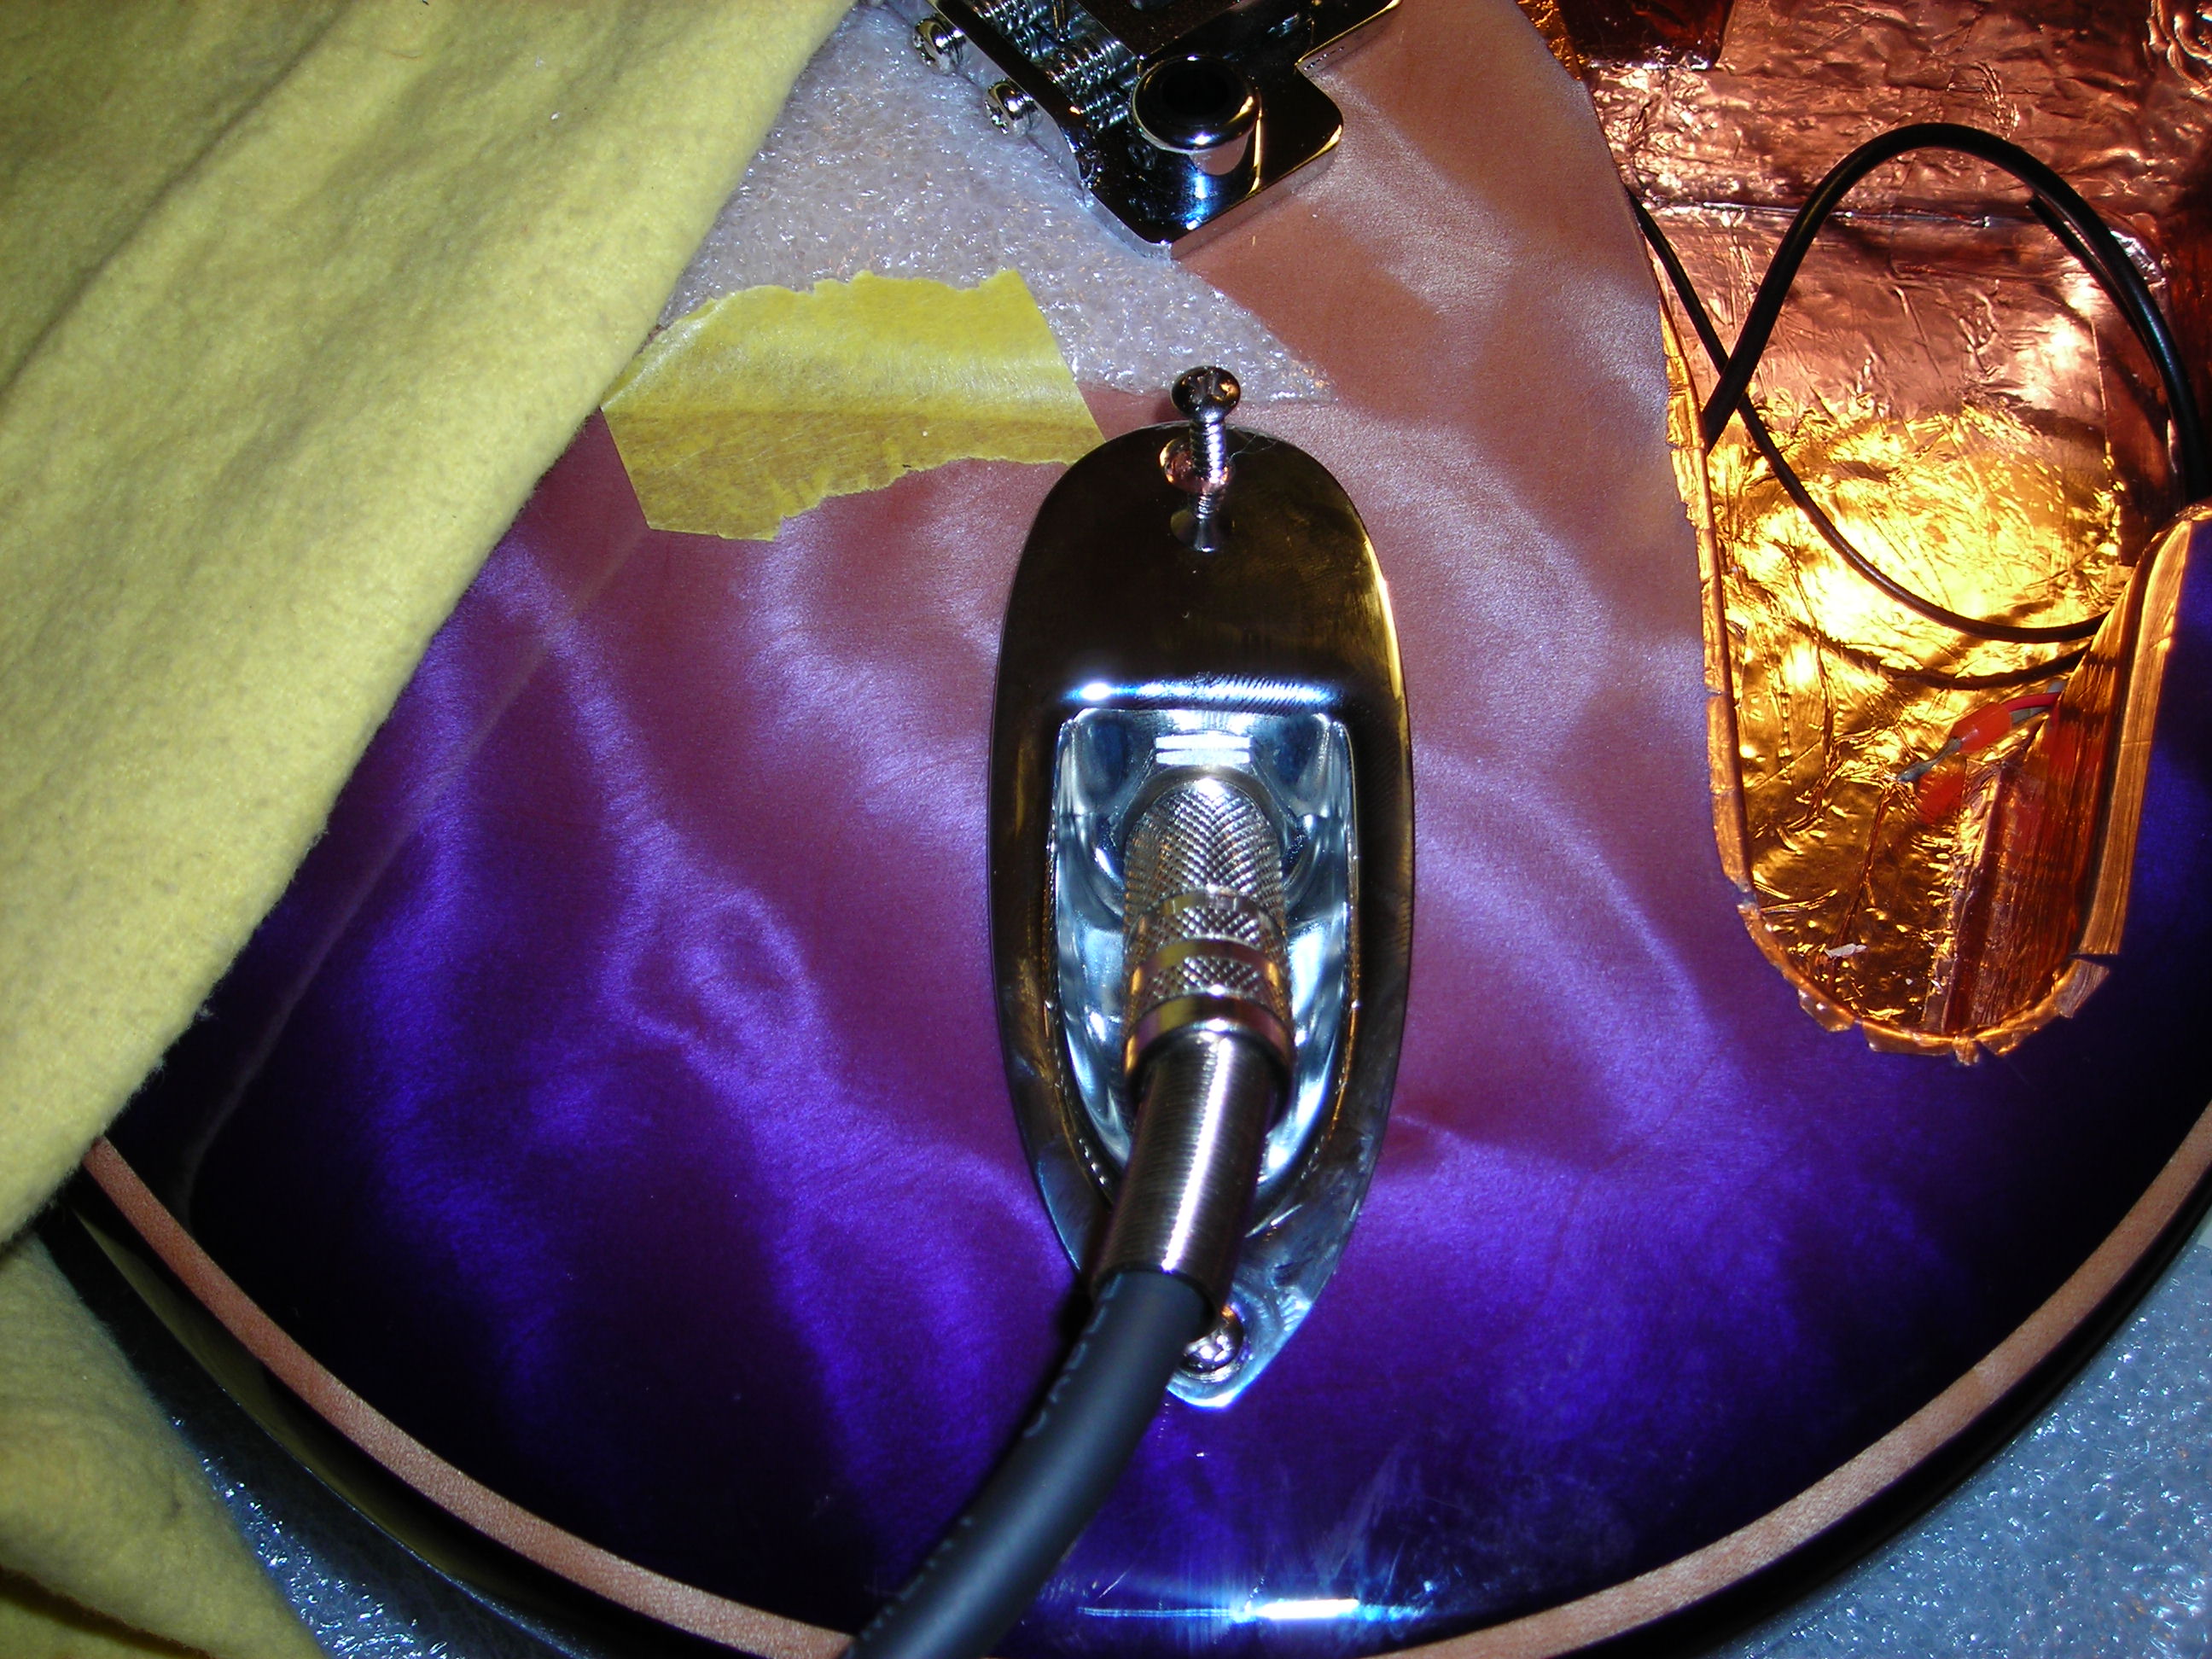
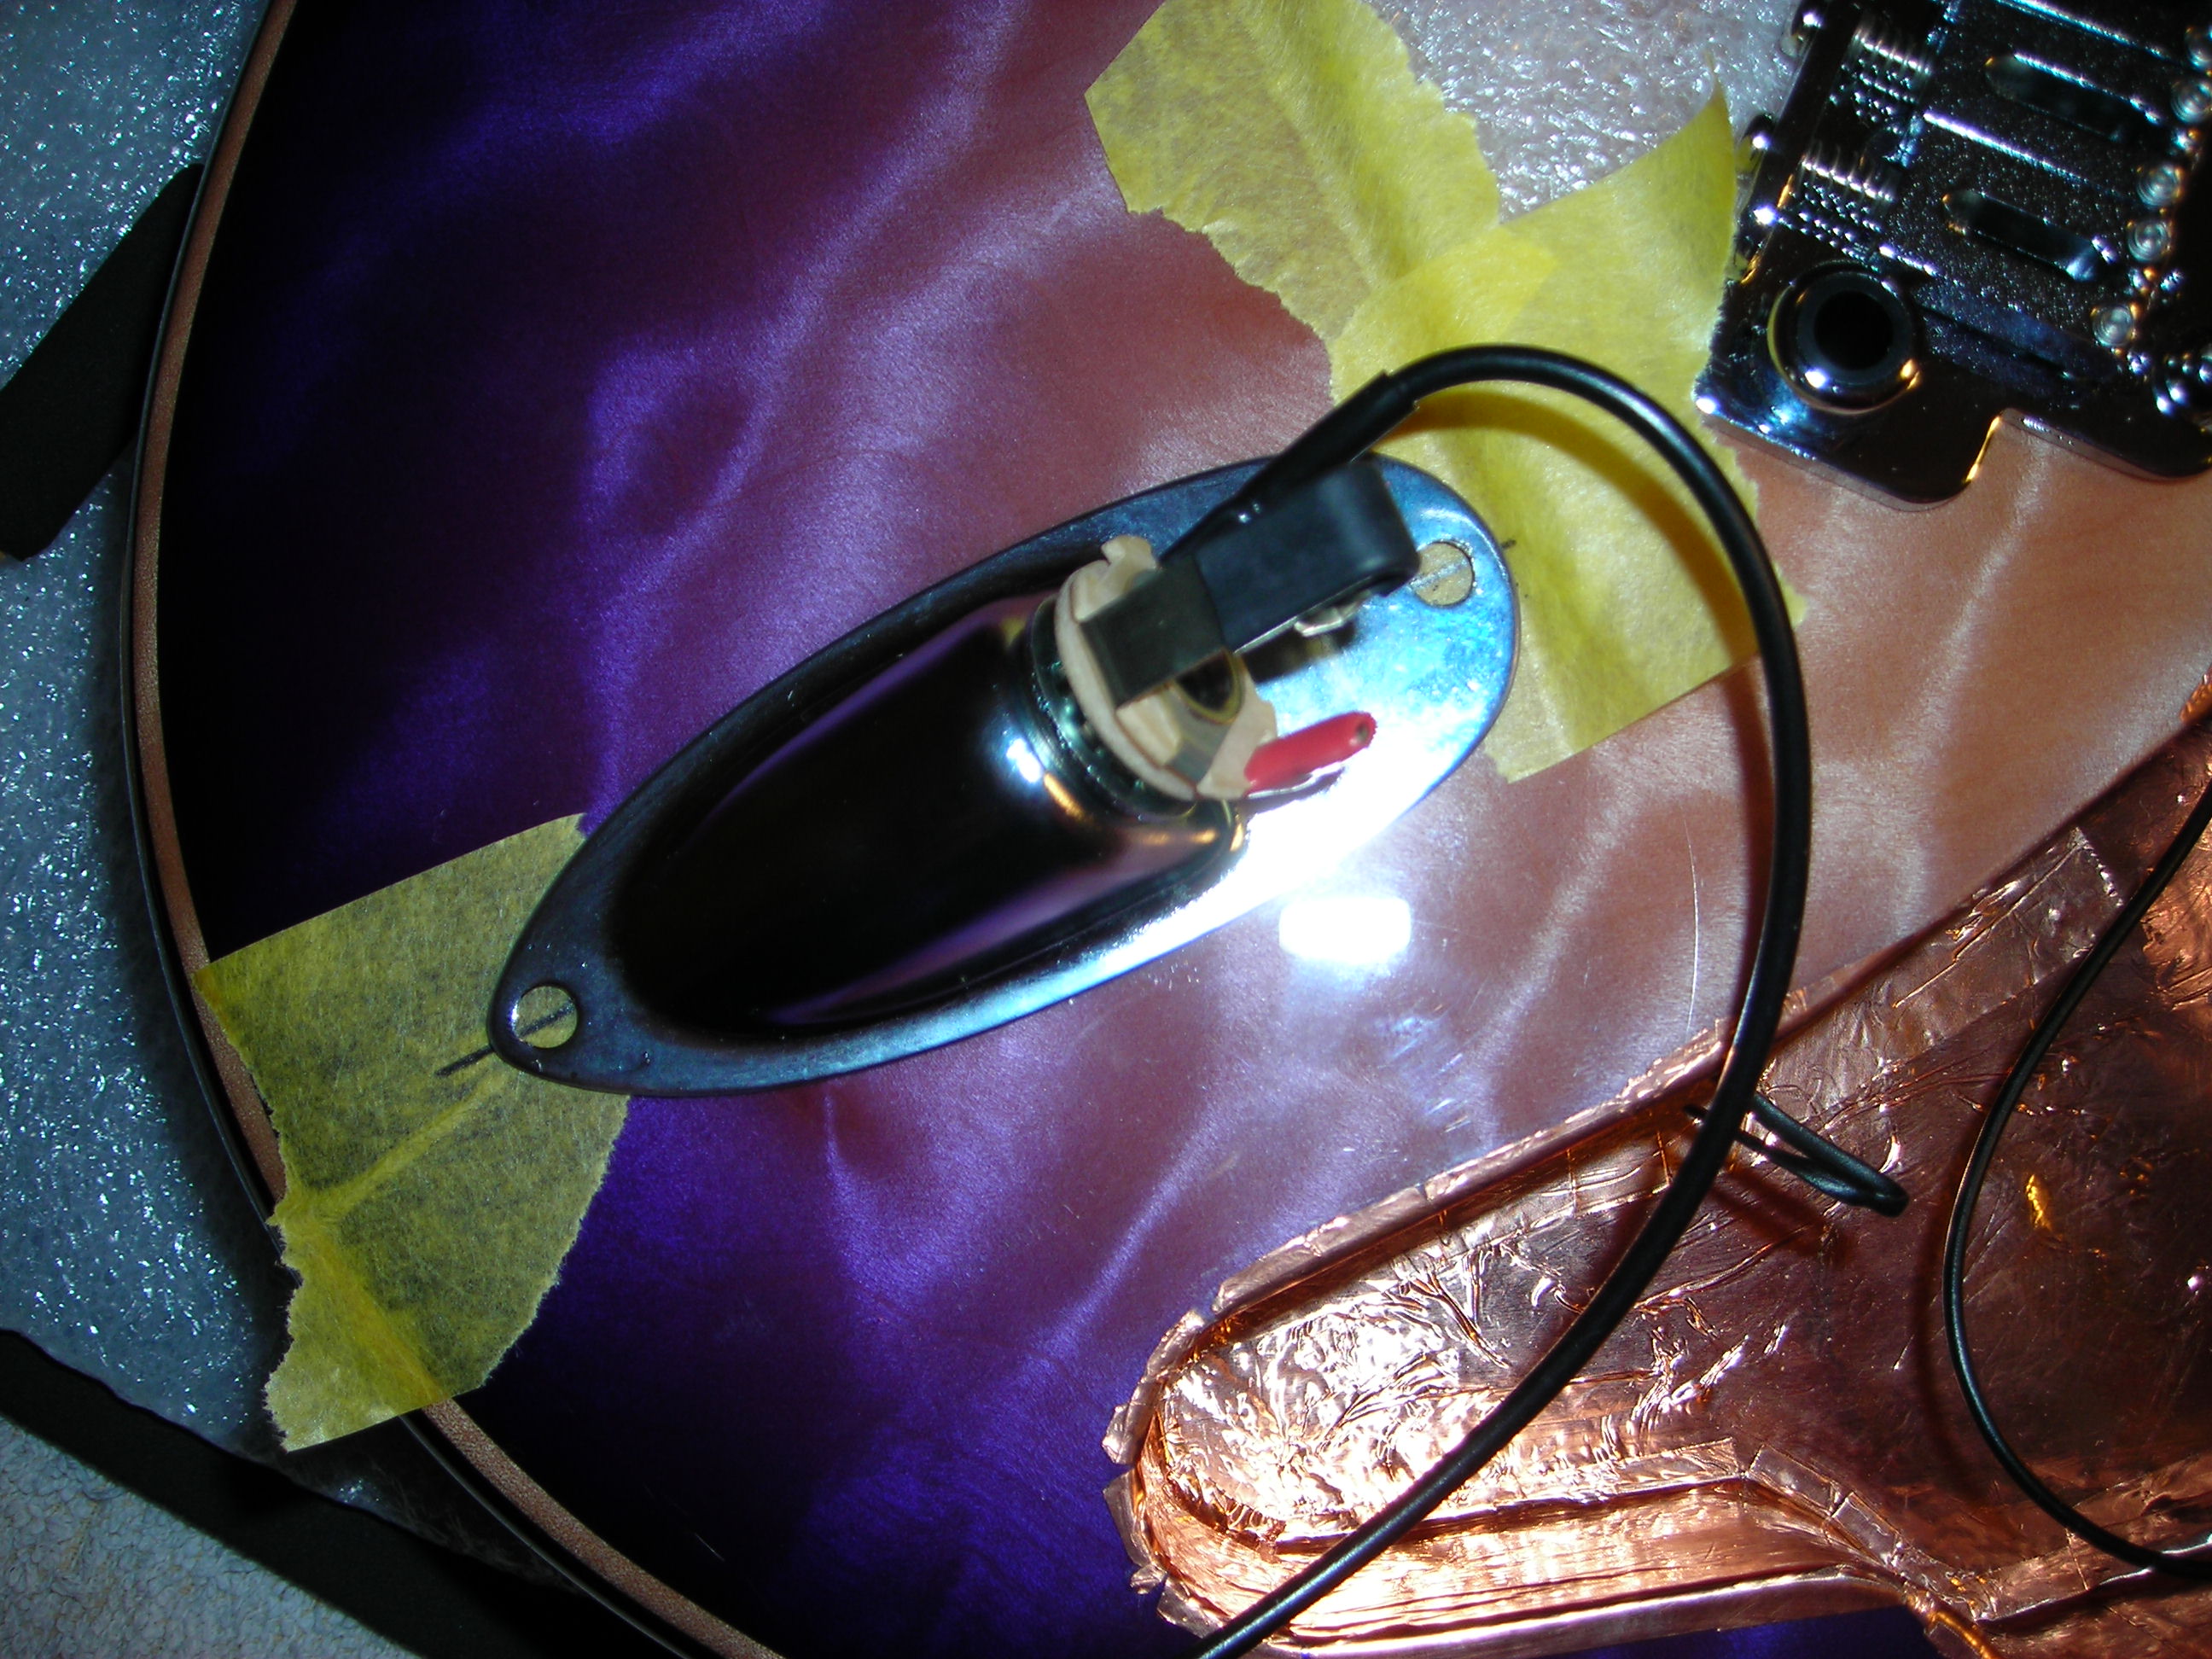
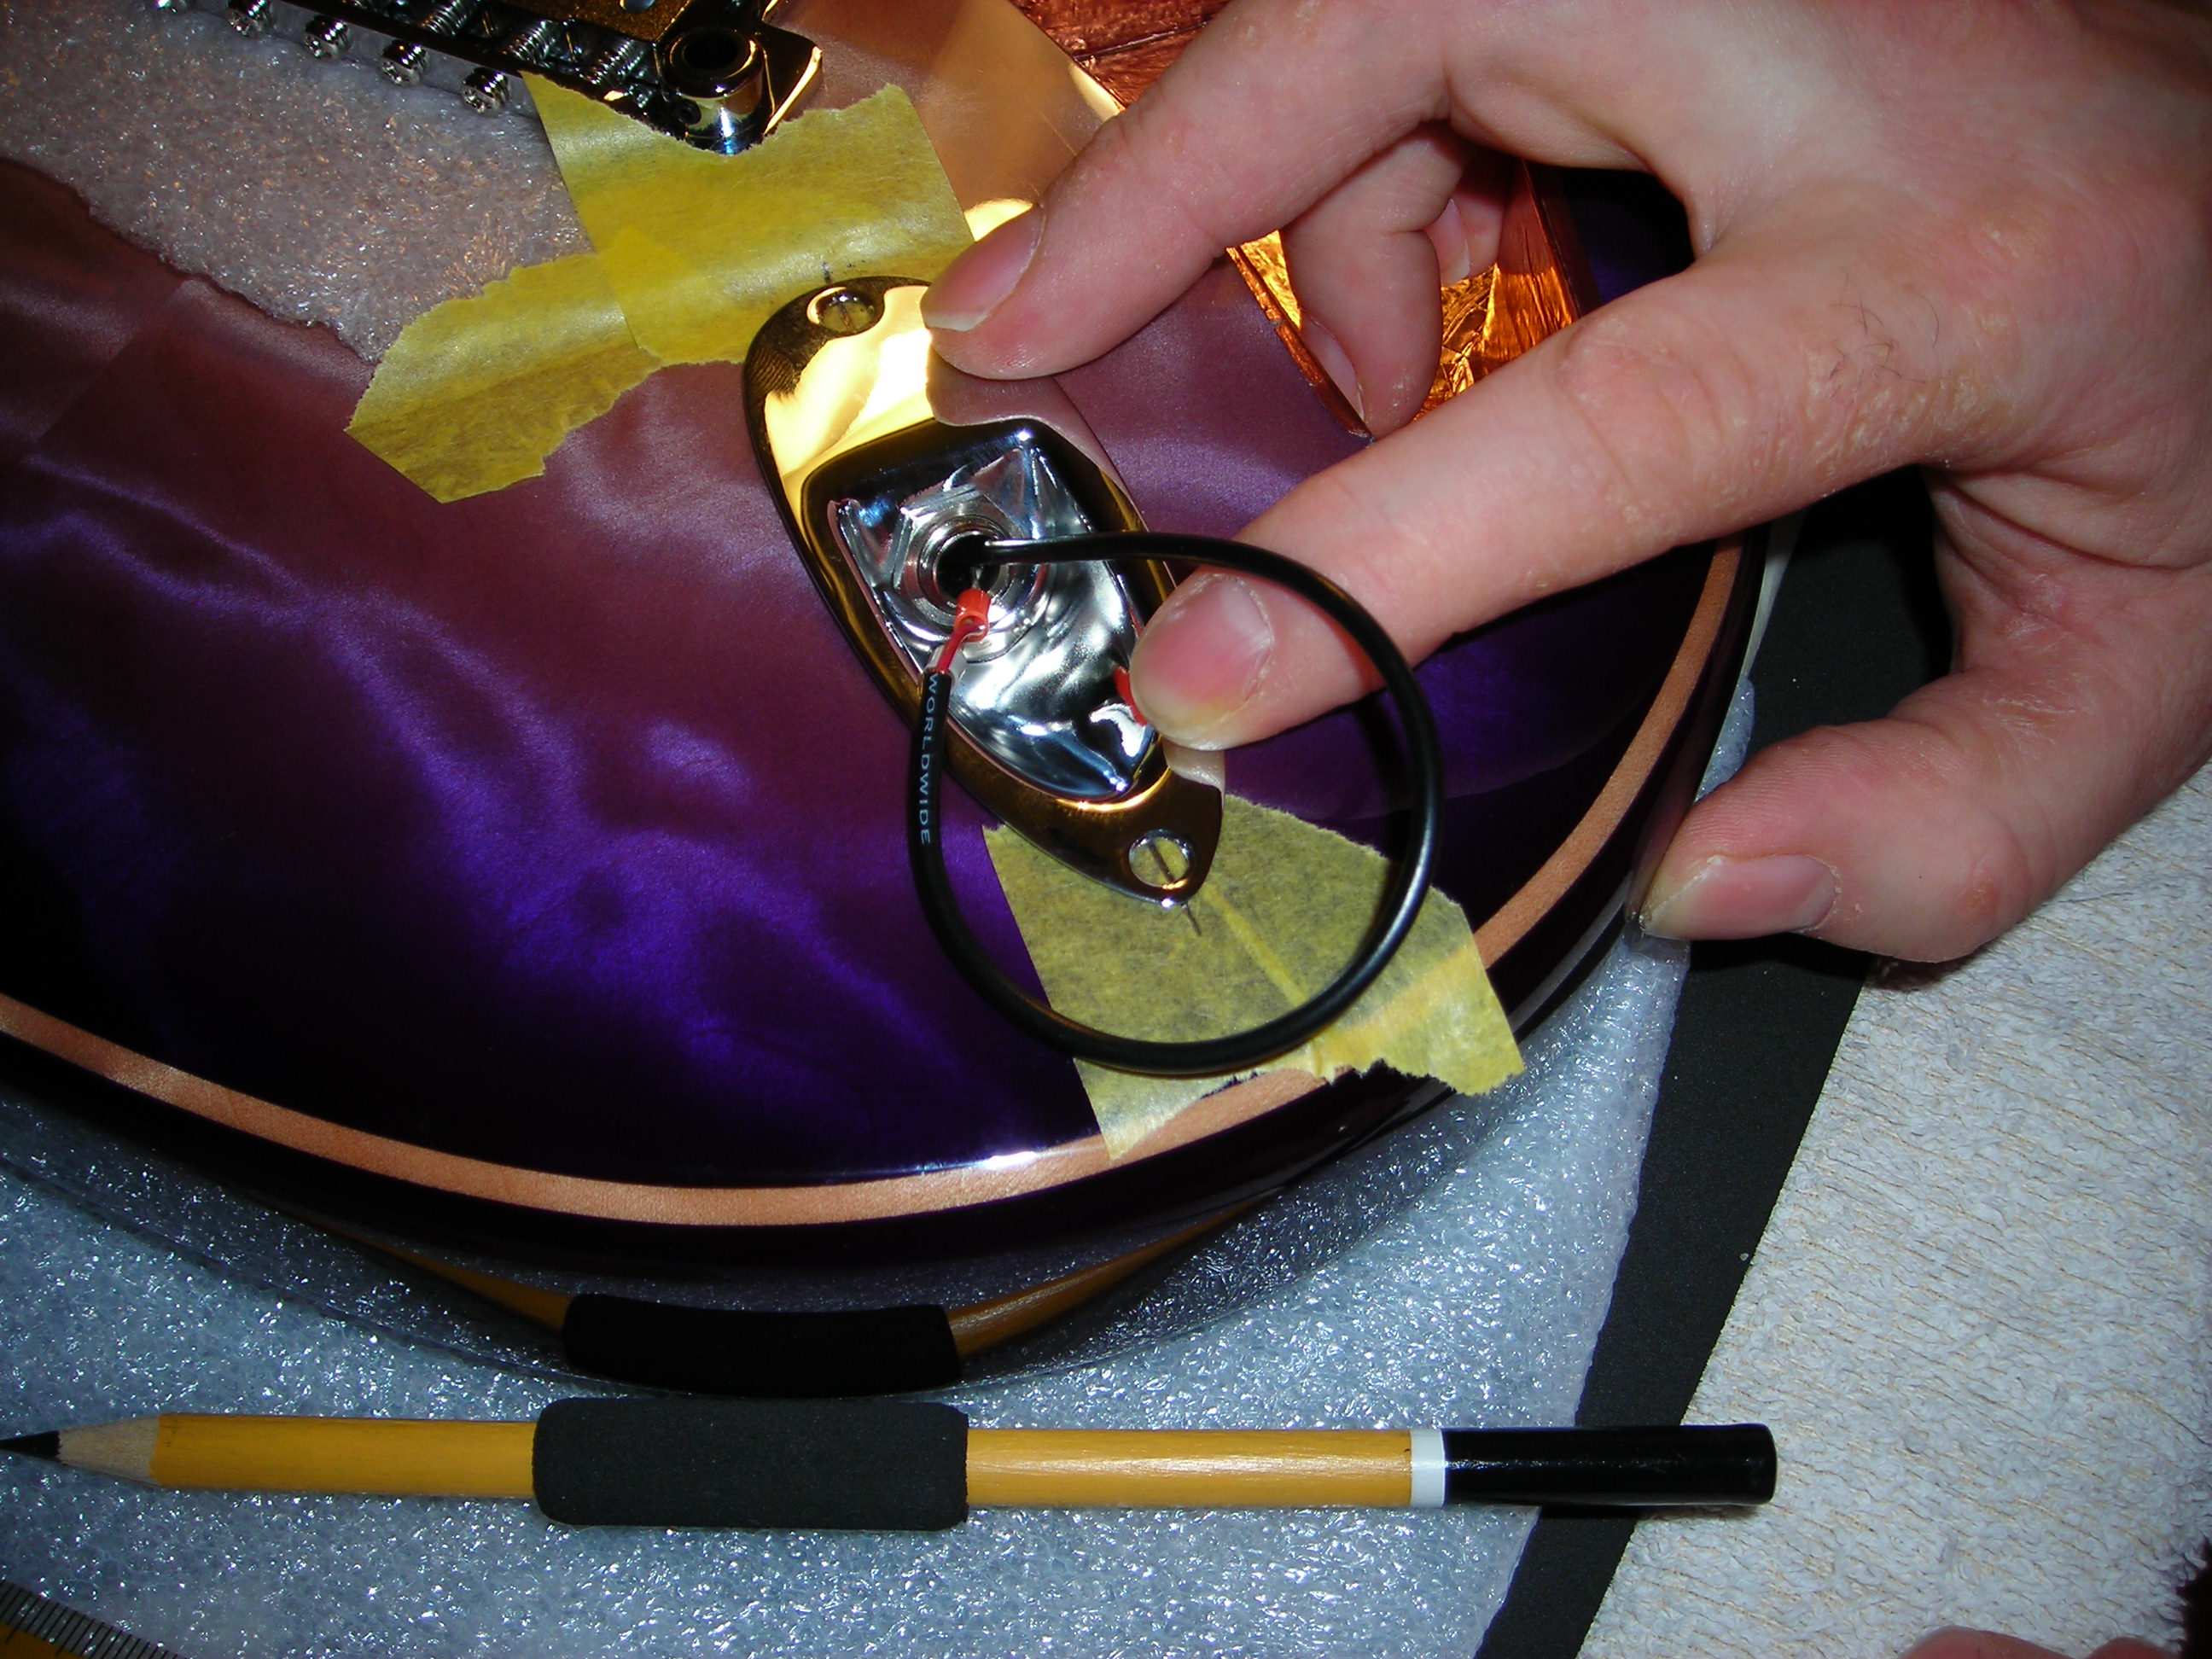
As I wasn't ready to thread the jack cable into the cavity yet but wanted to check positioning I brought it through the socket instead so the plate can sit flush. The jack and cables to it come as part of the Kinman K9 harness used on this build.


Hardware_Fitting_9 by stratamania, on Flickr


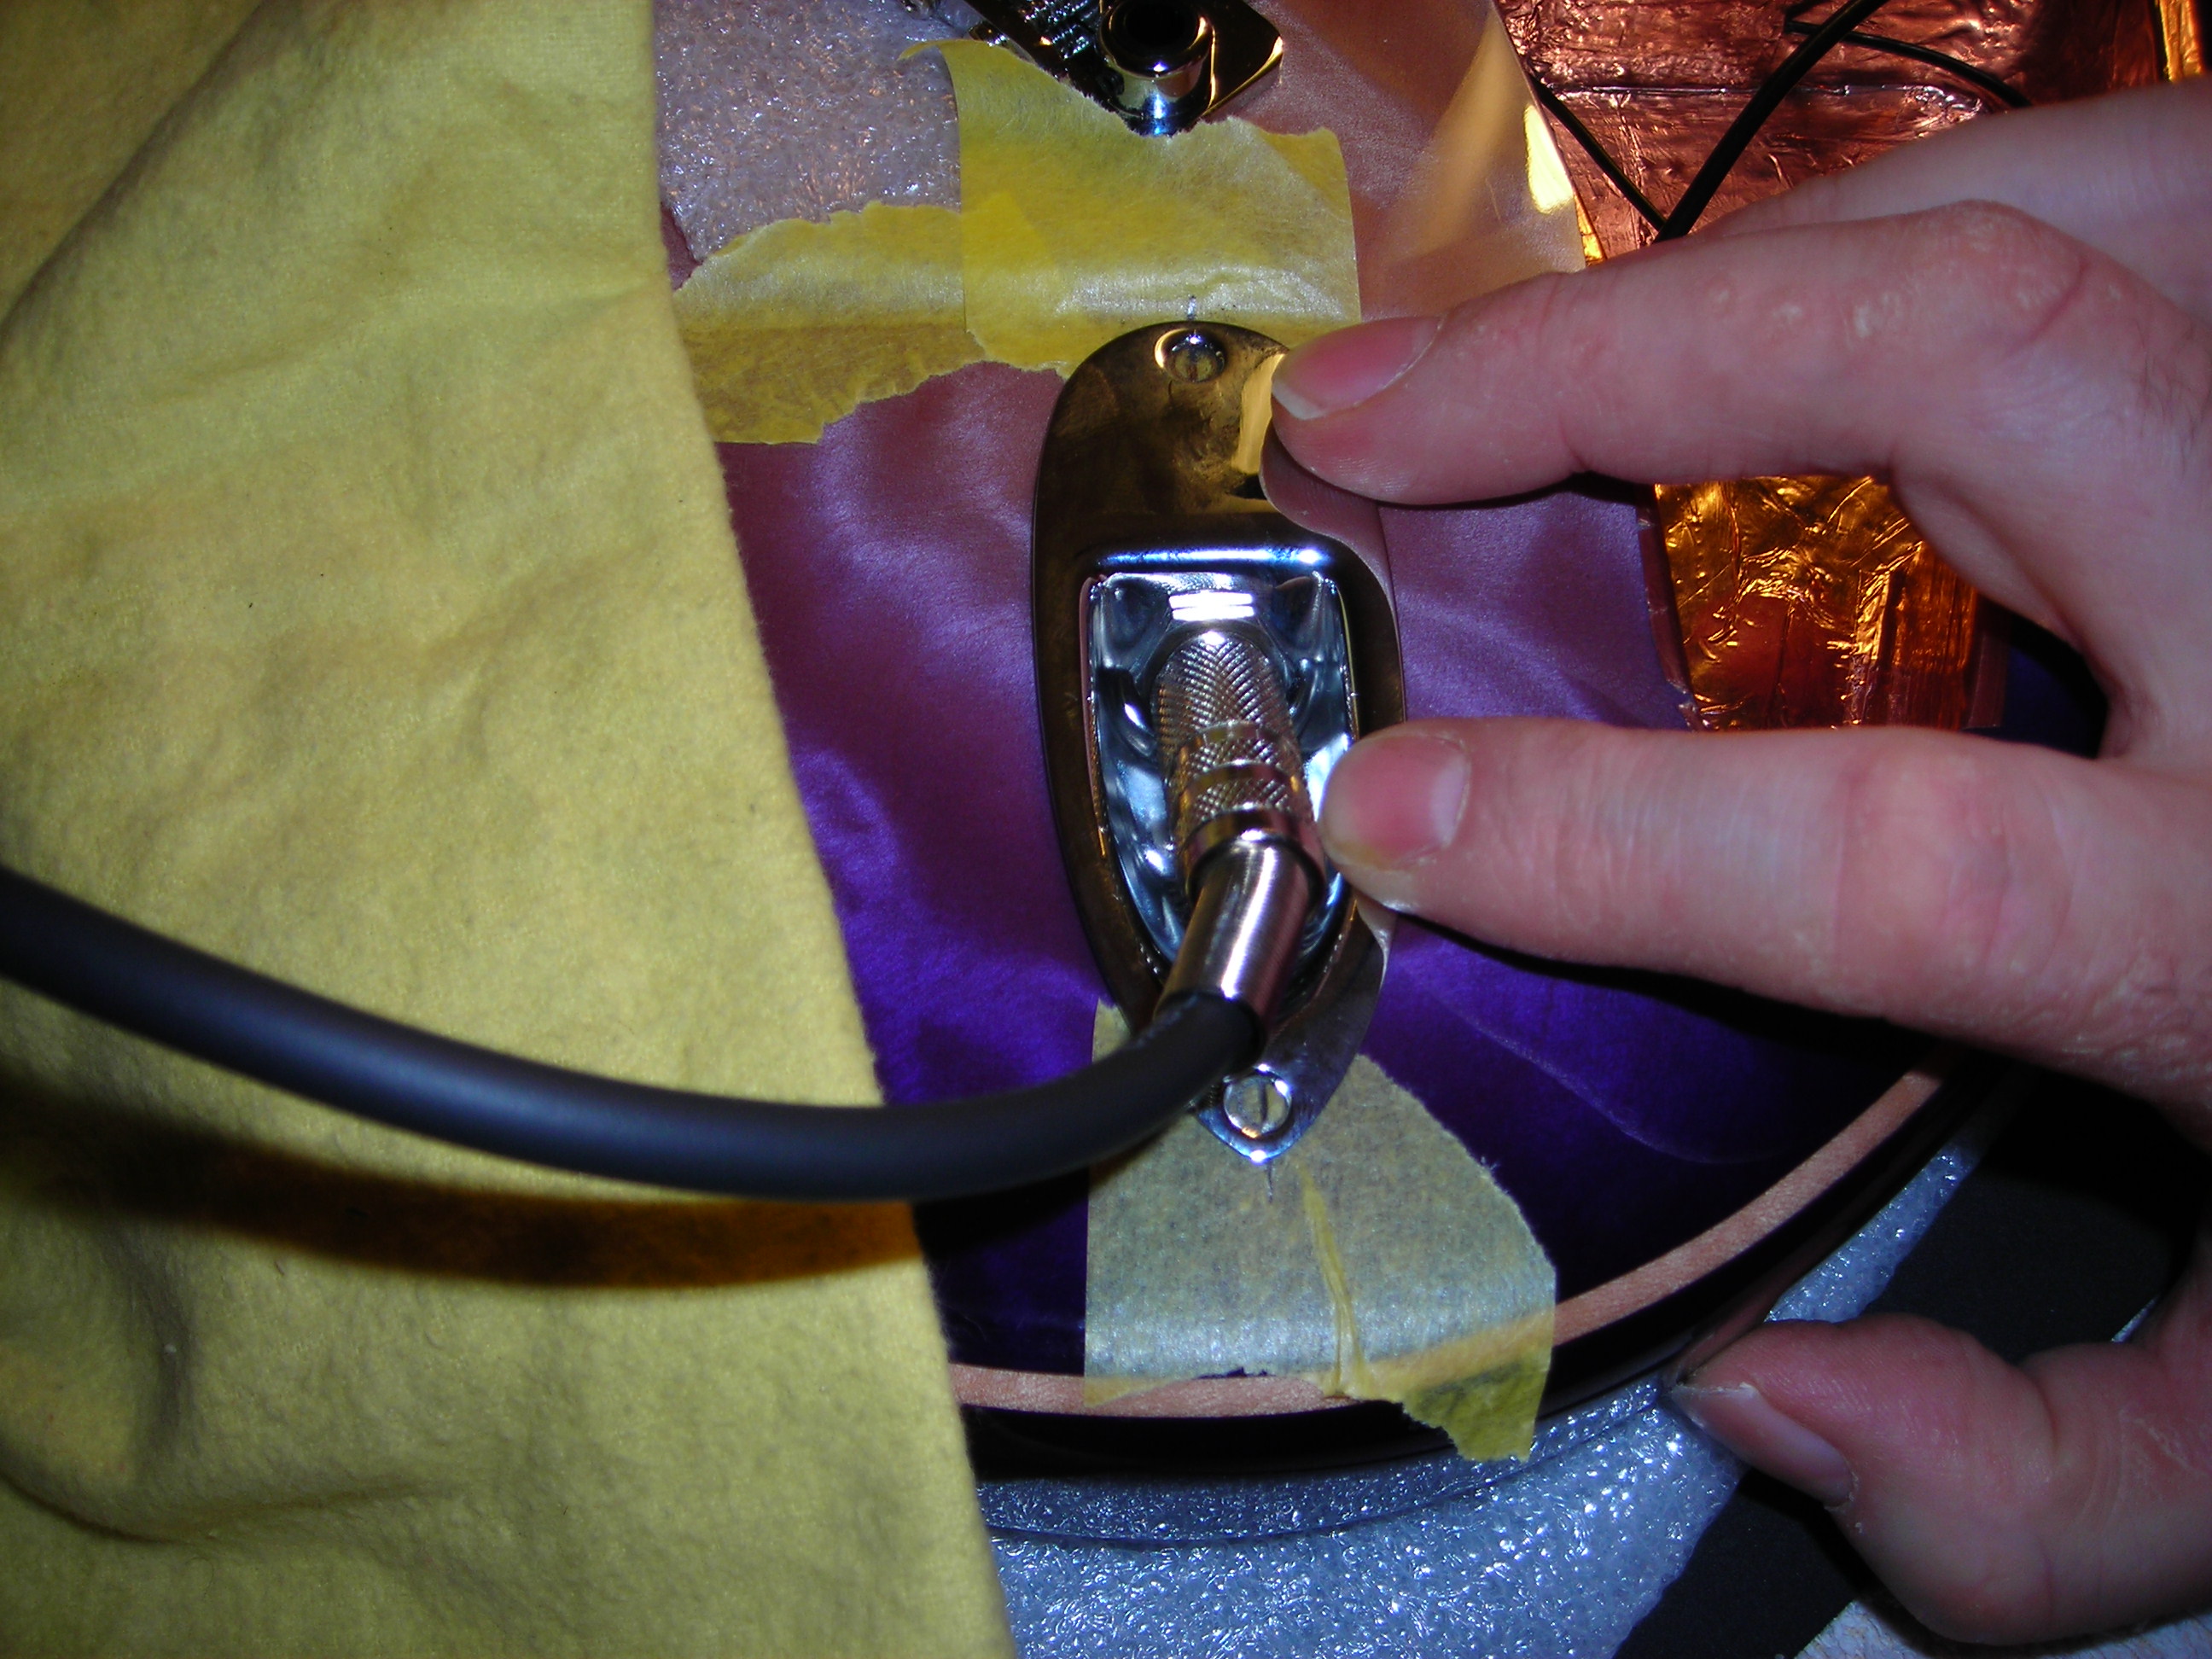
Checking with a patch lead that a plug will fit.

Hardware_Fitting_10 by stratamania, on Flickr

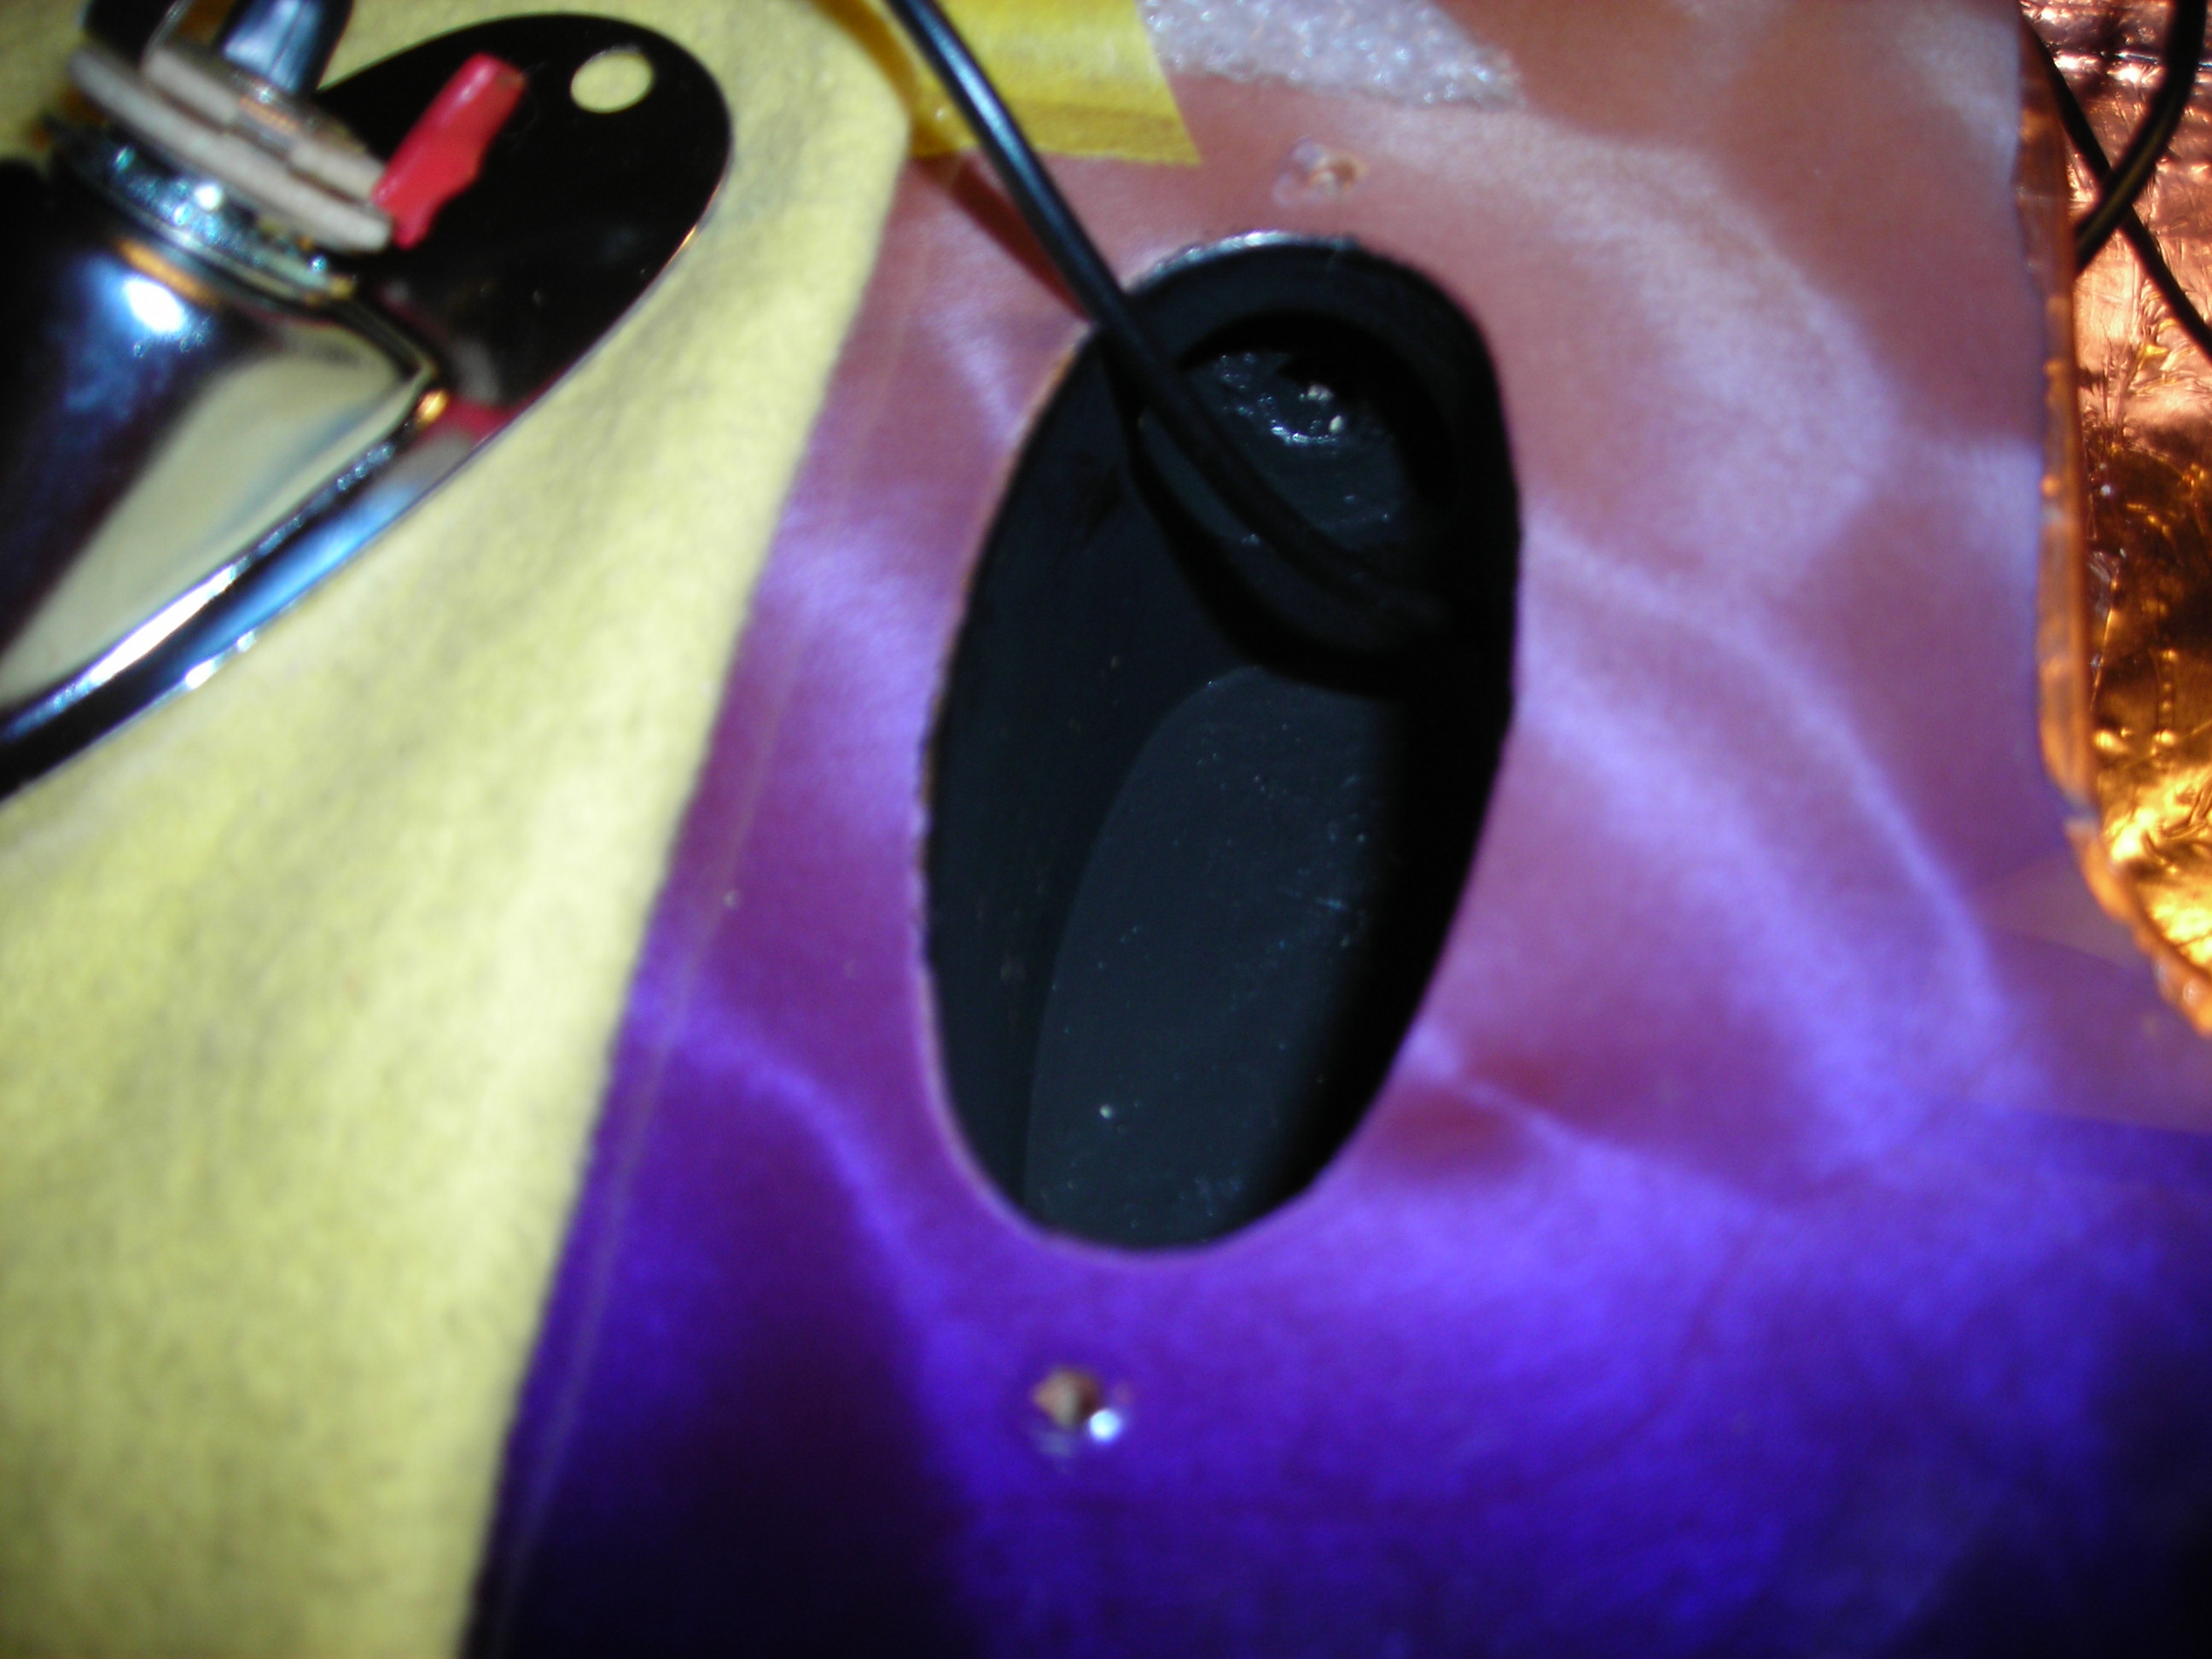
Jack cable threaded through to the control cavity after the holes were drilled and pre-threaded. I noticed that there can be a tendency of the cable to wander into a cavity of the chambering, but its in place now.

Hardware_Fitting_11 by stratamania, on Flickr


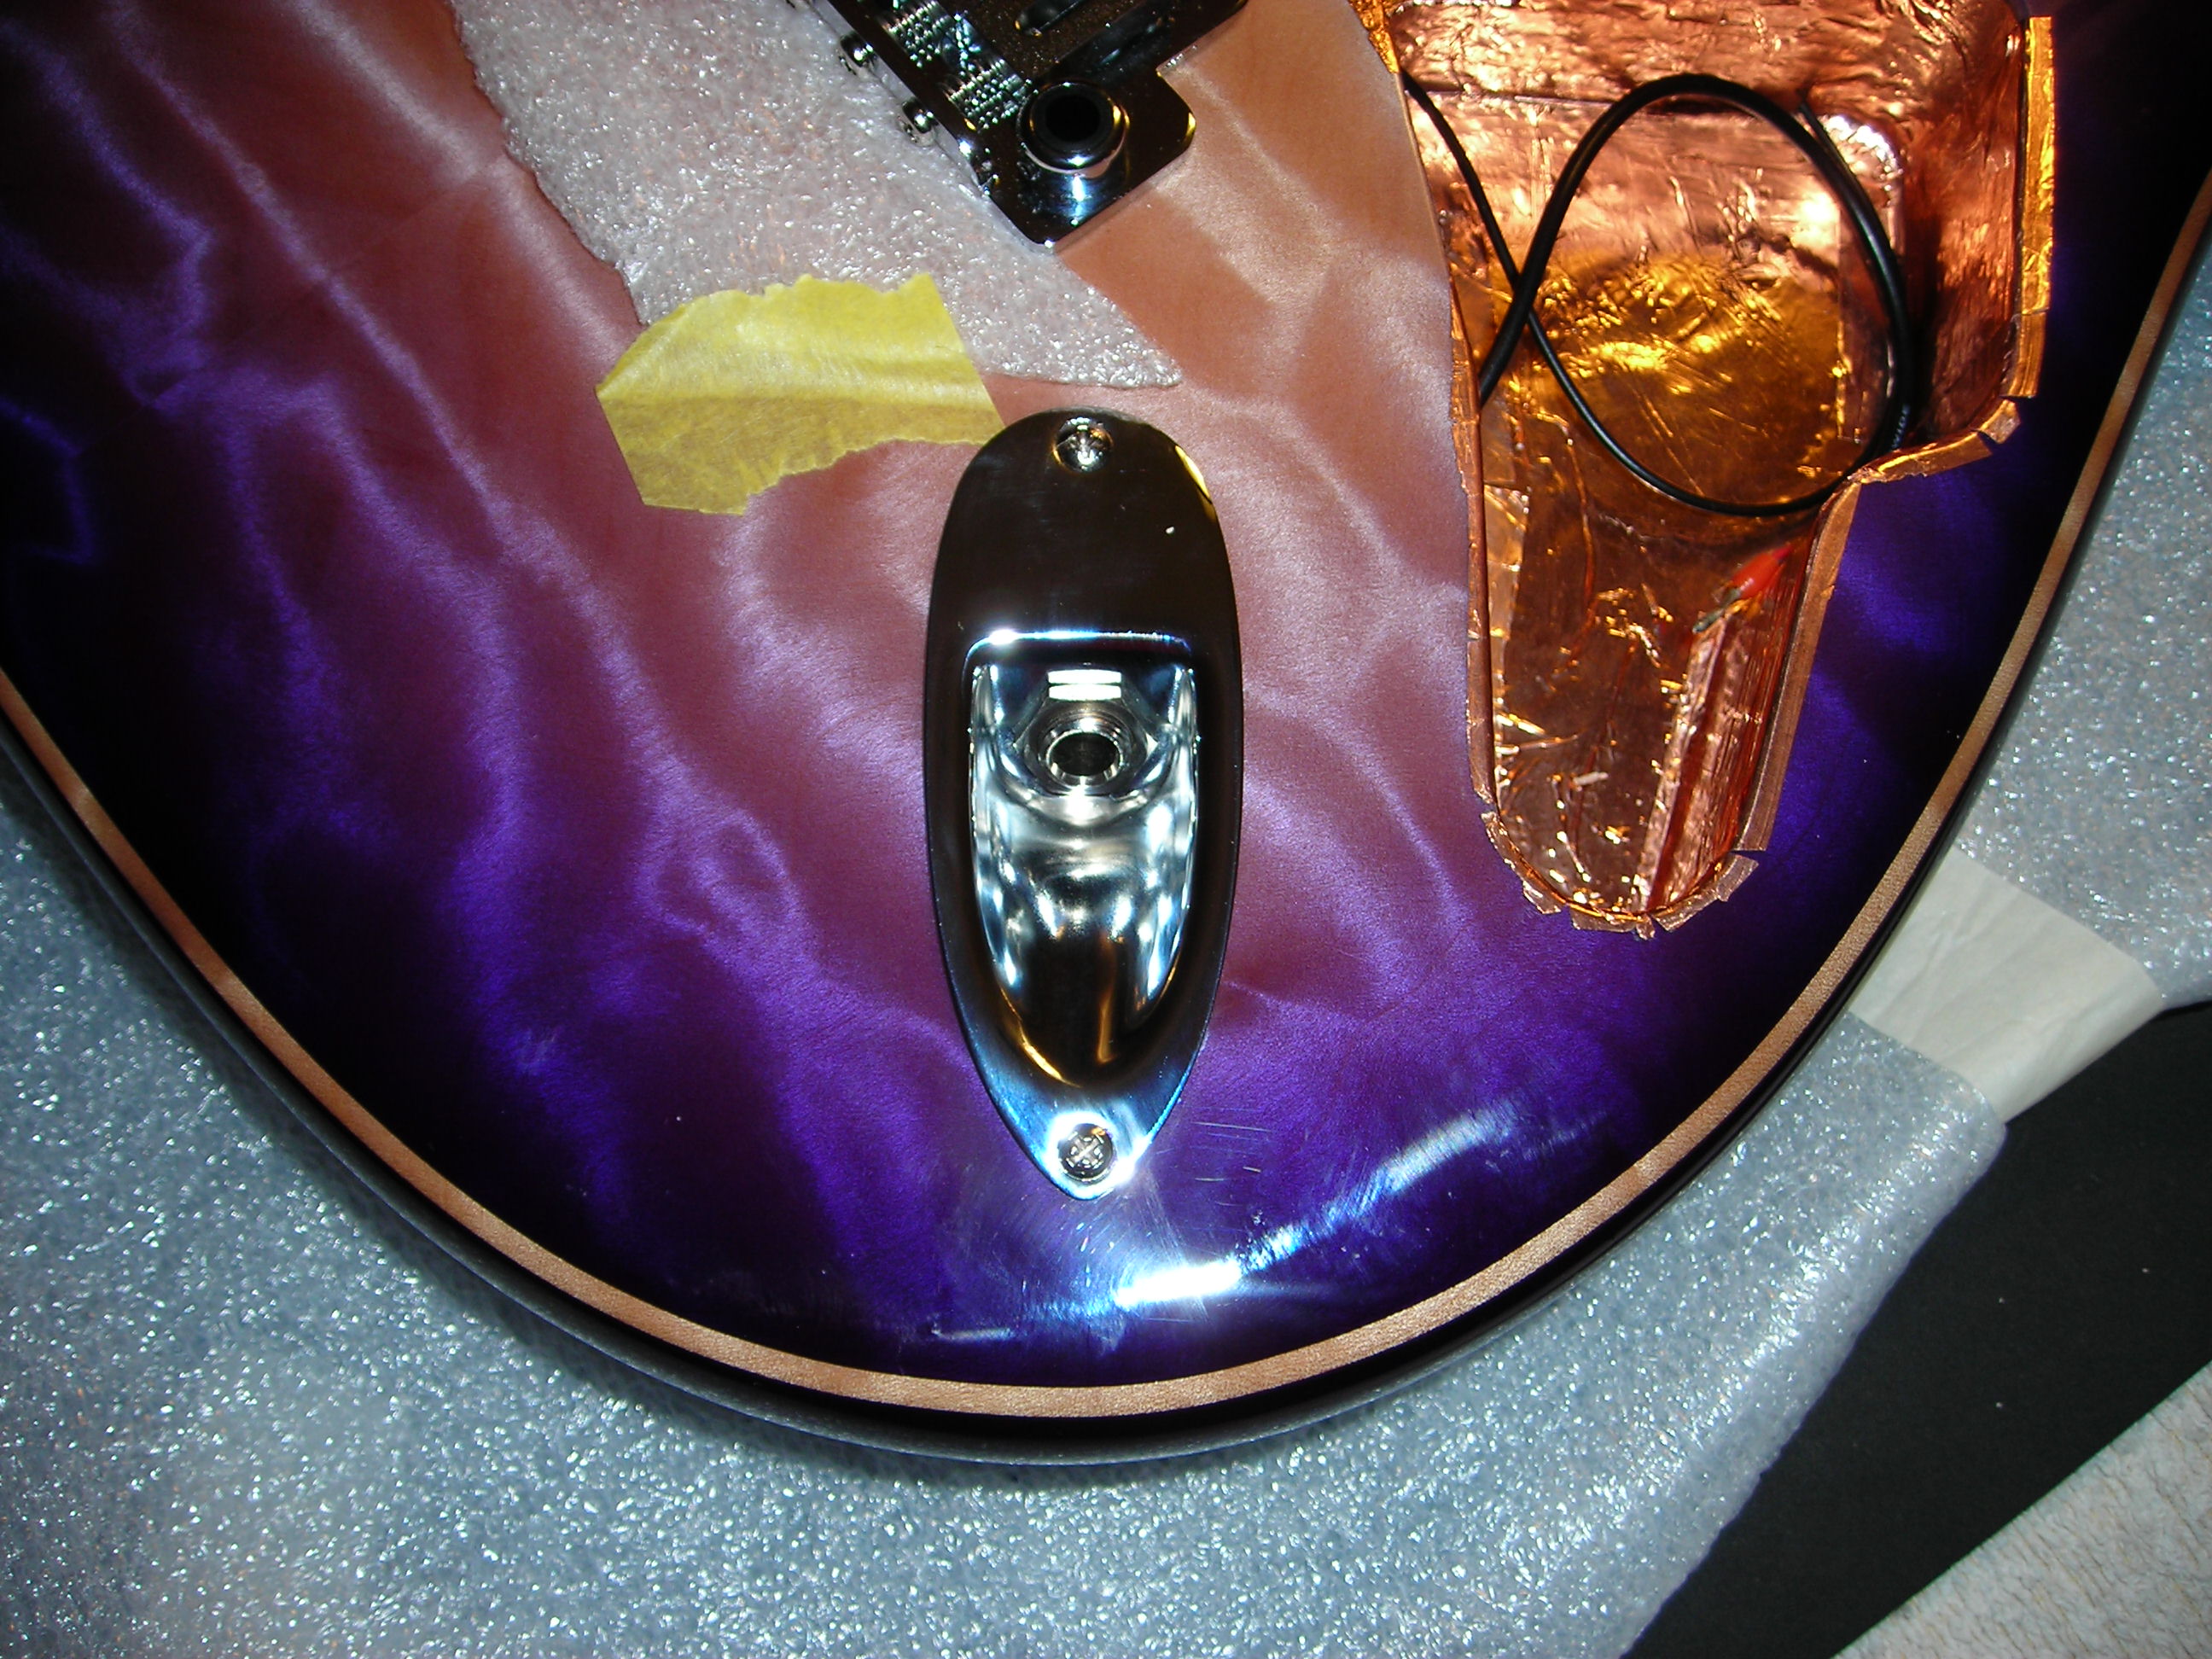
JumbleJumble asked earlier, how the conductive paint would get connected to ground I have placed a small piece of shielding tape from the cavity folded onto the top of the body, the lose screw shown is about to go through it to help secure the connectivity.

Hardware_Fitting_12 by stratamania, on Flickr

Jack mounting was done.

Hardware_Fitting_13 by stratamania, on Flickr


Ok, so that is the thread up to date with the build. So more assembly to do.

Cheers, and thanks for looking.
 
Didn't read closely enough but I laughed a bit at you taping the tremol-no into place and was about to write "dude, that's not how it works"  :toothy12:
 
Cederick said:
Didn't read closely enough but I laughed a bit at you taping the tremol-no into place and was about to write "dude, that's not how it works"  :toothy12:

That is funny  :icon_biggrin:
 
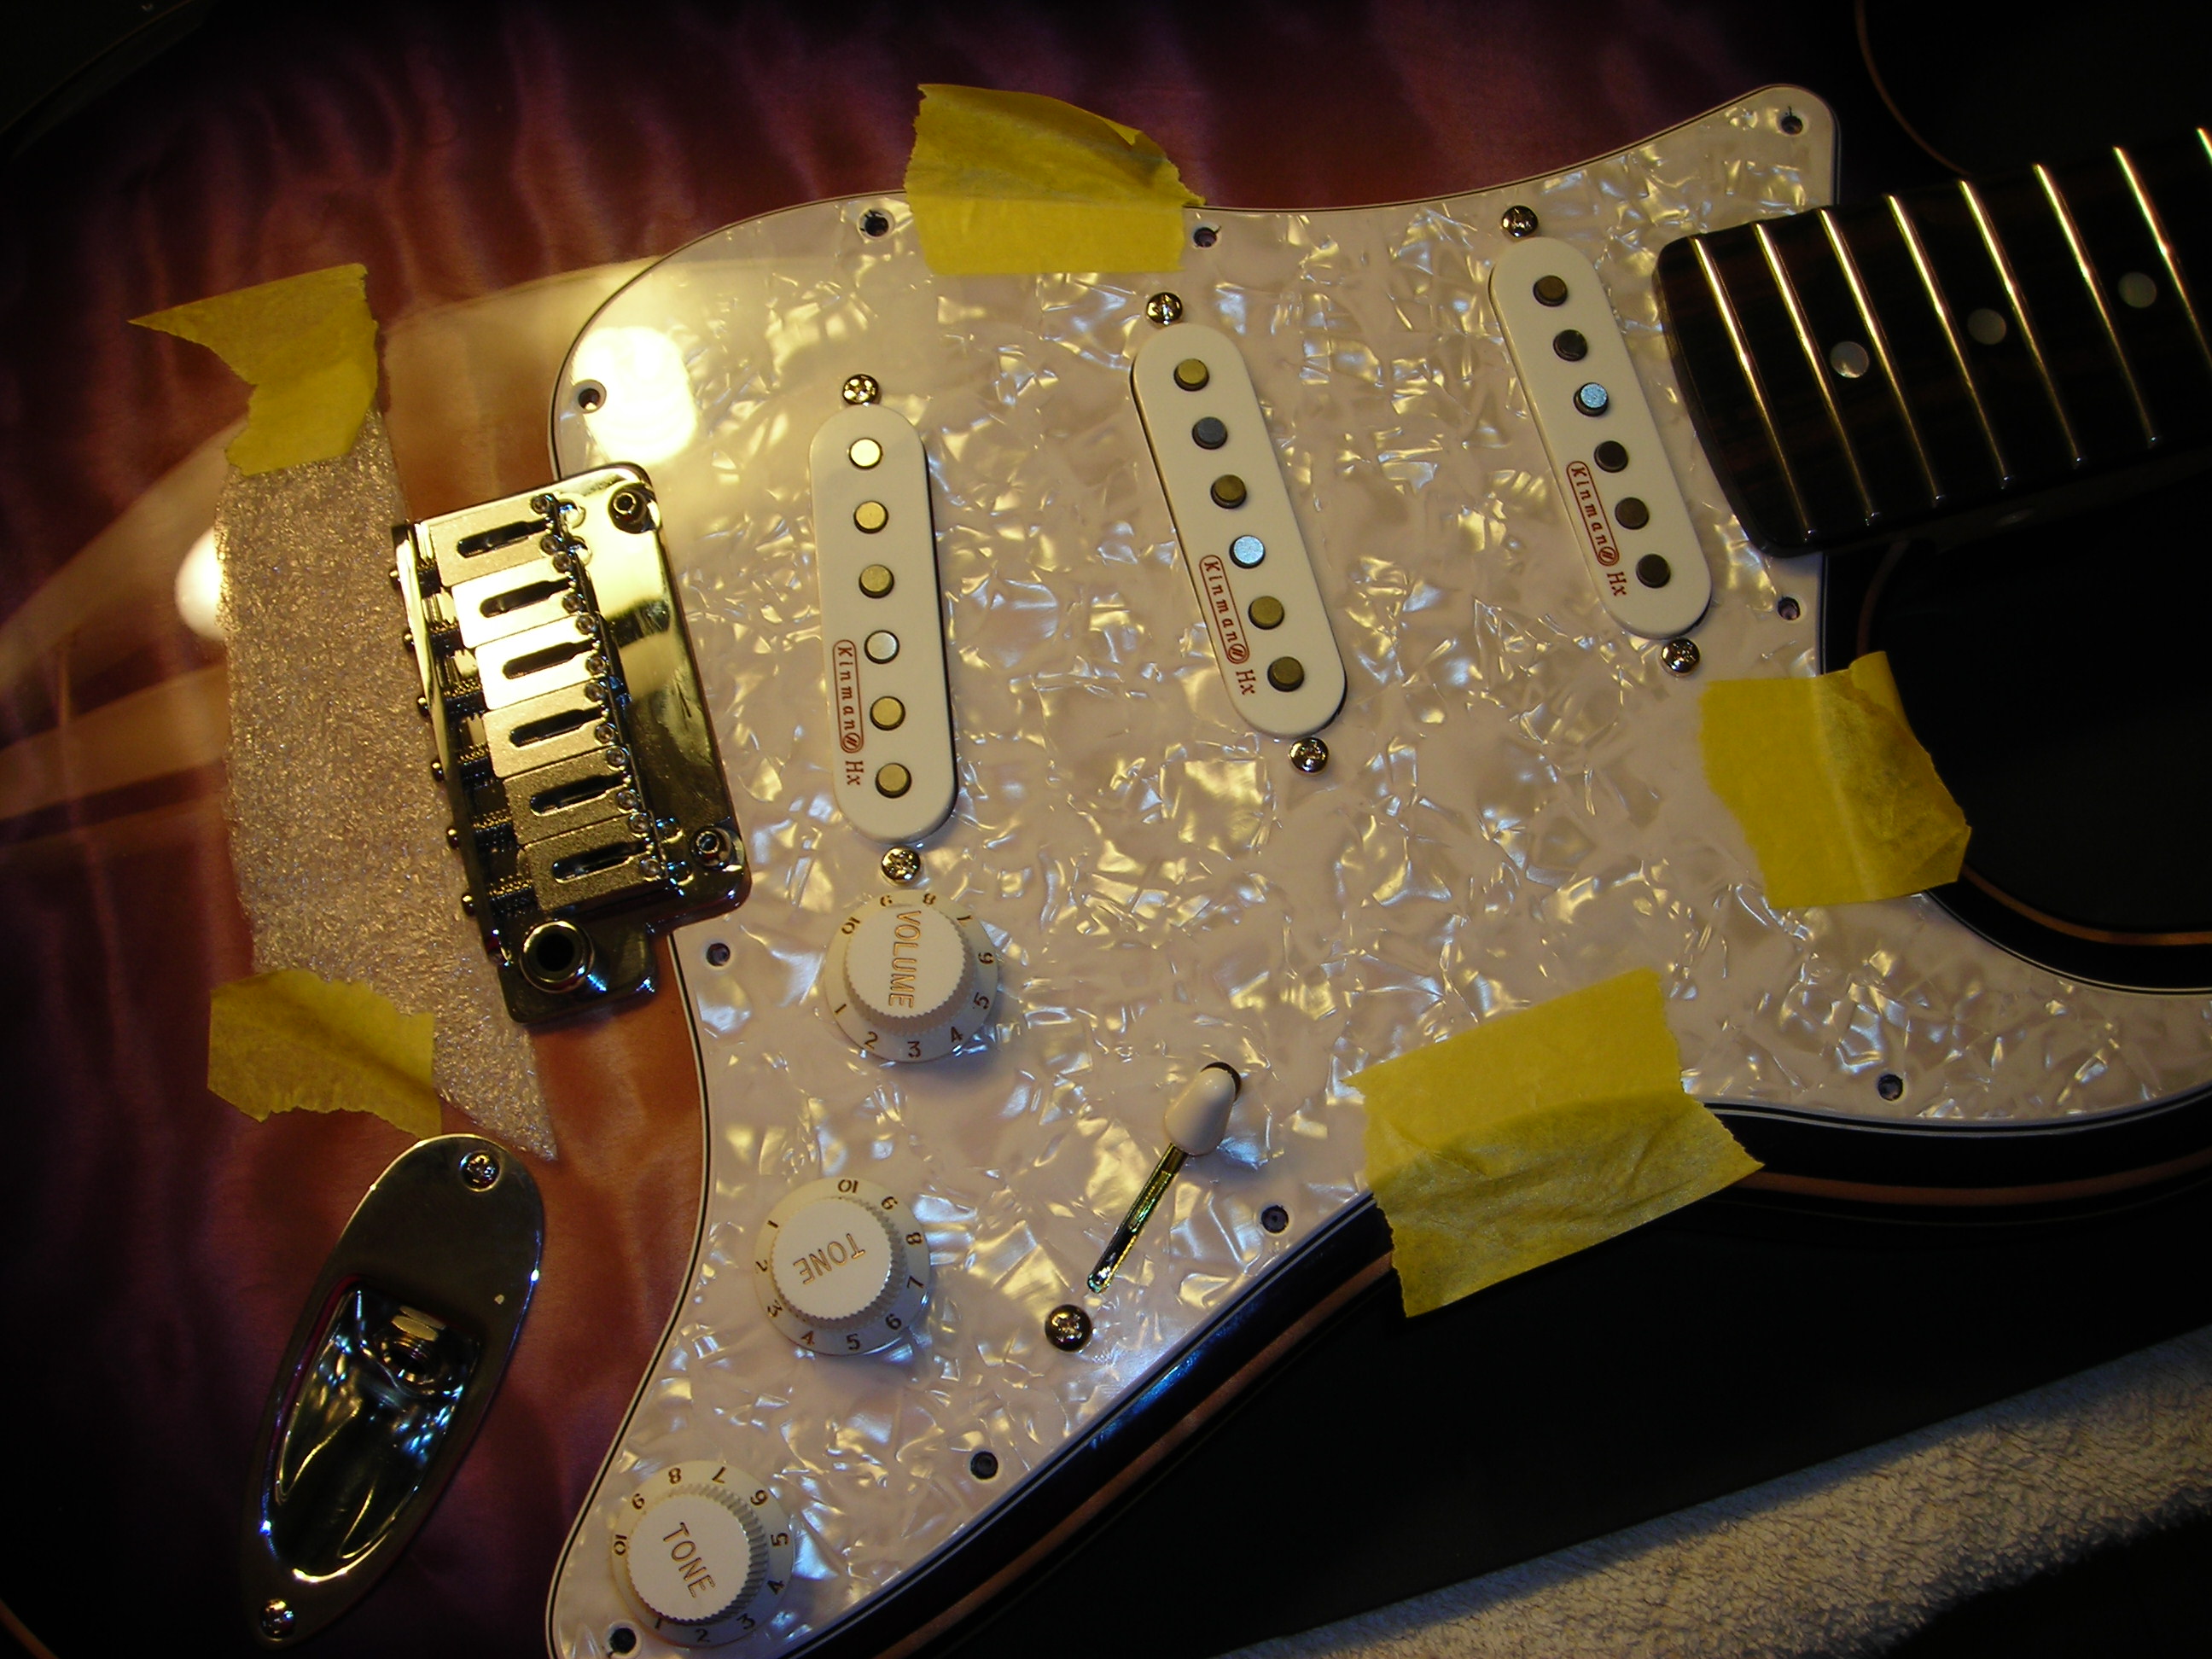
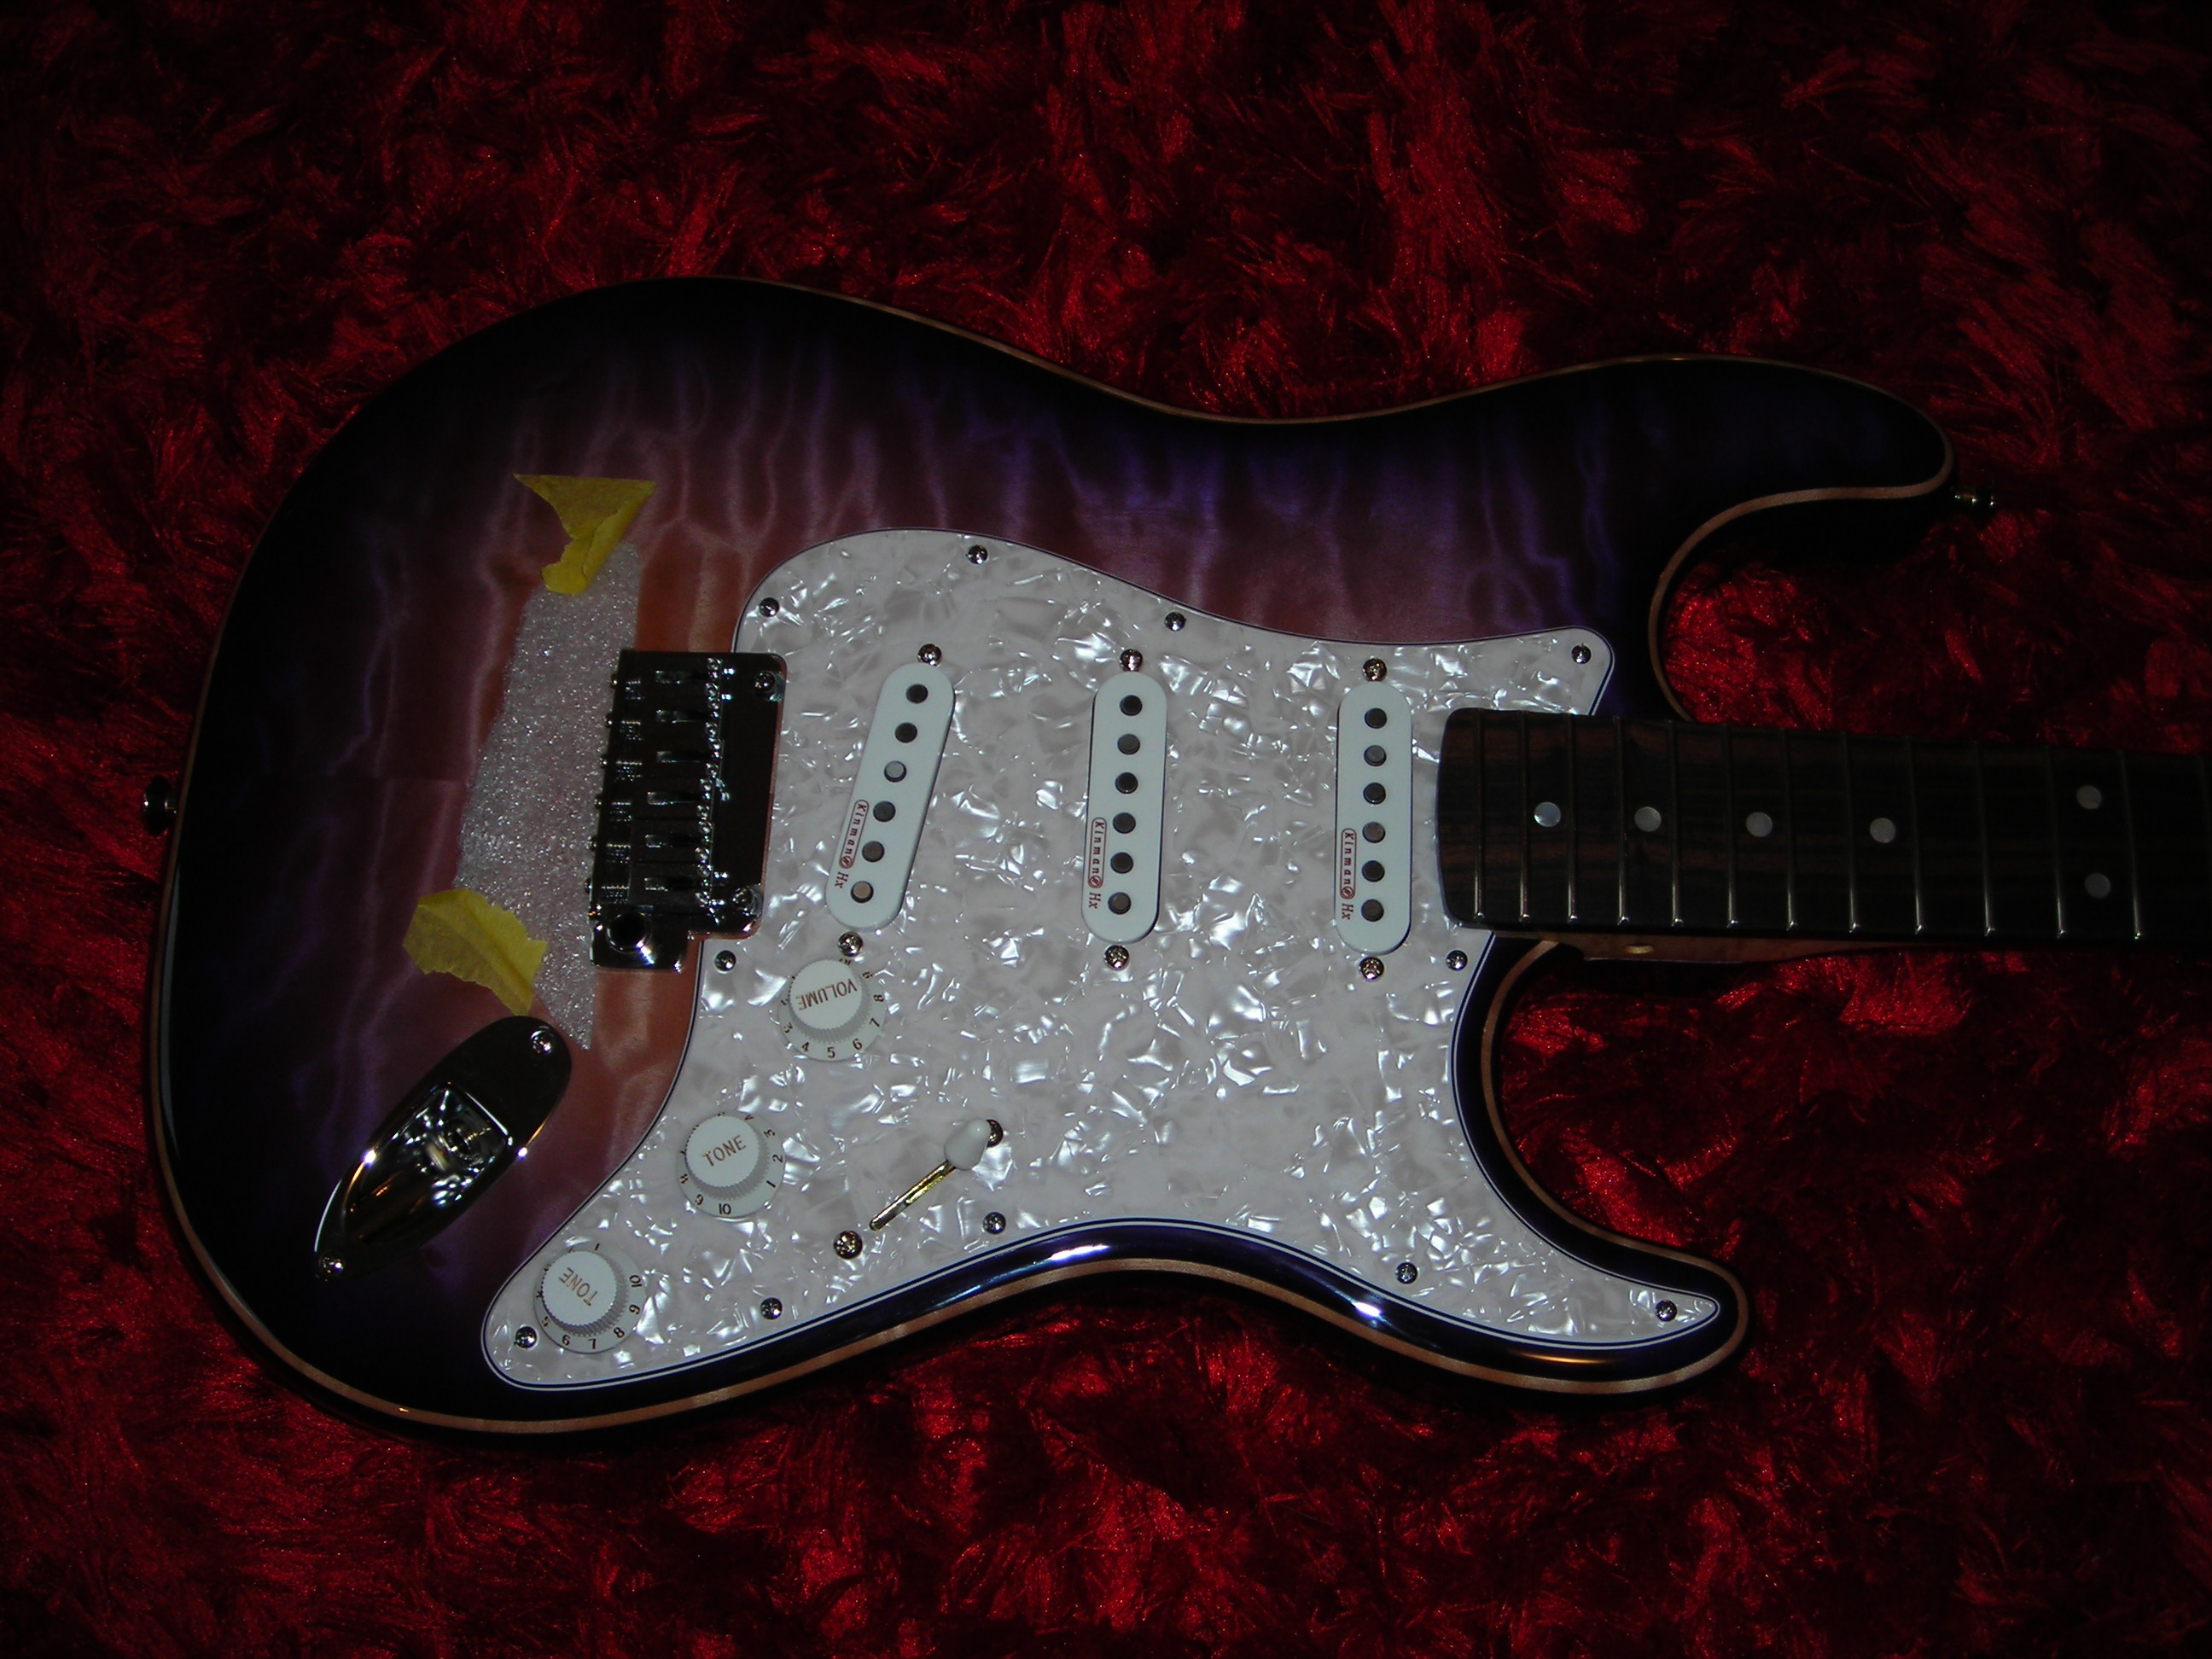
Fitting the pickguard and joining the last wires.

I didnt capture a lot of photos at this stage but the running order of getting the pickguard screwed down to the body was as follows.

  • Dry fit the pickguard complete with pickups into the body.
  • Dry fit the neck to the body
  • Align outer pole pieces of the pickups with the line of where the outer E strings will run
  • Use tape to hold pickguard in position for outer E alignment
  • Mark where the pickguard holes need to go
  • Remove neck and pickguard
  • Use an awl to give a start for the 11 pickguard holes at the previously marked positions
  • Drill small pilot holes using masking tape as a depth guage for the screws
  • Countersink the holes slightly to avoid or reduce popping finish
  • Pre thread  2 holes
  • Connect the tremelo grounding wire and jack wire to the control harness
  • Plug into an amp on low volume to tap test the pickups and controls are giving the expected signals and troubleshoot if needed
  • Unplug the guitar
  • Dry fit neck
  • check alignment again
  • screw two holes into position (one at either side of the pickguard)
  • Remove the neck
  • prethread the other nine holes
  • screw the nine screws into position


So the above is an overview of how I went about it. How I aligned the pole pieces was using some strong red thread and running from the low E of the bridge to its nut slot round the machine head to the high E machine head and then via its nut slot to the high E bridge position gave me a visible line at each side to work with.


Connect the tremelo grounding wire and jack wire to the control harness.

Pickguard_Mounting_1 by stratamania, on Flickr

Dry fitted pickguard and neck with holes marked out

Pickguard_Mounting_2 by stratamania, on Flickr

Pickguard into position


Pickguard_Mounting_4 by stratamania, on Flickr

It's getting close to done now  :)

Thanks for looking and so on...
 
:icon_scratch:  Hope your using wax on your screws.

Only that you don't mention that.

Nice work ....... continue on  :icon_thumright:
 
Updown said:
:icon_scratch:  Hope your using wax on your screws.

Only that you don't mention that.

Nice work ....... continue on  :icon_thumright:

Thanks and indeed, I am using Behlens Slideez for thread lubrication.
 
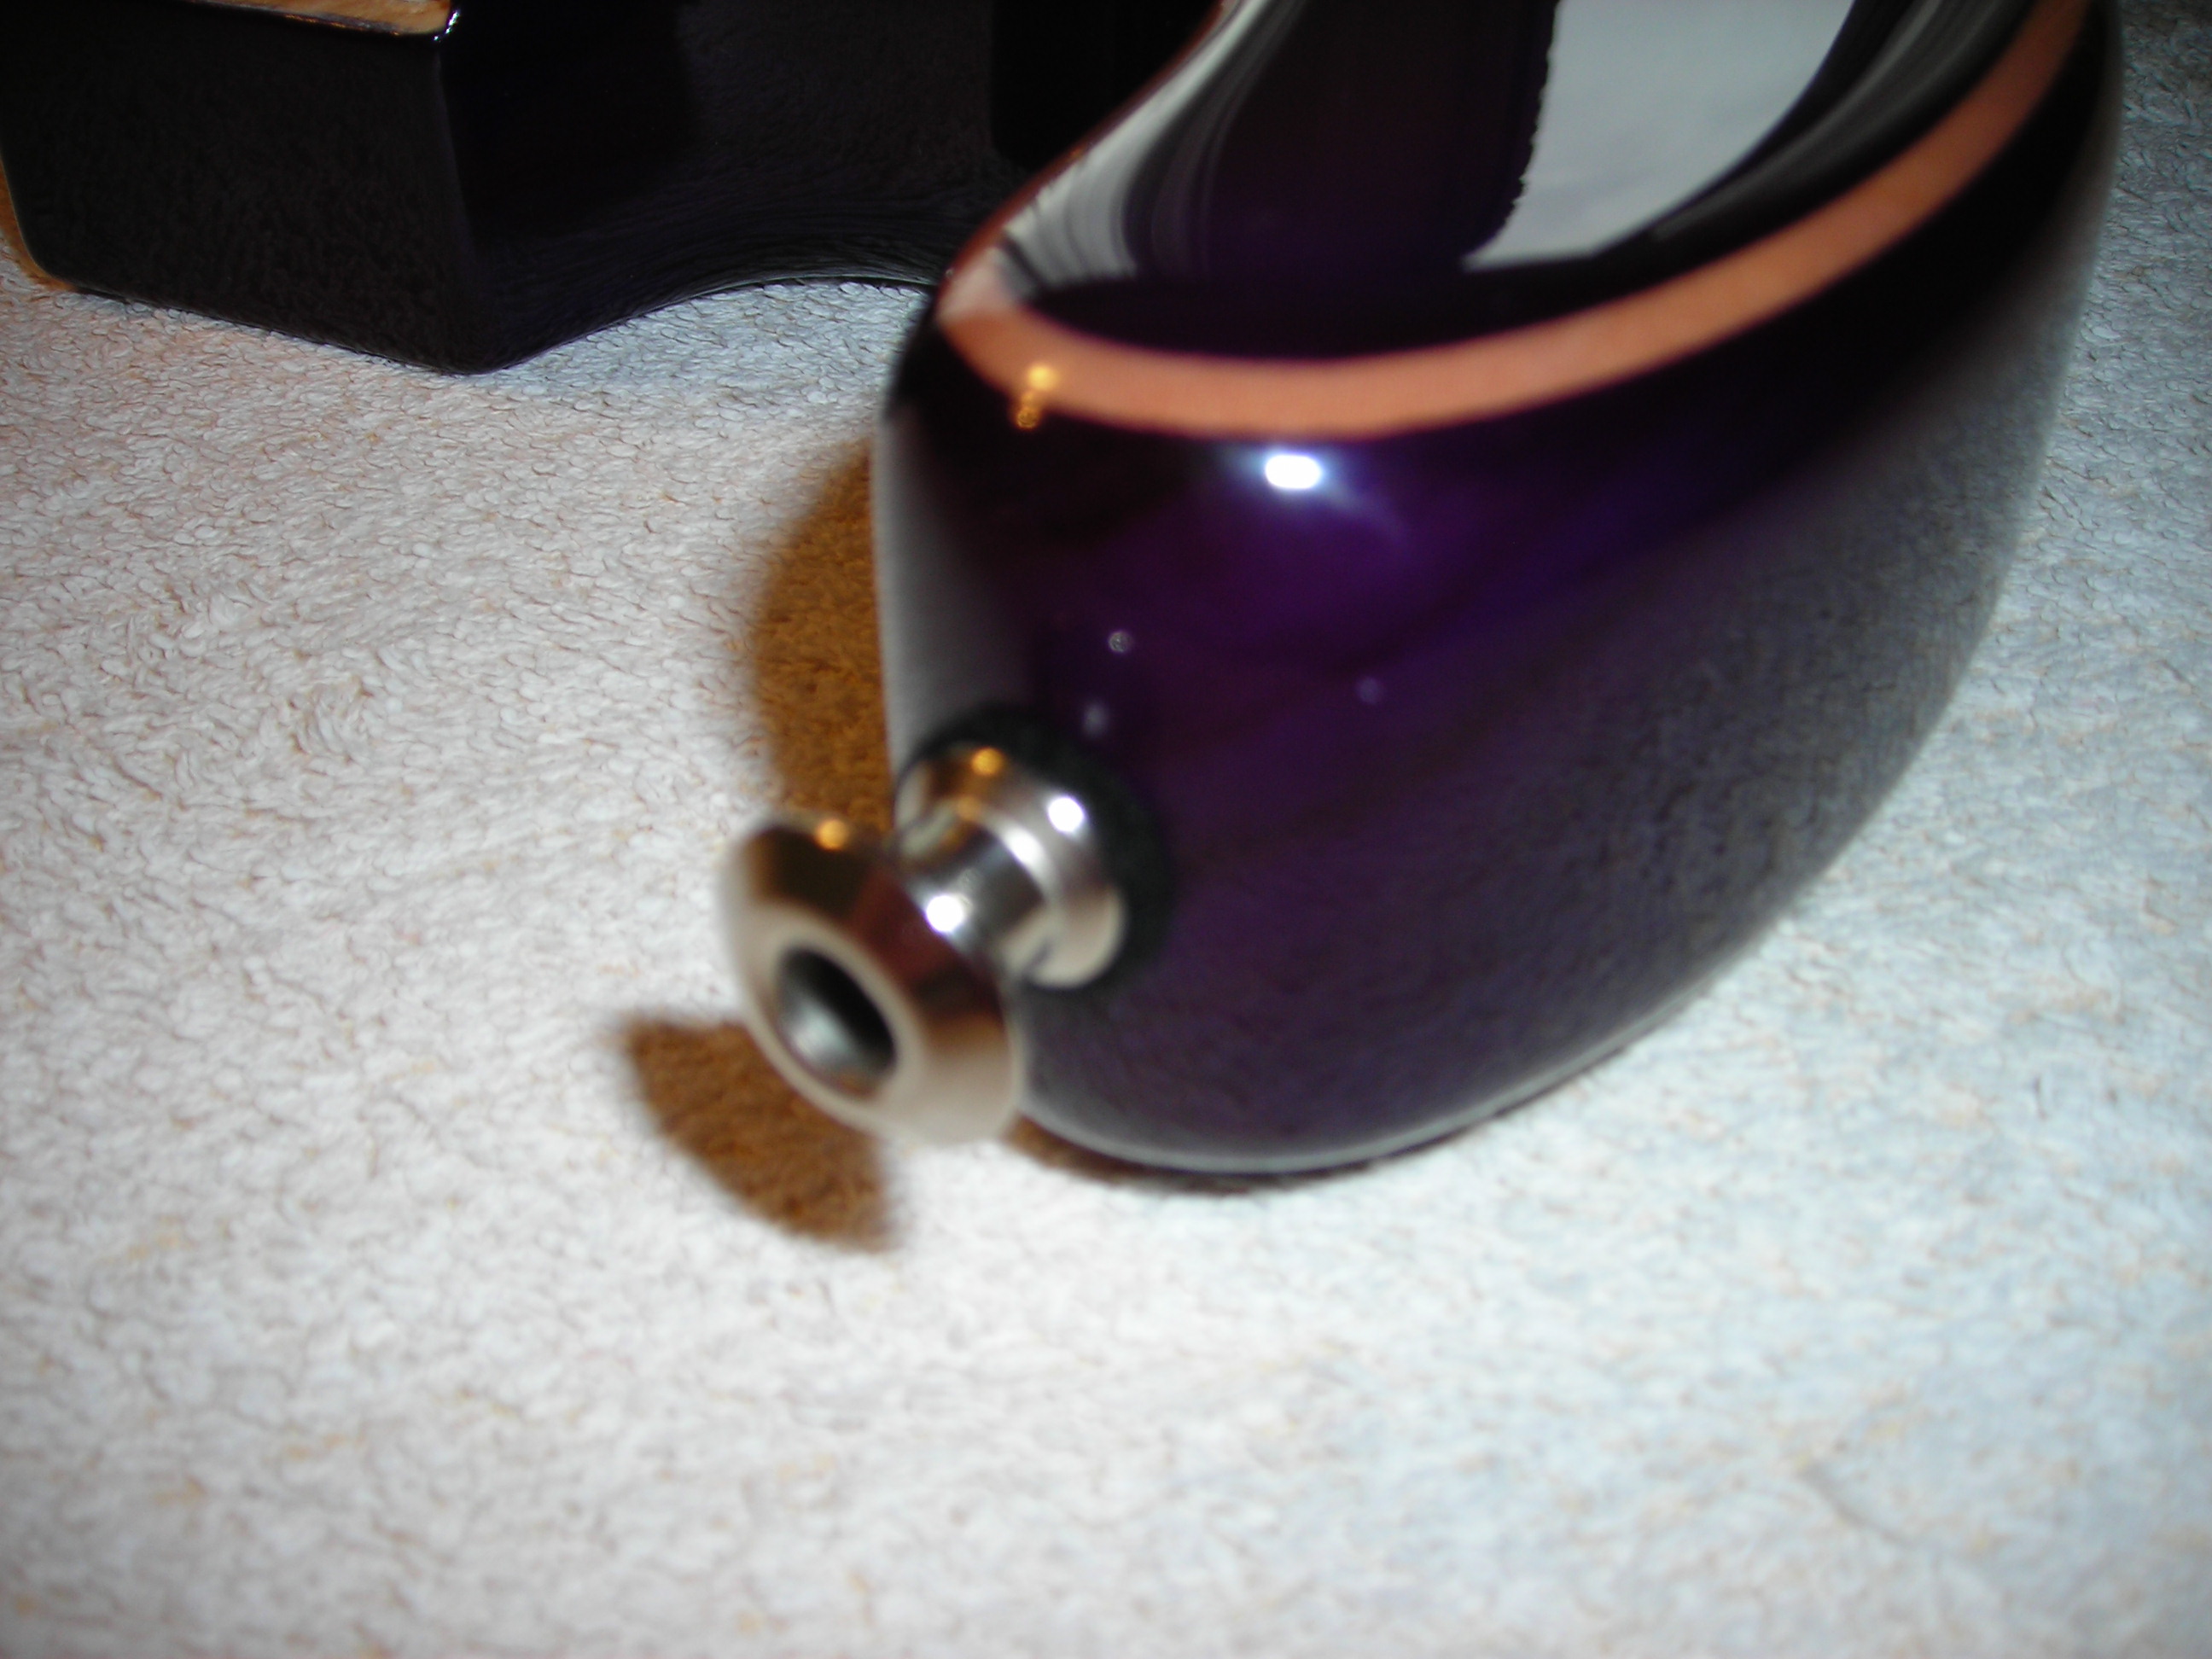
Straplocks Fitted

A quick note on the choice of Strap locks used here. They are Dunlop Straplok, these come in two types Flush mount and Dual Design which are the ones used here. Essentially there are two parts to these straplok buttons, the part that goes onto the body and the part that the strap then locks in. The two can then push together and form a solid connection. Fender now use these on the Blackmore and Malmsteen Strats and are the flush mount. But this means you can not use a strap normally without the locking part fitted. Also as this body is chambered I was a little concerned to mount the flush mounts where the screws may just hit a chamber.

So I have gone for the dual design, I can use a strap without any mounts if needed or use one of the straps I already use on other guitars with the flush mount system.

In the instructions provided by Dunlop it tells me that a 7/64" drill is to be used to 7/8" deep, and to use a Phillips #2 screw head with wax or soap. This is good when this type of information is supplied.

The US uses Imperial measurments, but in the UK and Europe its all metric. Ironic in some ways that the UK was an imperial measurement haven for a long time.  Anyway so 7/64" = 2.7781mm so something around 2.5 mm would be fine and 3mm would be too big. I checked this also by looking at the screws, which are also self tapping so no pre-threading needed here.
When I drilled the holes I did feel the tip of the drill touch a chamber at both points of the bottom of the body and on the upper horn so not using Flush mount was a good choice here. Obviously if a solid body is used this isnt a concern.

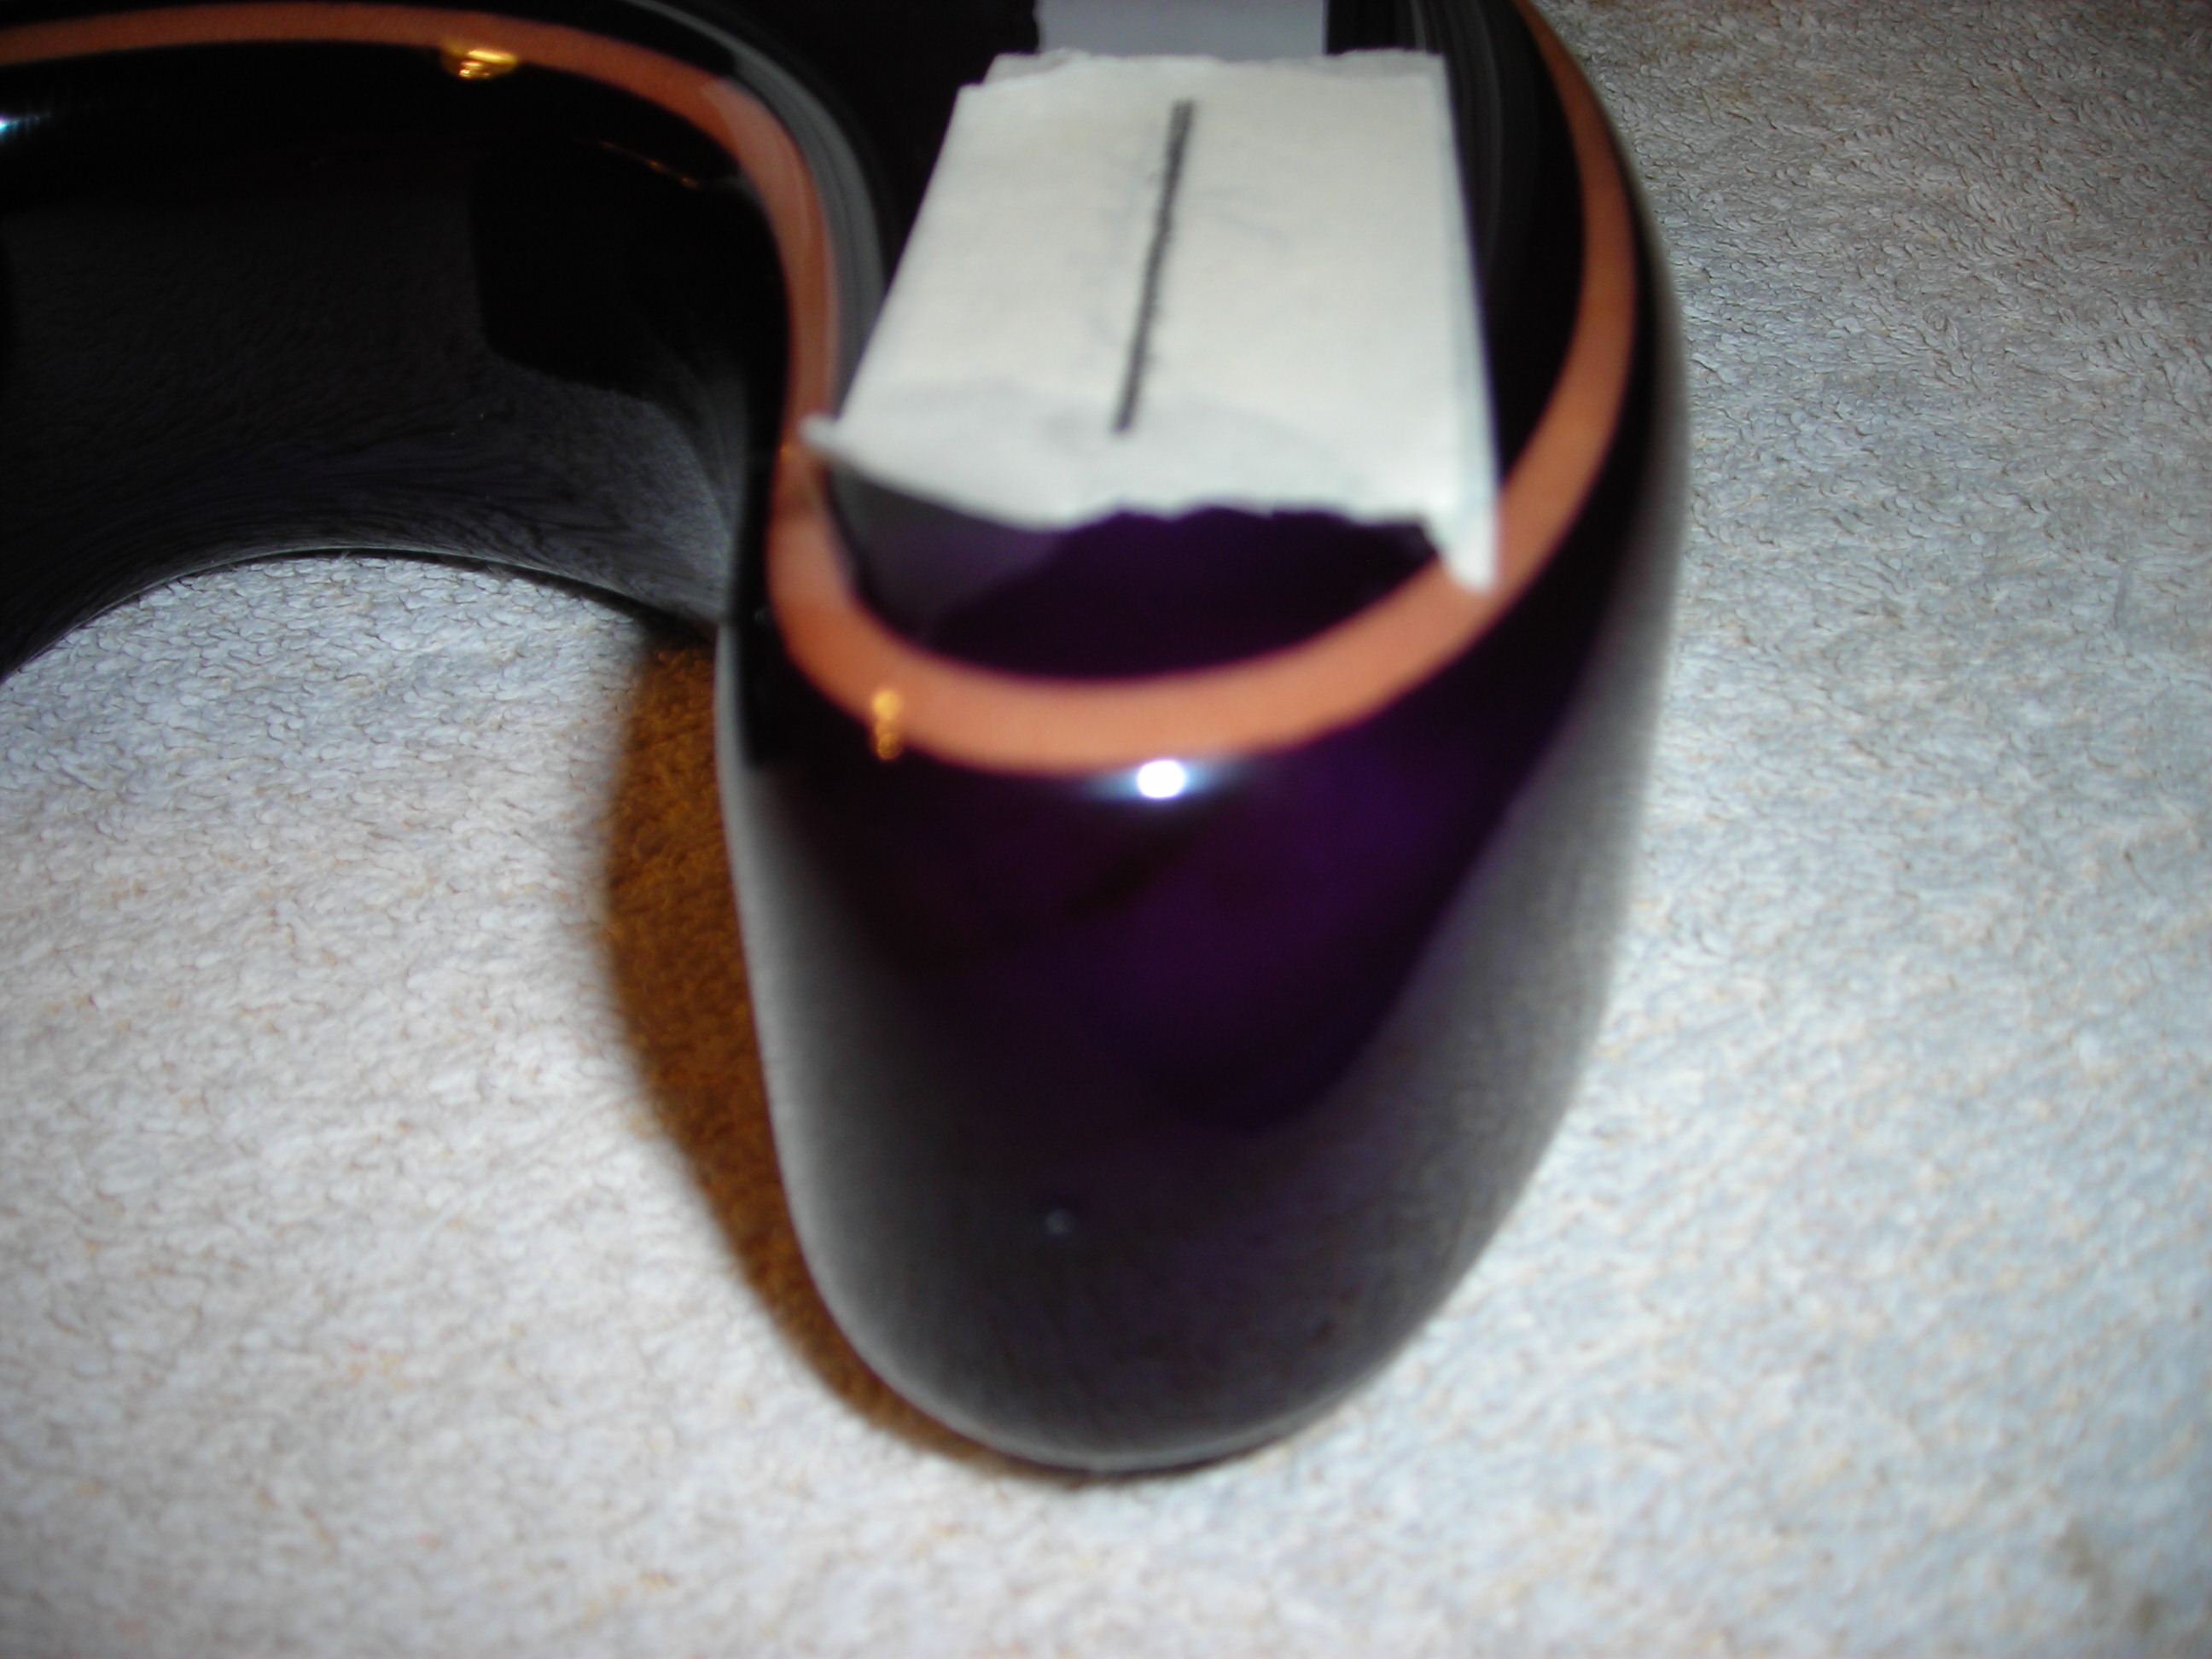
Marking the position for the holes on masking tape.
Straplocks_1 by stratamania, on Flickr

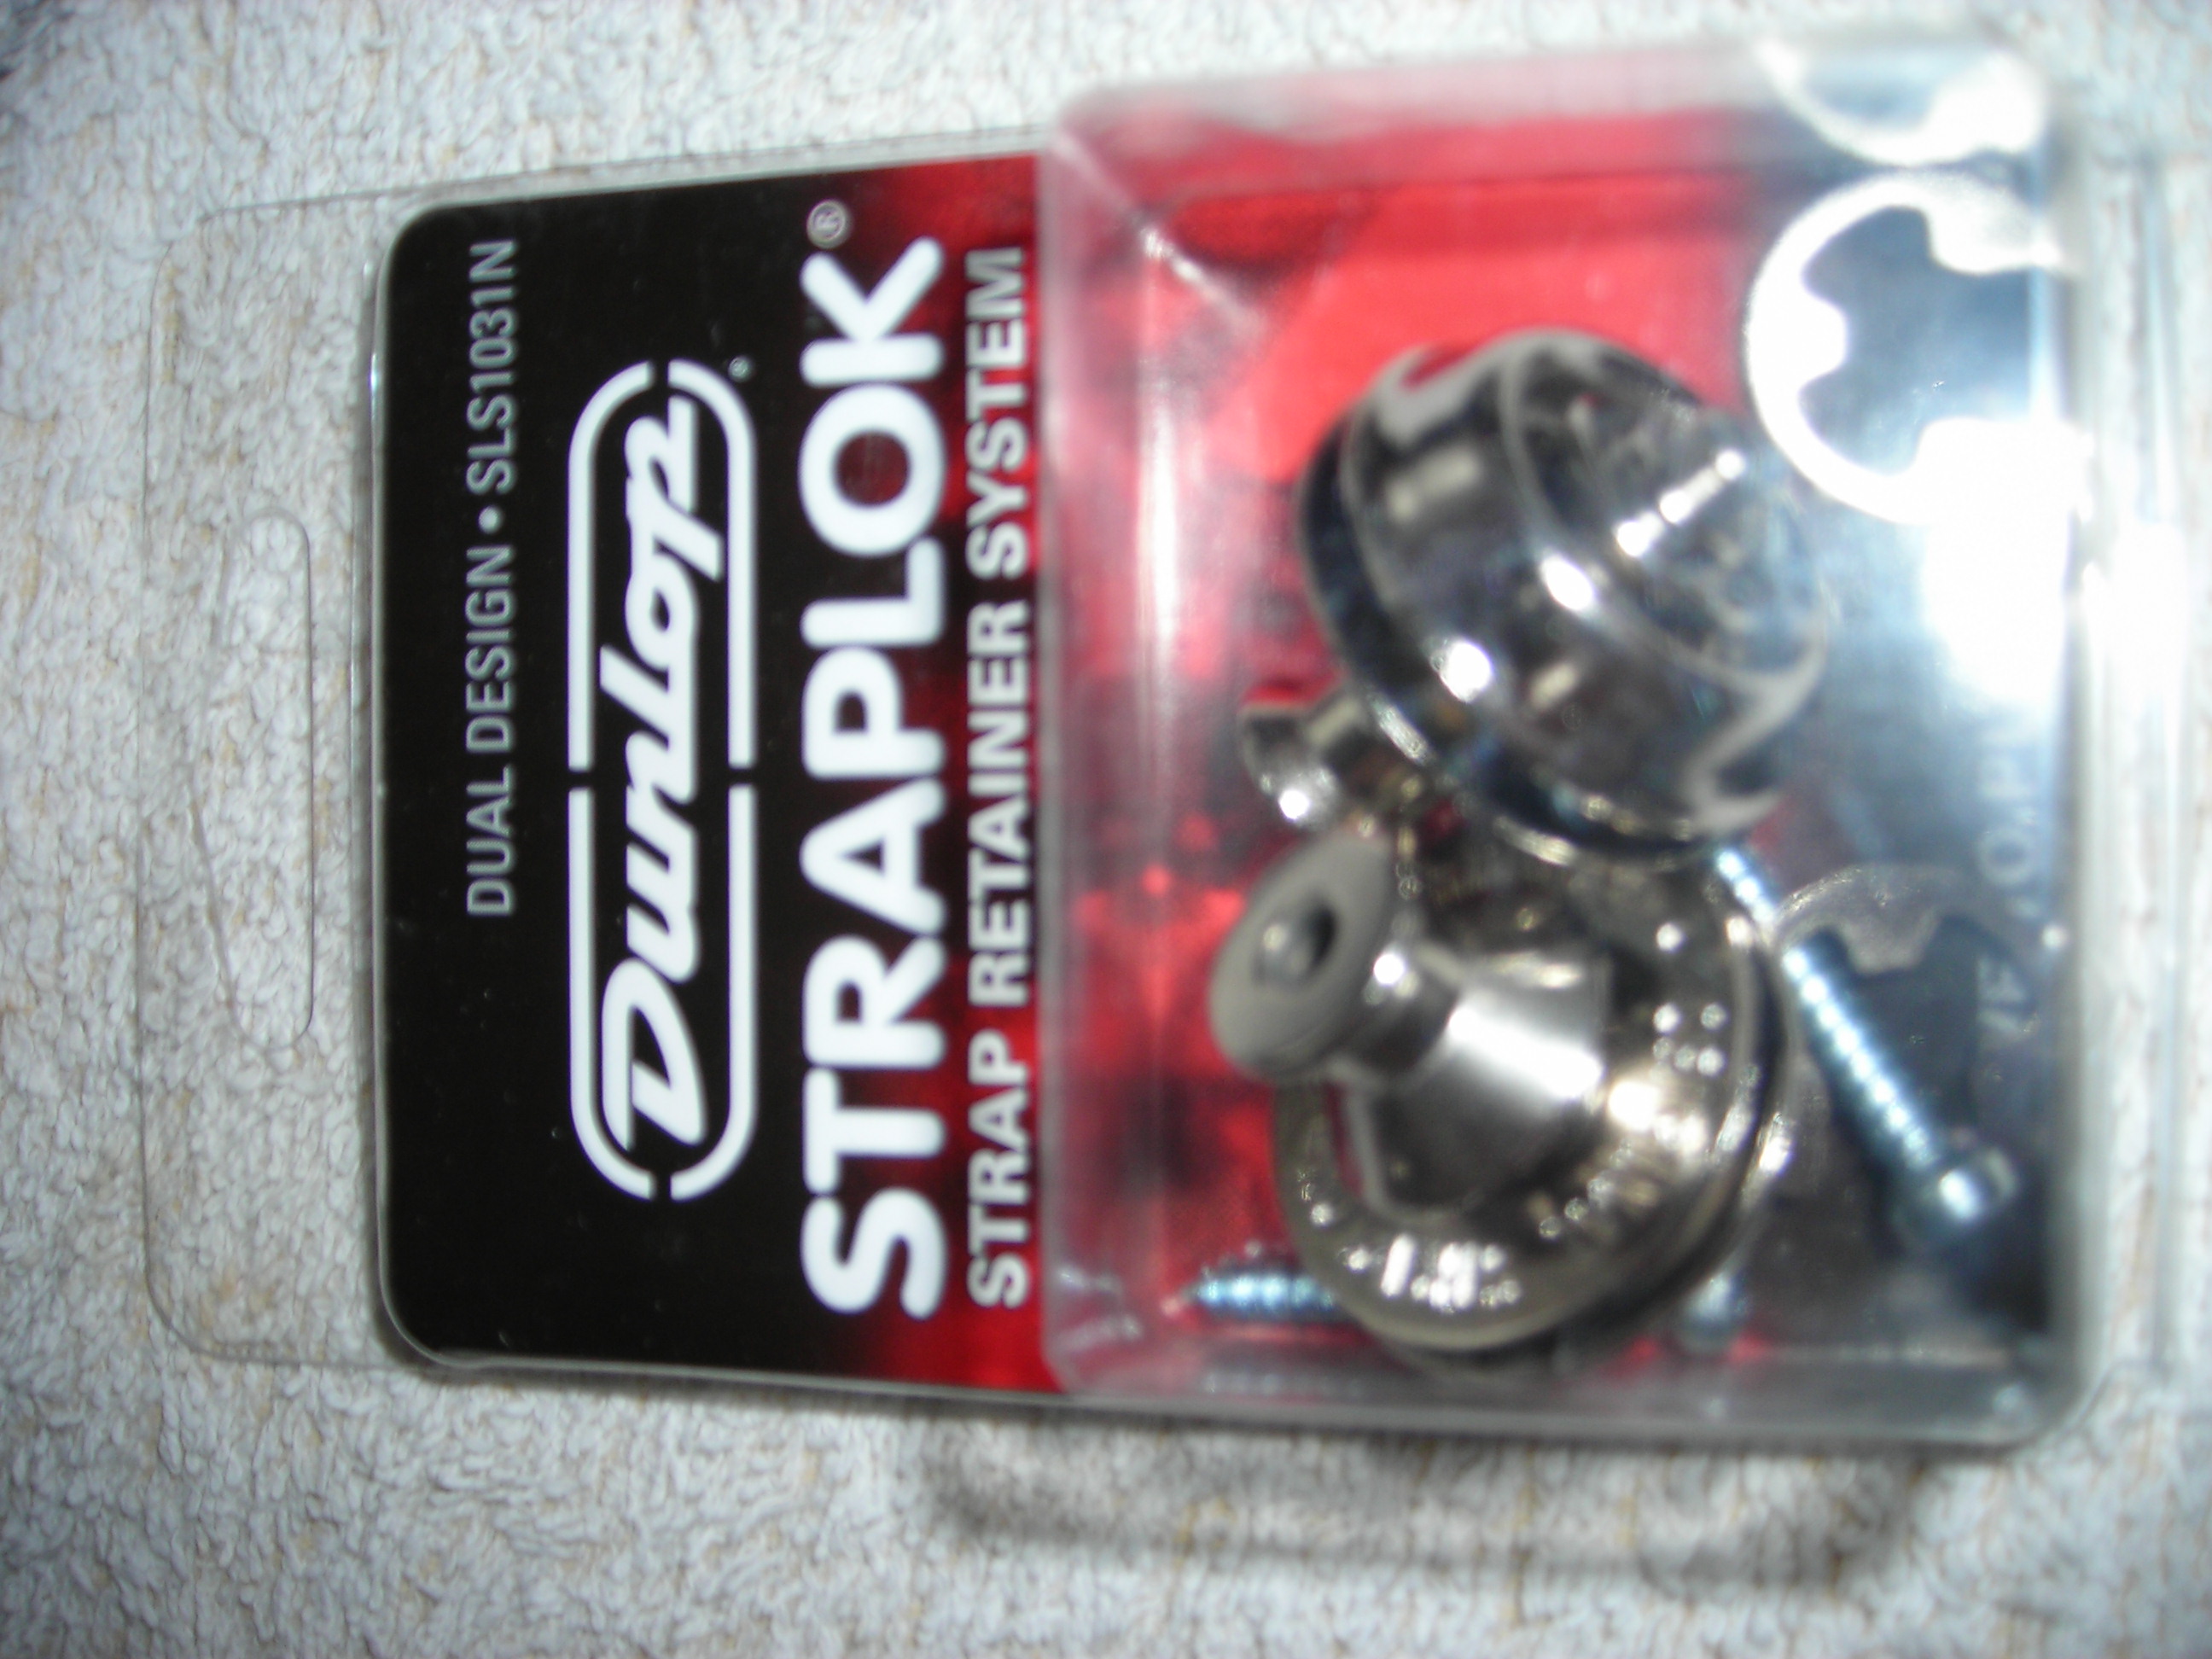
The straploks


Straplocks_2 by stratamania, on Flickr

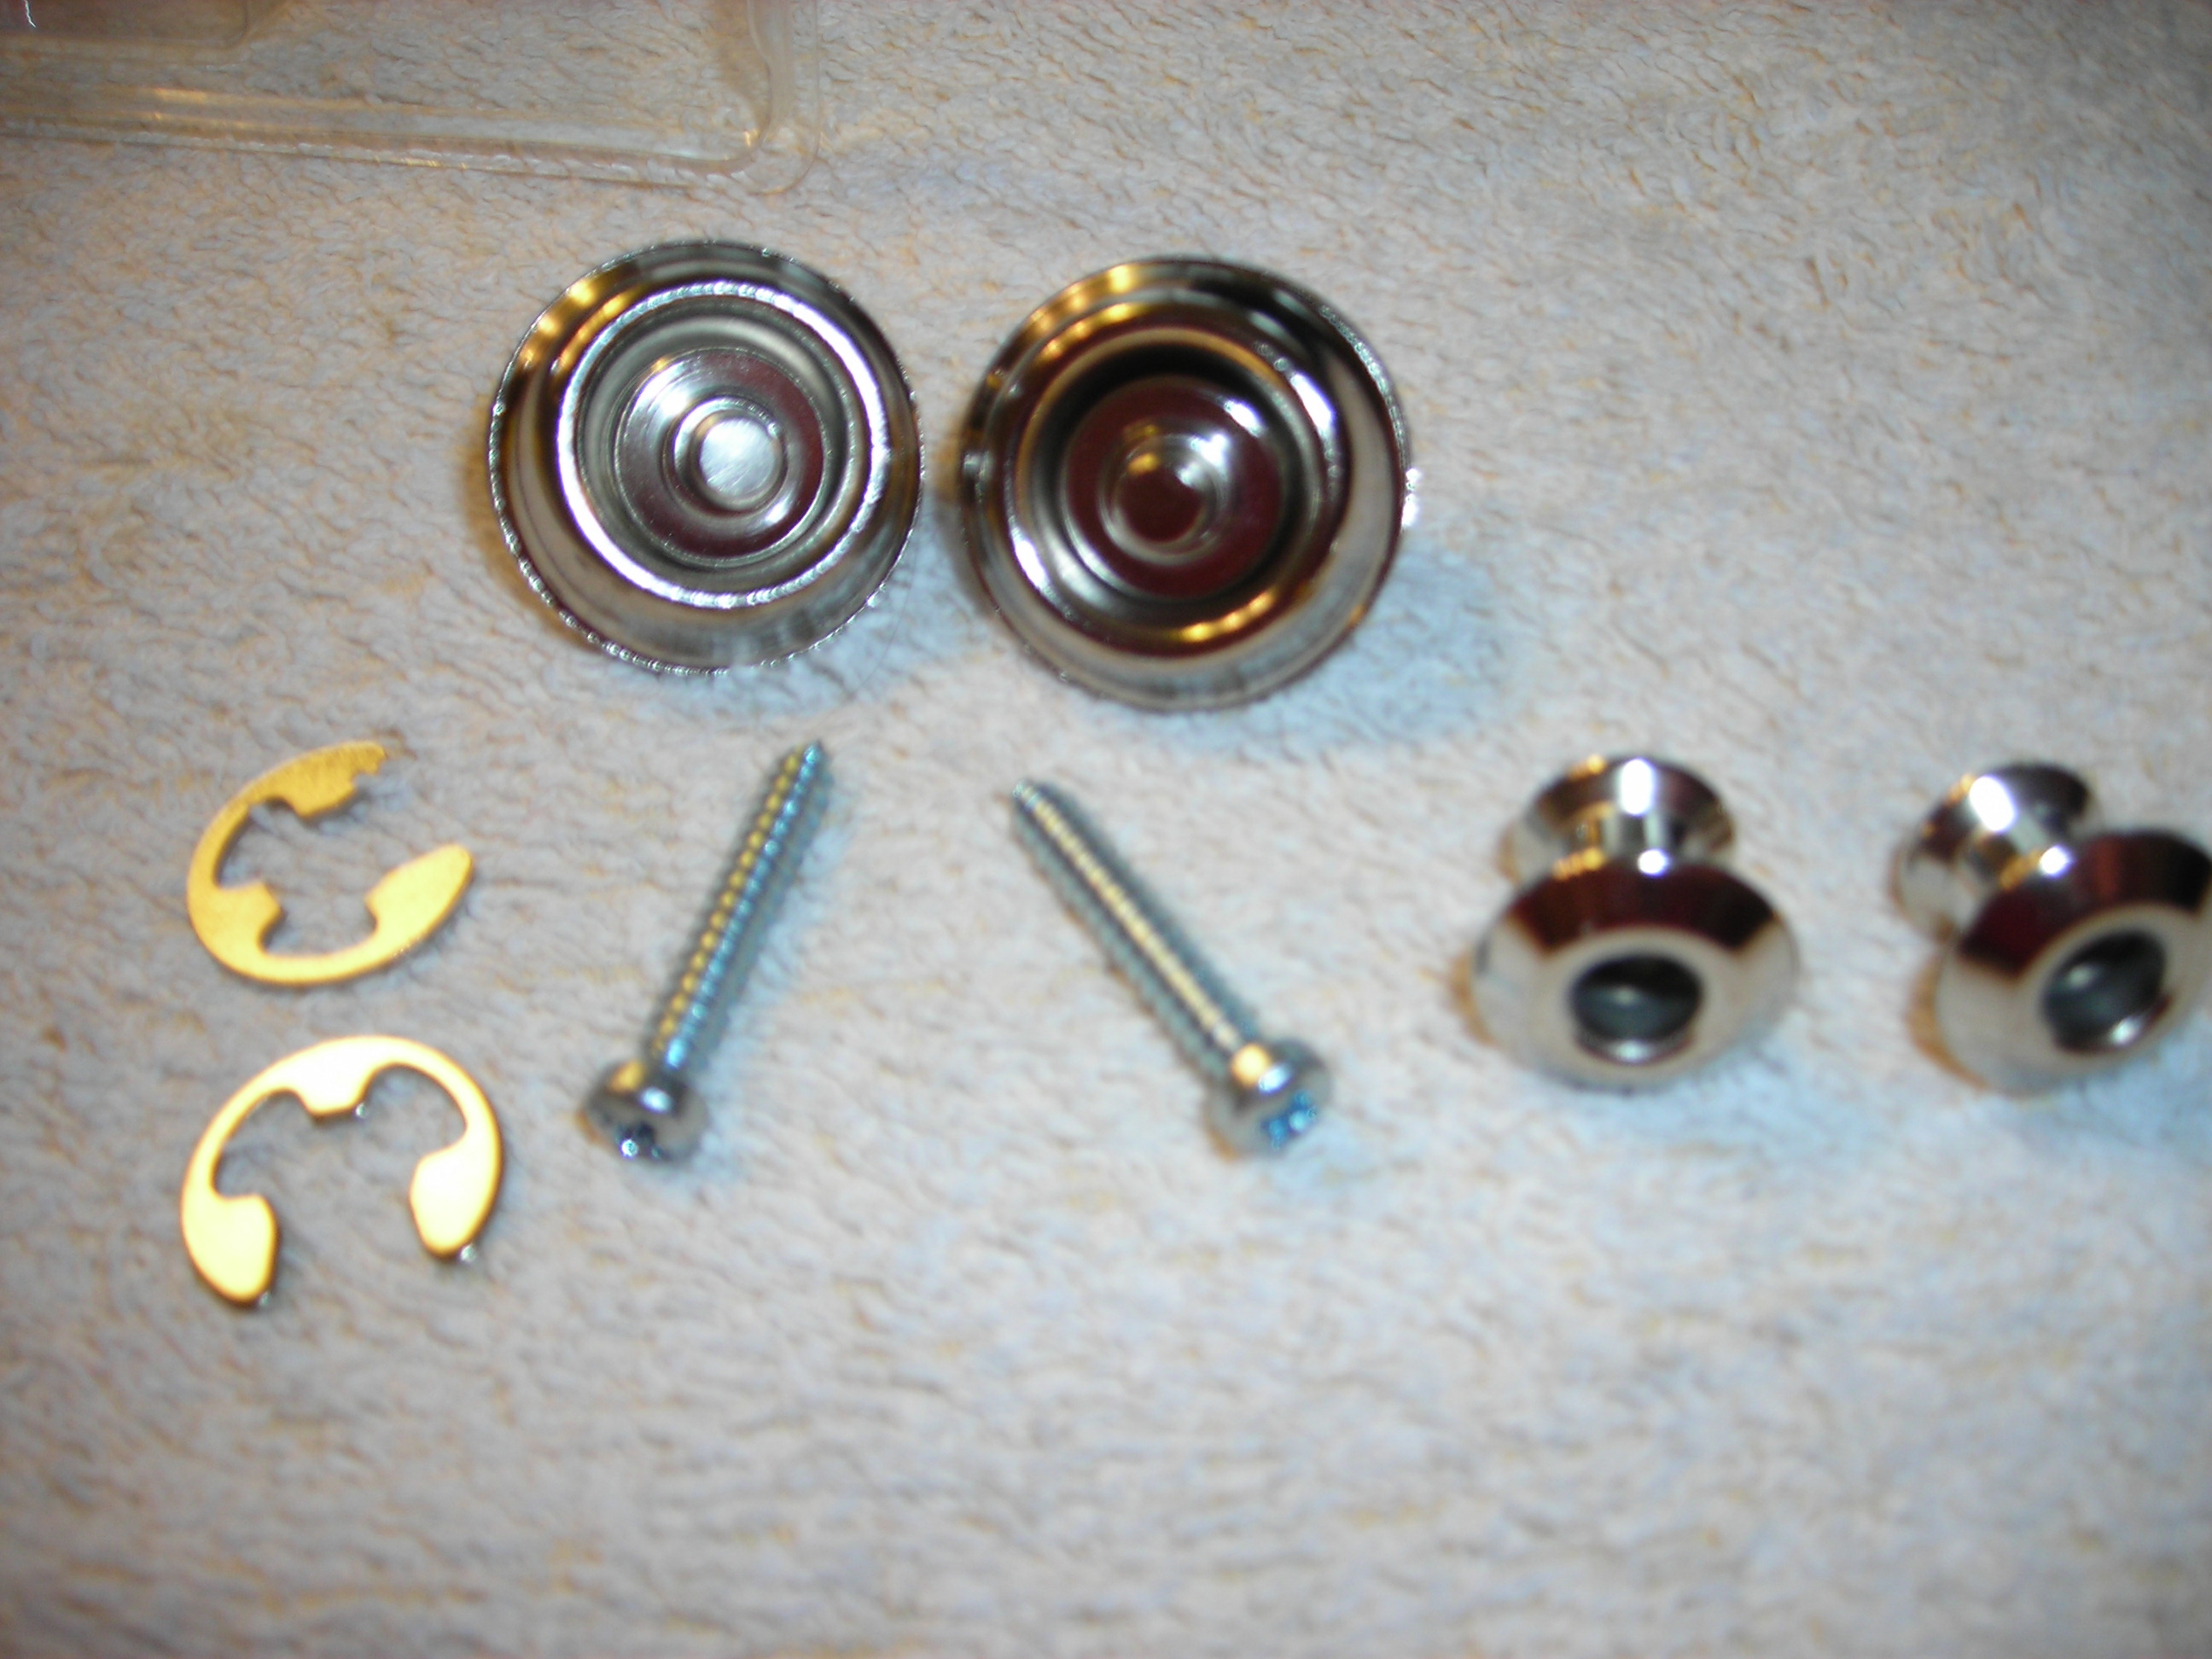
The straplok kit contents

Straplocks_3 by stratamania, on Flickr

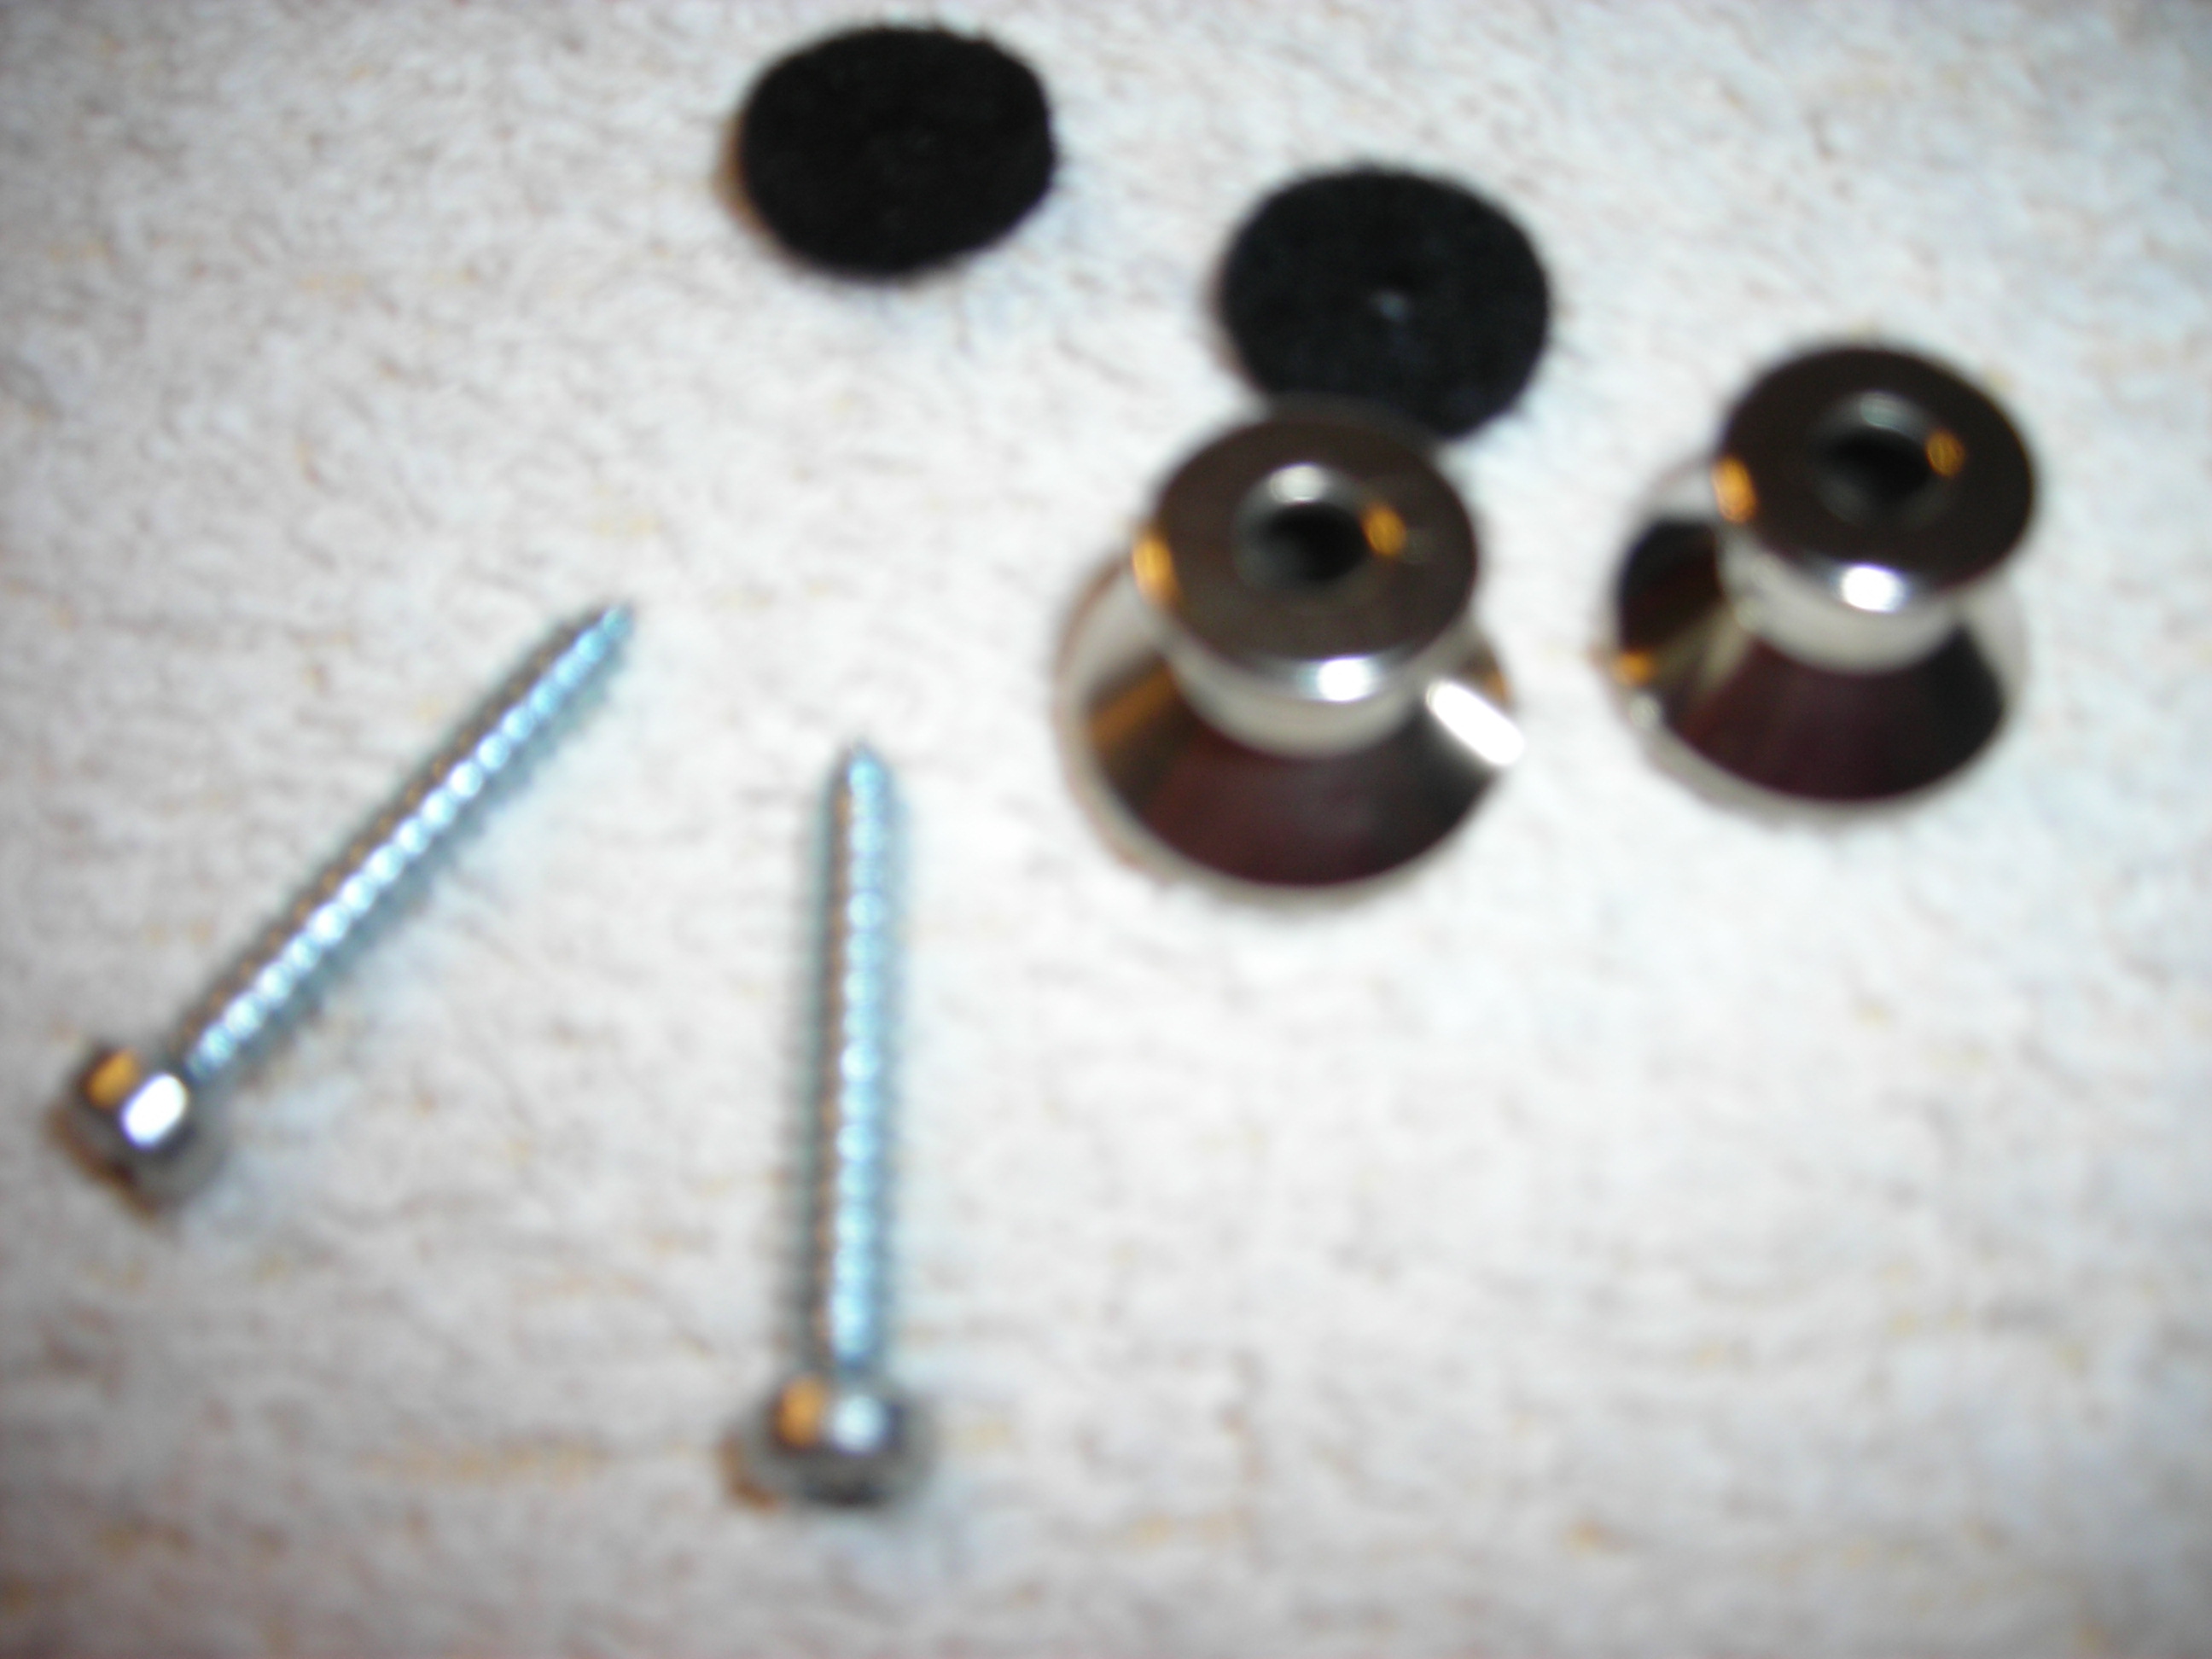
What will be fitted to the body. I am going to use a pair of felt washers, these I obtained separately.
Straplocks_4 by stratamania, on Flickr

An awl mark was put through the masking tape and the tape removed. The tape above the horn is to help with line of sight when drilling.

Straplocks_5 by stratamania, on Flickr

Straplok fitted at the horn.

Straplocks_6 by stratamania, on Flickr

And the other end.

Straplocks_7 by stratamania, on Flickr


Thanks for looking...
 
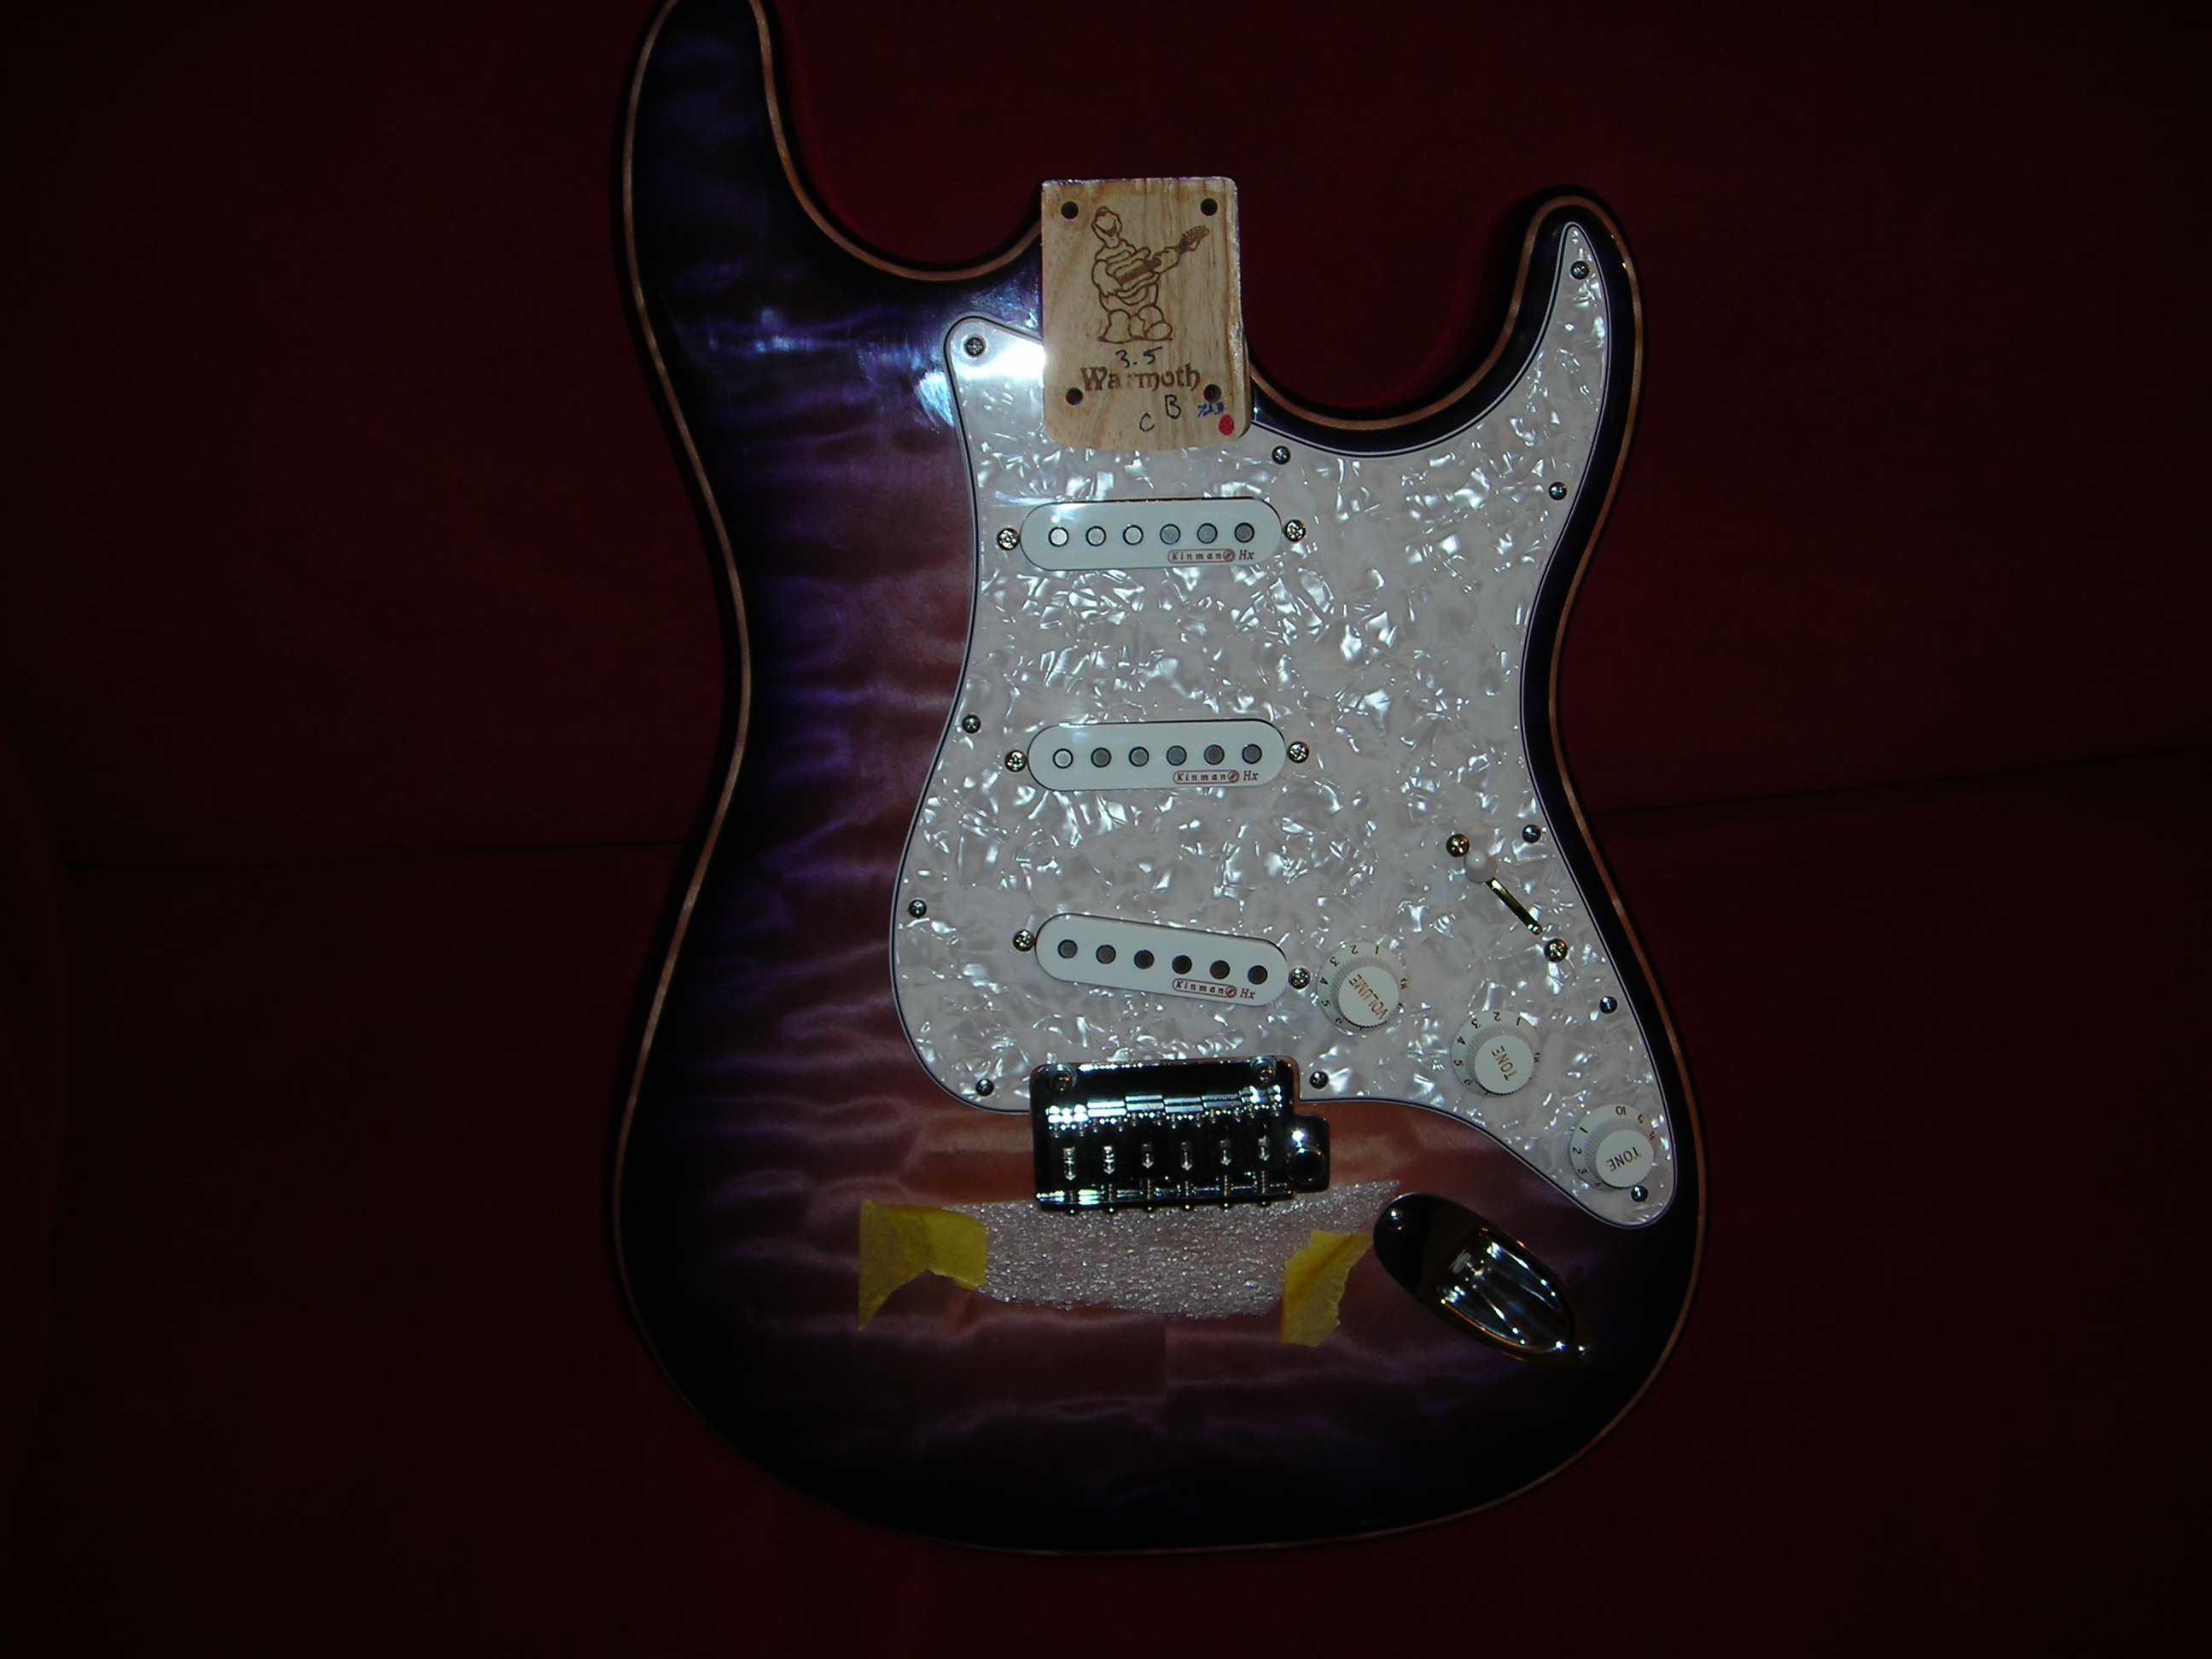
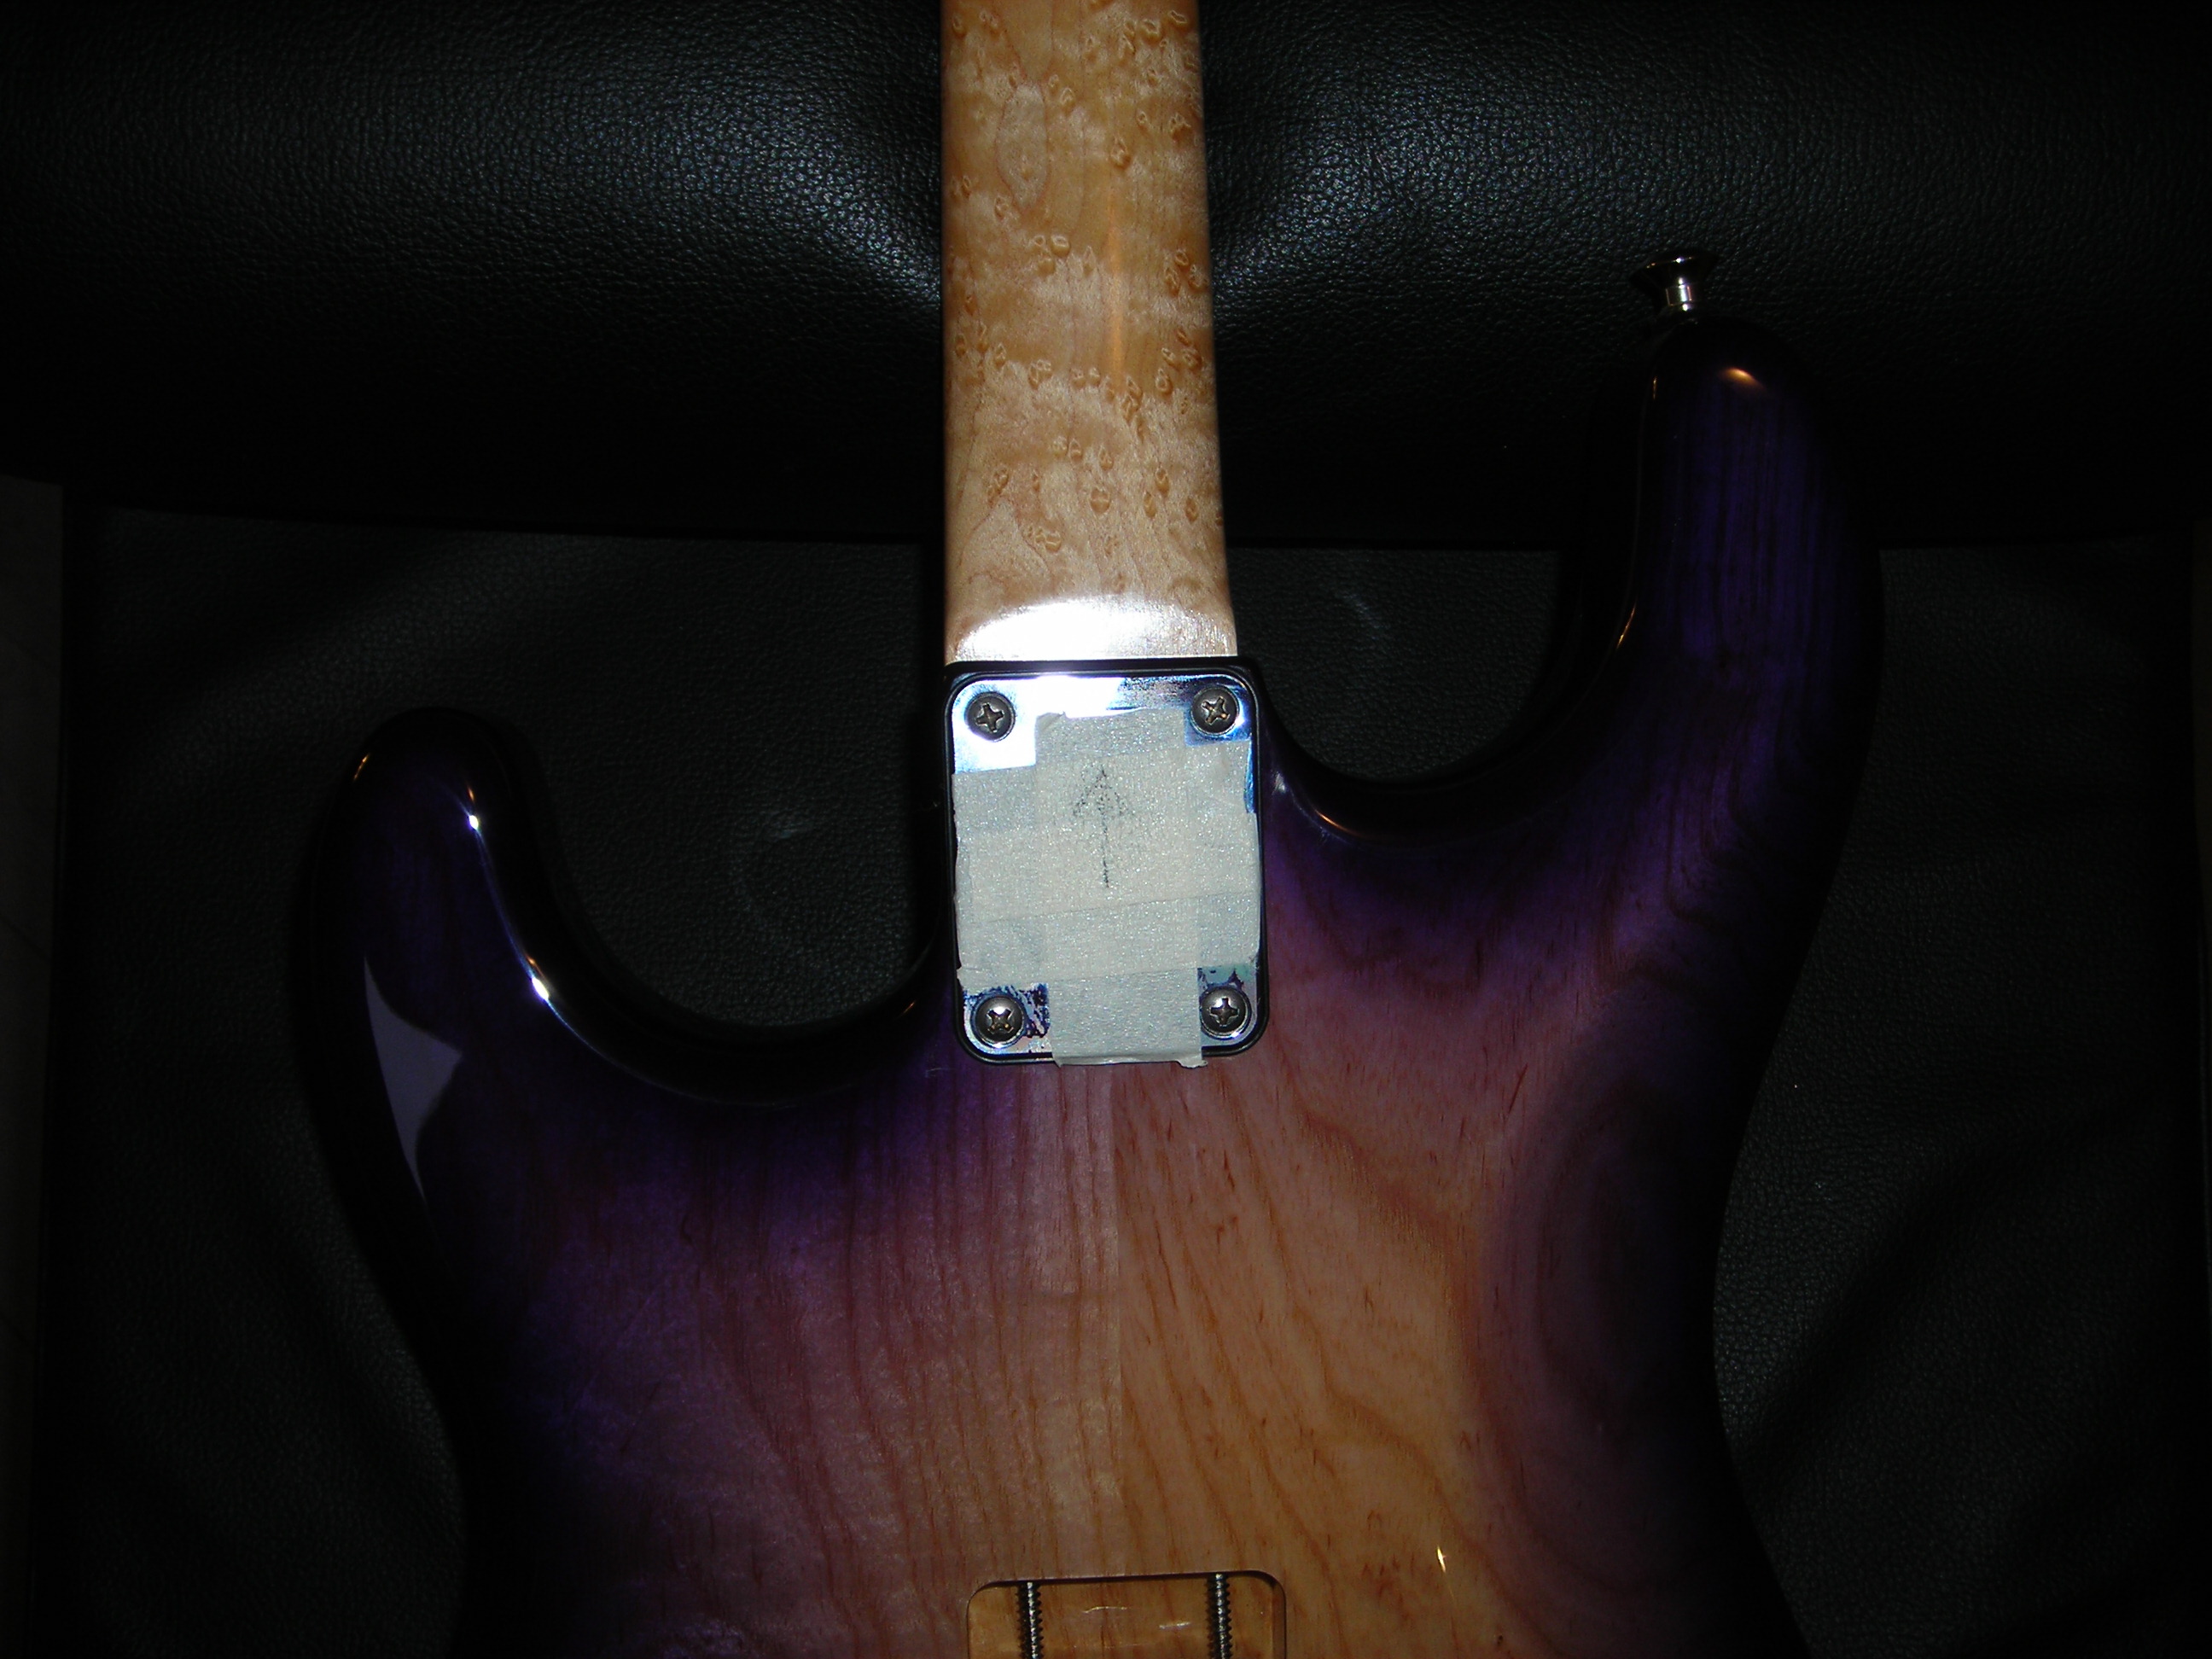
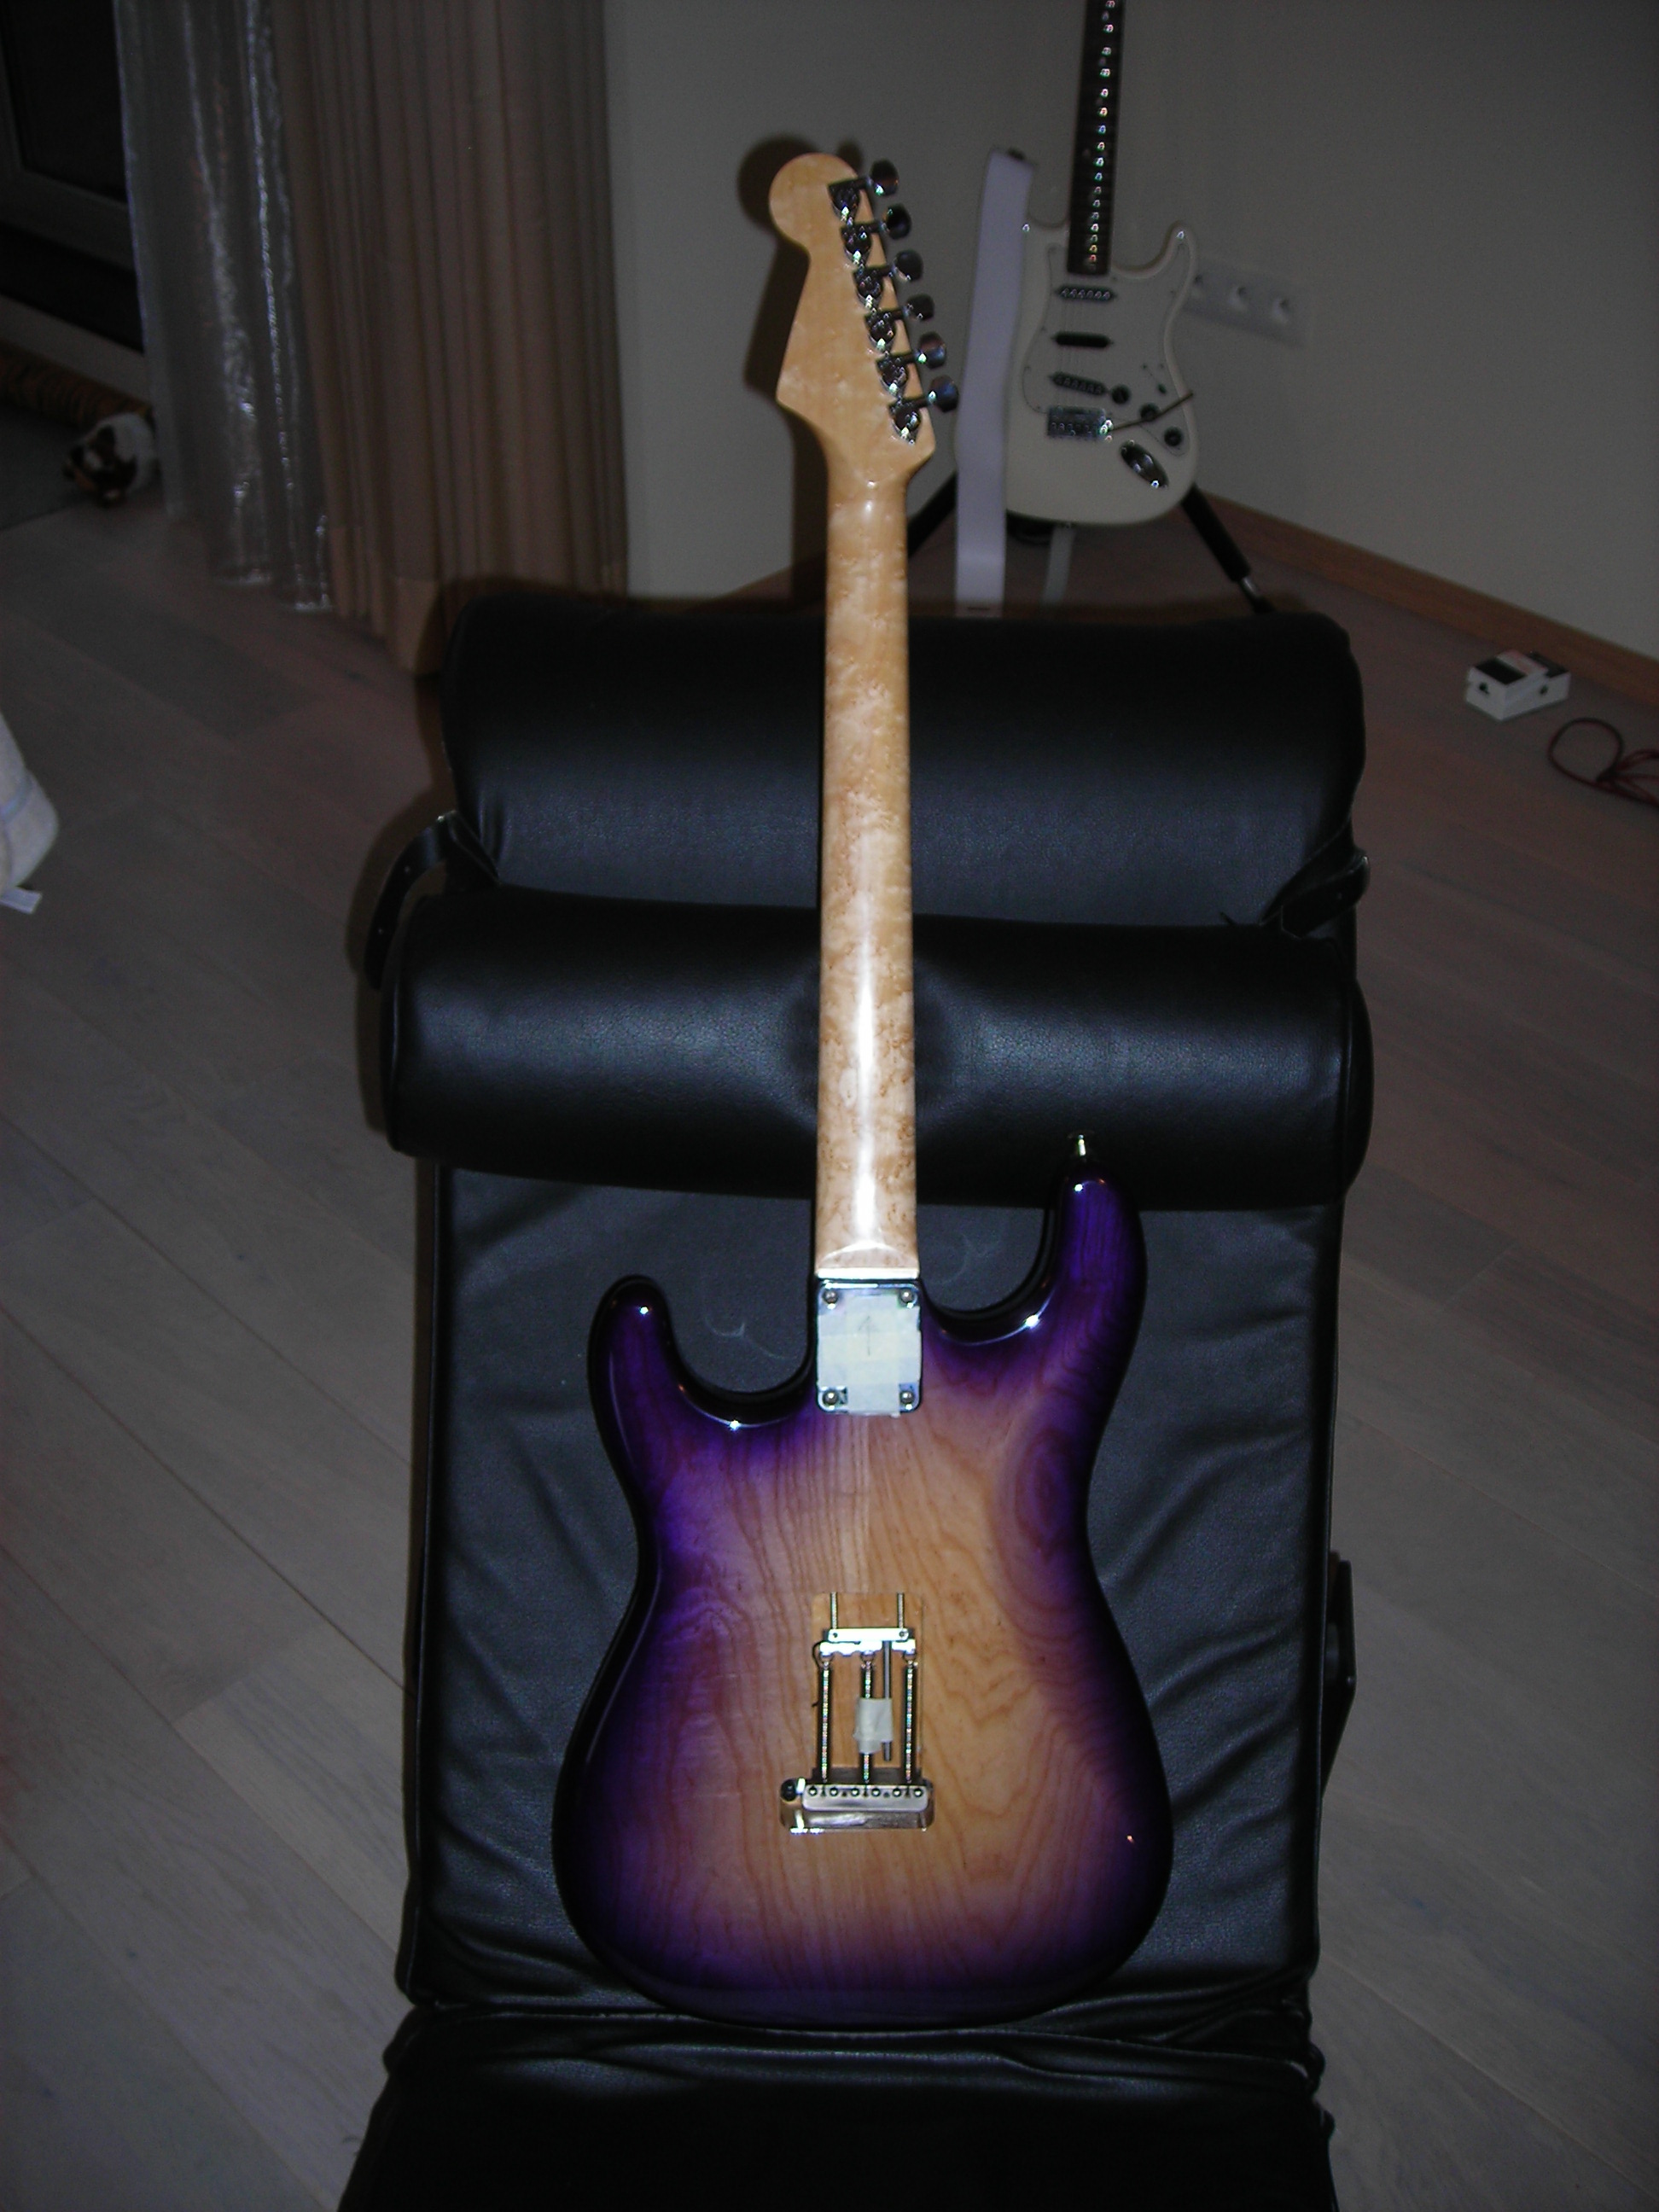
The neck is fitted now  :cool01:

So a couple of shots of what is now almost complete. Still work to do putting strings on setting up, tremel-no completion. Tremelo Backplate possibly.

Neck_Fitted_1 by stratamania, on Flickr


Neck_Fitted_2 by stratamania, on Flickr

Neck_Fitted_3 by stratamania, on Flickr

If you notice the neck plate has some masking tape on and a pencil arrow. This is because there is an engraving underneath and it was to protect it, but it will be revealed when the build is complete. The strings will now have to wait till tomorrow.

Cheers guys, and thanks for looking...  :guitaristgif:
 
You're ready for strings after only a month?

Hehe! I'm kidding. It takes time to be careful and correct, which you have clearly striven for. This is coming along nicely.

I get a kick out of these guys who order a pile of parts and toss the thing together in couple/few hours, then wonder why "partscasters" they've dumped $1200 into only sell for a few hundred bucks on a good day.
 
Cagey said:
You're ready for strings after only a month?

Hehe! I'm kidding. It takes time to be careful and correct, which you have clearly striven for. This is coming along nicely.

I get a kick out of these guys who order a pile of parts and toss the thing together in couple/few hours, then wonder why "partscasters" they've dumped $1200 into only sell for a few hundred bucks on a good day.


I think it might be more than a month  :icon_smile:  I've had work travel to do and so on, but today I built up a head of steam and drilled two holes one straight after the other... but I measured at least twice.

Yes, the devil is in the details and care put in, throwing stuff together isn't going to give the same results.  Your right I am striving to do the best job I can with the best parts for my options that I could get. I also want to enjoy the process and skills attained or regained along the way, I am glad you noticed and thanks...
 
Yeah, time is always an issue. Life goes on around your various interests and obligations, so you have to budget. Plus, you have to have your mind right. If you don't feel like investing the attention something deserves into a particular thing but force yourself to do it anyway out of impatience, chances are good it'll end up sub-par.
 
Back
Top