DIY FINISHING TIPS AND TRICKS

Tonar8352

Hero Member
Messages
2,196
I wanted to start a Tips and Tricks thread specific to finishing so I decided to put it in the DIY Finishing threads. There are so many of the same questions that have come up over the years I thought it would be easiest to have one thread we can send everyone to look for help with finishing. This definitely is not exclusive to me since most of my posts have to do with vintage type lacquer finishes and many of you use other methods to finish so please add you insight on how to make a finishing job easier and more professional.  We can continue to do individual threads for guitars we are finishing but any specific insights would be great for this thread.
 
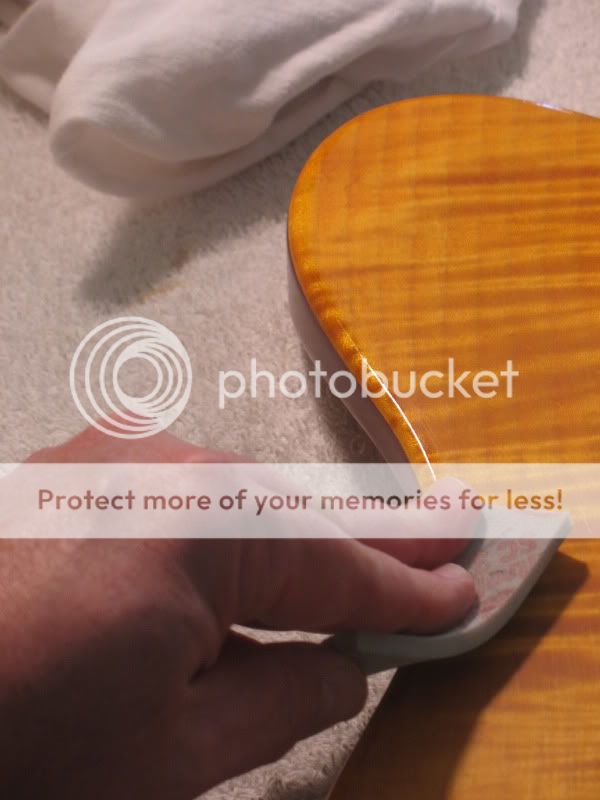
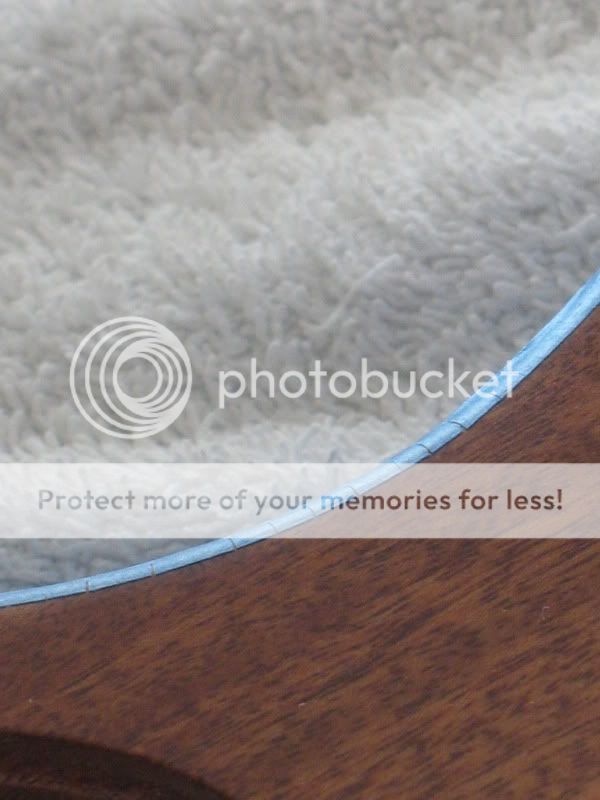
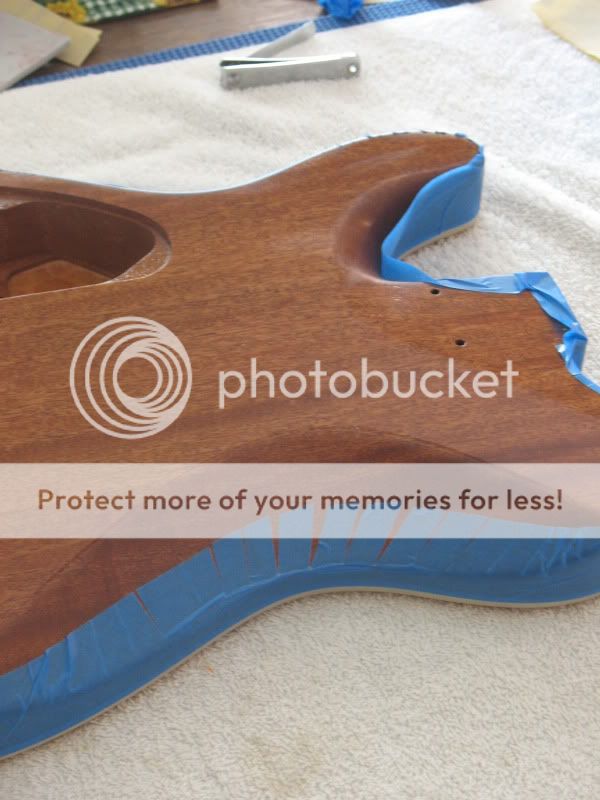
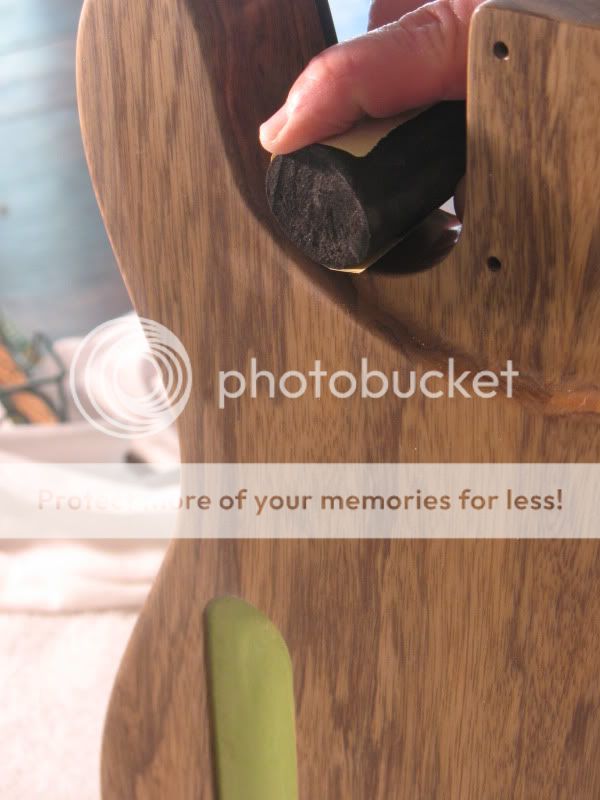
Don't burn those edges and corners. I cannot tell you how many early finishing projects I sanded through on corners and edges using sand paper. This is how I avoid it now.
You can see in this picture that the guitar is level sanded up to the edge of the rollover on the corner by how glossy the edge is. I use a small piece of sanding sponge that is cut from a used larger sponge. This one is from a Klingspor 320 pad, any 320 pad will work I am not specifically sold on this particular Klingspor product; it is what I had in the shop at this time.
IMG_7767.jpg

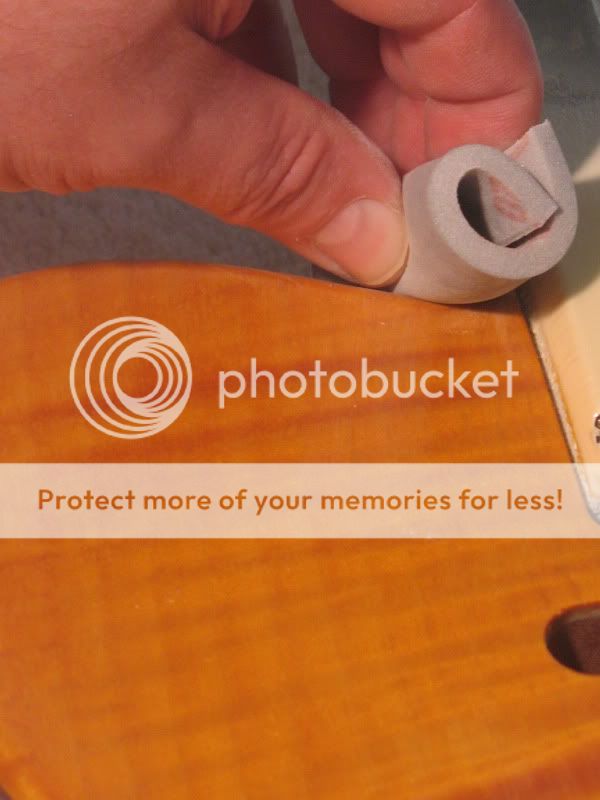
I run the pad along the edge until it is dull and it usually only takes a couple of passes.
IMG_7768.jpg

Now the corner is dulled and level the same as the top and ready to tape off for the sunburst.
IMG_7769.jpg

The nice thing about this stuff is you can roll it up and get in to tight corners without cutting through on any sharp edges.
IMG_7770.jpg

 
MedianMusic said:
Great idea with the sanding sponges... Thanks!

Yep...those are great.  USed them on my last build.  Question...how long to they last?  Some of the finer grits are so smooth it is hard to tell how much life they have left.  I figure they are good for about 2 whole guitars a pack.

AHHHH the dreaded sand thru.  I have built 6 with out an issue...UNTIL!  Yes...burned thru on a lower horn...flat surface none the less.  This was more of an issue of not LUBRICATING my sanding device...surface got too hot and gumed up (it was poly)  What a mess.  Had to sand a re-do the entire front.

Thanks Tonar...these tips are great and will save many countless hours and produce great finishes.
 
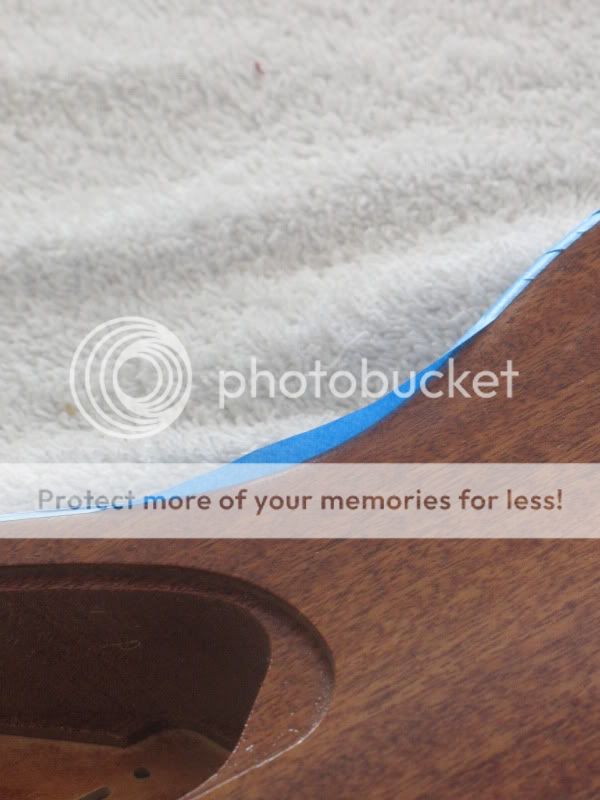
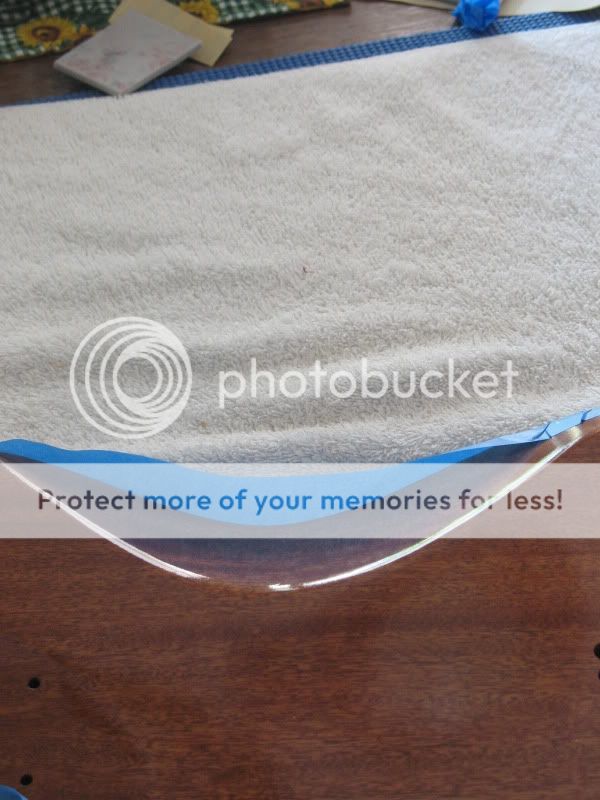
Taping tight corners, belly cuts and horns is a hassle because the tape will not lay down around the curve. These little tips will help you get the job done and keep from scratching the surface as you go.

This first trick works real well where there is only a small amount of tape showing over the edge of the surface. This also works great when you are rounding really sharp corners when taping off binding.
The tape will not lie over because of the tension caused by the curve of the body.
IMG_7791.jpg

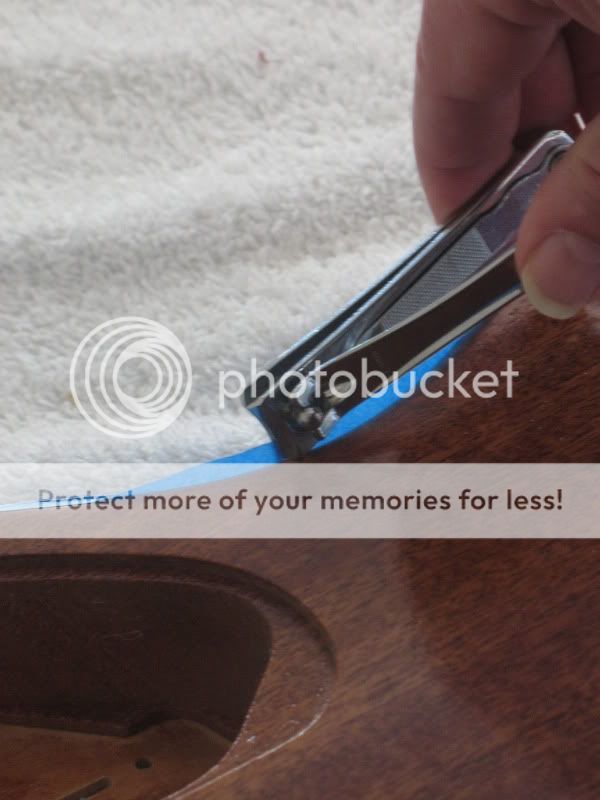
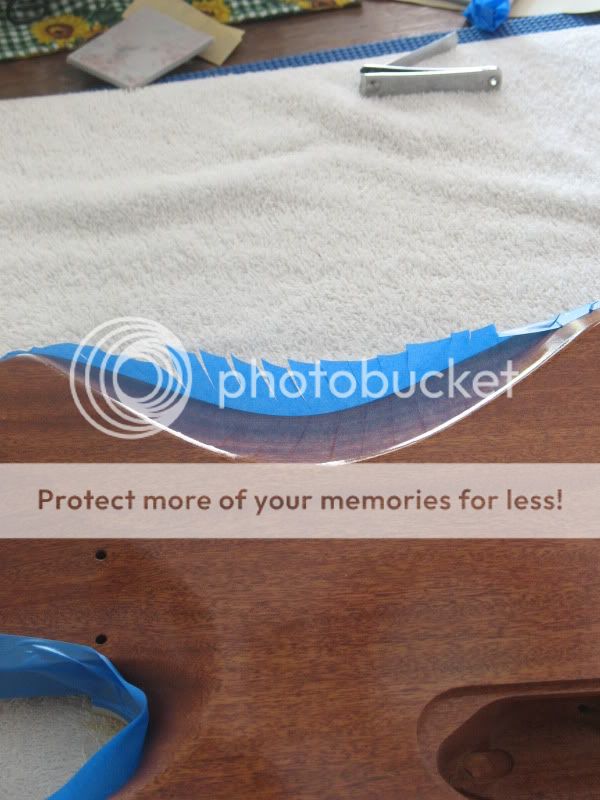
Take a set of good fingernail clippers and make cuts along the tension edge.
IMG_7792.jpg

The tension is removed and the tape lays down perfect.
IMG_7793.jpg


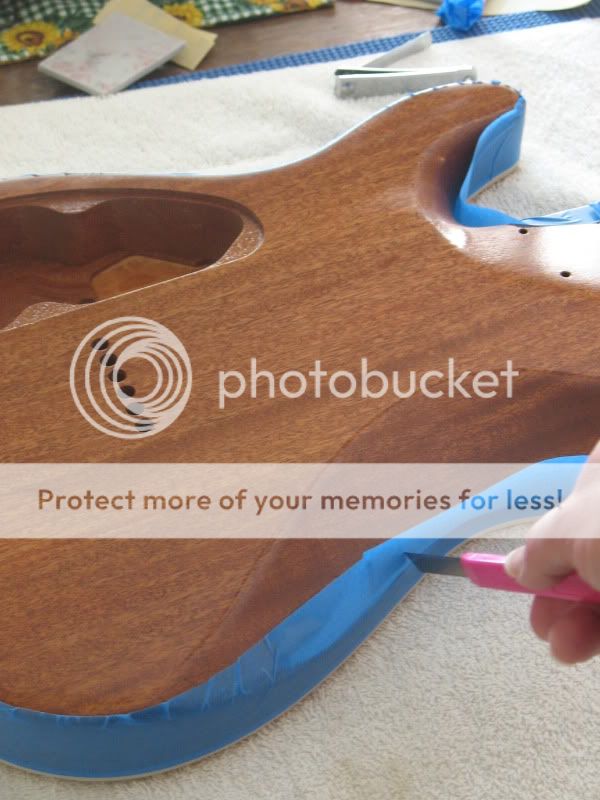
On larger areas where too much tape is exposed to use the clippers use a sharp razor knife.
IMG_7794.jpg

Make the cuts up and away from the body.
IMG_7795.jpg

This is a good shot of what it will look like after the cuts are made.
IMG_7796.jpg

And here it is with a clean wrap on the edge.
IMG_7797.jpg

 
Whooo that's my baby! :icon_thumright:

This is a great idea! I love it when experts make threads like this, I have a great number of them bookmarked!
 
Hey Tonar I thought of you when I saw this product. I've heard you mention before the use of old sanding sponges. I assumed it was for less aggression and more flexability. These are pretty cool and come in I believe 220, 320, and 400 grit. I found them at Lowe's.


Attachments

  • finishing pad.jpg
    finishing pad.jpg
    183 KB · Views: 440
pabloman those are great. I use a really course one when I'm re-profiling the belly cut on a Strat. They cut very aggressively and last like crazy. I have seen 3M sale reps use a strip of a really course grit to saw trough a piece of wood at a trade show. 
 
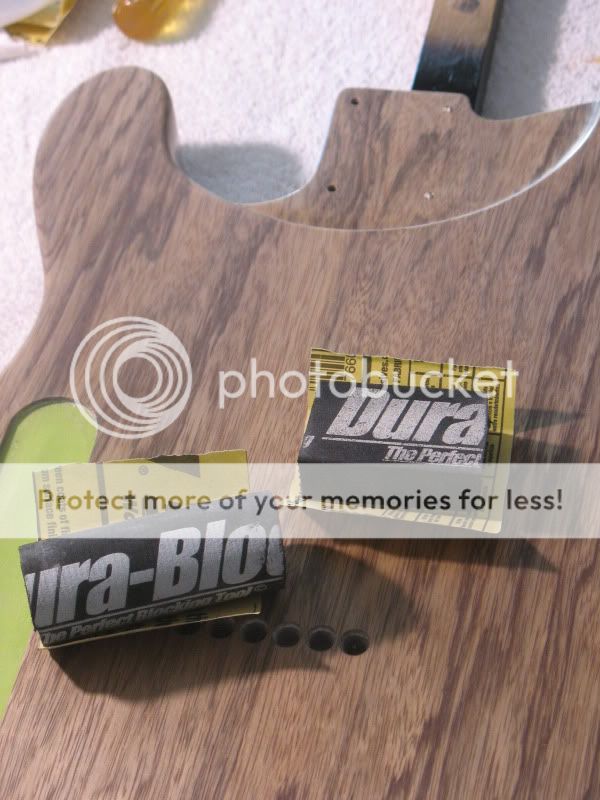
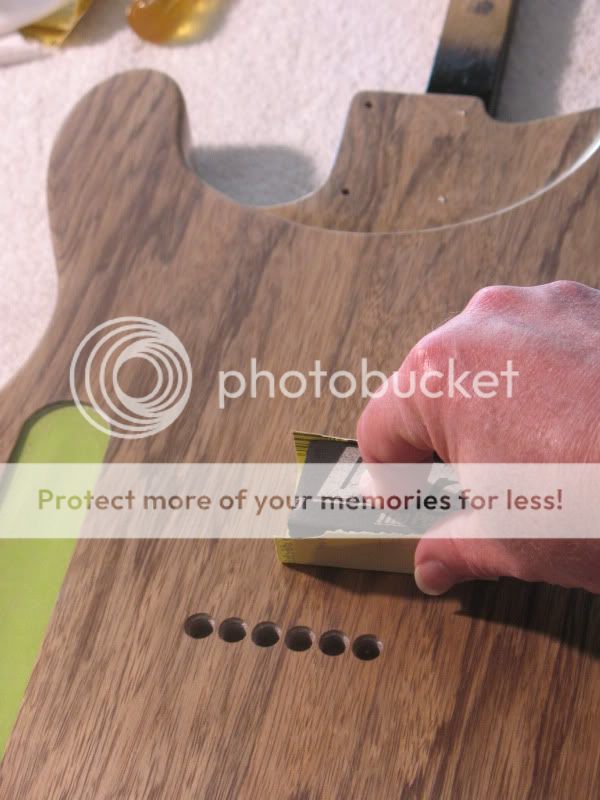
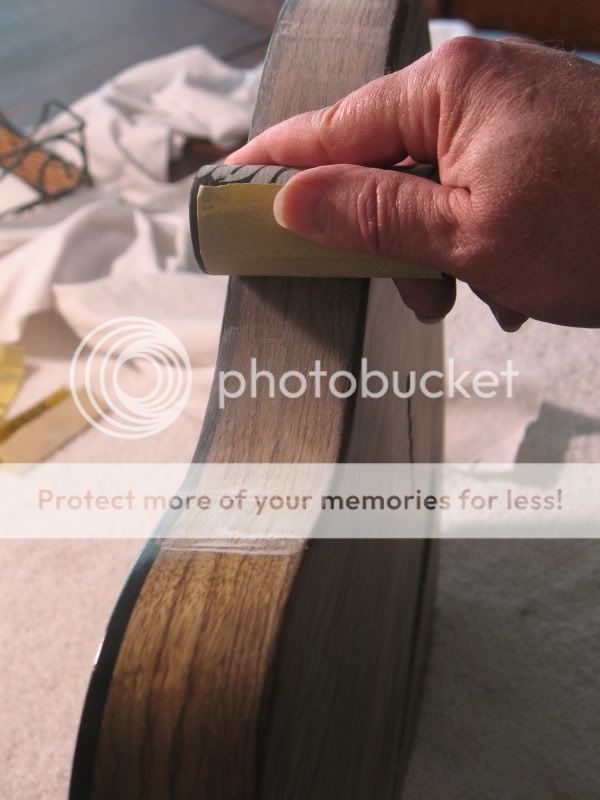
Getting the most out of every piece of sand paper is real important. There is no question that the surface of a new piece of paper cuts faster and as it loads work slow down. I like using Dura-Block sanding blocks and I use the flat one for fronts and backs and the round one for sides, belly cuts, and horns. I use the unused folded corner surface from the flat one when I go to the round one and I get more effective use out of every sheet of paper. 
IMG_7798.jpg

The paper that wraps the edge of the block is wasted if this is all it is used for.
IMG_7799.jpg

When I move to the sides and horn I switch to the round block and use the unused edged to sand them.
IMG_7801.jpg

IMG_7800.jpg

 
Great tips, Tonar! Now I know you're a vintage finnish kinda guy, but have you ever finished a body in automotive paint? I'm thinking of doing a LaCab in "Saddle Brown" to match my '53 BelAir (which also needs painting). I figured if it is not too difficult to prep a guitar for auto paint, I'd kill two birds with one stone and paint them at the same time . . . and have a LaCab that matches my car! Is the prep process similar or different?
 
B3Guy said:
Great tips, Tonar! Now I know you're a vintage finnish kinda guy, but have you ever finished a body in automotive paint? I'm thinking of doing a LaCab in "Saddle Brown" to match my '53 BelAir (which also needs painting). I figured if it is not too difficult to prep a guitar for auto paint, I'd kill two birds with one stone and paint them at the same time . . . and have a LaCab that matches my car! Is the prep process similar or different?
Saddle Brown? Good man! You've stumped upon.... FIREMIST GOLD!
 
Saddle Brown: here is the best example I found. The Chev has a cream top, which I would try to match somewhat in the pickguard. Maybe order some extra Chev radio knobs for the La Cab . . . perhaps even a Bel Air decal on the 'stock. put some "Blue flame" blue paint replacing the black in the TV Jones (matches the engine color).
 

Attachments

  • Vent wings 002.jpg
    89.2 KB · Views: 375
have you ever finished a body in automotive paint?

Sure I did Mayfly's blue Tele with House of Kolor automotive paint. Not much difference on the prep.

CB would be a better resource for information on using those products though; he has used much more of that stuff than I have.
 
B3Guy said:
Great tips, Tonar! Now I know you're a vintage finnish kinda guy, but have you ever finished a body in automotive paint? I'm thinking of doing a LaCab in "Saddle Brown" to match my '53 BelAir (which also needs painting). I figured if it is not too difficult to prep a guitar for auto paint, I'd kill two birds with one stone and paint them at the same time . . . and have a LaCab that matches my car! Is the prep process similar or different?

I've done some bodies in "automotive" paint. It's not that it's designed for automotive use that you have to keep track of, it's the chemistry itself. As long as you use sealers/fillers/primers that are compatible with the base material (wood) and the top coat (whatever), it doesn't matter what you use. When I did it, I was shooting DuPont's "Imron", which is a catalyzed enamel. I think things have changed somewhat since then, but then it was a three-part paint. You had a reducer, a catalyst, and the paint itself. But, all I did was prep the guitar bodies as usual with the sanding/cleaning, shoot it with lacquer-friendly sandable primer and smooth that out, then shoot it with the Imron. It's like the catalyzed urethanes used now - it's not impressive when it first goes on, but over a few minute's time it flows out and looks like wet glass. No orange peel, no spray pattern, nothing. Then, it cures that way. No rubbing or buffing or anything. Magic stuff. Plus, it's so hard a cat couldn't scratch it.

Problem is, it's toxic as hell. Not for casual use. But, if you've got a well-ventilated booth with clean make-up air and a full respirator, you're good to go. Just remember that you have to be religious about cleaning up afterward or you can kiss your gun goodbye.
 
toxic. gotcha. it'd be a proper paint booth. I'll be painting a car for heaven's sake! Toxic ain't nothing new to me. Just try working with darkroom chemicals. Take your nose-hairs off and yellow your nails. Oh, and cancer. Cancer is in there too. And killing fetuses . . . and horseheads in your bed. oh wait, that's The Godfather.
 
I didn't use a booth. I shot it outdoors. Stuff cures hard to the touch in about 15 minutes, and it's not susceptible to airborne contaminants or brave/stupid bugs in about 5, so you can get away with it if you're willing to risk something less than perfection. As it worked out on more than one occasion, the risk is pretty low. Never had any trouble. Not sure if the chew toy next door ever developed cancer, but I hope he did.

BichonFriseWDN_Ap6D.jpg


Bark! Bark! BarkBarkBarkBark! Bark!

I also did the same thing you're considering - shoot it at the same time you're doing something else. Once the gun's a mess, you may as well take advantage of it. Only have to clean the thing once that way.

And if you're afraid you might miss the dog...

3-9%20x%2050.jpg
 
kbomån said:
I submit a motion to make this thread a sticky.


Yes; I agree,  a sticky is required for this portion of the show  :icon_thumright:
This thread is goin' viral...
:kewlpics: :rock-on:


Back
Top