Leaderboard

Custom Chambered Pupleheart/Figured Maple Build

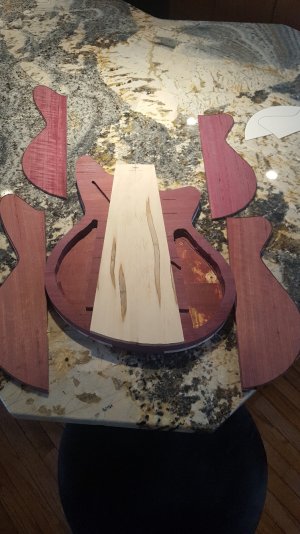
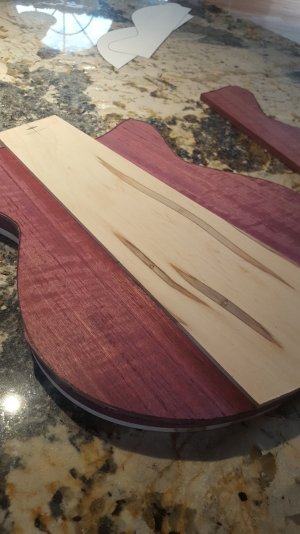
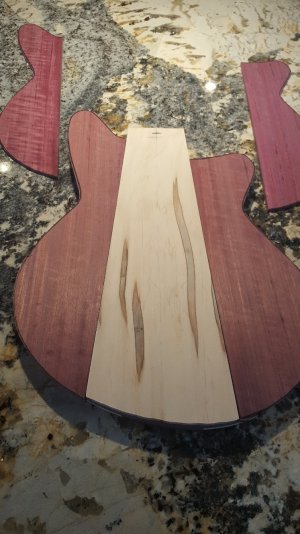
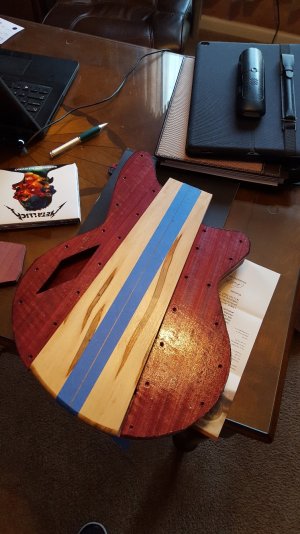
Here is an update.  I have the middle section cut.  I have also cut the wings.  I have two options.  One where the entire top is flush.  The other where it is lower on the sides.  I have posted a photo of each.  Try to avoid factoring the incredible flame on the one piece.  The others have it too.  I just planed them down and the color needs to age a bit to get the purple and flame back.  Its there I promise.  I also will have a small F hole on the one side.


Attachments

  • pieces.jpg
    pieces.jpg
    414.1 KB · Views: 31
  • tep levels.jpg
    tep levels.jpg
    342.9 KB · Views: 22
  • top flush.jpg
    top flush.jpg
    369.8 KB · Views: 21
I think it would look good either way, but I'm not sure I'd like the feel of having the dual levels. But, not having played anything like that, who knows? I might end up preferring it. Sometimes tactile landmarks are a Good Thing.
 
Cagey said:
I think it would look good either way, but I'm not sure I'd like the feel of having the dual levels. But, not having played anything like that, who knows? I might end up preferring it. Sometimes tactile landmarks are a Good Thing.
Basically the way I feel.

It'll be cool whichever way you decide to go.
 
Cagey said:
I think it would look good either way, but I'm not sure I'd like the feel of having the dual levels. But, not having played anything like that, who knows? I might end up preferring it. Sometimes tactile landmarks are a Good Thing.
I've played on an old Firebird, didn't make one bit of difference about dual levels...
 
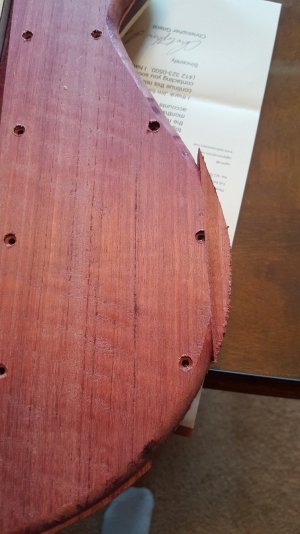
Well the decision was made for me.  While routing the sides on the thicker sections, the wood split and tore out.  This purple heart is so hard I was afraid that would happen, even with a new bit.

I am going to use the thinner pieces.  They have a nicer figure and color too.  I will use a disk sander this time!!!!  It WAS my original design but I started liking the flush.  Oh Well.  I will round the center piece a bit so my hand is not hitting a 90 degree all the time.

The sides pieces measure .225 of and inch.  Just shy of 1/4 so it should be plenty to mont my hardware.  Besides, this stuff is like working with cement board!!!!

I did just the f hole too.  The best part of this design is the side pieces are and will be removable.  It is kind of a modular design.  I saved the template and can go with a completely different wood if I wanted.  It is not structural to the guitar!!!


ADMIN....you may want to move this to a WORK IN PROGRESS.
 
DMRACO said:
I am strongly considering F holes.

SGZTRWCH1-Features-Layers.jpg

I strongly urge you to strongly consider considering F-holes.
 
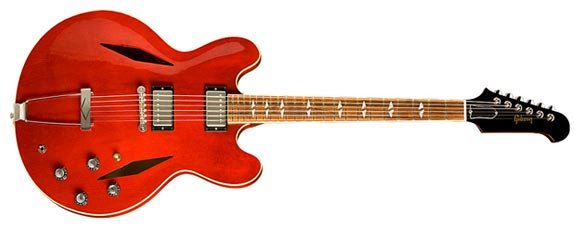
There will be a single f hole.  I am doing a diamond style like this.  It will be a little wider and will be slightly asymmetric
 

Attachments

  • Trini-Lopez.jpg
    Trini-Lopez.jpg
    17.9 KB · Views: 11
A bit of work done.  I did start to repair the tear out (I love my new planer).  I will see how it looks.  I am still partial to the flat top so I will give it a try again.  I will back off the amount of material I am trying to remove a bit.

I also have a shot of the f hole on the other pieces.  They have a heavy coat of shellac to preserve  the purple and help fill the grain.  They need sanded but you can see where I am going with this.  I also drilled and countersunk holes for the brass screws to hold  the side plates on.

I also have the centerline marked so I can route the neck pocket and pickups.  P90 in the neck and humbucker in the bridge.
 

Attachments

  • repair.jpg
    repair.jpg
    370 KB · Views: 24
  • f hole.jpg
    f hole.jpg
    415.1 KB · Views: 33
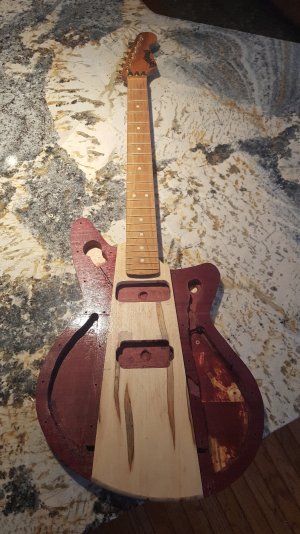
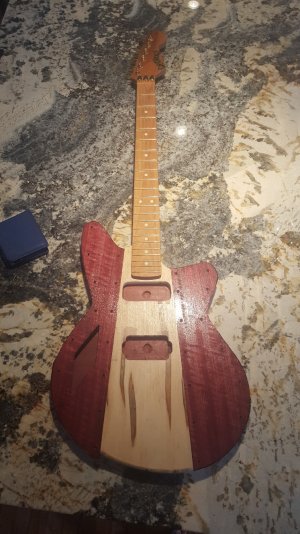
I have done some more work.  I routed for the neck and pick ups.  I need to touch the P90 route a bit because the jig moved.  Nothing too major.  I just need to round an edge a bit.
there is still a lot of fill and sanded to do before this is ready for clear.

I test fit with a canary neck I had off a body.  It looks good but this will likely have a 24.75 scale. 


Attachments

  • routed.jpg
    routed.jpg
    467.4 KB · Views: 33
  • with covers.jpg
    with covers.jpg
    449.8 KB · Views: 33
Cagey said:
What are all the holes in the Purpleheart for?

They will be removable.  Since the top will be multi level, and have some cool options,  it almost was a necessity.  I need them to be removable.  I am using brass screws to mount them
 
Hint....I was inspired by B3GUY.

I did significantly alter the design though. :occasion14:
 
Ran into a snag.  The Purple Heart is SO hard I keep snapping the brass screws.  I tried drilling to the next larger size the the holes were too big.  I also tried using a same size steel screw to thread the hole, an snapped that.  UGH.

Any suggestions?
 
Maybe use a tap to thread the wood and then use oval head machine screws. Never done it myself, but it sounds doable. :icon_scratch:
 
BigSteve22 said:
Maybe use a tap to thread the wood and then use oval head machine screws. Never done it myself, but it sounds doable. :icon_scratch:
This would have been my suggestion, too. I wonder if they have self drilling screws that size?

As a last ditch effort, perhaps you could drill the holes too large and glue something softer in there like toothpicks or bamboo skewers before drilling for the screws. I've filled pickguard holes with toothpicks glued in and that was fairly effective.
 
Back
Top