The Mystical Mahogany Build...

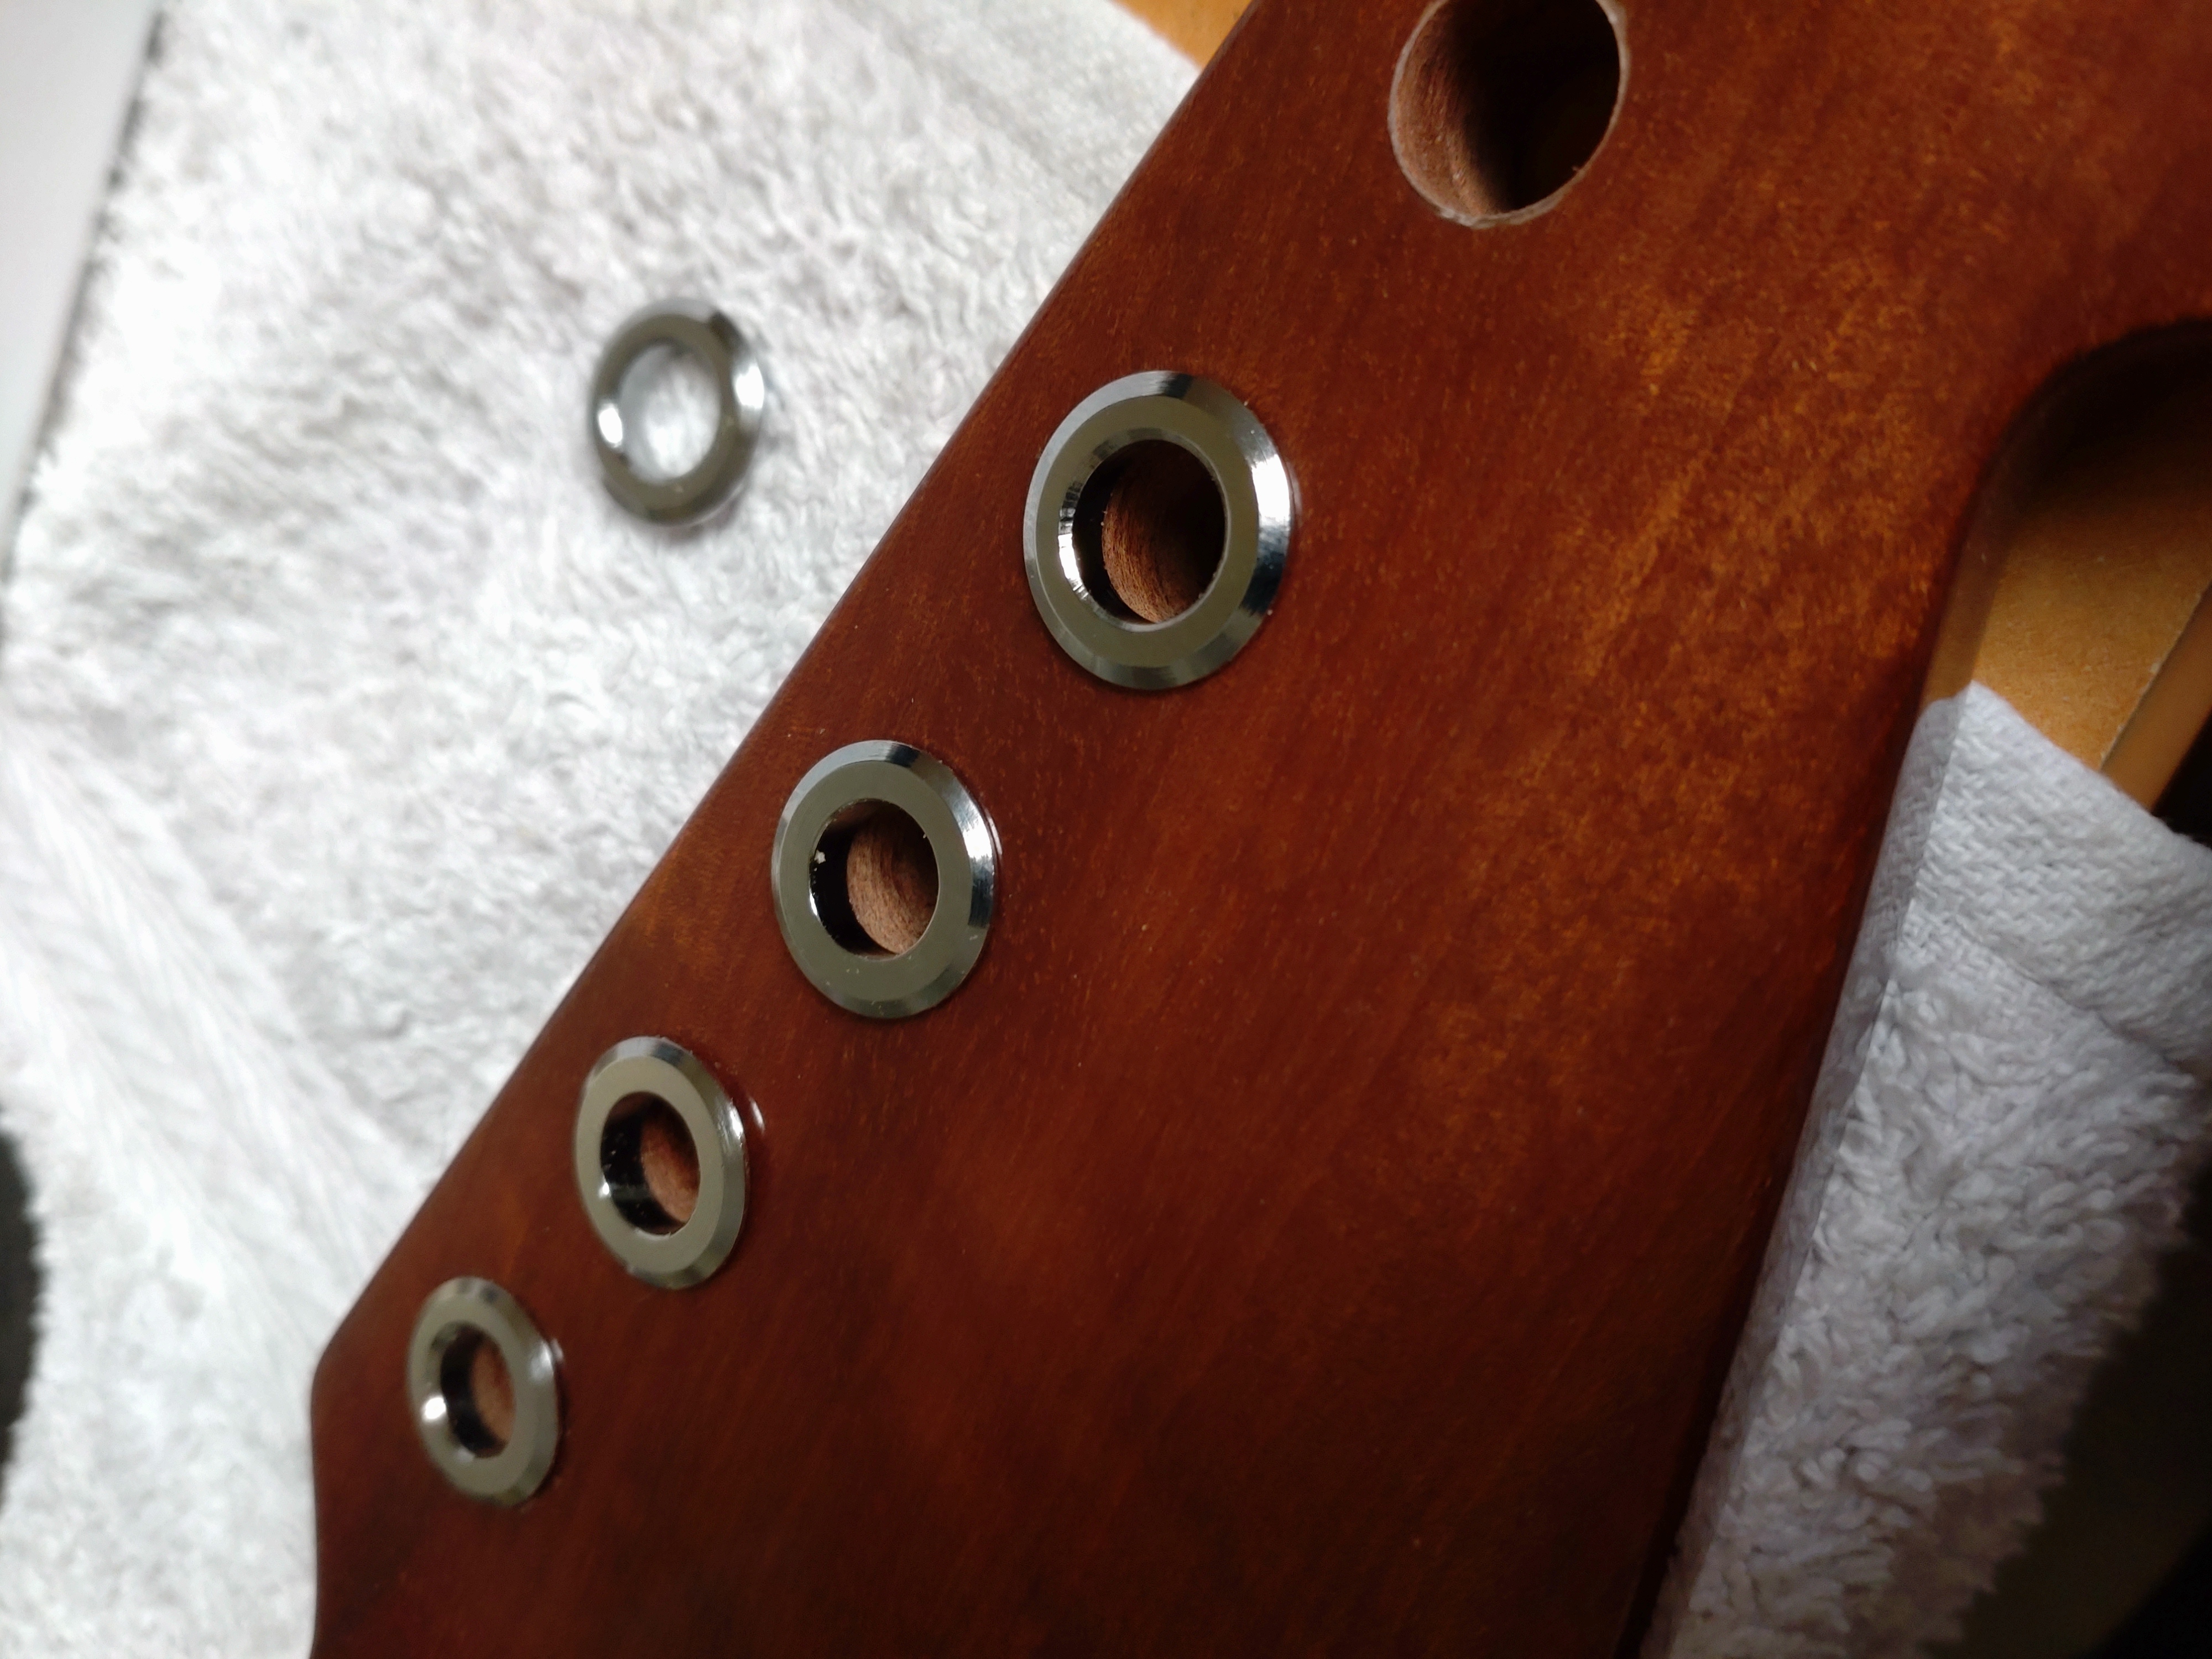
I then need to enlist the help of the neck and the tremolo unit so I can ensure the pickguard is correctly lined up and in position. I use masking tape to keep it where it needs to be.

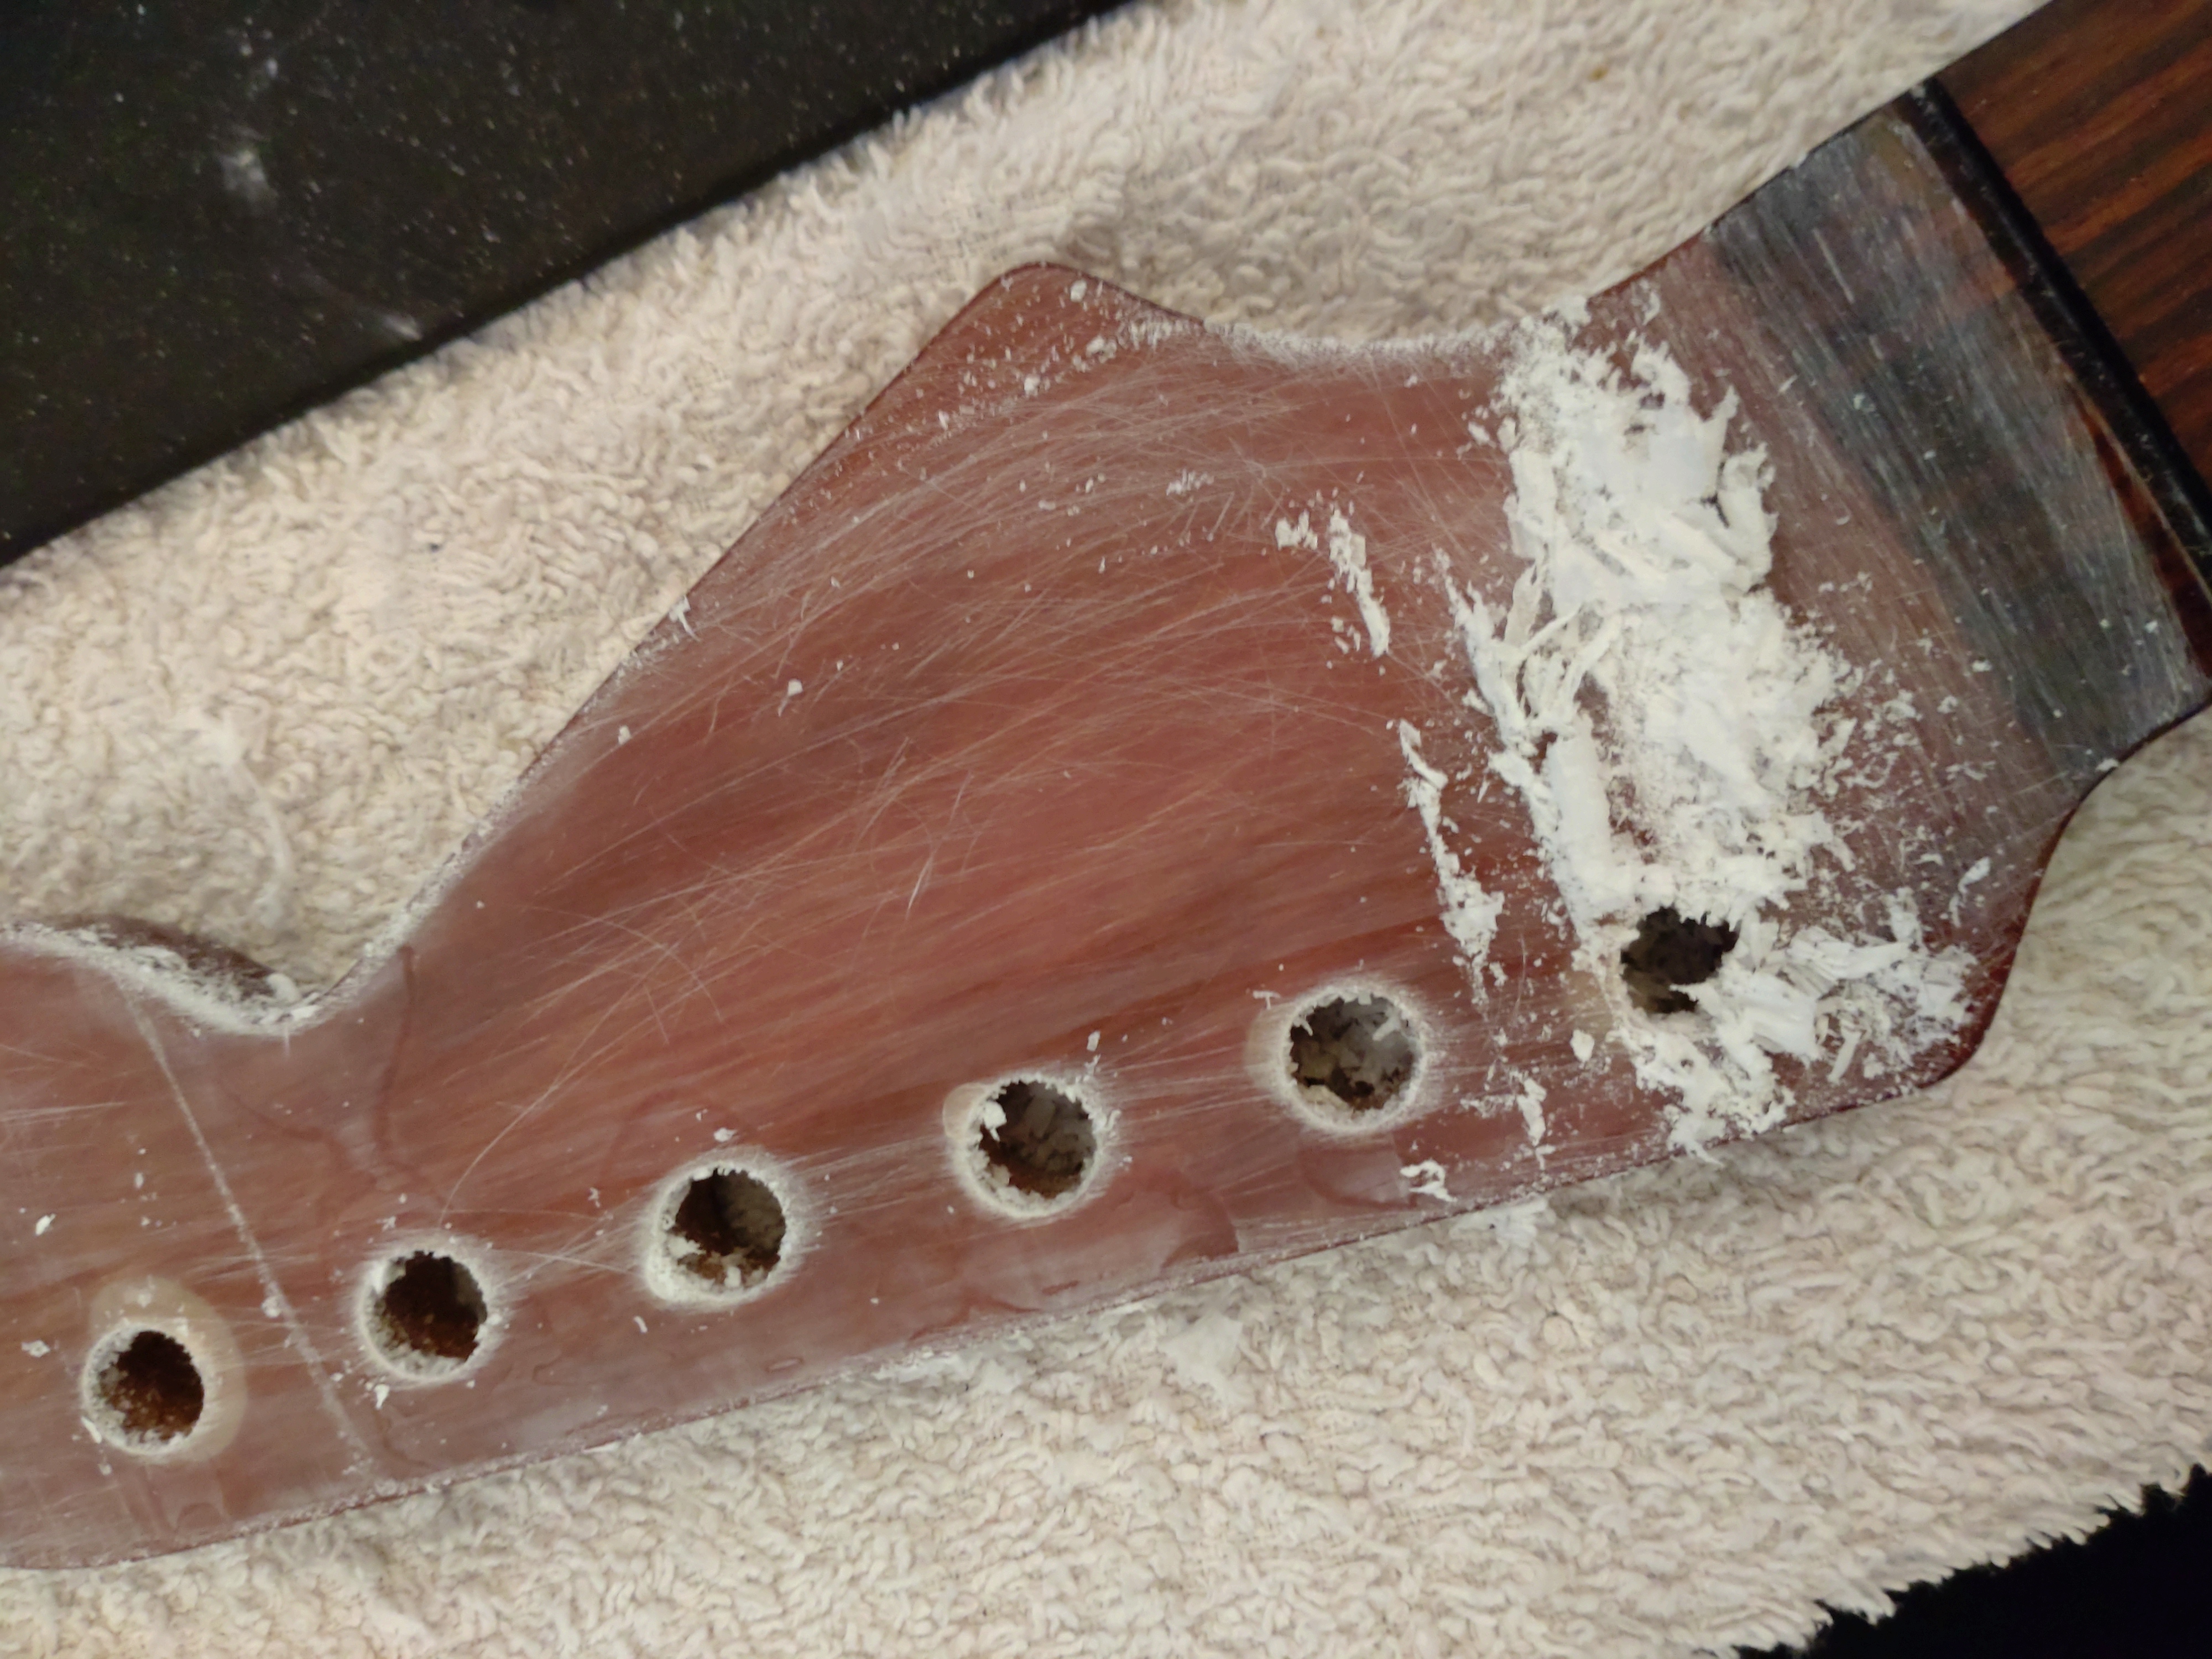
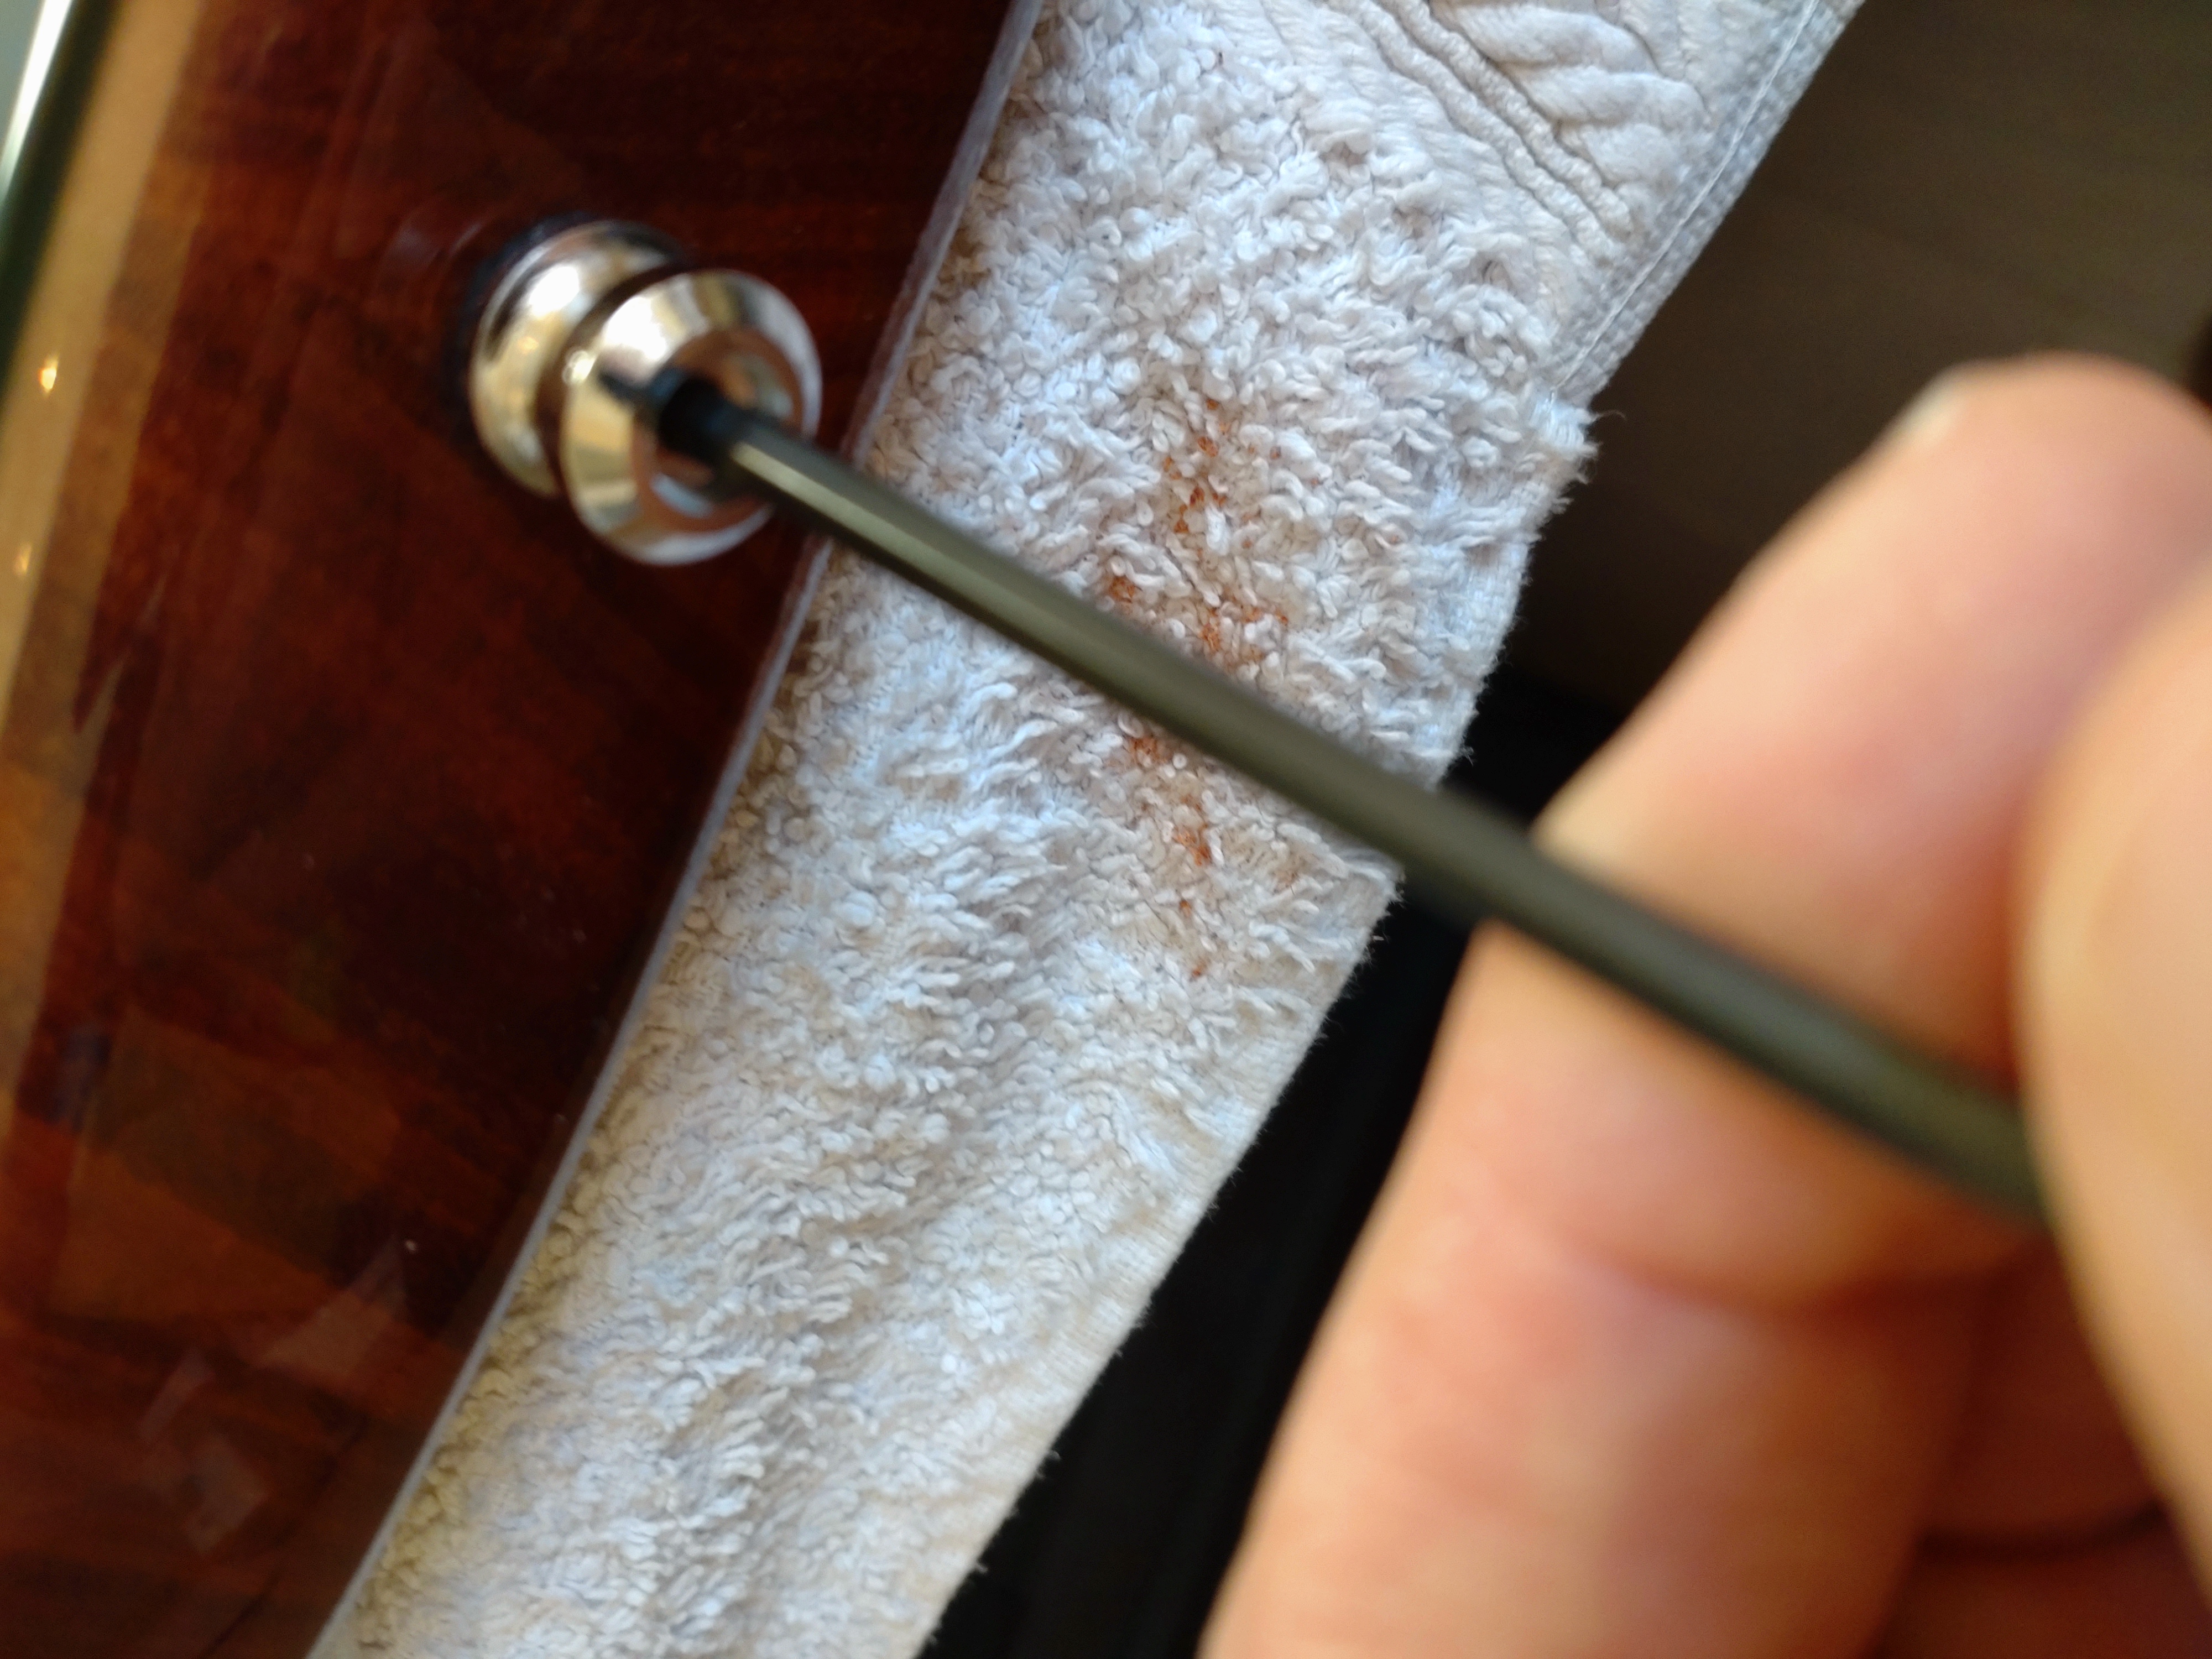
I then drill the pilot holes of 1.5mm with the pickguard in place. I remove the pickguard and then use a 2mm bit to widen the holes to a depth of about 3mm and countersink them to avoid finish pops.

BF (5) by stratamania, on Flickr

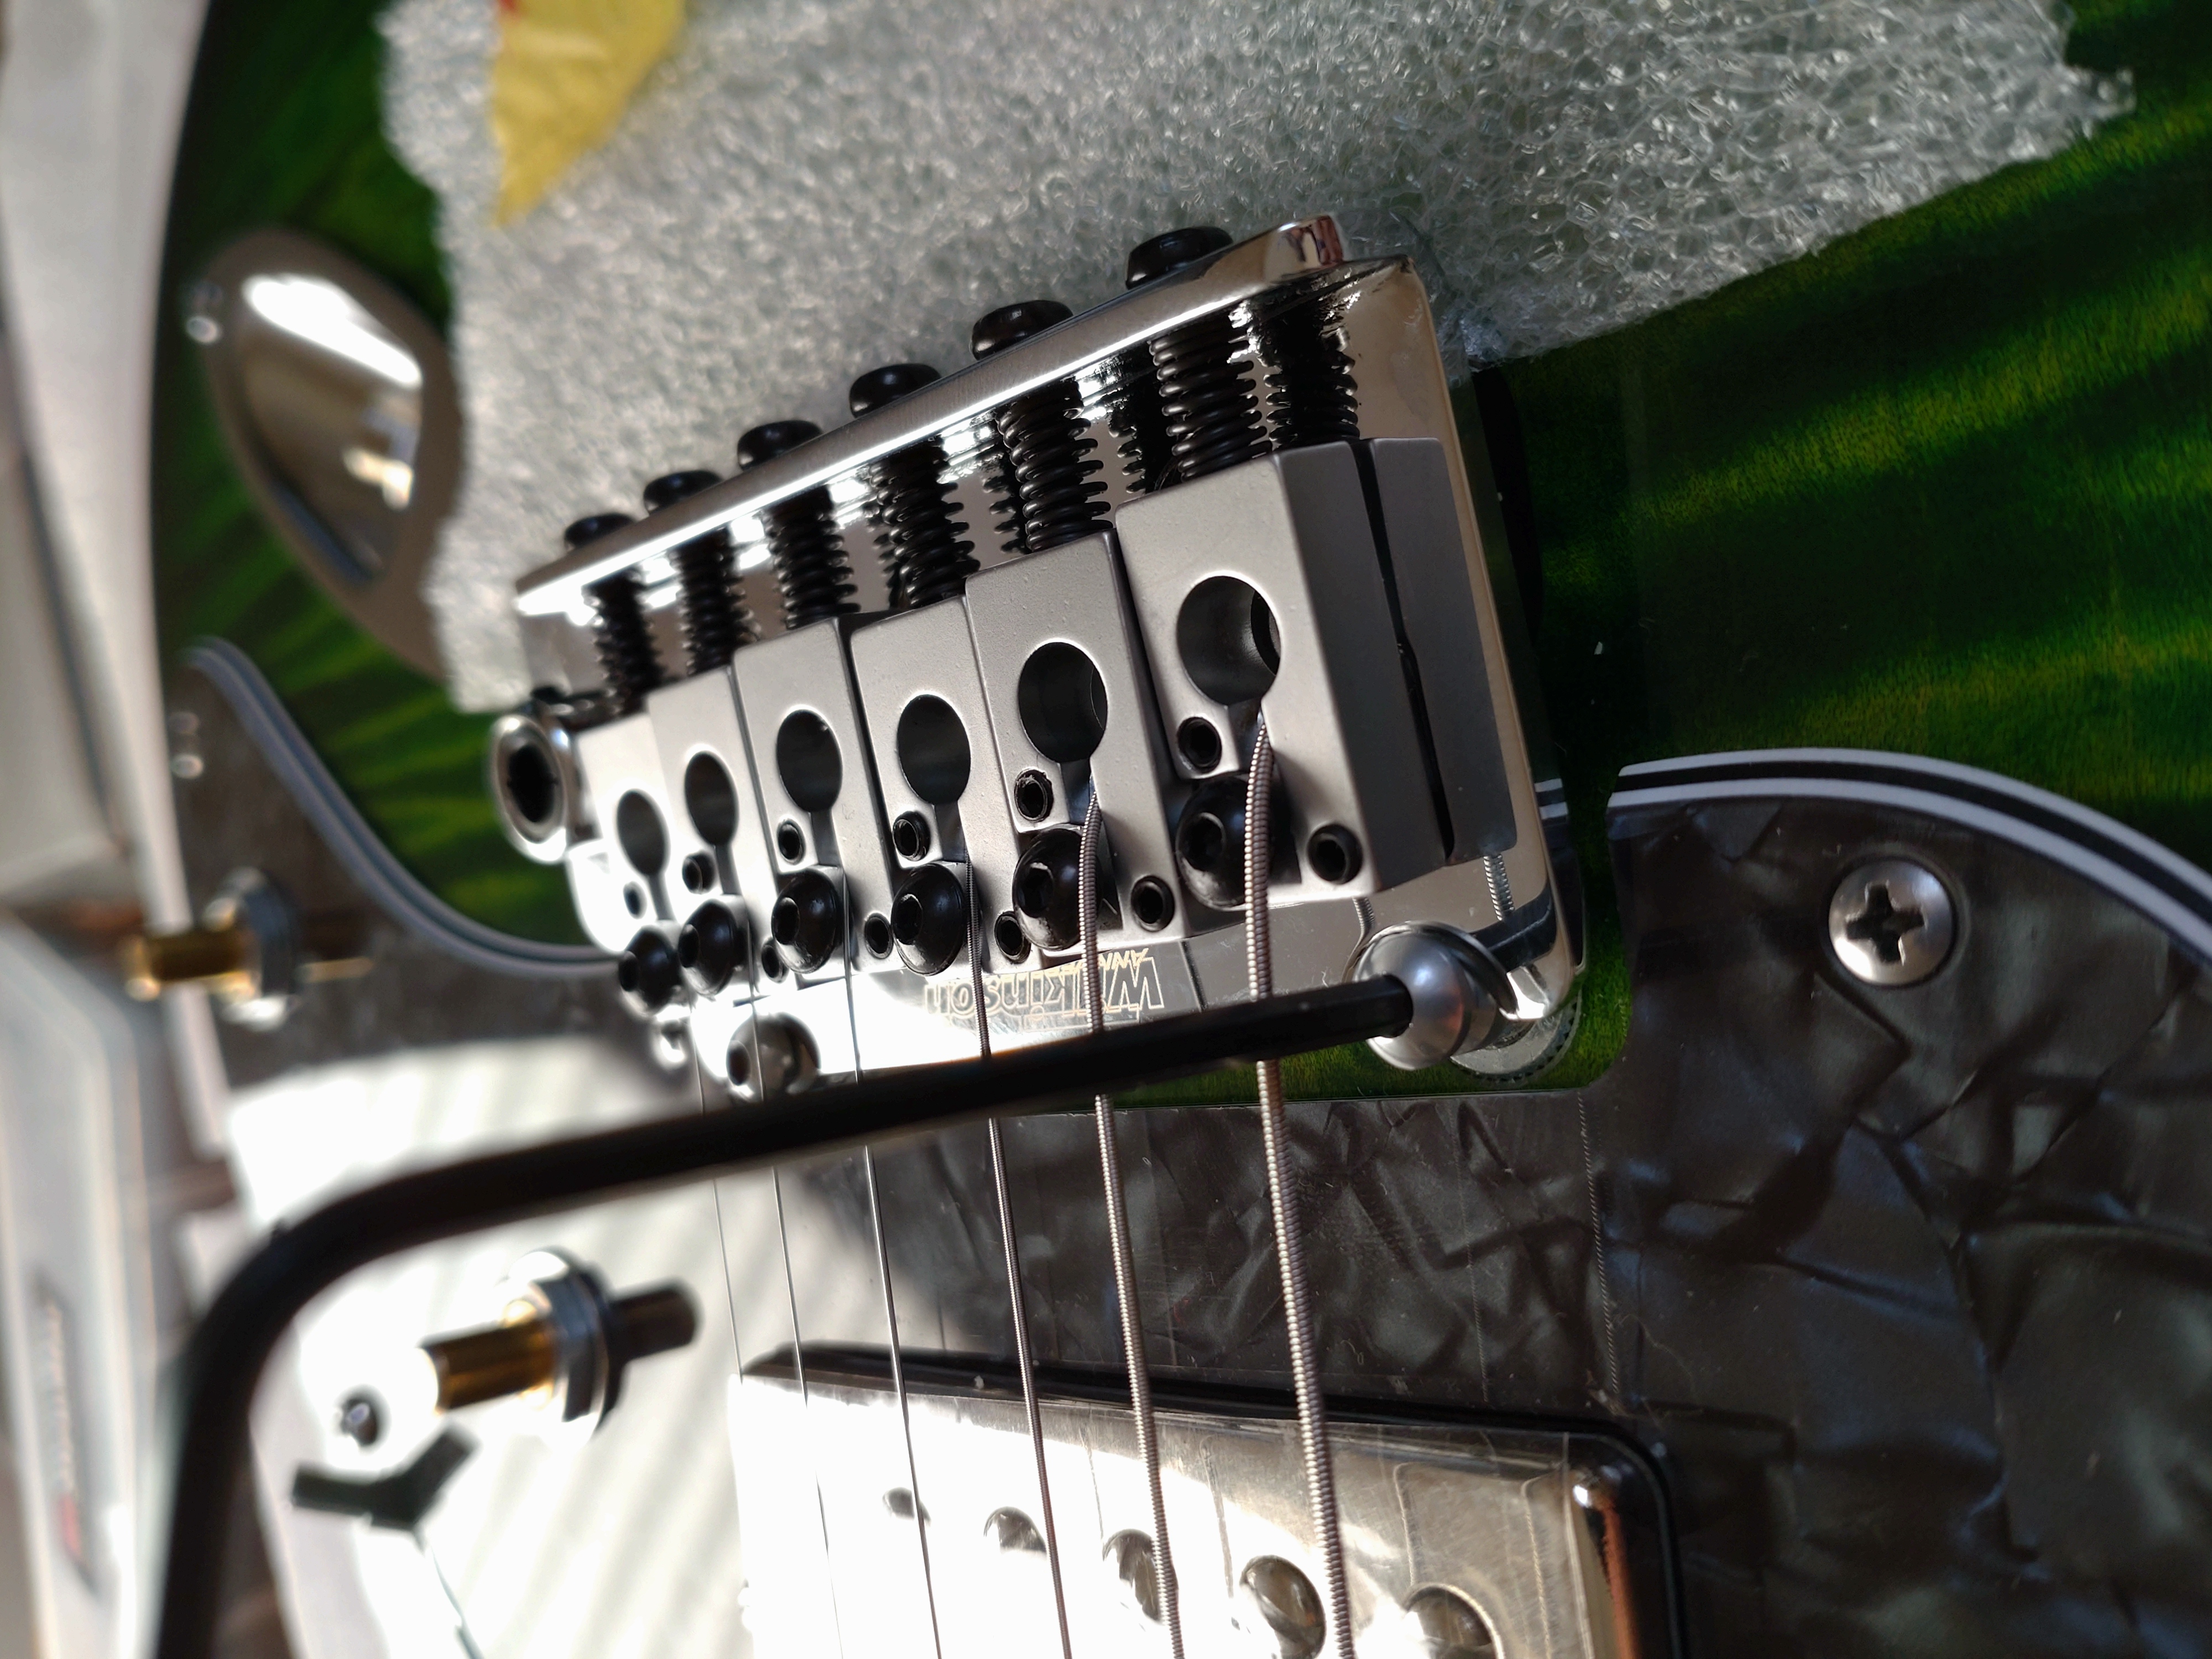
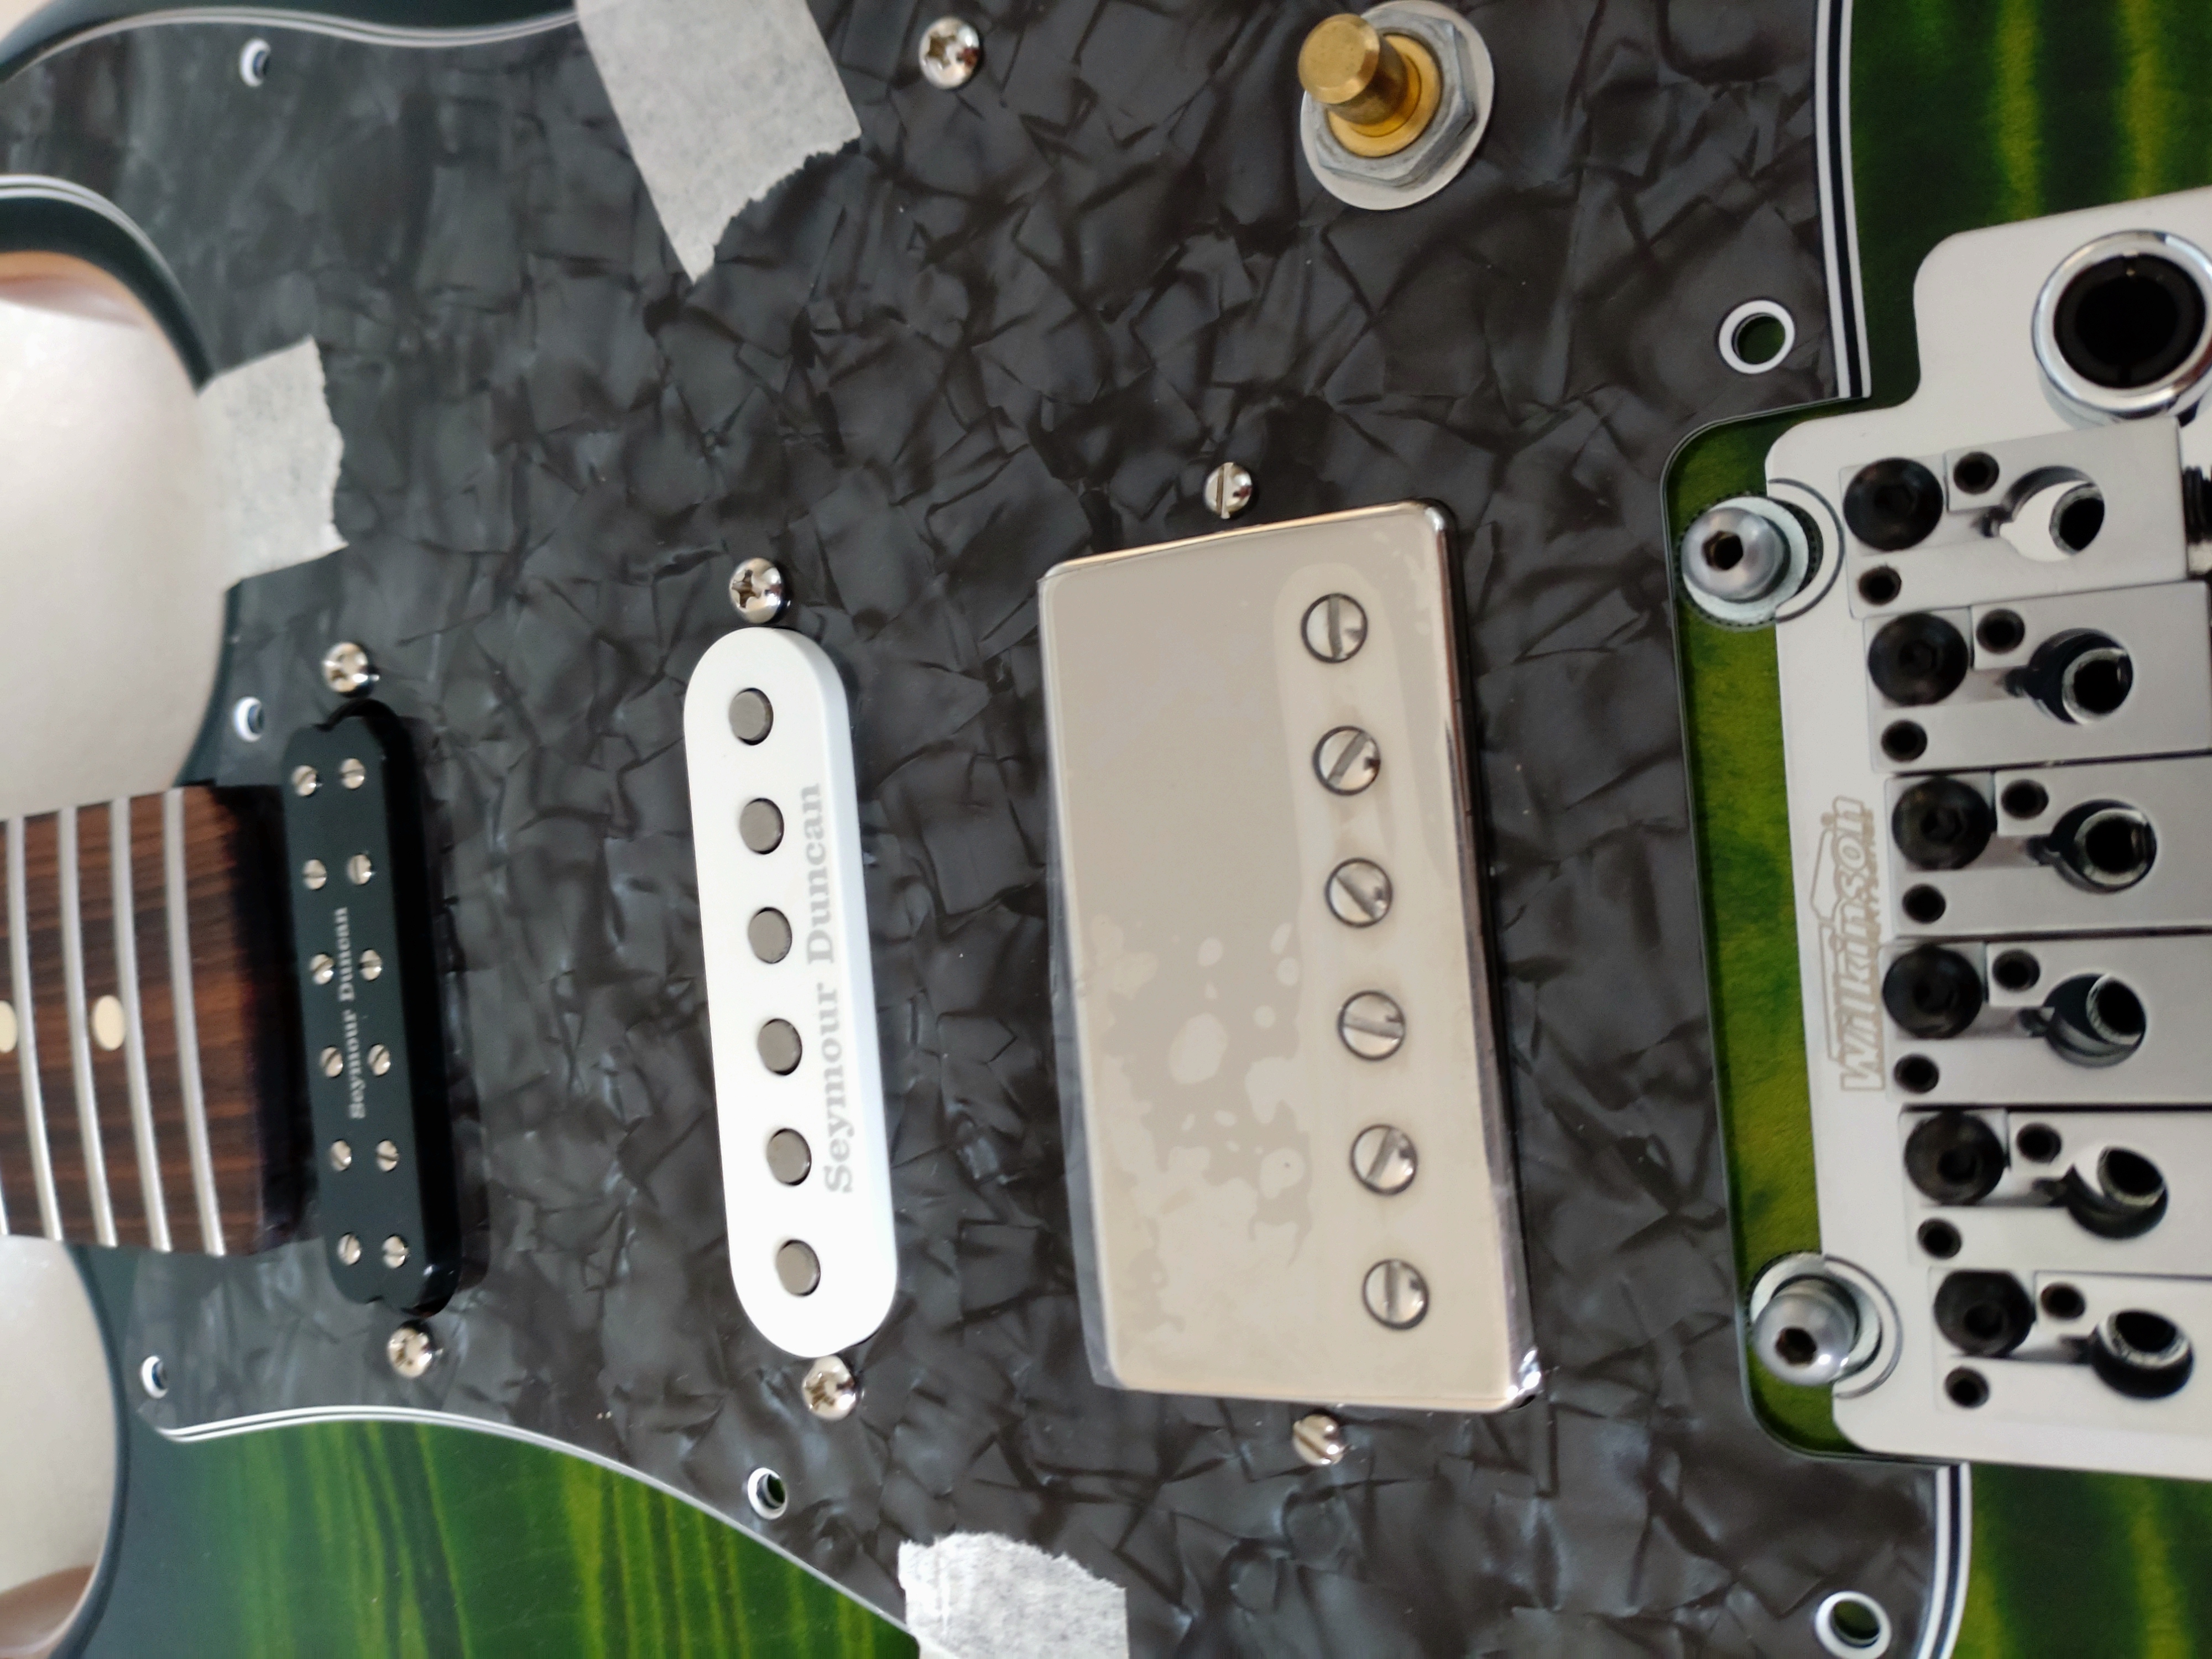
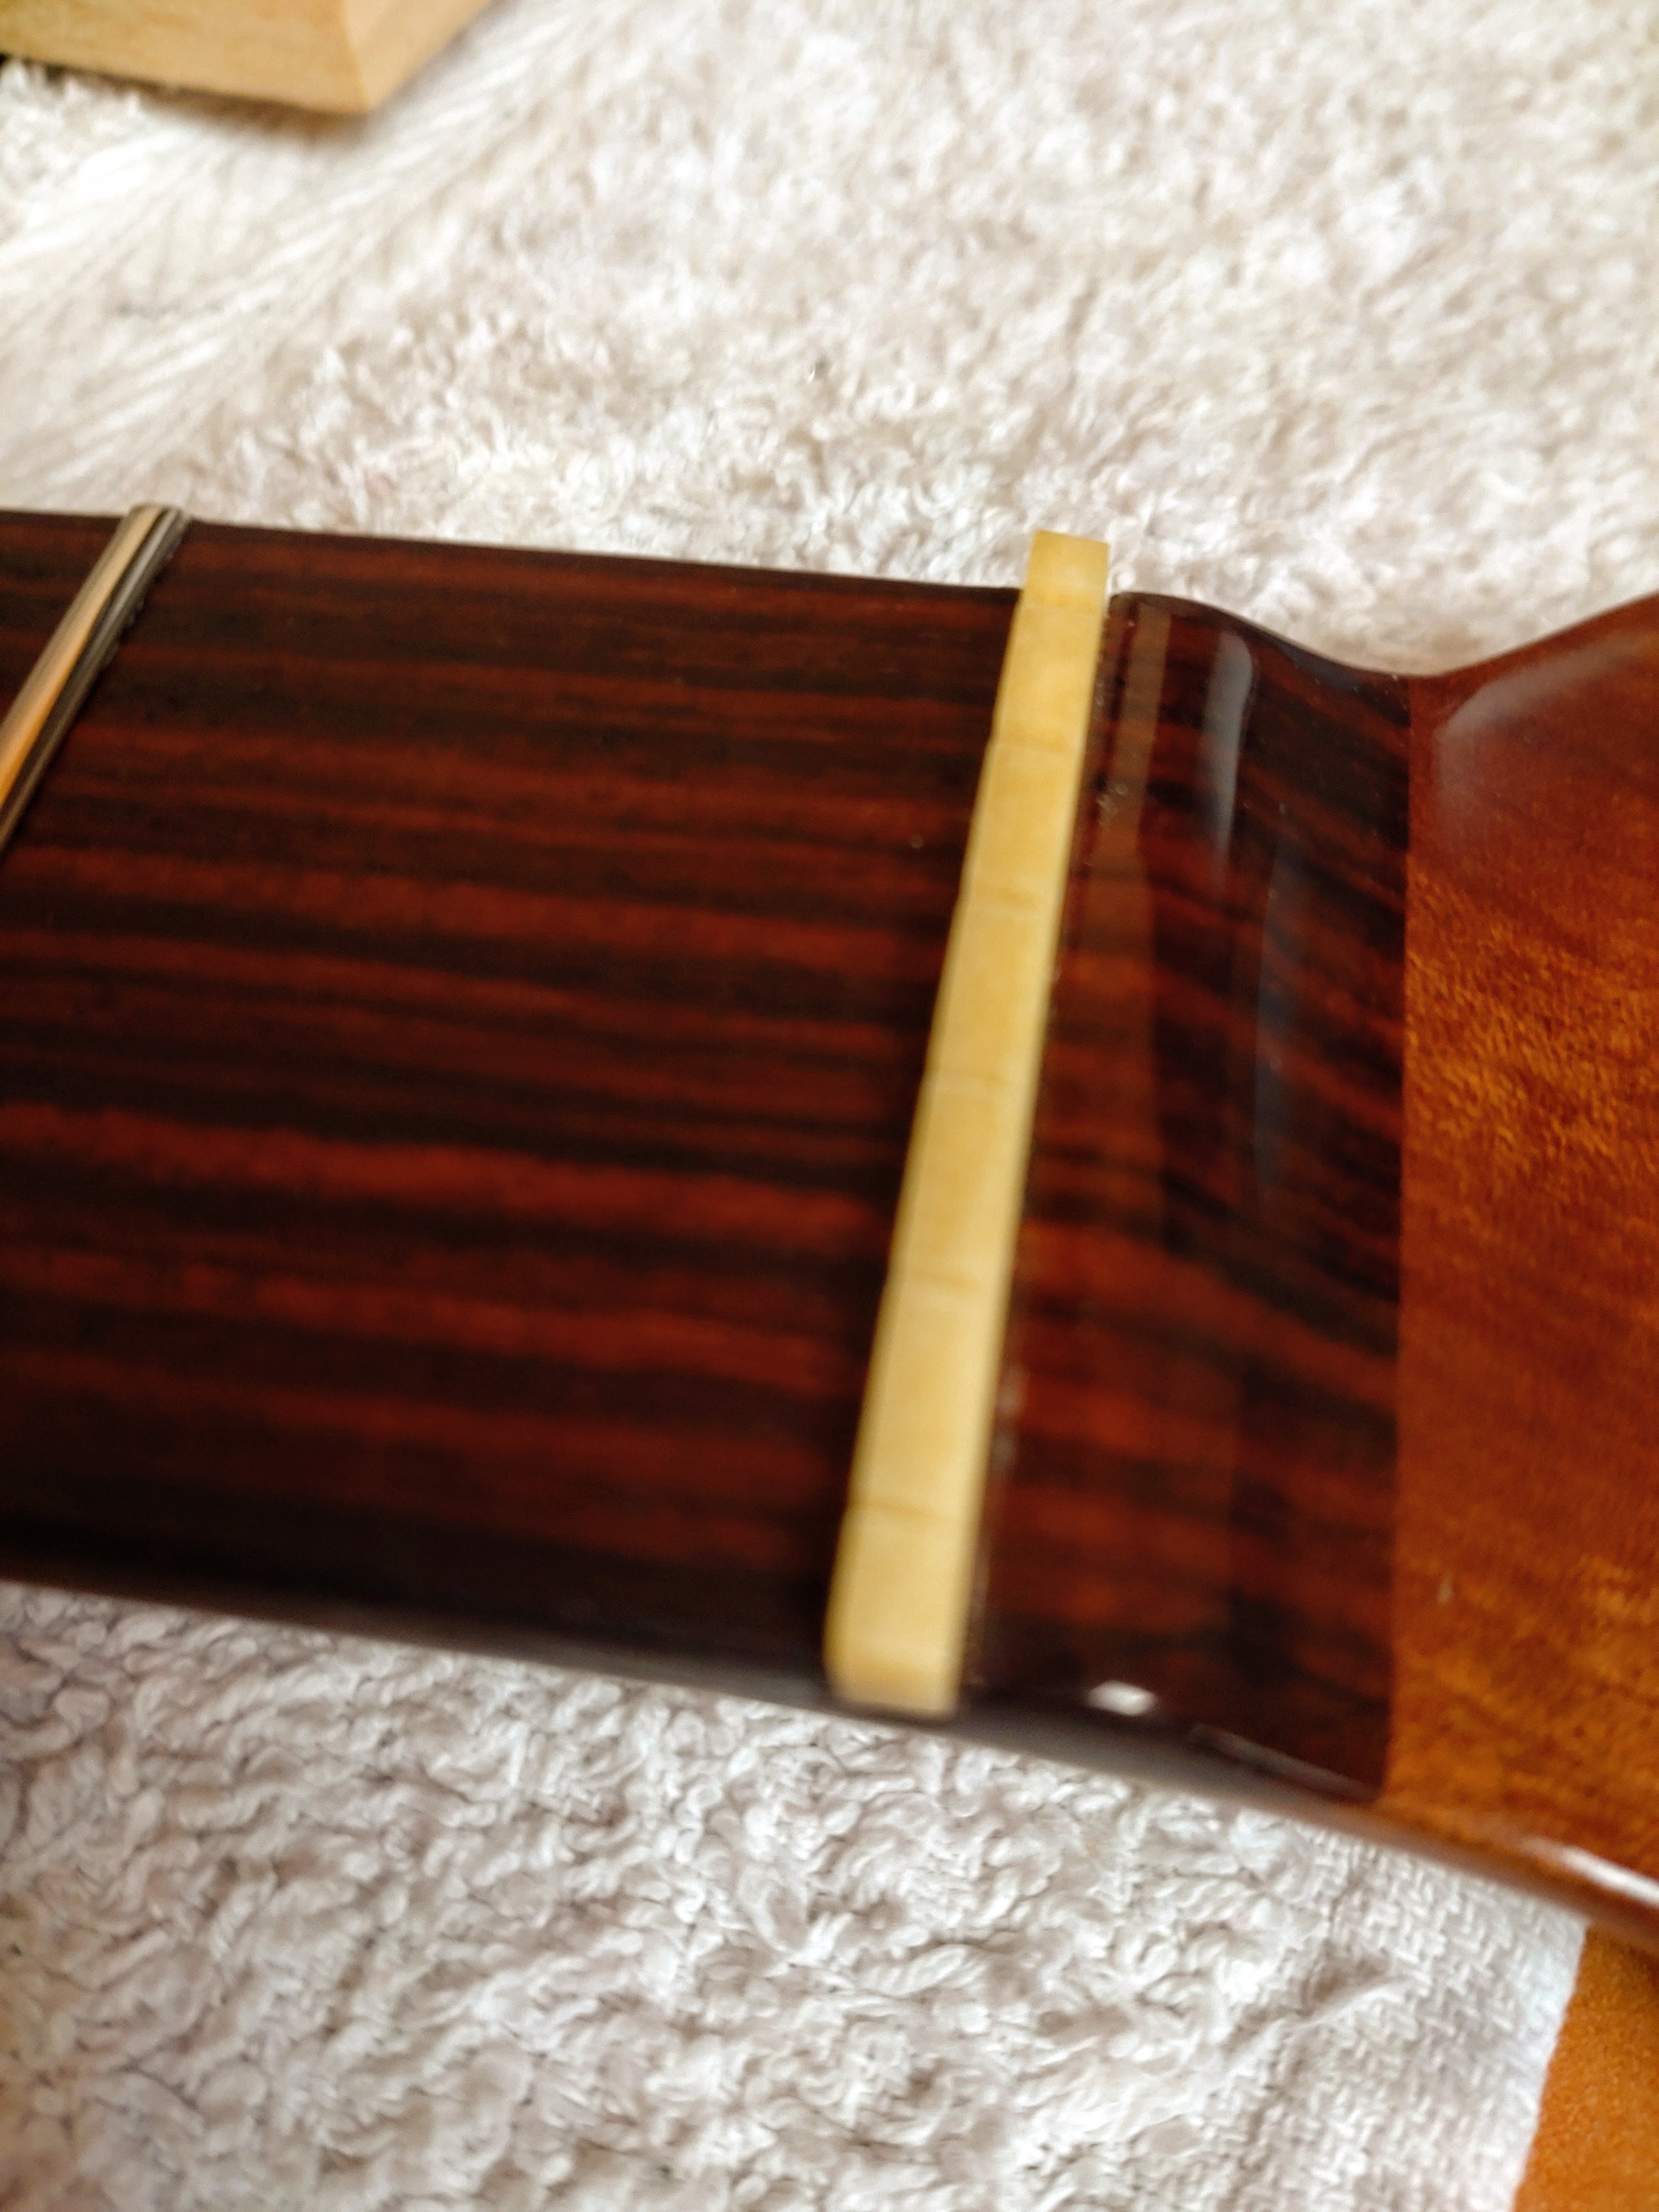
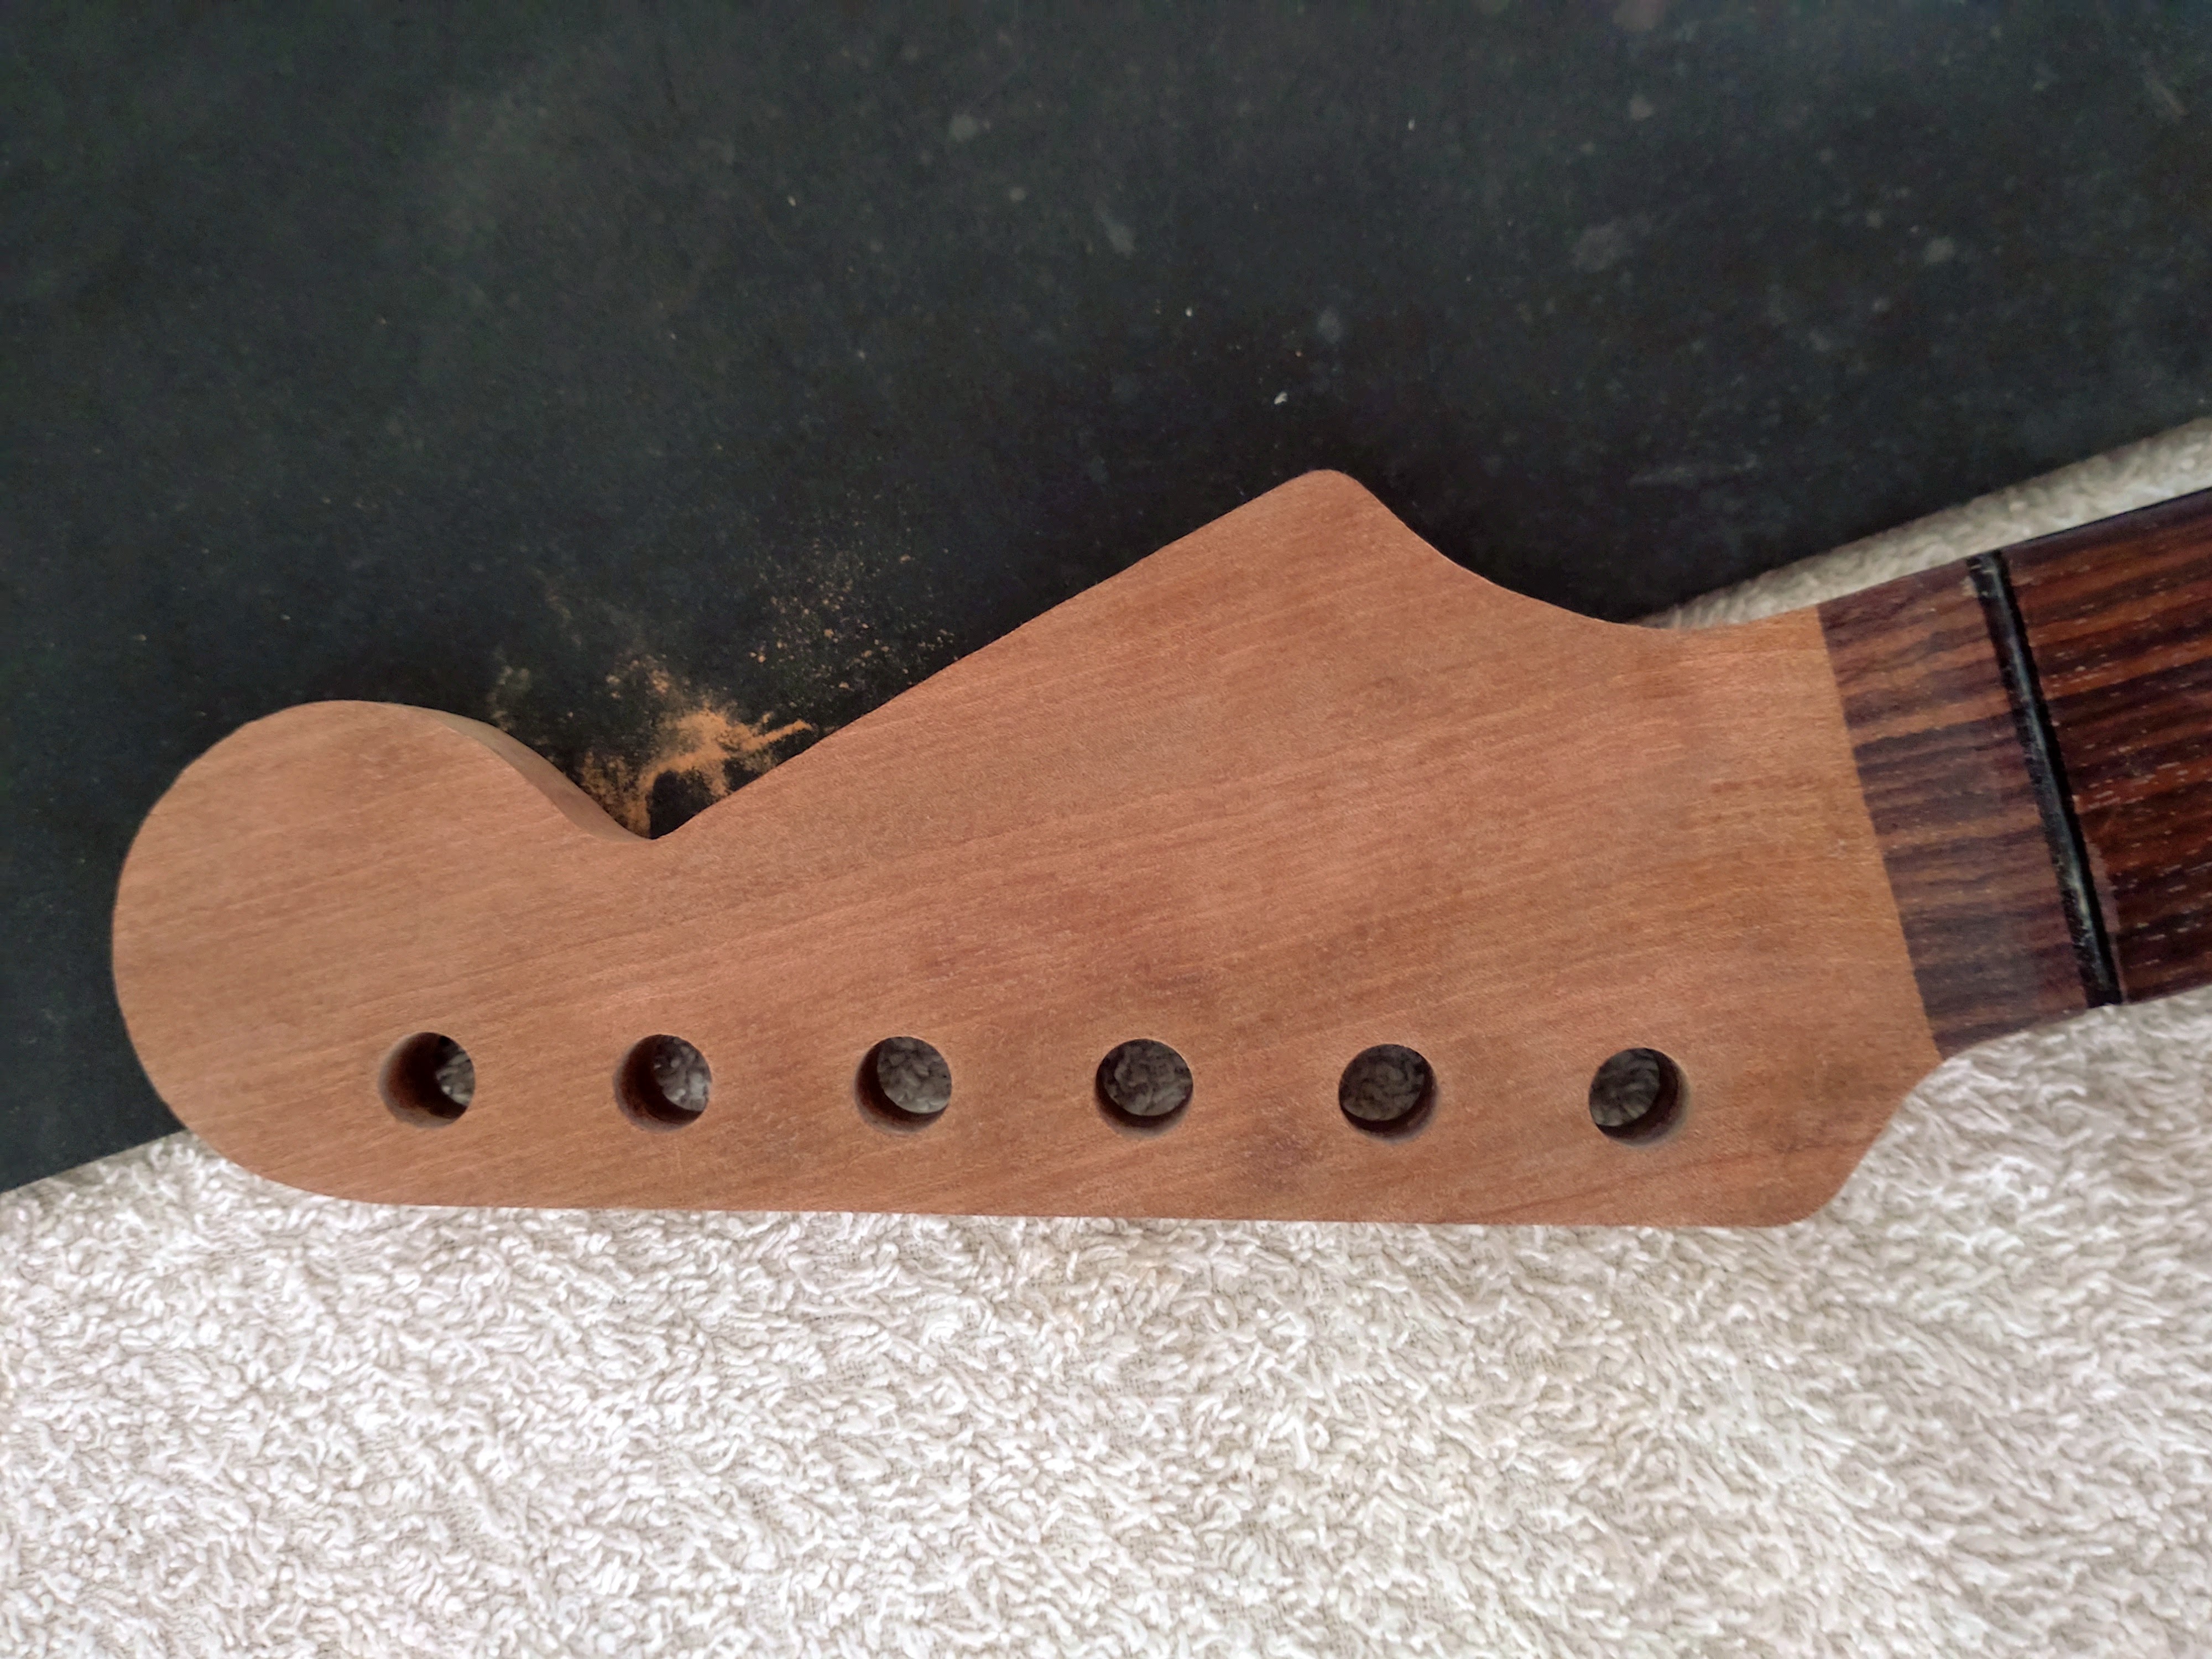
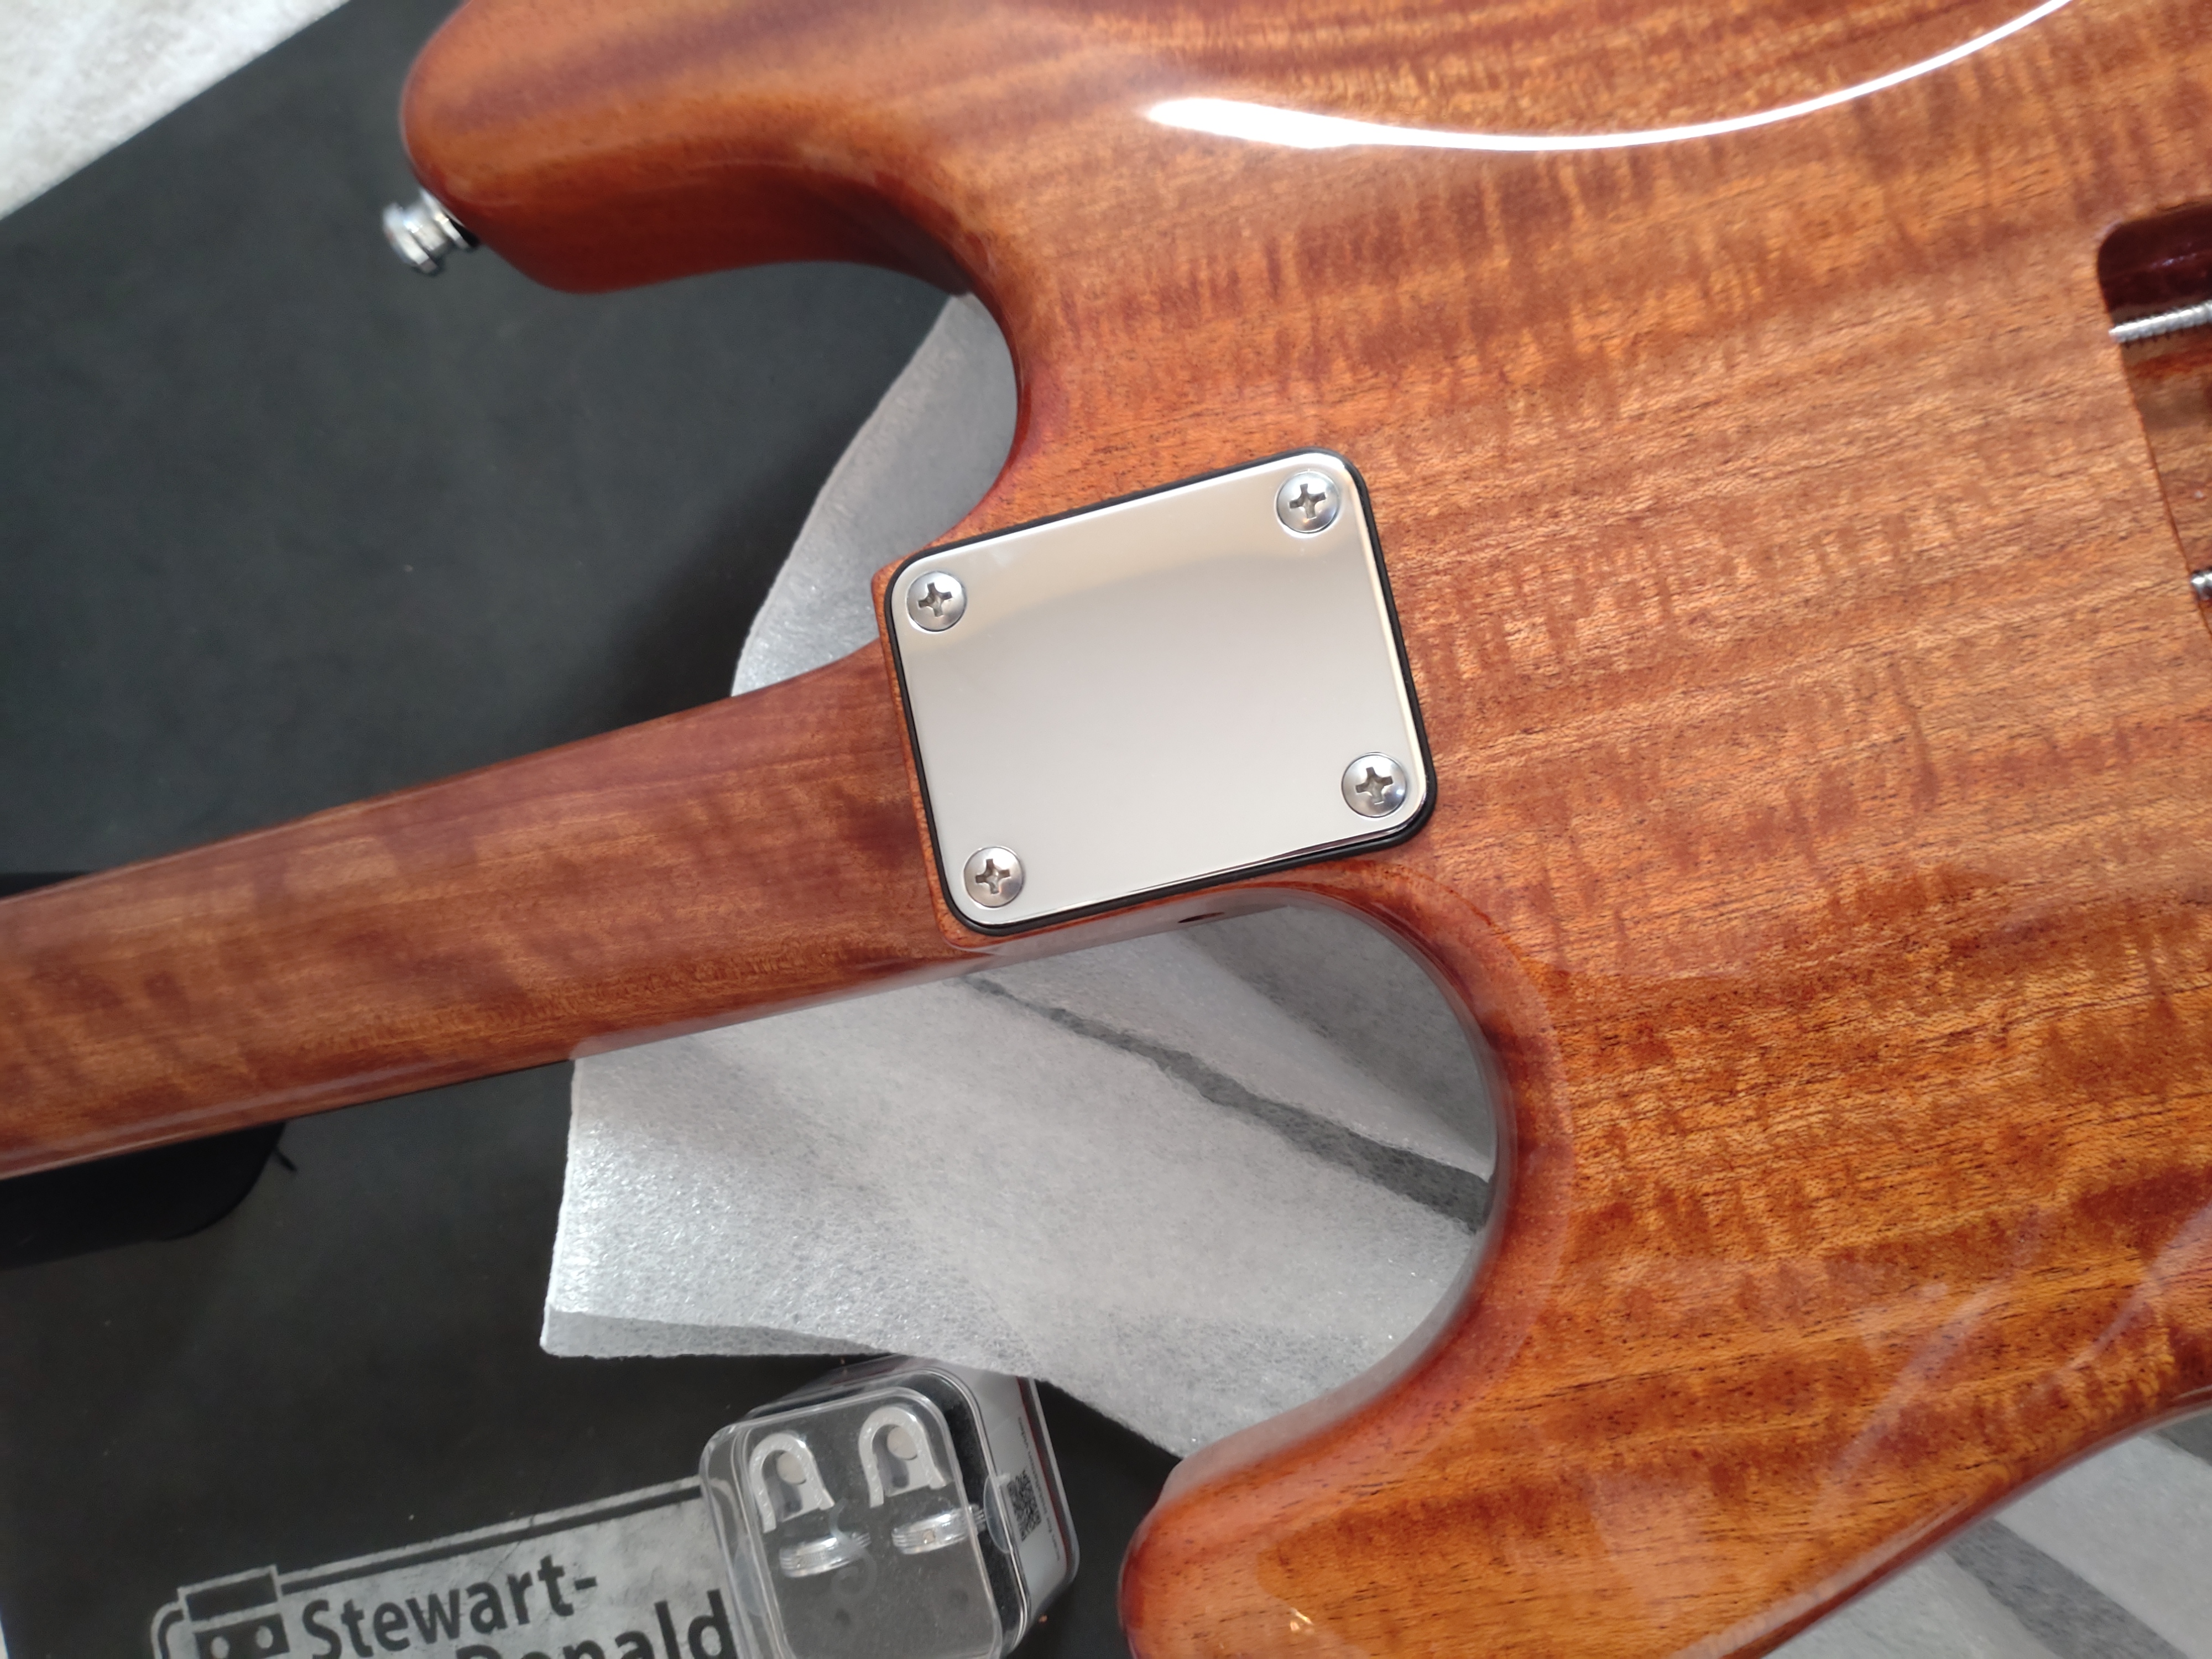
The pickguard is flush all the way around with the neck pocket.

BF (6) by stratamania, on Flickr

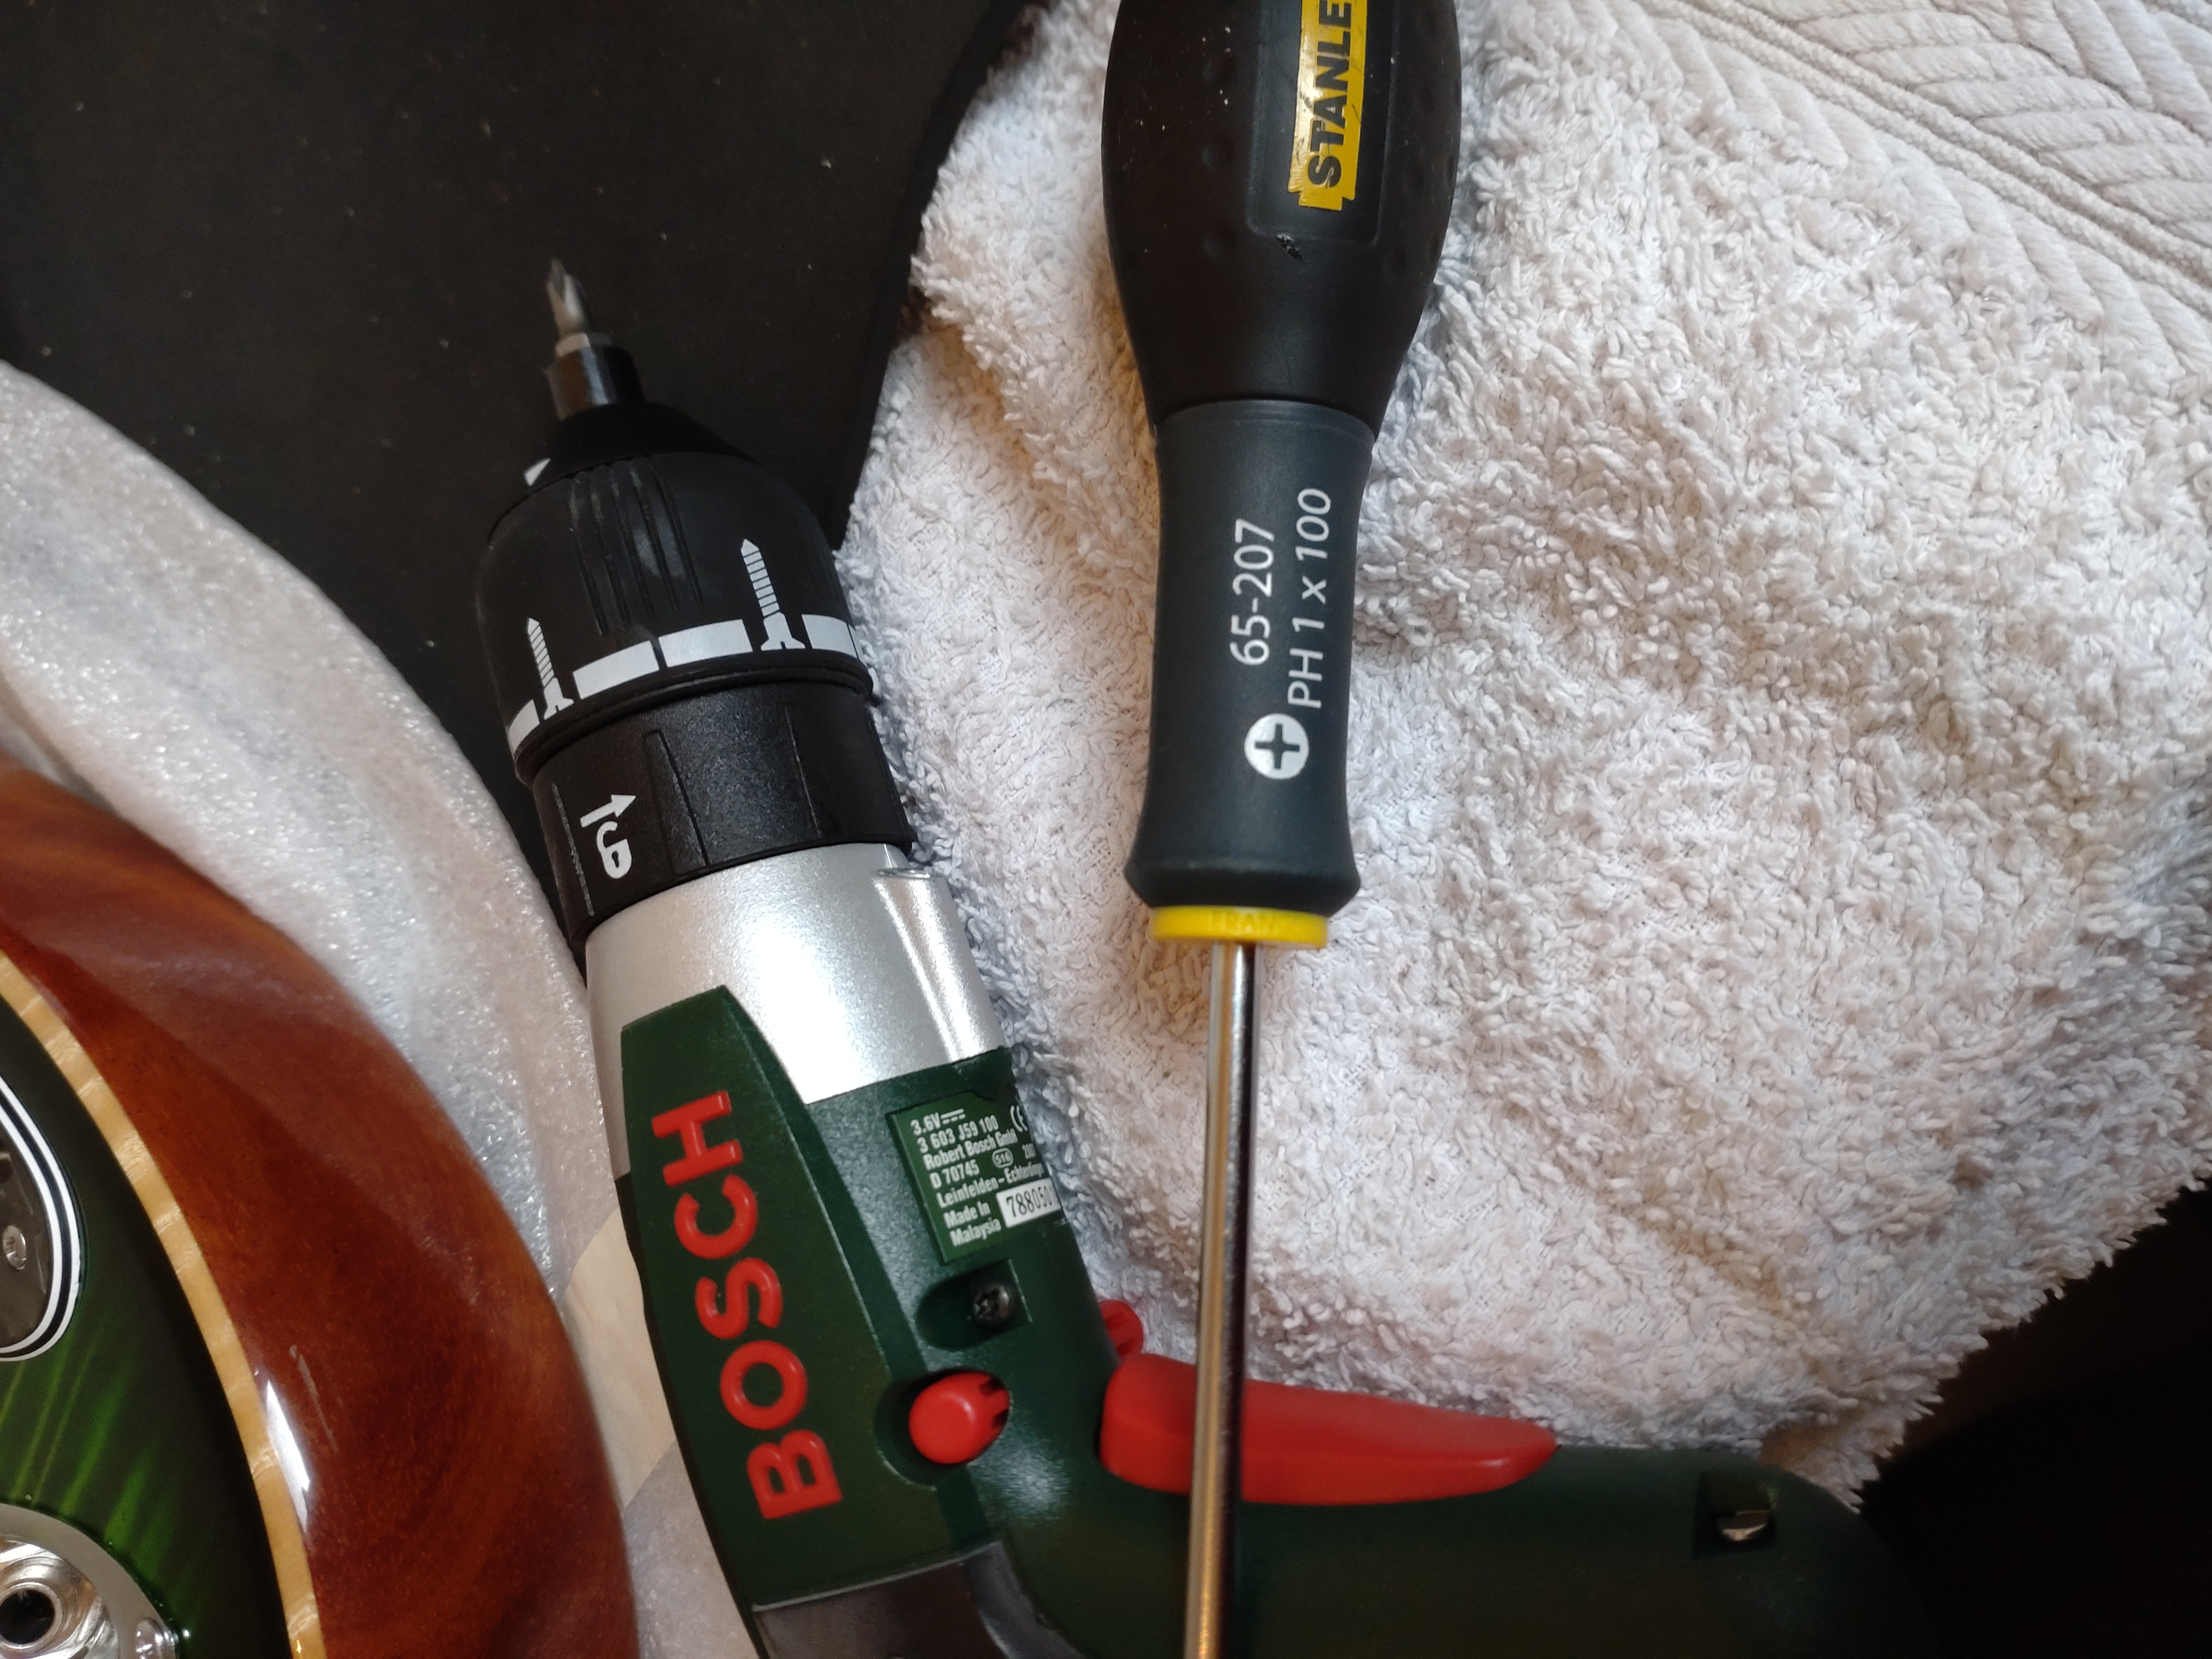
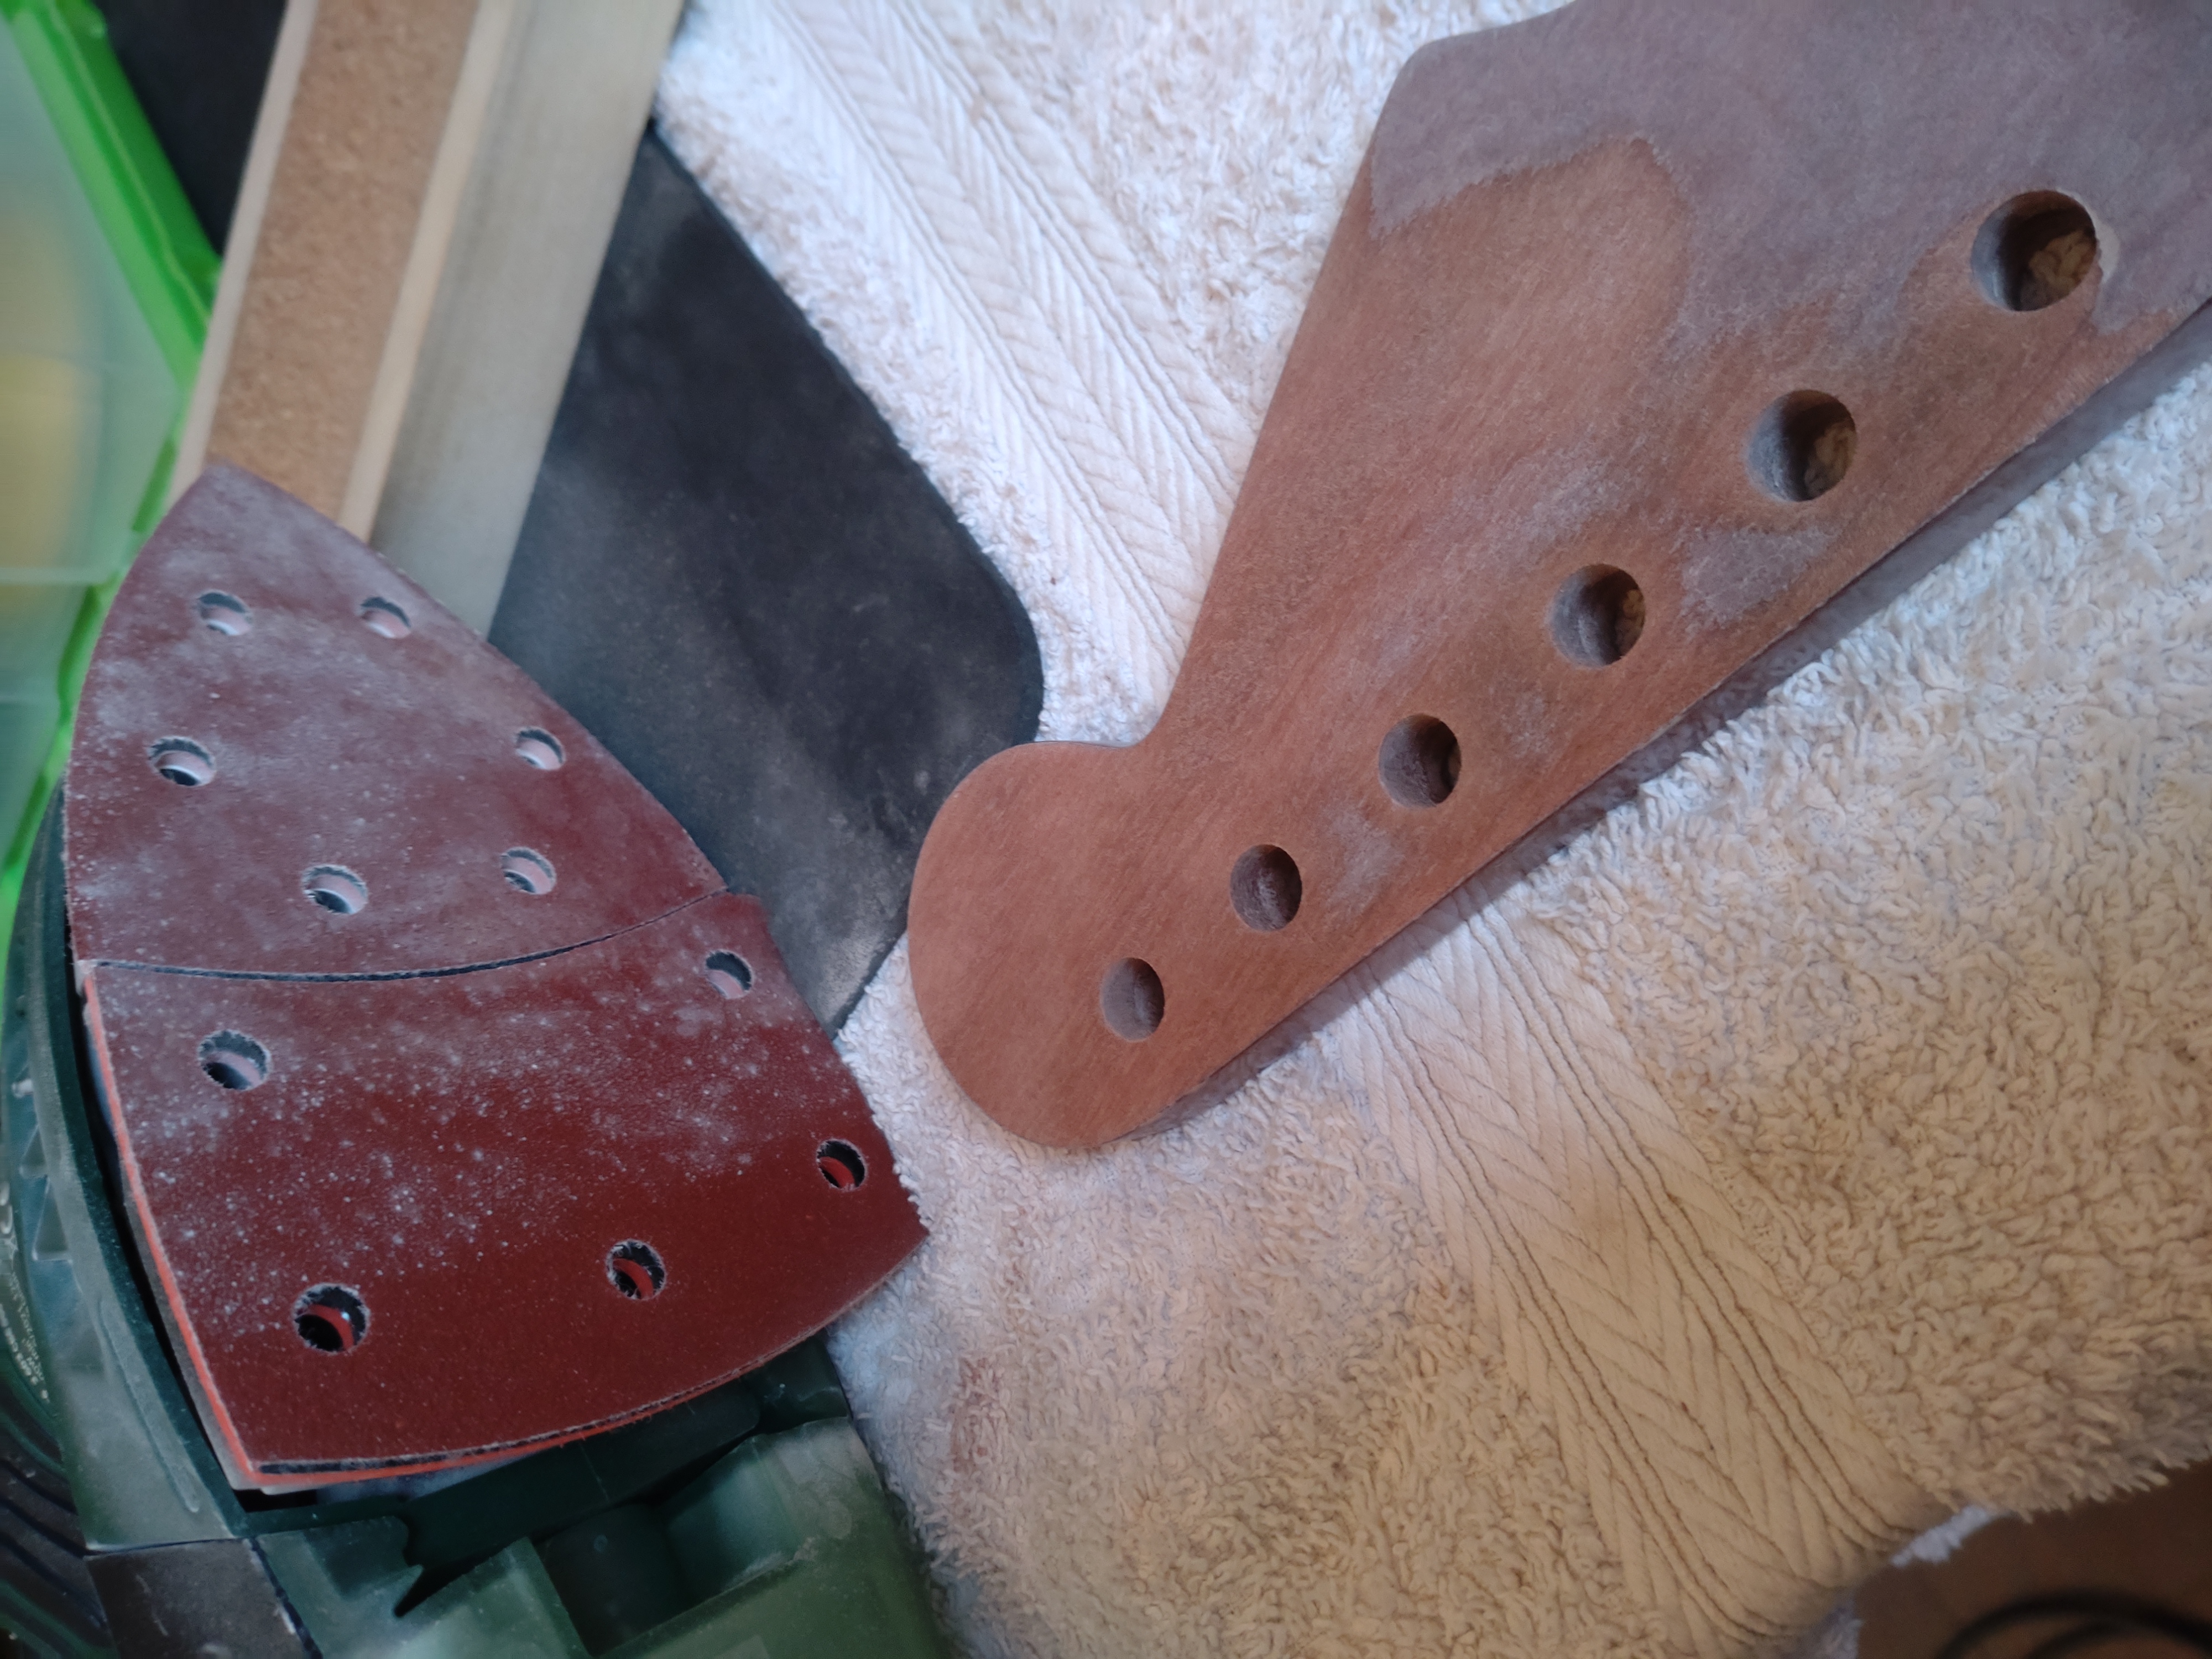
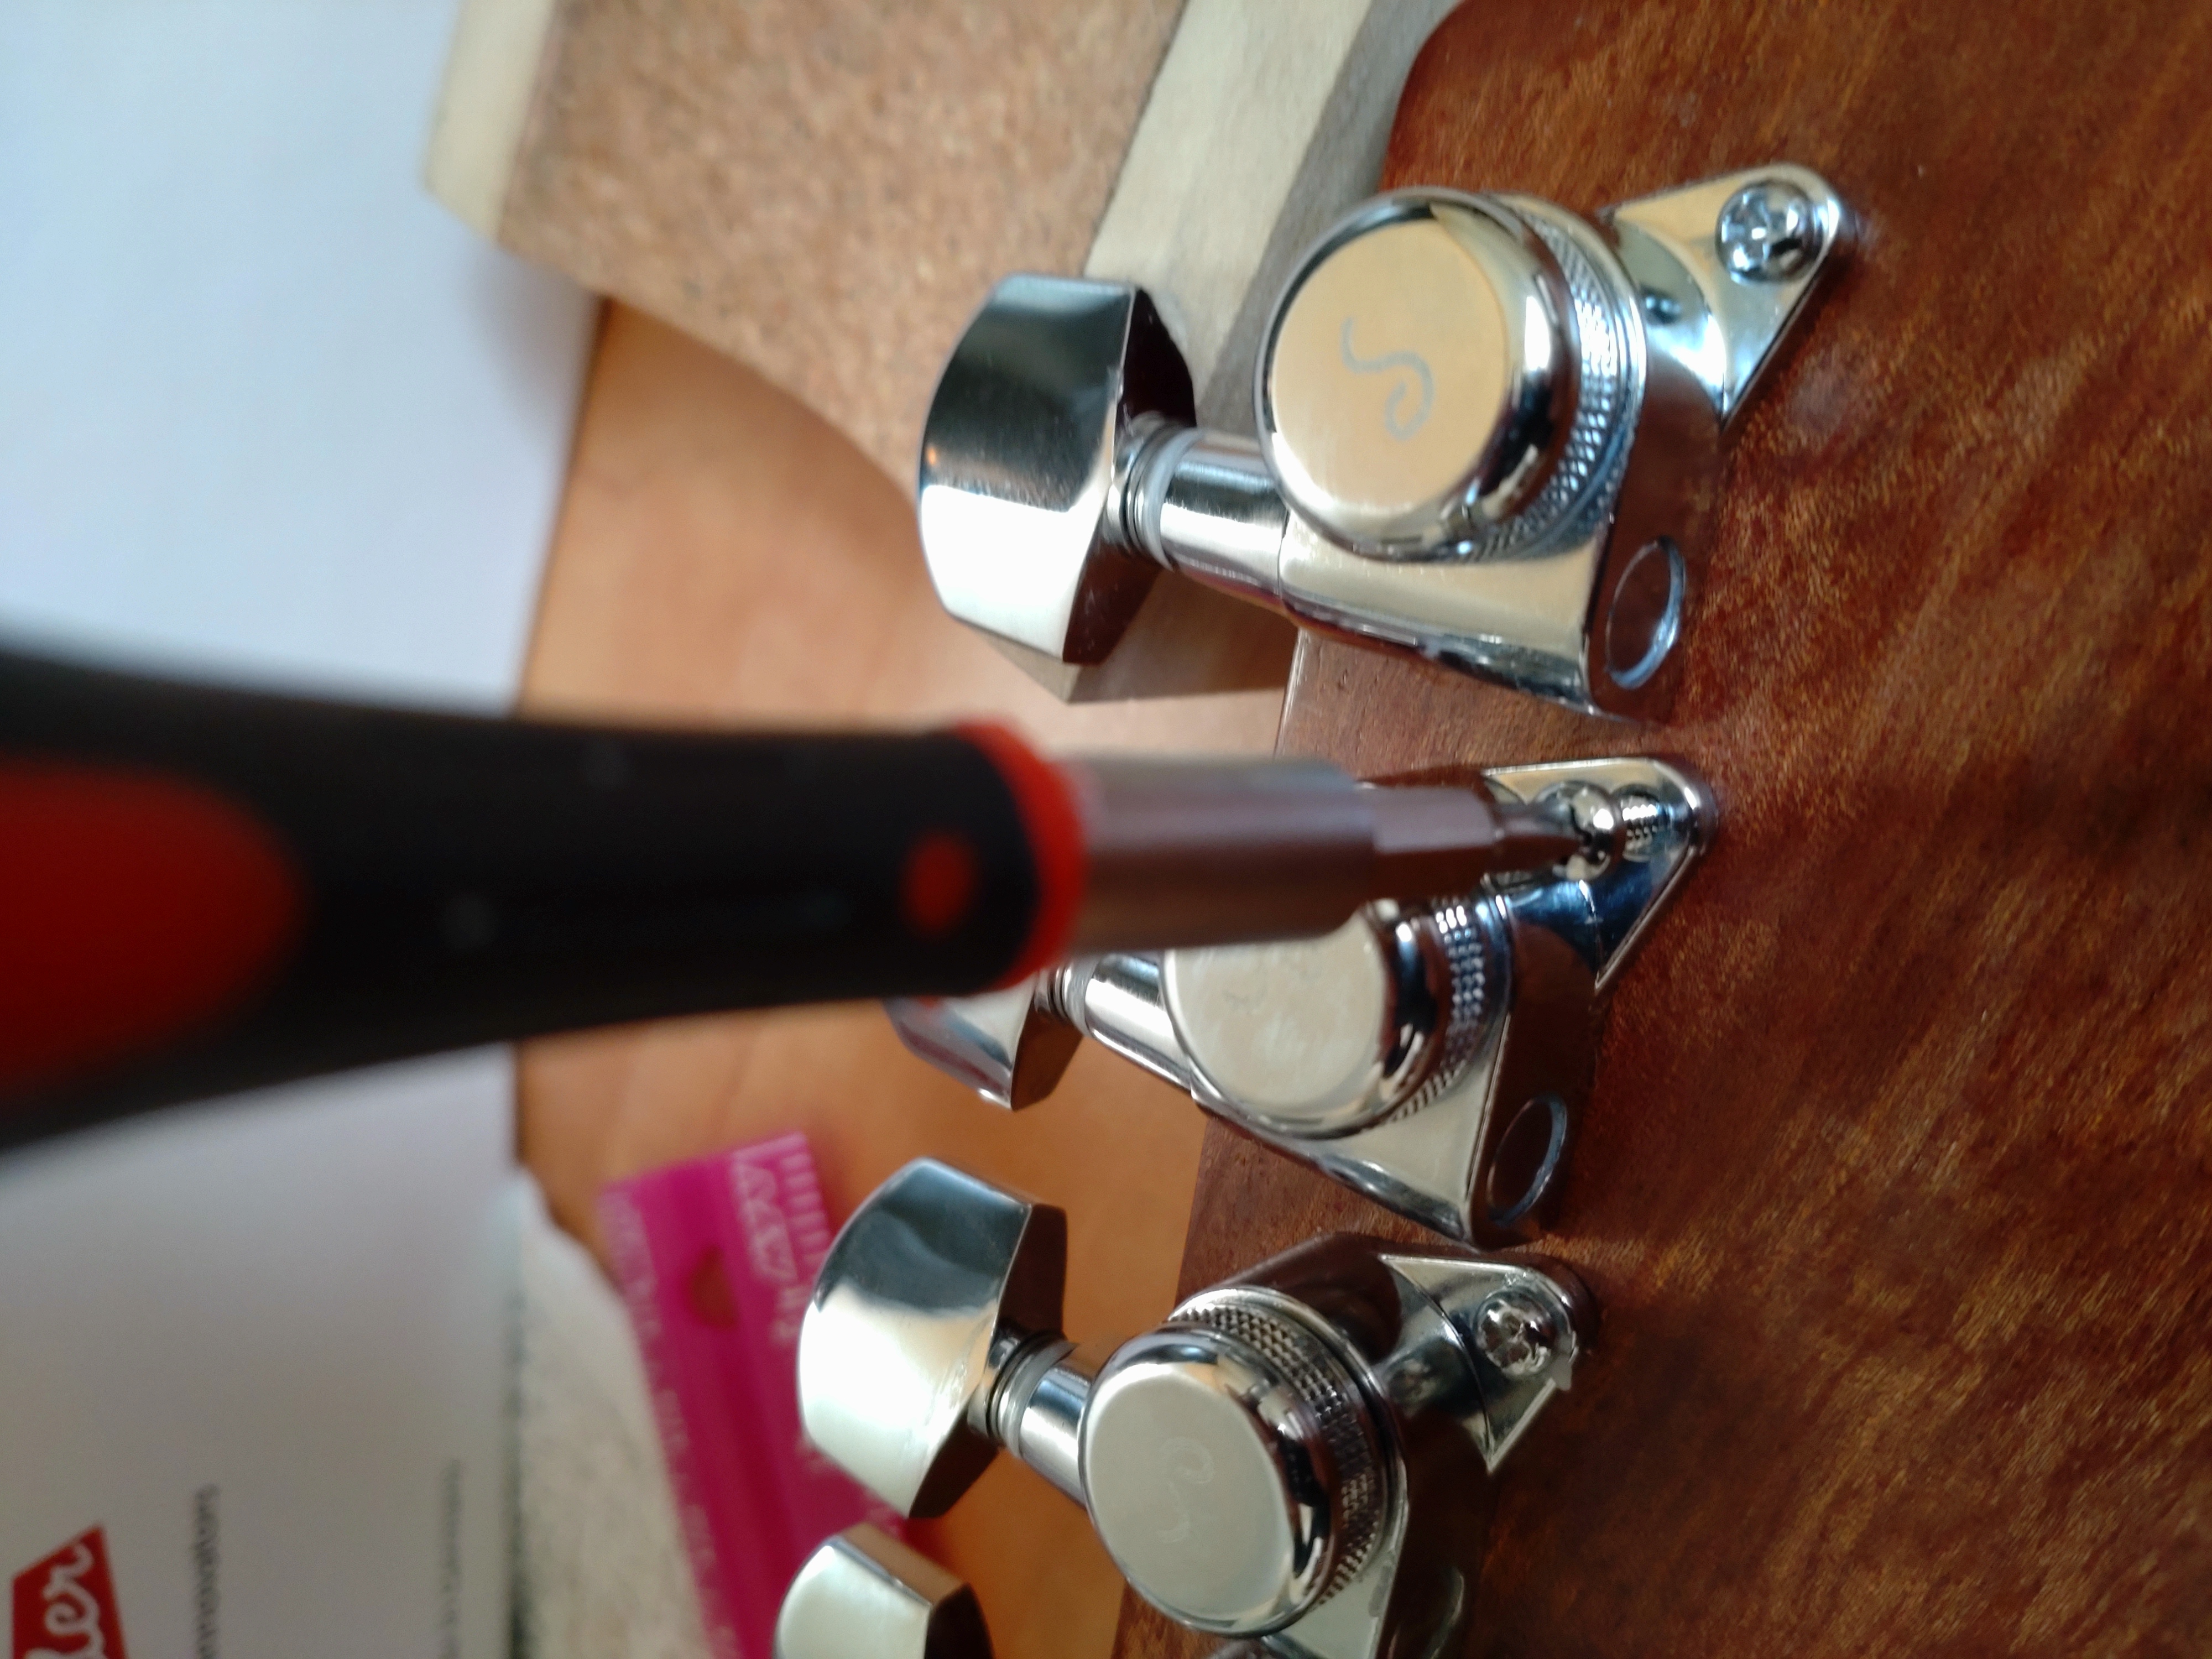
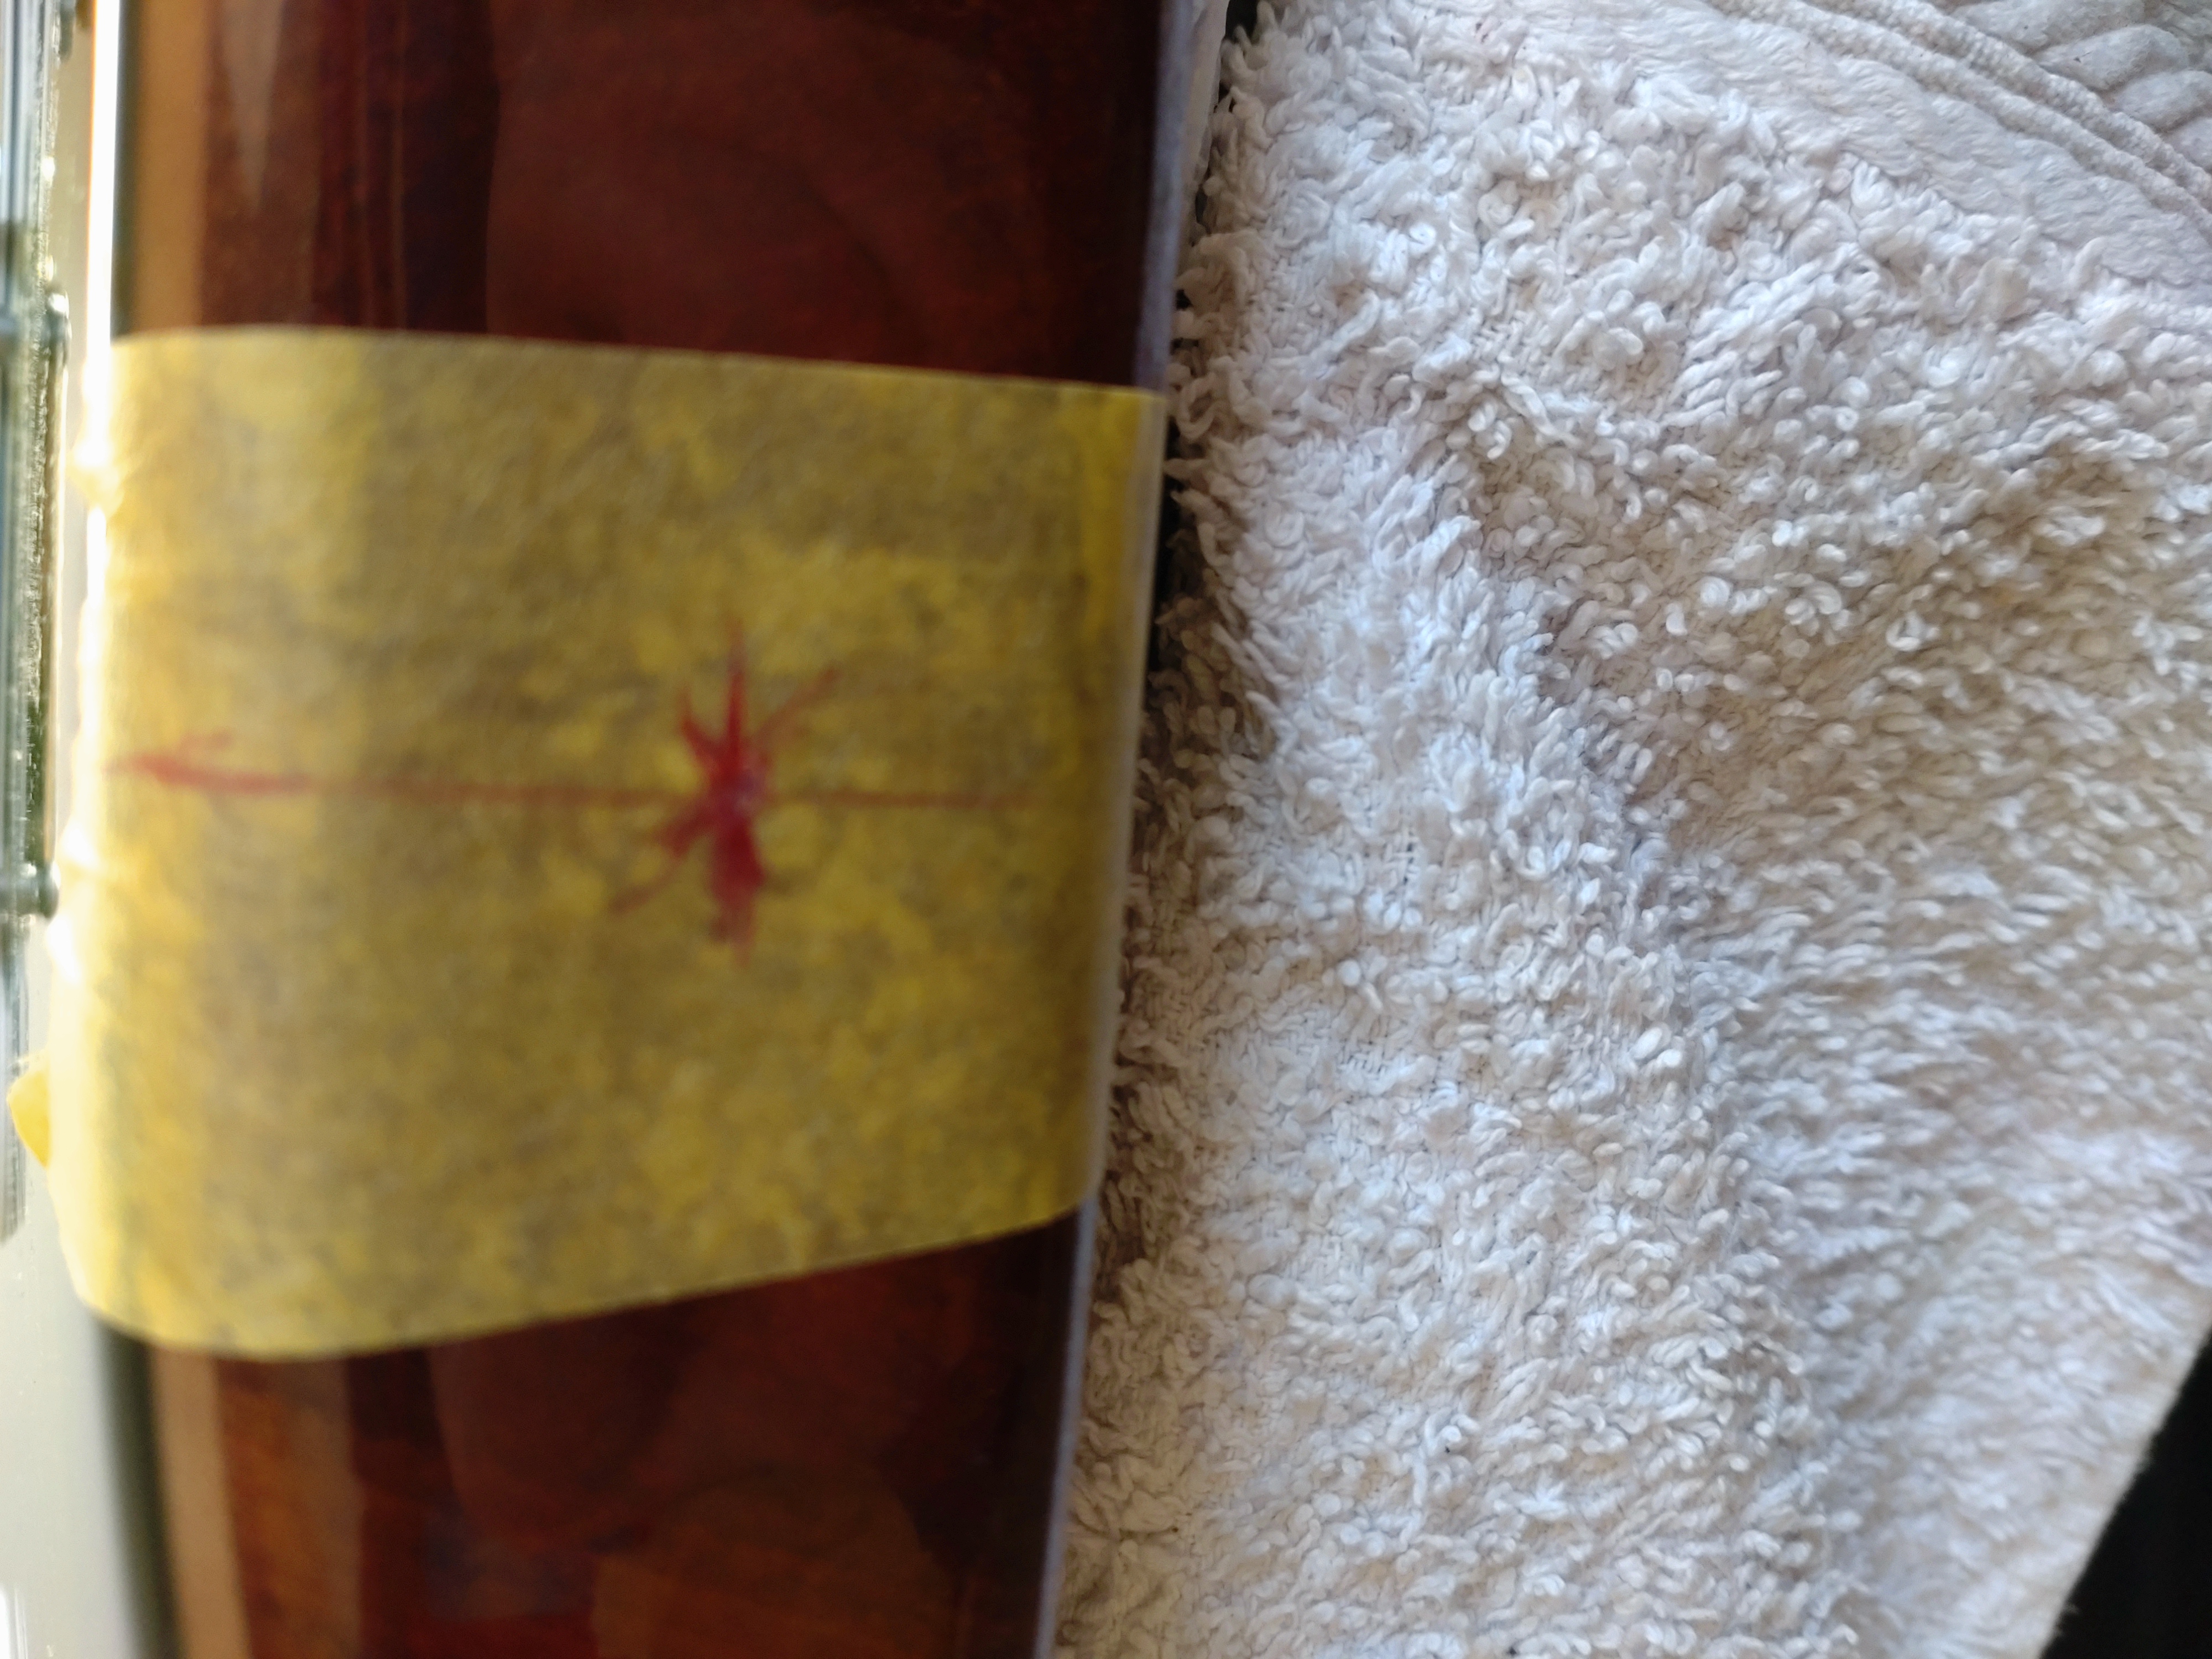
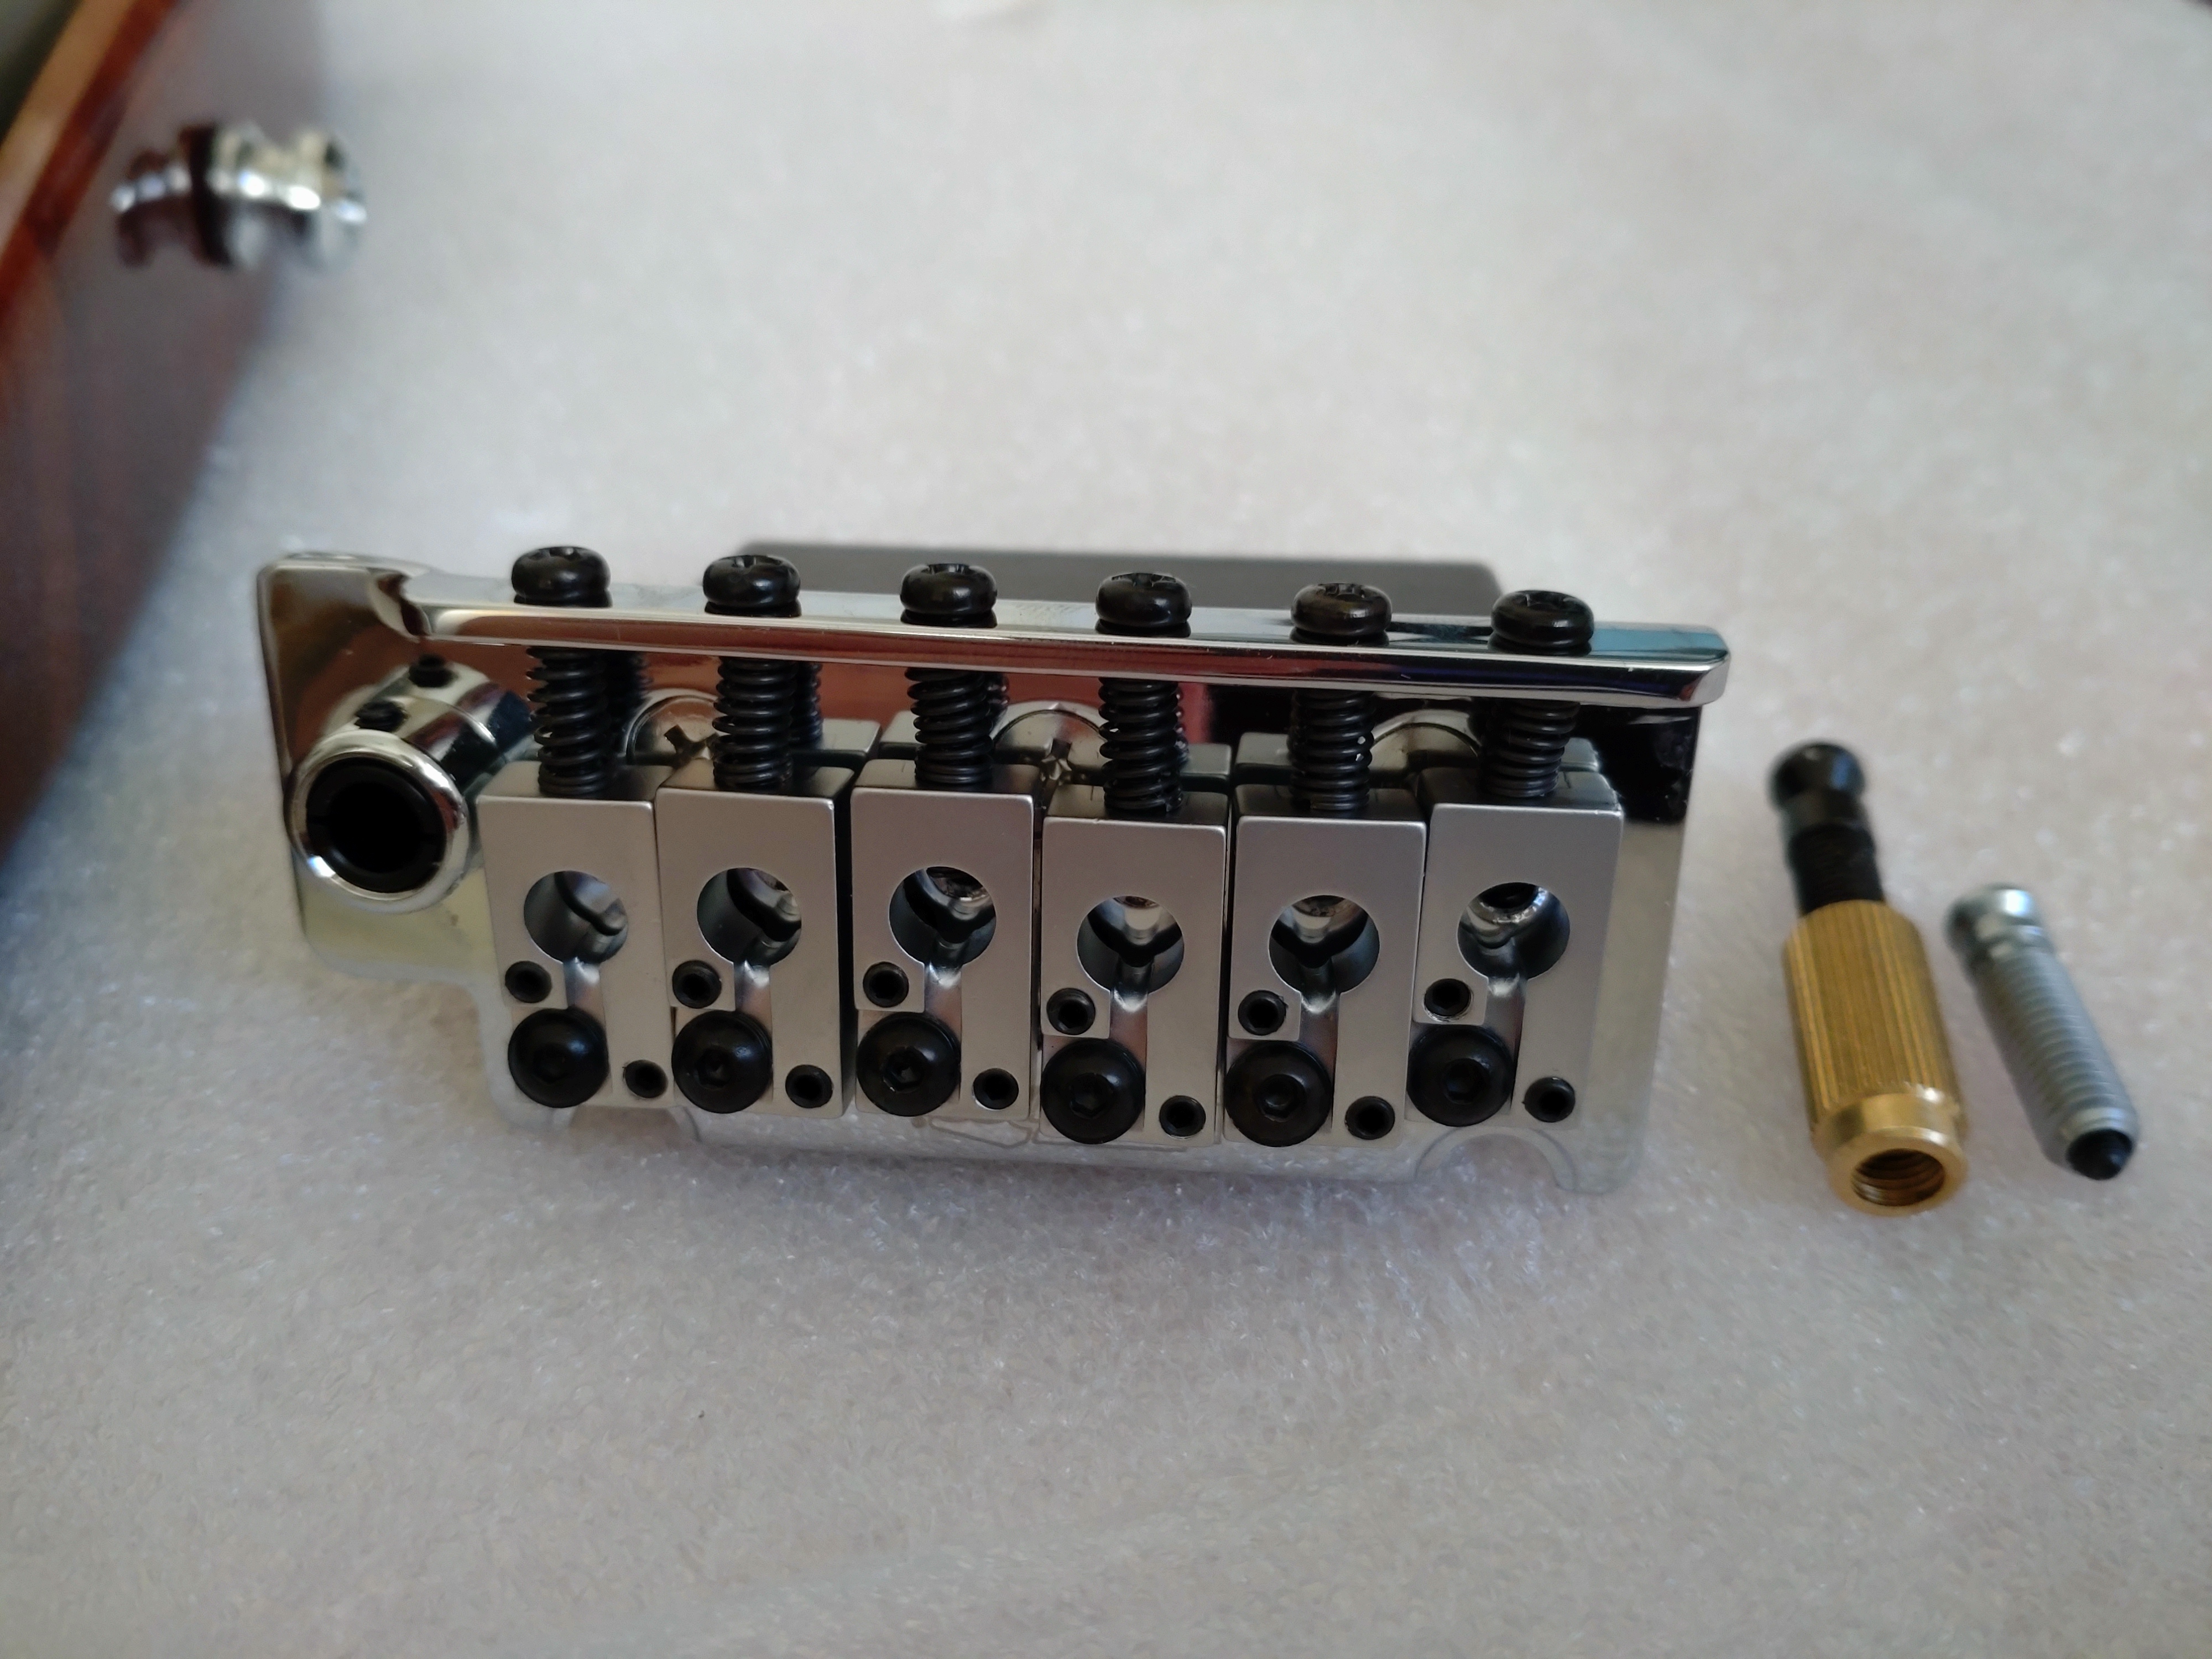
And a couple of tools that were used today that wanted to make an appearance.

BF (7) by stratamania, on Flickr

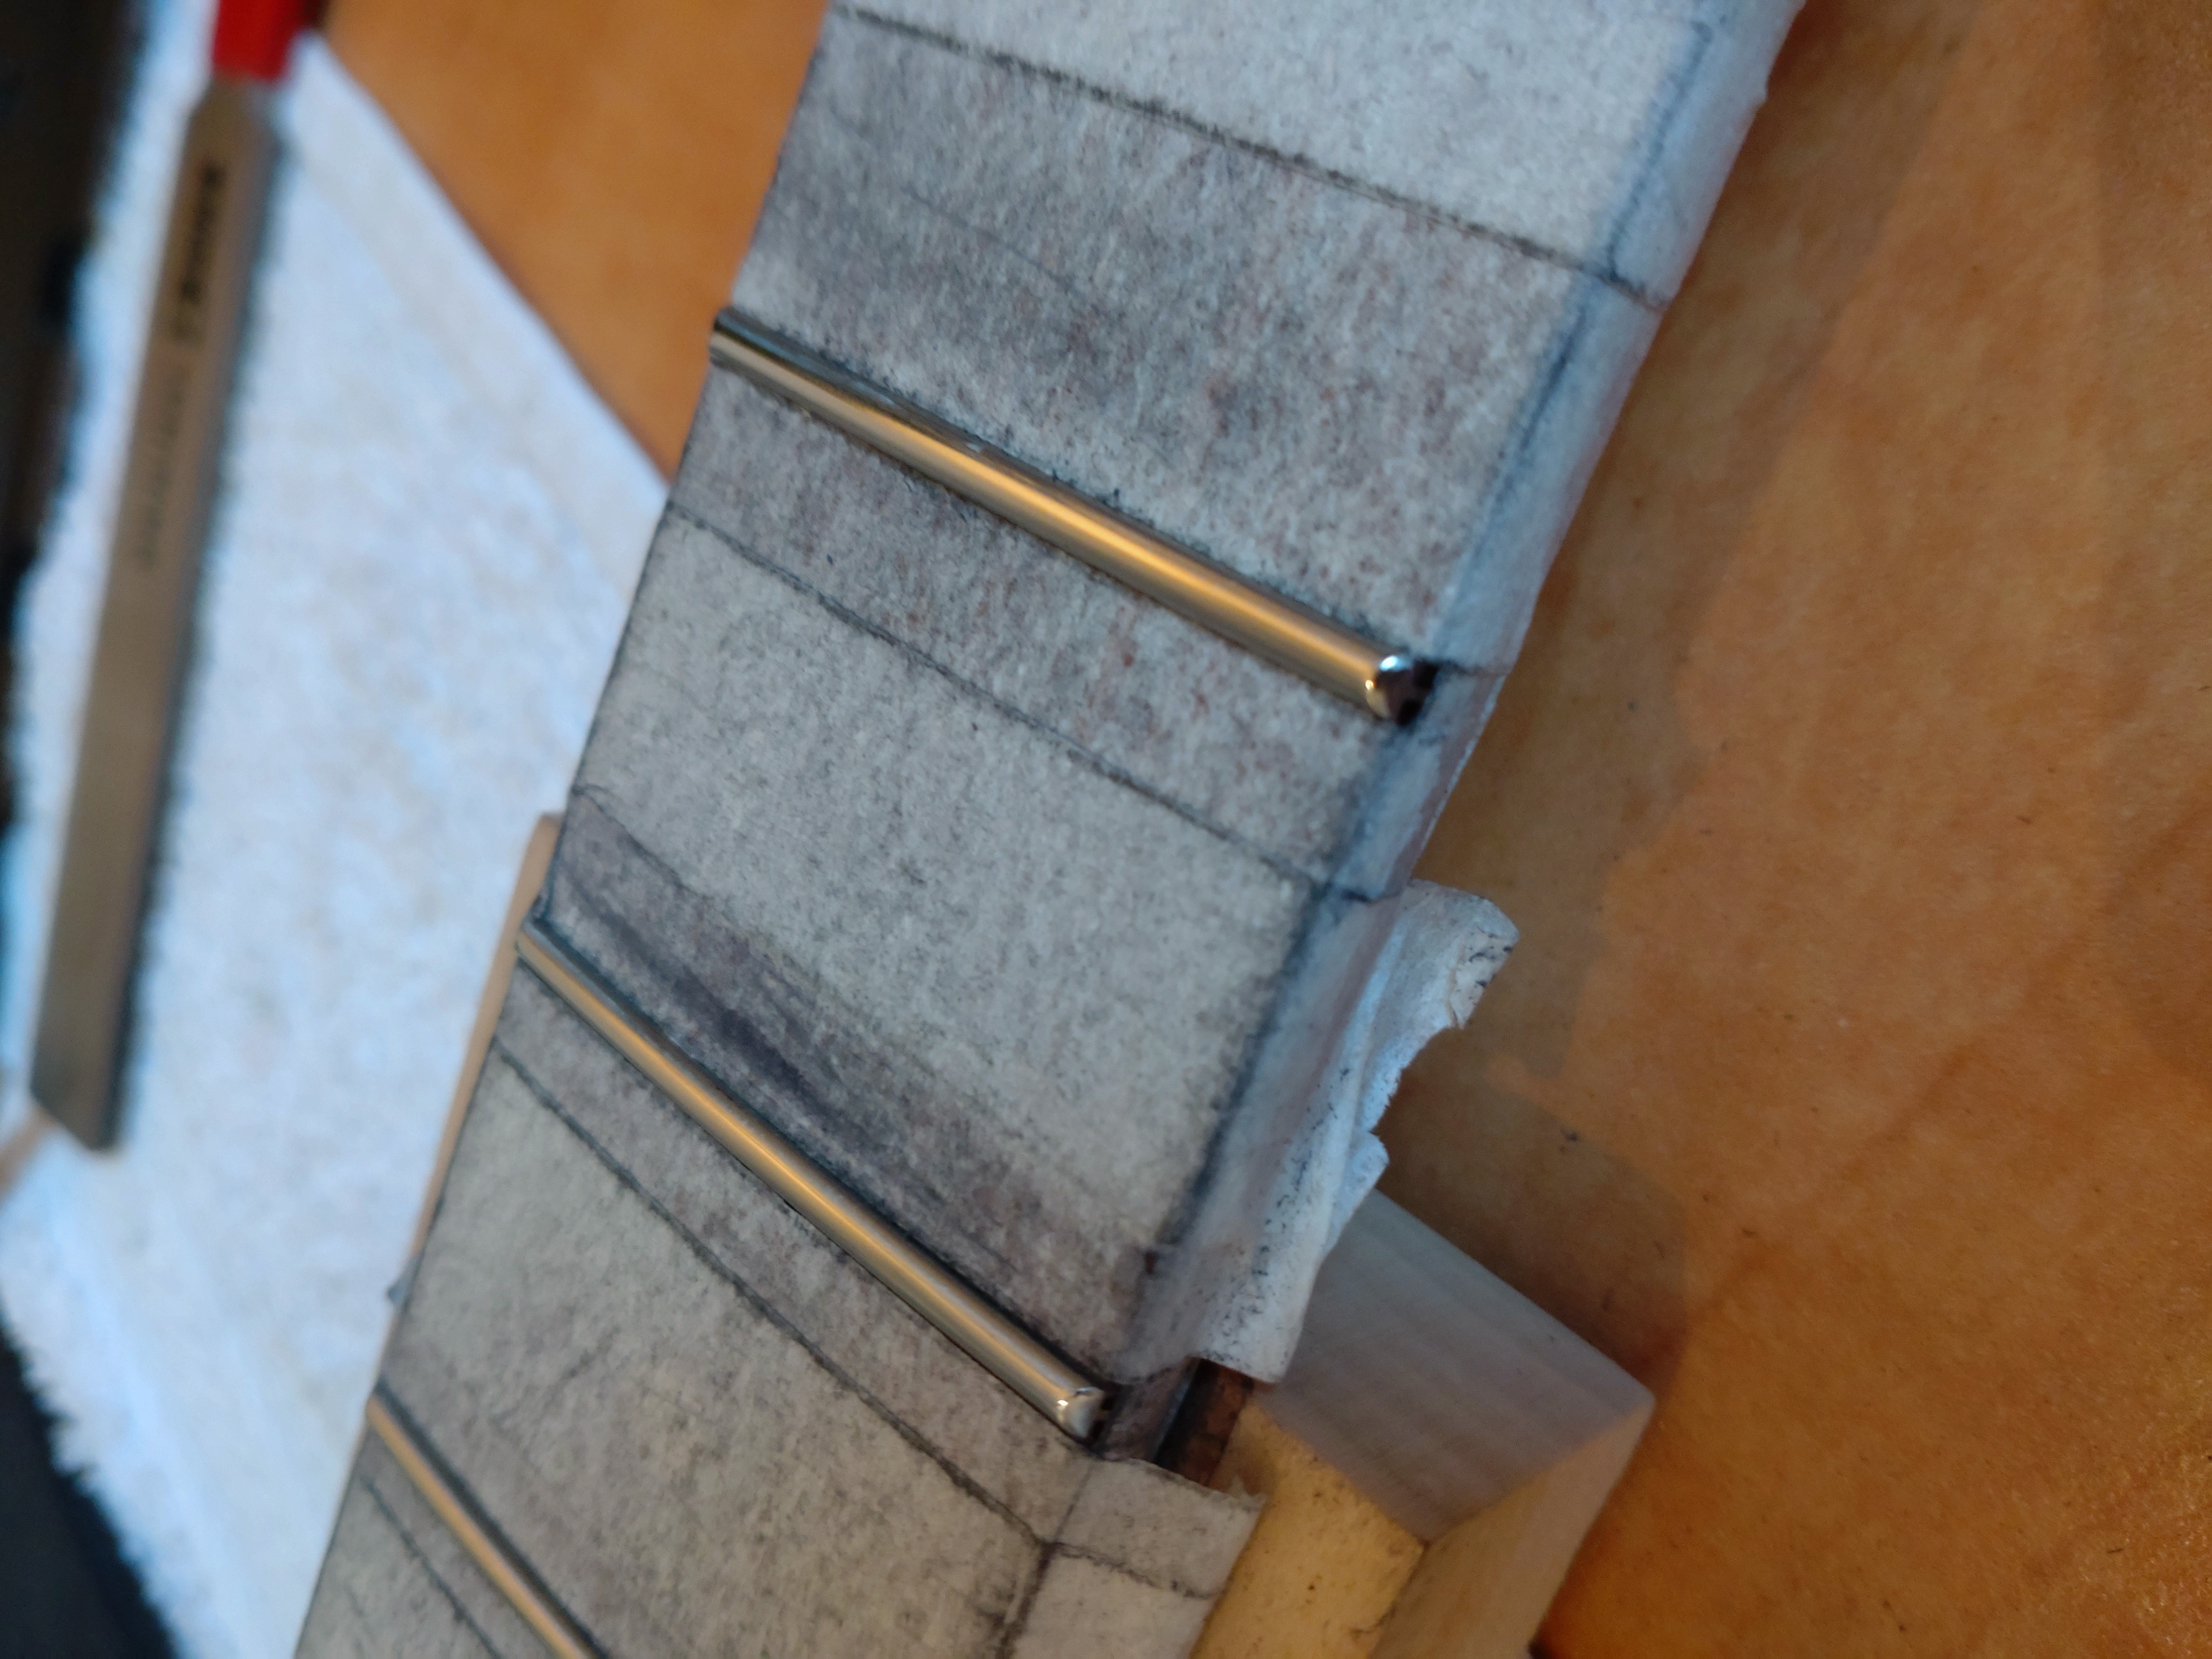
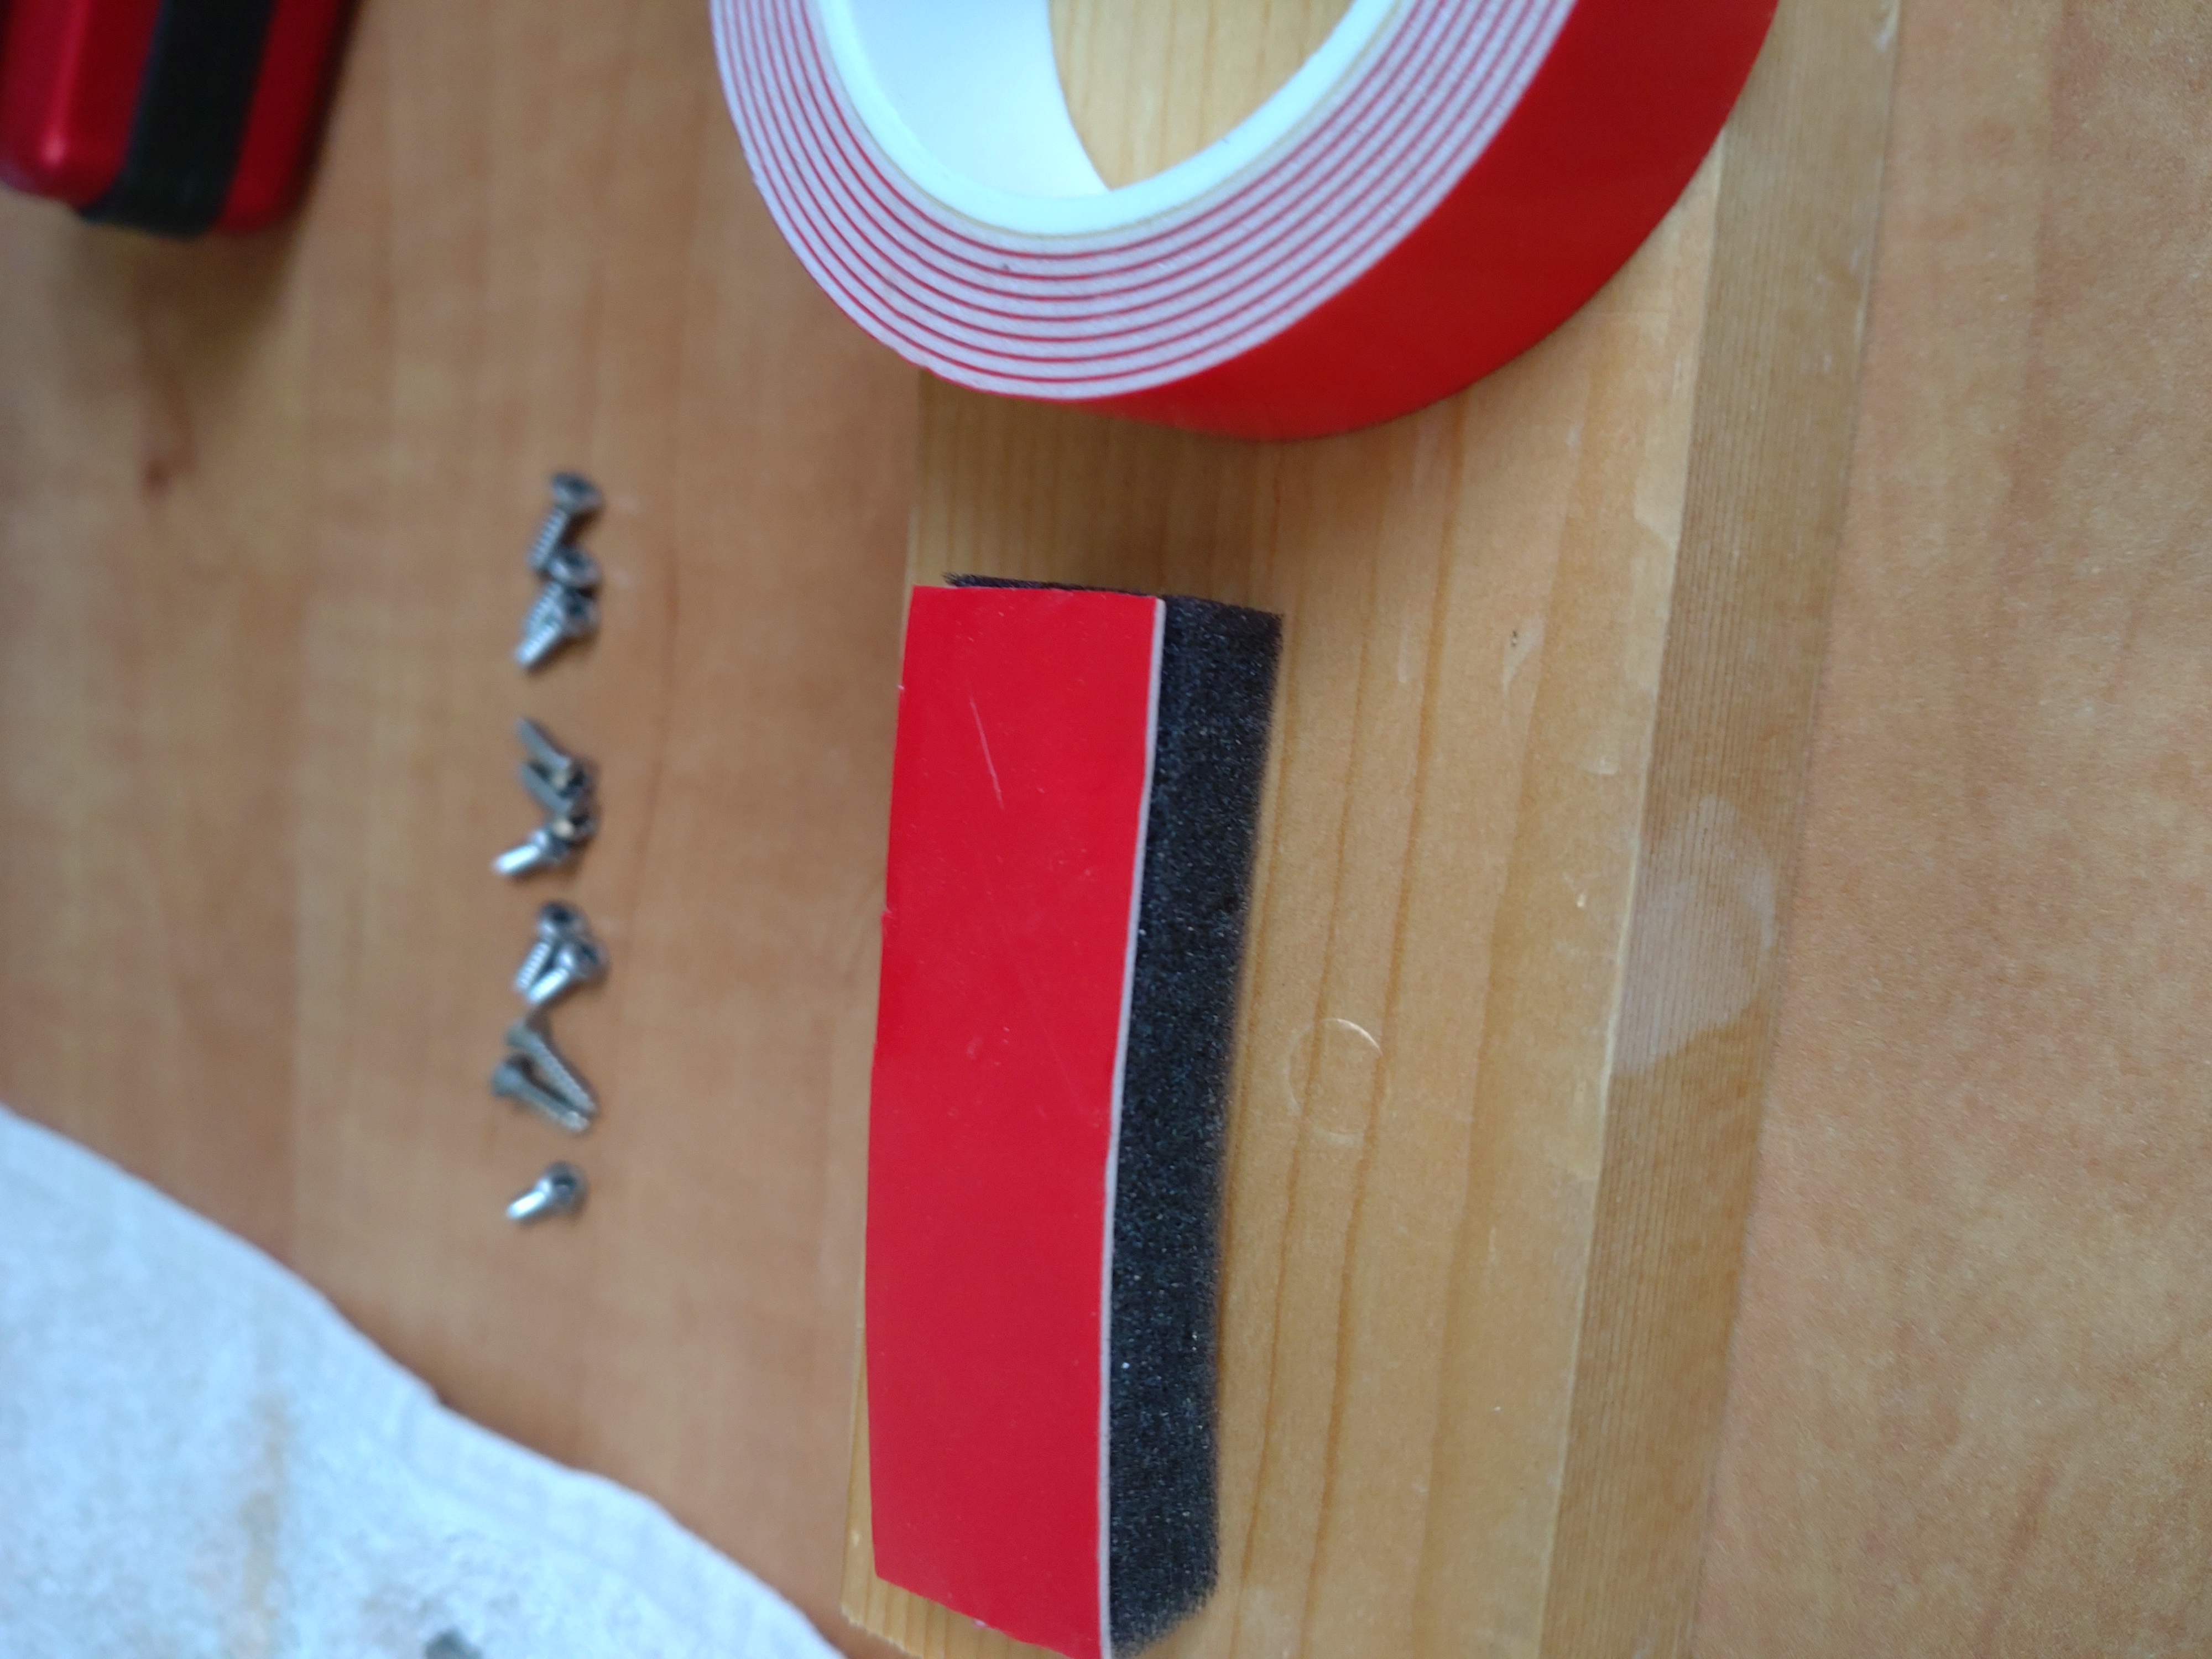
By the way do not rely on my measurements for pilot holes etc verify what you need to do for your own situation. Though of course these may be a reasonable starting point.

Next up will be fret levelling, crowning etc...

As always thanks for looking and feel free to ask relevant questions, leave a comment etc
 
Tuesday Progress

So to update this thread I have made some progress on the neck as can be seen from the photos

This neck came from the showcase with SS6150 rather than the SS6100 I would normally choose.

Rather than replacing the frets I have decided to give the 6150 frets a try

As the fret ends are already bevelled and smaller than 6100s I started by dressing the fret ends to round off the bevelled ends for a smoother feel.

After this I rolled the edges a little with a file and then adjusted the truss rod at the heel so the neck is straight ready for levelling as a fret rocker revealed seven frets that had slightly high spots. I then mask off the neck ready for levelling.

Neck_Update_0 by stratamania, on Flickr

The neck is now masked off, the marker shows where the higher spots were that were revealed with a fret rocker.

Neck_Update_1 by stratamania, on Flickr


After levelling and adding a little fall away on the higher frets I used a stewmac z file to crown the frets and then worked my way from 400 to 12000 grit, at 1500 I swapped from wet and dry paper to micromesh pads.

Here is a view of the frets after 12000 grit.

Neck_Update_2 by stratamania, on Flickr

After that I use a dremel to do a final buff with metal polish and here is a view of the frets after that process.

Neck_Update_3 by stratamania, on Flickr

A bone nut adjusted for an initial fit into the slot. It will be finally fitted later and final adjustments made.

Neck_Update_4 by stratamania, on Flickr

So then I planned to get the machine heads fitted and started with the bushings.

Neck_Update_5 by stratamania, on Flickr

At this point regarding the original finish on the headstock I noticed there was a slight white finish pop near the hole for the high B & E. Whilst it may have been hidden as I had refinished the rest of the neck I pondered now about stripping the headstock and refinishing that also.

I decided to sleep on it...
 
Wed update…

After sleeping on it I had decided to strip the thick finish off the headstock and redo it with tru-oil similar to the rest of the neck.

I started with a sharp blade to scrape some of the finish. Like the rest of the neck finish was this is about 1mm thick and tough.

Neck_Update_6 by stratamania, on Flickr

As a lot of the headstock is flat I got out a Bosch sander I acquired a couple of months ago.

Neck_Update_7 by stratamania, on Flickr

The Bosch still had its work to do but here we are after the flats at the front and back of the headstock were down to bare wood.


Neck_Update_8 by stratamania, on Flickr

I then had some other things I had to do so that was the progress for Wednesday of this week. No going back now...
 
This post and the previous two brings the progress up to date...

Today I addressed the transitions and sides of the neck to remove the remaining headstock finish with a Dremel 4000 and sanding band attachment.

Here is a view of the back of the headstock after the Dremel sanding.

Neck_Update_9 by stratamania, on Flickr

Here is a view of the front of the headstock after the Dremel sanding.

Neck_Update_10 by stratamania, on Flickr

I then sanded the whole headstock from about 120 - 400 grit.

Neck_Update_11 by stratamania, on Flickr

After that I used some naphtha type fluid to clean any sanding residue and applied the first coat of Tru Oil which as expected was largely absorbed by the mahogany.

Neck_Update_12 by stratamania, on Flickr

So next will be applying more tru-oil and I will post some updates when there is more to see.
In case anyone is wondering, I am pretty certain I have invalidated the warranty on this neck :)

Thanks for looking...
 
You’re far braver than I with the scraping work! Are you shooting for the hard line between gloss headstock and satin back of neck as you had before scraping the headstock? Saw you do that on the purple strat build looked great

I stopped at 2500 for my last fret dressing…is the feel substantially different at 12000?
 
bmpietras said:
You’re far braver than I with the scraping work! Are you shooting for the hard line between gloss headstock and satin back of neck as you had before scraping the headstock? Saw you do that on the purple strat build looked great

I stopped at 2500 for my last fret dressing…is the feel substantially different at 12000?

Thanks. If you look back earlier in the thread you will see where I did try to get a line between the headstock etc but the finish was too thick. I then did a blend at the transition area but for this the entire neck will be tru-oil now. It is all visible throughout the thread if you take a look through.

Thanks for the comments on the purple Strat build which is a number of years ago now. Since then I tweak approaches I take over time. That was an unfinished neck to start with so the approach then was different.

I think it is worth with stainless steel going to 12,000 if you can and I think it gives a good result. I cannot comment on stopping at 2,500 as I have not made the comparison playing wise but there definitely will be a difference.
 
Just a quick update. The neck now has enough Tru-oil to start to smooth things out with probably around 1000 grit and then add the final finishing layers of Tru-Oil after that.

So far it is not looking bad at all...

Finish_1 by stratamania, on Flickr

As always thanks for looking.
 
As a quick update. I have the neck to a position now finish wise where I am calling it good for now or as Cagey might say a love story...

So the next posts will be back to assembly and closing in on finalising this build.
 
I cleaned a little finish from the edges of the holes and pressed in the bushings.

Tuners1 by stratamania, on Flickr

After making sure the tuners are sitting flush, lined up, drilling and pre threading the holes the lubed screws get installed.

Tuners2 by stratamania, on Flickr

And then they are fitted...


Tuners3 by stratamania, on Flickr

After that I cleaned up any excess Slideez from the screws and the neck is ready.
 
The neck fitted for the first time on this instrument (apart from earlier dry test fitting)

NeckFitting by stratamania, on Flickr

Which brings the progress of today to a close. It is much closer to an instrument now than a set of parts.

Next up will be tremolo fitting, nut and strings, set up etc.

Thanks for looking...
 
Today the tremolo was fitted but first some details on the tremolo. It is a Wilkinson WVS1302P Chrome Full Assembly with Locking Saddles. Aaron made a couple of videos about these a little while ago but I have had this tremolo for quite some time prior but it is only now that the build is coming together. This bridge is Wilkinson but it is not made by Gotoh but is made in Korea for Wilkinson. You will also find it now on some Suhr guitars such as the Pete Thorn model.

Here you can see the tremolo itself. Alongside it you will see a brass bushing insert and black post, this is one of the pair which Wilkinson supplied with the tremolo itself. The other post is a Gotoh Wilkinson post see link as used by the Wilkinson VS100 and Gotoh 510 Tremolos.


WVS1302P by stratamania, on Flickr

Here is a closer view of the different posts.

Post_Inserts by stratamania, on Flickr

An important point to note is that these posts although they both have the name Wilkinson are not compatible with each other and have different threads.

At the time of writing the way to use this bridge with a Warmoth body is with a Gotoh 510 rout is to use the Gotoh Wilkinson inserts and posts and not the ones that come with the WVS1302P.

Another alternative if you want these locking saddles you can use Wilkinson WLS130/S Locking Steel Saddles with a Gotoh 510 Tremolo.

And I found Aaron's video which essentially will show you the same thing.


Don't say neither of us warned you. ;)
 
Last edited:
I thought it might be useful to some newer members to capture some detail regarding fitting a tremolo.

The first thing to do is to protect the body prior to fitting the tremolo. (I already have the claw in place from earlier in the build)

I use some of the packing foam that Warmoth bodies ship in and use low tack painters tape to hold it in place.

TremFitting1 by stratamania, on Flickr

Putting the bridge roughly in place.

TremFitting2 by stratamania, on Flickr

Posts adjusted to their lowest position and tremolo positioned on the posts and sitting flush to the body. Hold it in place with your hand while you then turn the body around.

TremFitting3 by stratamania, on Flickr

One spring is then added to hold the tremolo in place.

TremFitting4 by stratamania, on Flickr

I then thread all of the strings through from the back and lay them out to the back of the guitar. They are then brought forward one by one and attached to the machine heads or tuners if you prefer at the headstock end.

StringFitting1 by stratamania, on Flickr

All of the strings are now fitted. The bone nut is not fully fitted yet and will have further adjustment later.

StringFitting2 by stratamania, on Flickr

The strings have some tension on them at this point but are nowhere near pitch. Nonetheless you can see the bridge has now raised itself at the rear. Which I will discuss further in the next post.

StringFitting3 by stratamania, on Flickr

Next up early tremolo adjustment.
 
The next thing to do is to get the base of the tremolo closer to parallel with the body. An allen key is employed to raise the bridge at the post end.

Adjustment1 by stratamania, on Flickr

Then the outer springs are fitted.

Springs by stratamania, on Flickr

I was then able to raise the tension of the strings closer to pitch and the baseplate is now parallel. At this point you are not trying to get the guitar in tune but gradually adding tension as each step is achieved.

TremParallel by stratamania, on Flickr

A closer shot of the baseplate being close to parallel. I also then loosened a little more the bolts that lock the strings so that they sit more correctly on this bridge. (not shown in this photo)

Parallel2 by stratamania, on Flickr

You might want to also see the sticky thread linked below. I will use the block method shown in the Fender video to do the final set up adjustments. Some use the block earlier but this is the way that I go about things.

Setting up your Tremolo or Floyd Rose

Next up neck adjustment...
 
Back
Top