

You are using an out of date browser. It may not display this or other websites correctly.
You should upgrade or use an alternative browser.
You should upgrade or use an alternative browser.
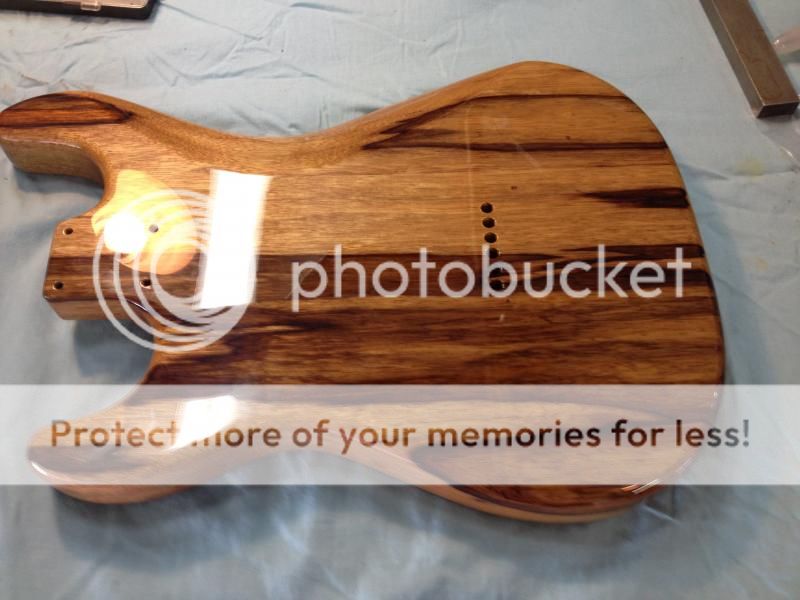
The Kentocaster (black korina + canary)
- Thread starter UglyCasanova
- Start date
Tony Ounsworth
Senior Member
- Messages
- 204
And I'm now watching similar ones!
UglyCasanova
Junior Member
- Messages
- 30
I'm glad to give you GAS (not like that). The neck is taking longer to finish than expected. Hopefully it will ship next week. As long as it's worth the wait i don't mind!
UglyCasanova
Junior Member
- Messages
- 30
Still no word on the shipment. Got a mail on Friday saying they were gonna ask the shop lead what was taking so long. I want to play it cool like it's no big deal, but I can't stop thinking about getting started. I've gotten all the tools I think are necessary and cleaned my fathers garage so that I can get cracking the moment it gets delivered
Come on, Warmoth! I want my baby! :blob7:
edit: shipped today!
Come on, Warmoth! I want my baby! :blob7:
edit: shipped today!
KorinaCrazy
Junior Member
- Messages
- 33
How about "Korinary".... that made my heart stop.... :glasses10: Sweet guitar..... it will be worth the wait!!!
UglyCasanova
Junior Member
- Messages
- 30
I will consider that name ^^^^^^
The parts just got here. Pics here:
http://unofficialwarmoth.com/index.php?topic=23550.0
The parts just got here. Pics here:
http://unofficialwarmoth.com/index.php?topic=23550.0
UglyCasanova
Junior Member
- Messages
- 30
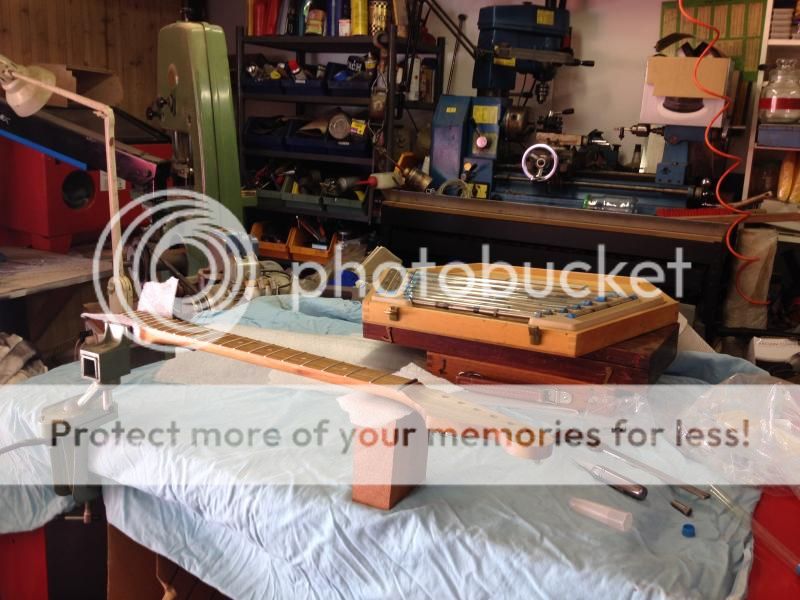
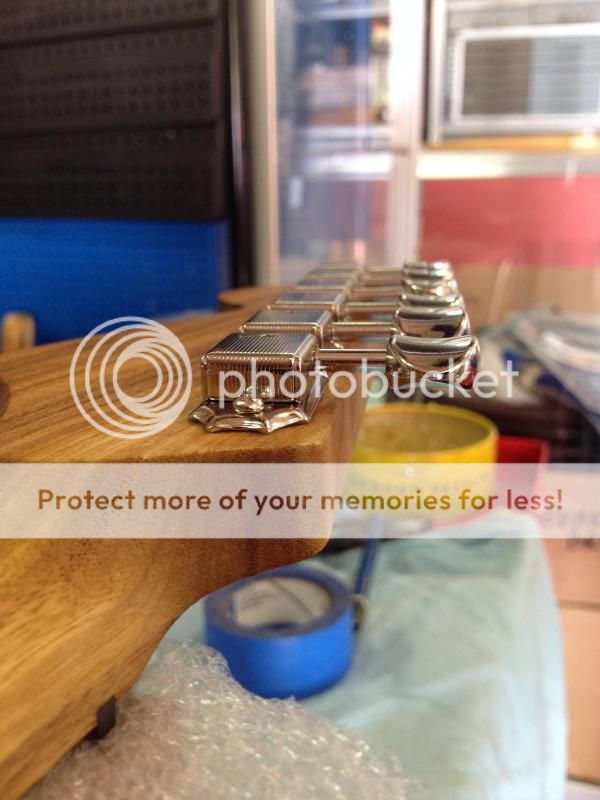
First update!
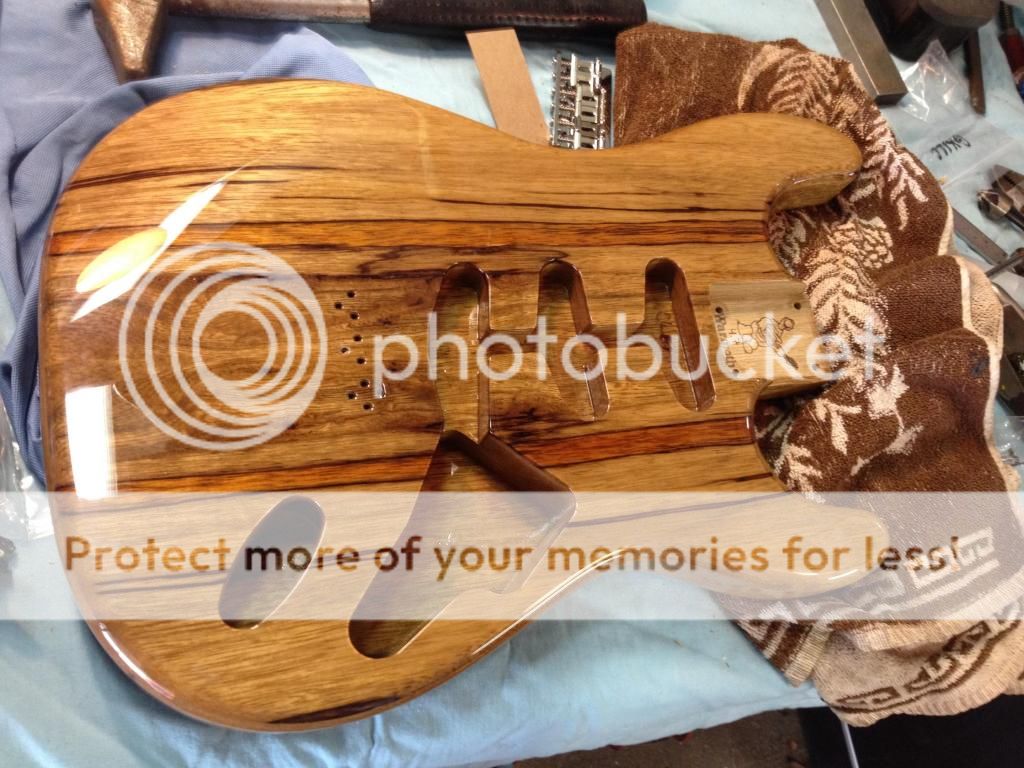
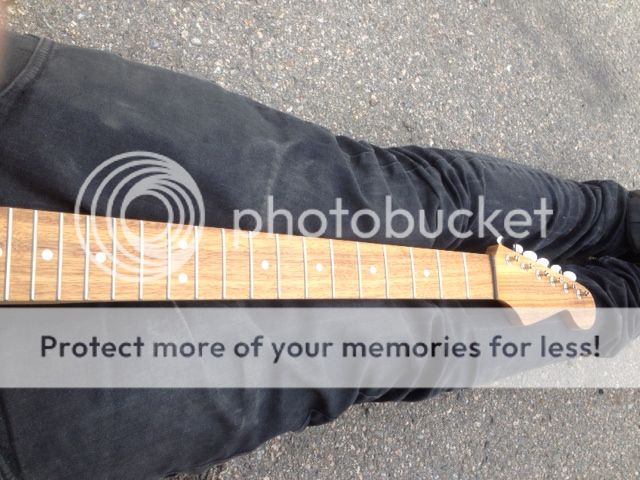
A picture to set the mood
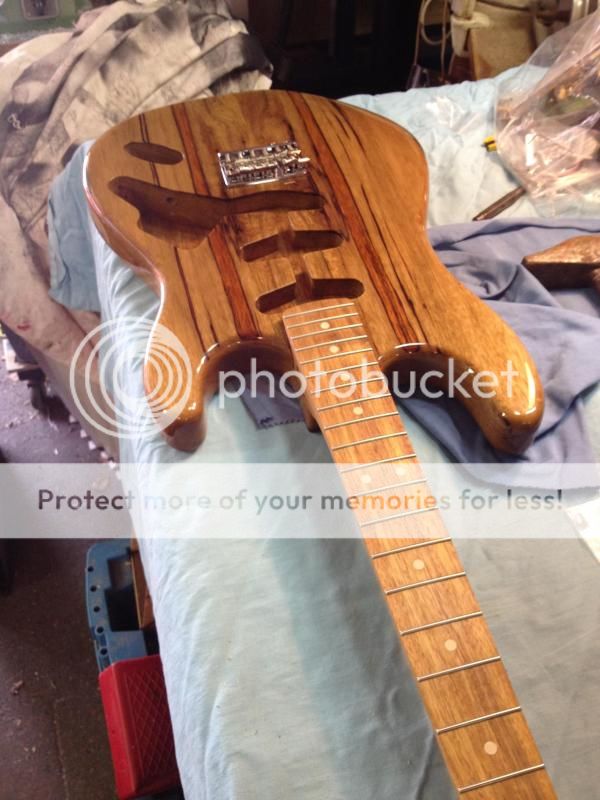
Neck fastened

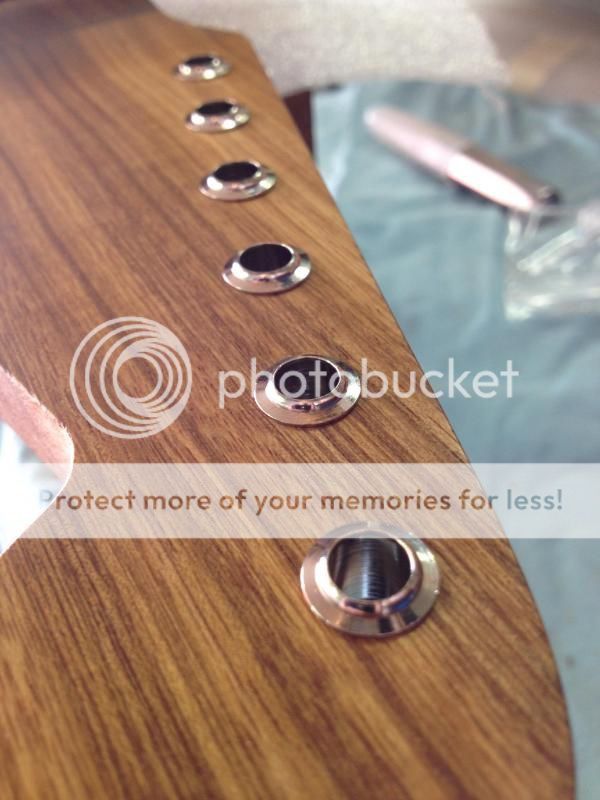
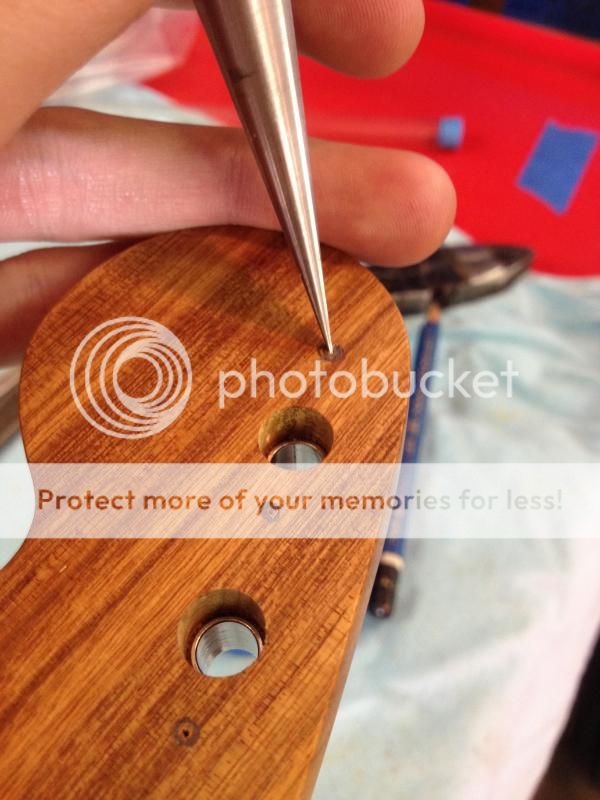
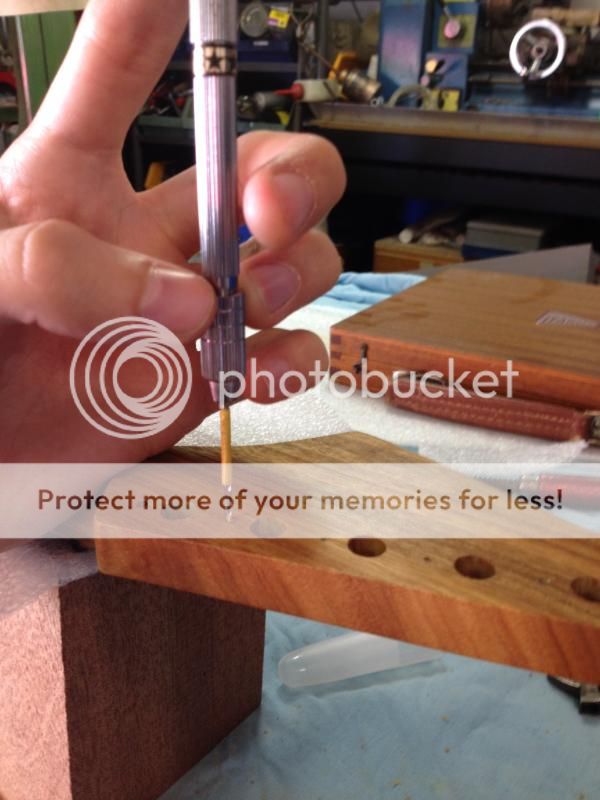
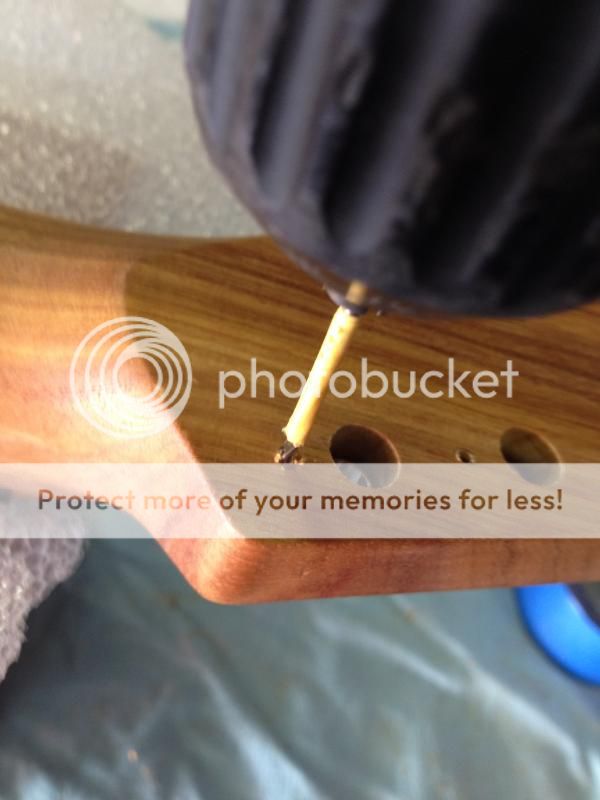
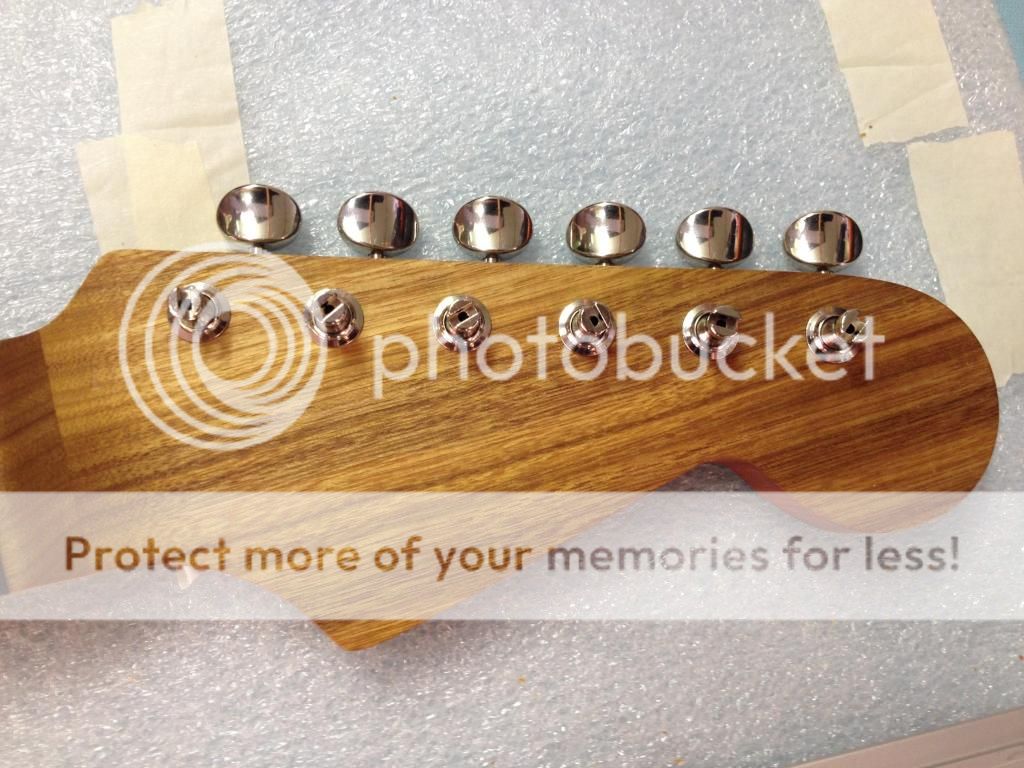
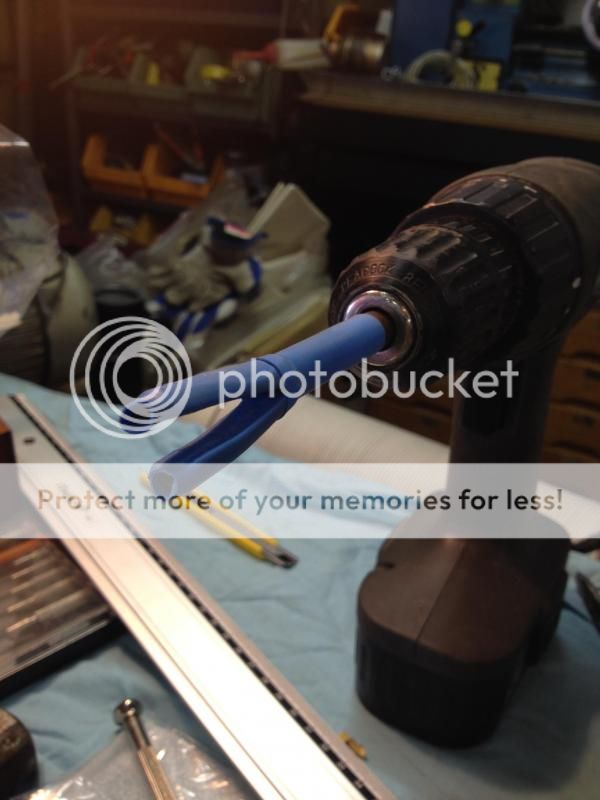
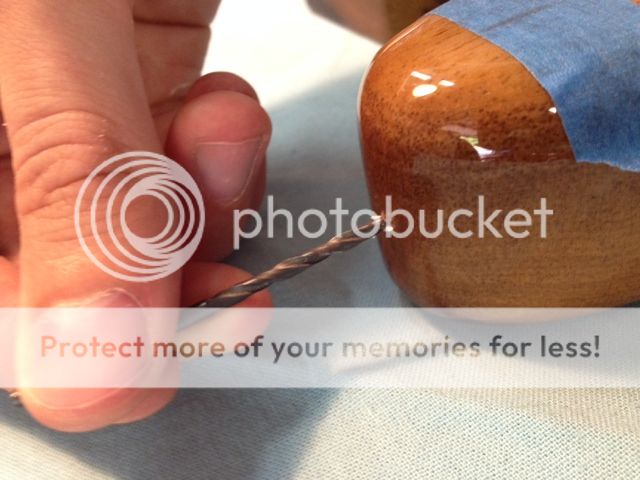
Used two sorts of reamers for the tuning machine holes

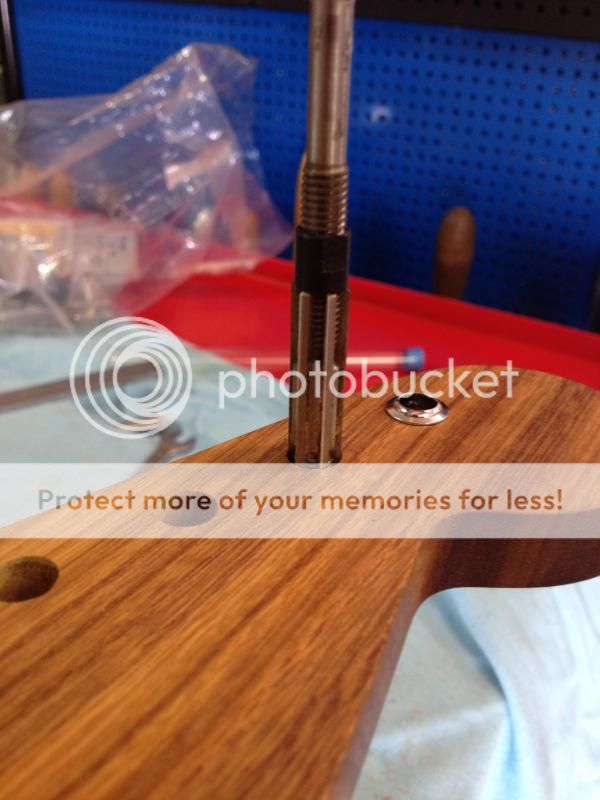
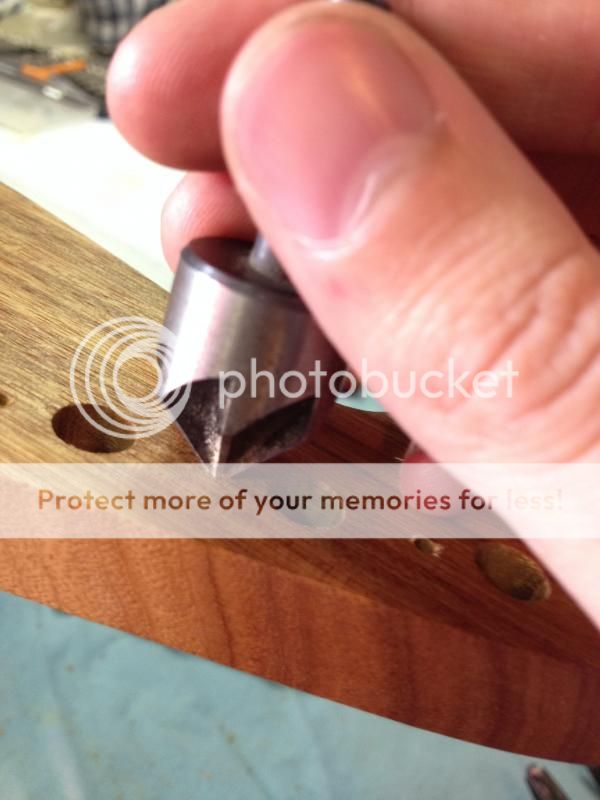
Like a glove
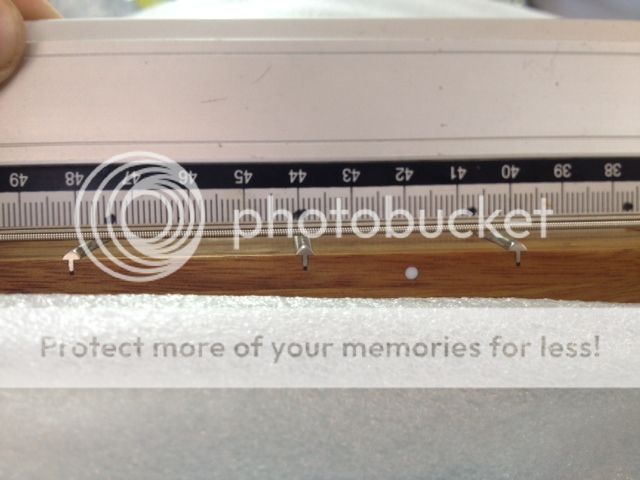
Making it as straight as I can
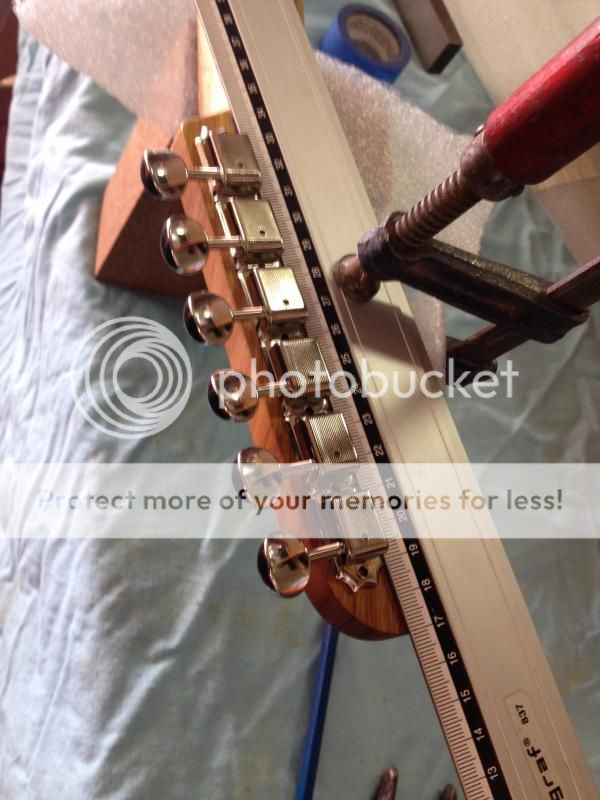


Turned out pretty good
Need leveling. Neck had a bit of a bend to it. Figured I'd attach it to the body and see how It will react to string tension first
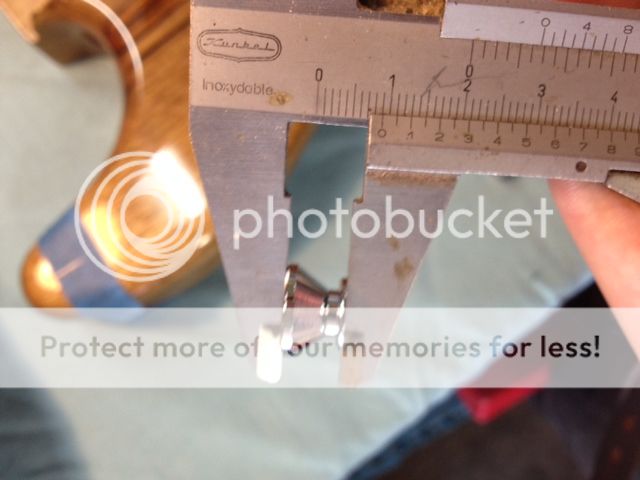
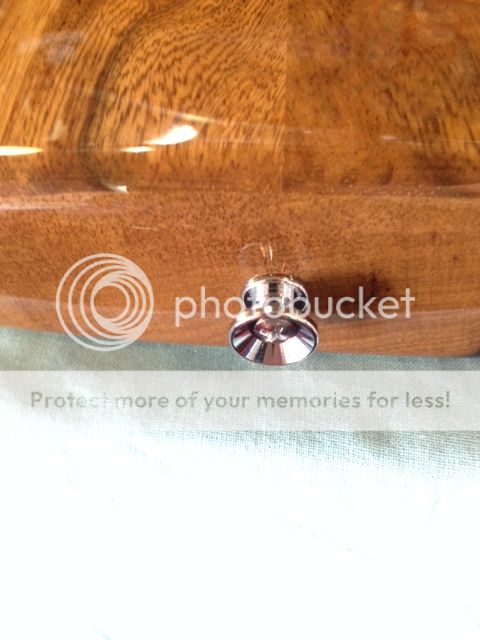
String ferrules time

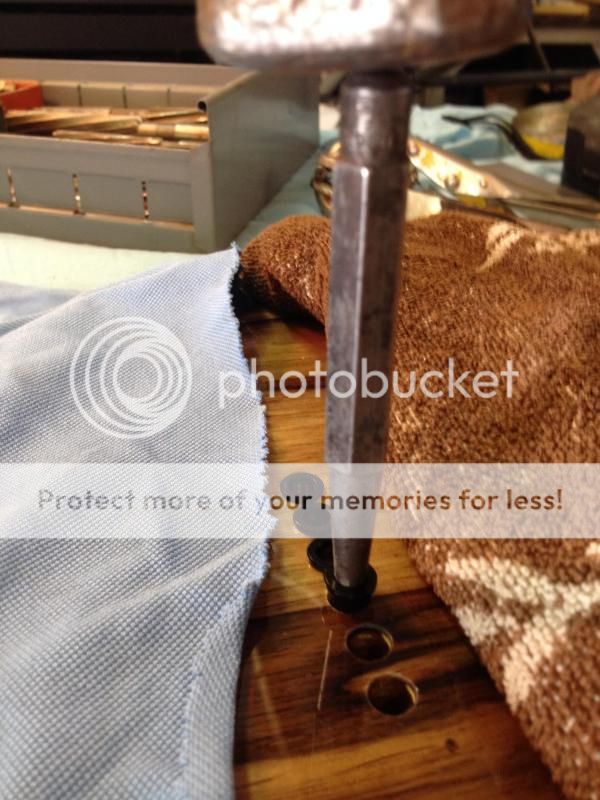

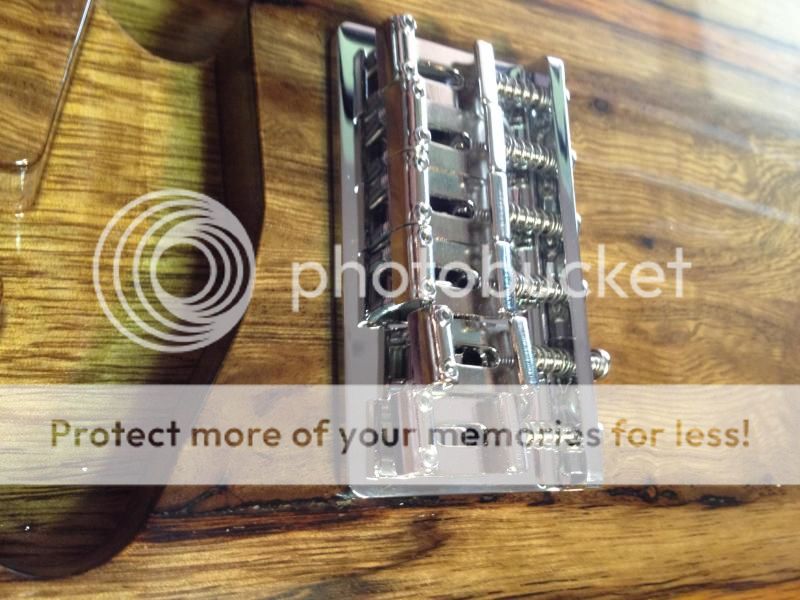
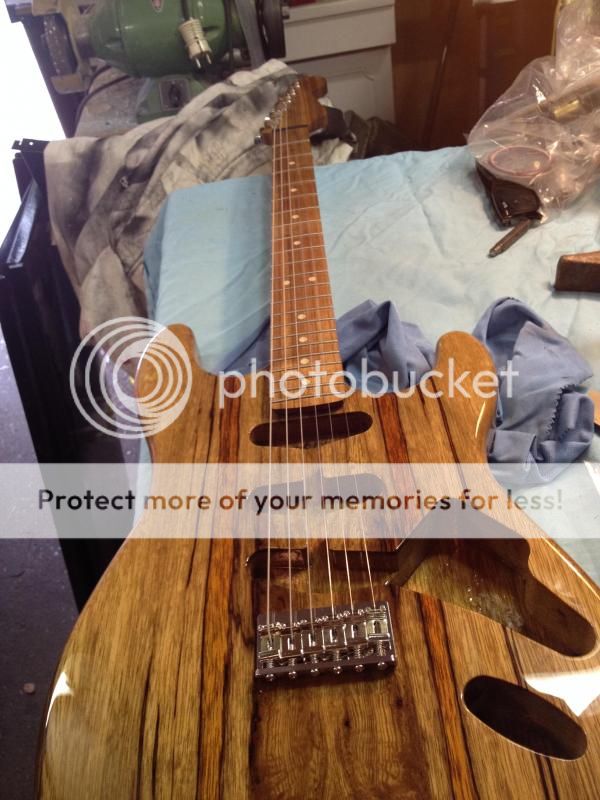
Bridge and strings
Split copper pipe with rubber wrapped around it = strings on in 5 min :icon_biggrin:
Now my baby will rest for a few days while I do school work. I wonder how the neck reacts to the tension :dontknow:
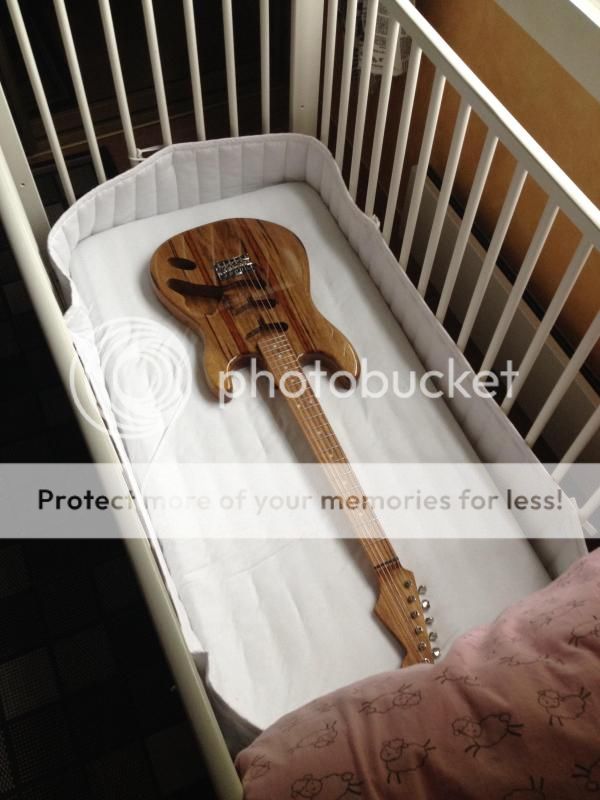
A picture to set the mood
Neck fastened
Used two sorts of reamers for the tuning machine holes
Like a glove
Making it as straight as I can
Turned out pretty good
Need leveling. Neck had a bit of a bend to it. Figured I'd attach it to the body and see how It will react to string tension first
String ferrules time
Bridge and strings
Split copper pipe with rubber wrapped around it = strings on in 5 min :icon_biggrin:
Now my baby will rest for a few days while I do school work. I wonder how the neck reacts to the tension :dontknow:
Cagey
Mythical Status
- Messages
- 24,425
>> Now my baby will rest for a few days while I do school work. I wonder how the neck reacts to the tension :dontknow:
If it's a "Pro" style neck, it's unlikely to move at all. Those things are incredibly stable. I punish them here by putting them out in the garage for a week or so where the temperature/humidity fluctuates to extremes and I rarely have to adjust them afterword.
If it's a "Pro" style neck, it's unlikely to move at all. Those things are incredibly stable. I punish them here by putting them out in the garage for a week or so where the temperature/humidity fluctuates to extremes and I rarely have to adjust them afterword.
stratamania
Mythical Status
- Messages
- 12,405
Cool. Look forward to seeing it progress.
UglyCasanova
Junior Member
- Messages
- 30
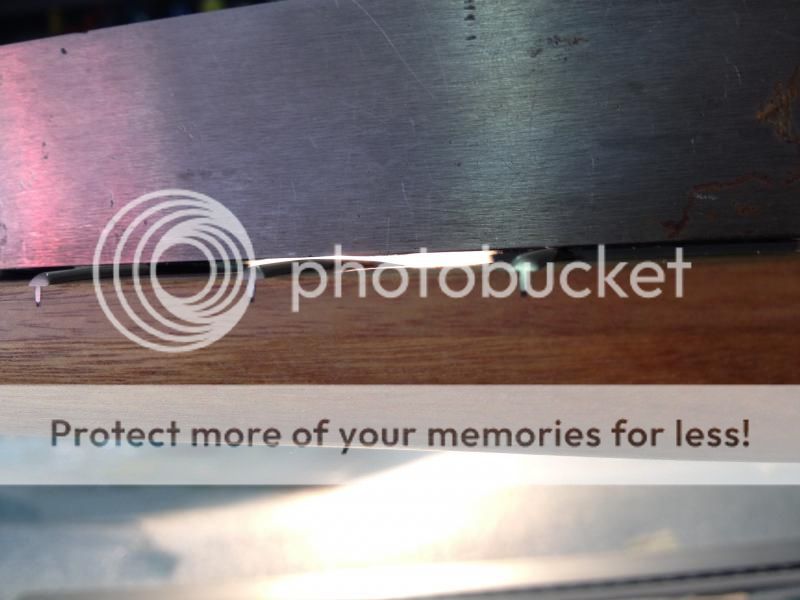
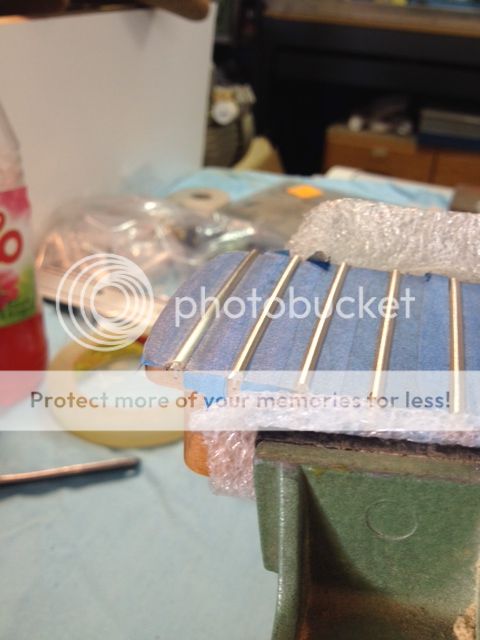
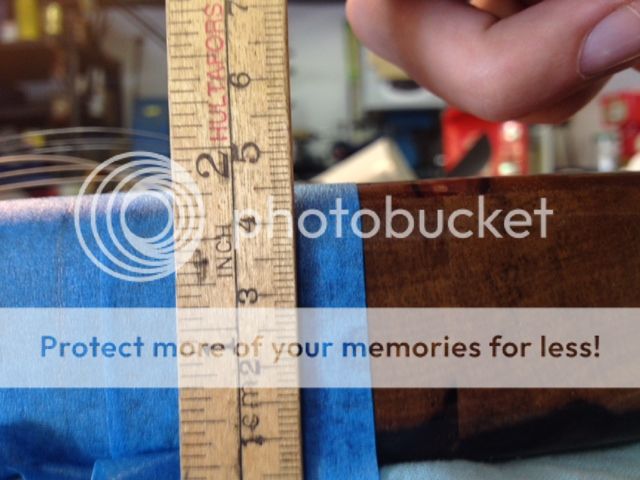
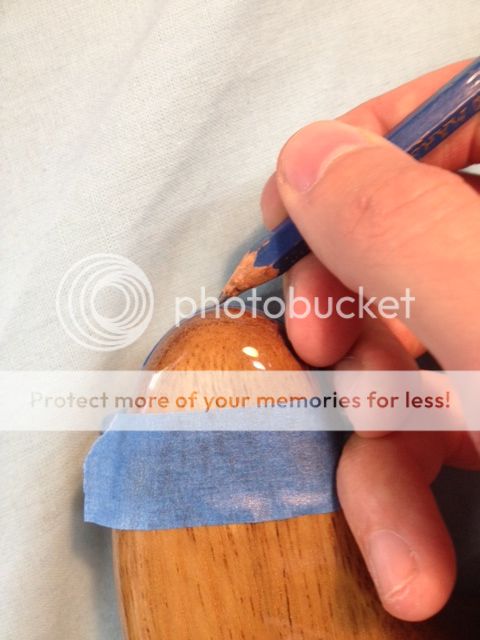
Fret work time
First thing: Get that neck straight
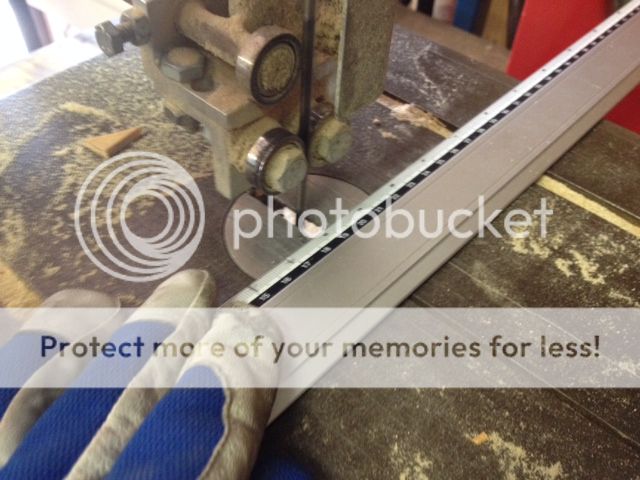
Before and after truss rod adjustment

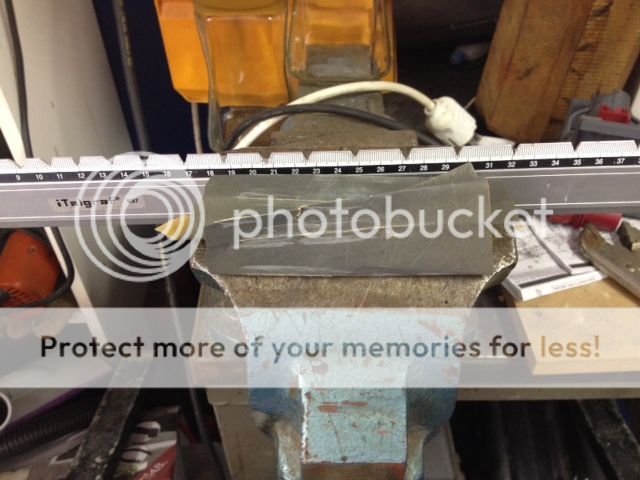
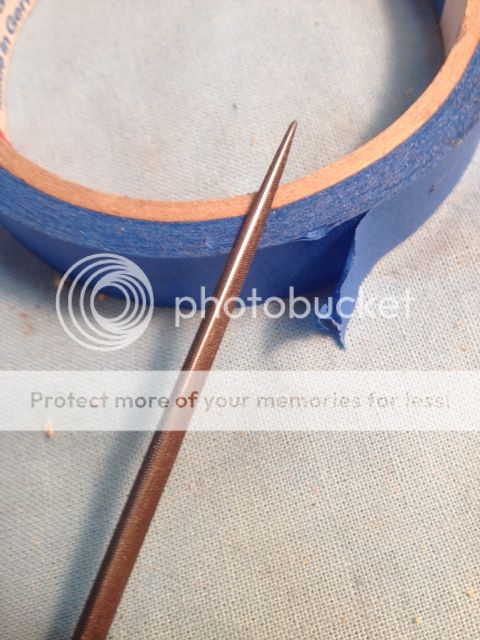
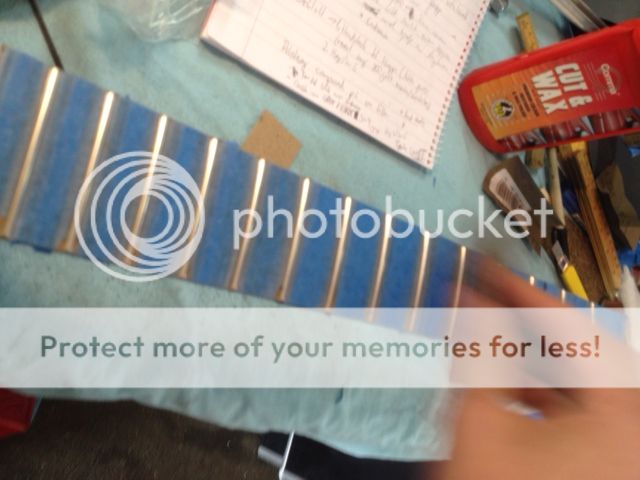
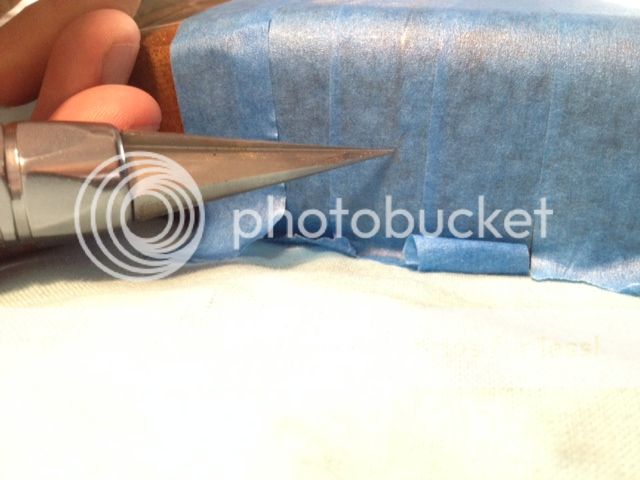
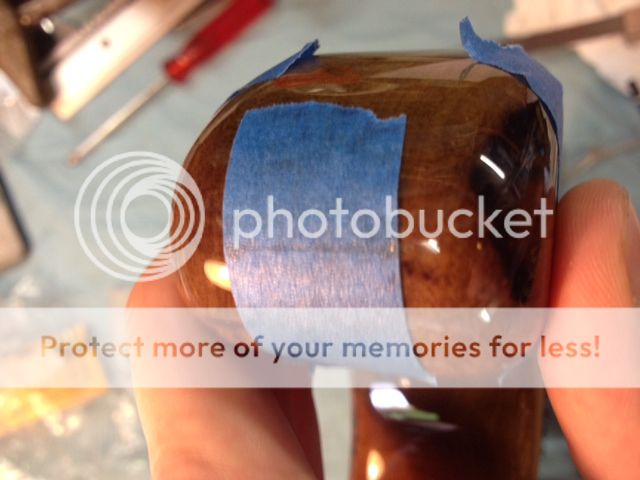
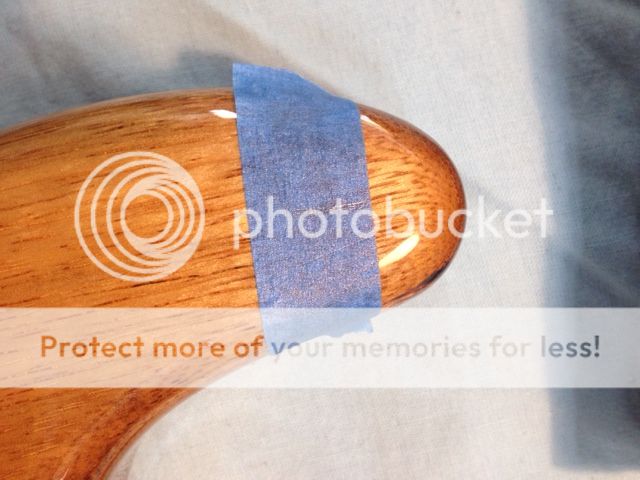
All taped up

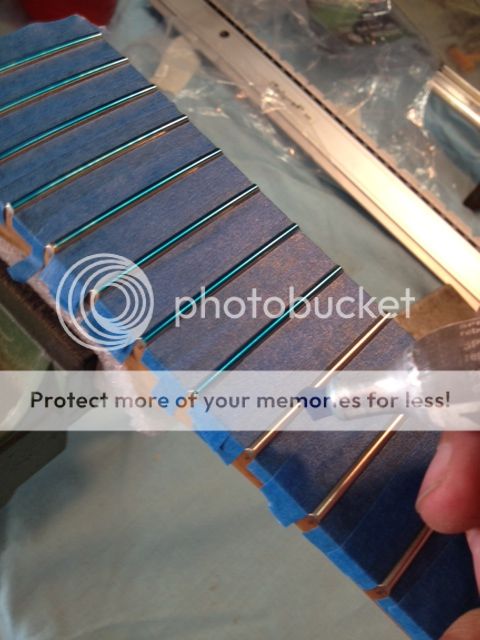
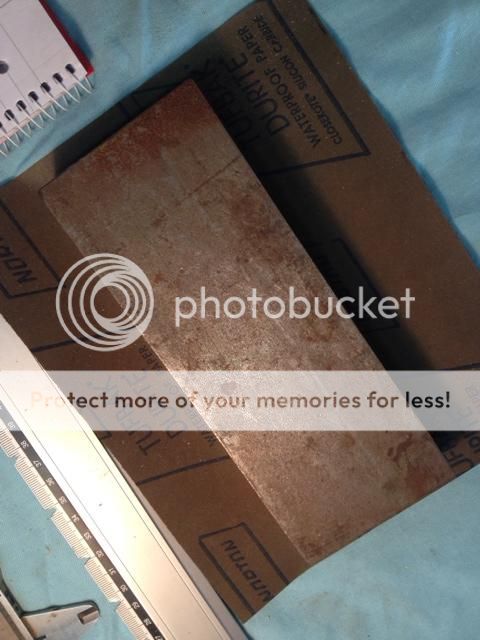
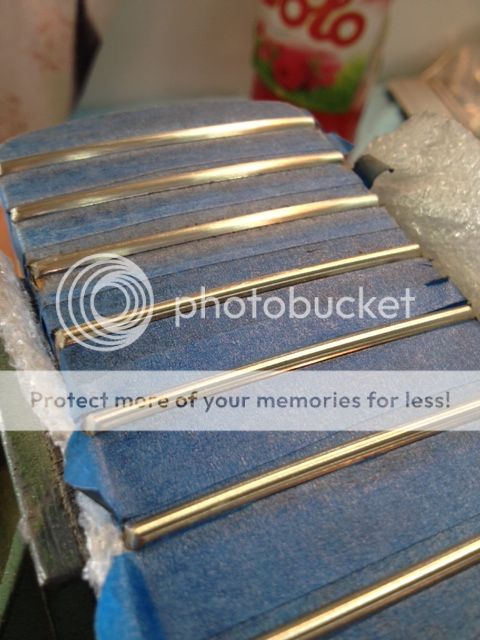
Leveling those frets (400 -600 - 800 grit)

Flat and nice


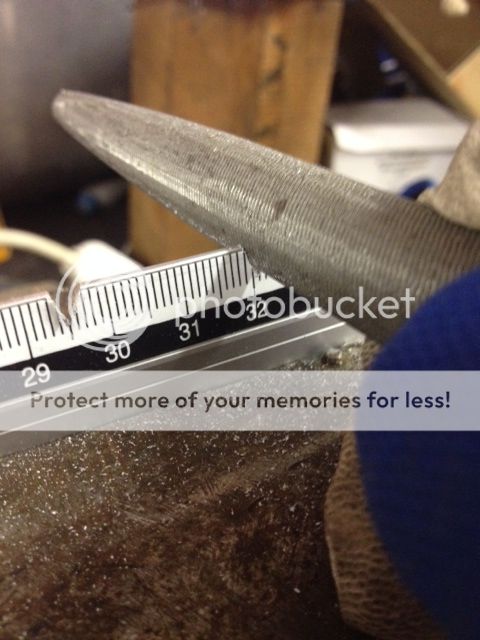
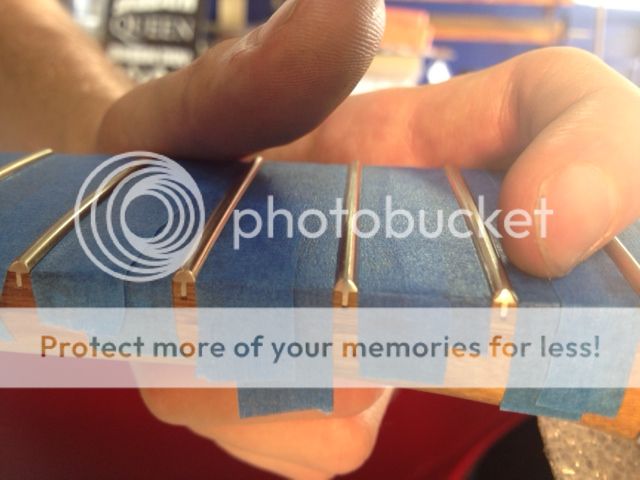
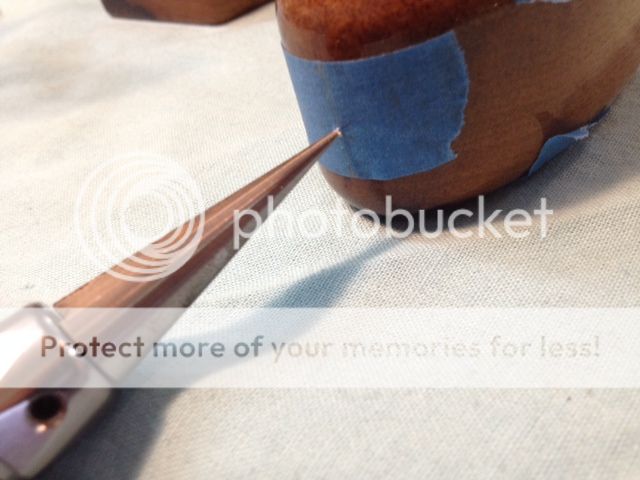
Dealing with the fret ends
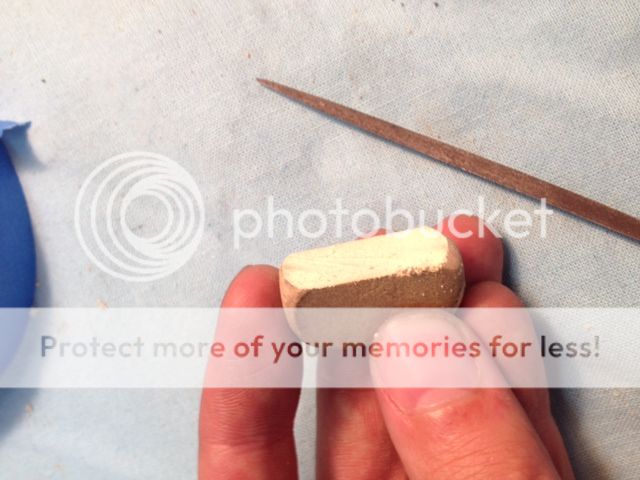
Pointing to one being done, the others are not yet touched
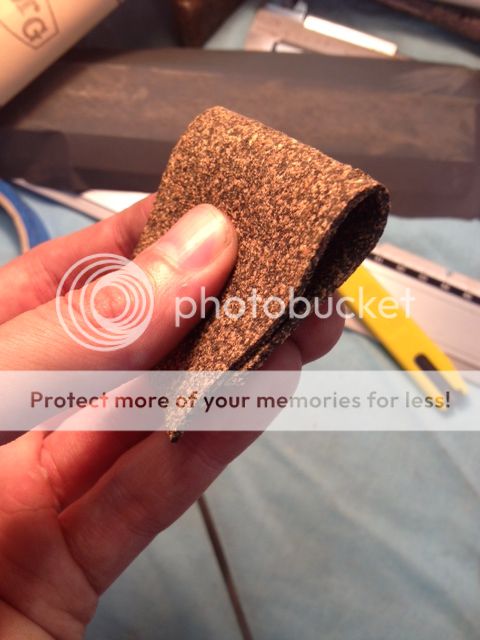
Some MacGyver tools I used together with sandpaper (400-800-1200) for removing the flat spots
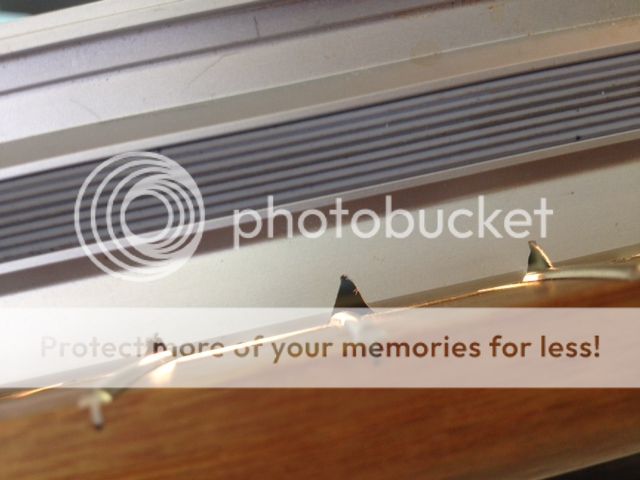
One fret done
Three frets done
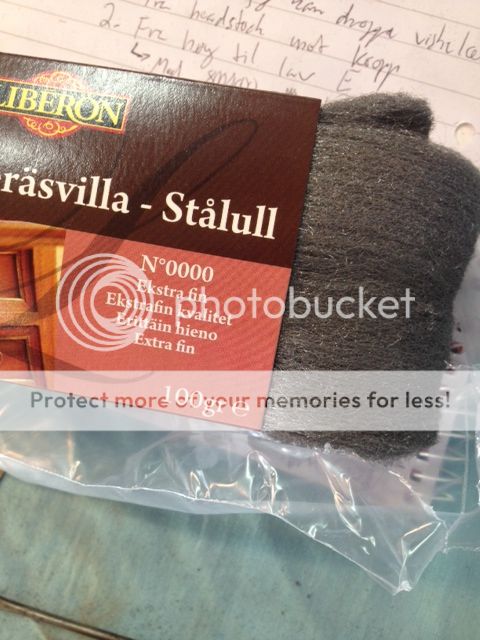
0000 Steel wool to look for scratches made by the sandpaper
Also polished the frets, but forgot to take pictures
Tape off


First thing: Get that neck straight
Before and after truss rod adjustment
All taped up
Leveling those frets (400 -600 - 800 grit)
Flat and nice
Dealing with the fret ends
Pointing to one being done, the others are not yet touched
Some MacGyver tools I used together with sandpaper (400-800-1200) for removing the flat spots
One fret done
Three frets done
0000 Steel wool to look for scratches made by the sandpaper
Also polished the frets, but forgot to take pictures
Tape off
Ddbltrbl
Hero Member
- Messages
- 755
That is coming along nicely. I really think you're going to be surprised by how much you like this guitar when it's done.  ccasion14:
I love the fact that you don't hesitate to build your own tools! I think I would have cut the notches in the other side of that straight-edge ( :dontknow: just my preference), but I will definitely try out your design for that string winder!
One trick I found to speed up polishing the stainless frets is using Dremel abrasive buffs like these:
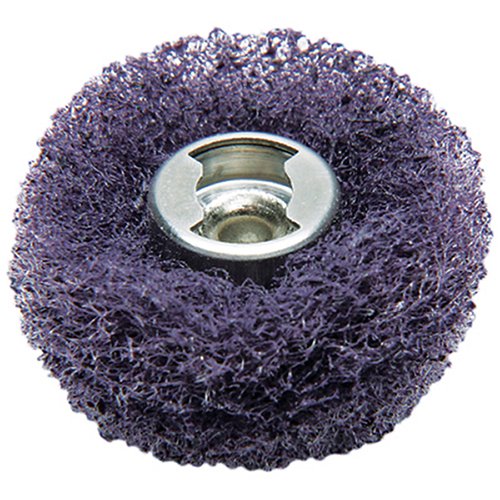
I use the medium and fine grits, and it takes almost no time at all.
ccasion14:I love the fact that you don't hesitate to build your own tools! I think I would have cut the notches in the other side of that straight-edge ( :dontknow: just my preference), but I will definitely try out your design for that string winder!
One trick I found to speed up polishing the stainless frets is using Dremel abrasive buffs like these:
I use the medium and fine grits, and it takes almost no time at all.
UglyCasanova
Junior Member
- Messages
- 30
My frets are not stainless steel though. But a machine would probably take an hour off the work either way :laughing3: Noted for my next build! :hello2:
Did a little work today also:
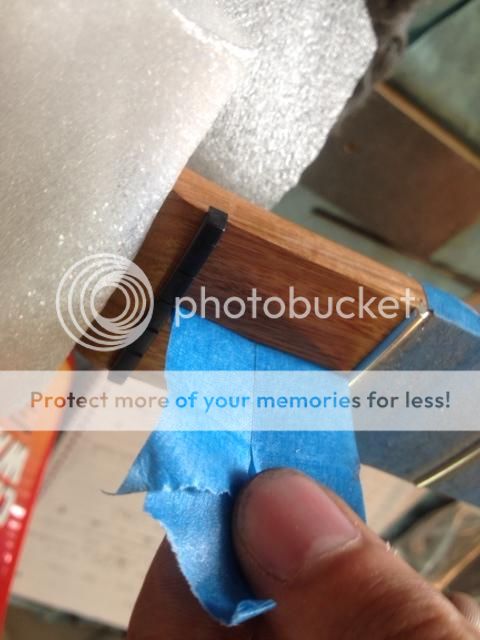
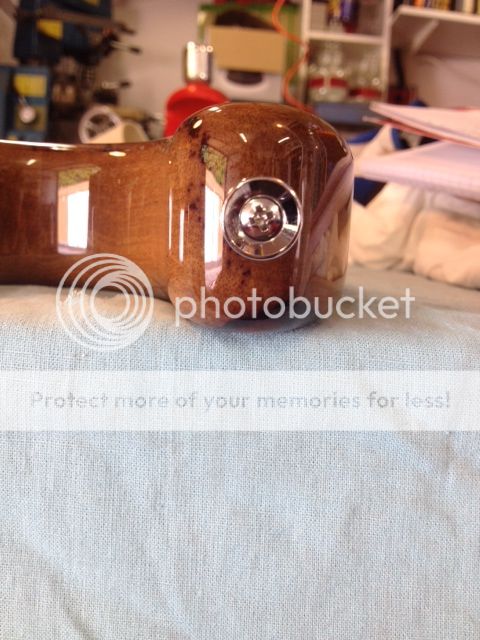
I started the day off by installing the strap-holders. Bottom one first


Then the 'horn'


Turned out good in my book
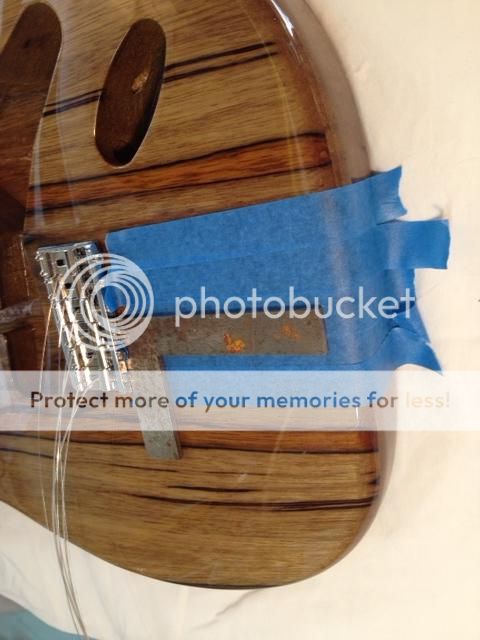
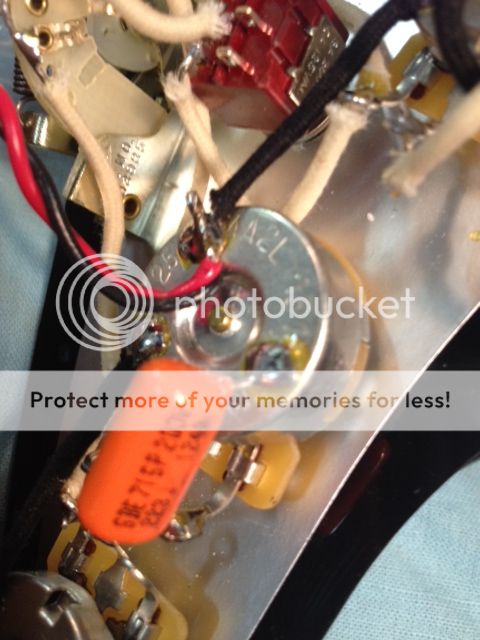
Copper shield. A real pain in the butt if you ask me...


Grounded the bridge and the shielding

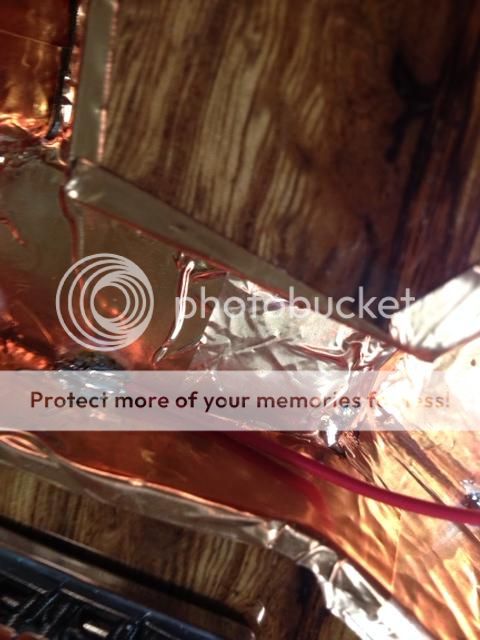

That's it for now. Hopefully she will be ready after my next session! :hello2:
Did a little work today also:
I started the day off by installing the strap-holders. Bottom one first
Then the 'horn'
Turned out good in my book
Copper shield. A real pain in the butt if you ask me...
Grounded the bridge and the shielding
That's it for now. Hopefully she will be ready after my next session! :hello2:
S
swarfrat
Guest
Is it possible to get tired of looking at BK?
Cagey
Mythical Status
- Messages
- 24,425
UglyCasanova said:Copper shield. A real pain in the butt if you ask me...
Then don't install it. Neither you, your amp or recording devices will notice if it isn't there. Stuff is only good for pictures. Other than that, it's a waste of time.
UglyCasanova
Junior Member
- Messages
- 30
Cagey said:Then don't install it. Neither you, your amp or recording devices will notice if it isn't there. Stuff is only good for pictures. Other than that, it's a waste of time.
I just wanted to go all in, sort of speak. I'm never doing it again :toothy12:
stratamania
Mythical Status
- Messages
- 12,405
One thing to be aware of when you have done shielding, is to make sure that none of the hot wires or terminals or especially when plugging in a lead it's tip, cannot short on the shielding. Use some insulating material to avoid it especially in the jack recess.
UglyCasanova
Junior Member
- Messages
- 30
This is were english as a second language fails for me. Do you mean that I should cover the copper in the jackplate so that the hot wire and the tip of the Jack does not make contact with the shielding?
stratamania
Mythical Status
- Messages
- 12,405
UglyCasanova said:This is were english as a second language fails for me. Do you mean that I should cover the copper in the jackplate so that the hot wire and the tip of the Jack does not make contact with the shielding?
Yes...
Similar threads
- Replies
- 49
- Views
- 3K