casper100
Junior Member
- Messages
- 154
My first build I didn’t know about this forum so I just posted the result. For this build I’m going to post along the way.
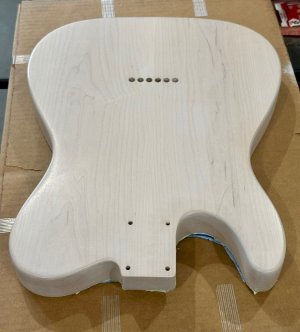
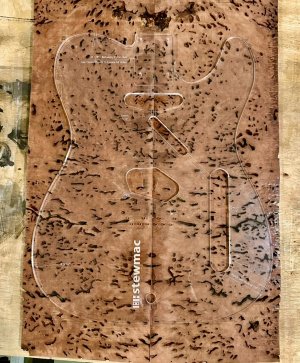
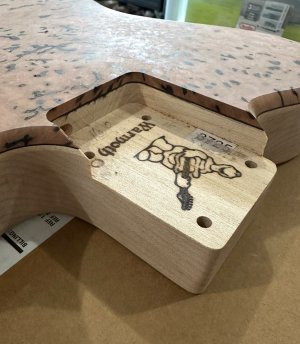
I went to Texas A&M and I’m an Aggie through and through, so I’m going to build an Aggie maroon and white baritone. I already have a Warmoth maple baritone neck. Warmoth Maple telecaster body is ordered.
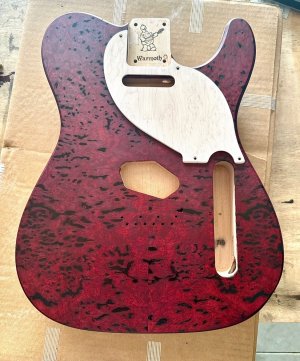
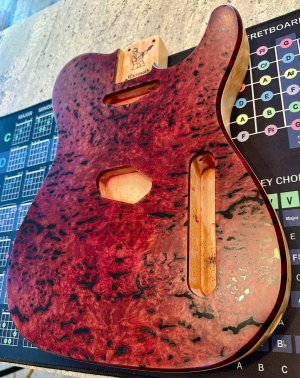
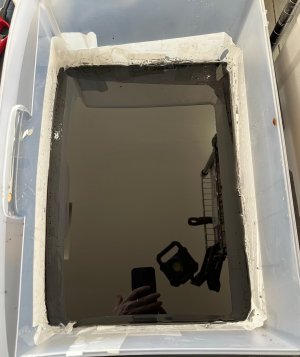
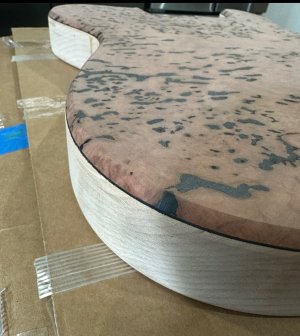
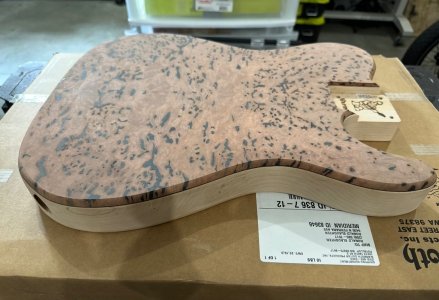
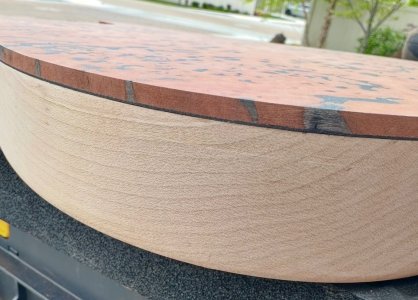
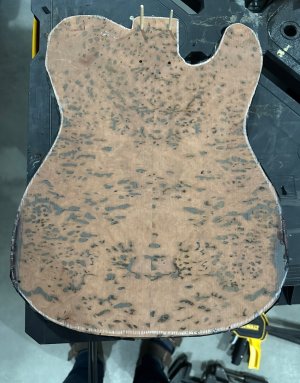
The top will be Australian Red Gum Burl, epoxy floated (black) and stained maroon.
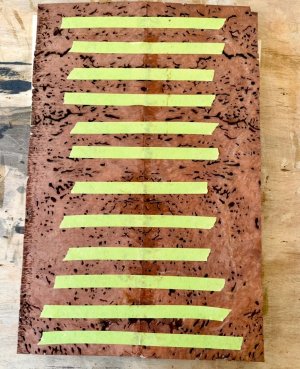
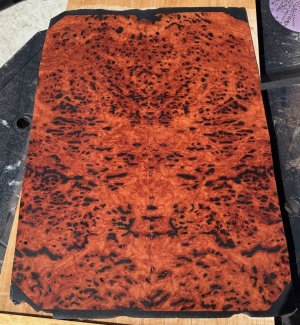
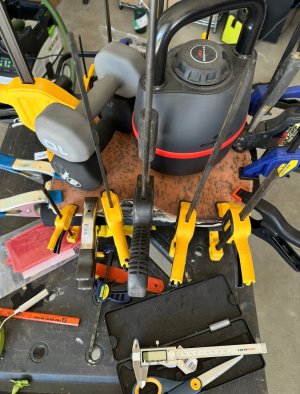
Here is the two piece top after joining and glue up. Each hole was filled with bark I had to remove with a Dremel and Dental tools.
I went to Texas A&M and I’m an Aggie through and through, so I’m going to build an Aggie maroon and white baritone. I already have a Warmoth maple baritone neck. Warmoth Maple telecaster body is ordered.
The top will be Australian Red Gum Burl, epoxy floated (black) and stained maroon.
Here is the two piece top after joining and glue up. Each hole was filled with bark I had to remove with a Dremel and Dental tools.


")