Natural Ash Tele

Quick update, I have been continuing with the finish work. So nothing at the moment to see, you know sand, spray. The weather changed yesterday so not sure if I can get to the final spraying just yet. Amazing glorious weather for days and days and then heavy rain with hailstones in June...what *^^%#

A headstock decal arrived and I applied it yesterday but after a few hours of looking at it, I came to the conclusion that the lettering was a little thick and it didn't look quite right so I wetted it and removed it. So will continue without a logo, I think perhaps on Teles they can look a little cramped in any case unless it's a Tele Deluxe style neck.
 
Just to bring the thread up to date and it acts as a bit of a diary for myself.


After building up the finish, I did a wet sand to around 6 - 800 grit as I recall. I took my time and worked with a number of different size blocks. This one I made from a piece of scrap pine.


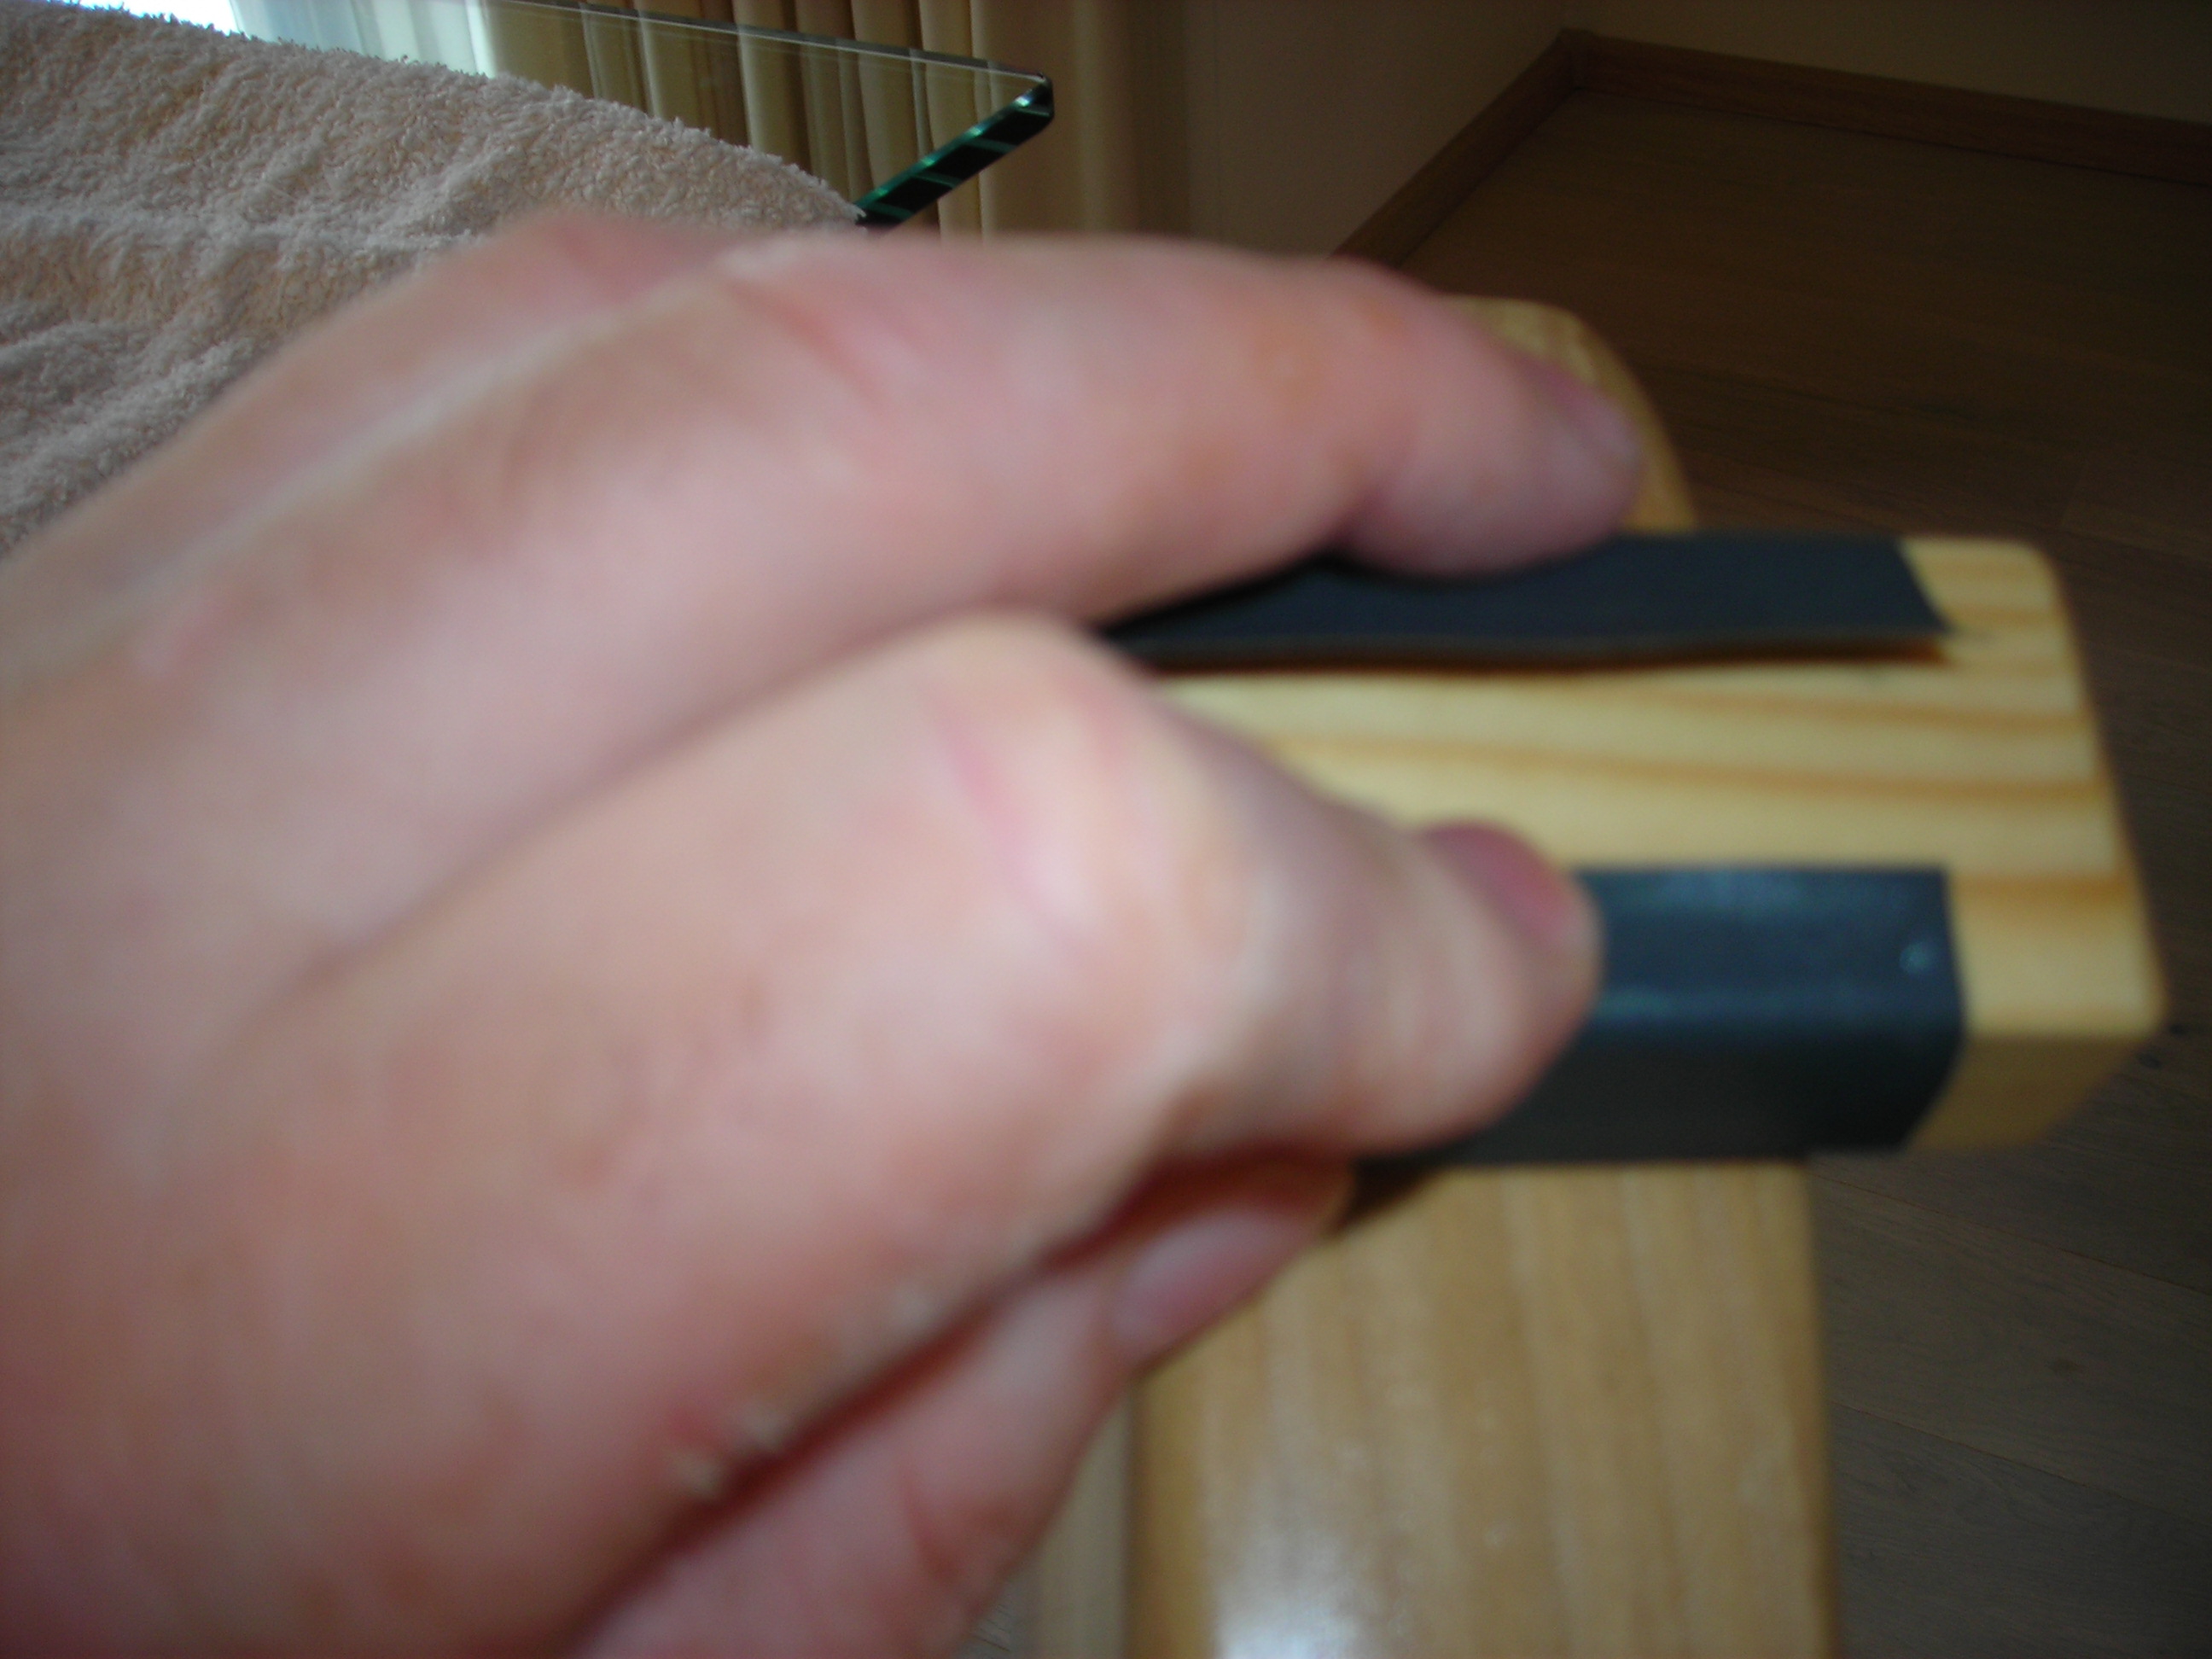
FinishtoTrussRod_1 by stratamania, on Flickr

Here is a shot of the neck pocket that received no Tea stain or finish and you can see the colour difference. I quite like this tea stained effect, it's quite organic looking.


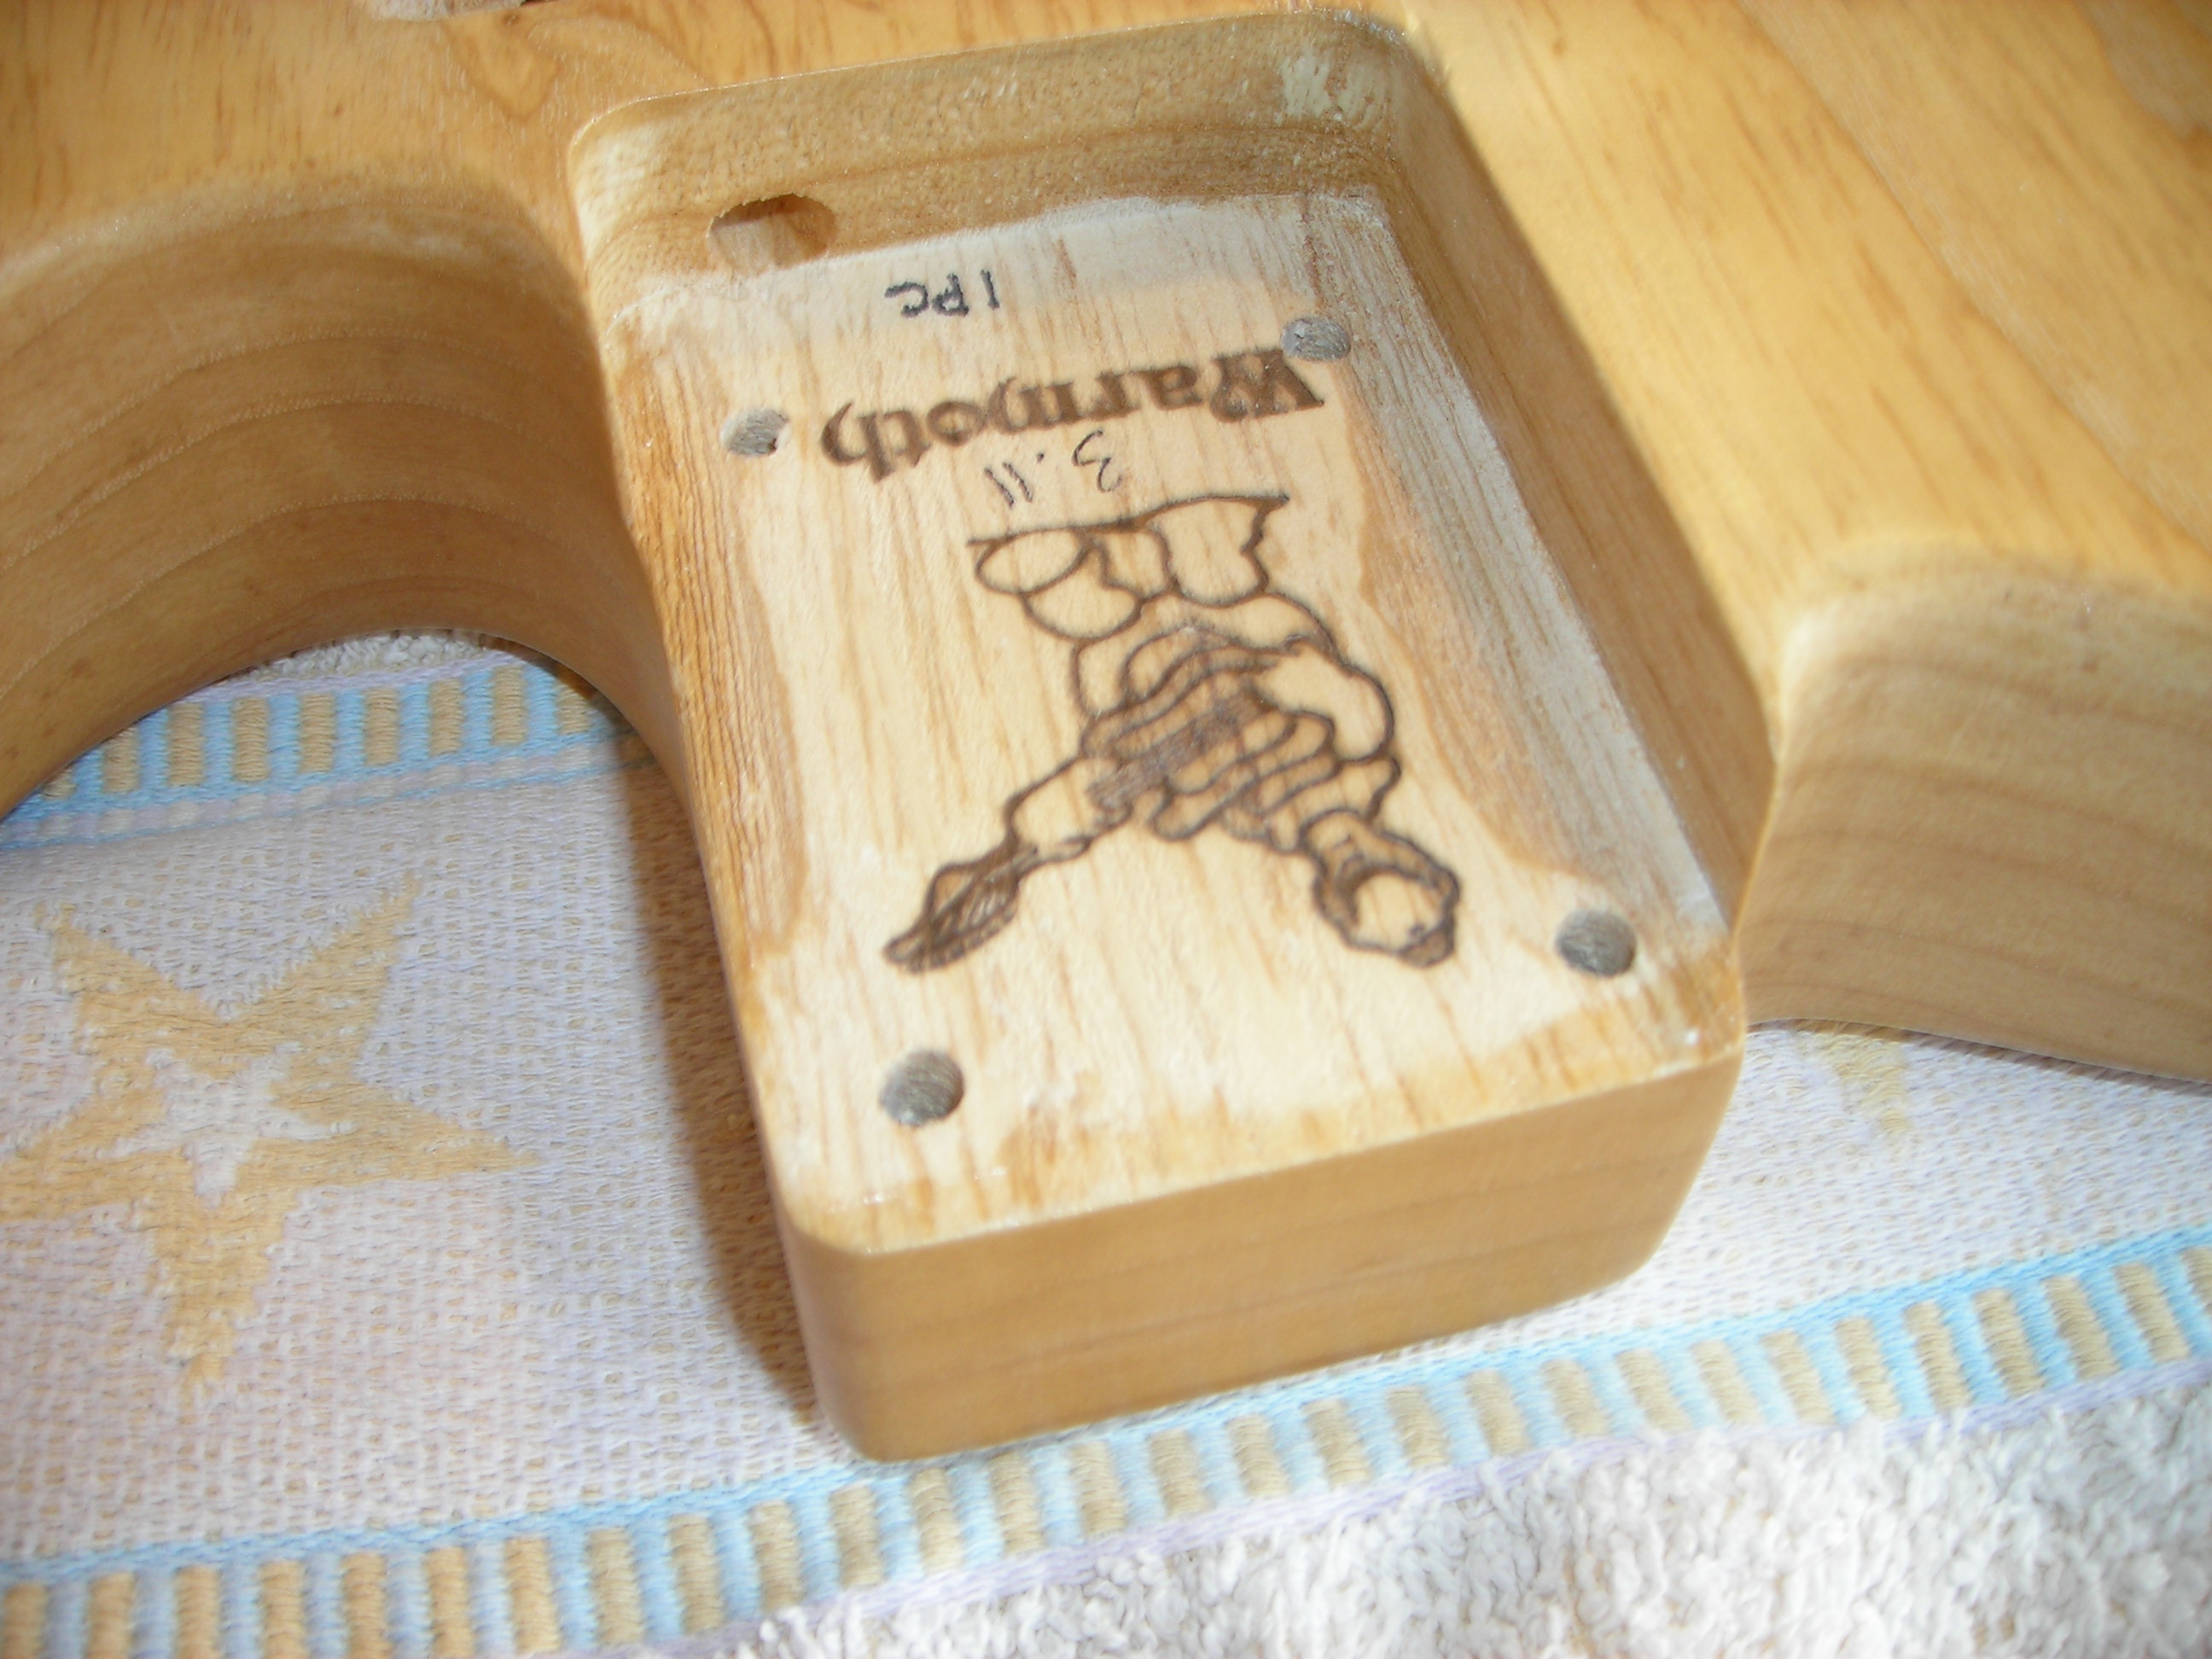
FinishtoTrussRod_2 by stratamania, on Flickr

As I was running low on Nitro Lacquer I wanted to be able to do the whole body at once rather than the method used earlier in the thread. So I attached a handle and put some masking tape over the screw heads so the slots didn't get clogged at all.


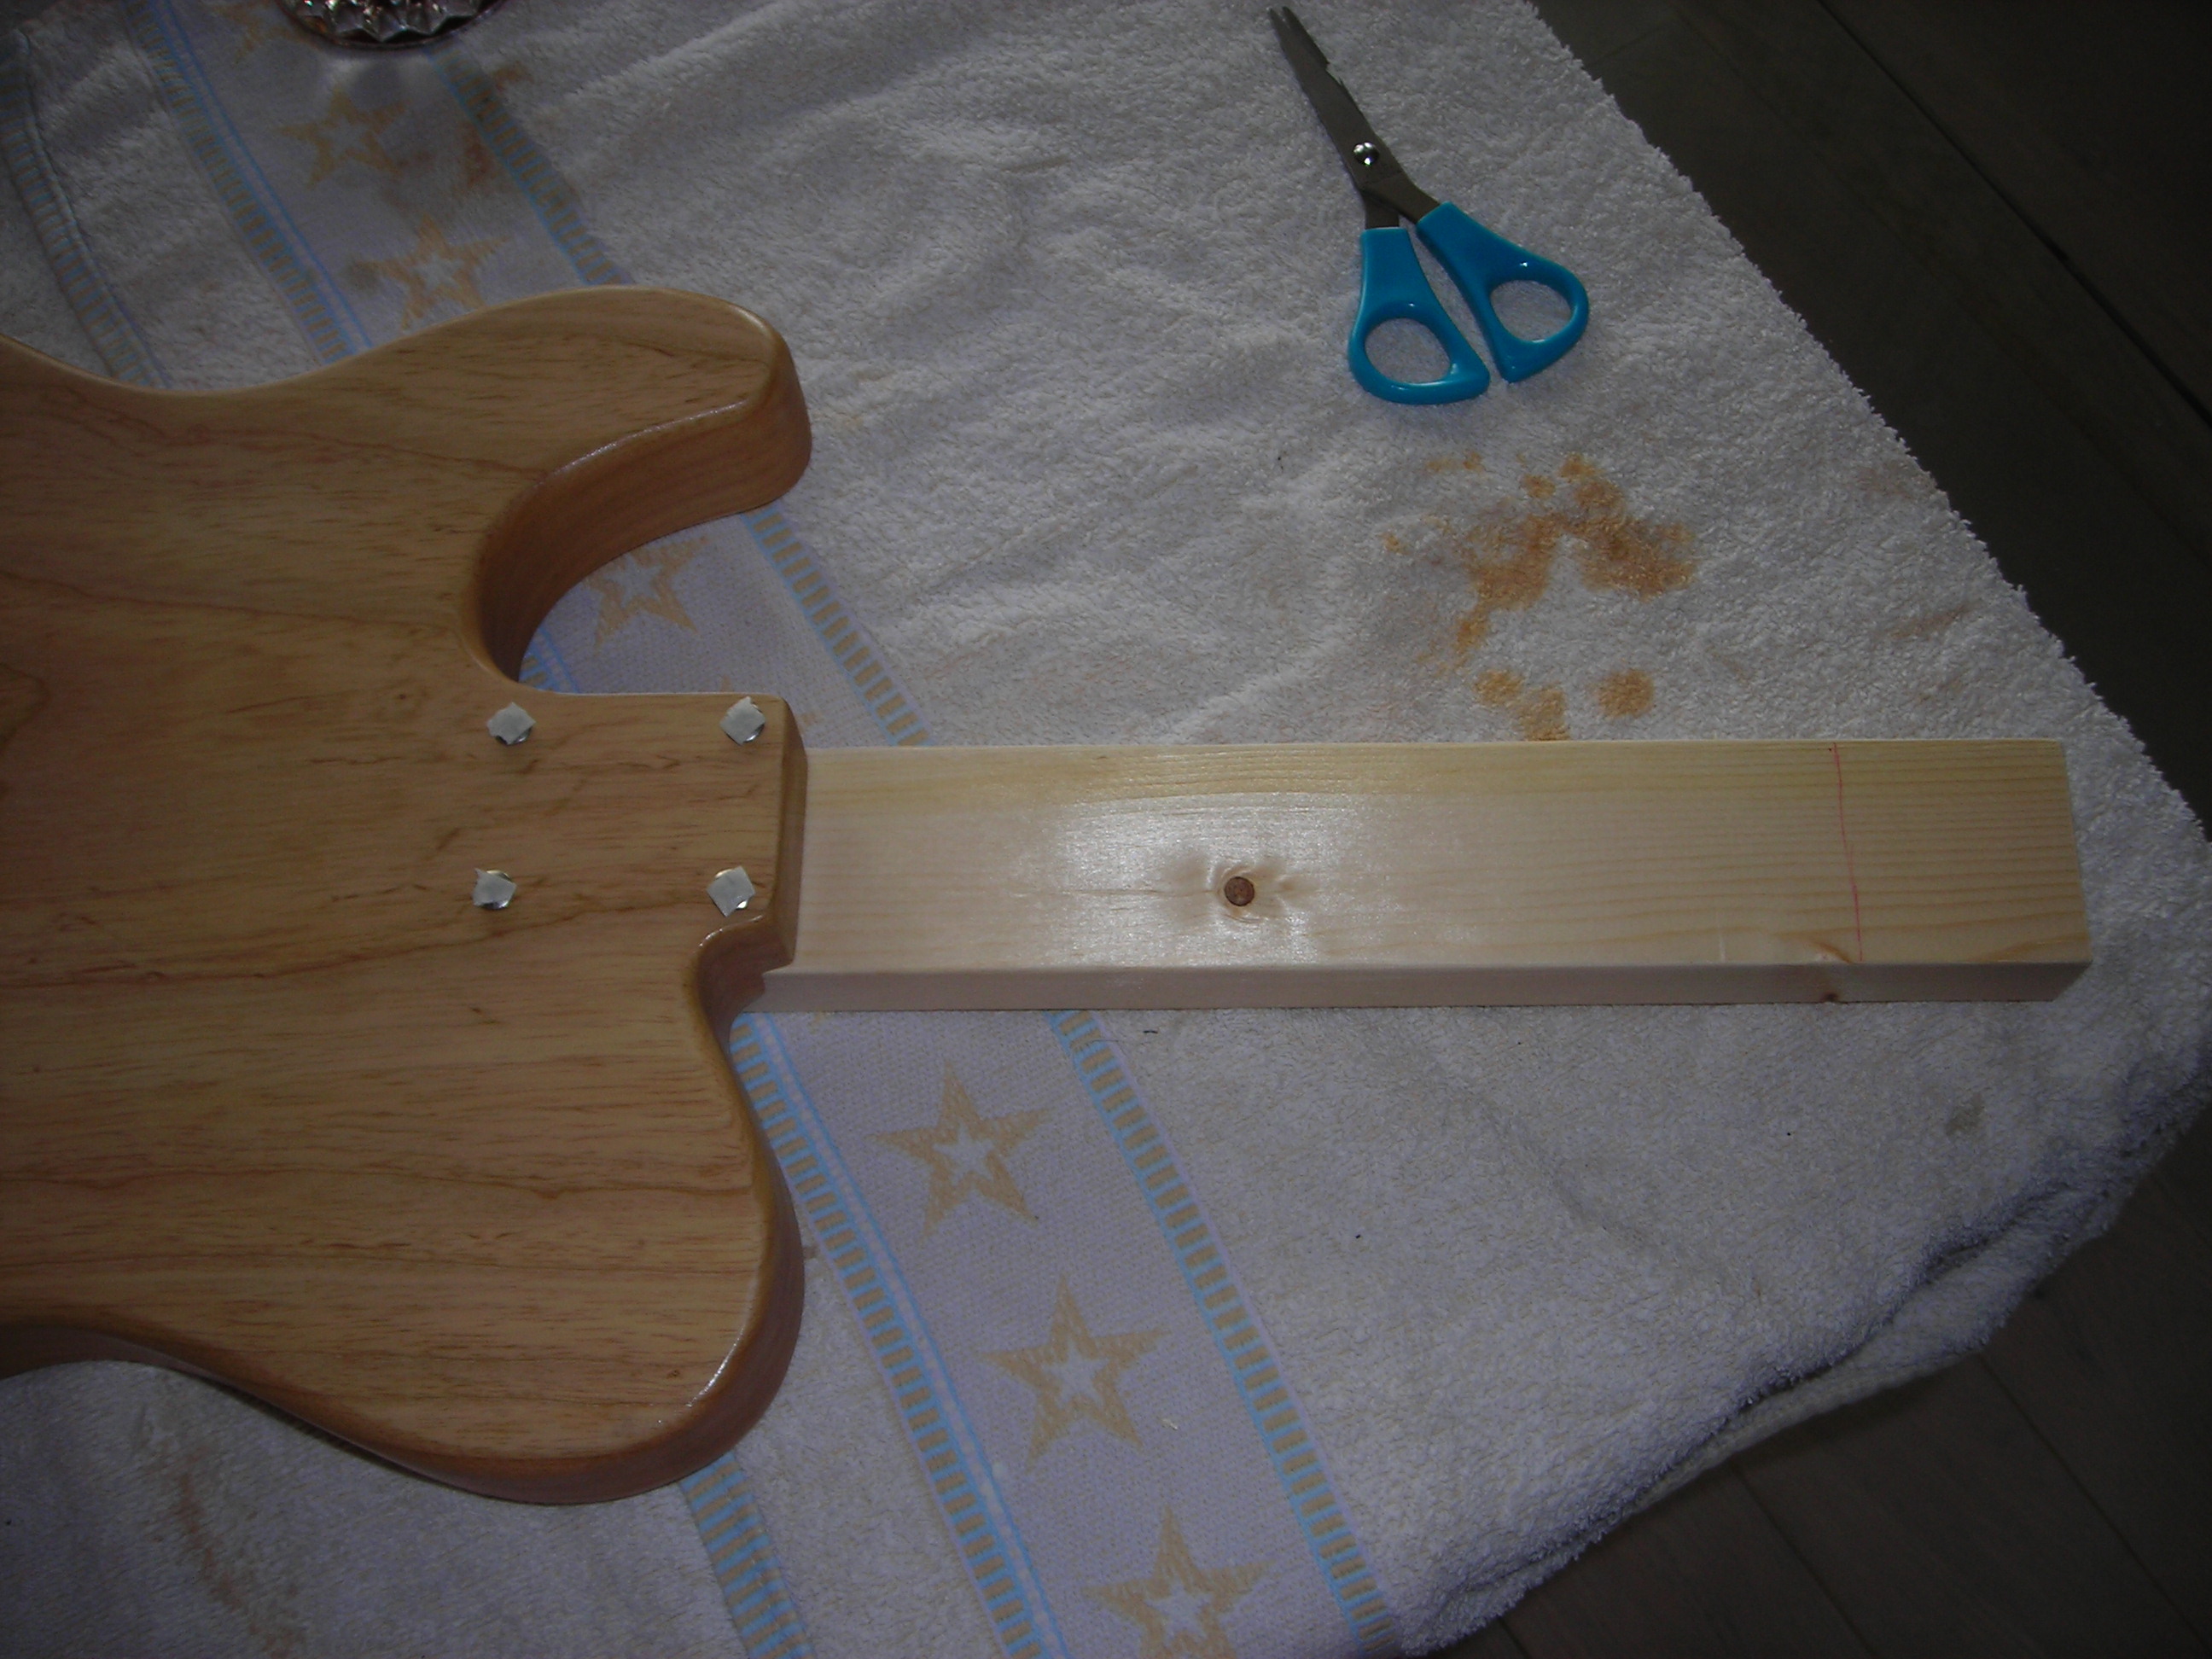
FinishtoTrussRod_3 by stratamania, on Flickr


Here's the neck and body after a wet sand prior to the final nitro coats.


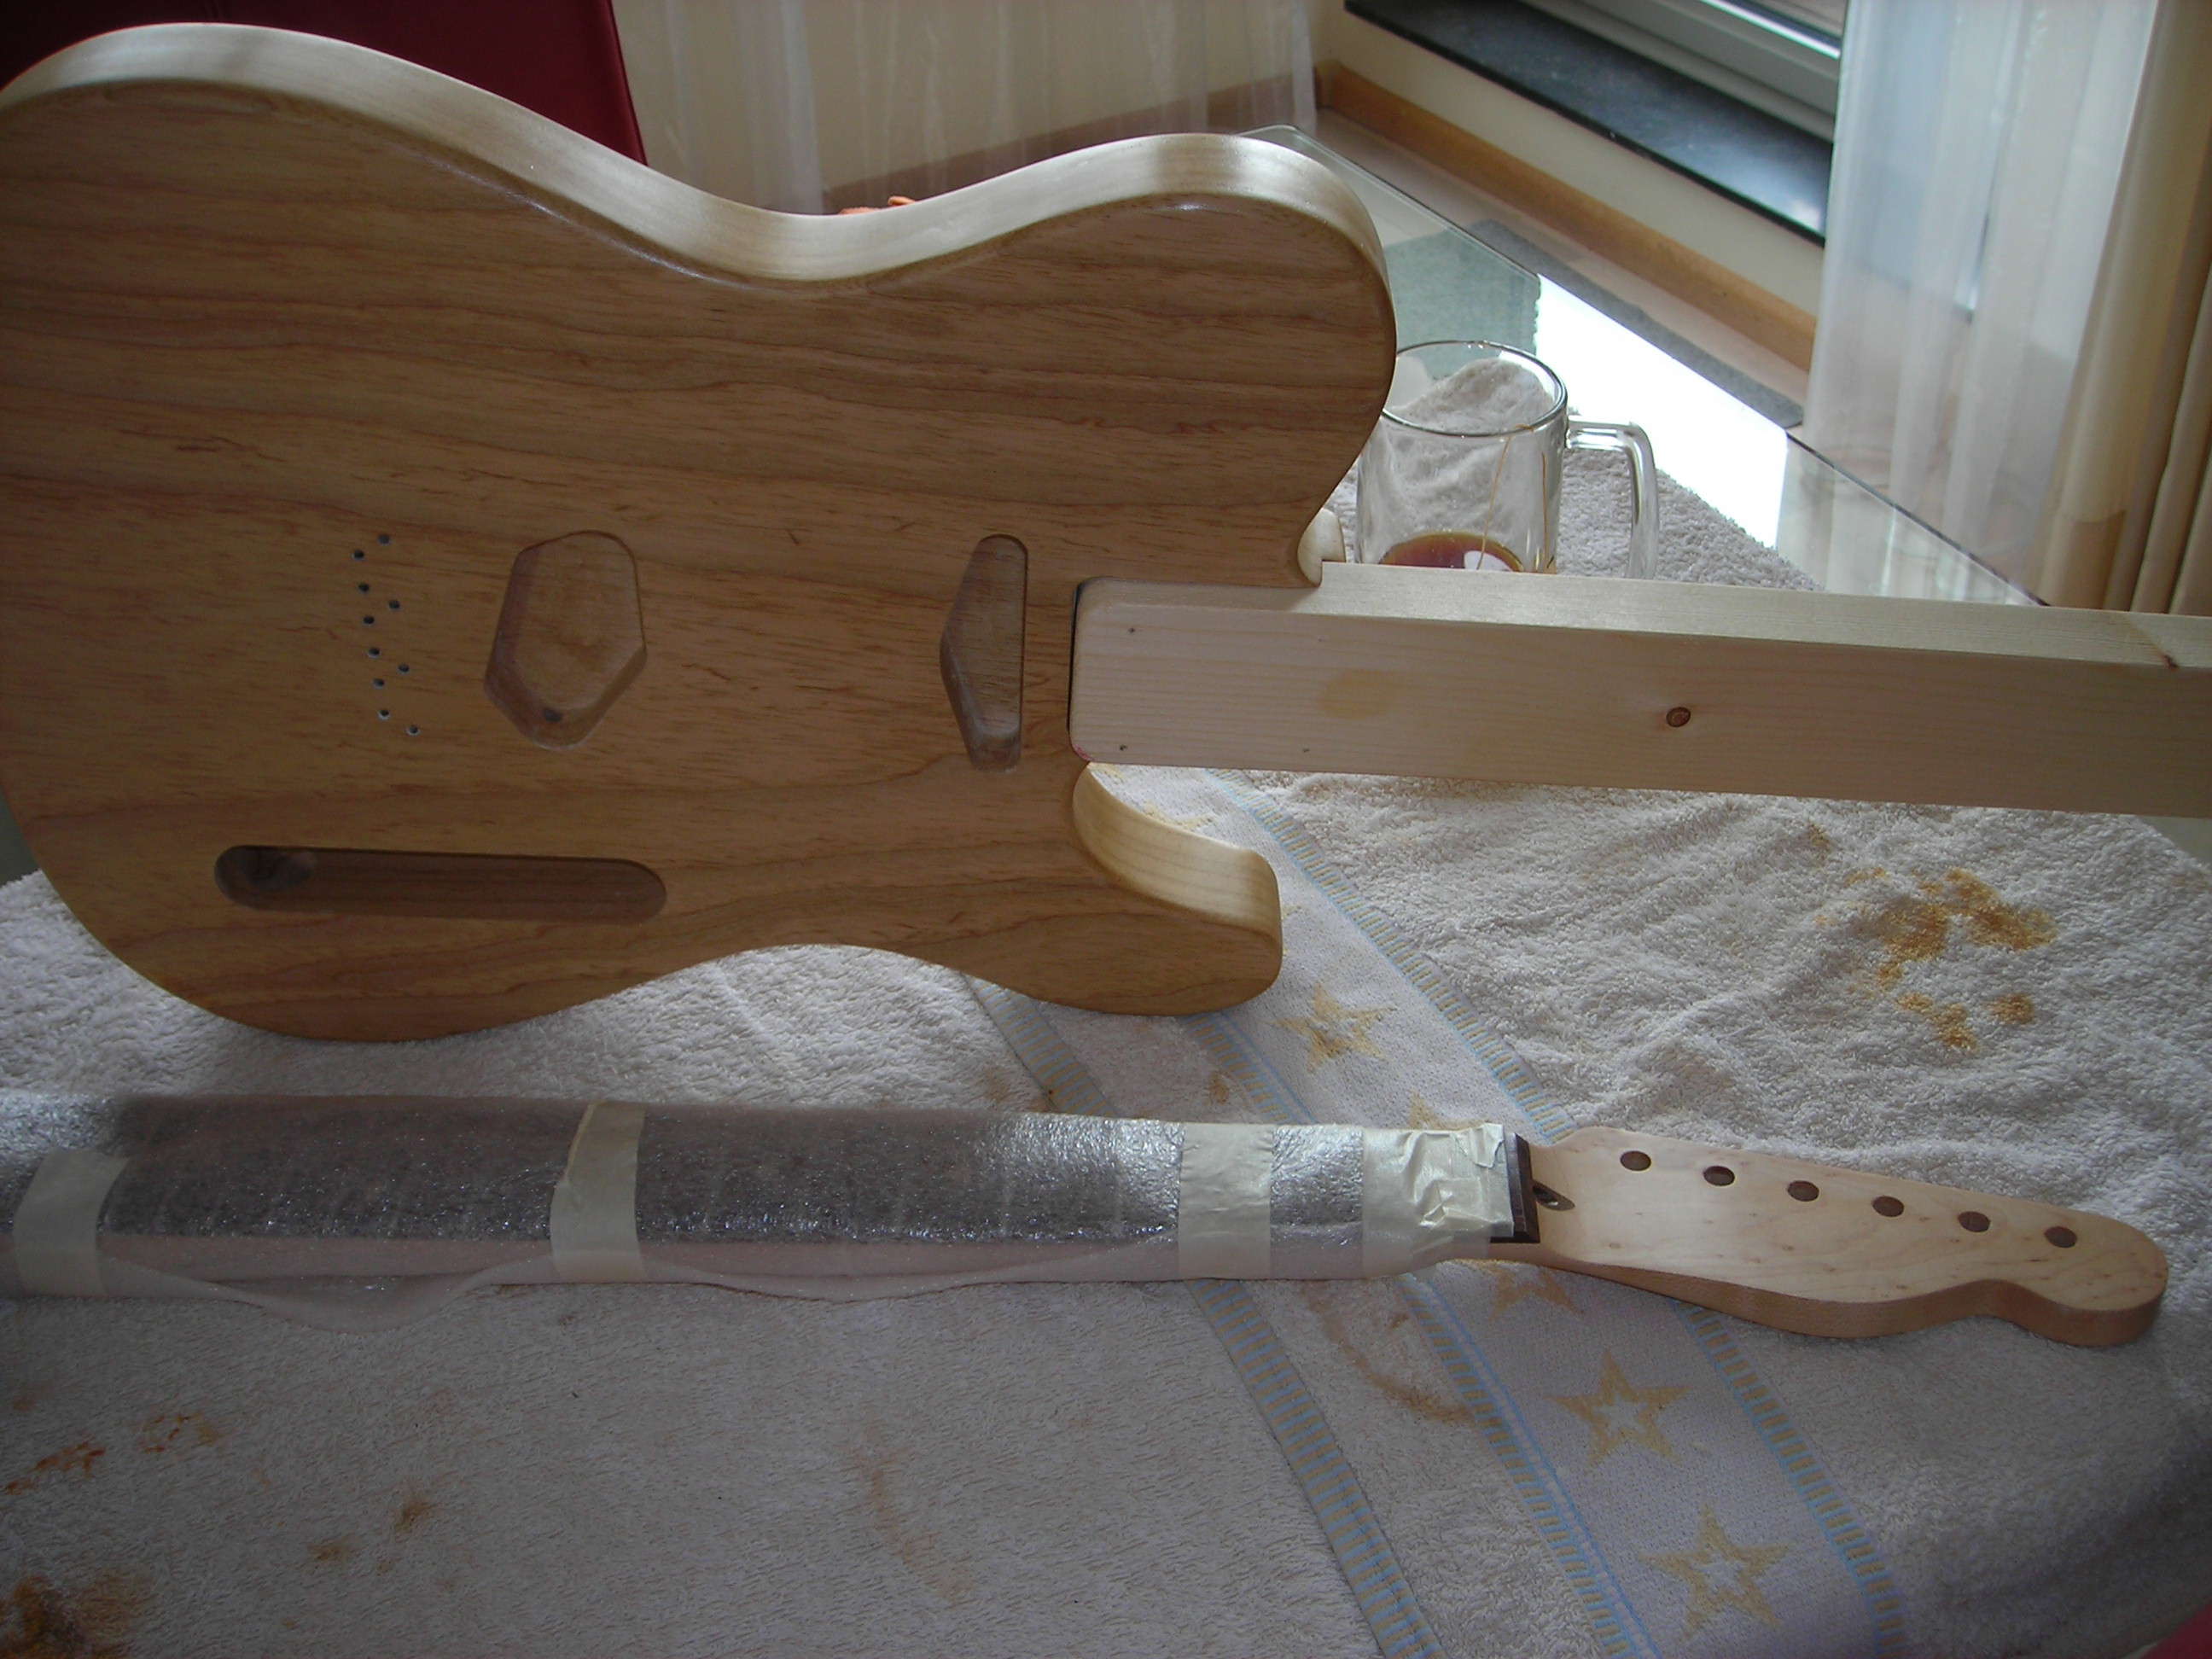
FinishtoTrussRod_4 by stratamania, on Flickr

Using the spray handle clamped into the workmate after spraying. I just held the handle did the spraying and its in the workmate to dry. It would have saved time if I had done this earlier but I wasn't in a rush.


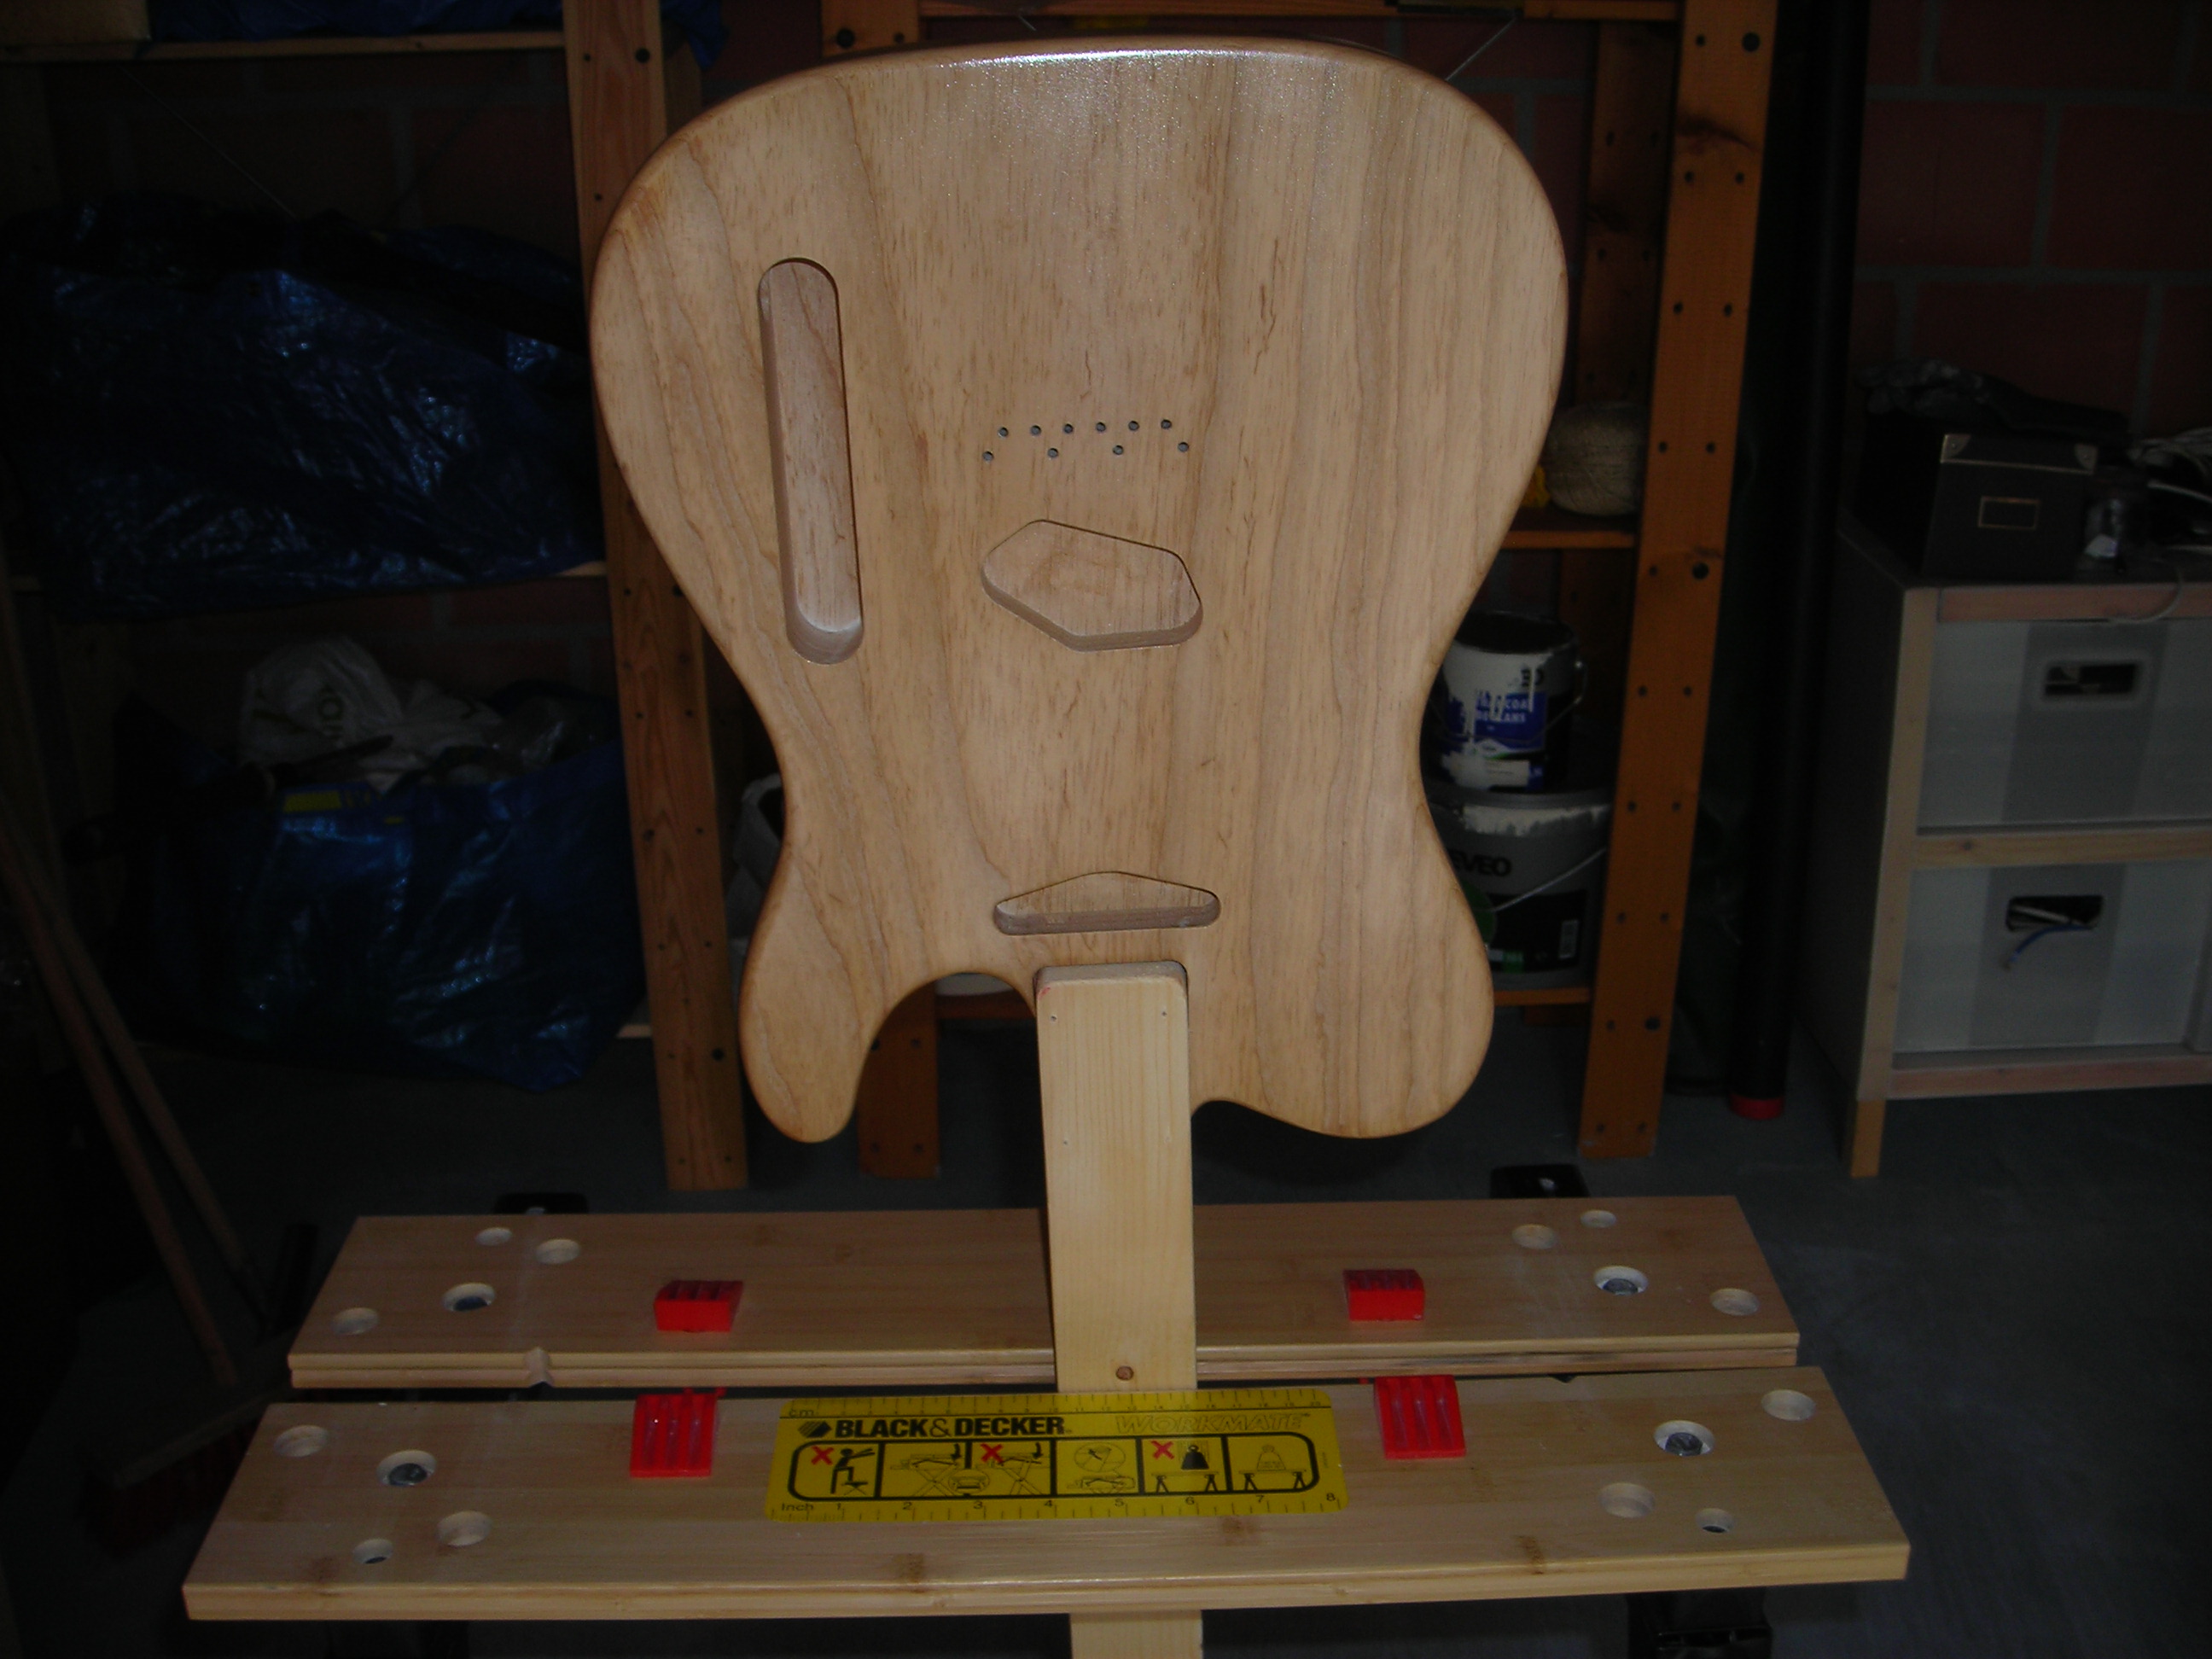
FinishtoTrussRod_5 by stratamania, on Flickr


I let the final Nitro done above dry for about a week before a final wet sand. So in the meantime, I unpacked a few parts and did a bit of prefabrication.

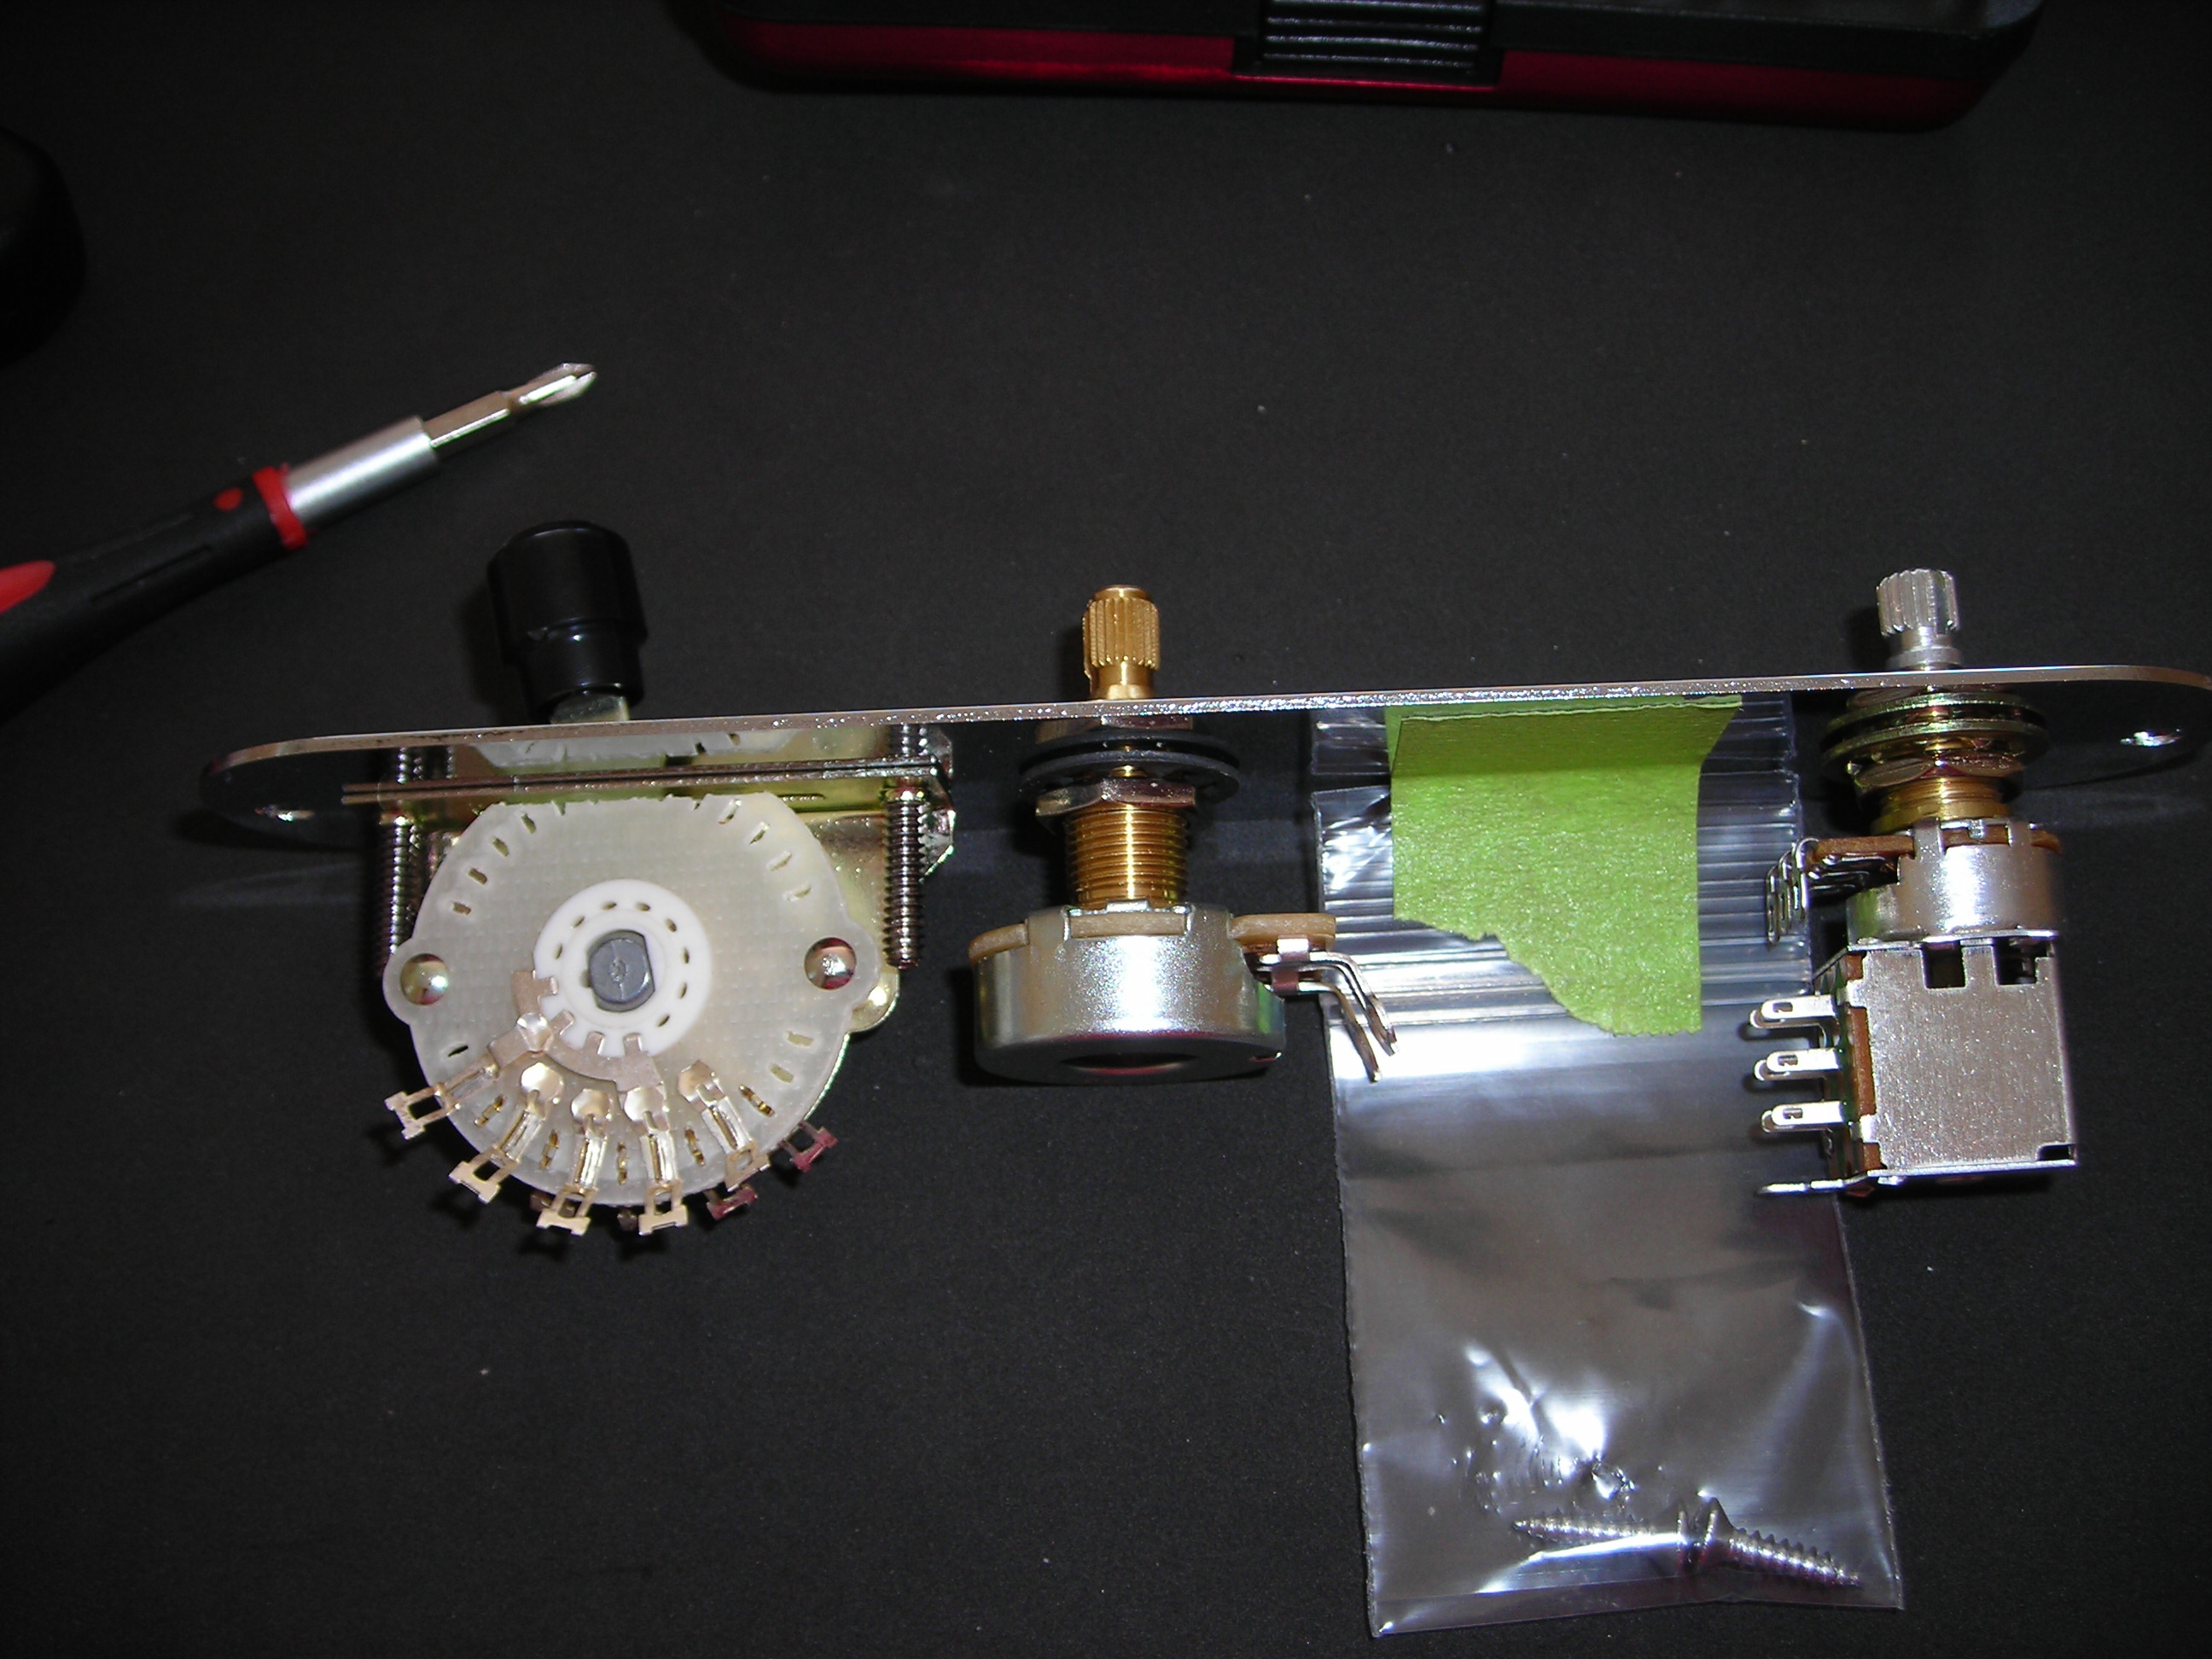
FinishtoTrussRod_6 by stratamania, on Flickr

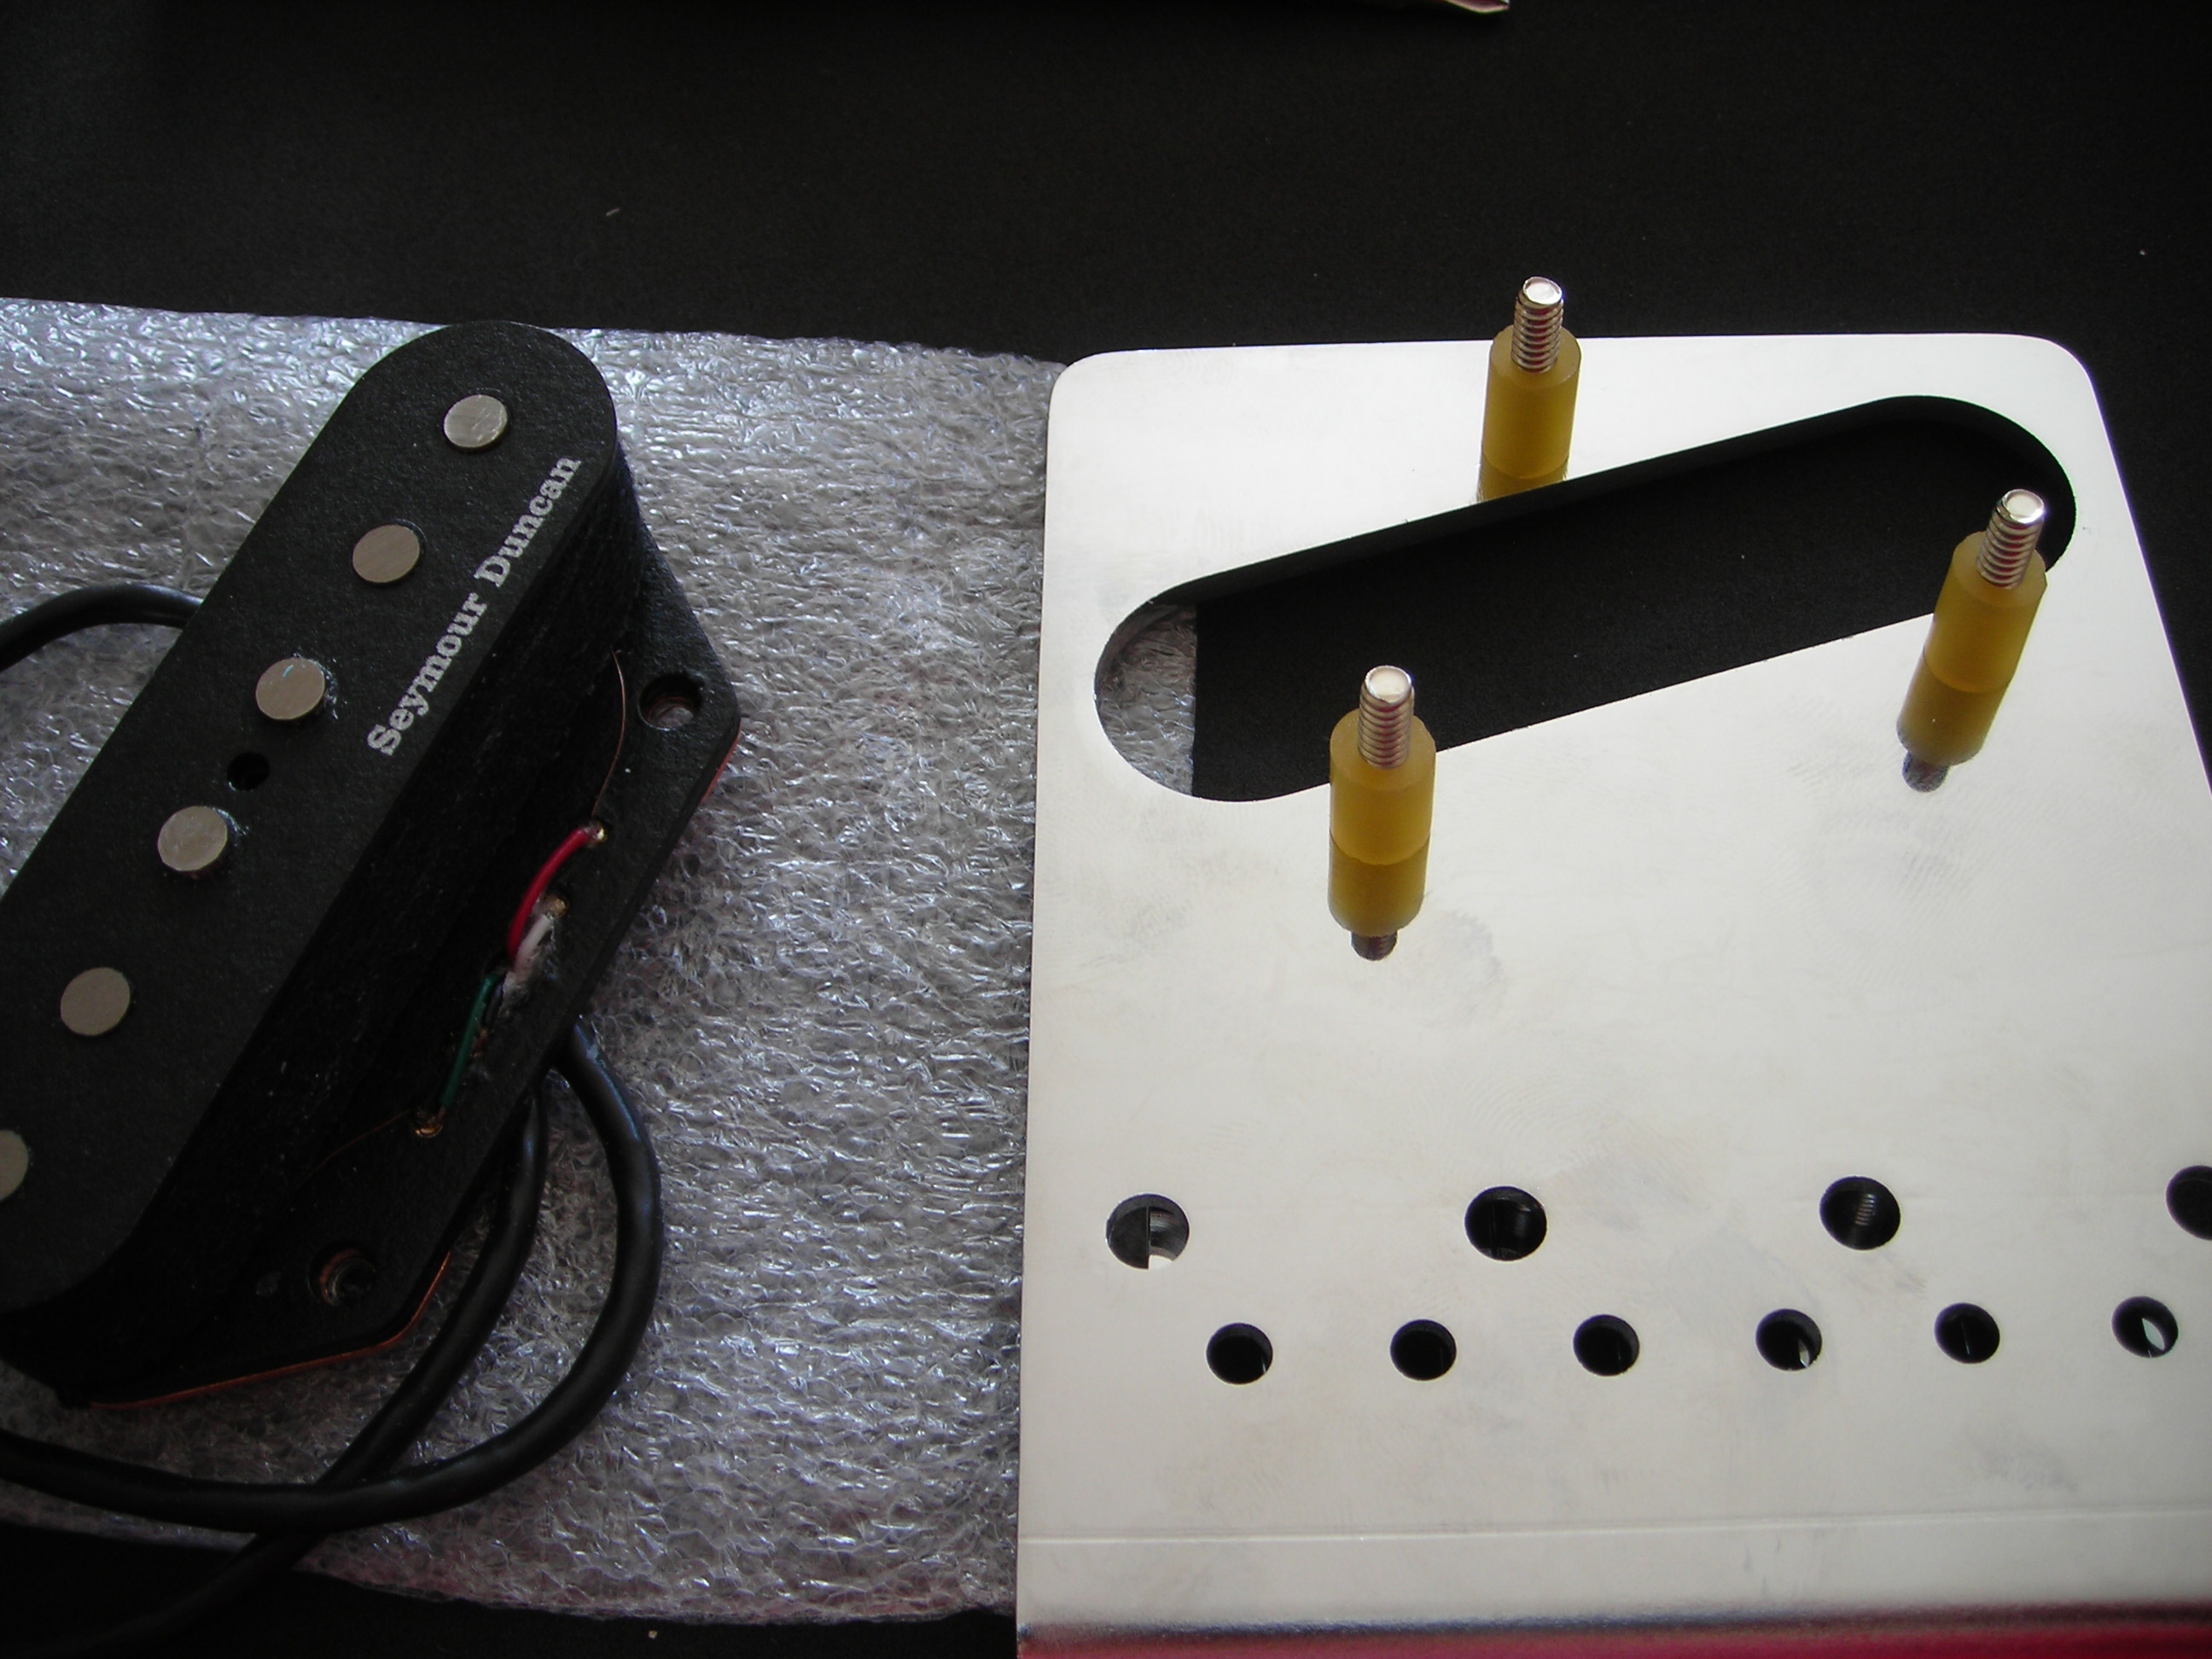
FinishtoTrussRod_7 by stratamania, on Flickr

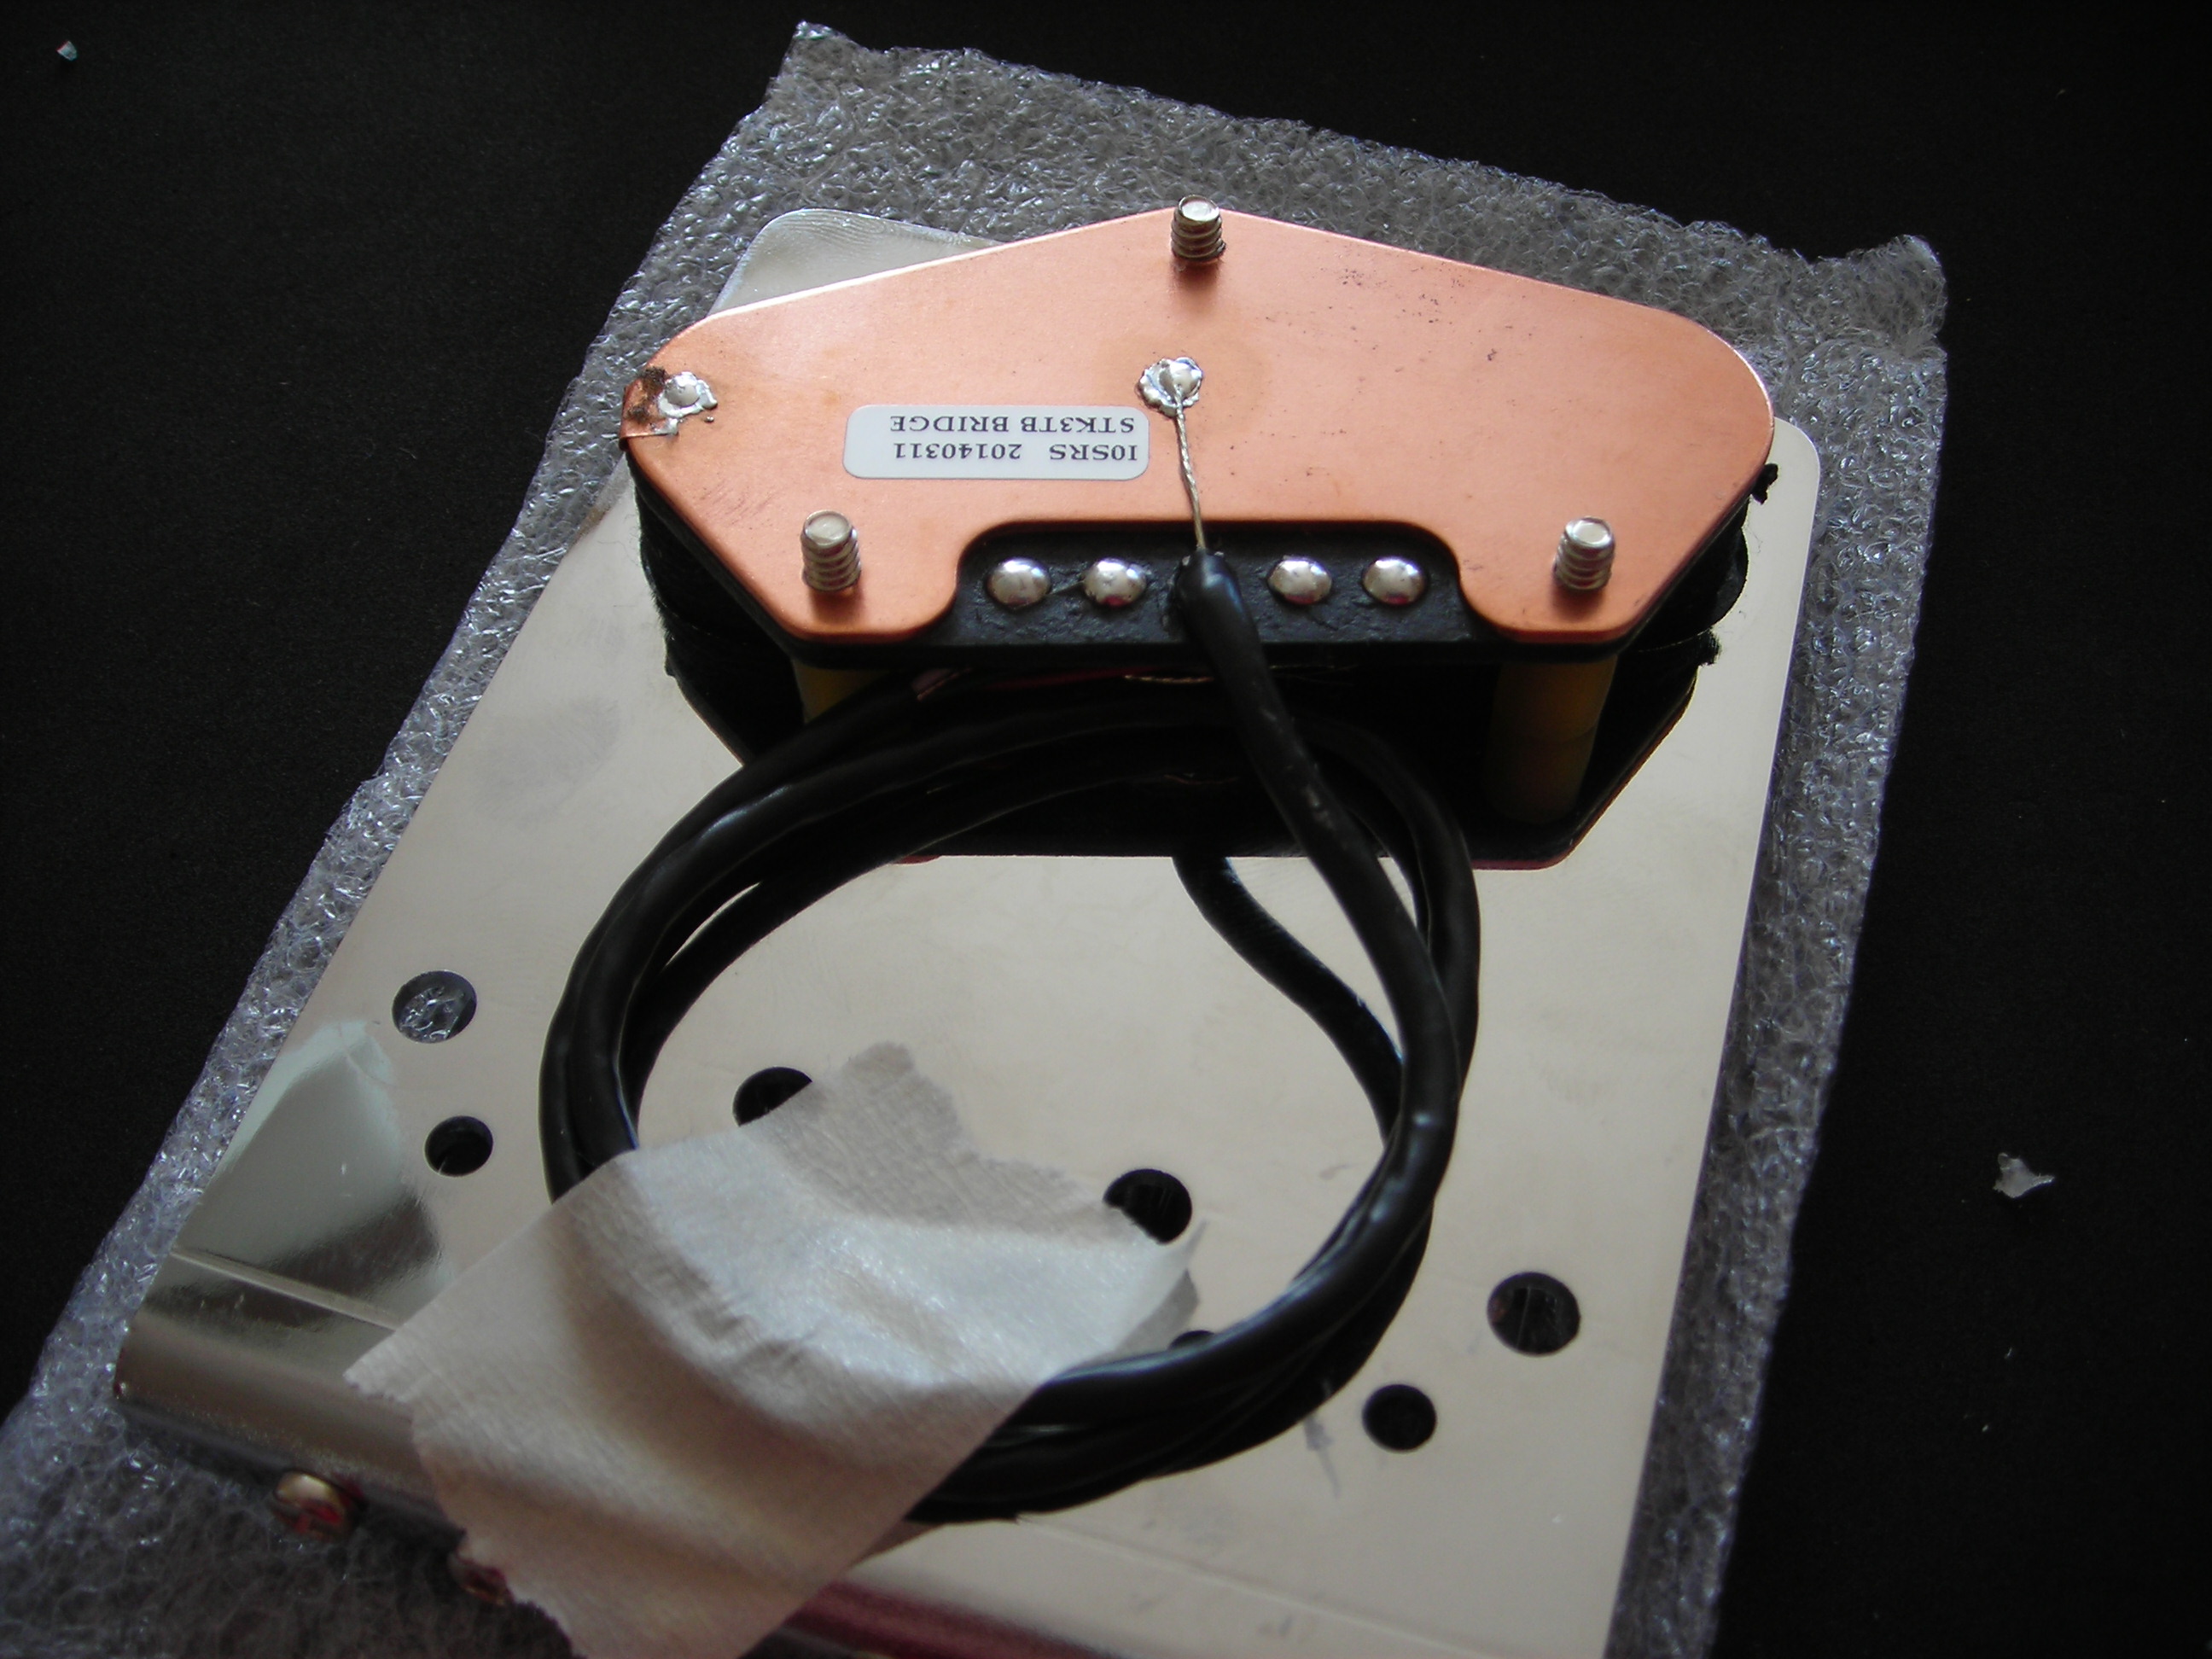
FinishtoTrussRod_8 by stratamania, on Flickr

Body and neck after final wet sanding from 600 to 1500 grit and a bit of a hand polish. Its satin nitro, so wasn't going for a high gloss finish.


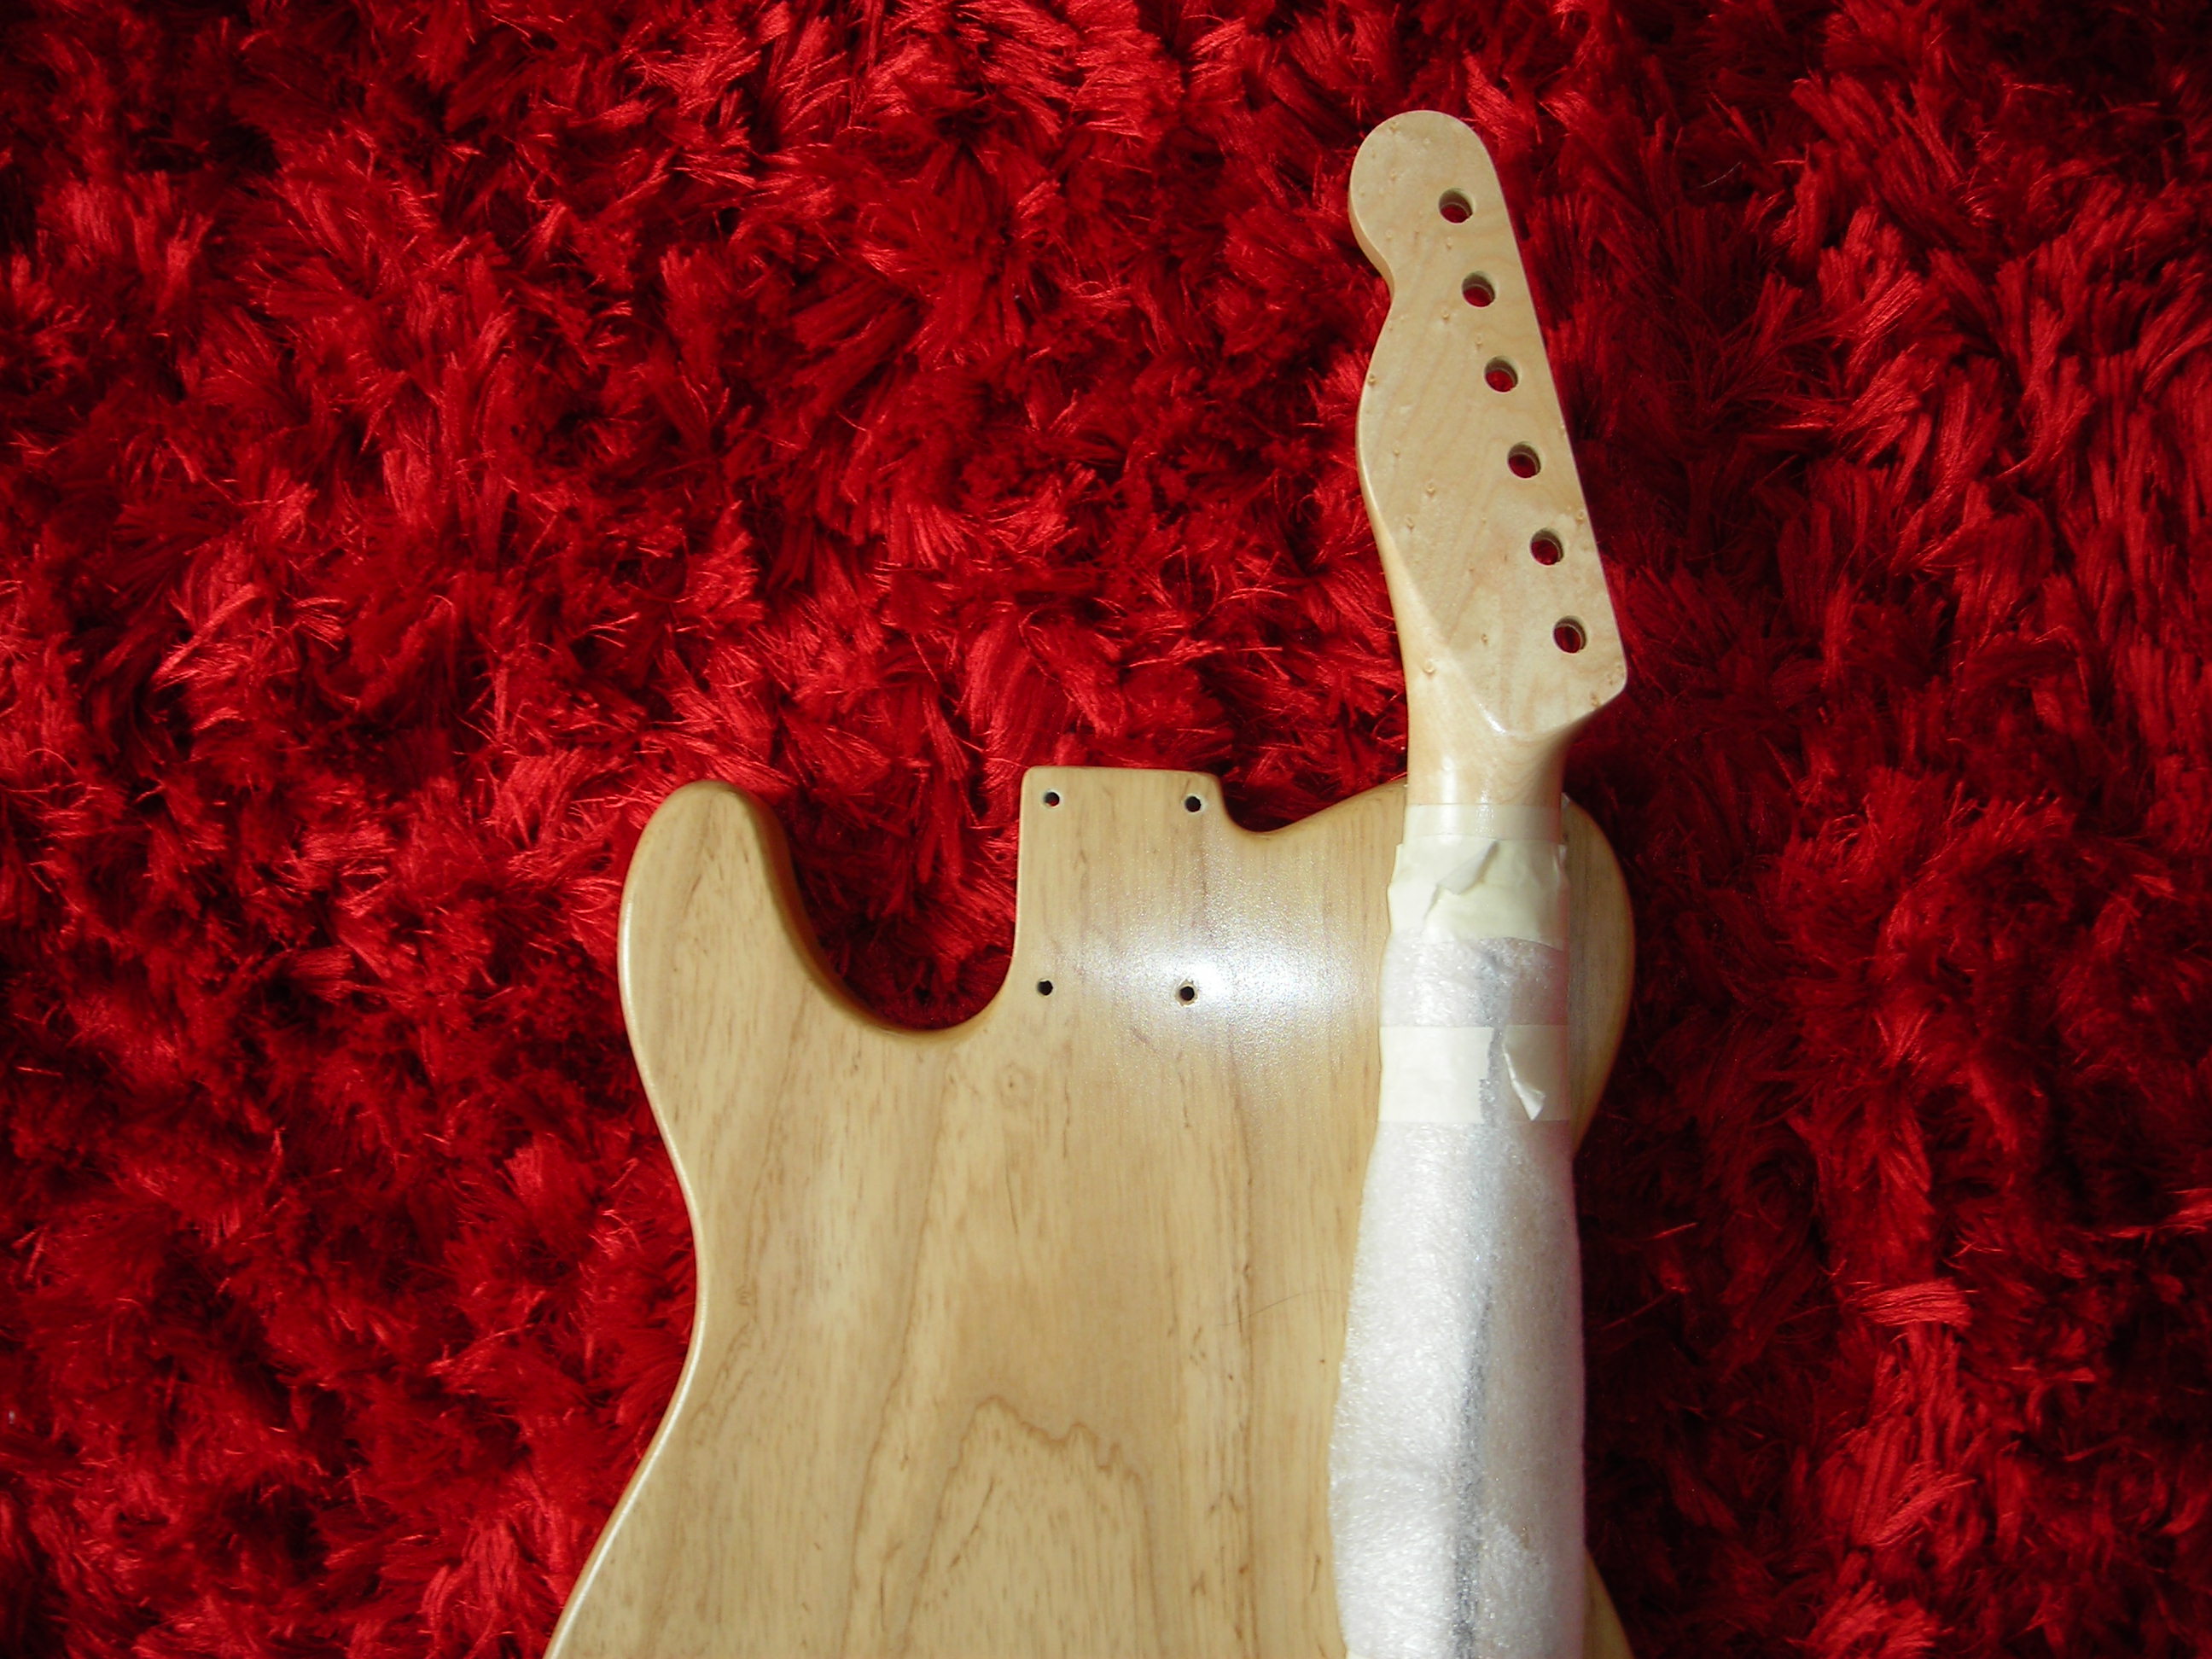
FinishtoTrussRod_9 by stratamania, on Flickr


The headstock has a bit more of a glossy appearance than the body.

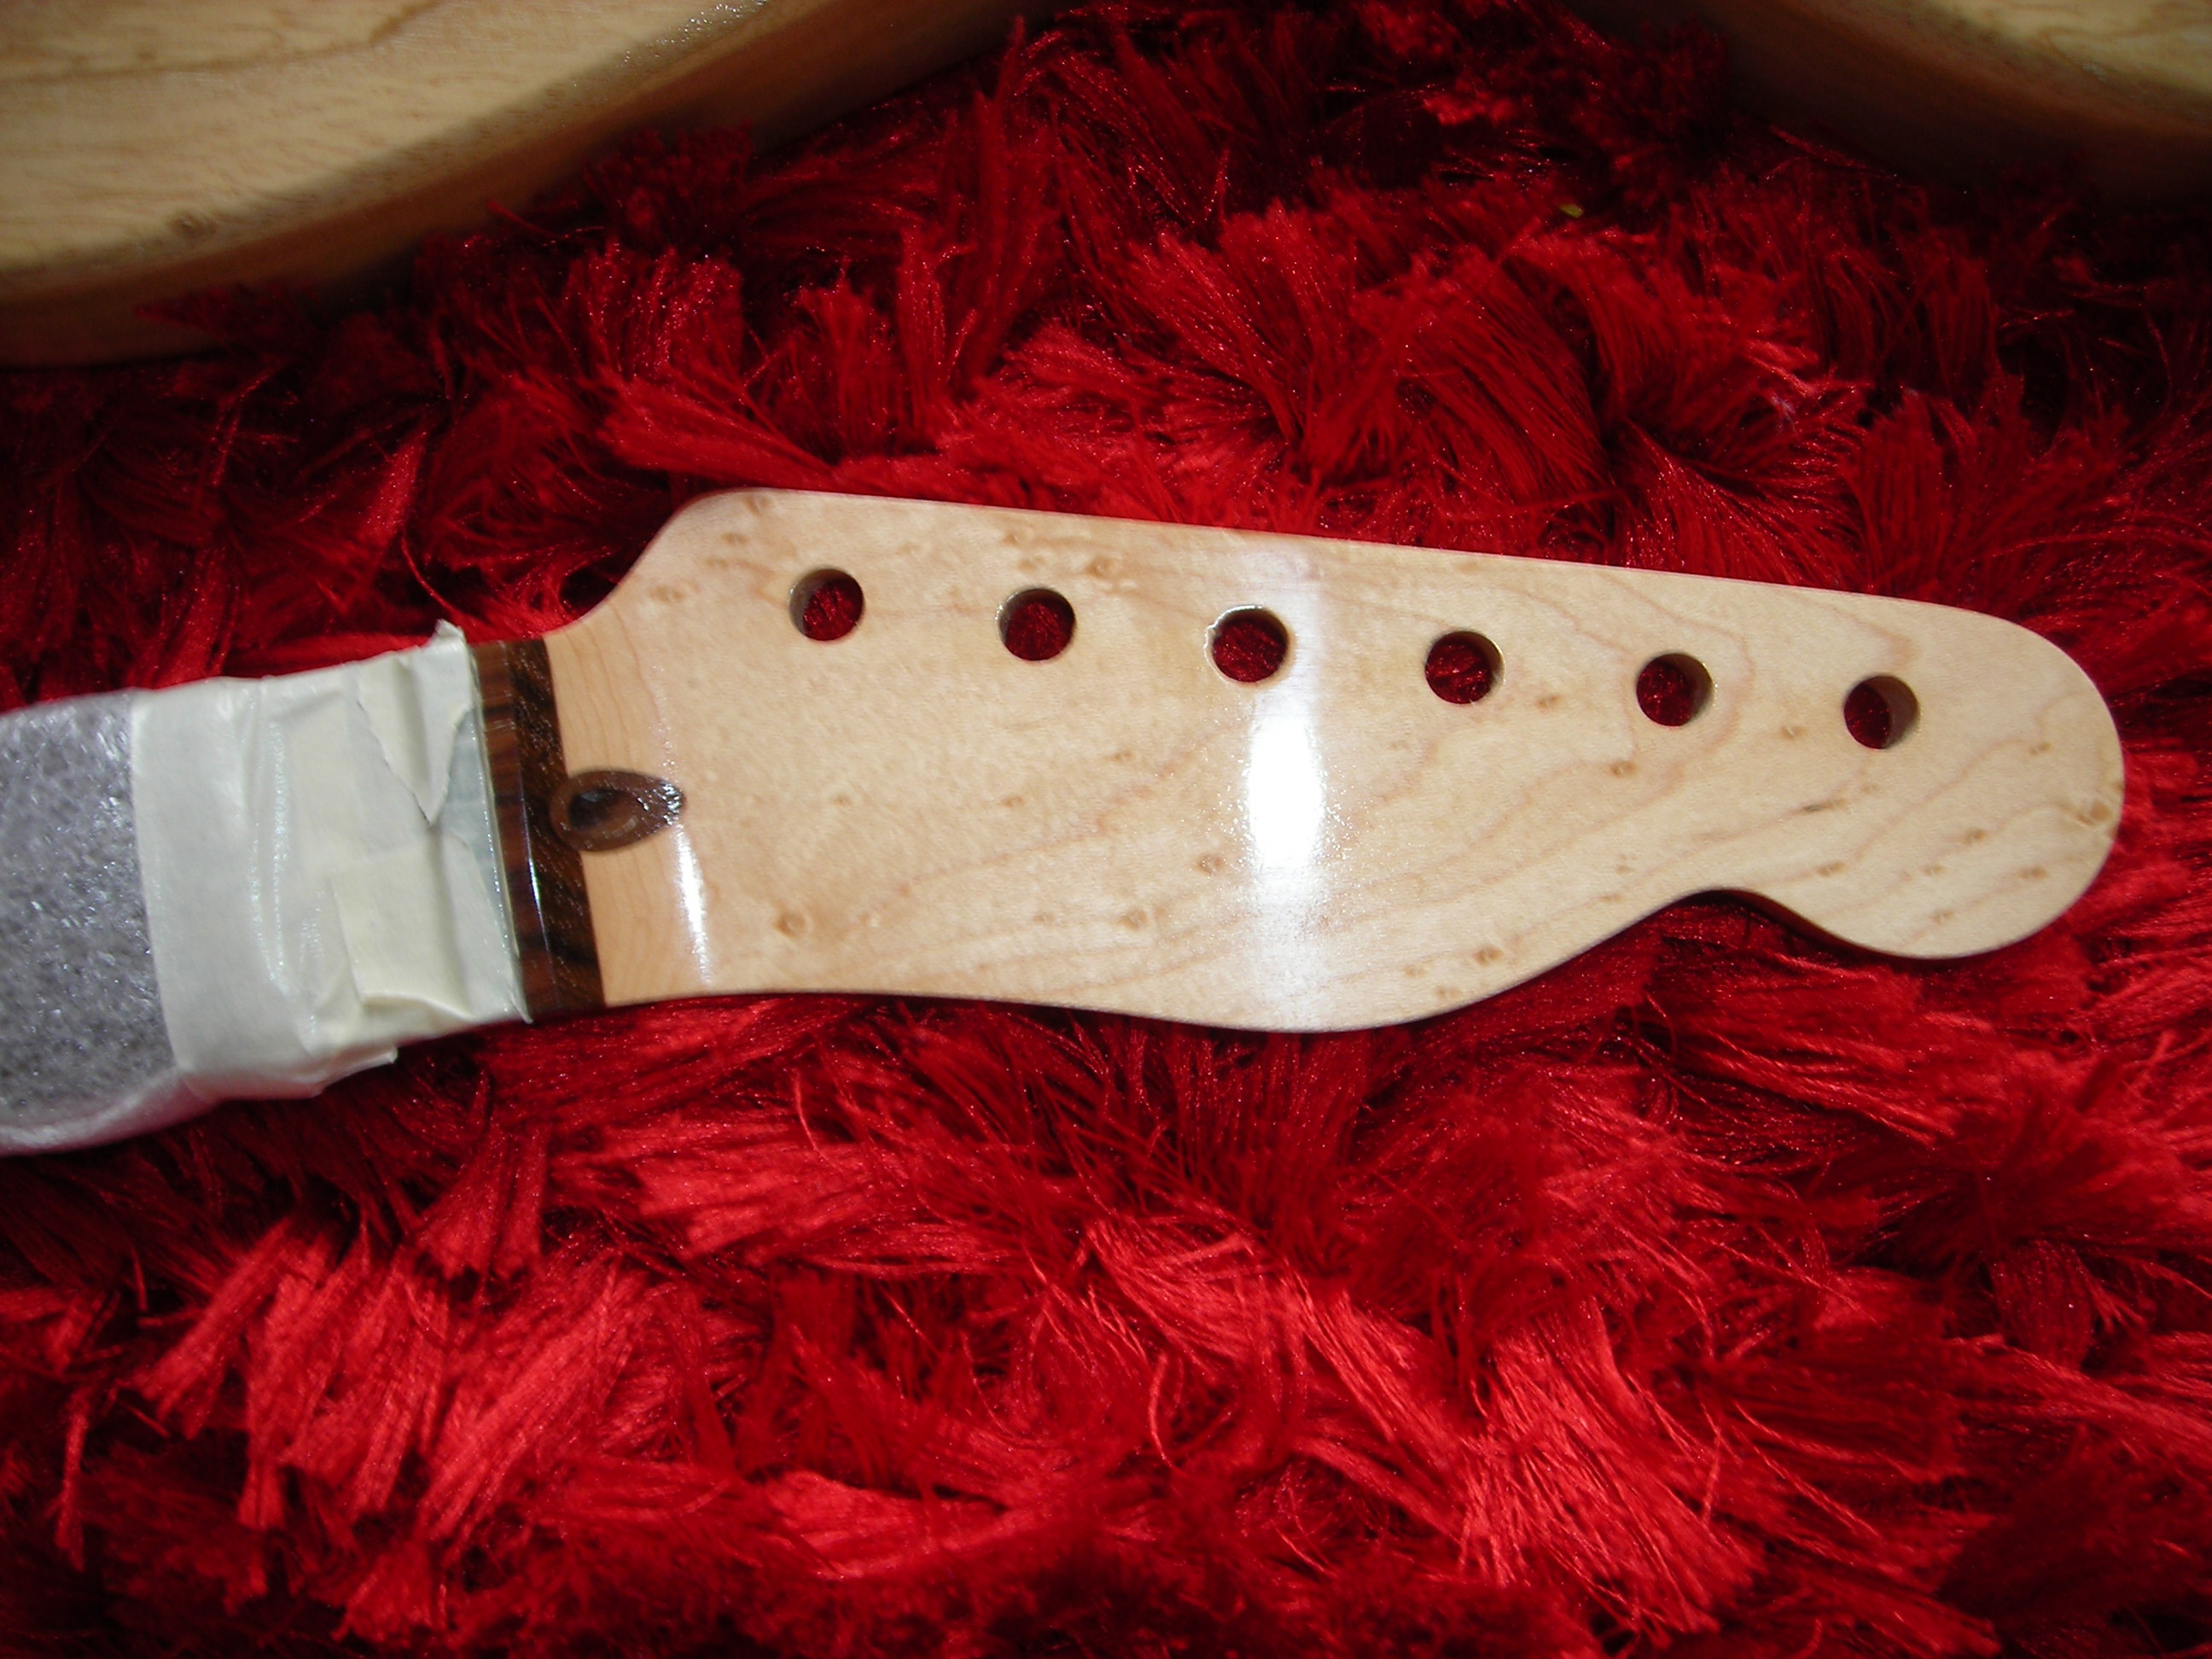
FinishtoTrussRod_10 by stratamania, on Flickr

Body ready to go.


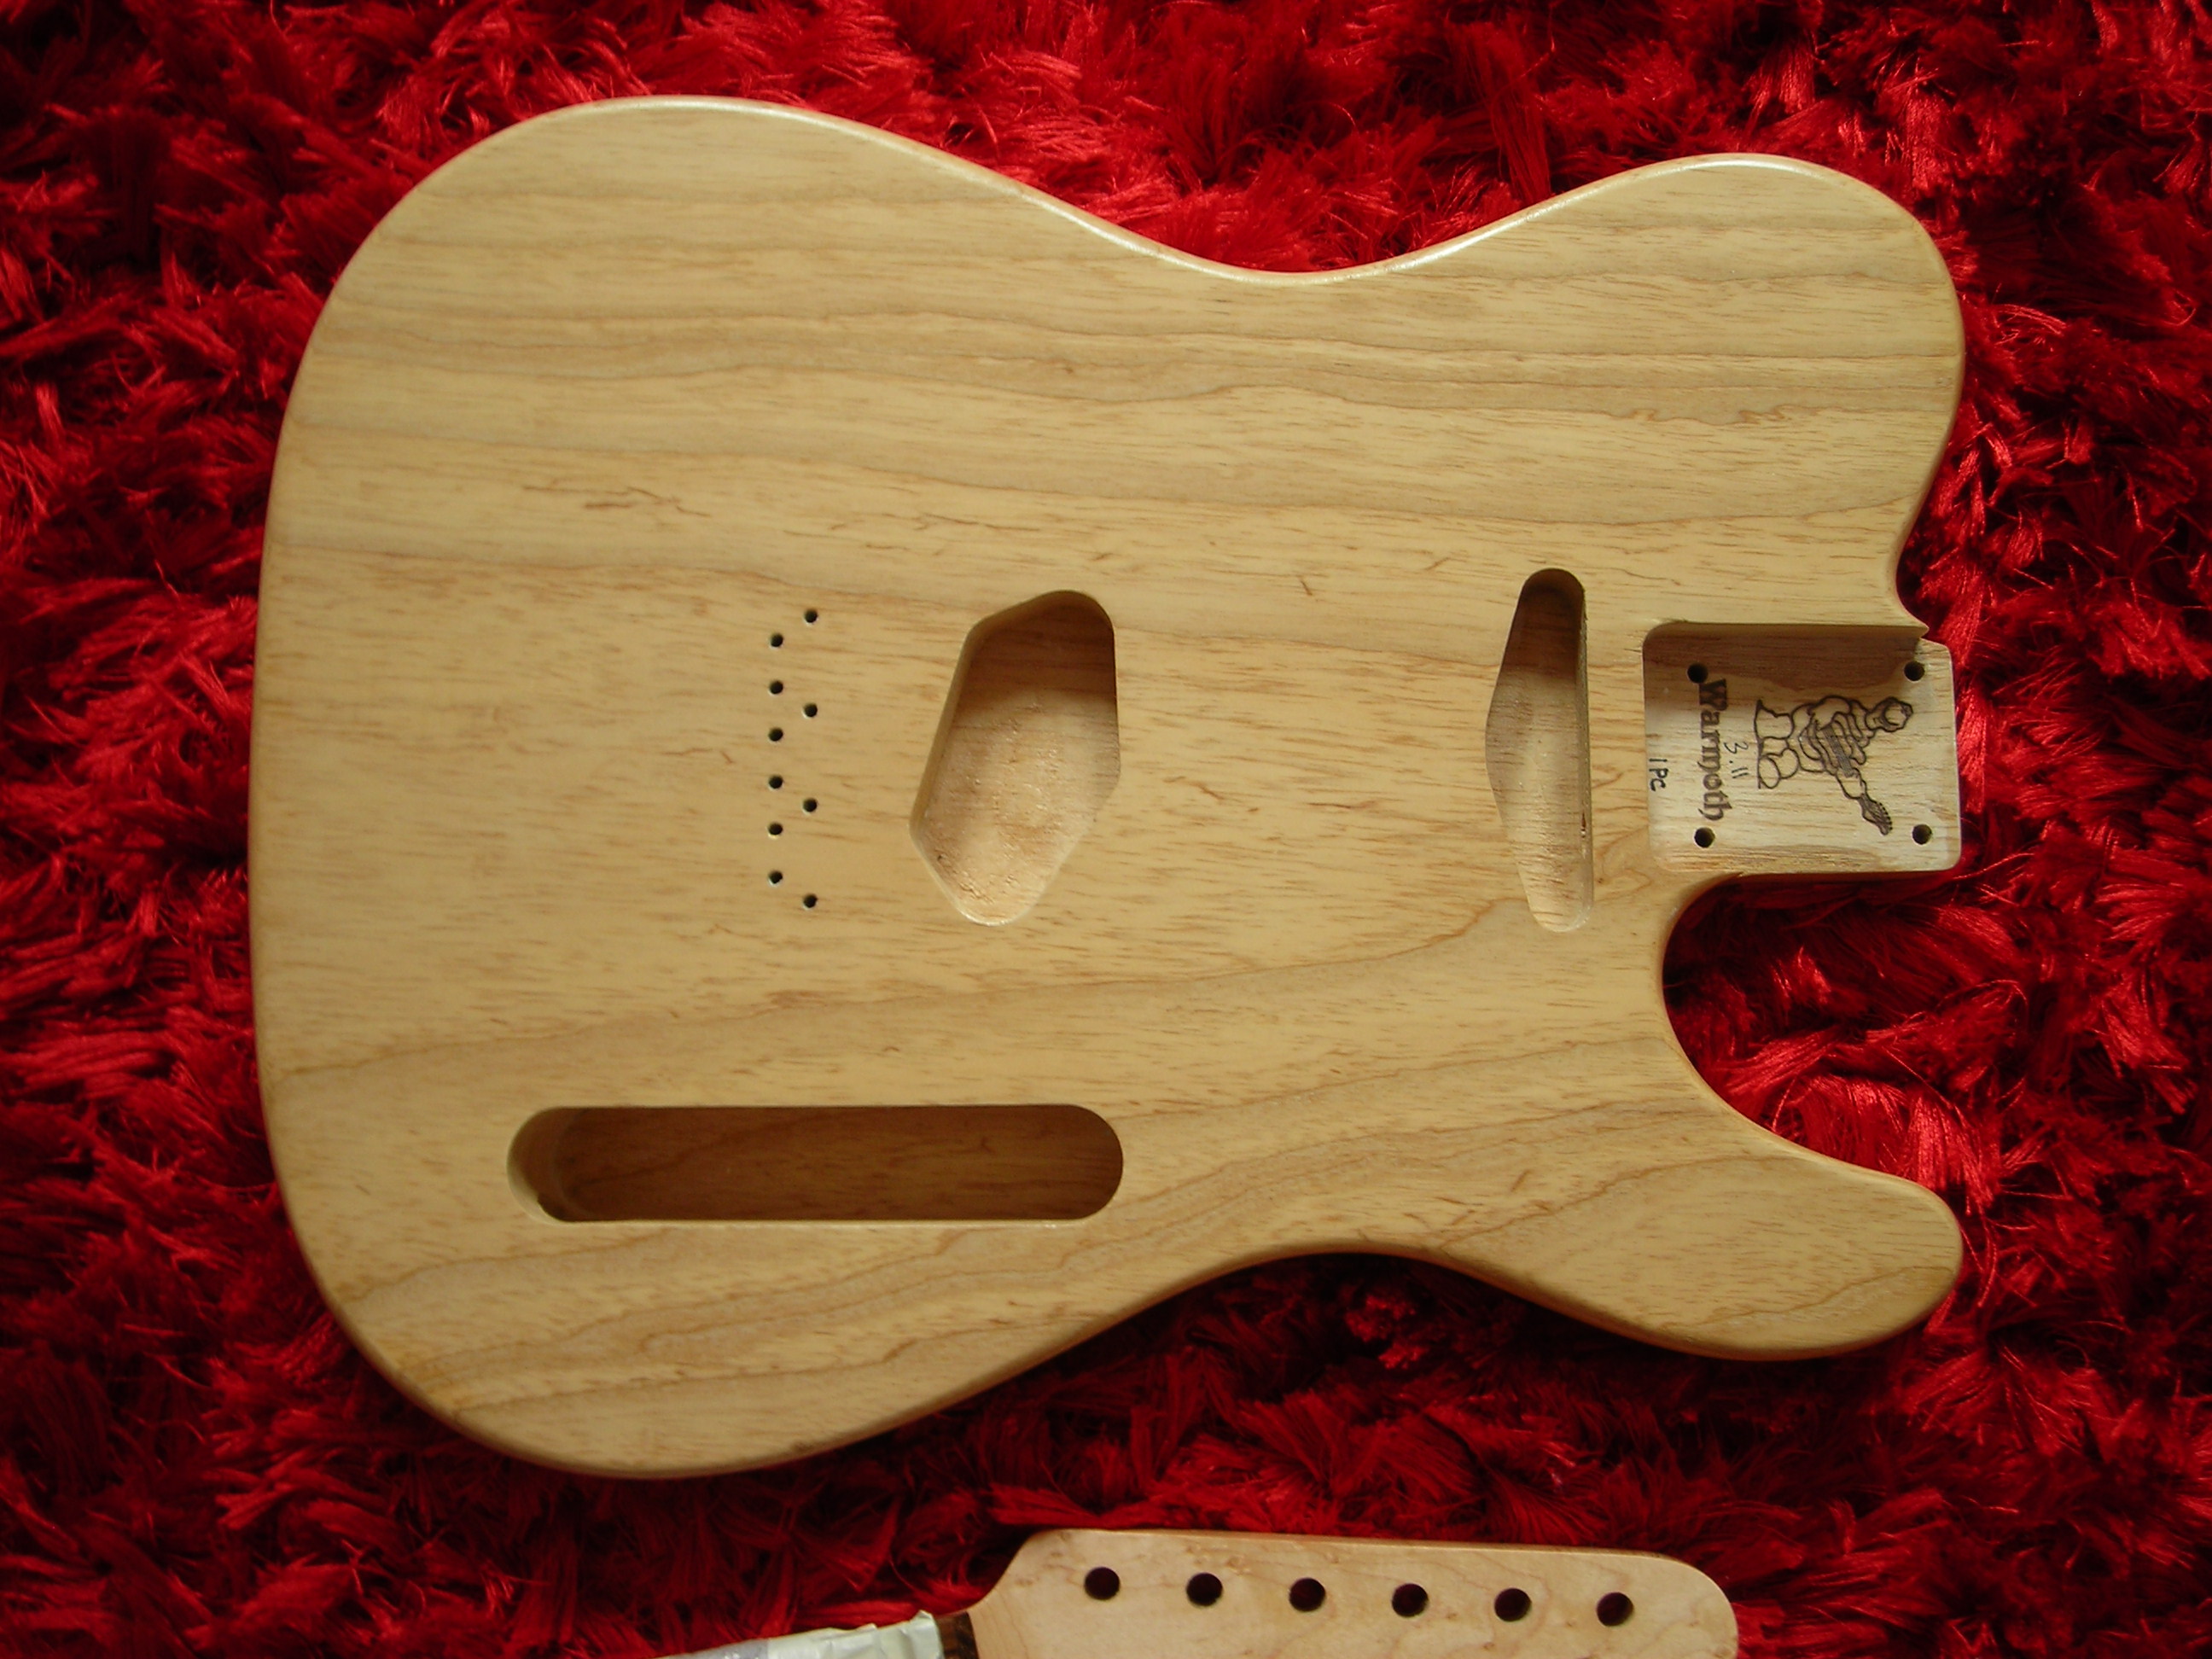
FinishtoTrussRod_11 by stratamania, on Flickr

Ready for the Tru-oil process.

FinishtoTrussRod_12 by stratamania, on Flickr

FinishtoTrussRod_13 by stratamania, on Flickr

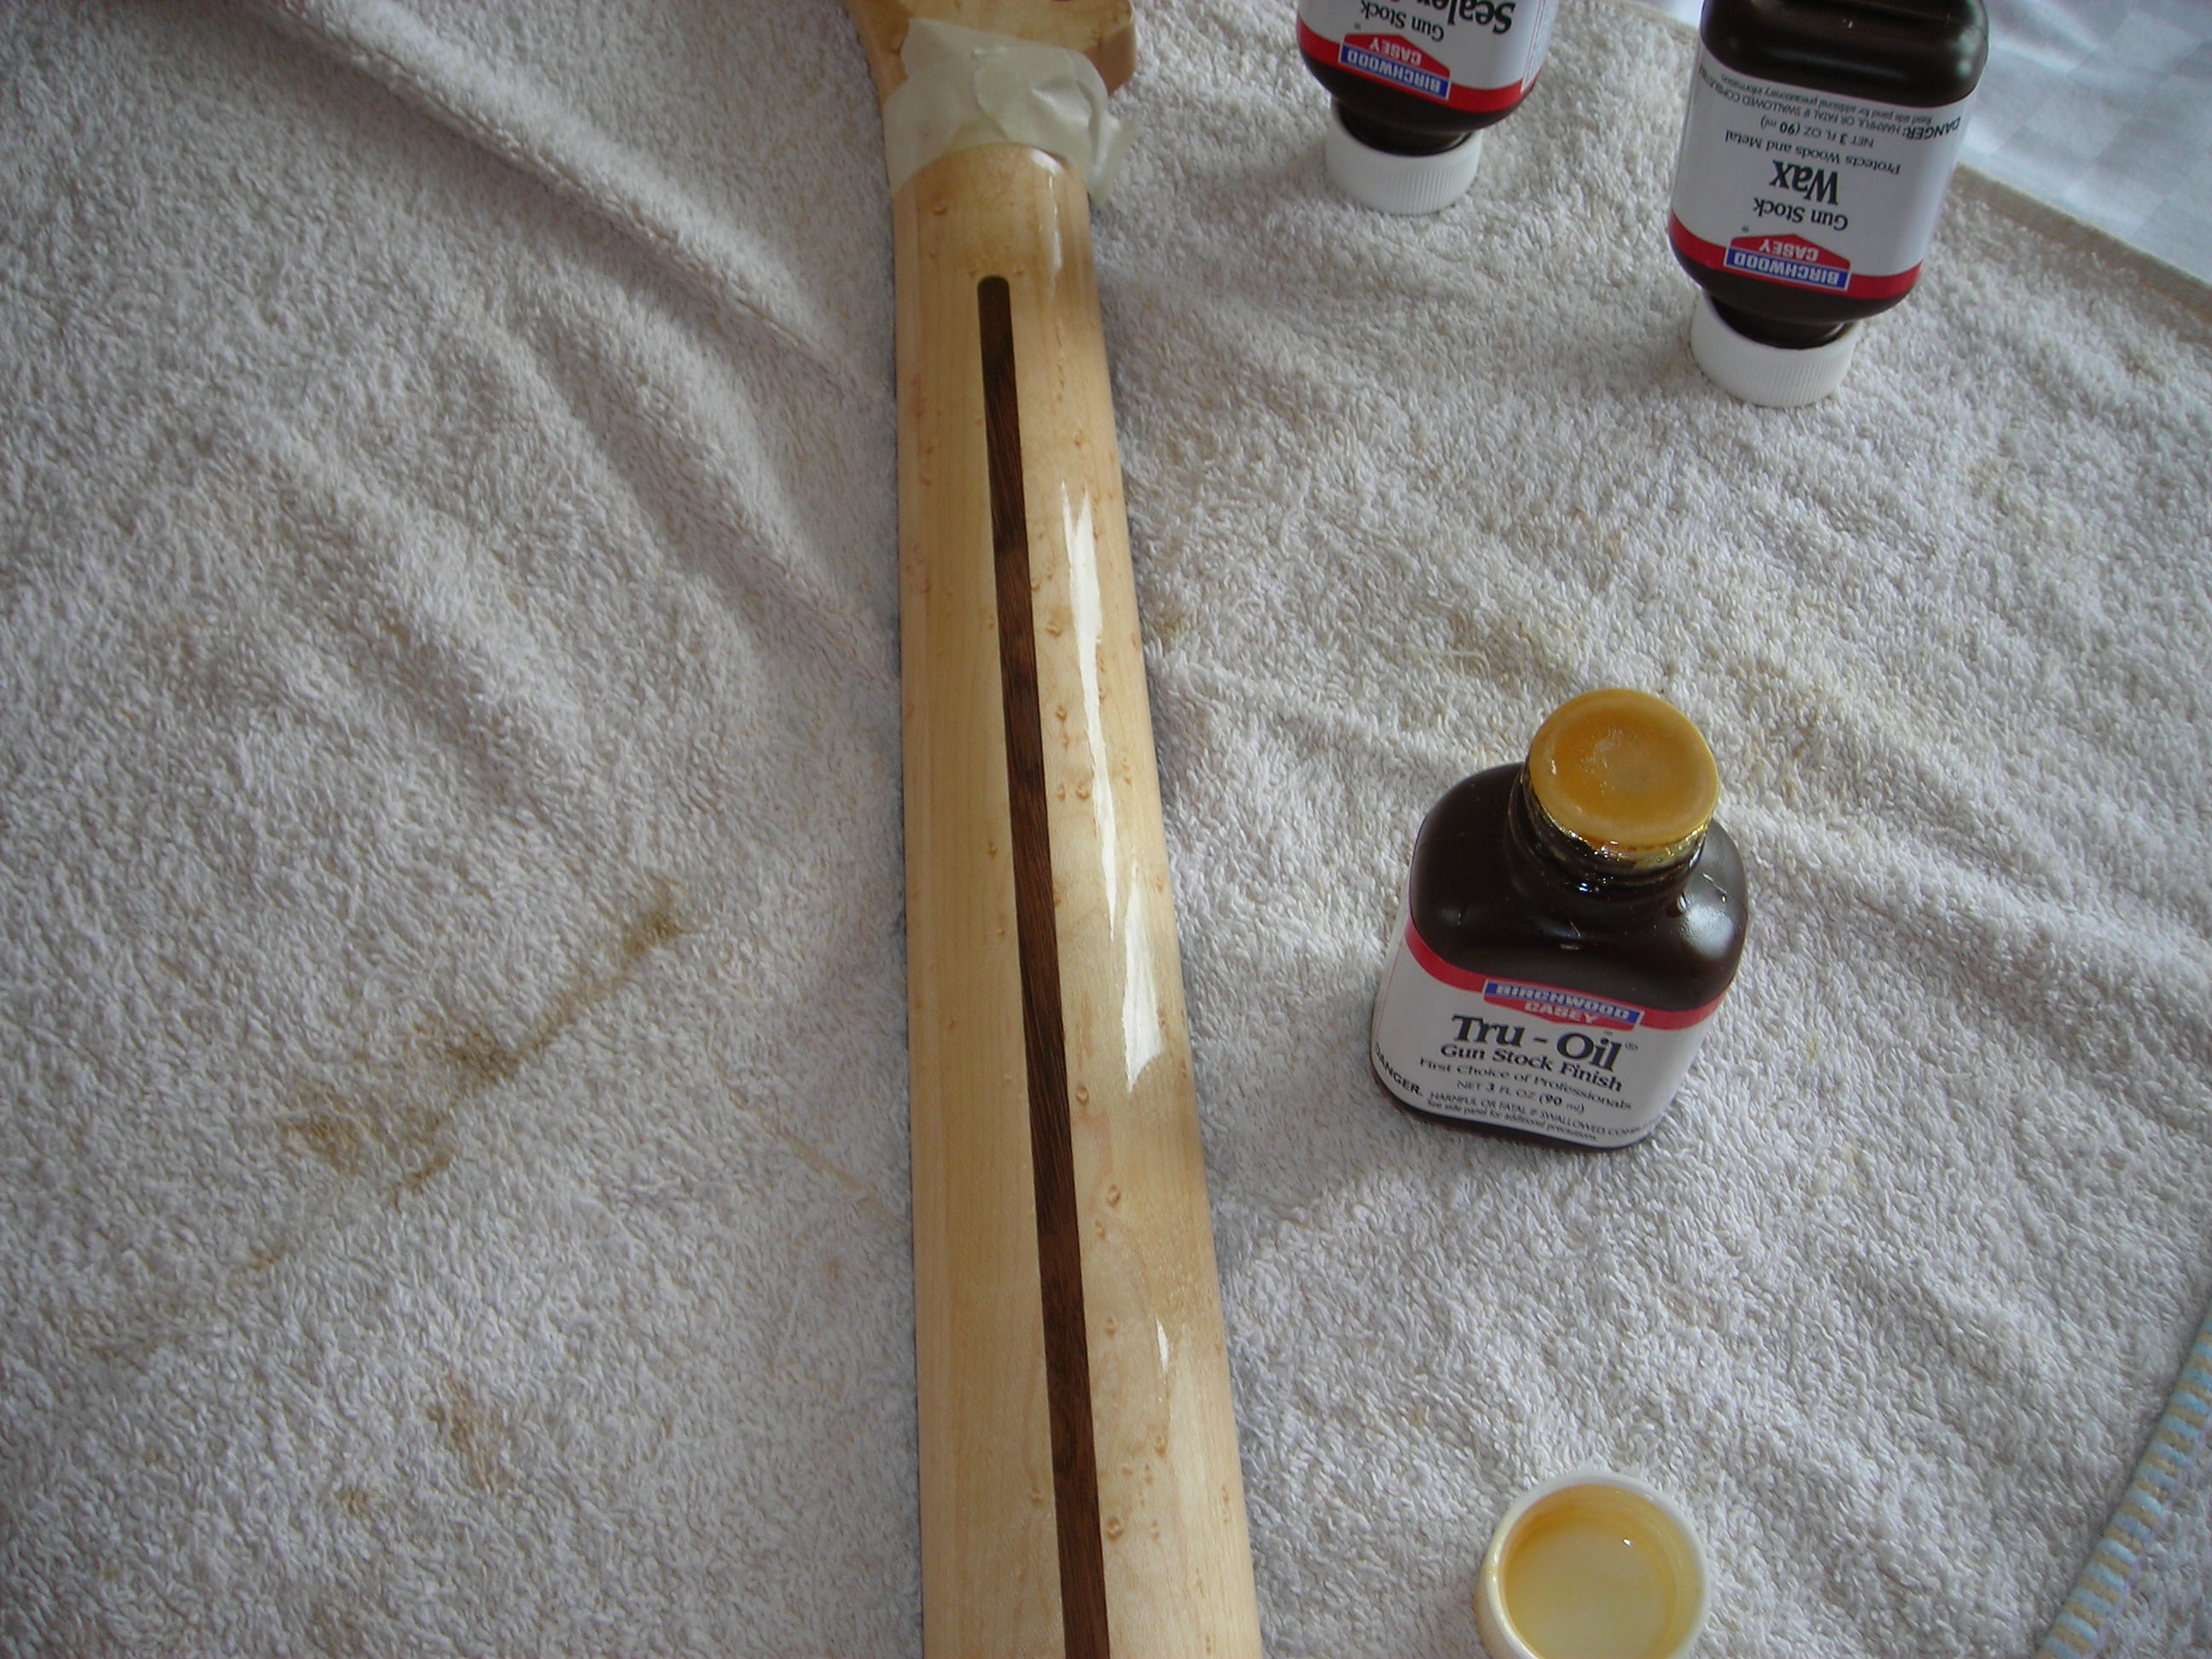
FinishtoTrussRod_14 by stratamania, on Flickr

After doing a coat of Sealer, and about three coats of Tru-oil applied with my finger and a 600 to 800 grit light sand between coats the neck was left to dry for about 36 hours. I will do any final neck finish work after I have done the fret work but only if it needs it.


Here's the workmate moved with the neck on it. I've moved back to the attic as the rain has stopped play in the garage. I've adjusted the truss rod to get the neck straight using the notched straight edge. The vintage modern truss rod is adjusted with a 4mm Allen Key in case anyone is wondering.


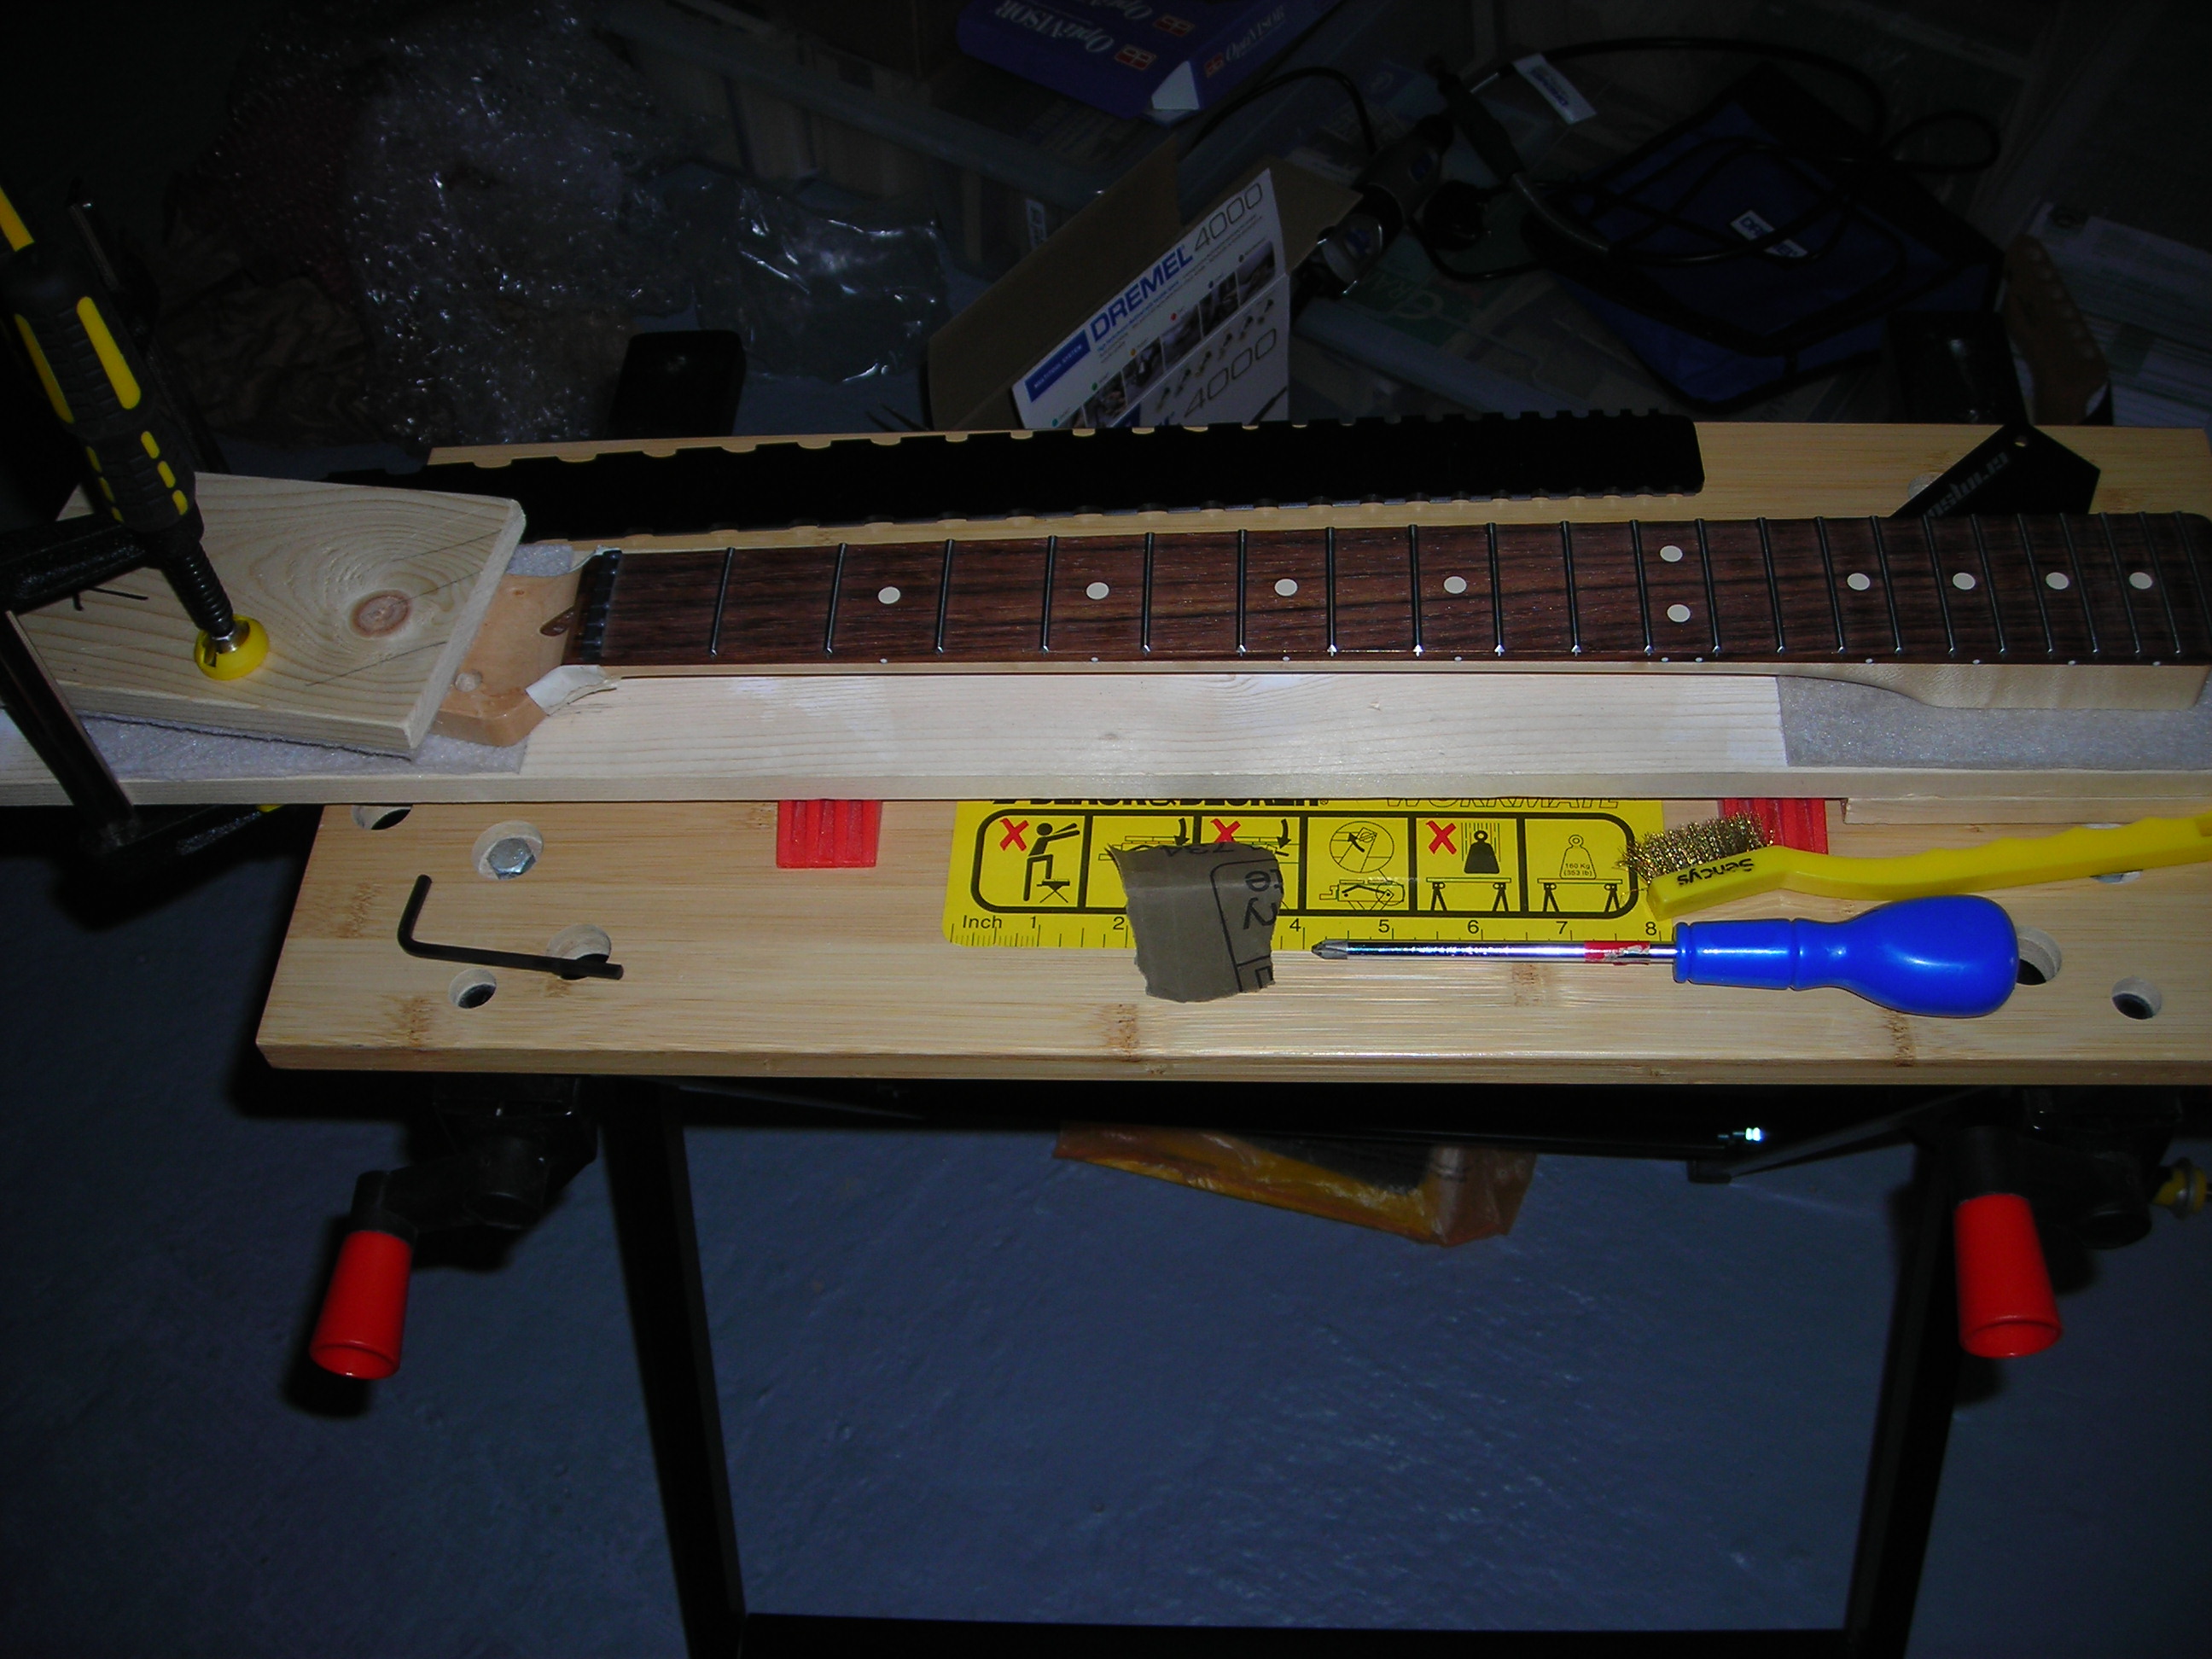
FinishtoTrussRod_15 by stratamania, on Flickr


I will now let the neck sit in the jig overnight just to make sure it is settled and stays straight before I do any needed fret work. I don't think it will need too much as I checked with a fret rocker and there were only three rocks and not much at that.


If you want to see more on the jig I am using I posted more about it in an earlier thread. http://unofficialwarmoth.com/index.php?topic=22445.msg333674#msg333674

In the same earlier thread, I mentioned a little more about the Tru-oil. http://unofficialwarmoth.com/index.php?topic=22445.msg335422#msg335422


Thanks for looking and if any of this is useful to you let me know.


Good work. Looks great!

Although, I'd caution against using the notched straightedge to set your relief. You really don't care where the fretboard is unless you're installing frets. What you care about is where the tops of the frets are. For that, you need a good straightedge and some feeler gauges. The fretboard can be all over the place; what's important is the tops of the frets be even (essentially no clearance to .001") when the neck is straight, then you adjust the relief to whatever makes you happy. I generally shoot for .008" at the 7th/8th fret. Depends on the strings and scale length. Some necks will require more than that, but if it needs any more than .012", there's probably something wrong.
 
Hi Cagey, thanks for the comments.

I am not using the notched straightedge to set relief I used it to get the neck and the top of the frets as straight as possible prior to any needed leveling.

The relief I will set as part of the setup. I generally like my necks quite straight so don't go for a lot of relief generally.
 
Thinking ahead. The SD Vintage stack for Tele neck comes with wood screws for the vintage type mount with no holes in the pickguard but no machine screws like a Strat pickup.

Seems I'm not the first to have one of these pickups and bought a pickguard with holes for mounting the neck.

http://www.seymourduncan.com/forum/showthread.php?267577-Screws-and-spacers-for-Vintage-Rhythm-Stack-pickguard-mount

Anyway I now need to have a dig around to see if I have any or buy some.
 
Today I got the fret detailing done. Here are a few recorded highlights.

The neck and the frets are as straight as they can be.  So masked off and ready to go..

Fret_and_Finish_1 by stratamania, on Flickr

Using a Fret Rocker to check for frets that may be high. I check on the bass side, middle and treble side for each set of three frets.

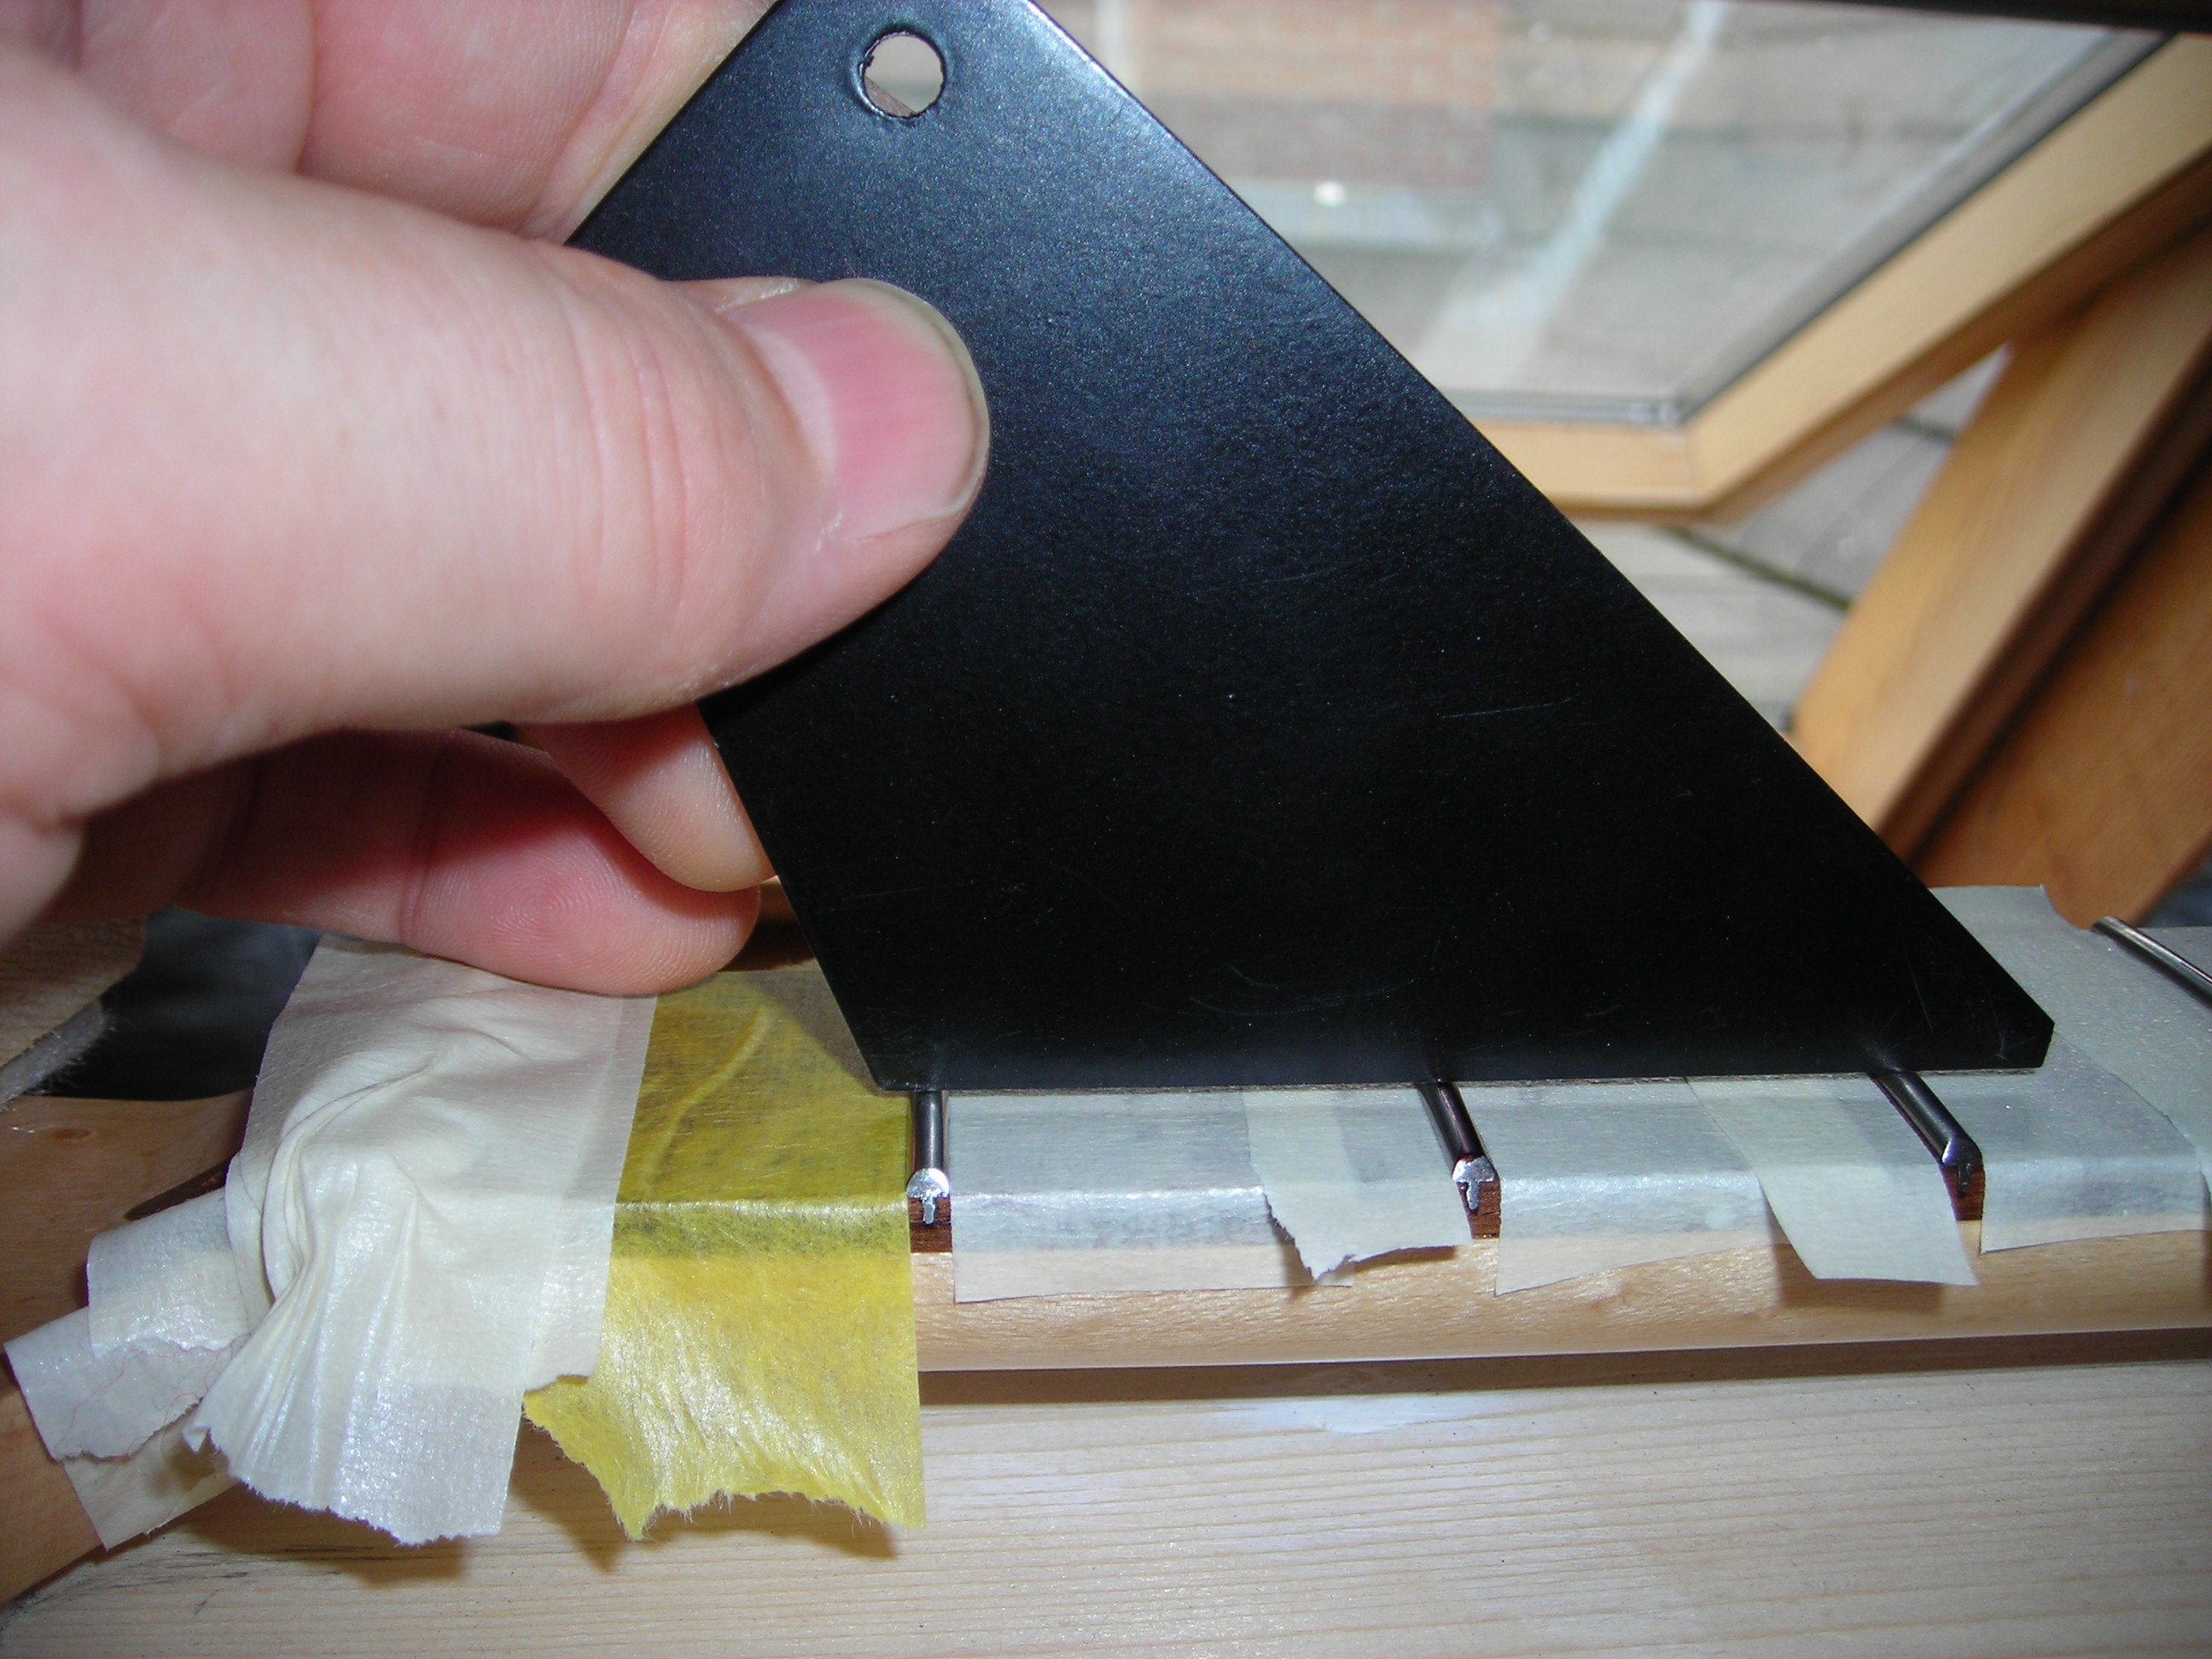
Fret_and_Finish_7 by stratamania, on Flickr

The arrows show the frets where there are very slight rocks, the frets pointed out are the ones that are slightly high causing the rock. Not much to do in terms of leveling as it is very slight.

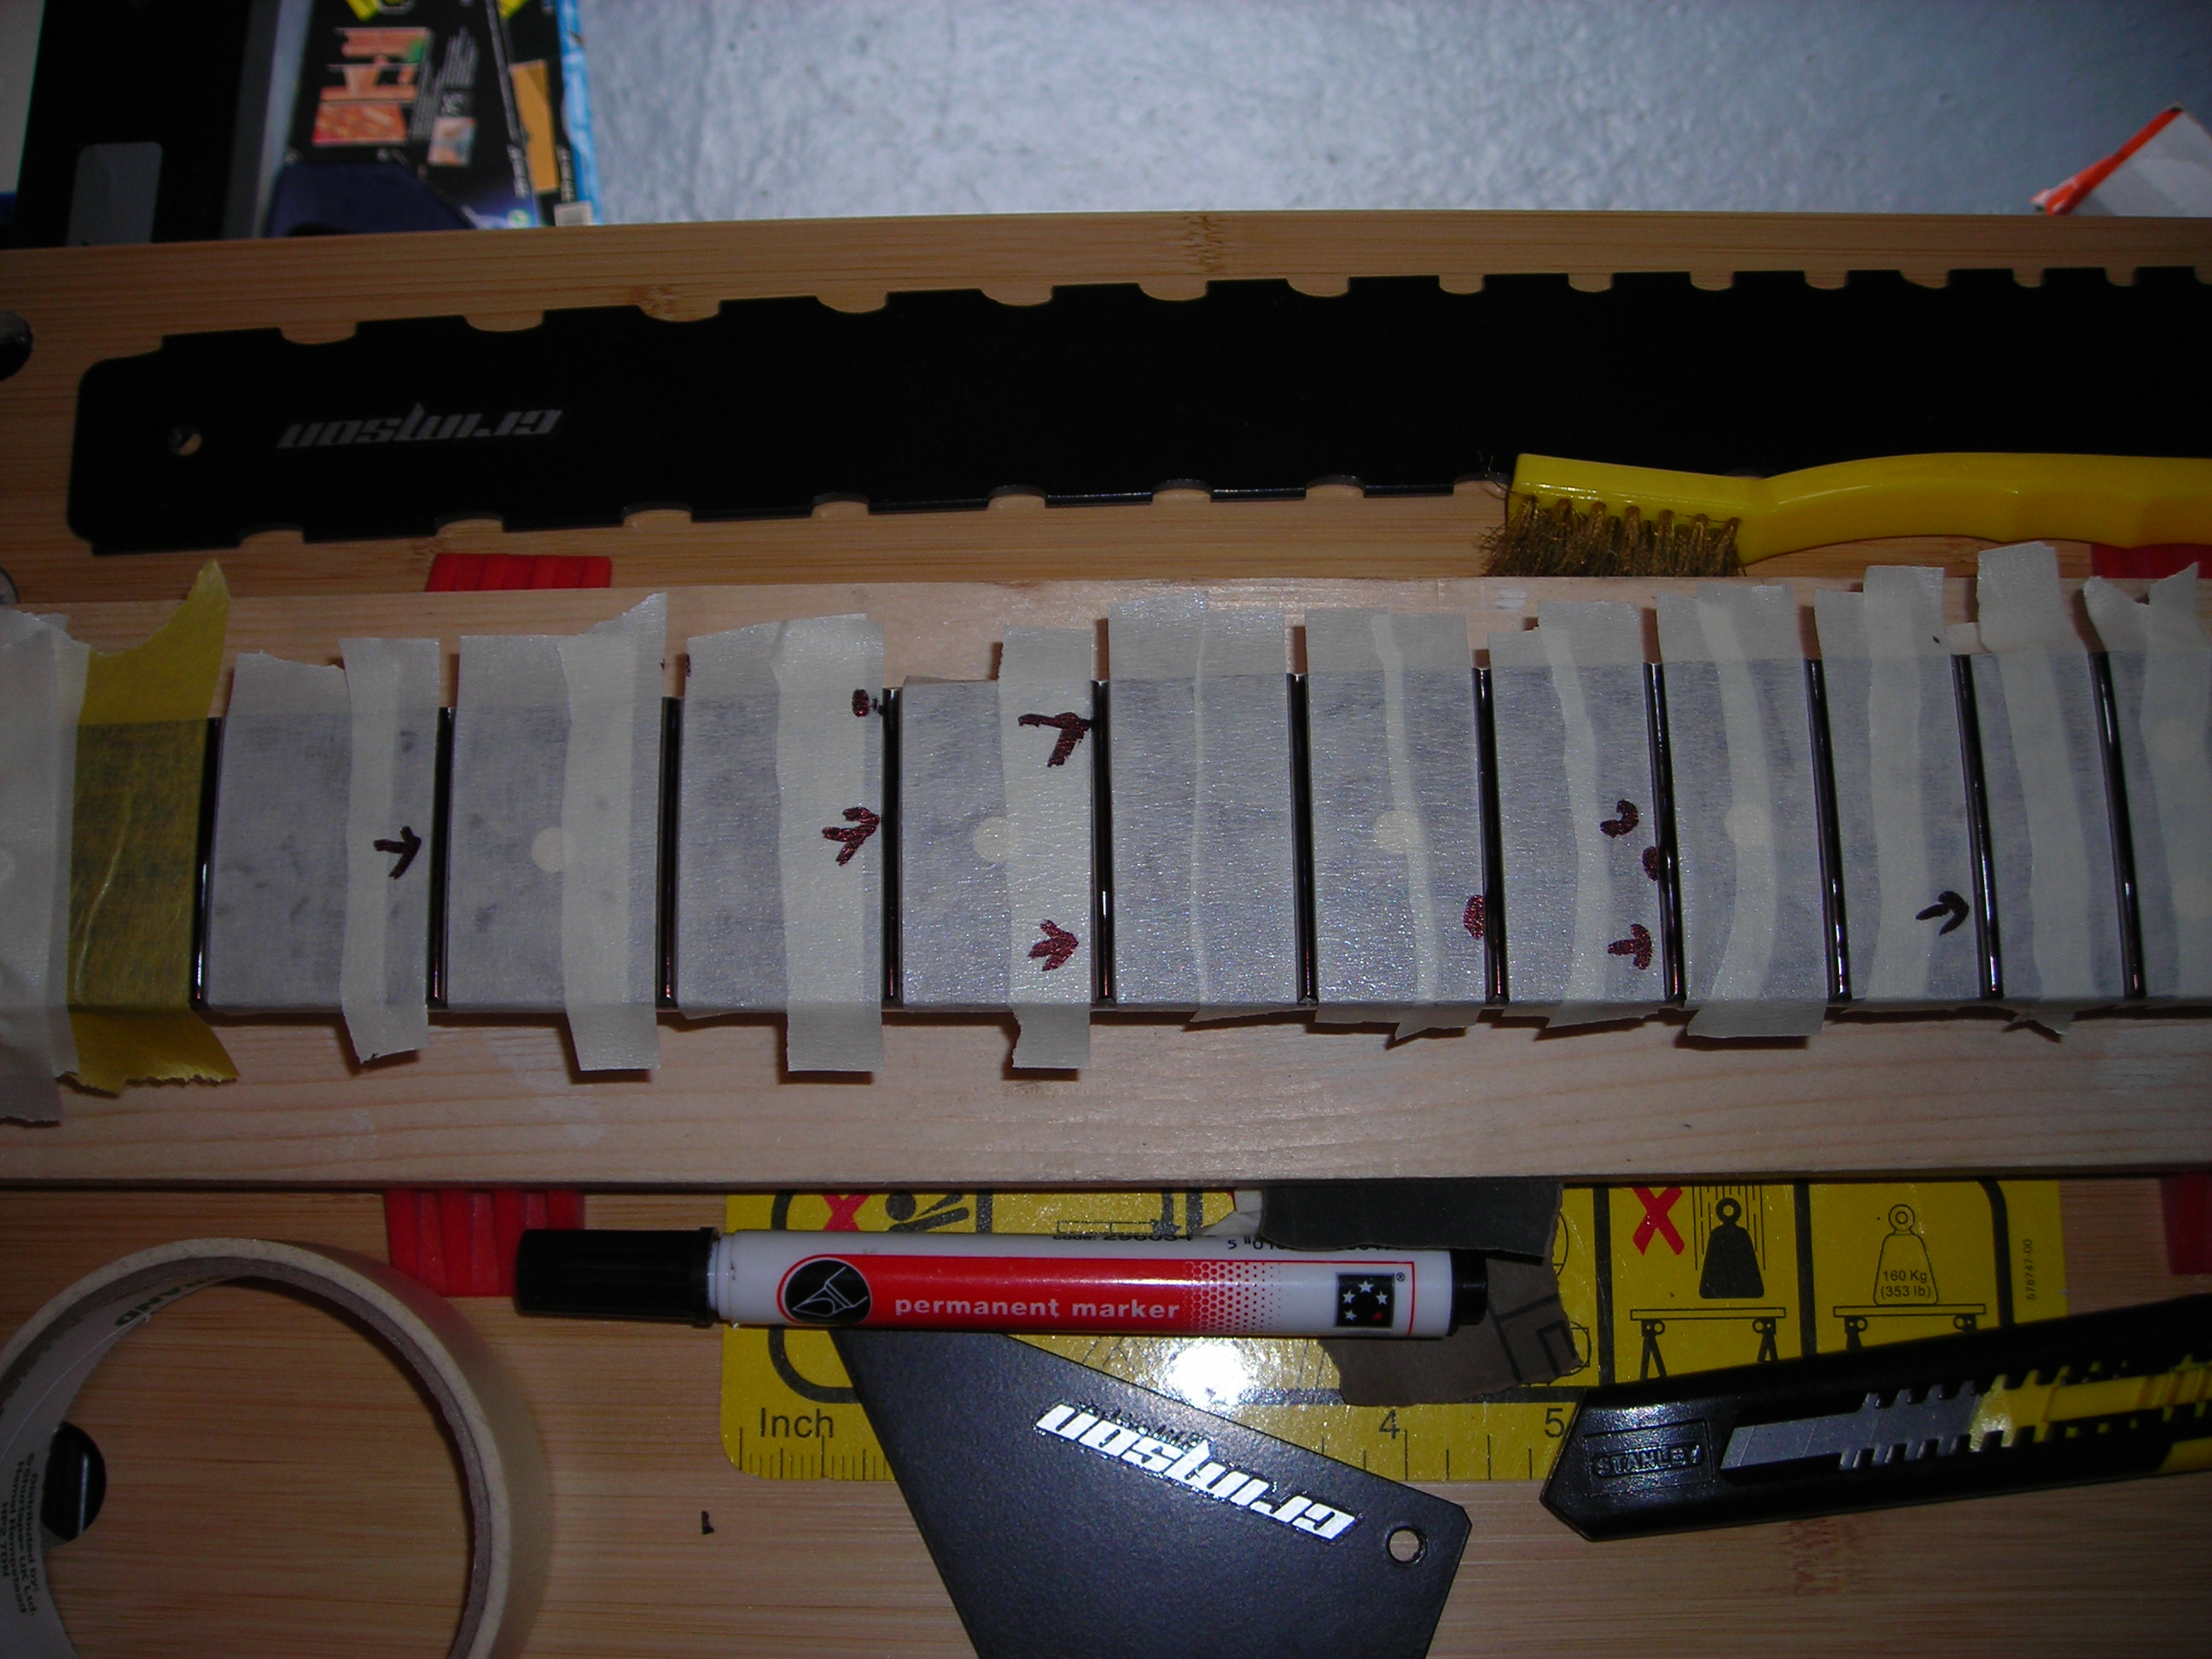
Fret_and_Finish_2 by stratamania, on Flickr

I like to have a very slight fall away from around fret 16 up, so this is how I did it with some masking tape to raise one end of the leveling file slightly.

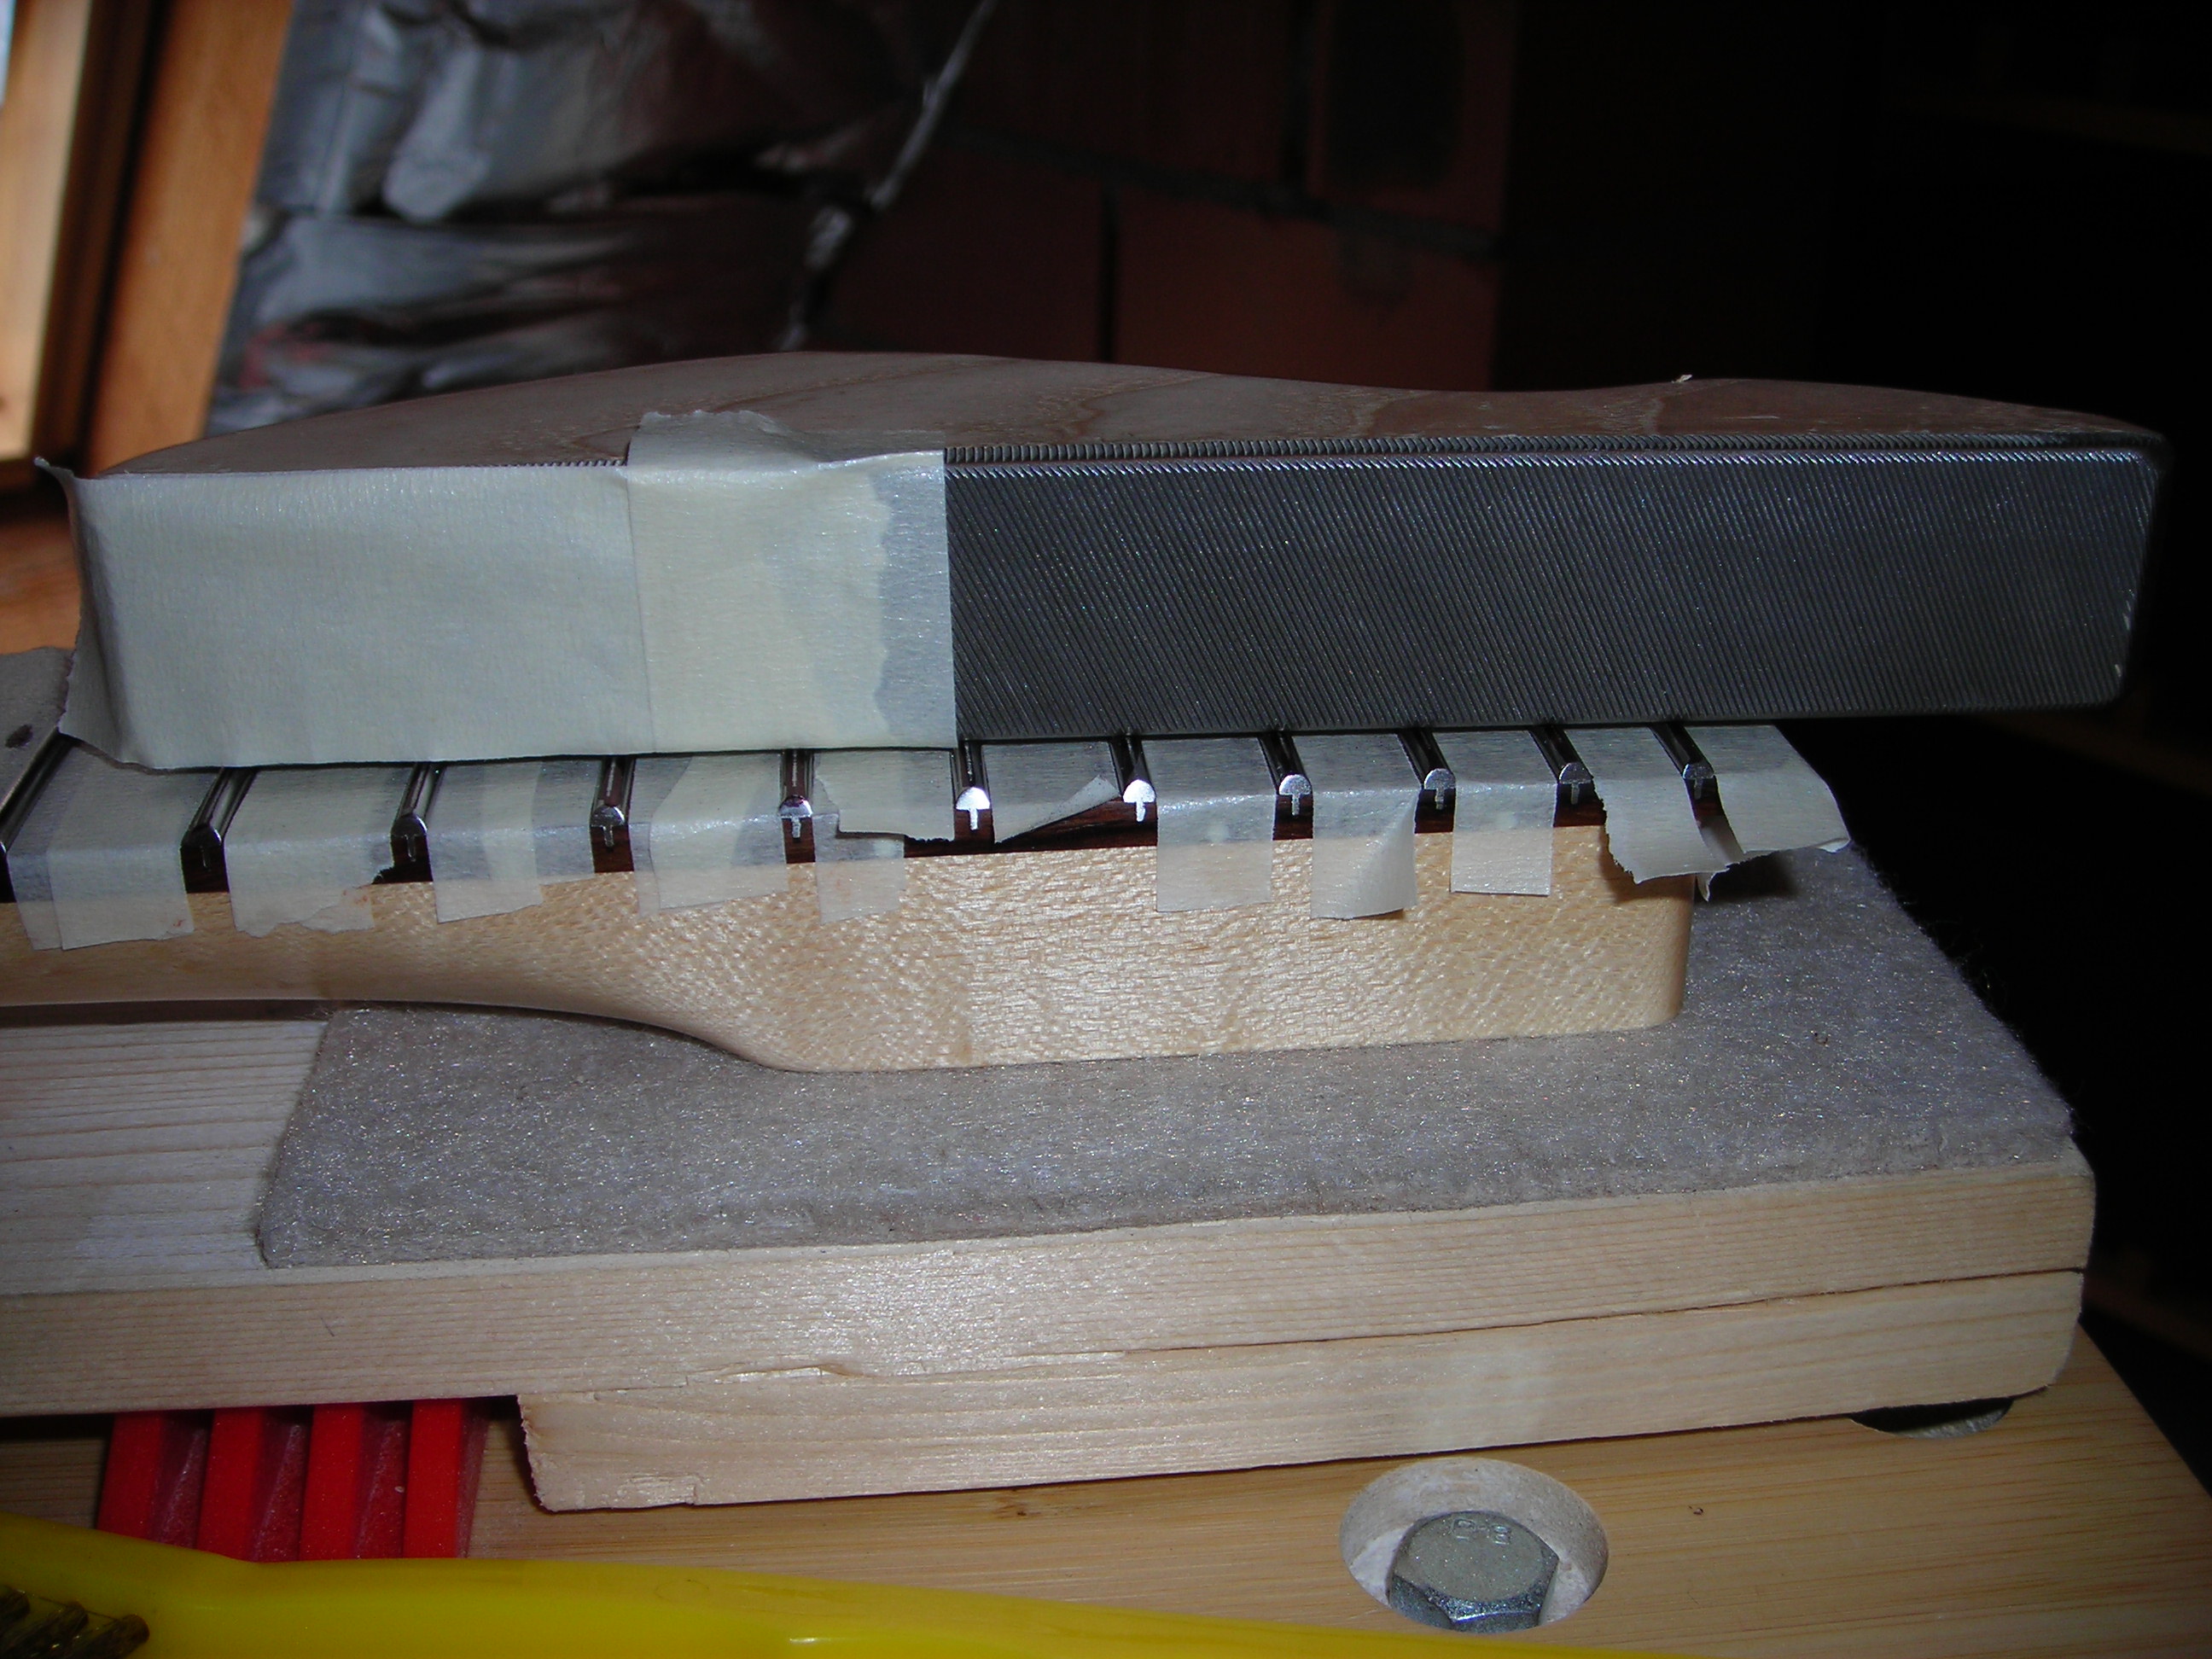
Fret_and_Finish_3 by stratamania, on Flickr

A couple of my files for crowning and end dressing. A soft wire brush is useful for keeping the area clean.

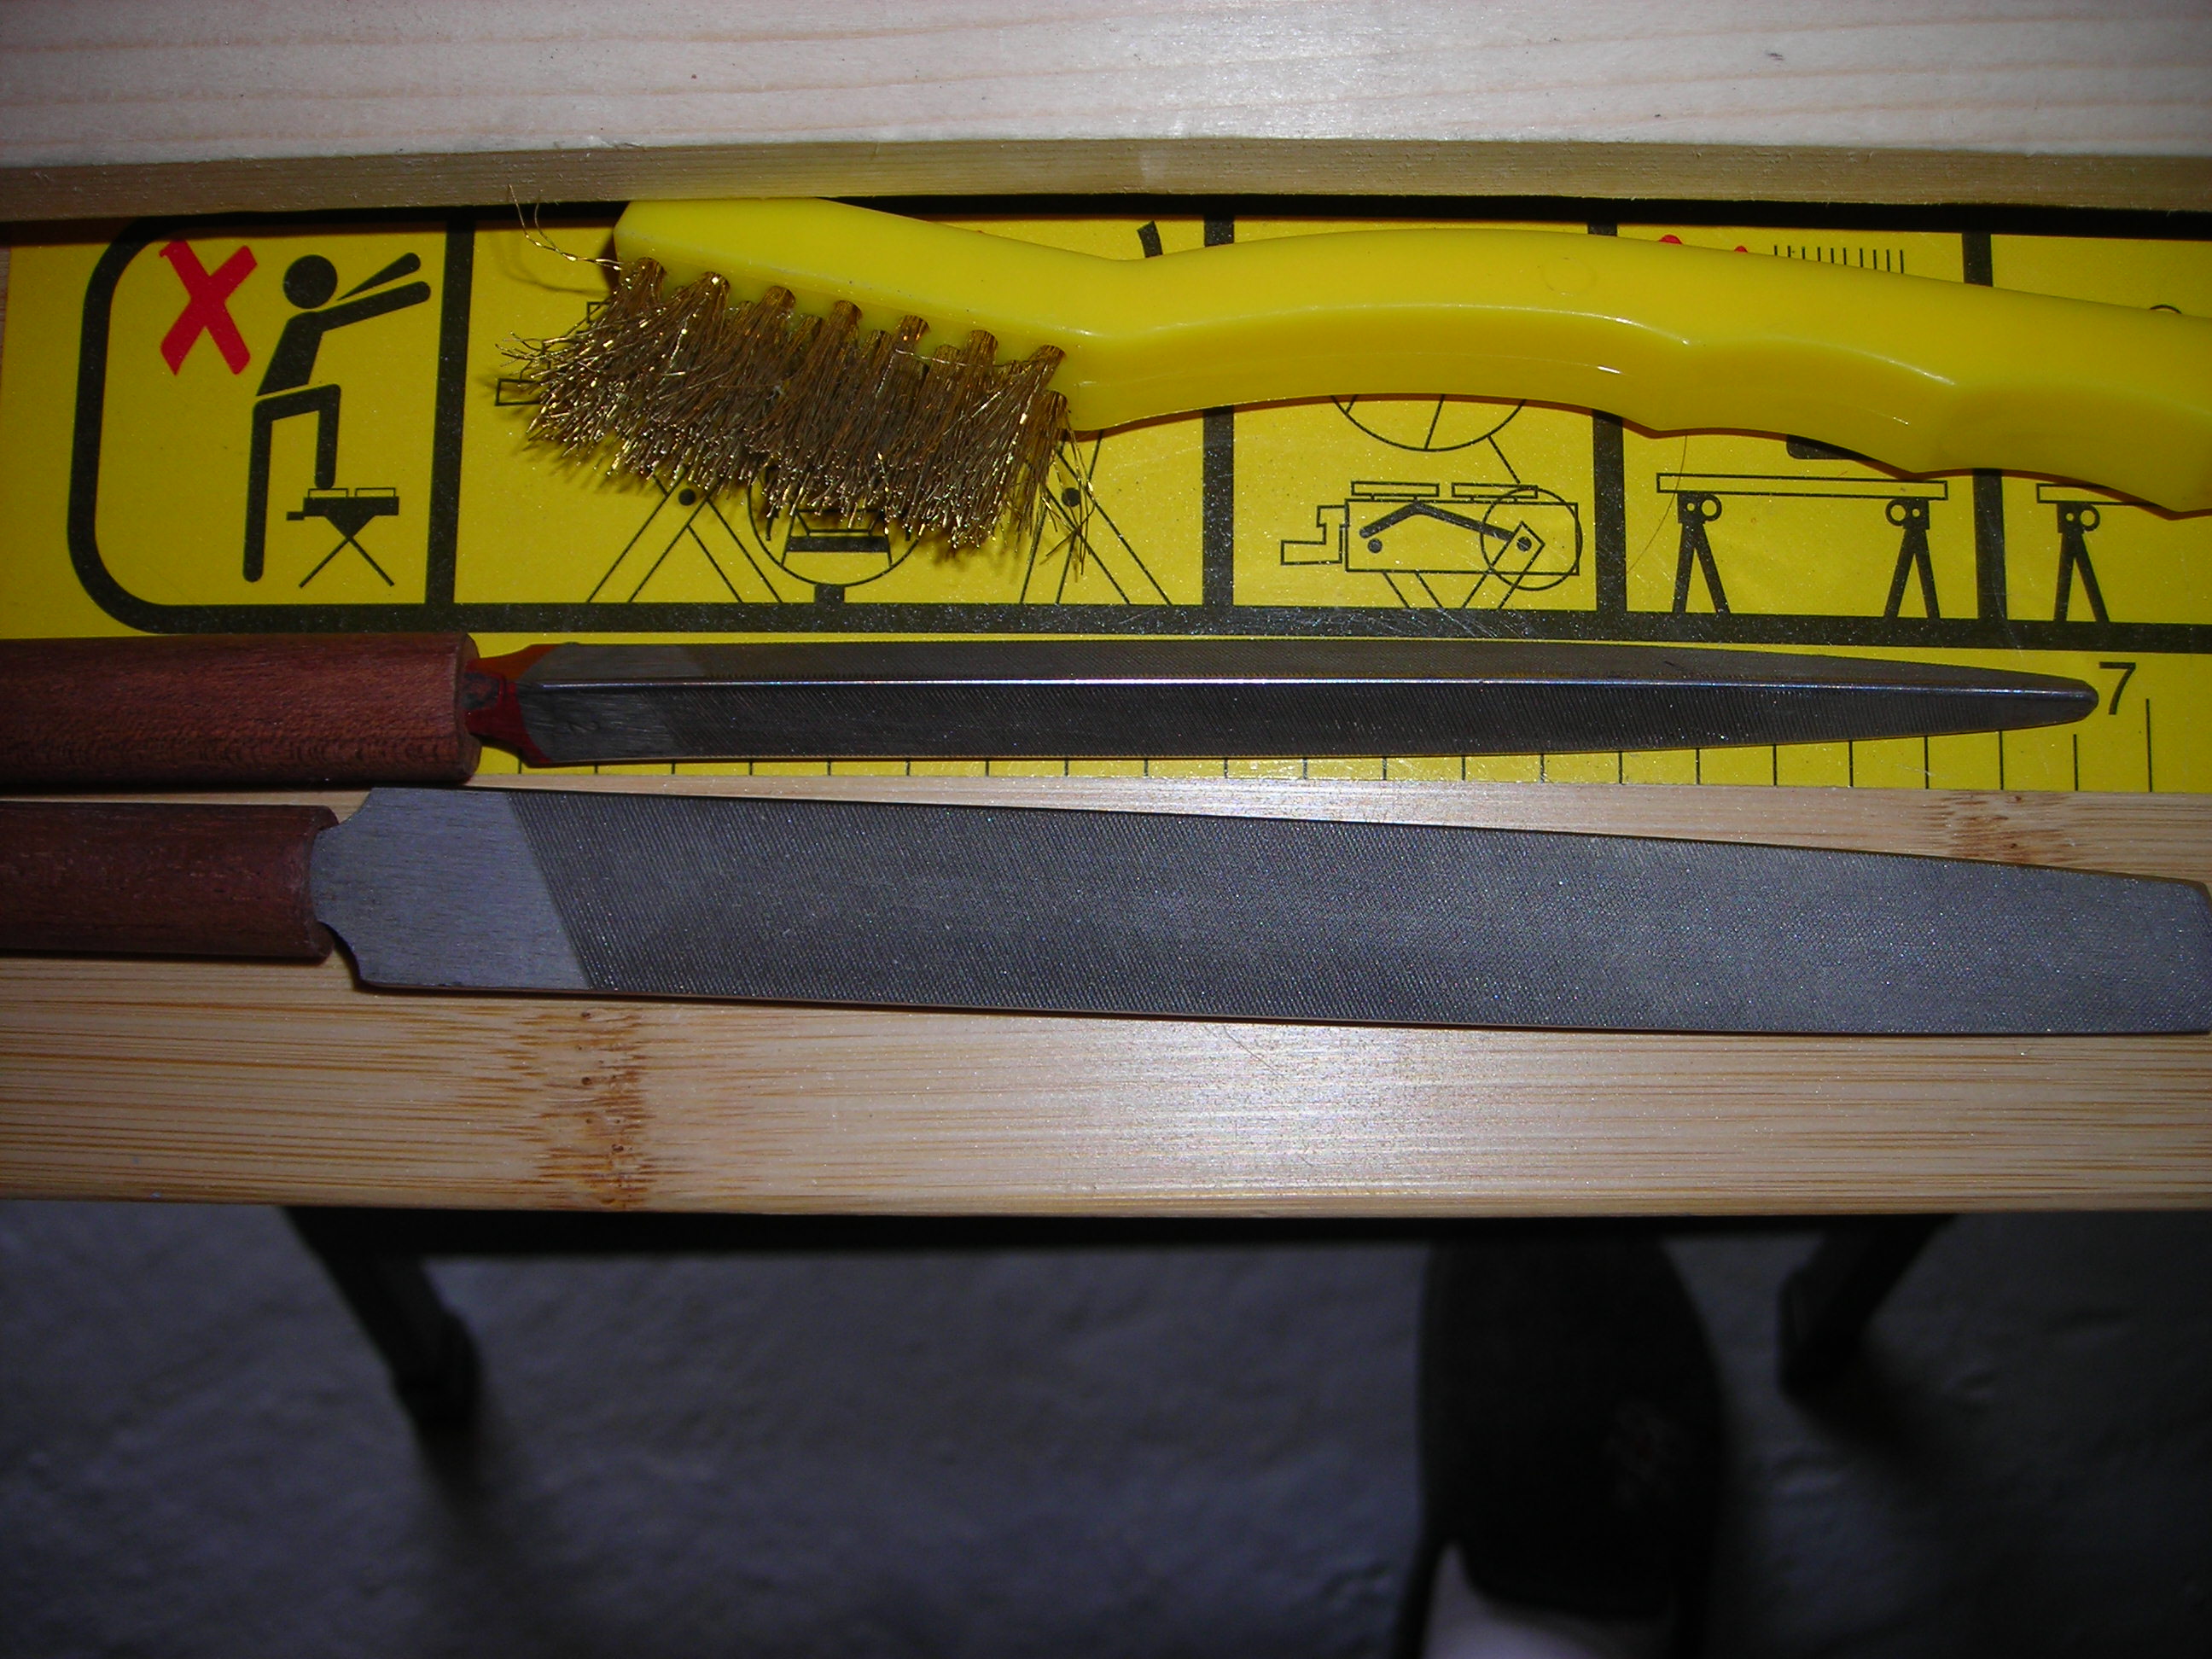
Fret_and_Finish_4 by stratamania, on Flickr

This is an amazing device. provides light and magnification. Works over spectacles too that I found out I needed since doing my Quilted purple Strat. Now I can see in glaring detail the work.

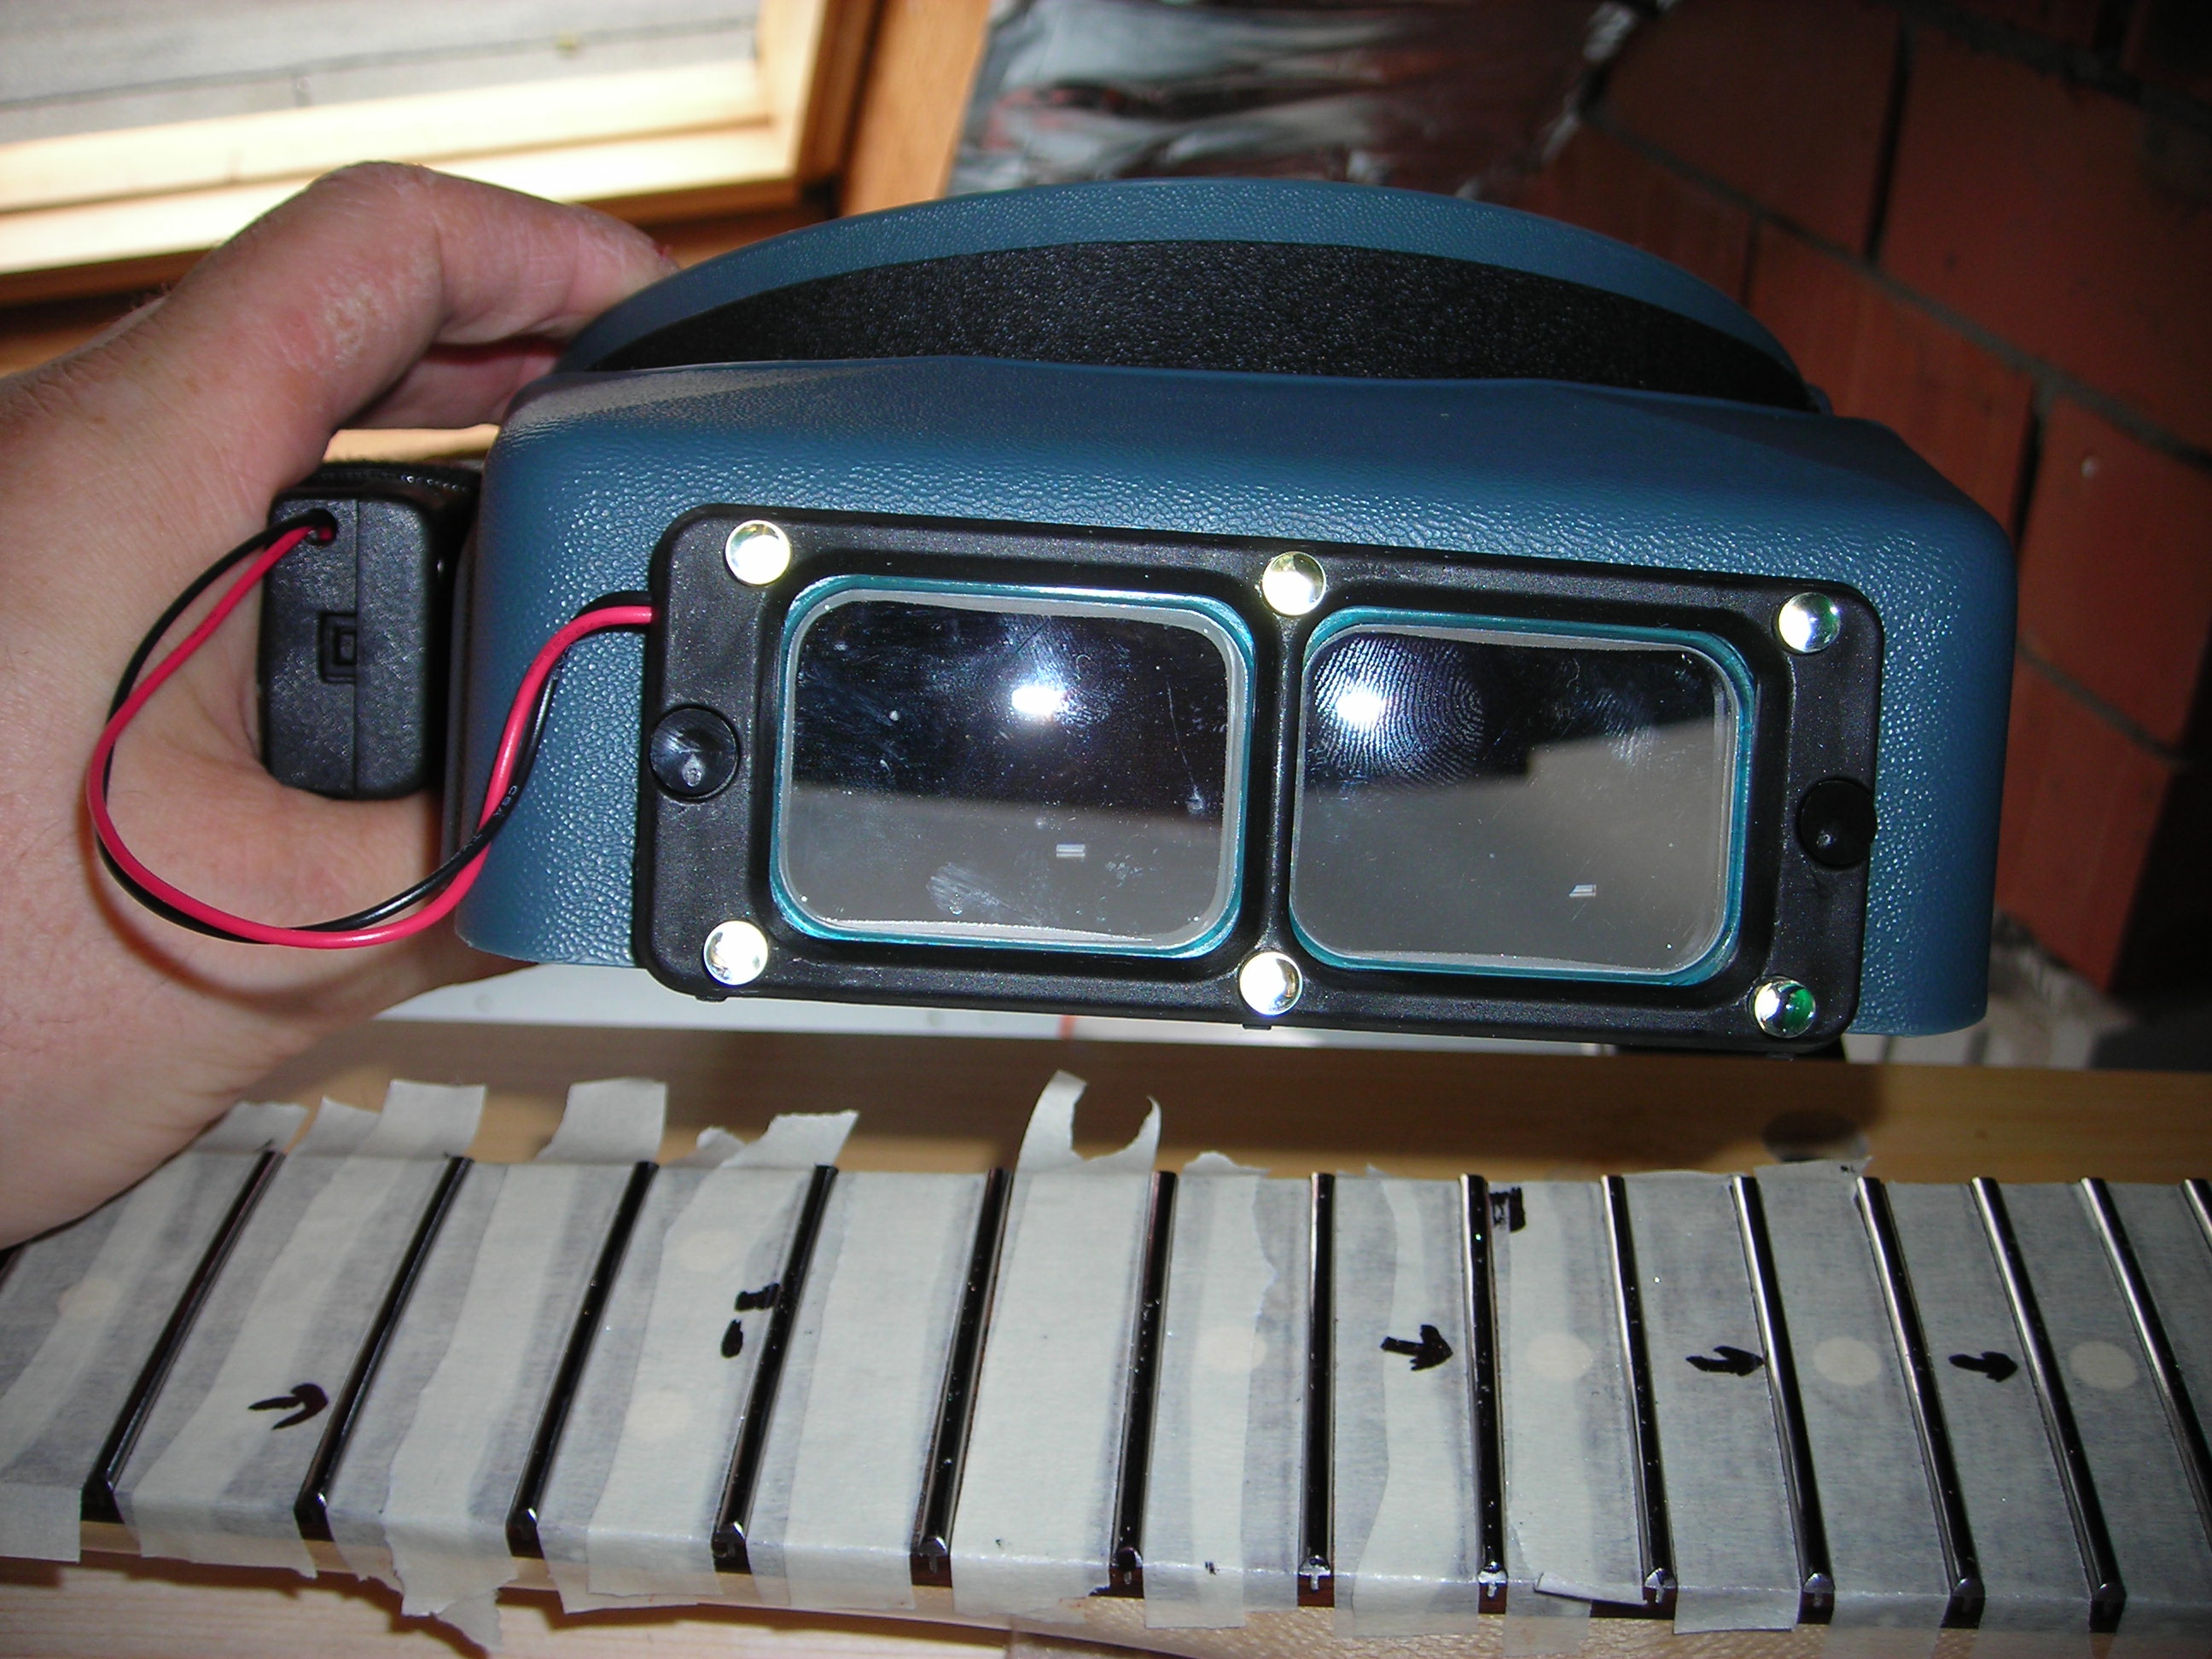
Fret_and_Finish_5 by stratamania, on Flickr

Here are some shots of the back and front of the neck which I completed the finish on after I had done the fret work and rolled the edges of the fingerboard.

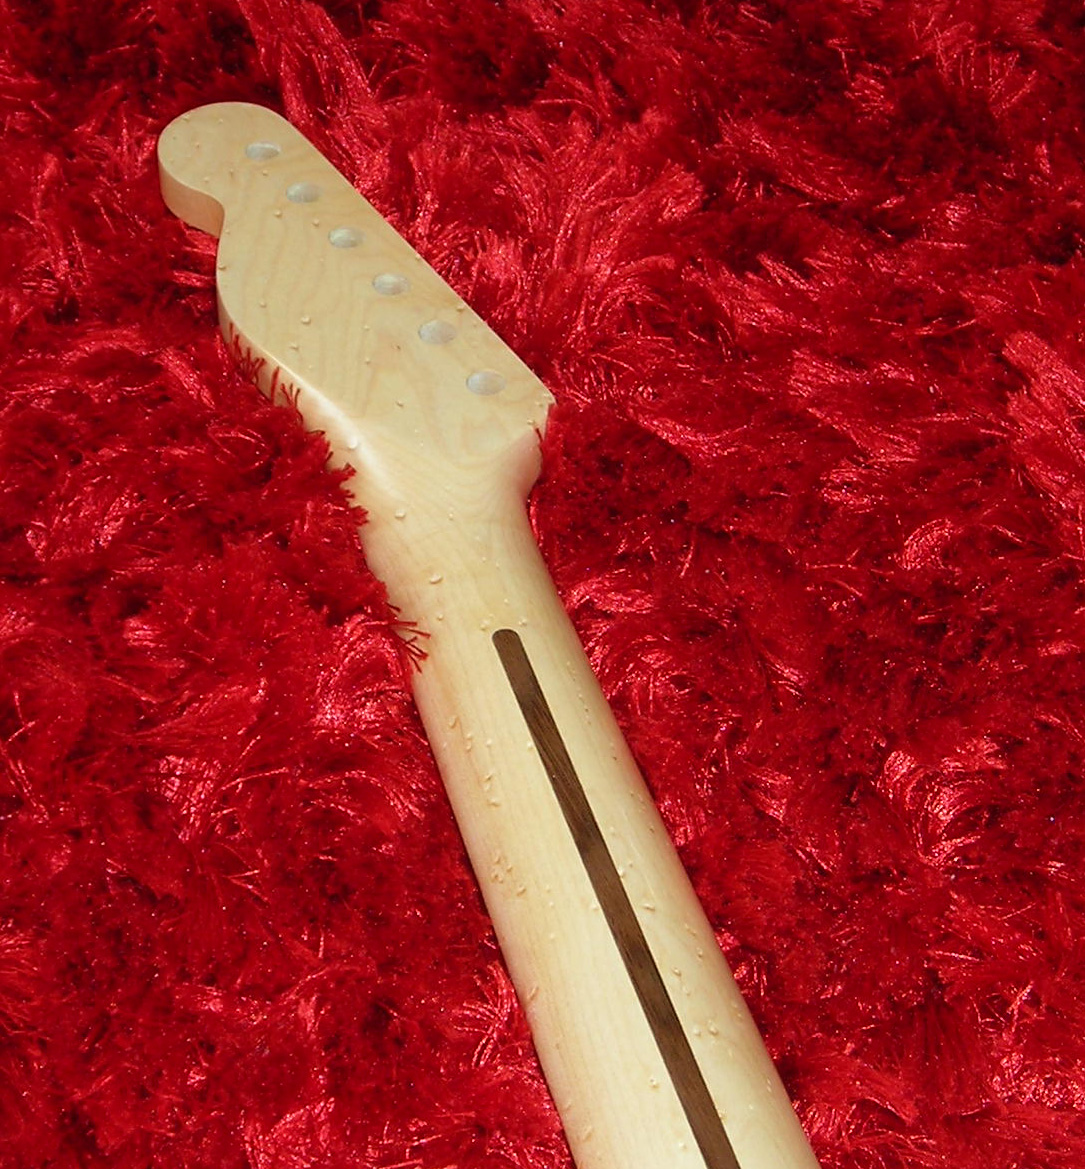
Fret_and_Finish_6 by stratamania, on Flickr

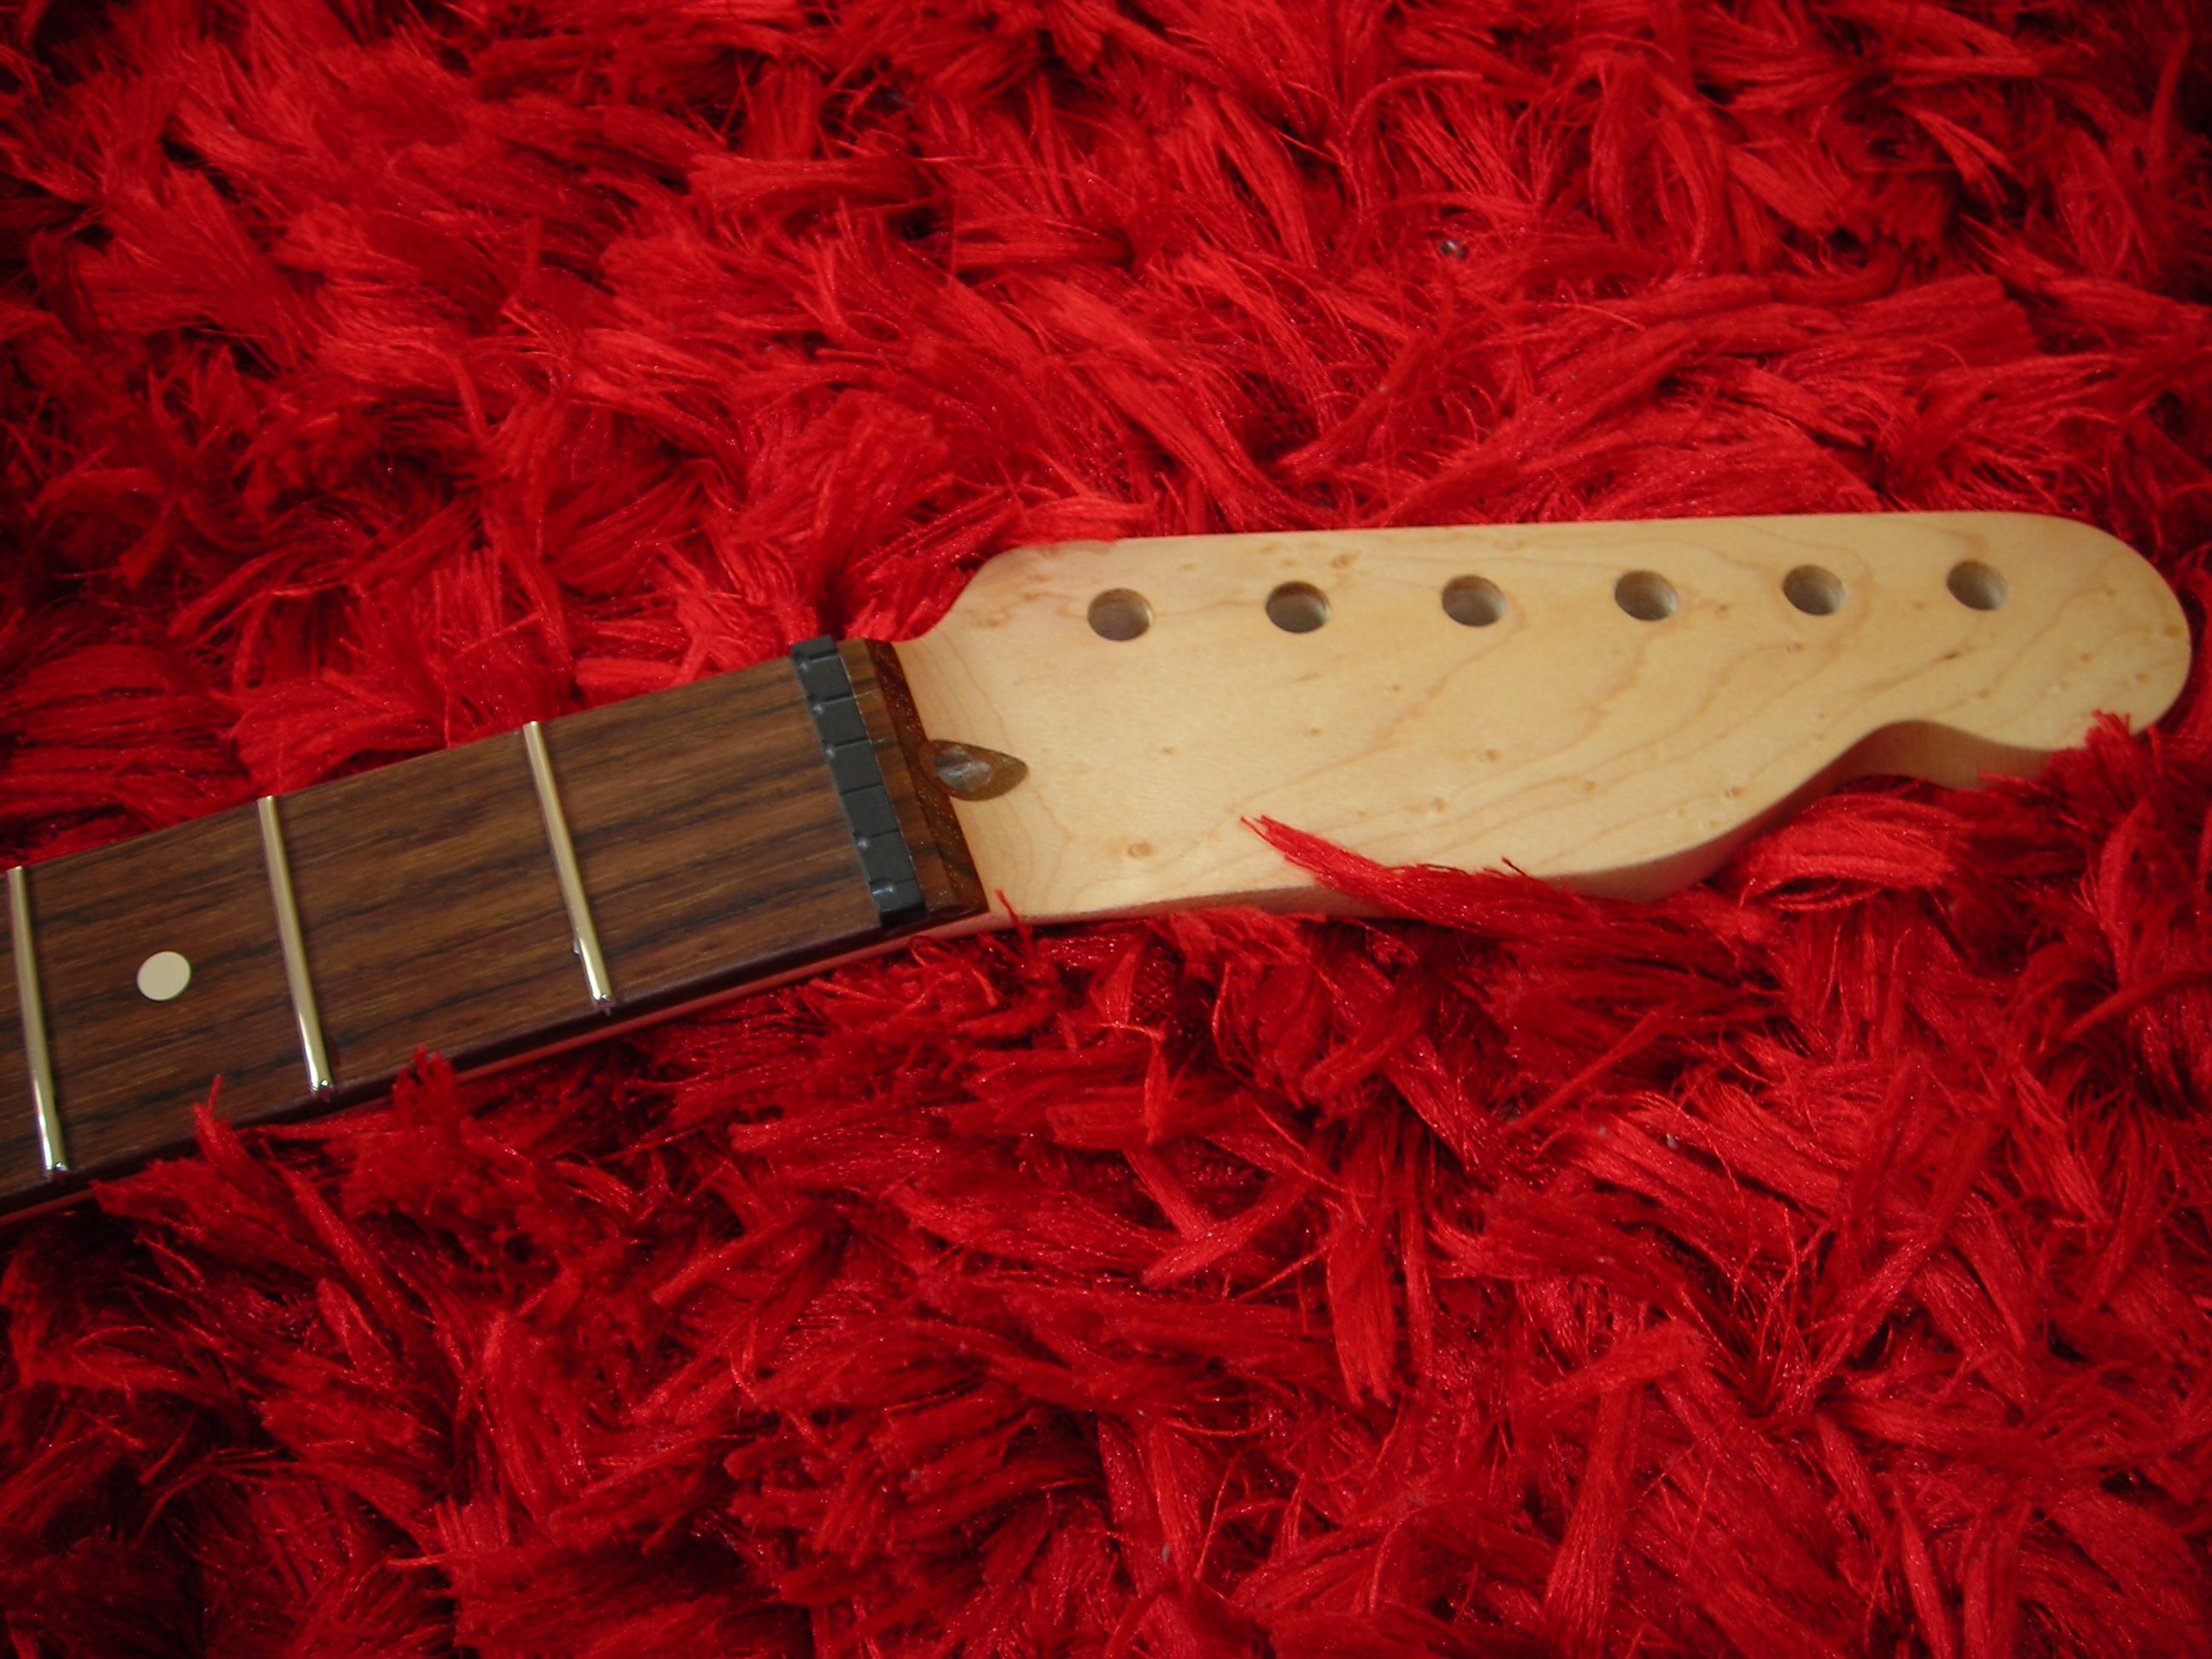
Fret_and_Finish_8 by stratamania, on Flickr

So next will be getting onto the assembly.

Thanks for looking...
 
Just want to say that this is looking like a great build, can't wait to see the final guitar. The tea idea is a great idea and I would never have thought to do that! There's loads of great ideas in this thread, too many to mention, so thanks for sharing.

Also I see you have some Crimson Guitar tools, I have the fret rocker and fret levelling/crowning files. They are such good quality! I've not used them yet thought, how are the files to use?
 
Hi Dolando, thanks for the feedback... its appreciated and glad that you like some of the ideas.

The Crimson files are very good I think.  I believe they are Italian and Ben C. adds the wood handles made from wood left over from guitar builds.  In use I would recommend with any file to regularly clean the file and work area with a soft wire brush as can be seen in some of the photos. Debri between the file and the work is best avoided to avoid unintended scratches.

With the files, let the file do the work and so on and don't take too much off with the files at once and take your time.  Very important after using the files is to use from about 400 grit wet and dry paper and work incrementally up the grits, skipping a grit or moving on prior to getting scratches out left by a file or a lower grit is not good. The Optivisor with the lights means you can really see the job. On the Quilted purple Strat I did I could  not see the work as did not have the Optivisor to begin with and my eyes are not 100%. I found that when I put that guitar together I could feel scratches I could not see. So had to redo the polishing after getting the Optivisor.

I have about five of the files from Crimson, for leveling, beveling and the other three are a mix of dressing and crowning type files.  On this neck I only ended up using two of the files to do the job but there was not much to do in terms of leveling.

I think I would like to get some diamond leveling files as some extra options in addition to the Crimson files. I like the idea of the Diamond files in finer grits.

http://www.stewmac.com/Luthier_Tools/Tools_by_Job/Necks_and_Fingerboards/Diamond_Fret_Levelers.html


My main tip with any files of any type for anyone not having used them before is to find an old neck where you can practice using the tools and get comfortable with them before attacking your new expensive neck.
 
Slackjaw said:
And every time you break it out, you can yell... "TIME FOR TEA!!!"  :eek:ccasion14:

Absolutely, several teas have been consumed so far during this project. What started as a bit of a play on words about tea and T casters turned into OK, let's stain it with tea.


The next few posts will be covering the assembly. I was short a pair of pickup mounting machine screws as discussed earlier due to them not being shipped with the Seymour Duncan neck pickup, so I had to order some.

In the meantime.

The tools and so on for fitting the string ferrules at the rear of the body.

I used a rolled up piece of sandpaper to turn a couple of times inside the hole to get rid of any stray finish.  I then used the countersink and rotated it by hand at the top of the holes. A small amount of Slideez was used to help them. I pushed them in initially to get them started with a small block of wood and then used the punch and hammer to gently tap them home. Of course, if you have a decently sized drill press that would be the other option.

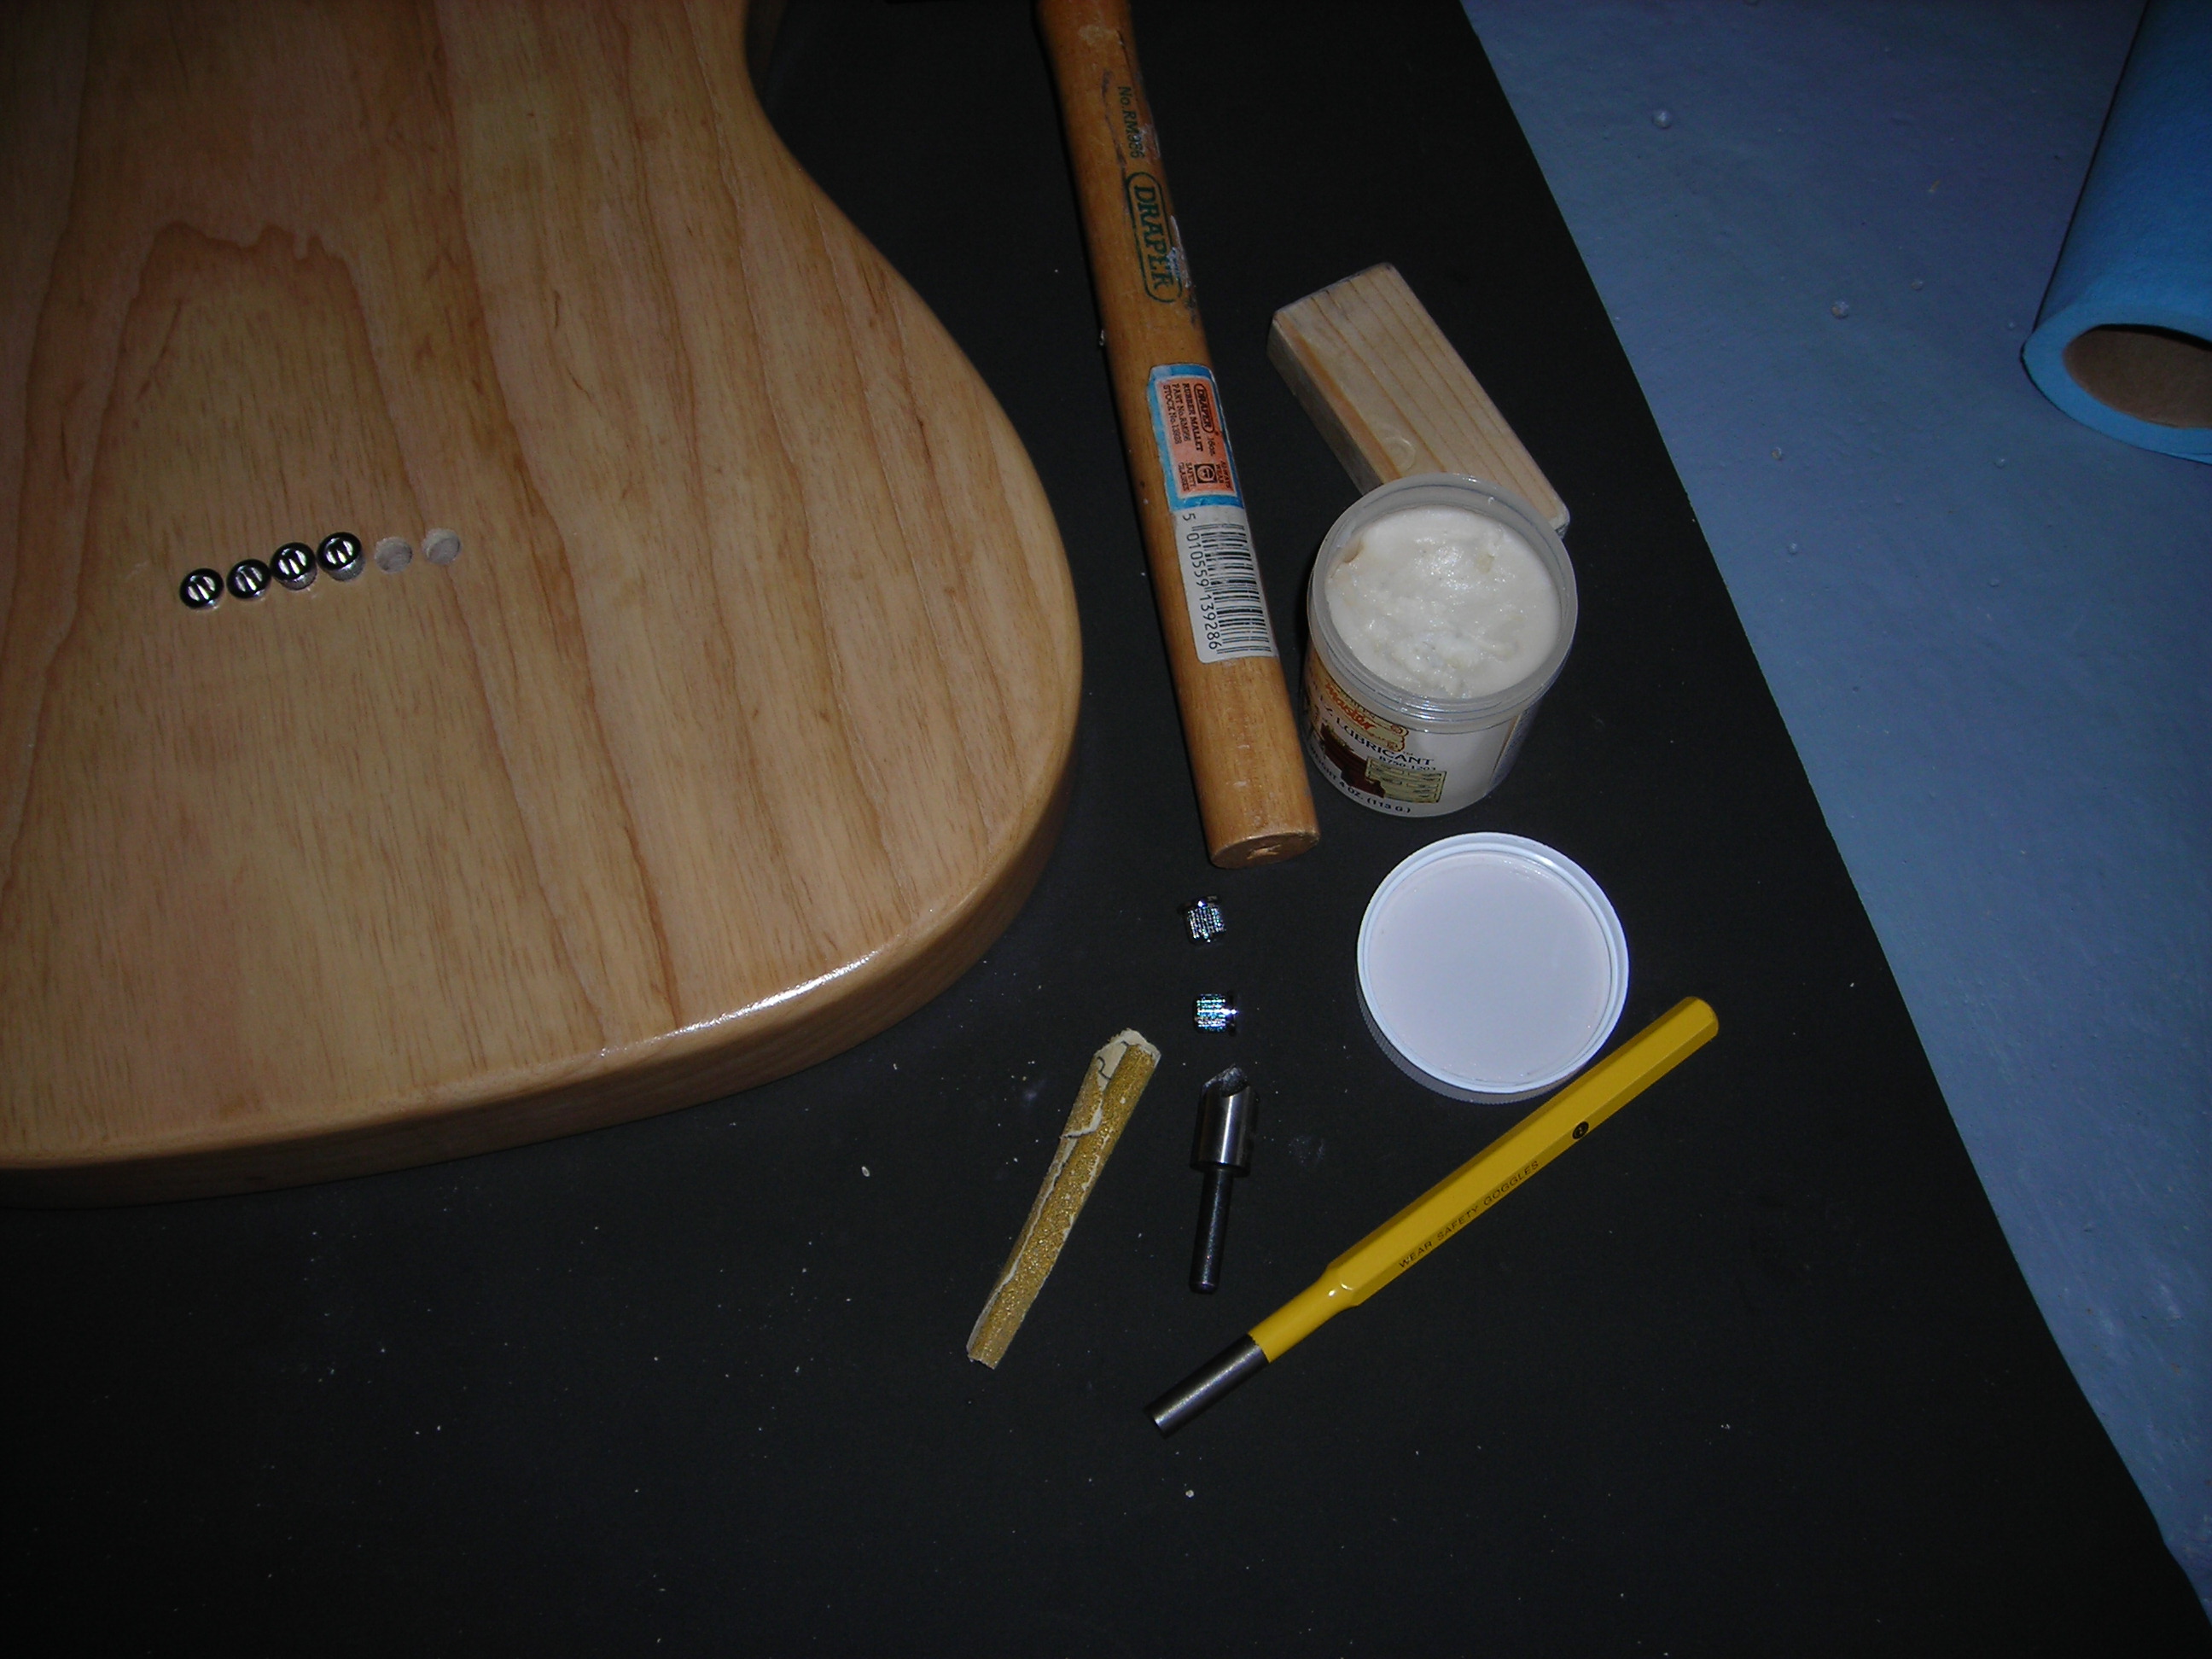
Assembly_1 by stratamania, on Flickr

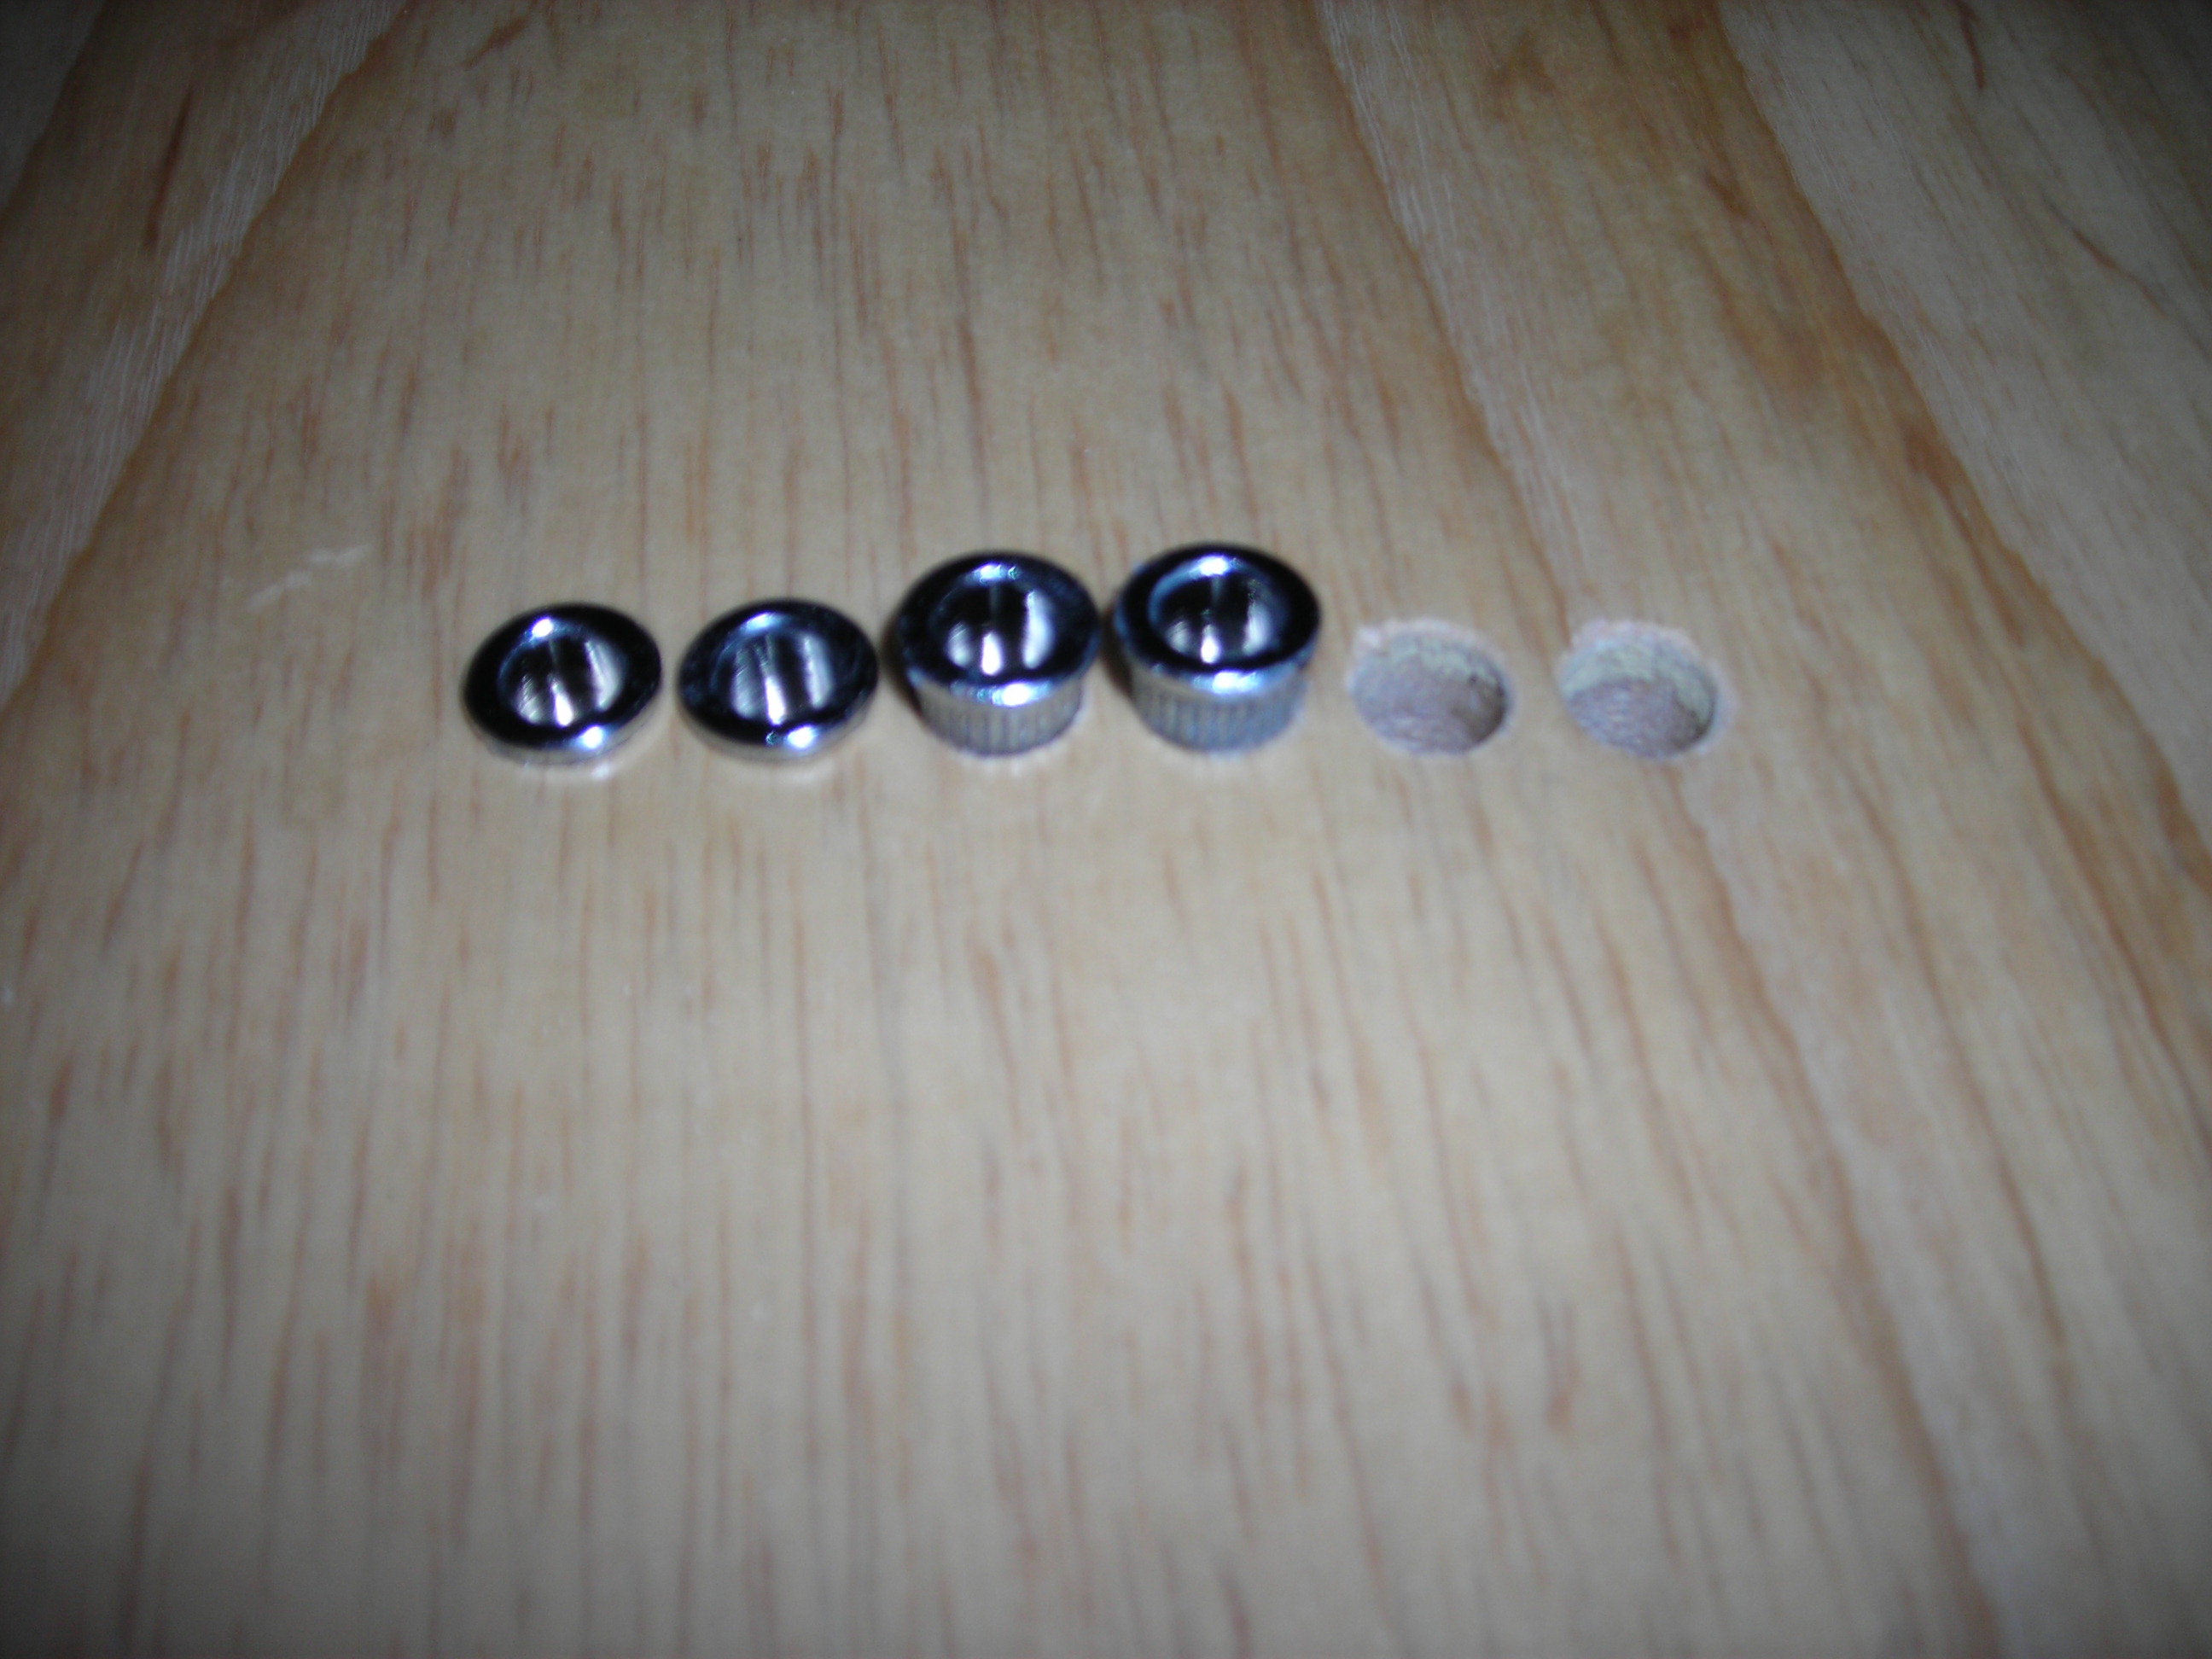
Assembly_2 by stratamania, on Flickr

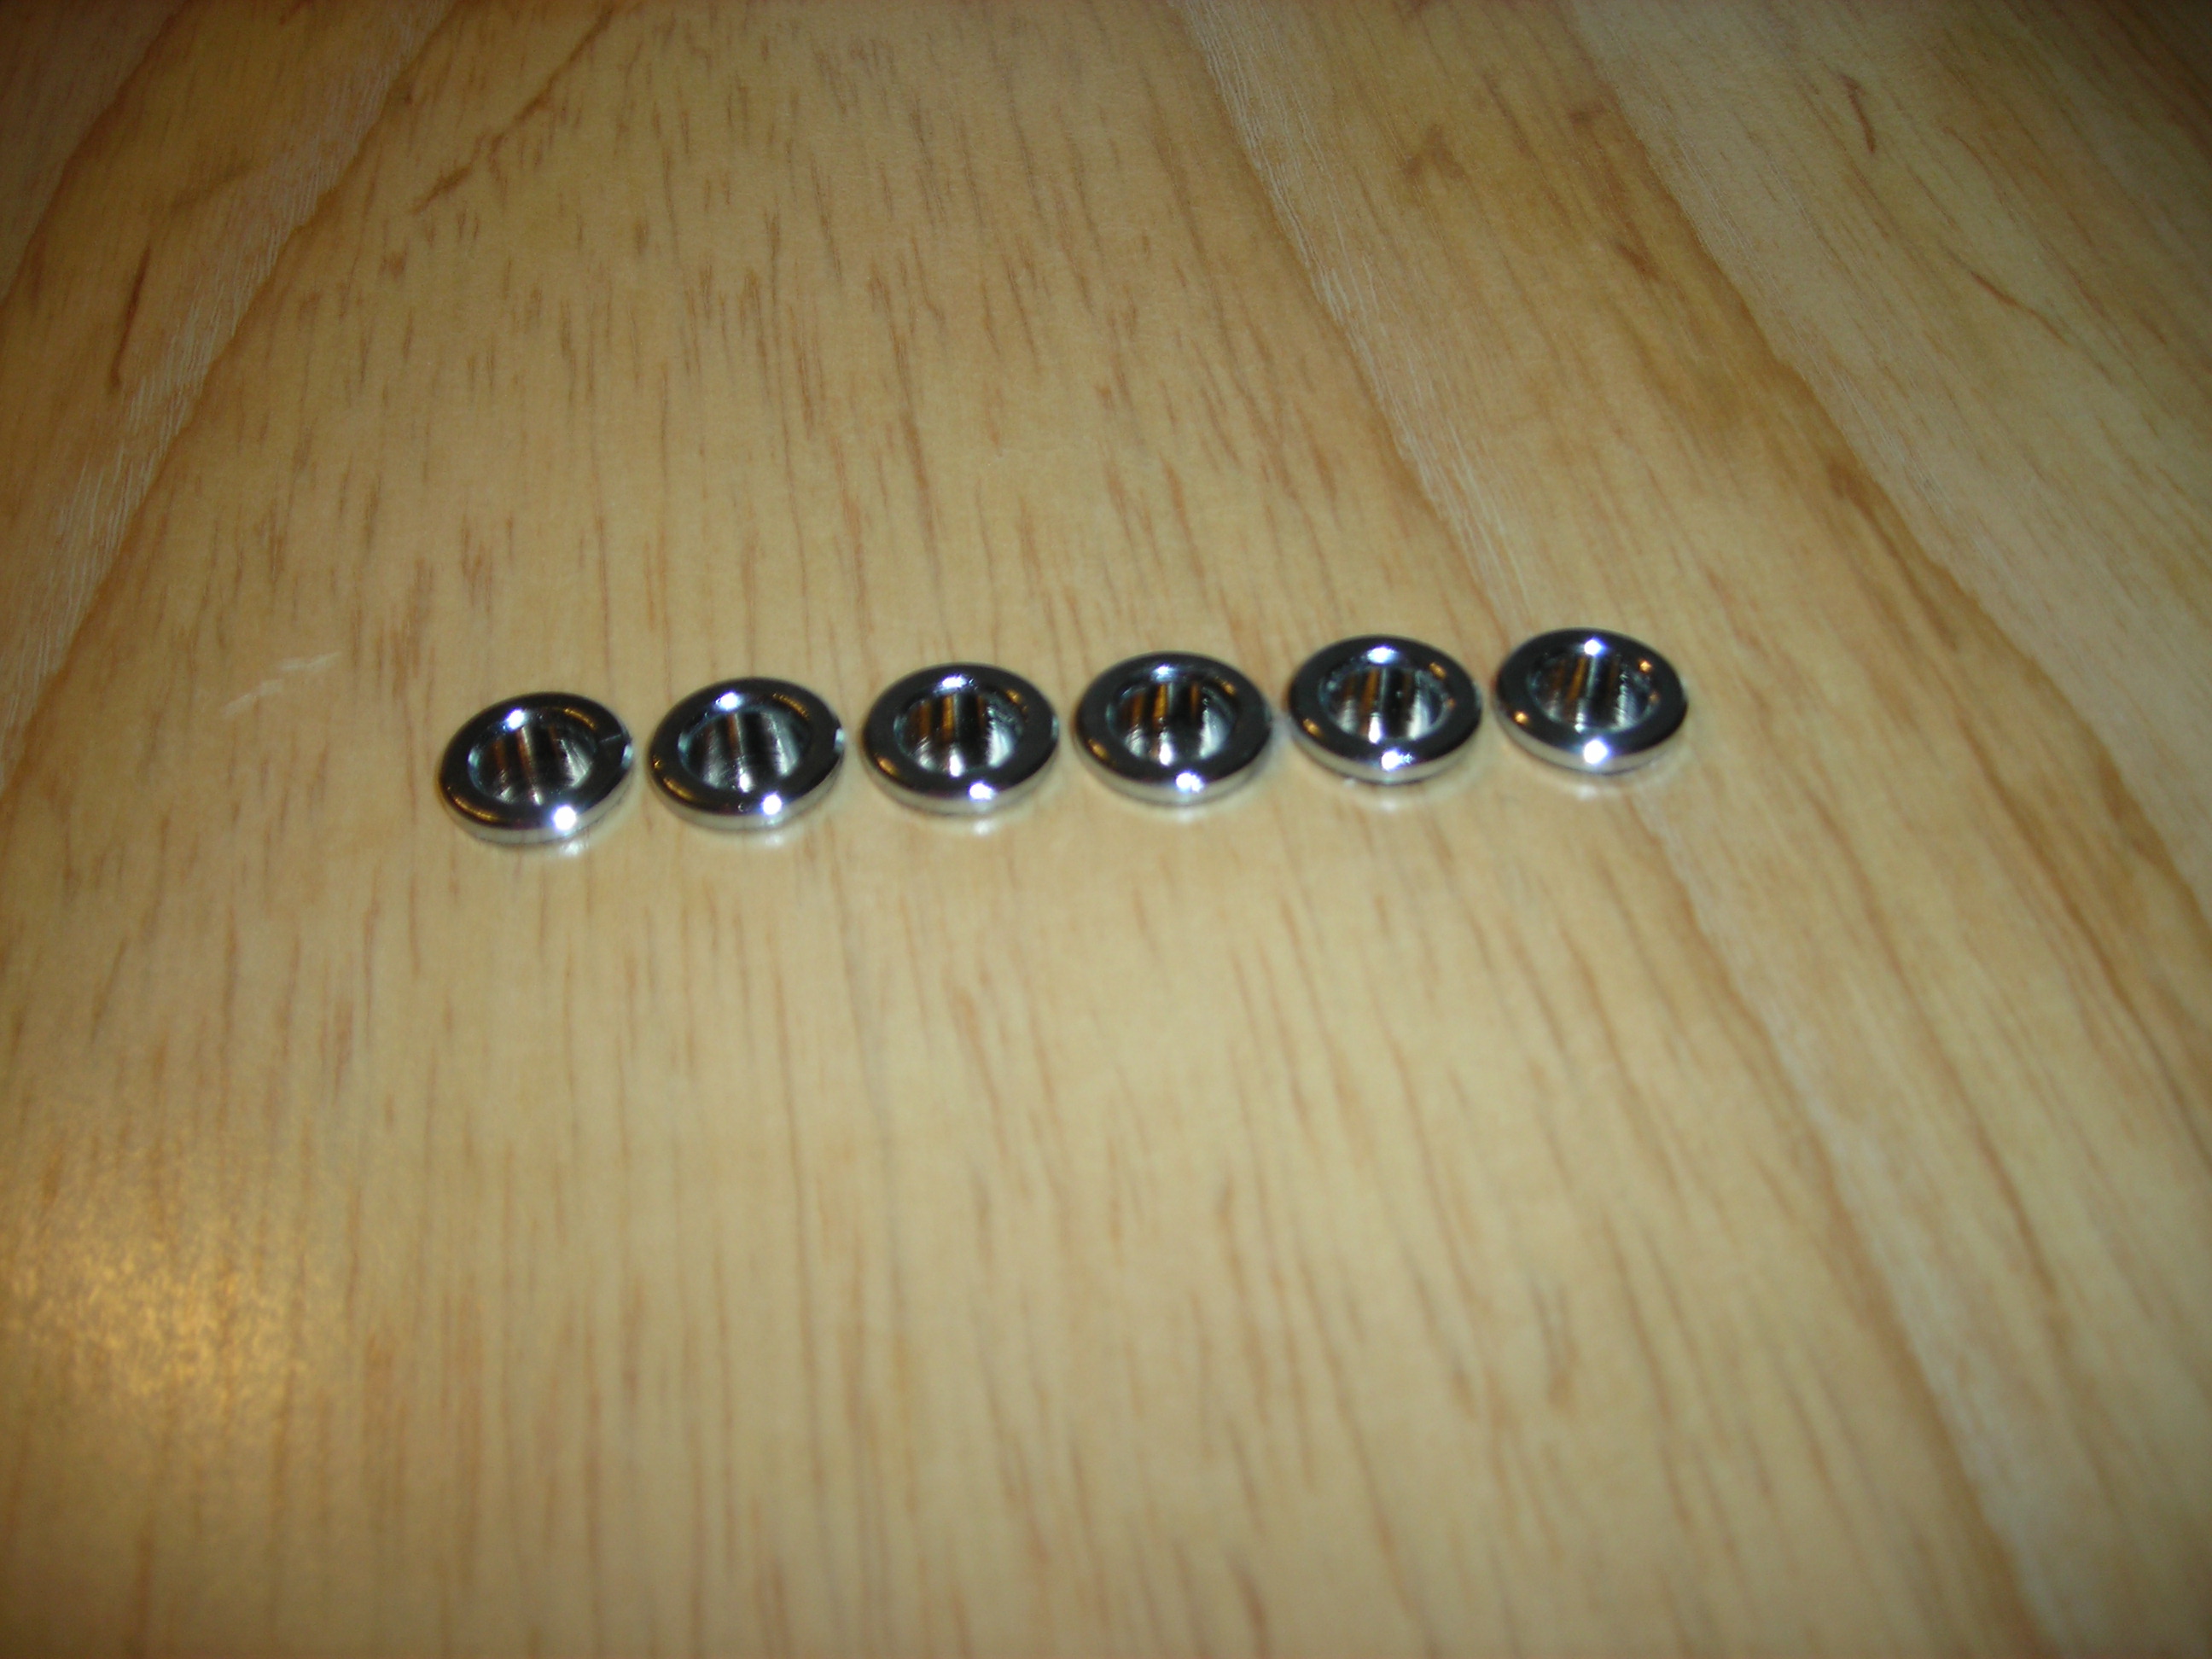
Assembly_3 by stratamania, on Flickr

Next was dry fitting the various main components together so I could put together a plan for the rest of the assembly.

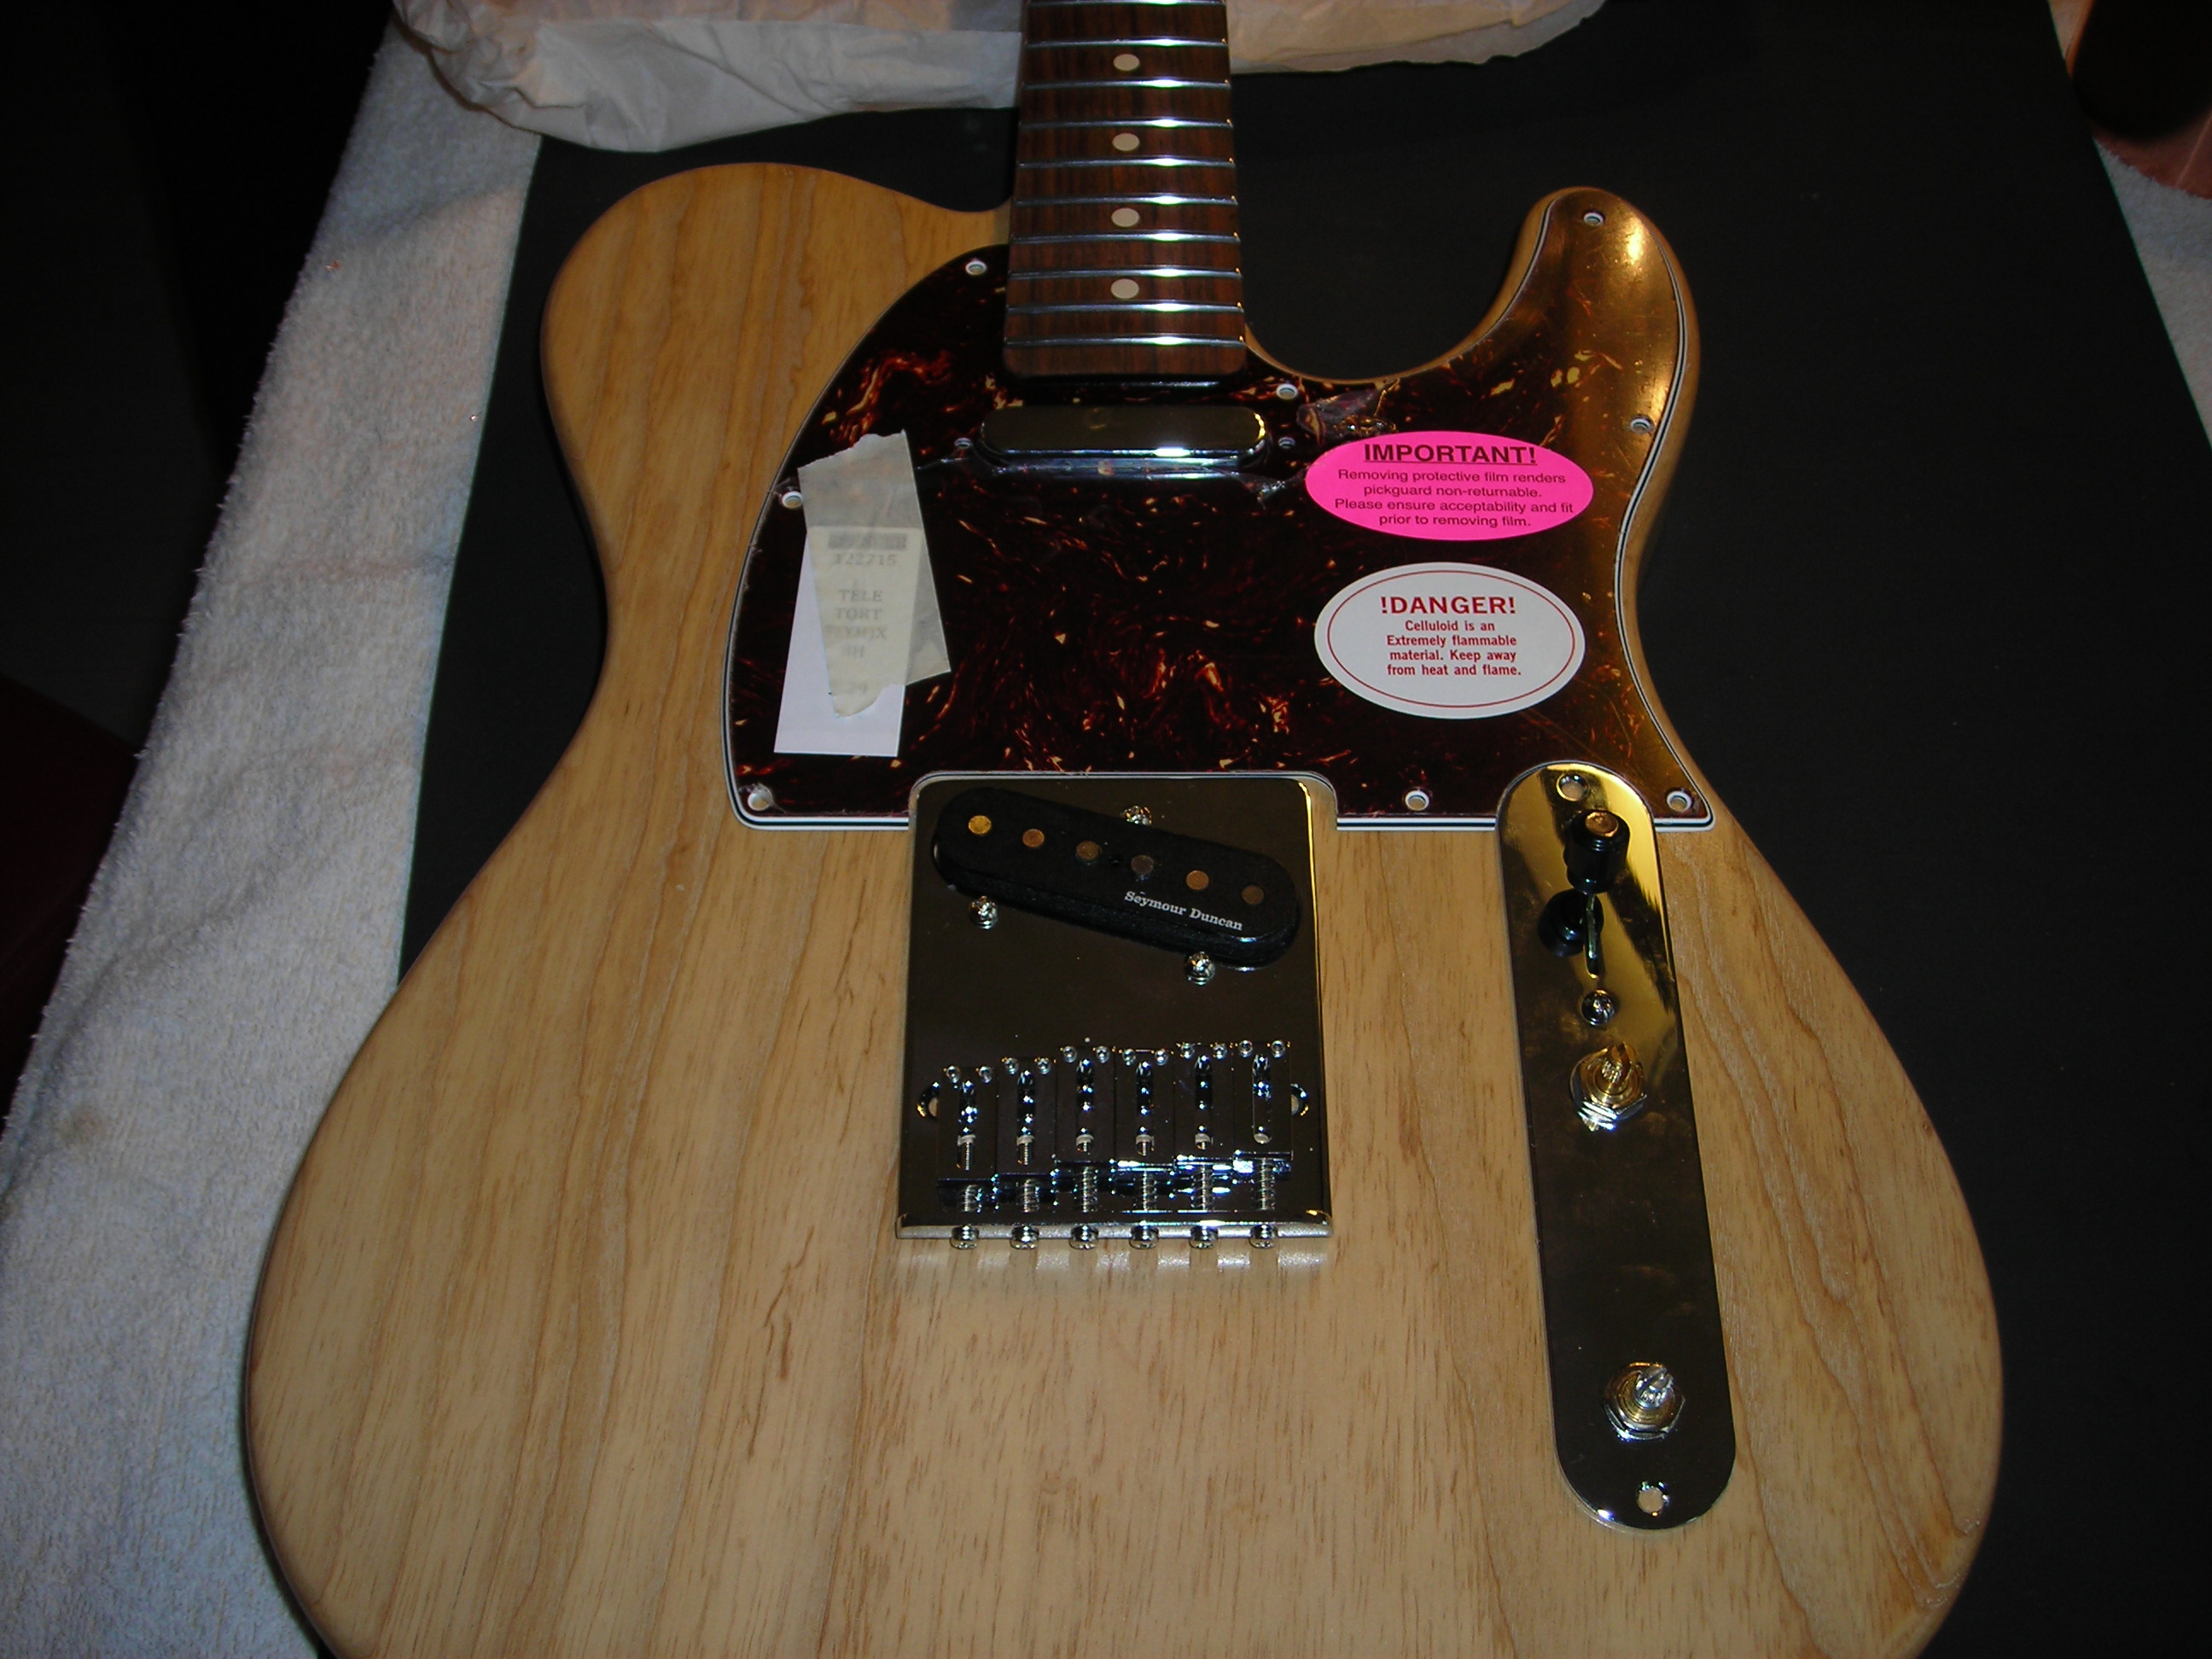
Assembly_4 by stratamania, on Flickr


Assembly Part 2. Machine Heads etc.

Assembly Part 2.

Using a rule to mark onto masking tape where the centre is for the strap button. I am doing this now while the body is flat. The strap button will be fitted later, however.


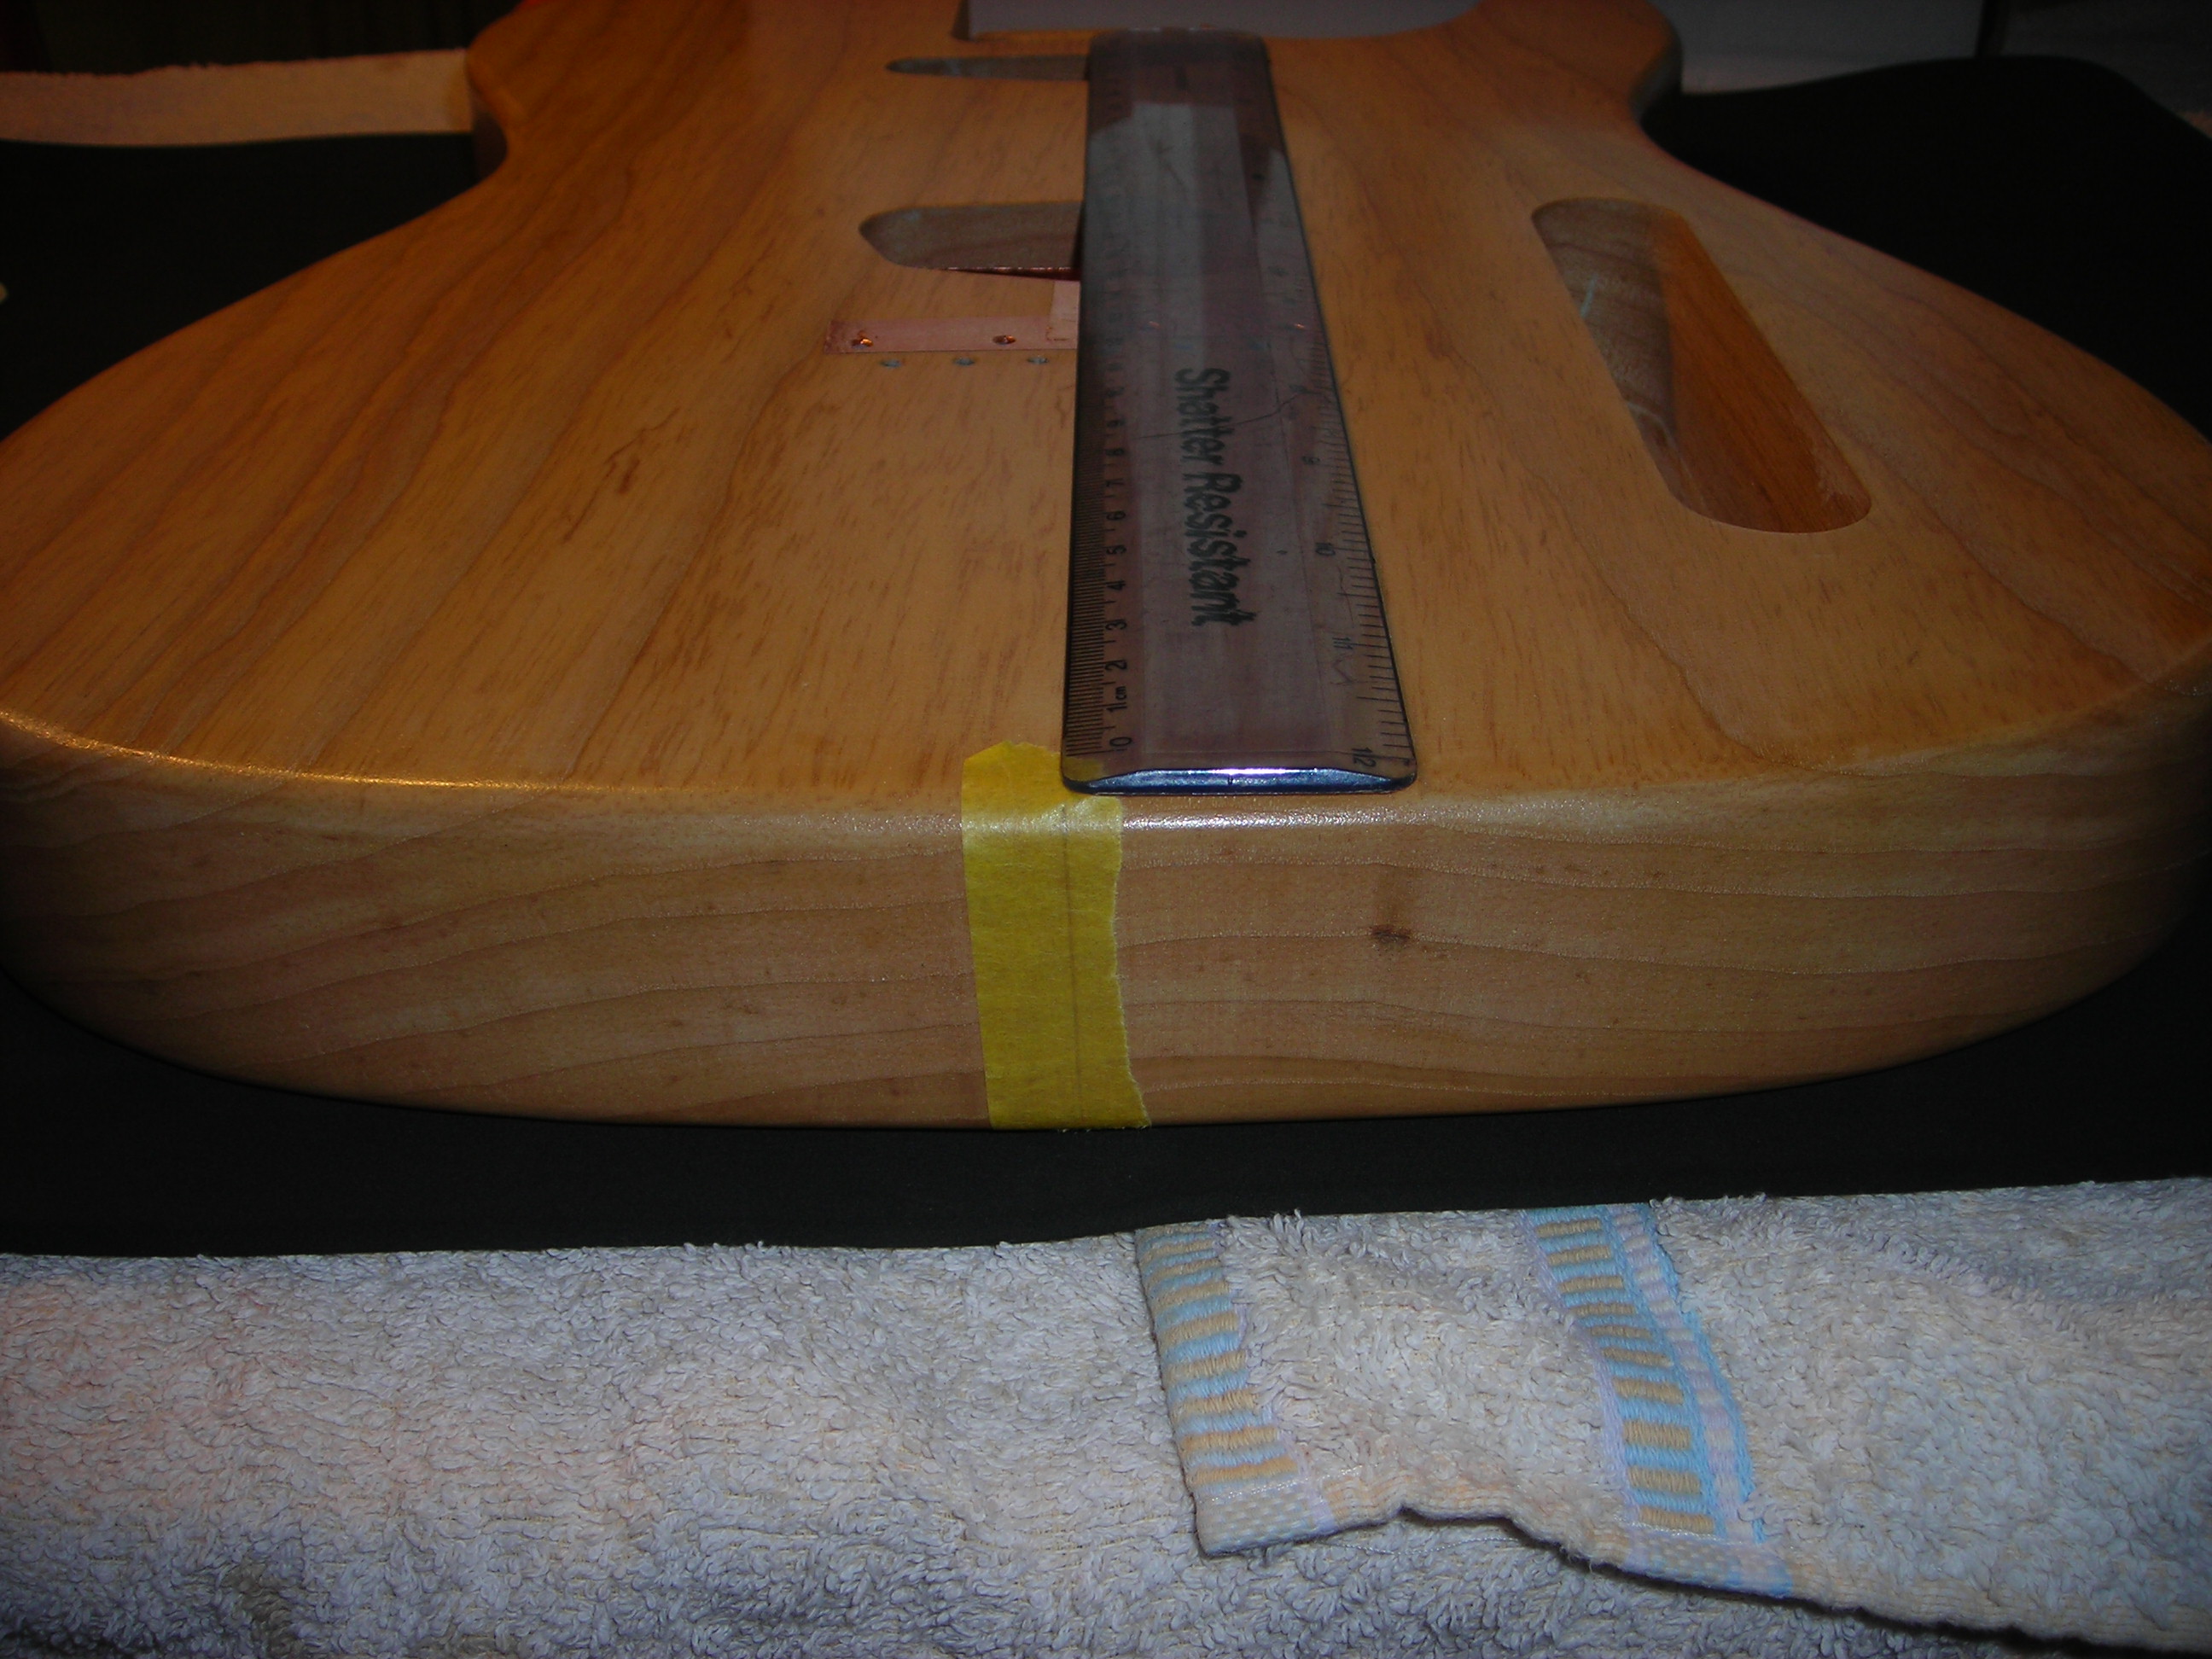
Assembly_5 by stratamania, on Flickr

Swapping out the machine head buttons.


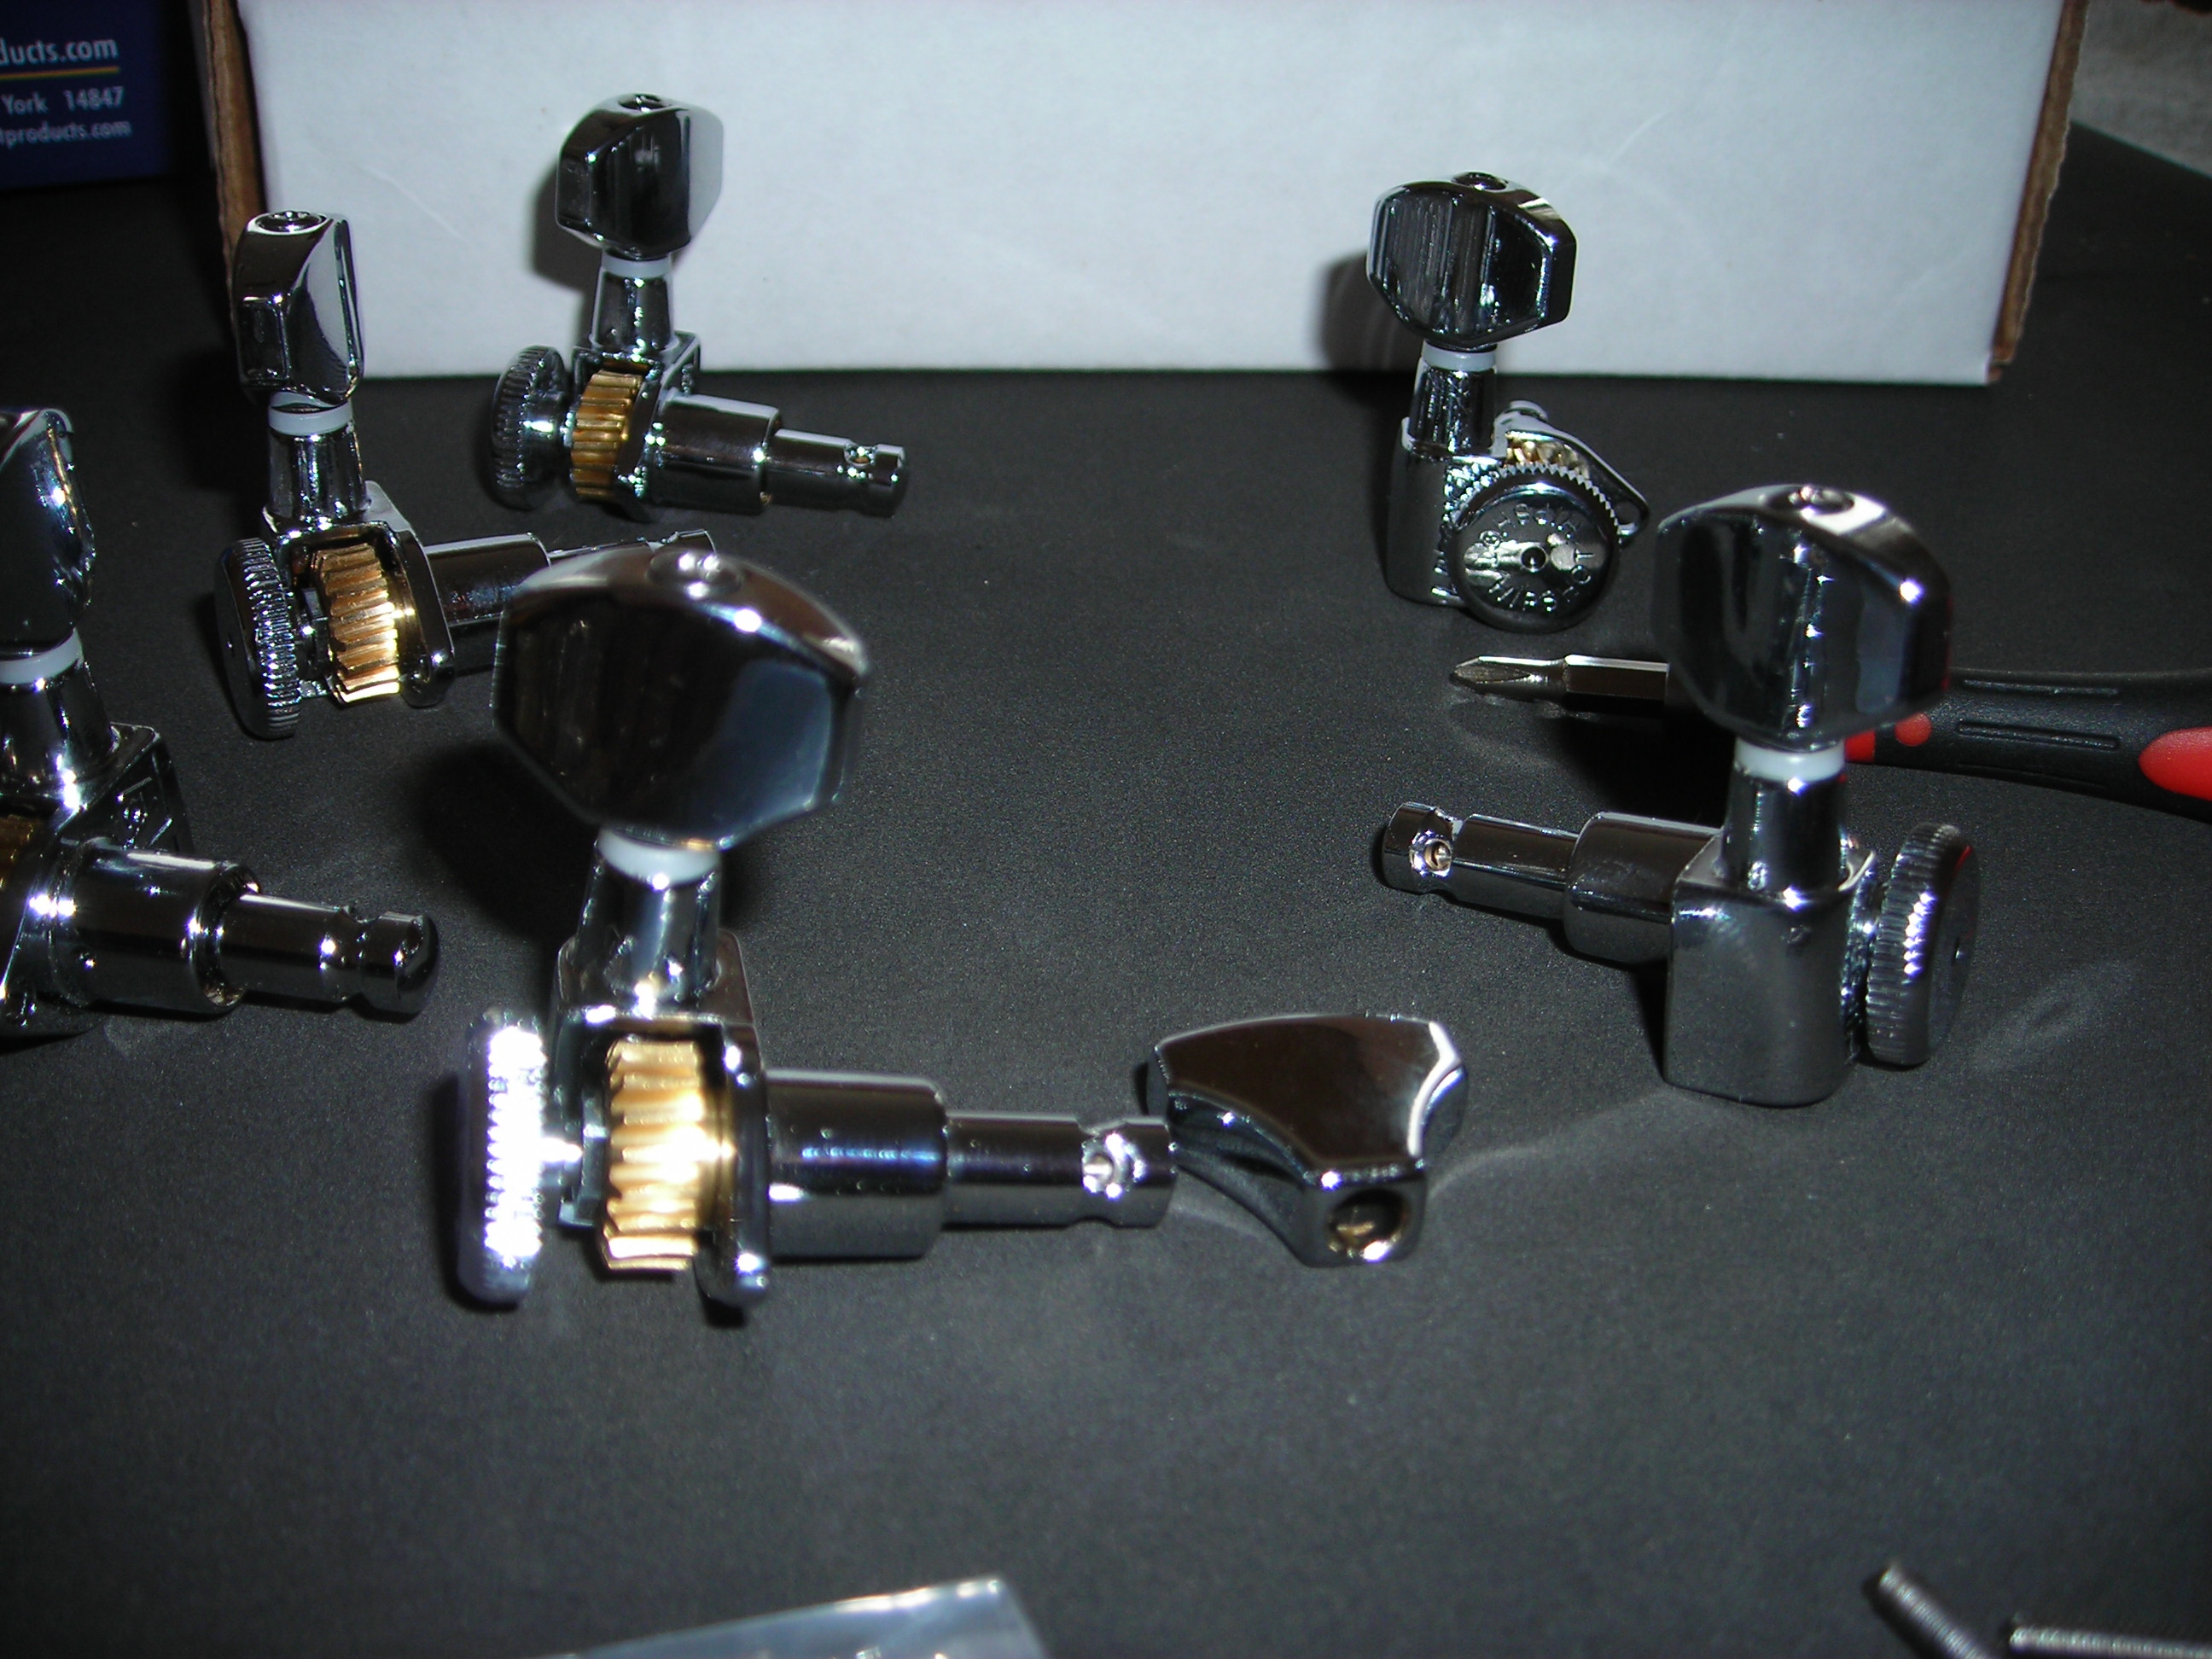
Assembly_6 by stratamania, on Flickr

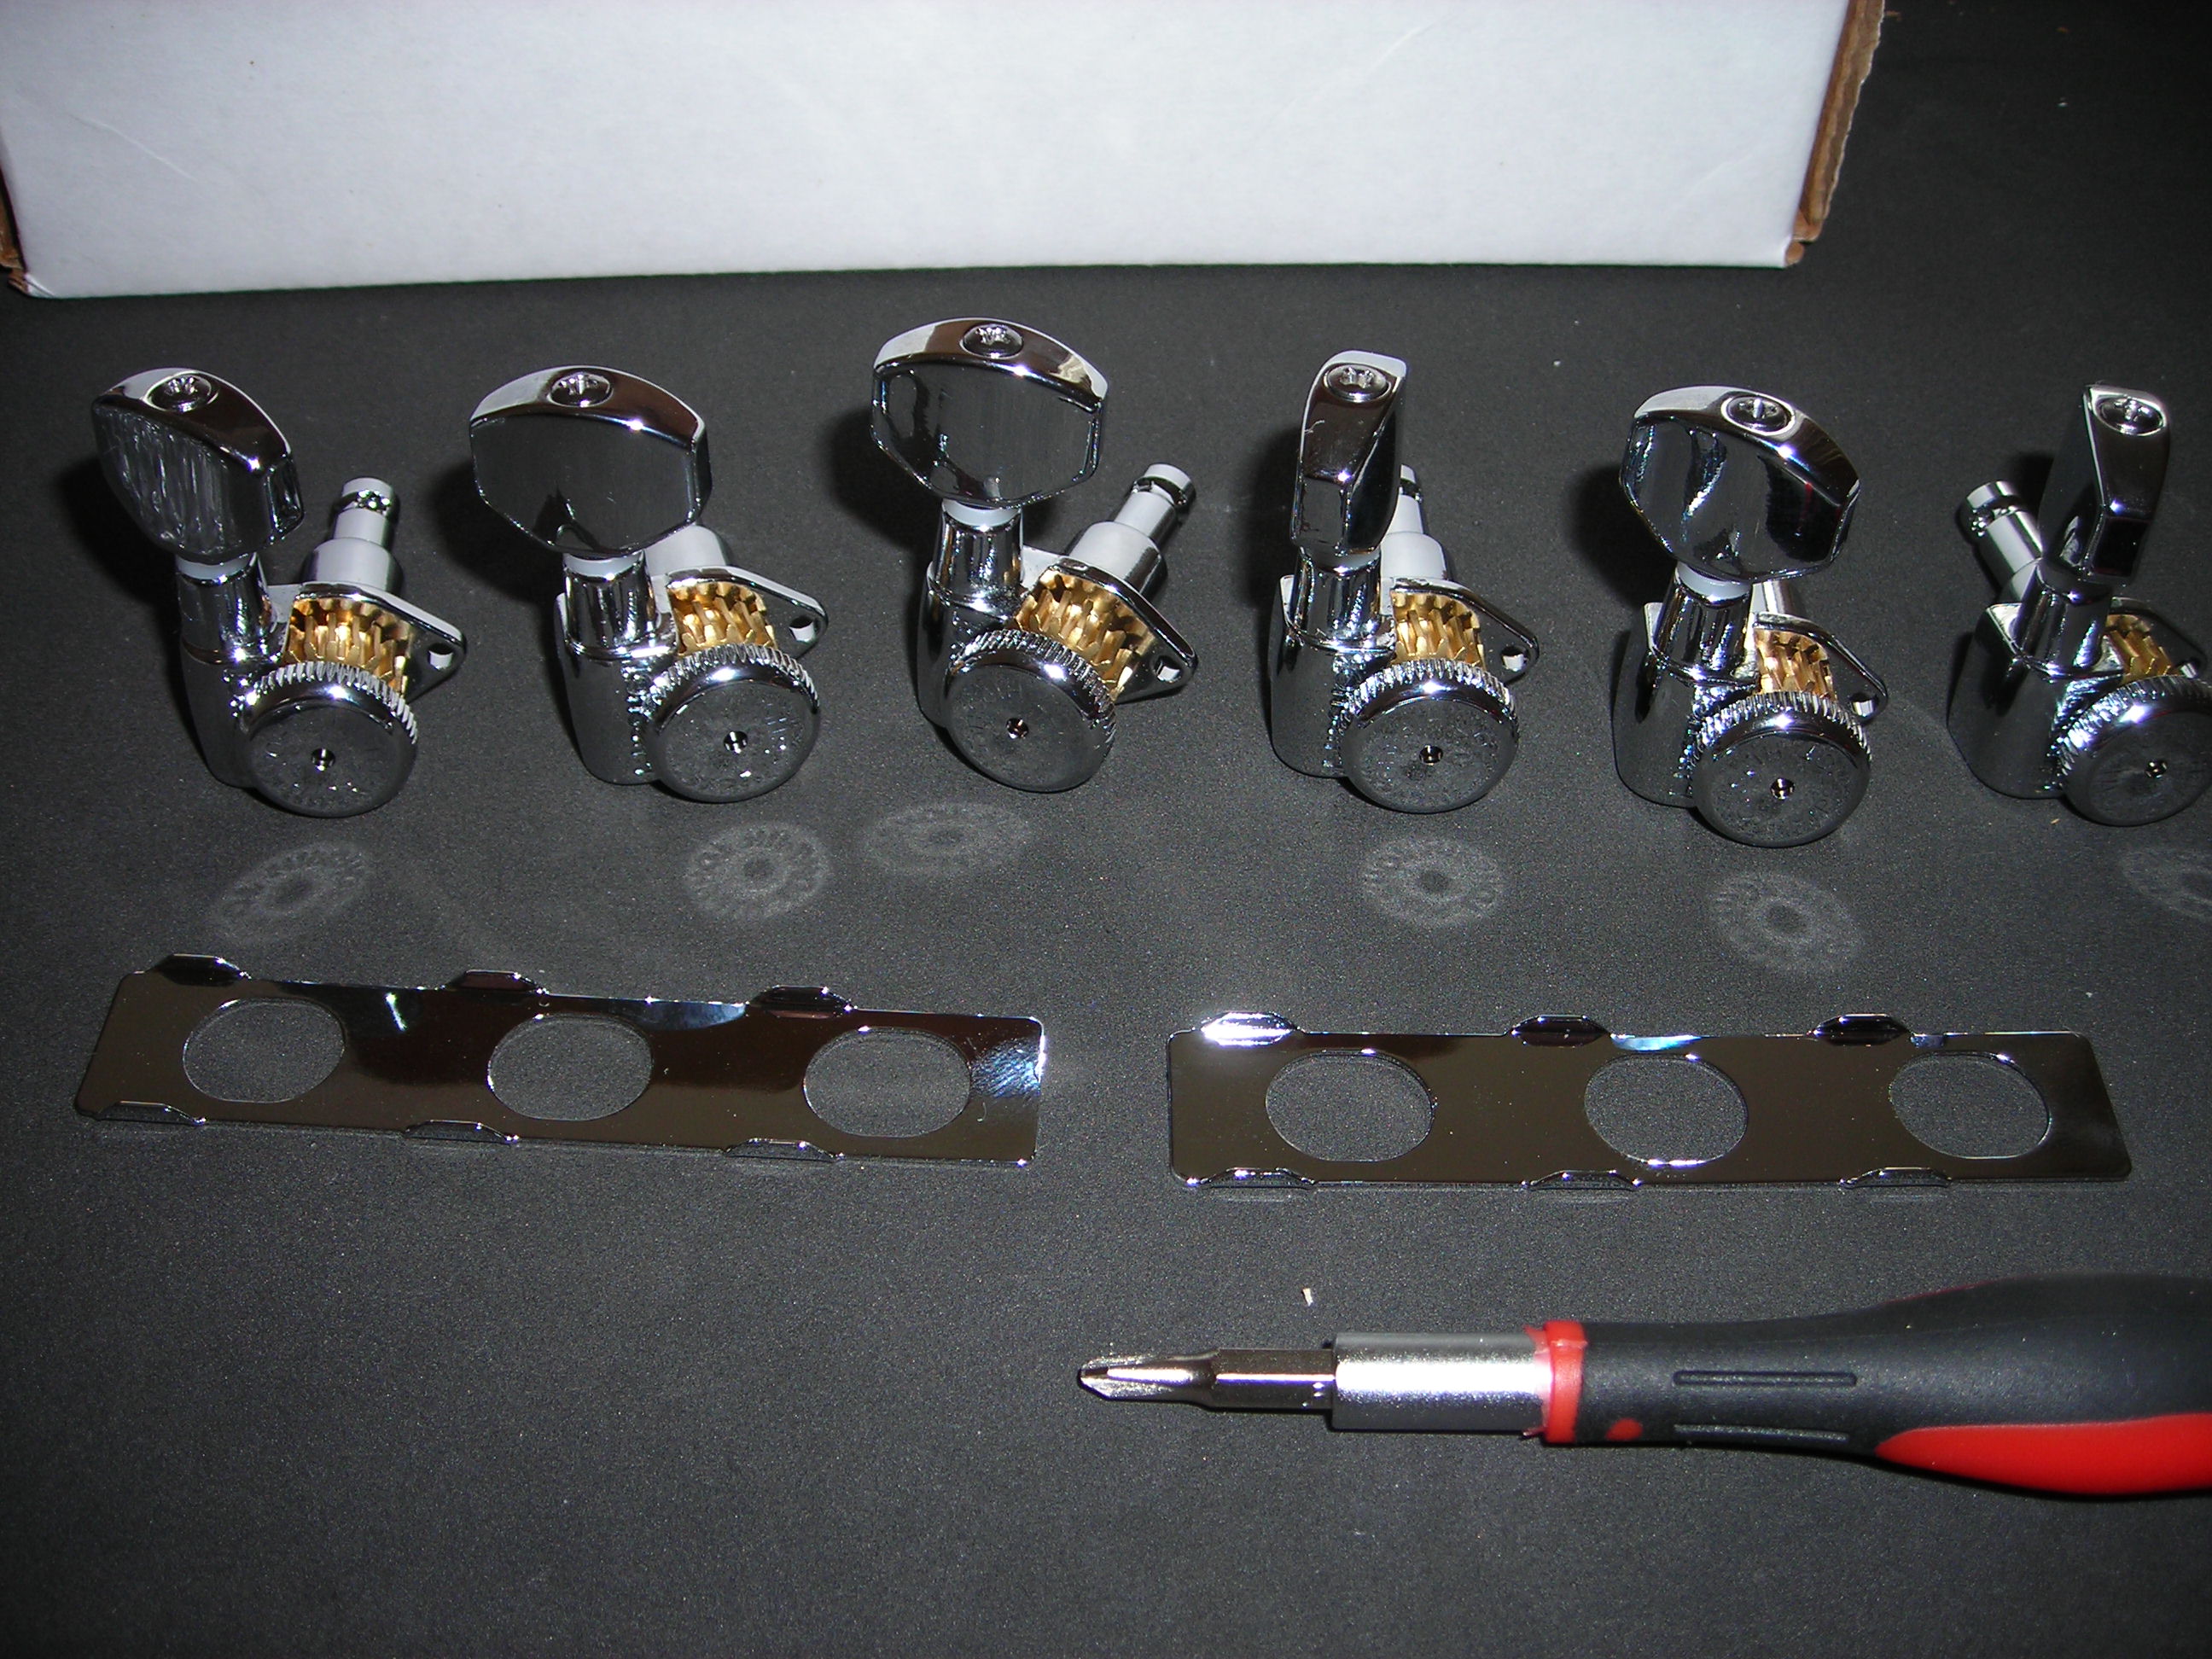
Assembly_7 by stratamania, on Flickr

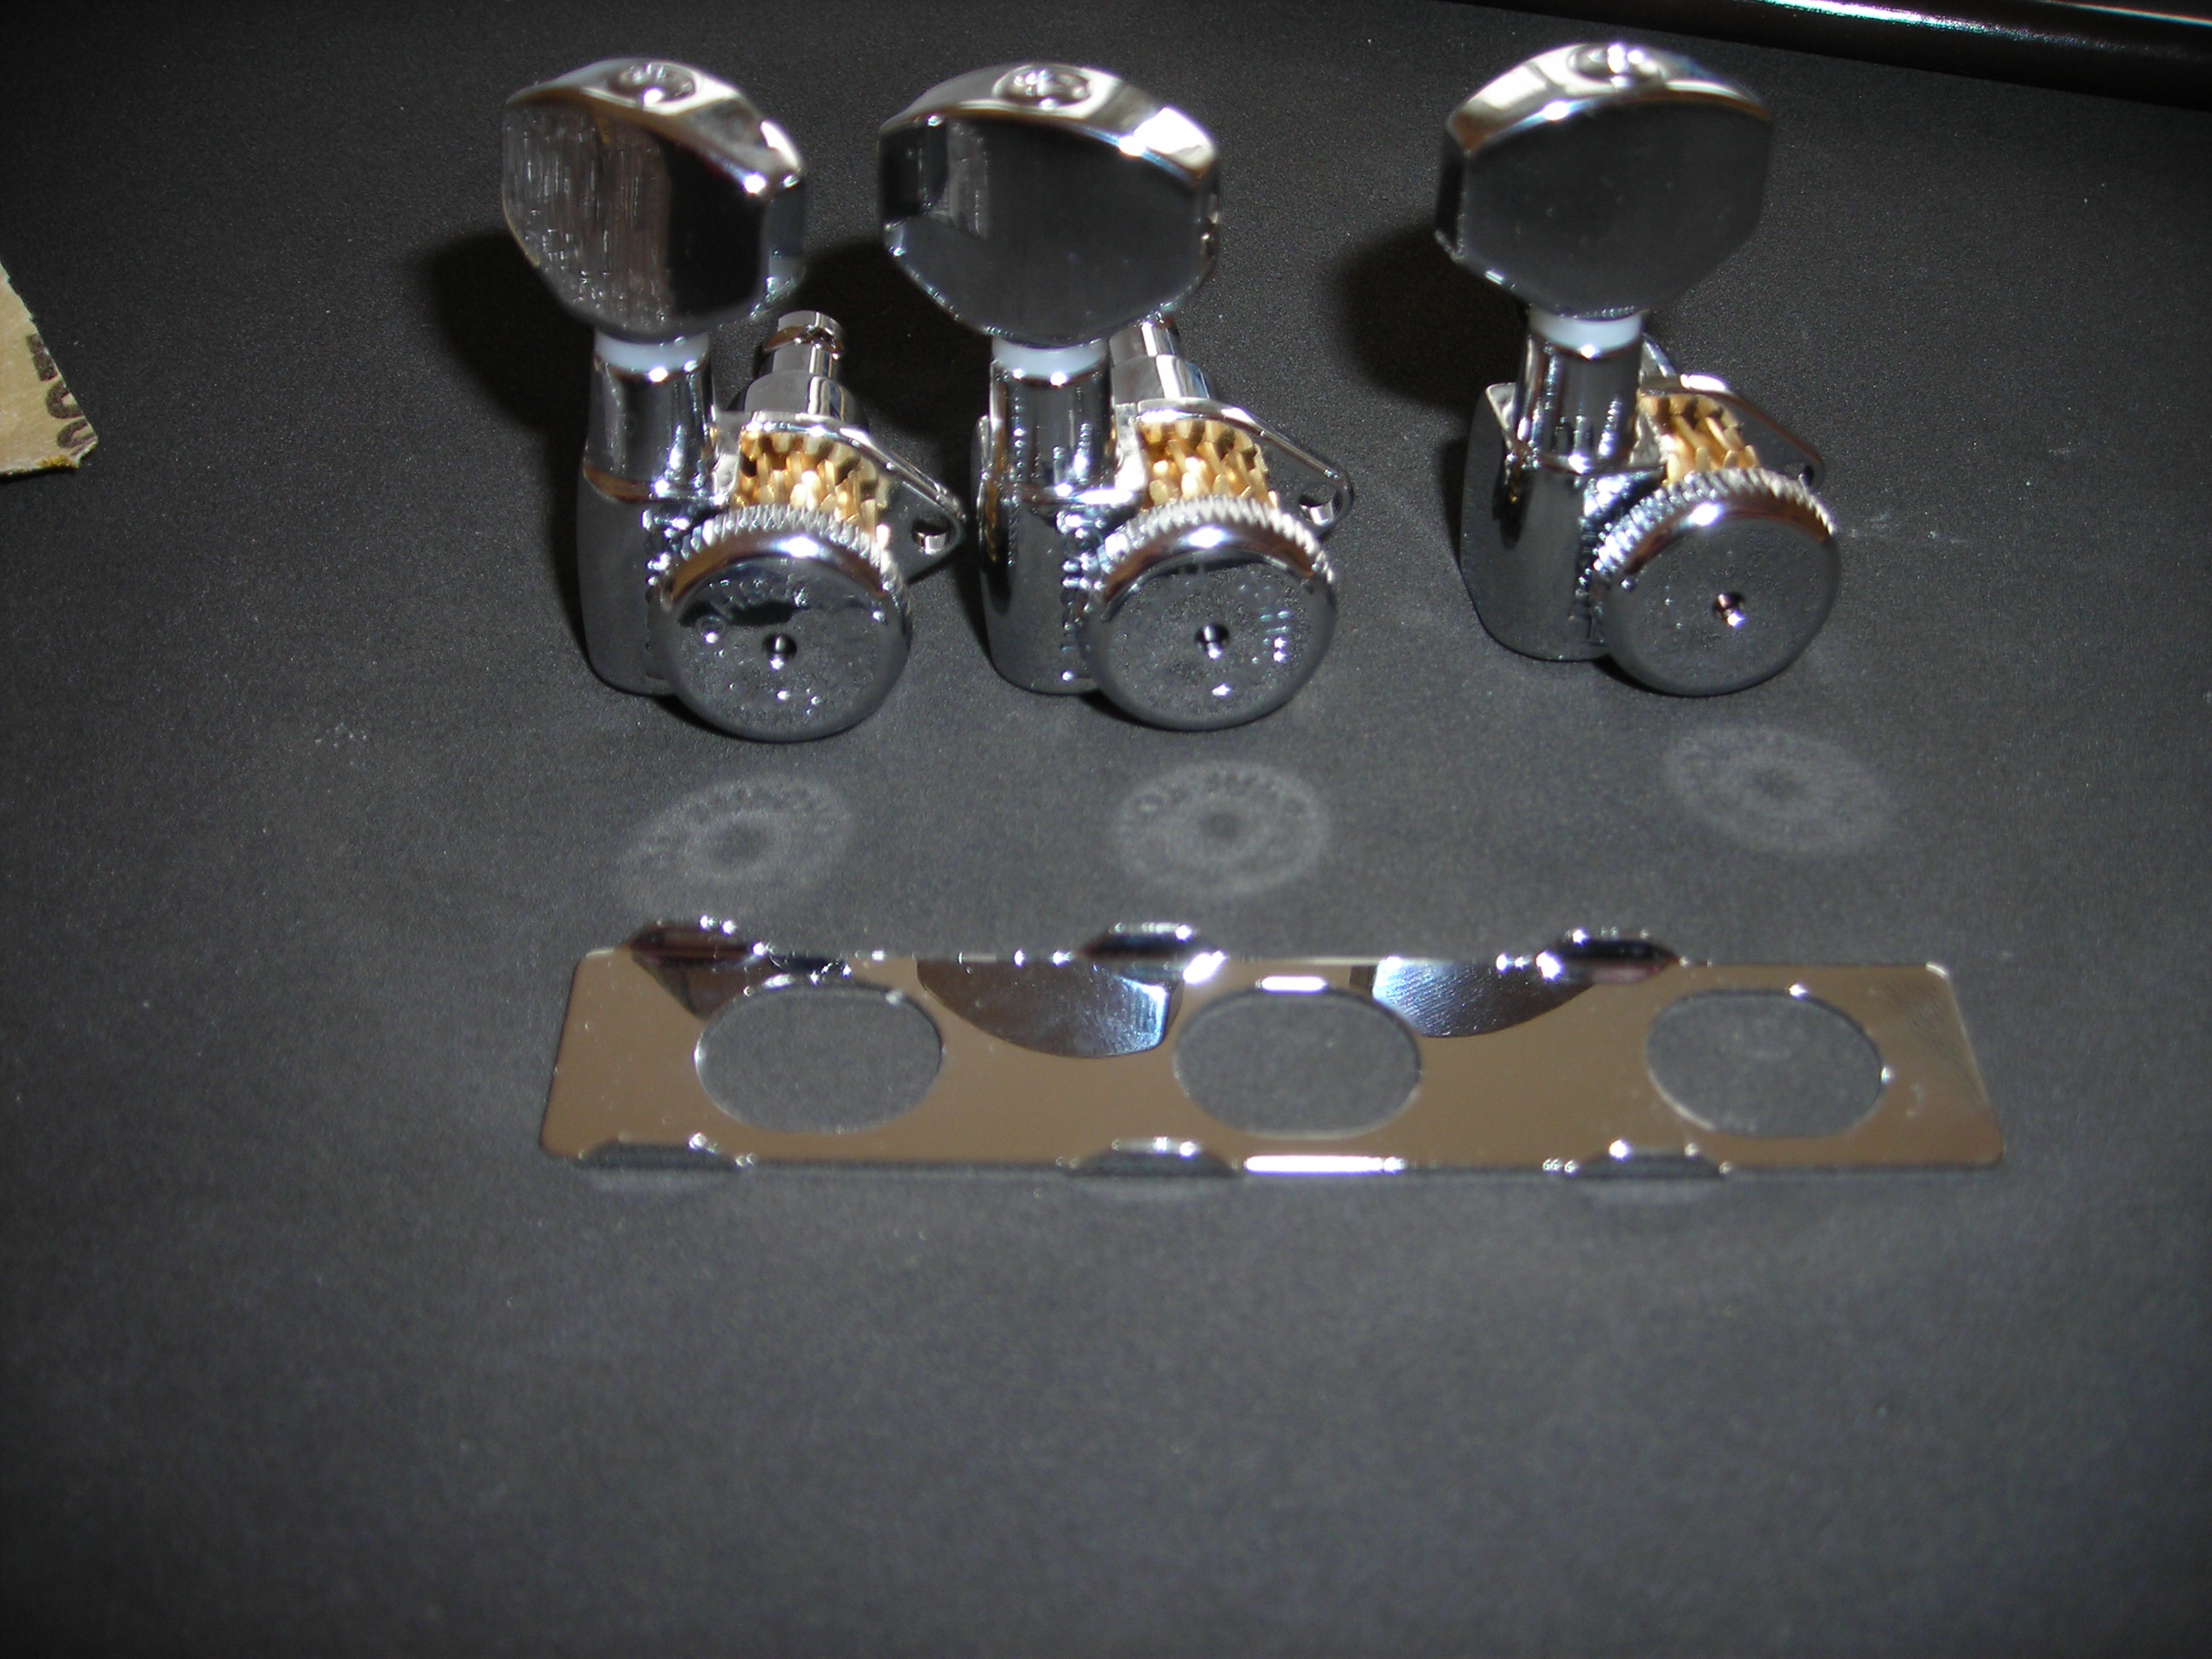
Assembly_8 by stratamania, on Flickr

Fitting the tuners.  Note the use of the Hipshot UMP (Universal Mounting Plates) this saves having to use screws to keep the tuners aligned. I had thought about using them as templates for the screw holes but decided to just use them for now. This will help if I end up putting a decal on and need to remove them.

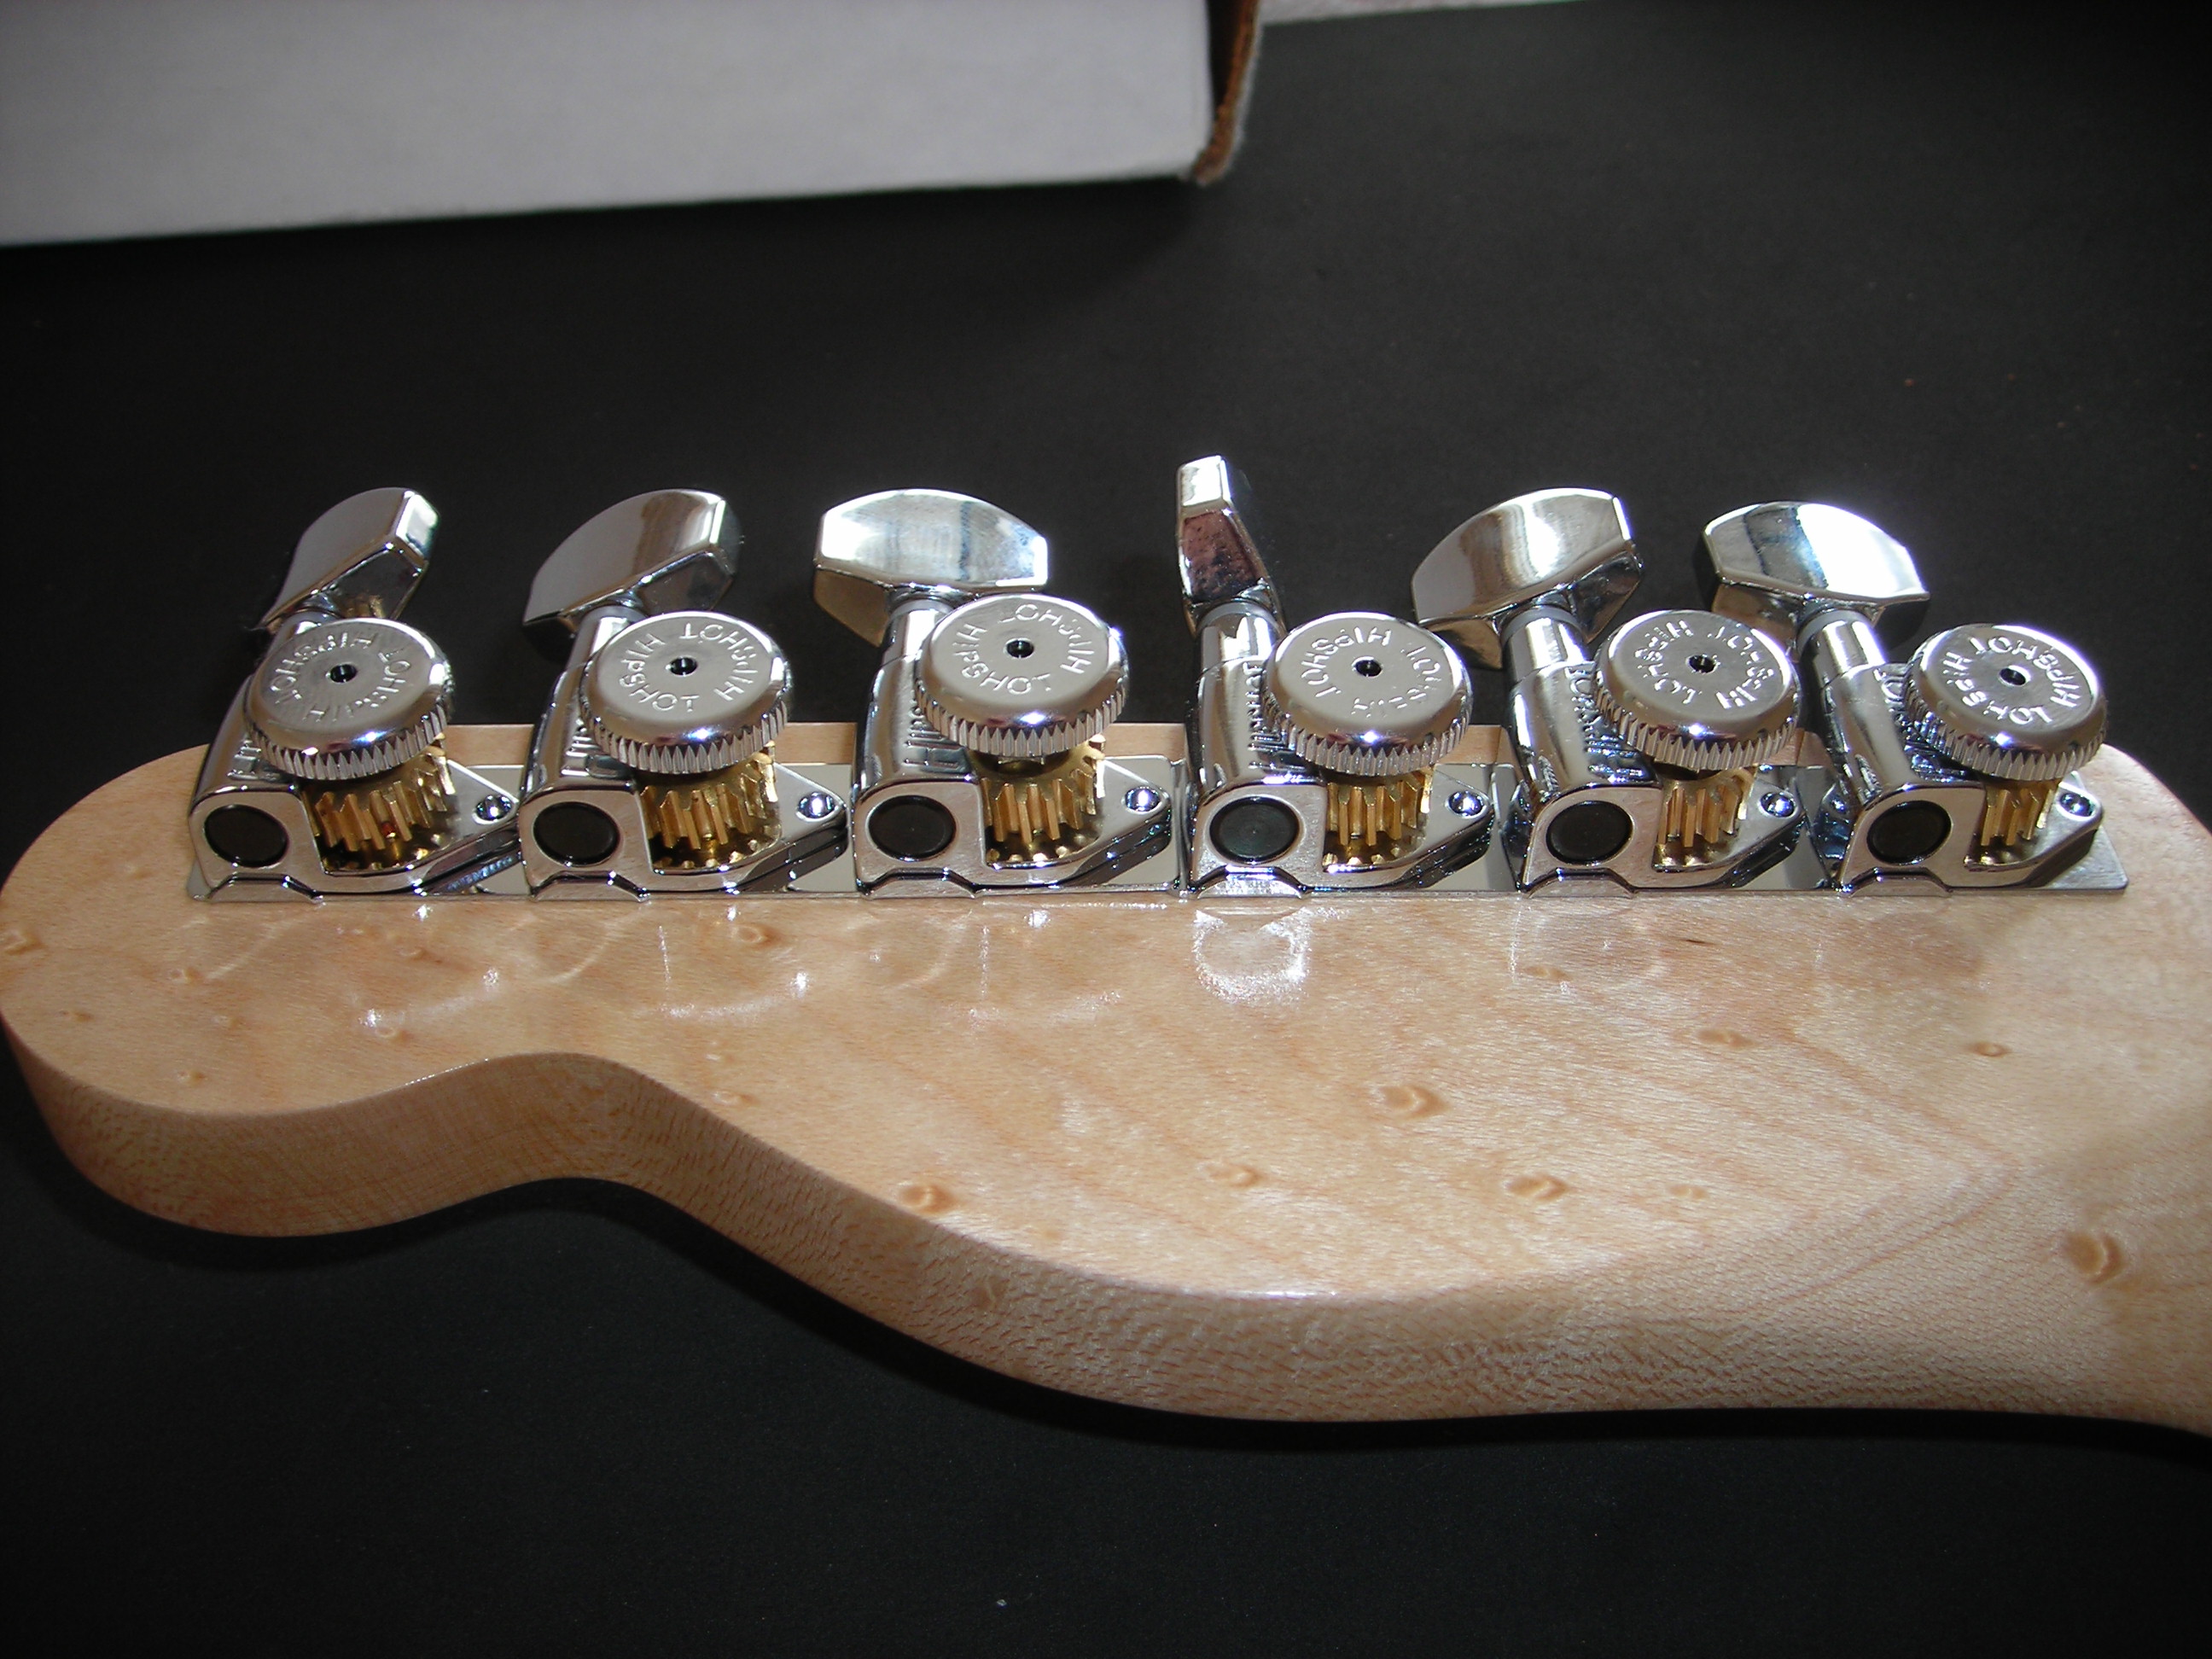
Assembly_9 by stratamania, on Flickr

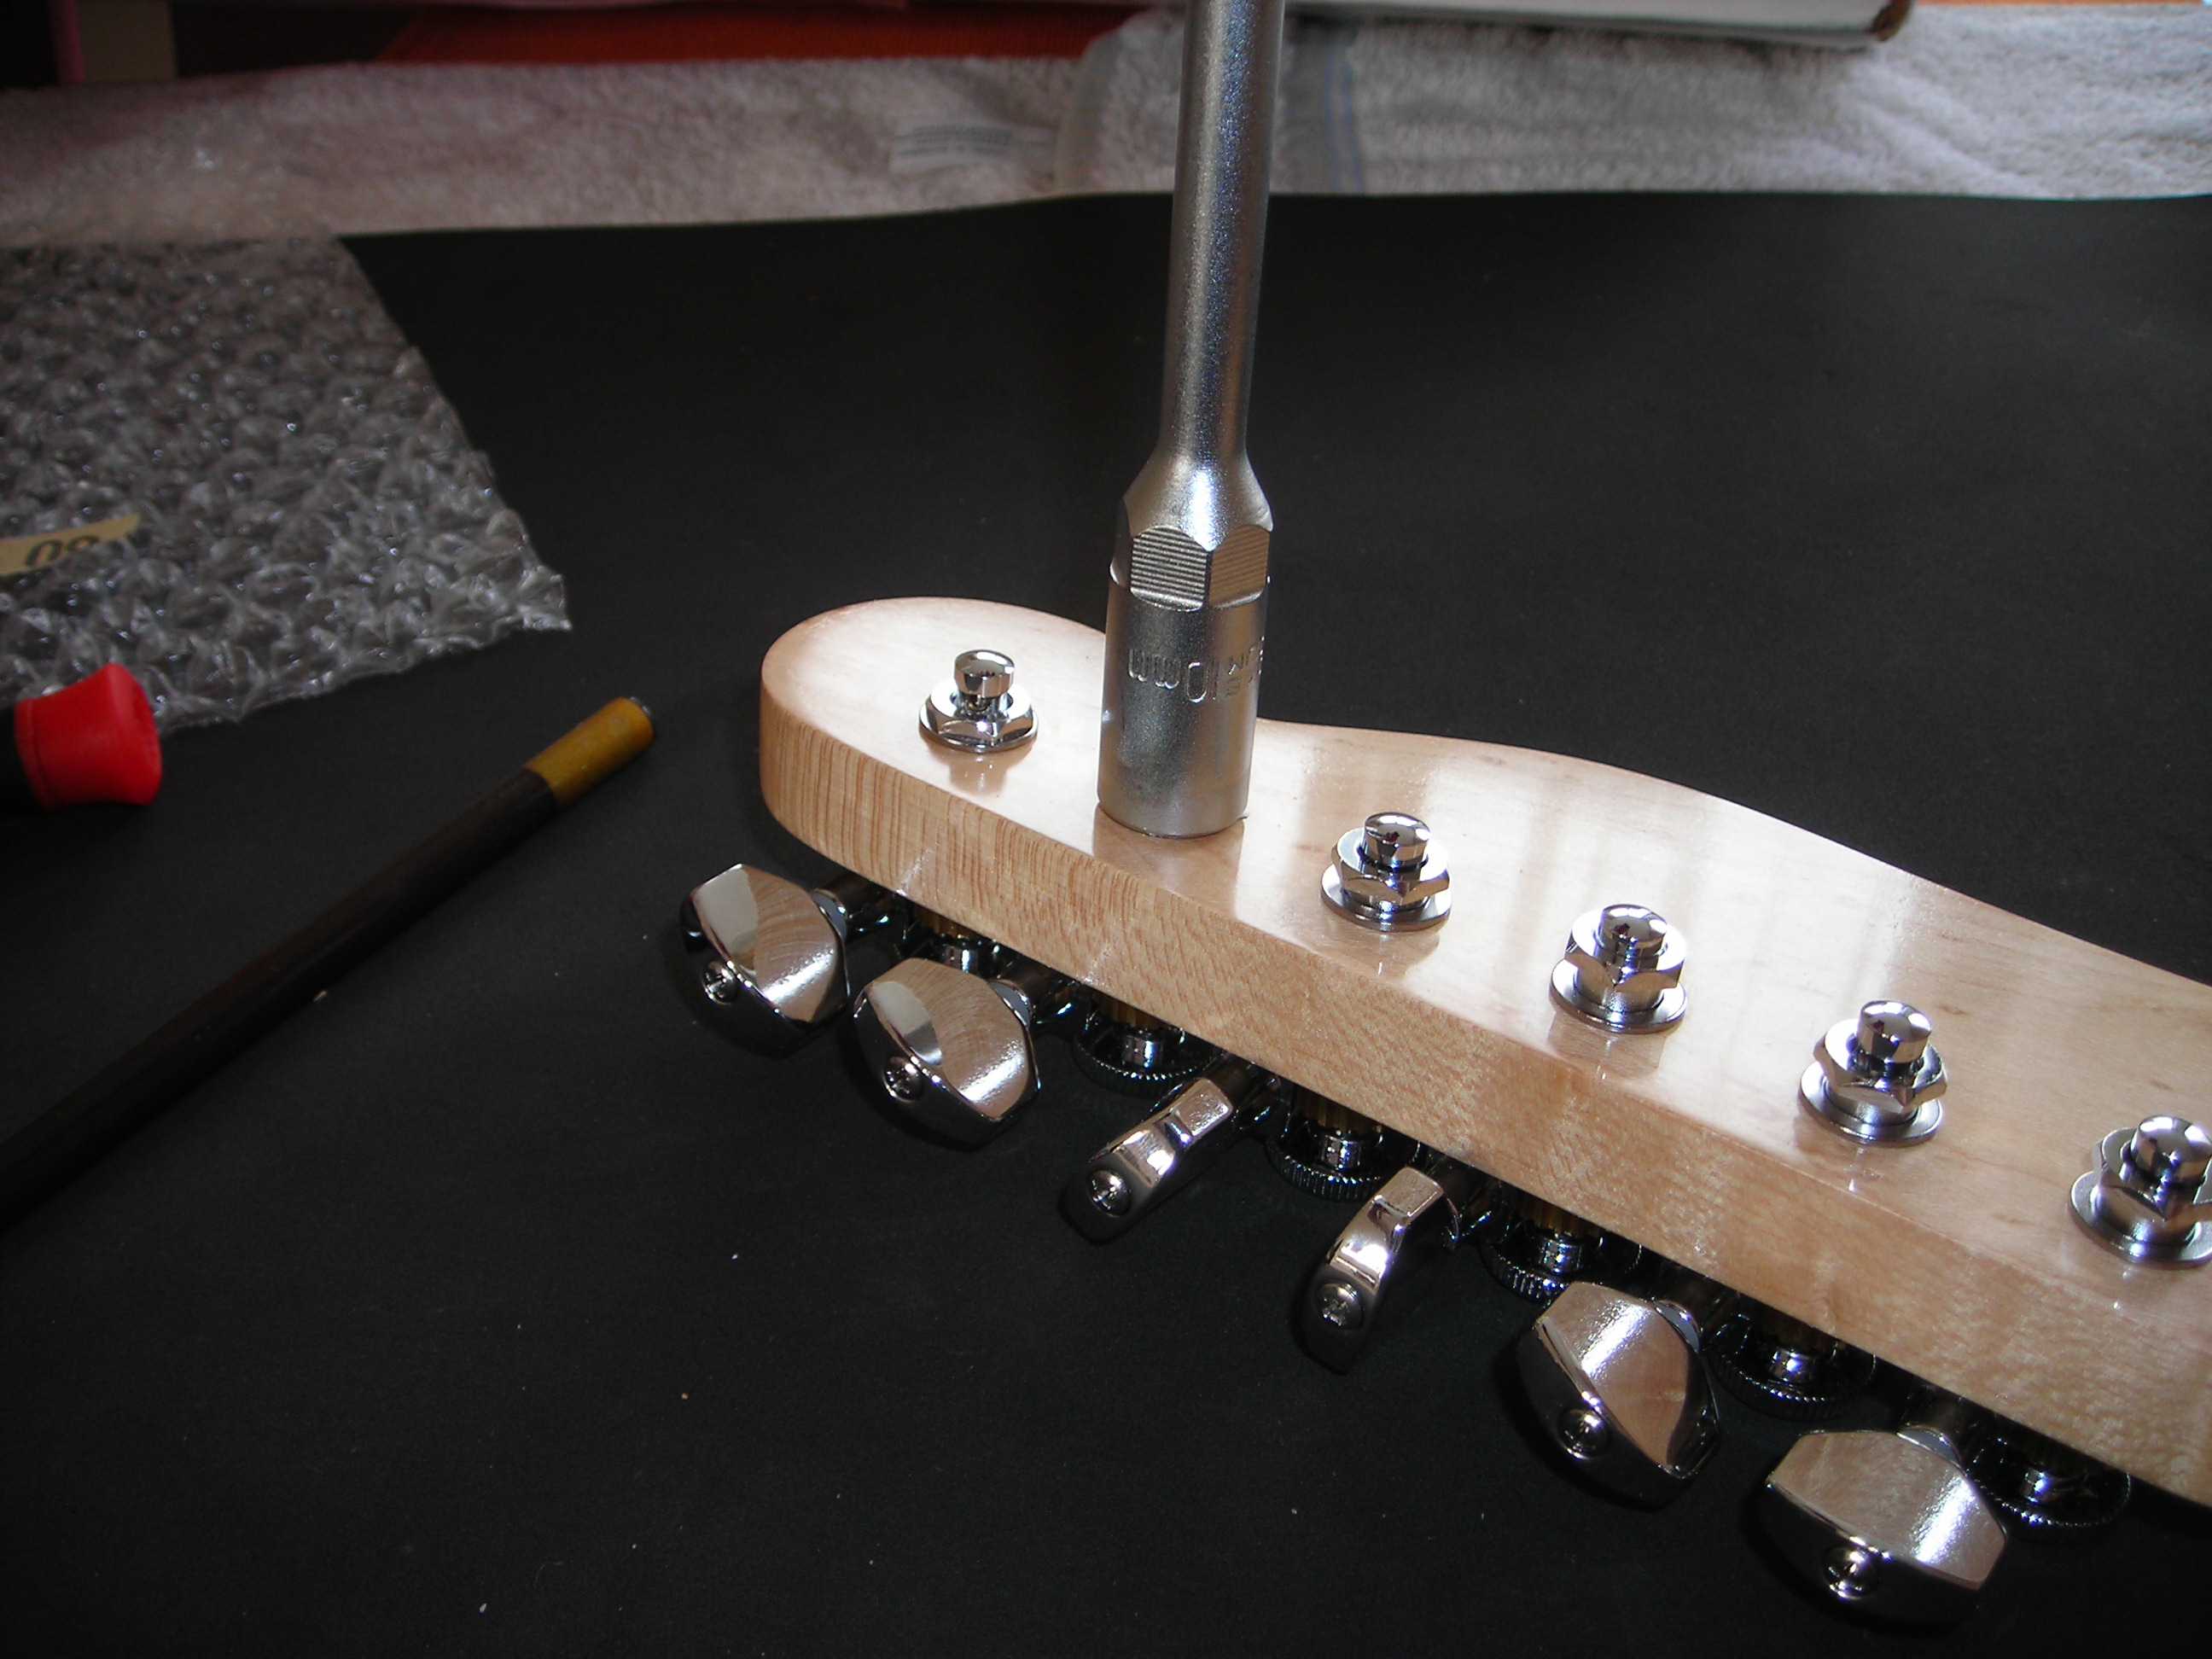
Assembly_10 by stratamania, on Flickr


Machine heads were done. The Hipshot UMP system makes it straightforward.


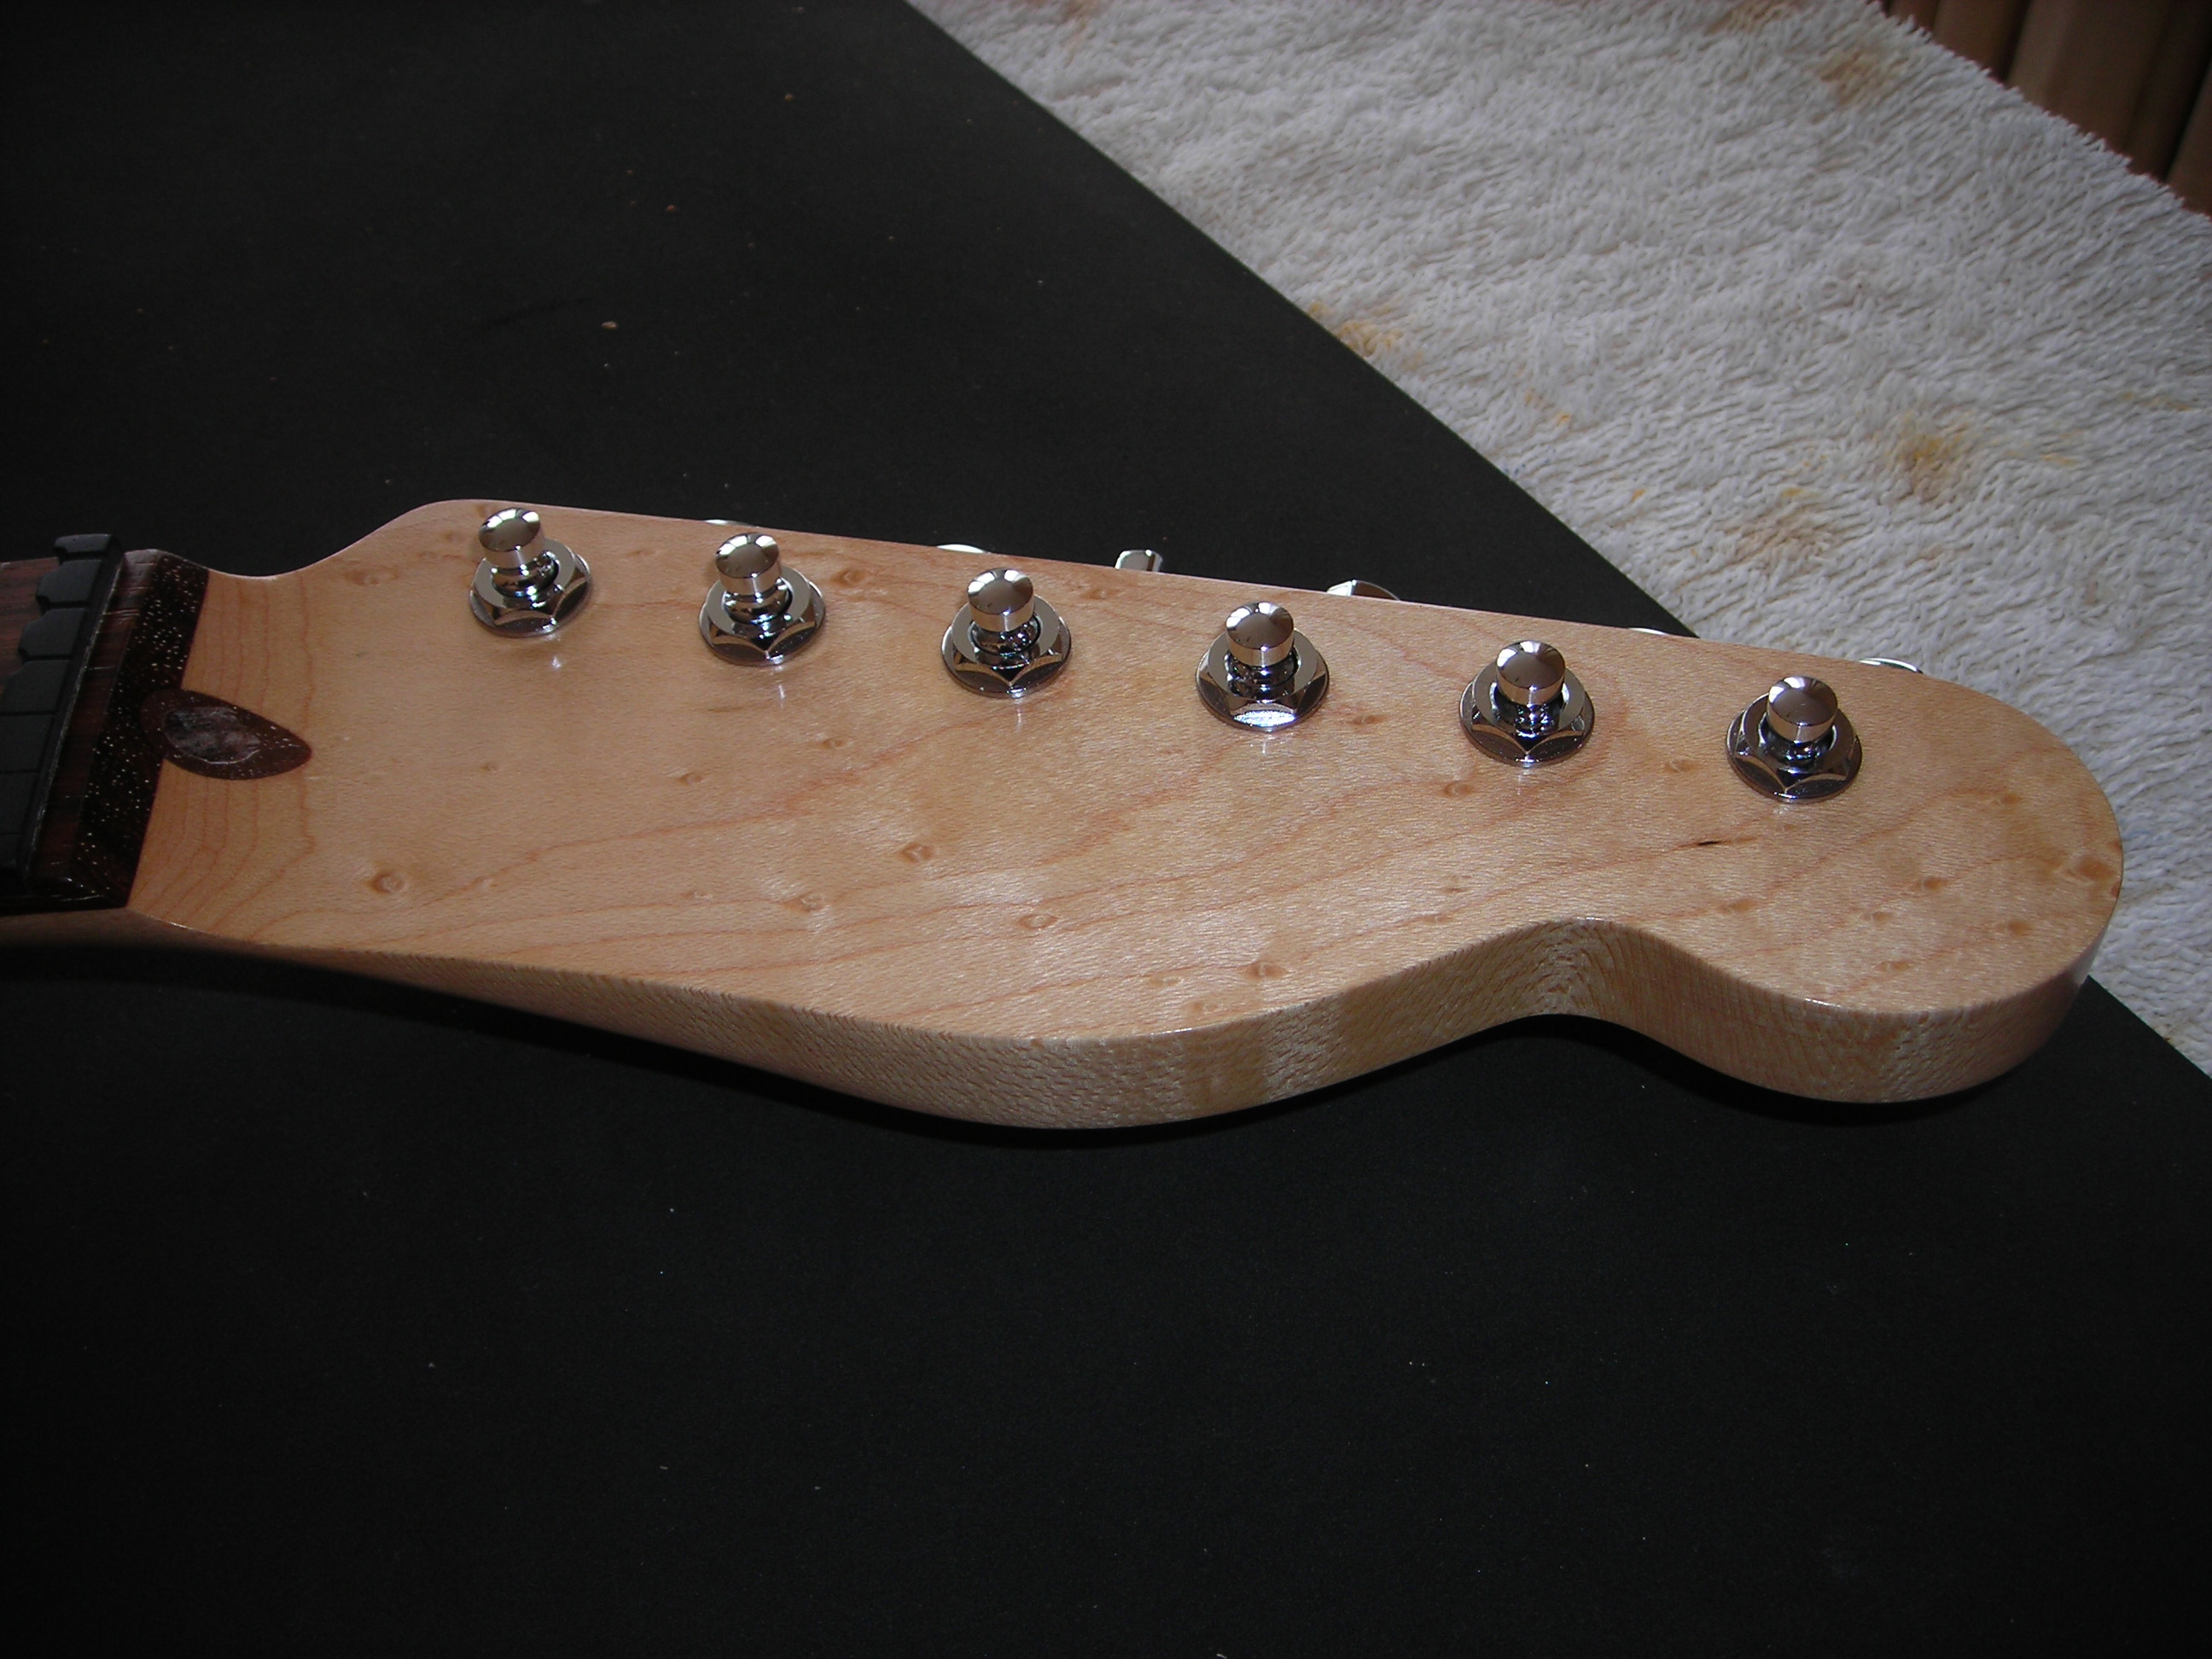
Assembly_11 by stratamania, on Flickr

 
Assembly Part 3.


Fitting the parts to the body. First providing a ground wire to the bridge from the control cavity. This is following an approach similar the one used by JumbleJumble here . http://unofficialwarmoth.com/index.php?topic=23526.msg345183#msg345183


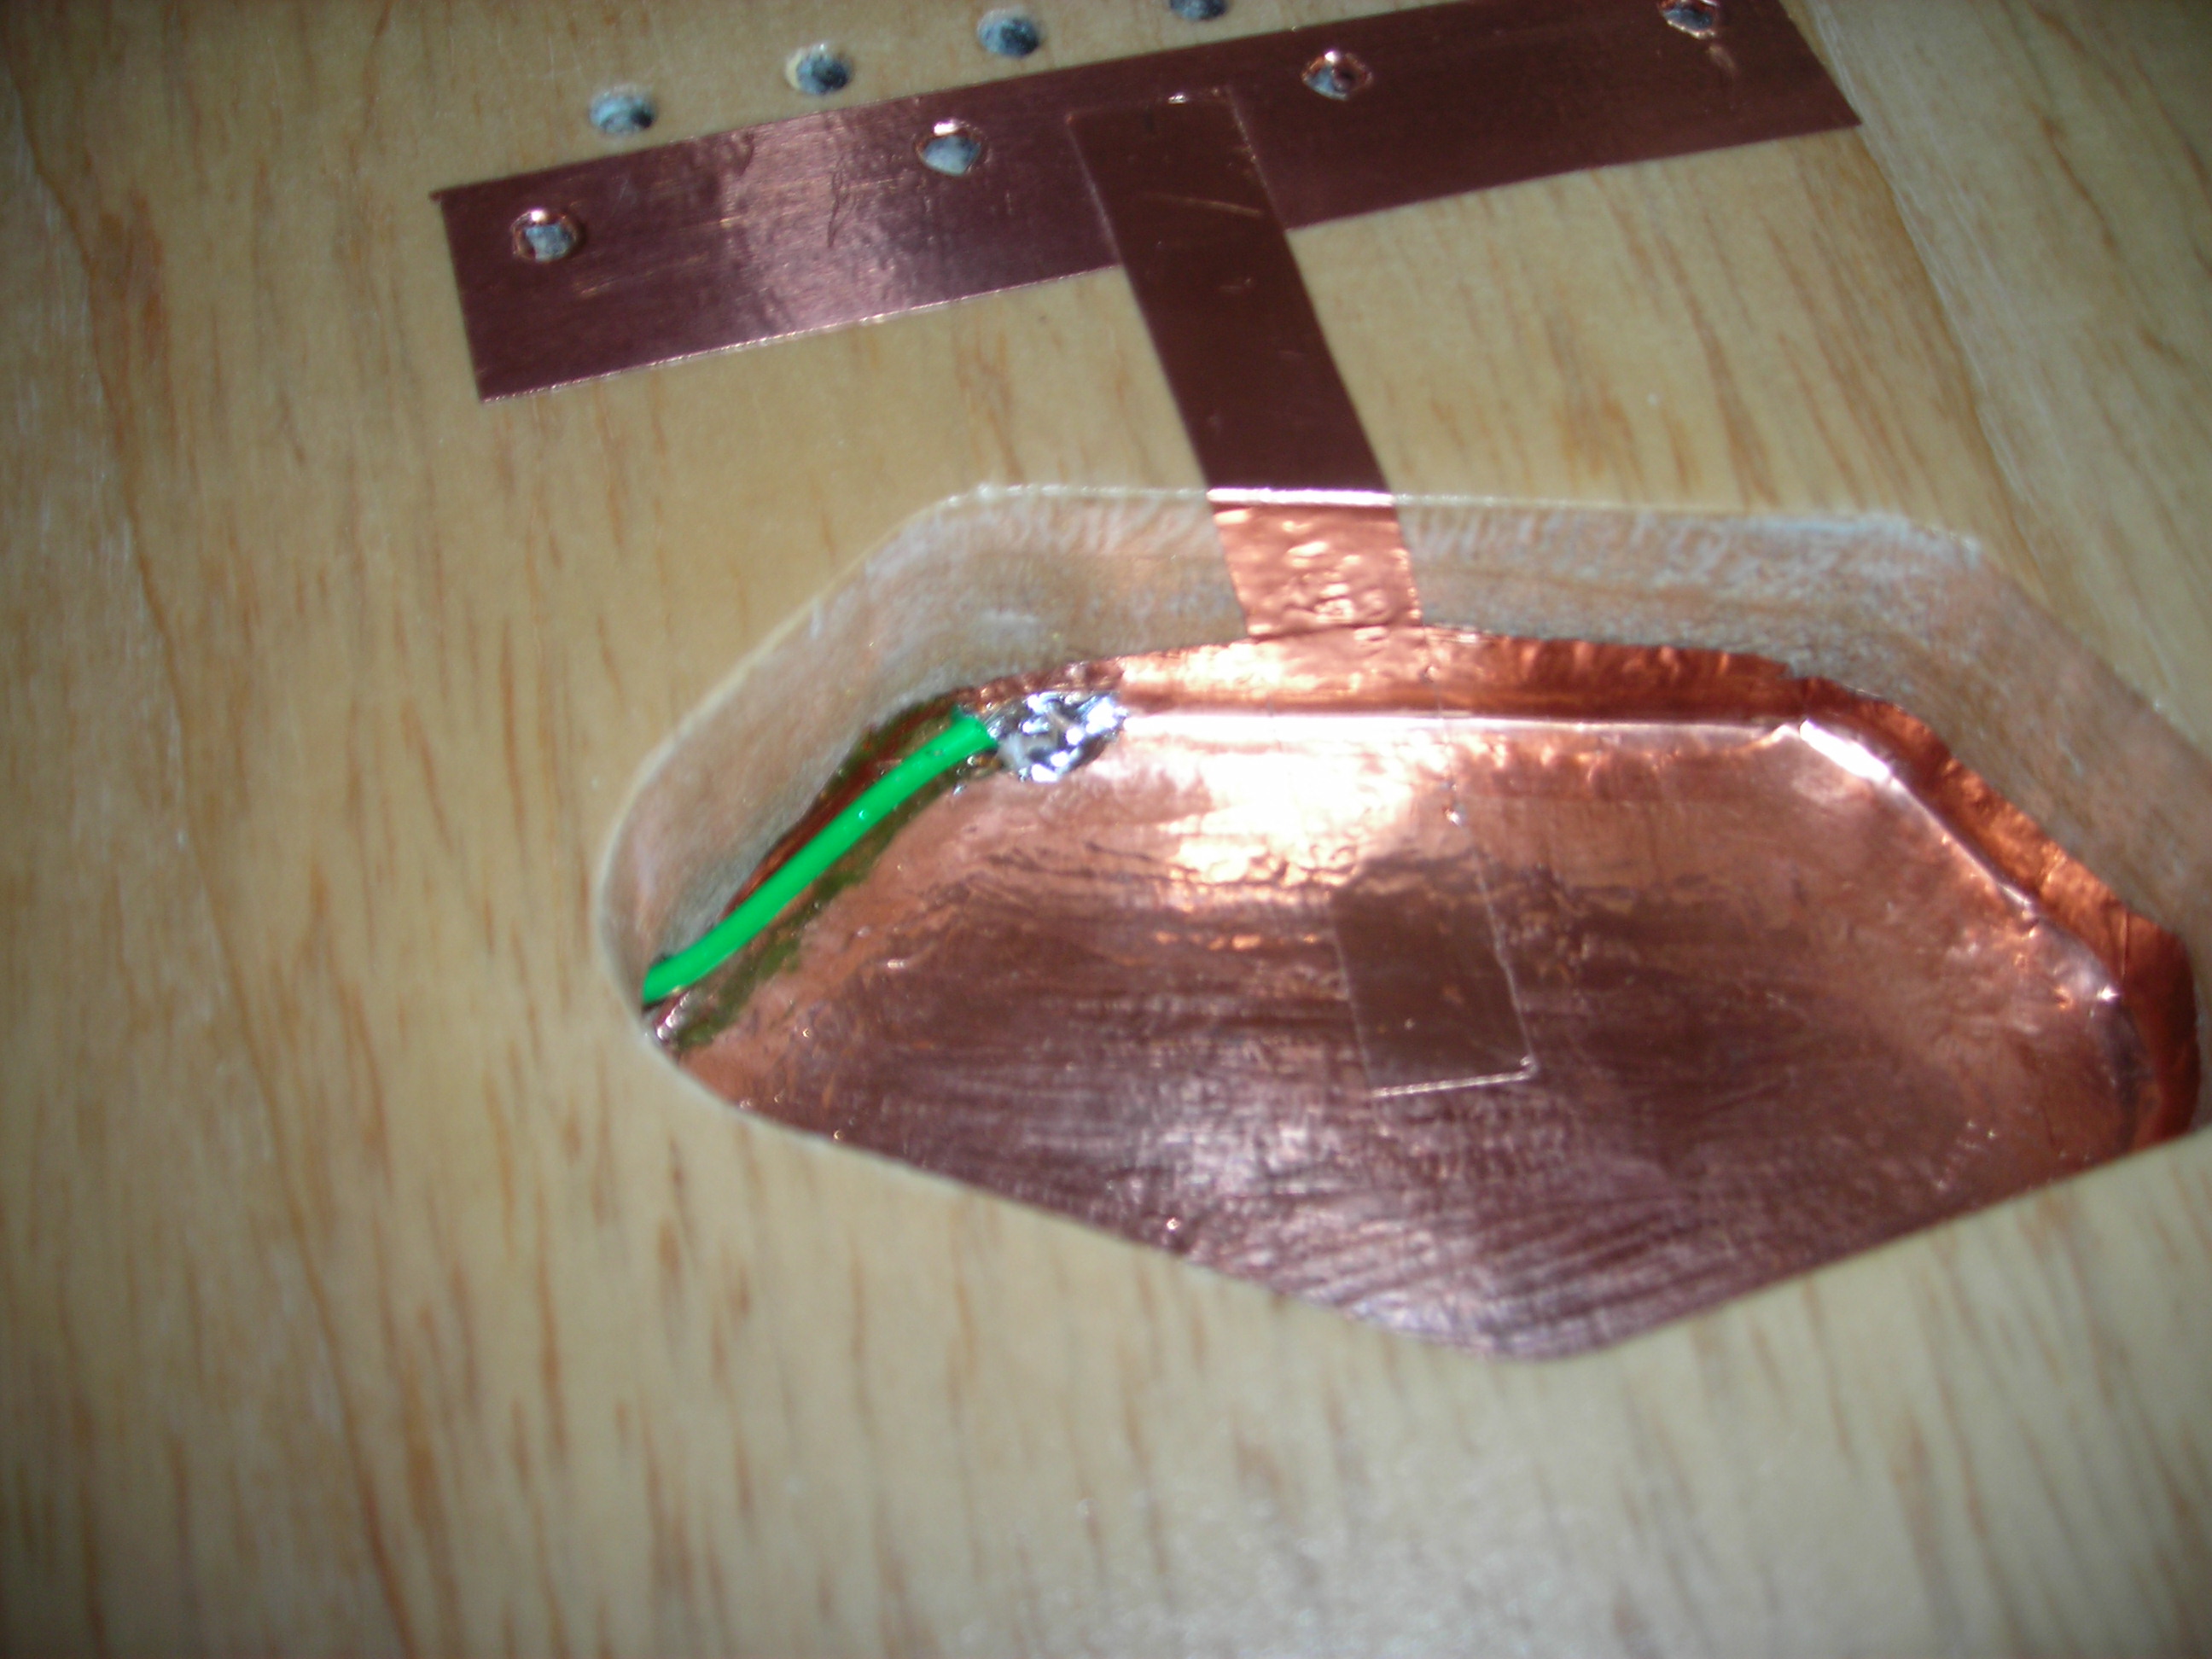
Assembly_12 by stratamania, on Flickr

I soldered some wires to the jack and ran them to the control cavity and fitted the electro socket.  EDIT. The electro socket photo shows the nut on the outside it's since been changed so the nut is on the inside.

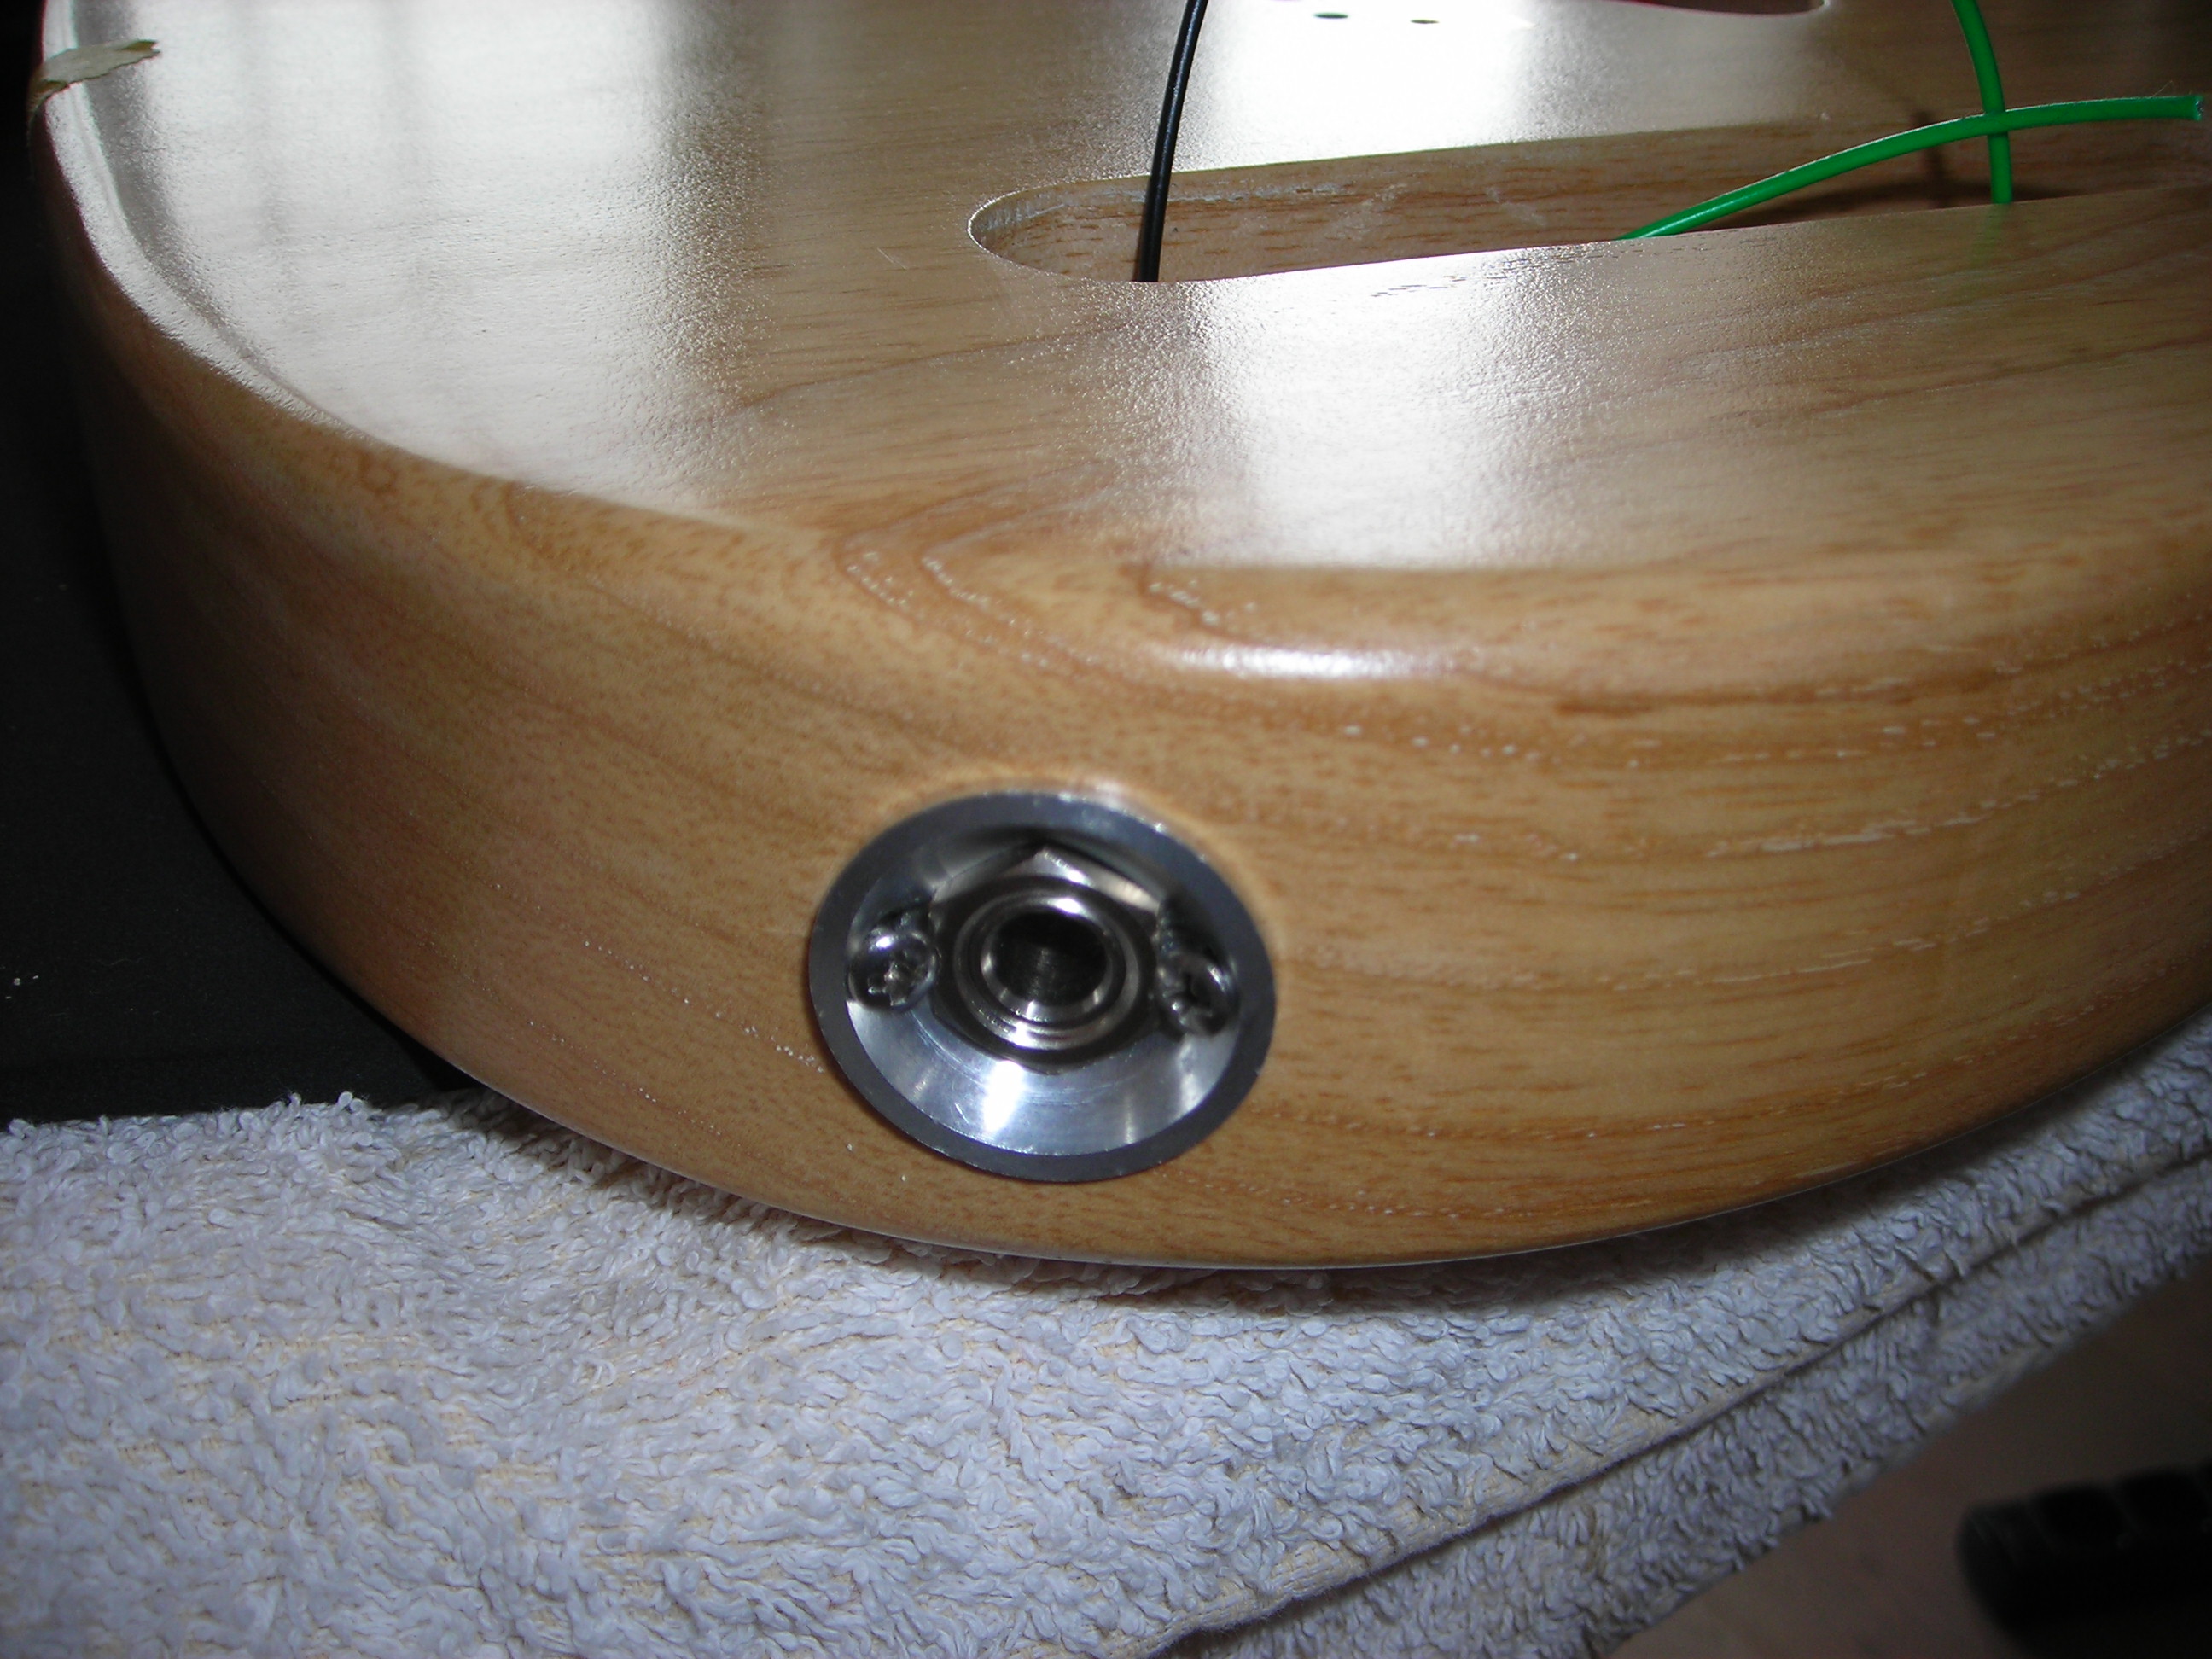
Assembly_13 by stratamania, on Flickr


Next fitting the bridge. I removed the saddles to make the body mounting screws easily accessible.

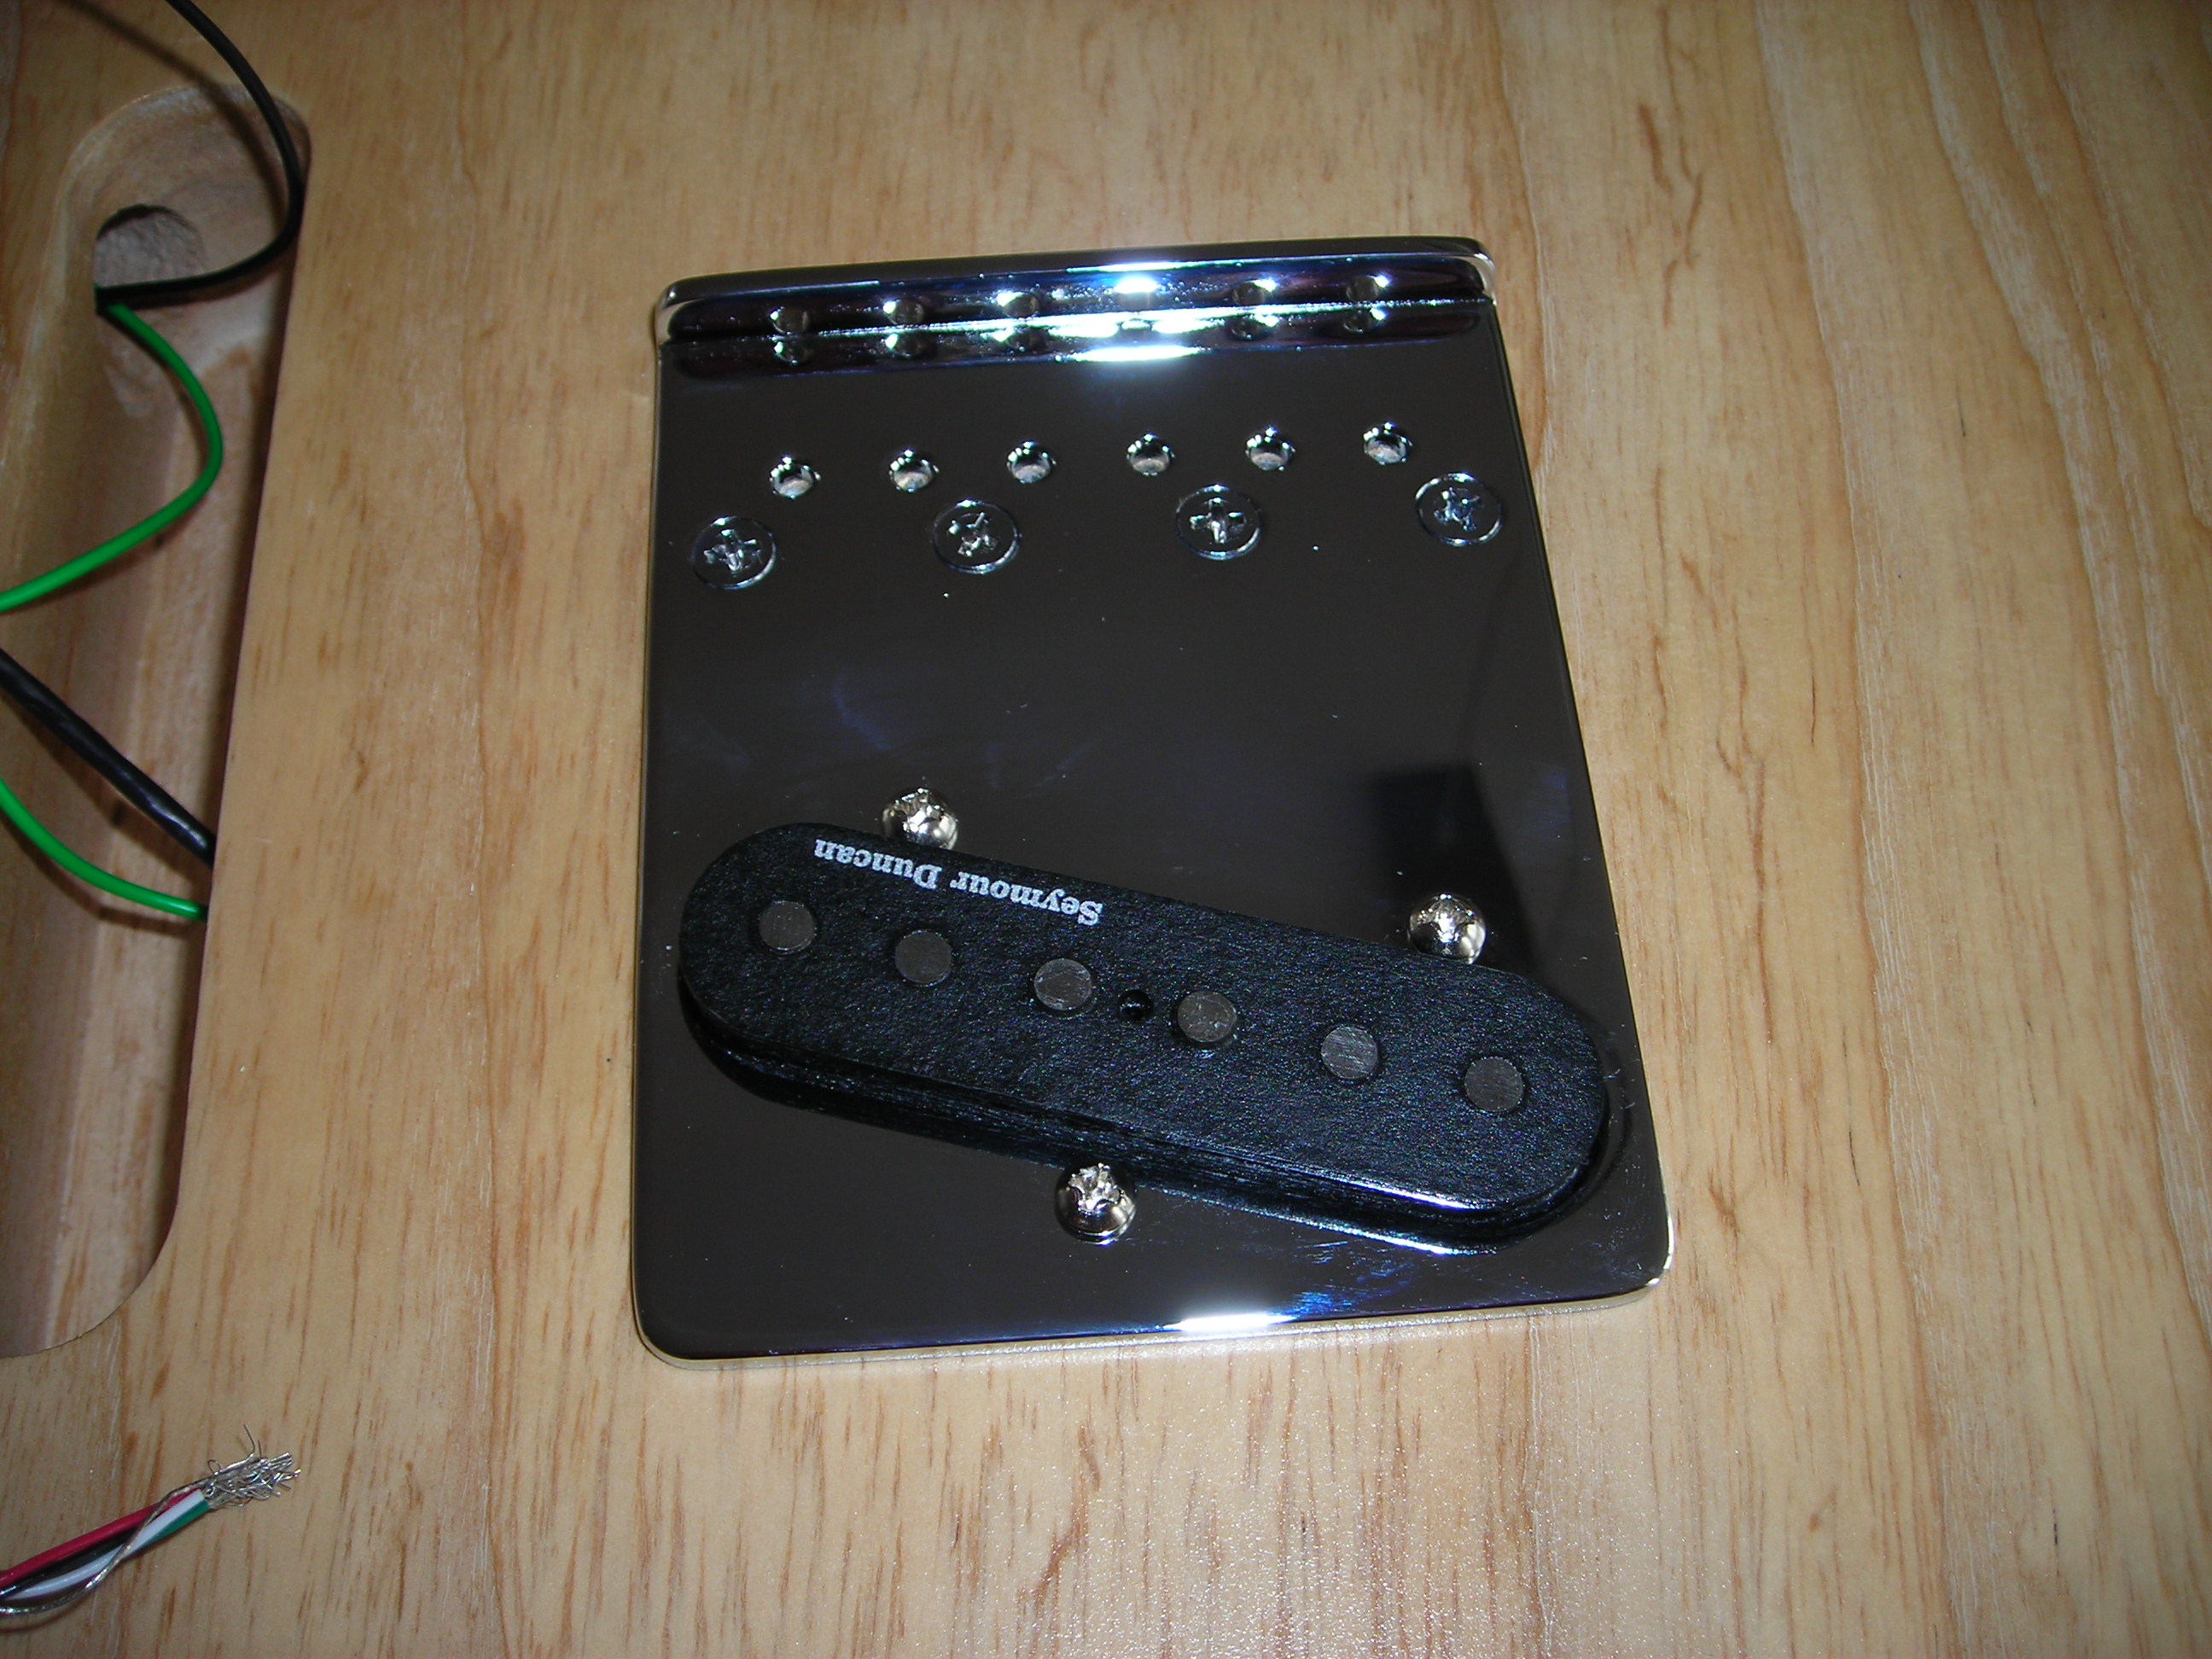
Assembly_14 by stratamania, on Flickr

Bridge fitted.

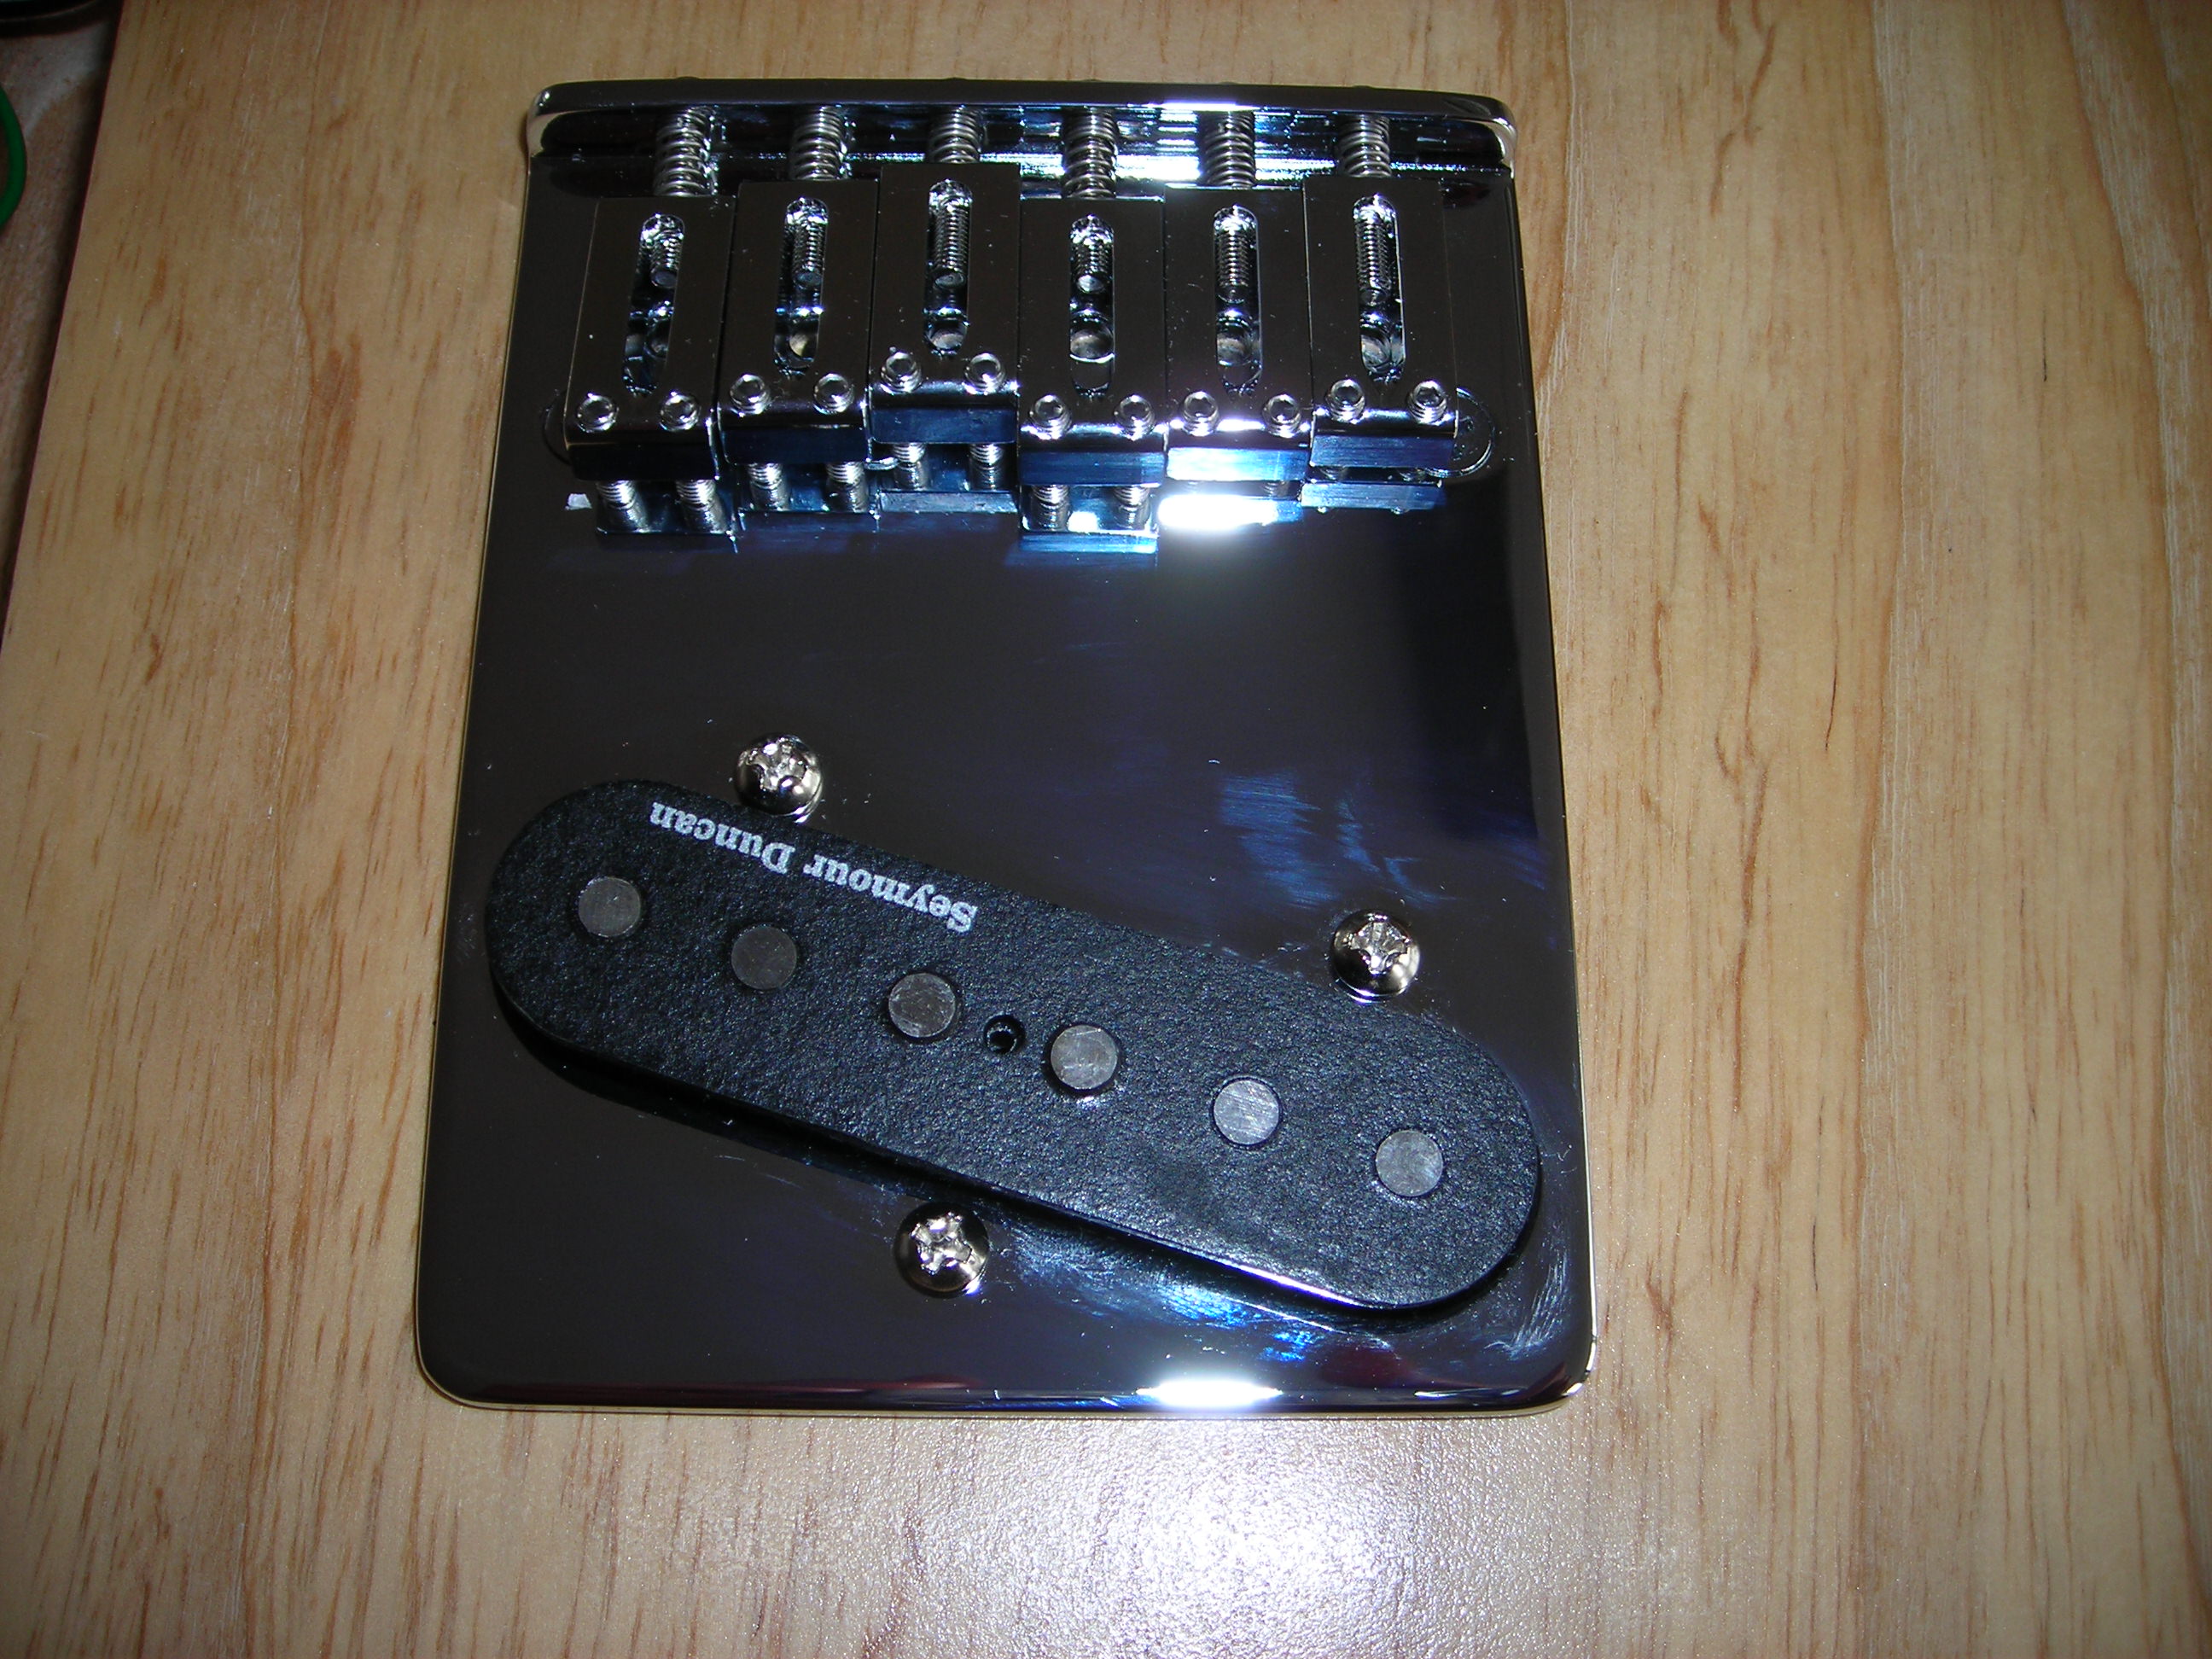
Assembly_15 by stratamania, on Flickr

At this point, the next job was fitting the scratchplate and neck pickup. As I went to check the post to see if my delivery had turned up the delivery arrived as I reached the front door. Good timing.


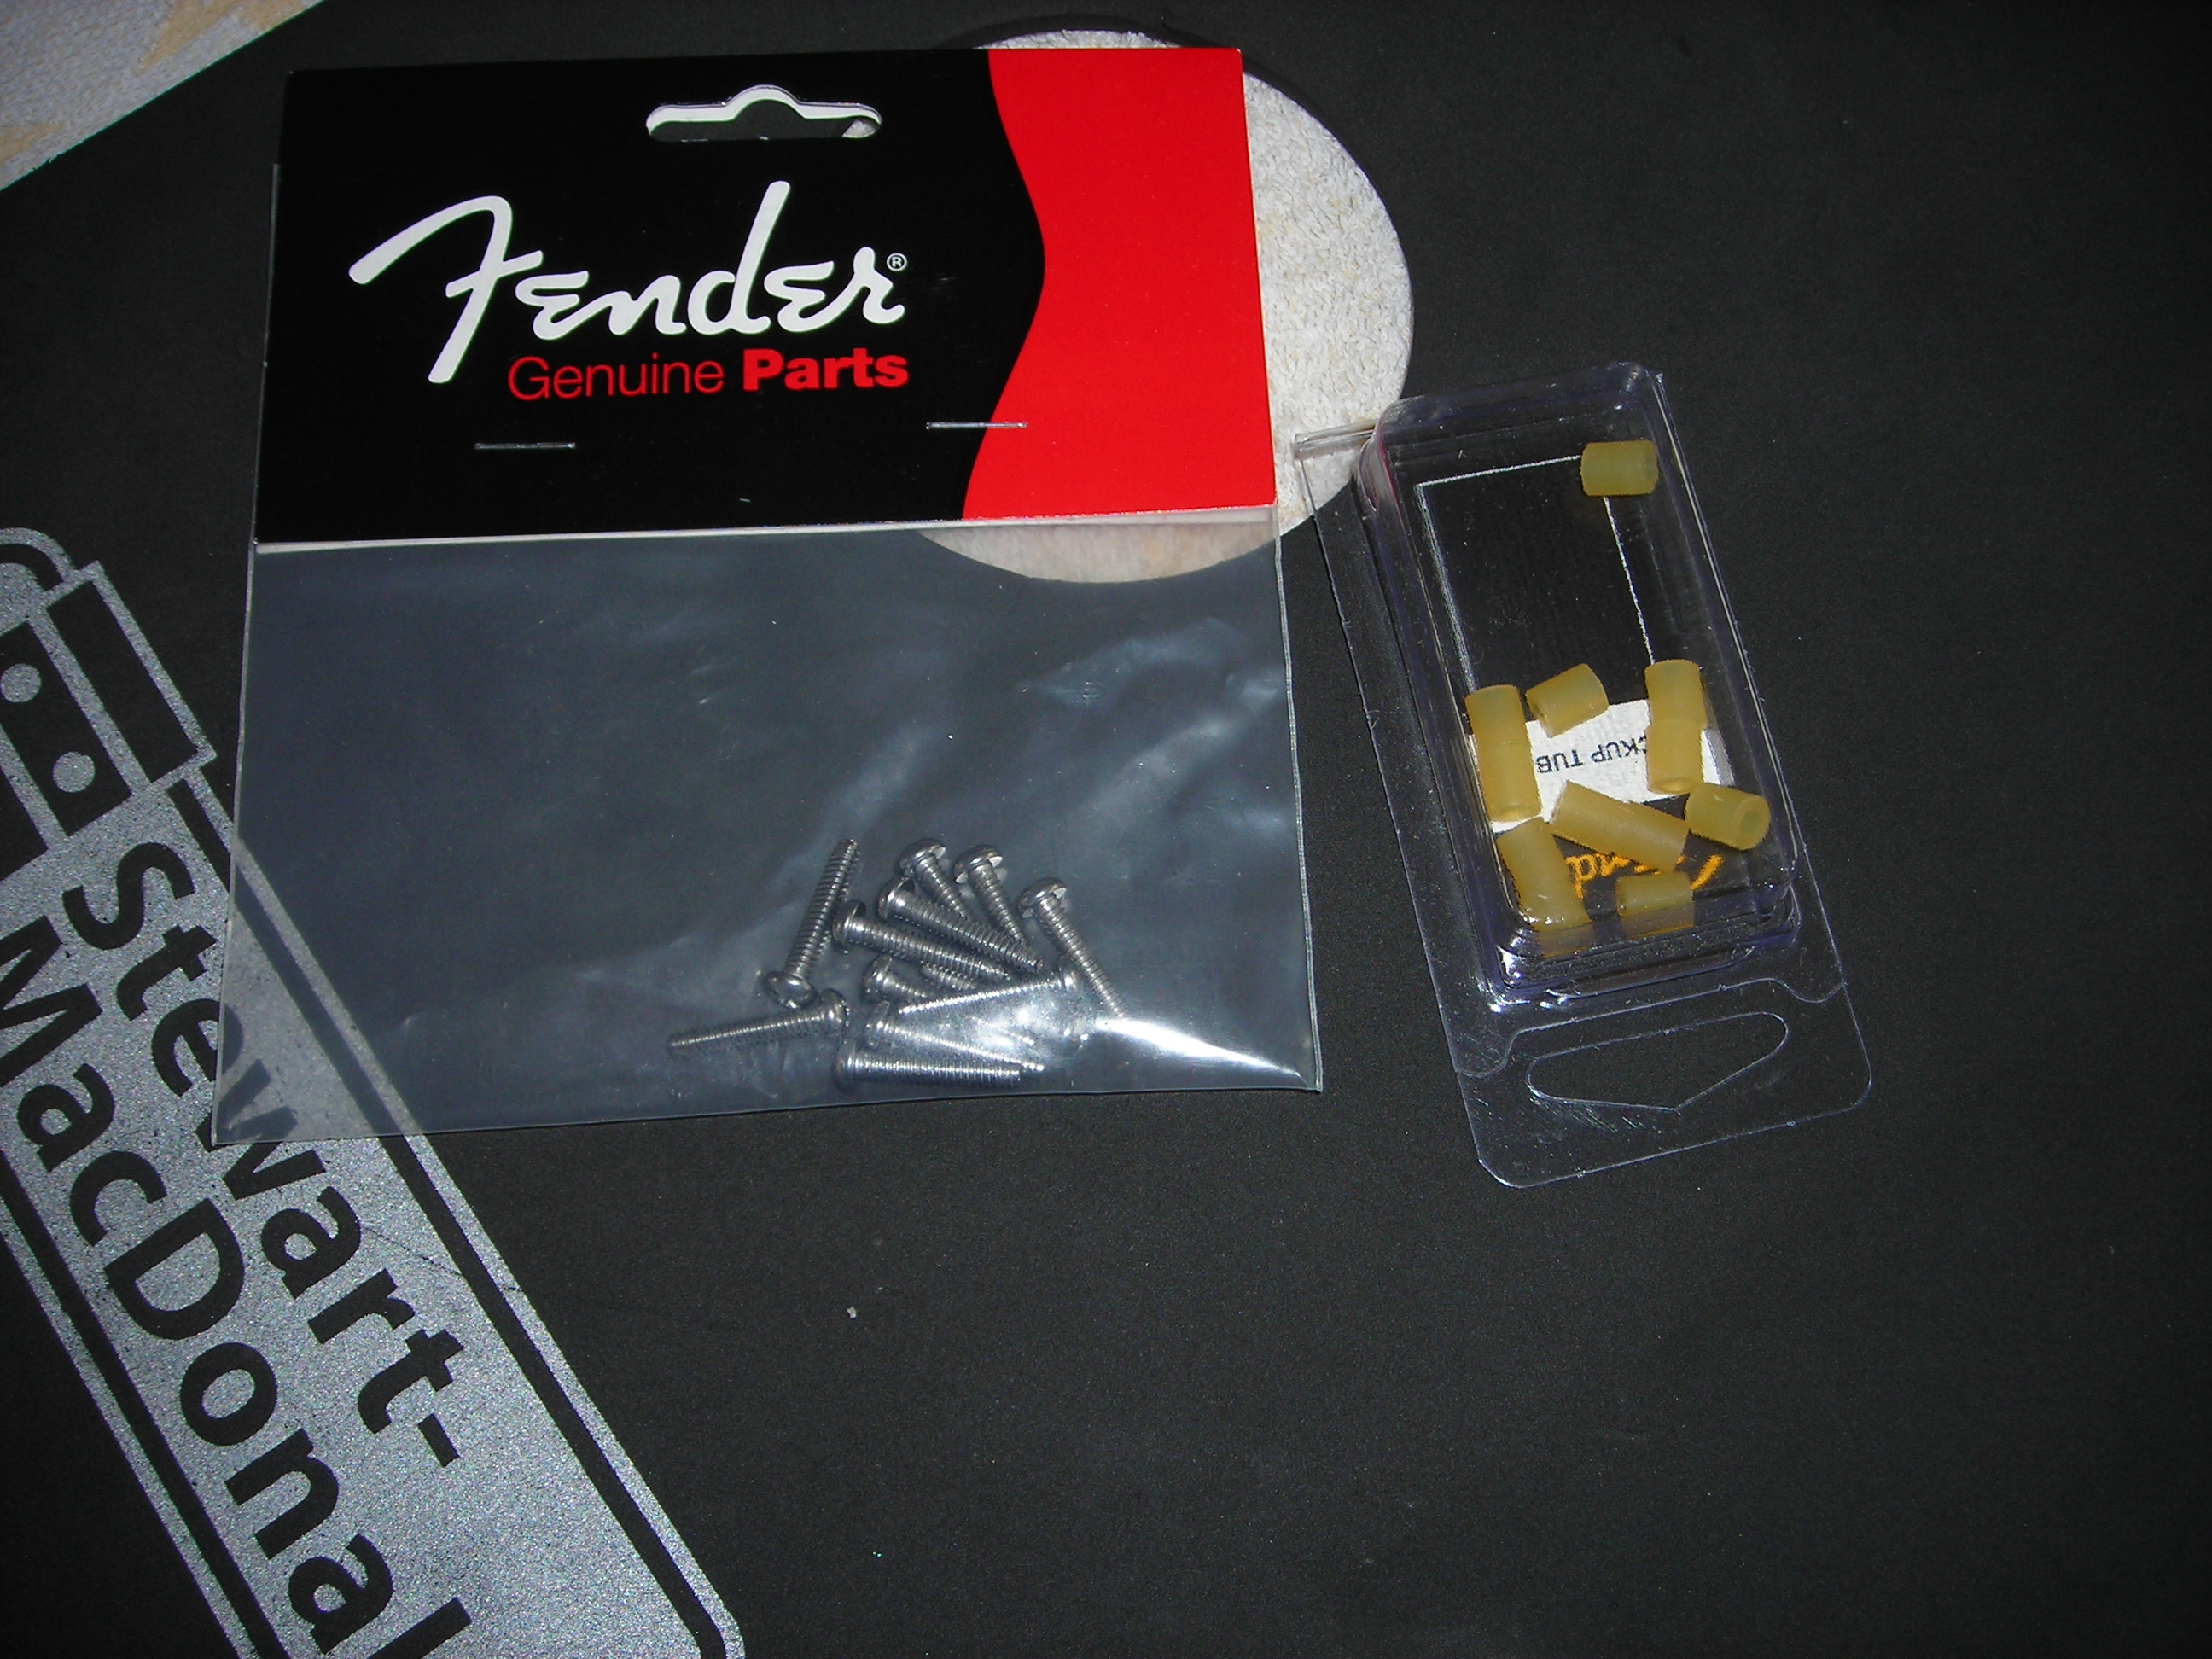
Assembly_16 by stratamania, on Flickr

Neck pickup fitted.

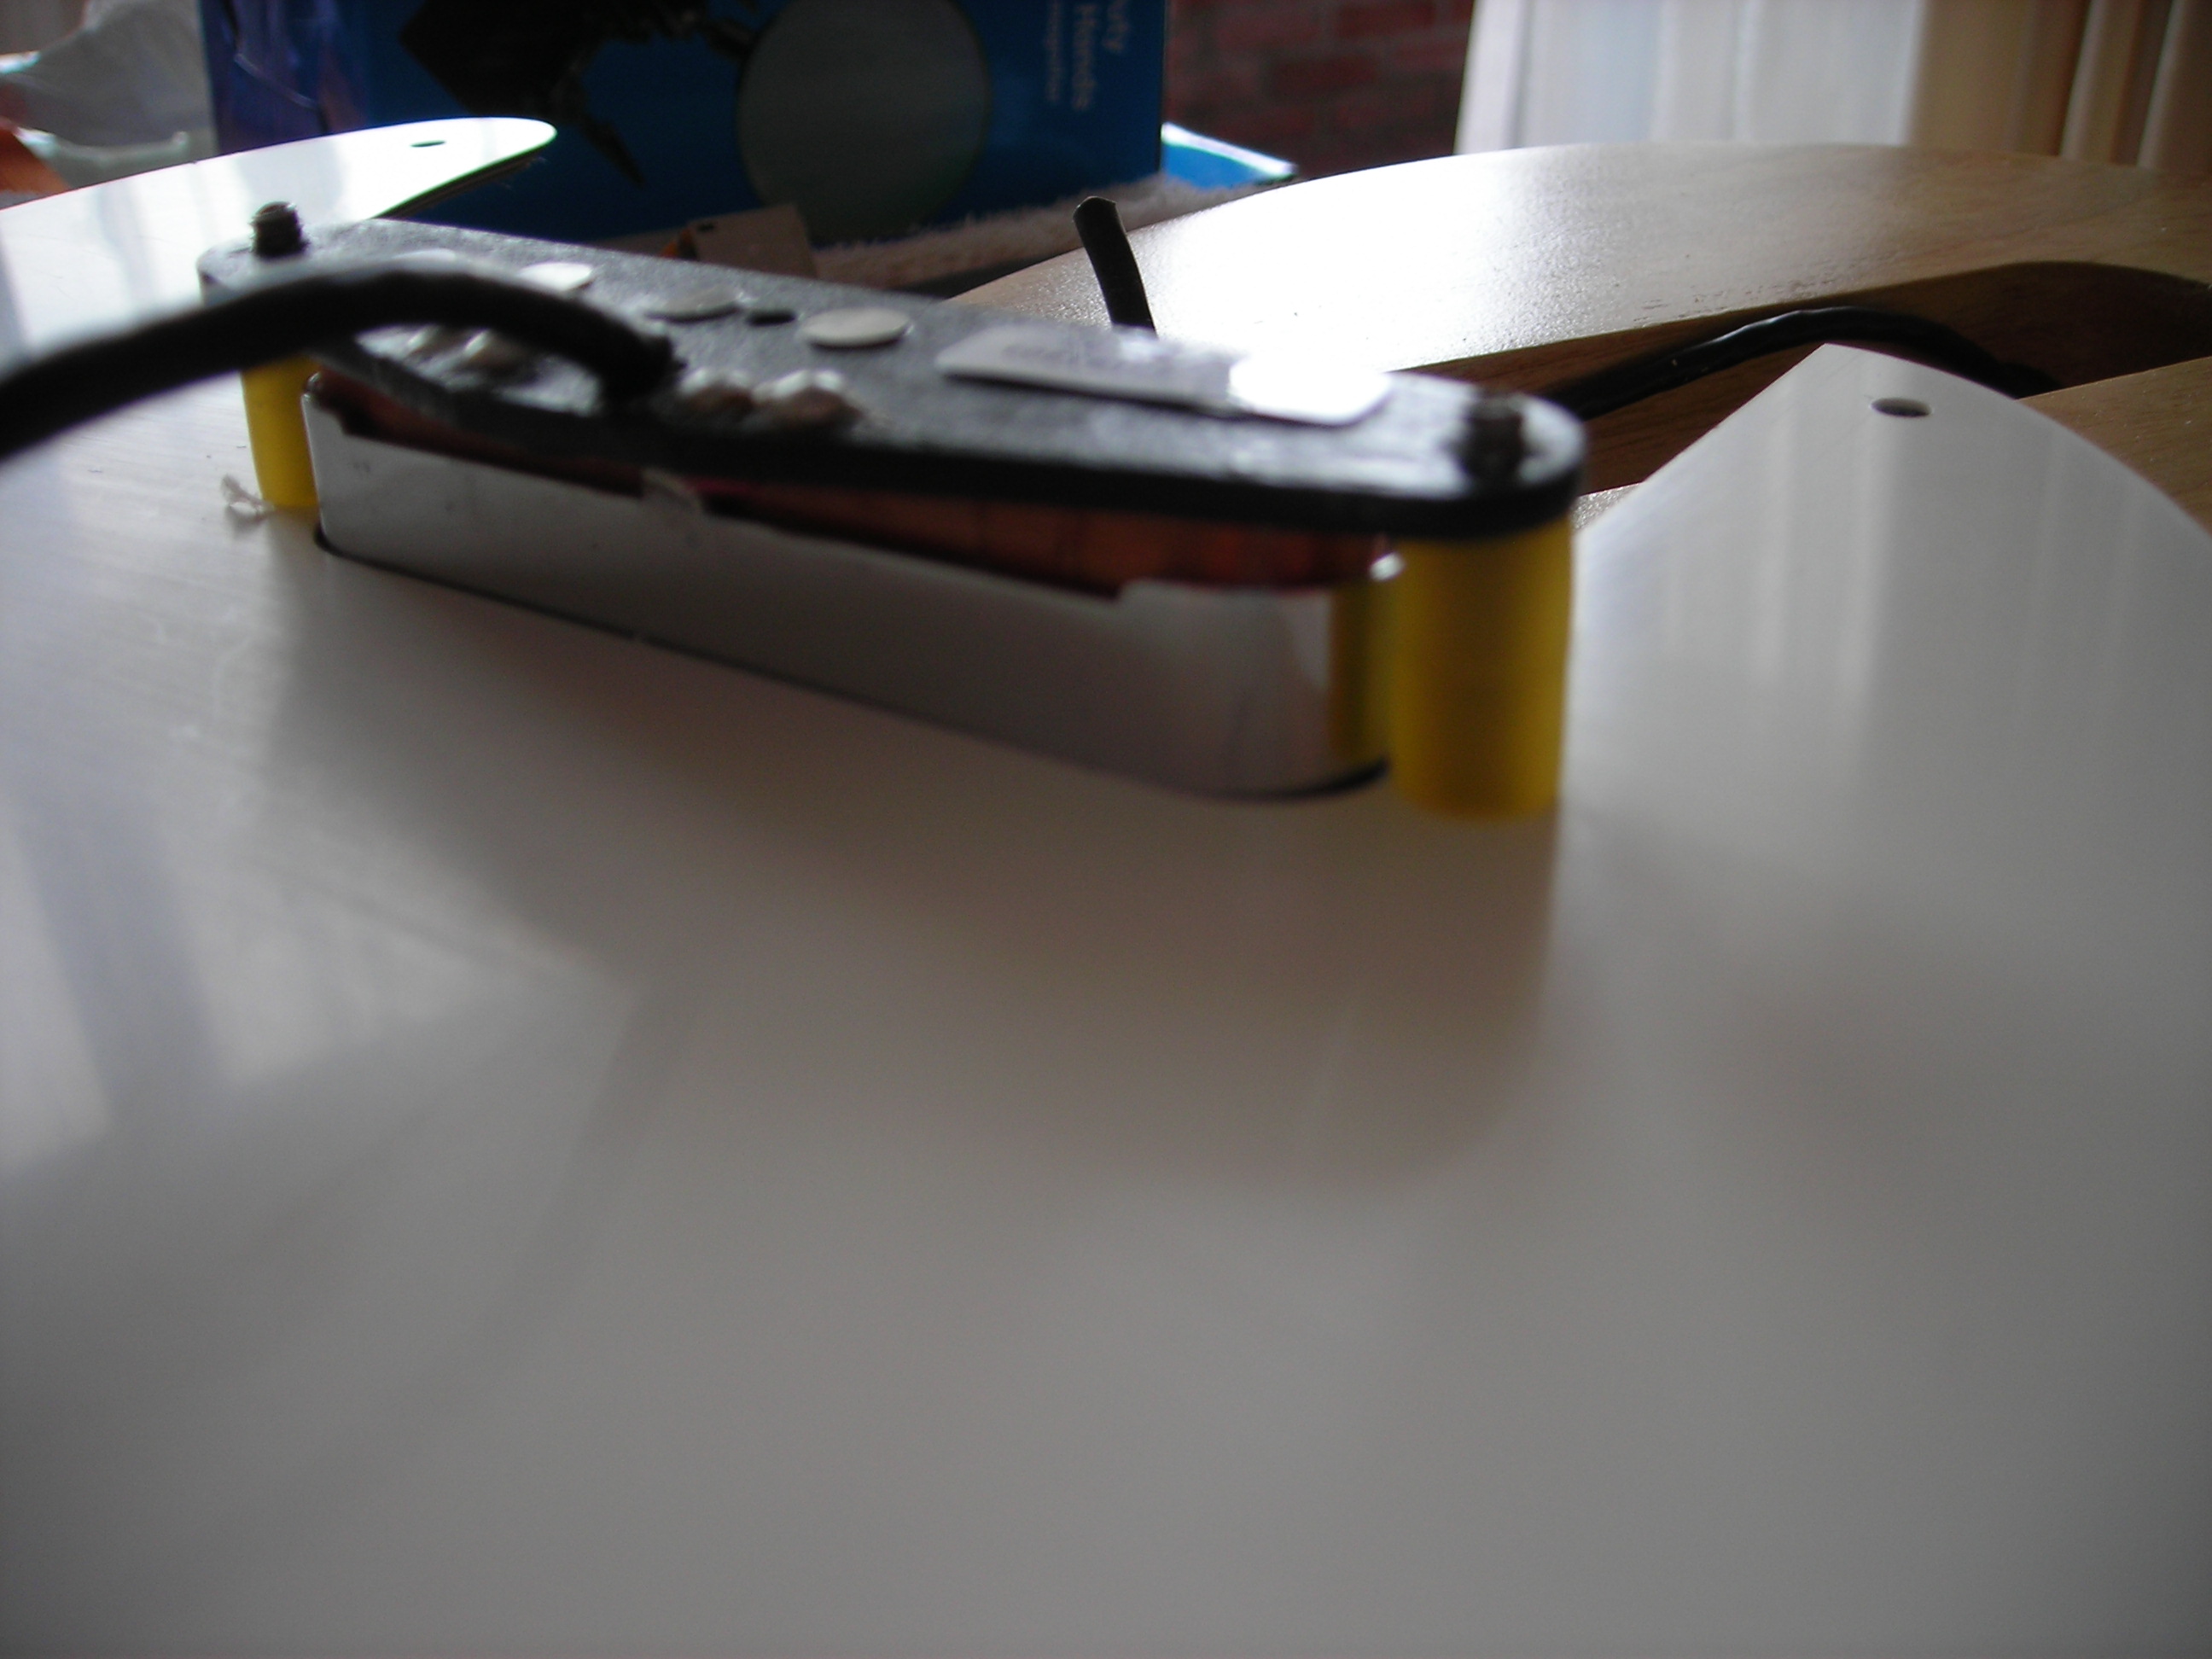
Assembly_17 by stratamania, on Flickr

Dry fitting with the neck in place to make sure all the parts are in the correct place in relation to each other.


Scratchplate screwed into place and holes drilled ready for control plate attachment.

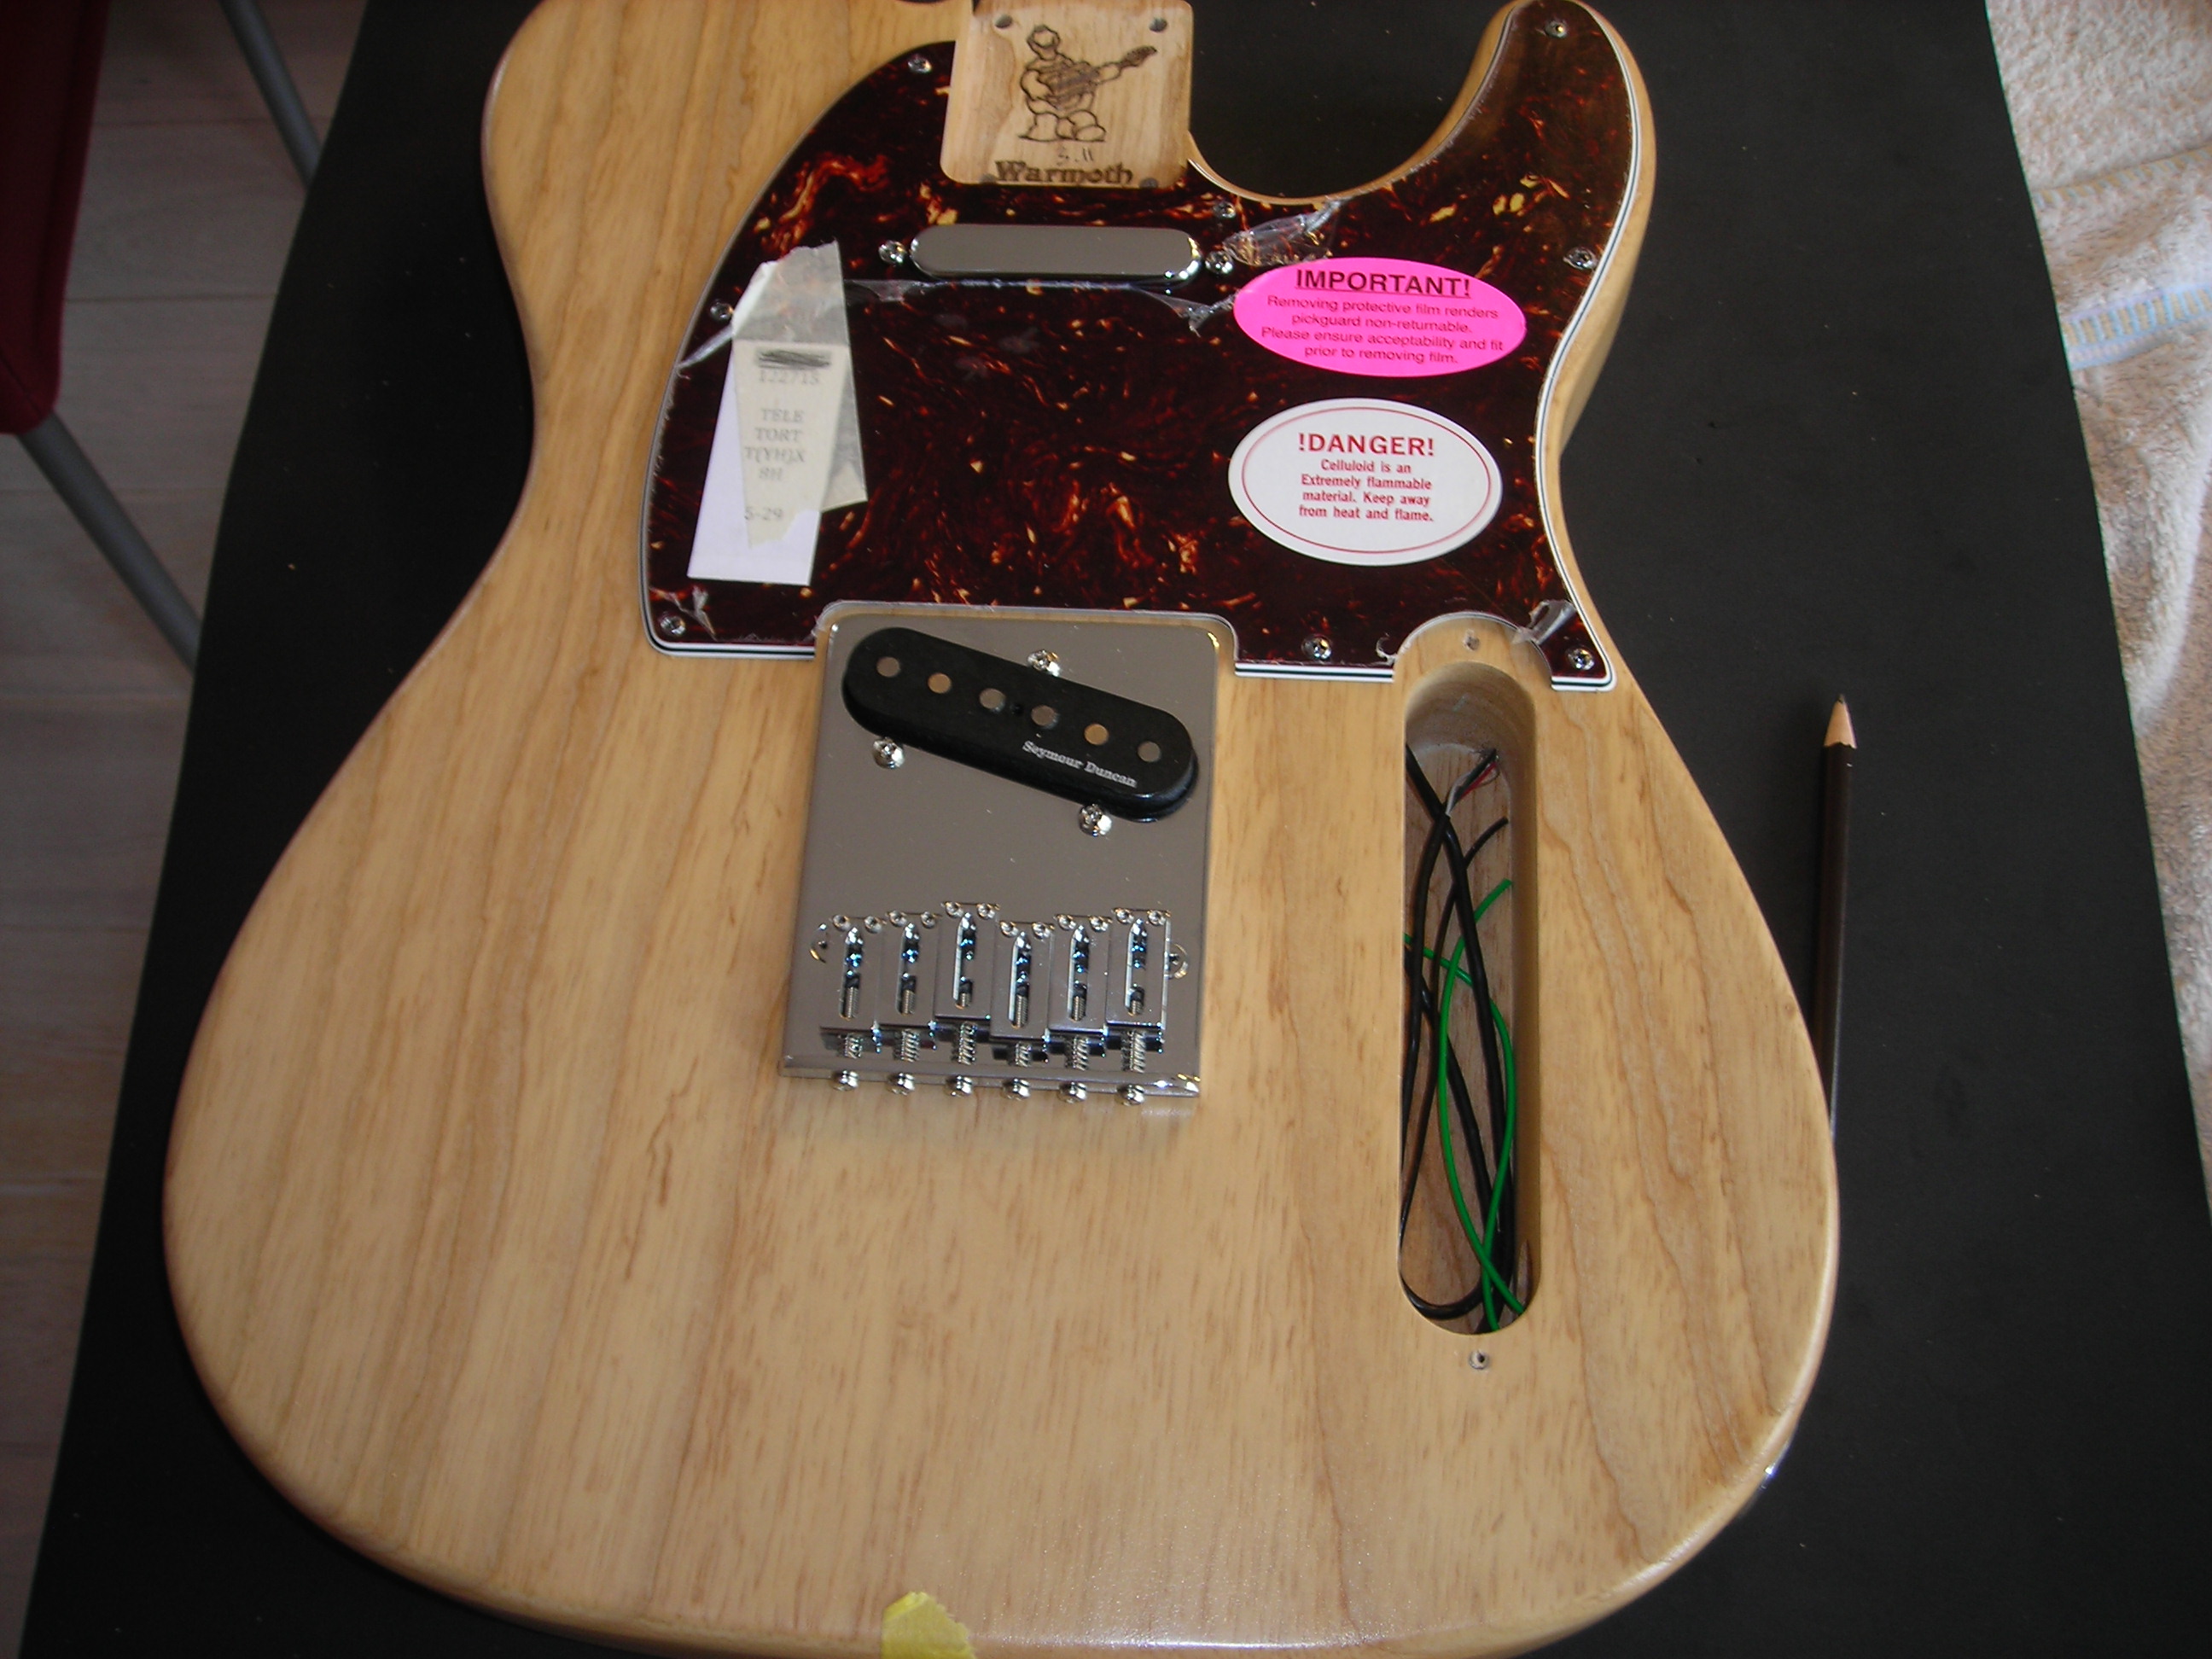
Assembly_20 by stratamania, on Flickr

Control plate wired ready for attachment to pick up wires and to the output jack.  I used my iPad and diagram to check the wiring as I went. I decided to try the power boost option as shown earlier in the thread.


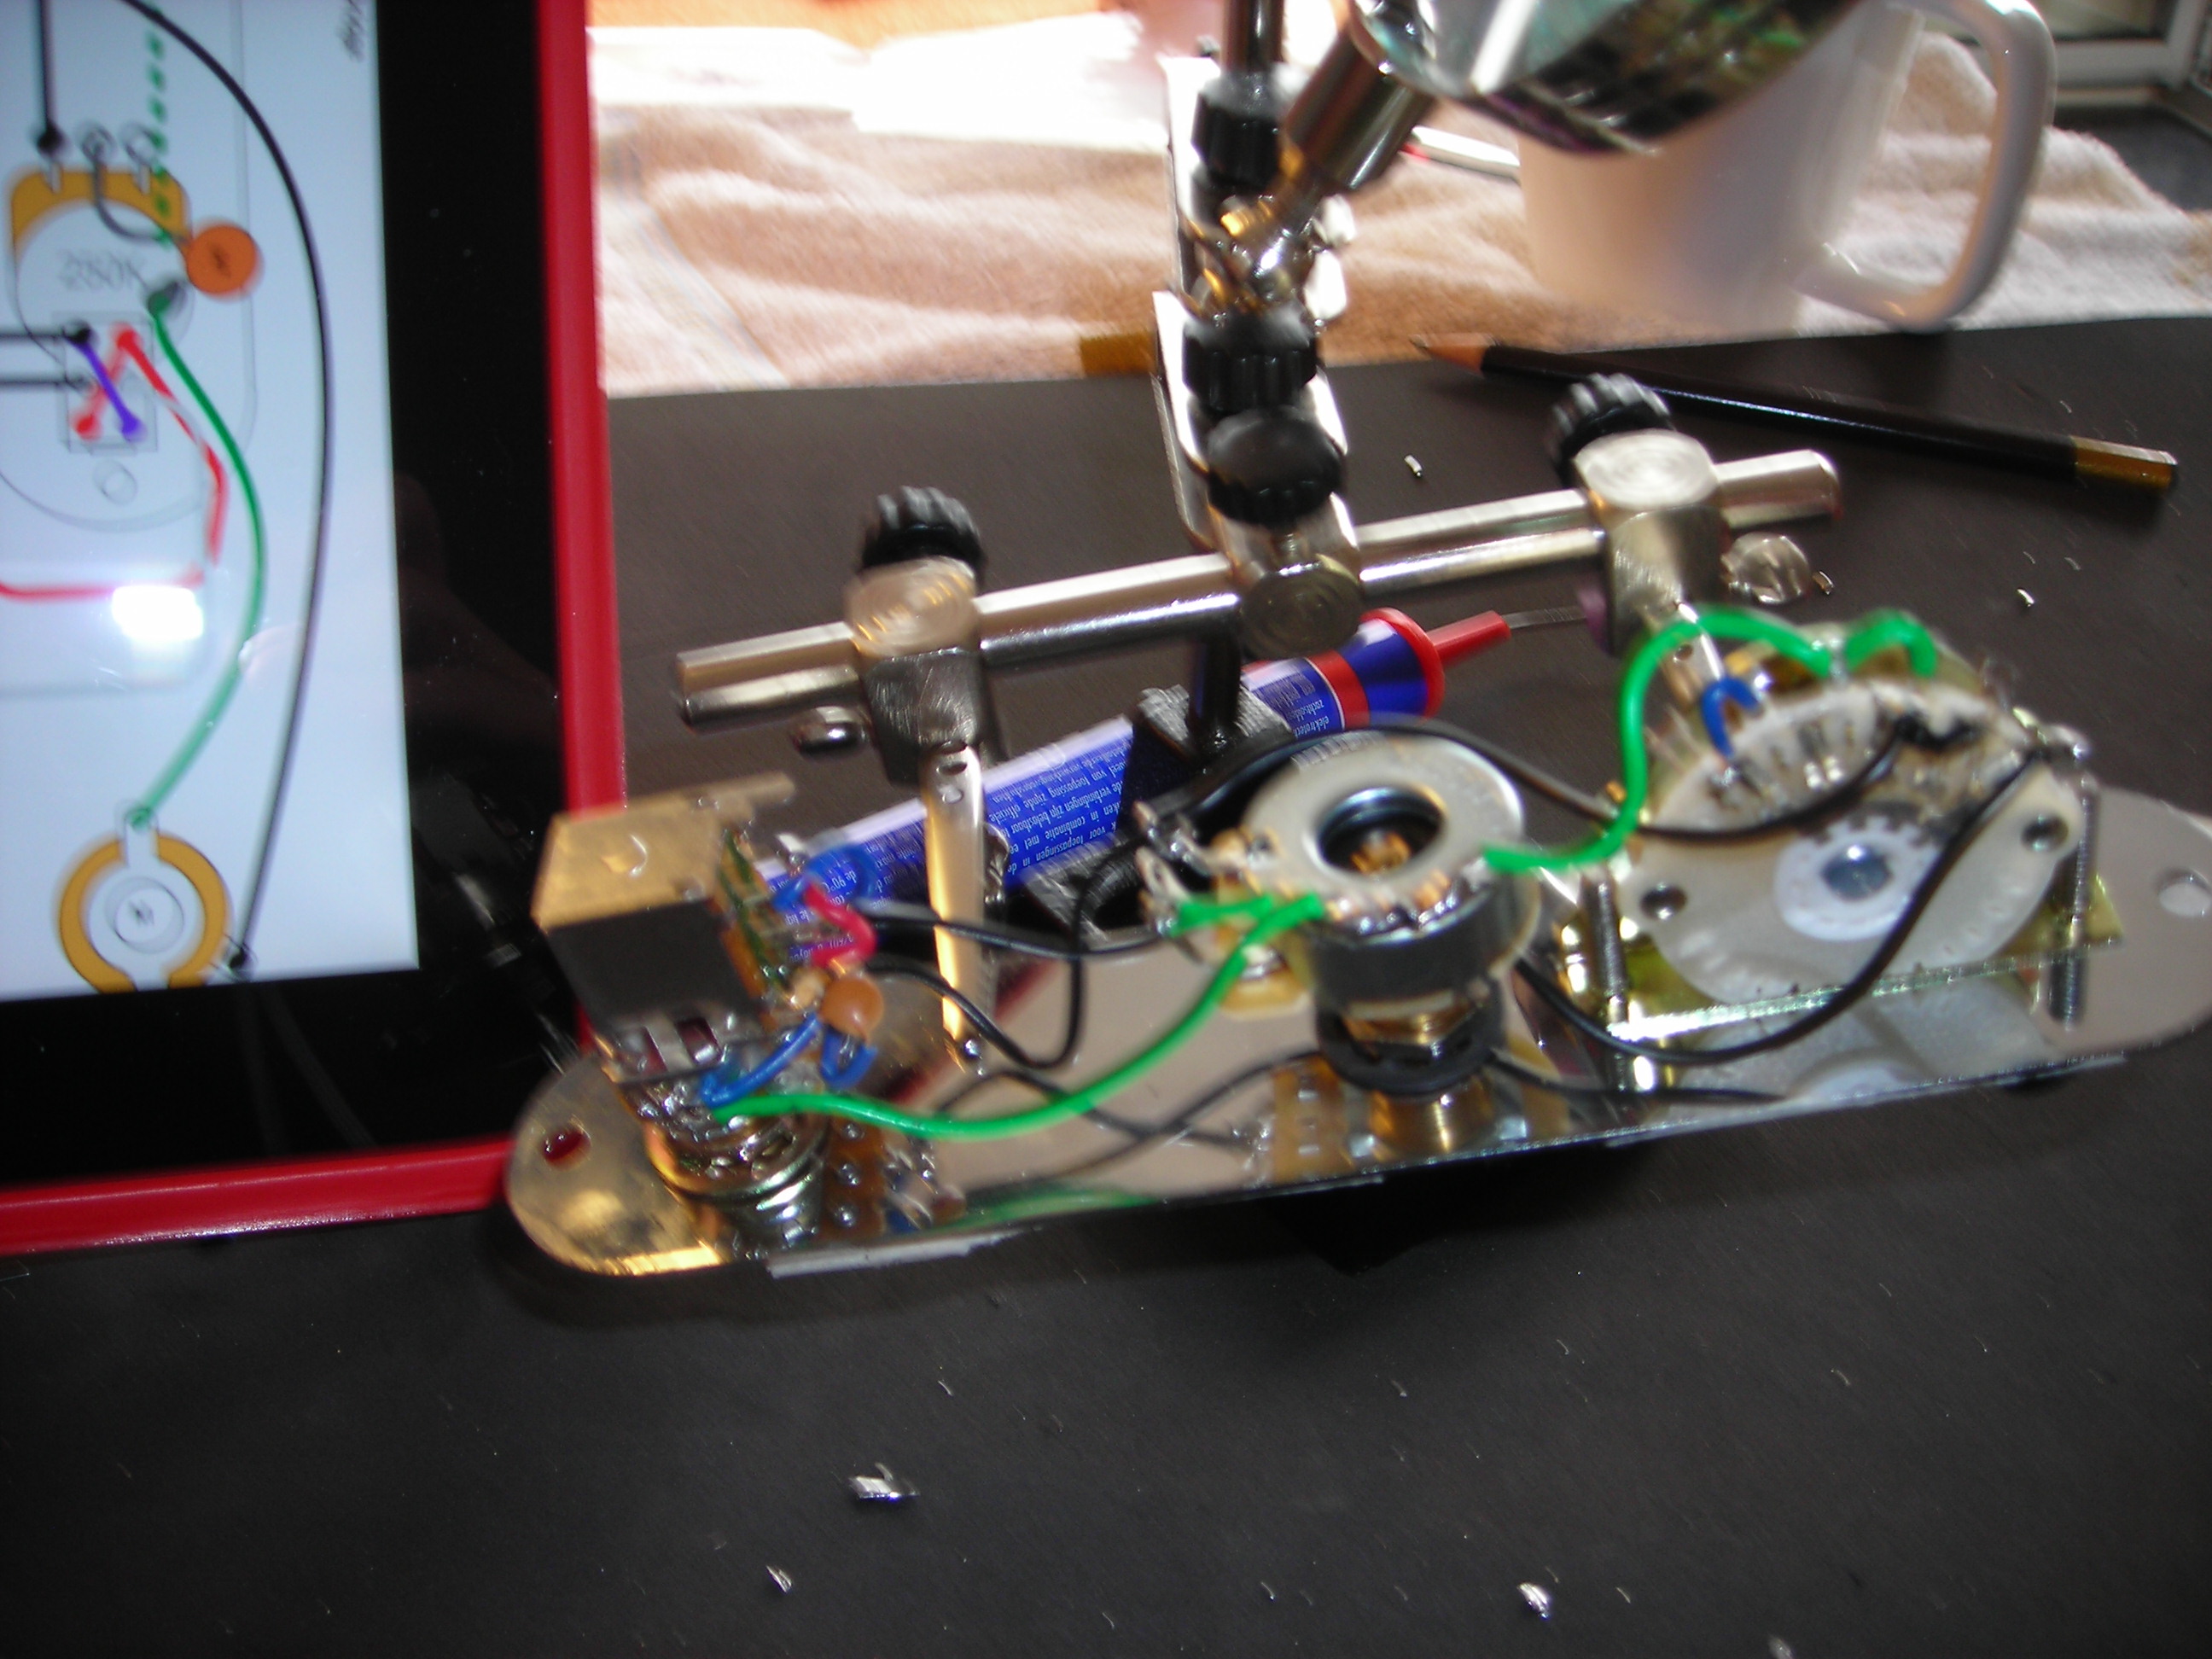
Assembly_21 by stratamania, on Flickr

I used masking tape on the front of the control plate so the helping hands used whilst soldering would not mark the outside of the control plate.

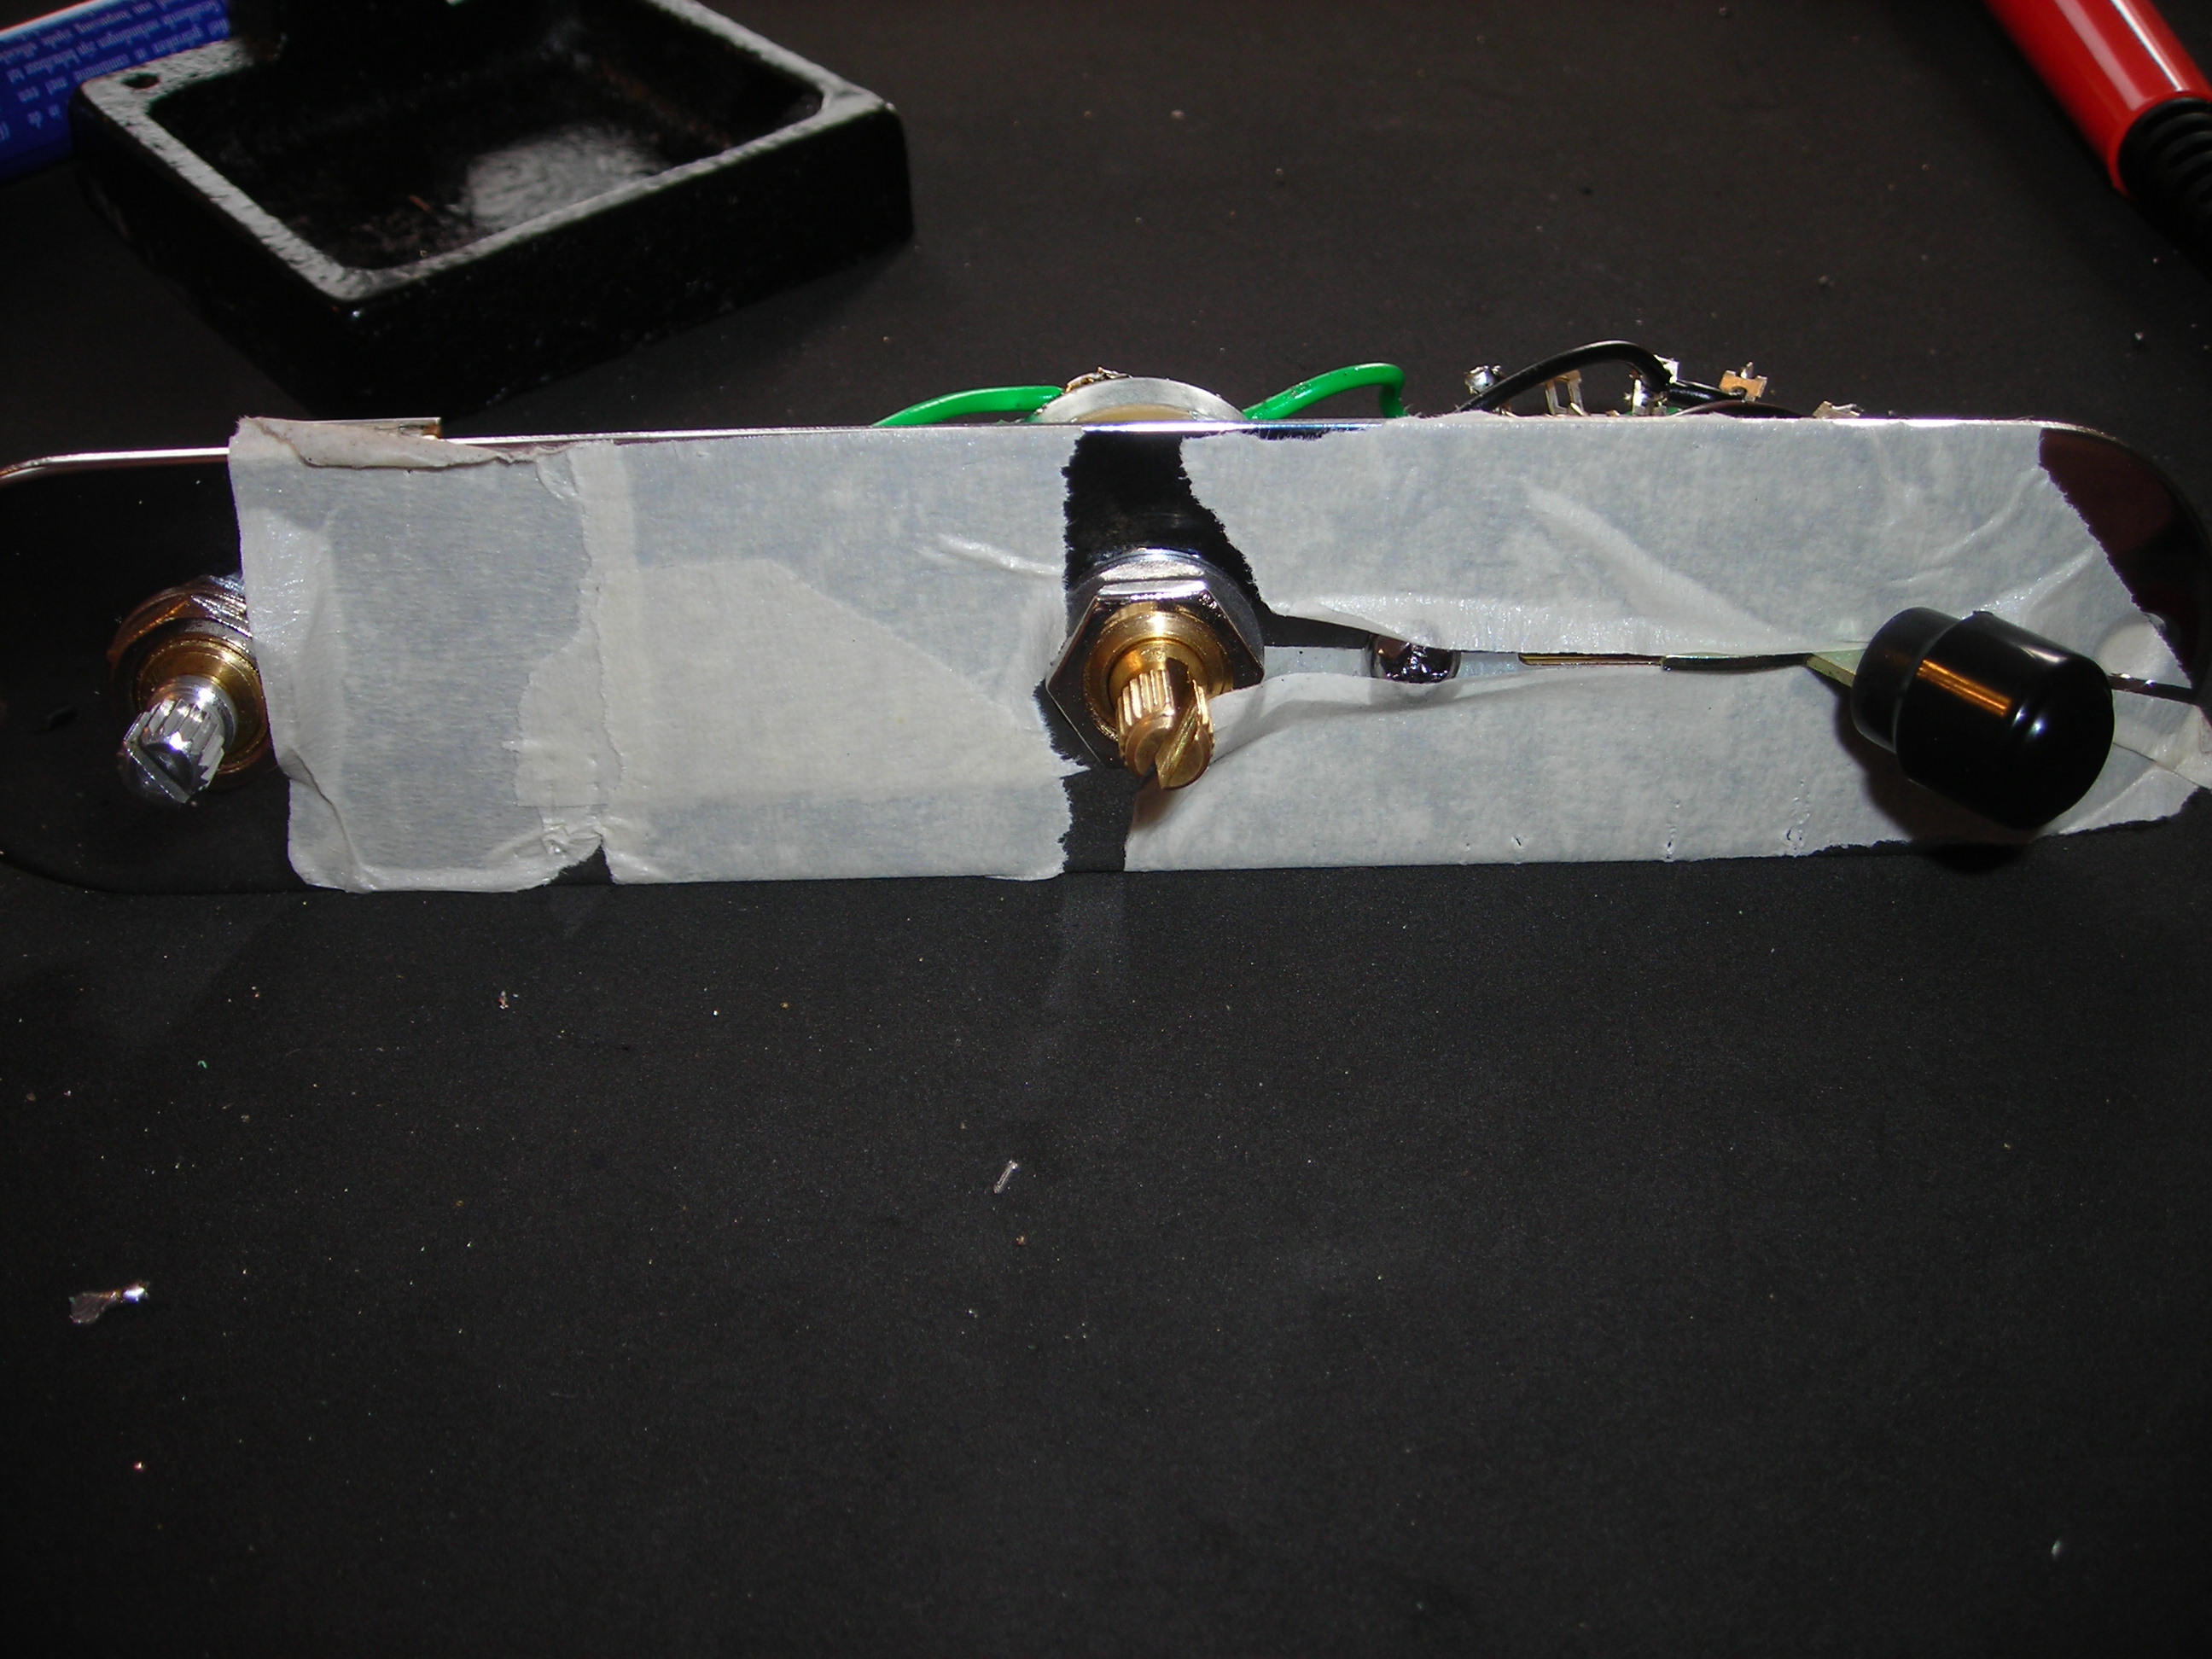
Assembly_22 by stratamania, on Flickr

That is all for today. It should be finished soon.


Thanks for looking.
 
Cagey said:
Love watching guitars go together.

Hate that Electrosocket.

Thanks, yep that electro socket whilst an improvement on the original is a bit strange. I am not a Tele guy so much and this has made me realise that the Tele whilst functional for playing from a build perspective is a little odd compared to a Strat. Well at least I have no tremelo to float on this.


For future reference, even a football jackplate will cover a 7/8" jack hole and on most bodies a square plate will fit just fine as well.

For that reason, I don't know why anybody even offers other openings. The 1/2" hole is only good for the panel jack, which is an oddball that should never be used and the 3/4" hole is a bit tight for the standard 1/4" phone jack. Since everything will work with a 7/8" hole (except the panel jack), why goof around?
 
Back
Top