Natural Ash Tele

stratamania

Mythical Status
Messages
11,014
If you saw the out of the box thread yesterday the discussions of tea and a T type guitar continues in this work in progress diary thread. I will try and give some tips as I go so it may be useful to someone at some point.

Here is the out of the box thread for reference... https://unofficialwarmoth.com/threads/time-for-tea.23713/

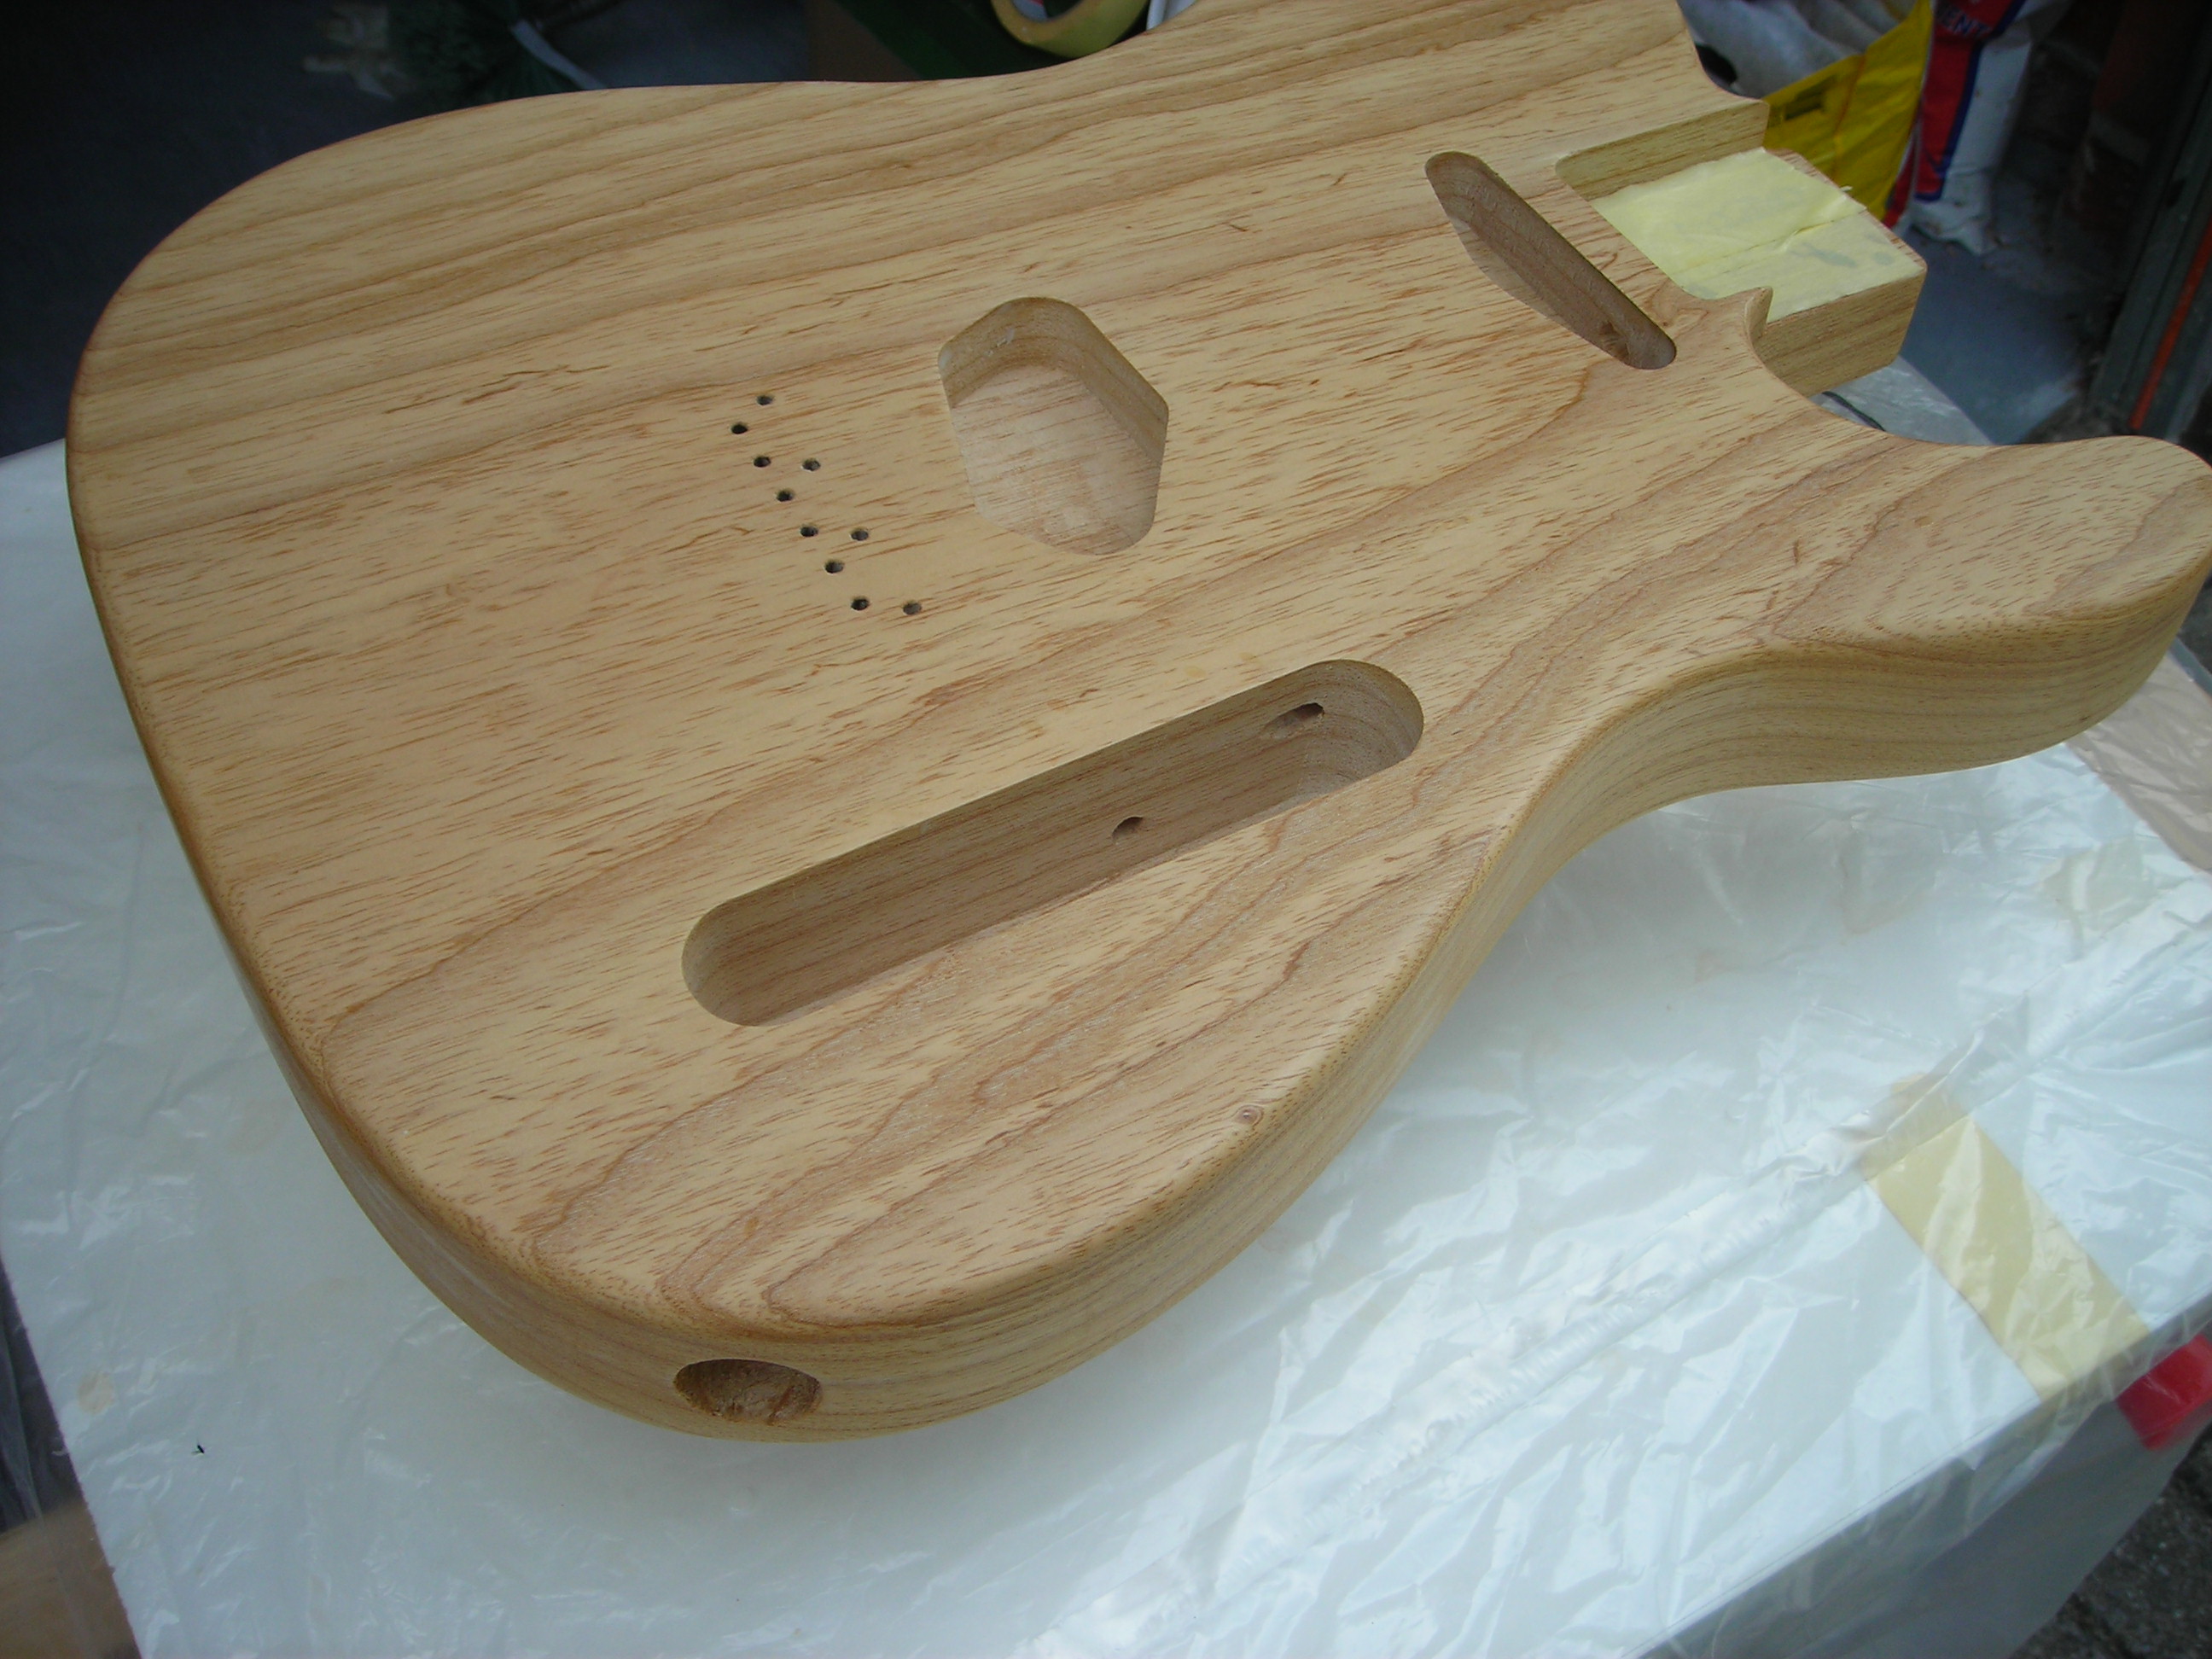
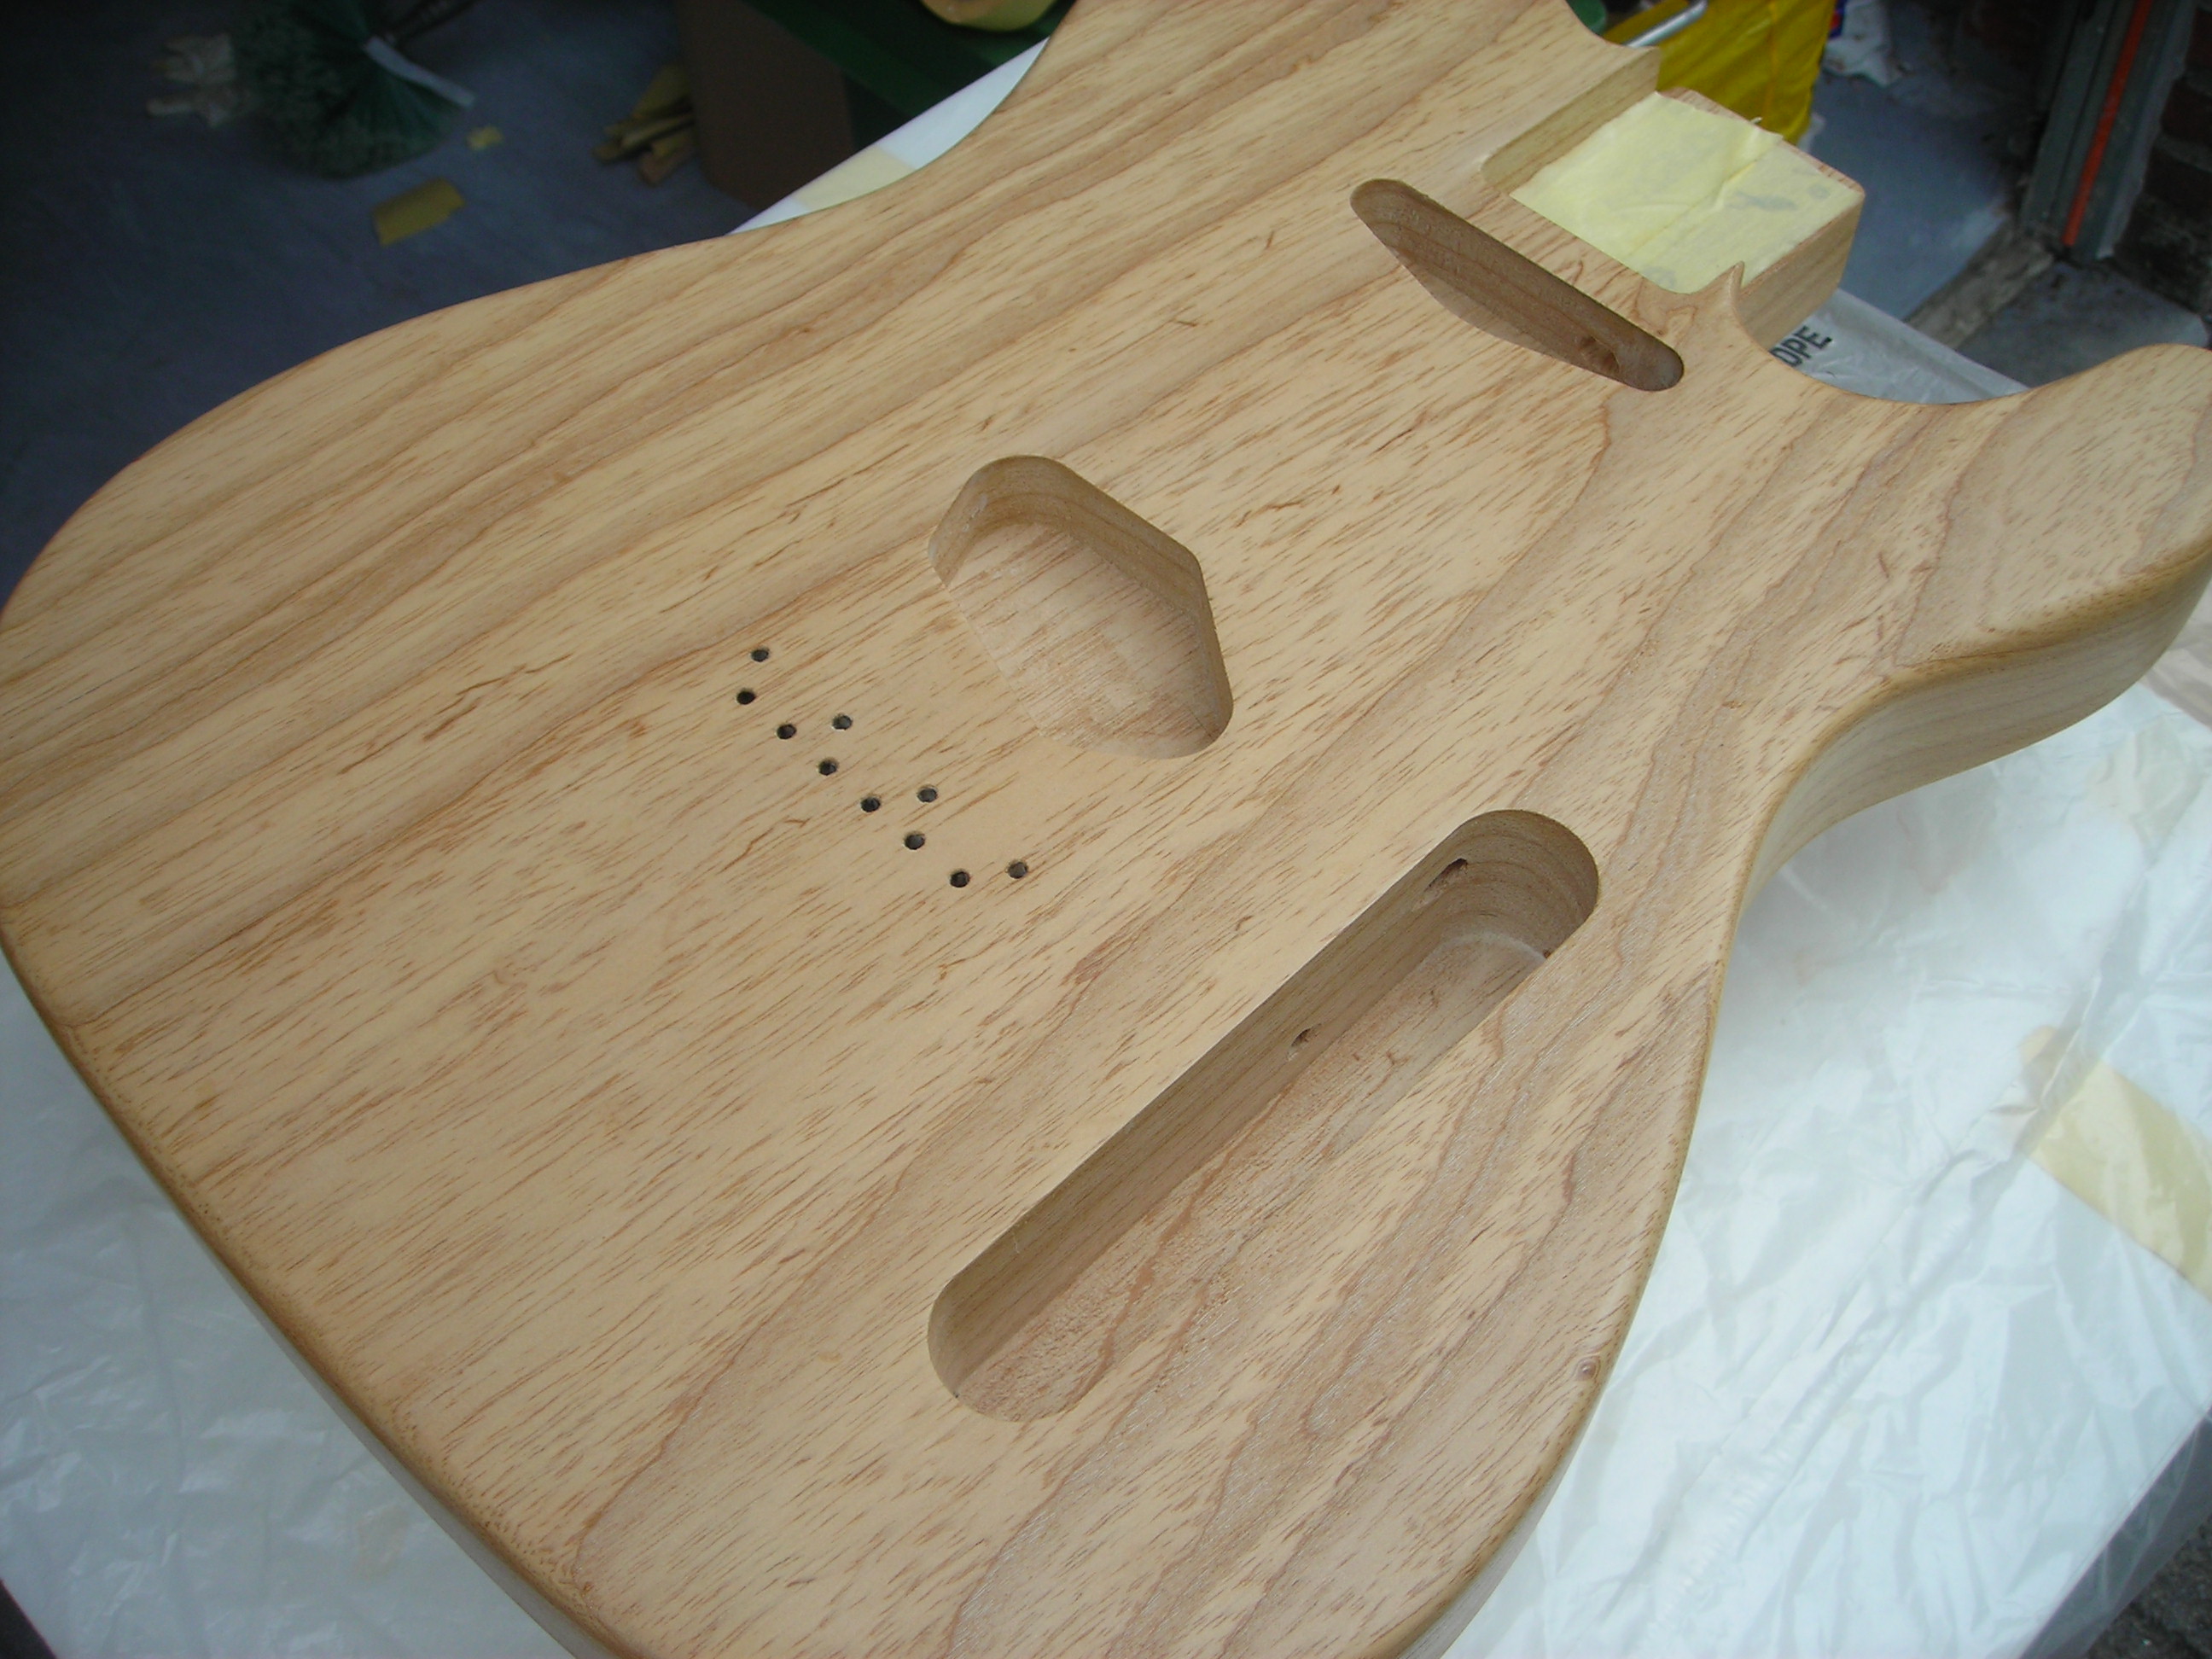
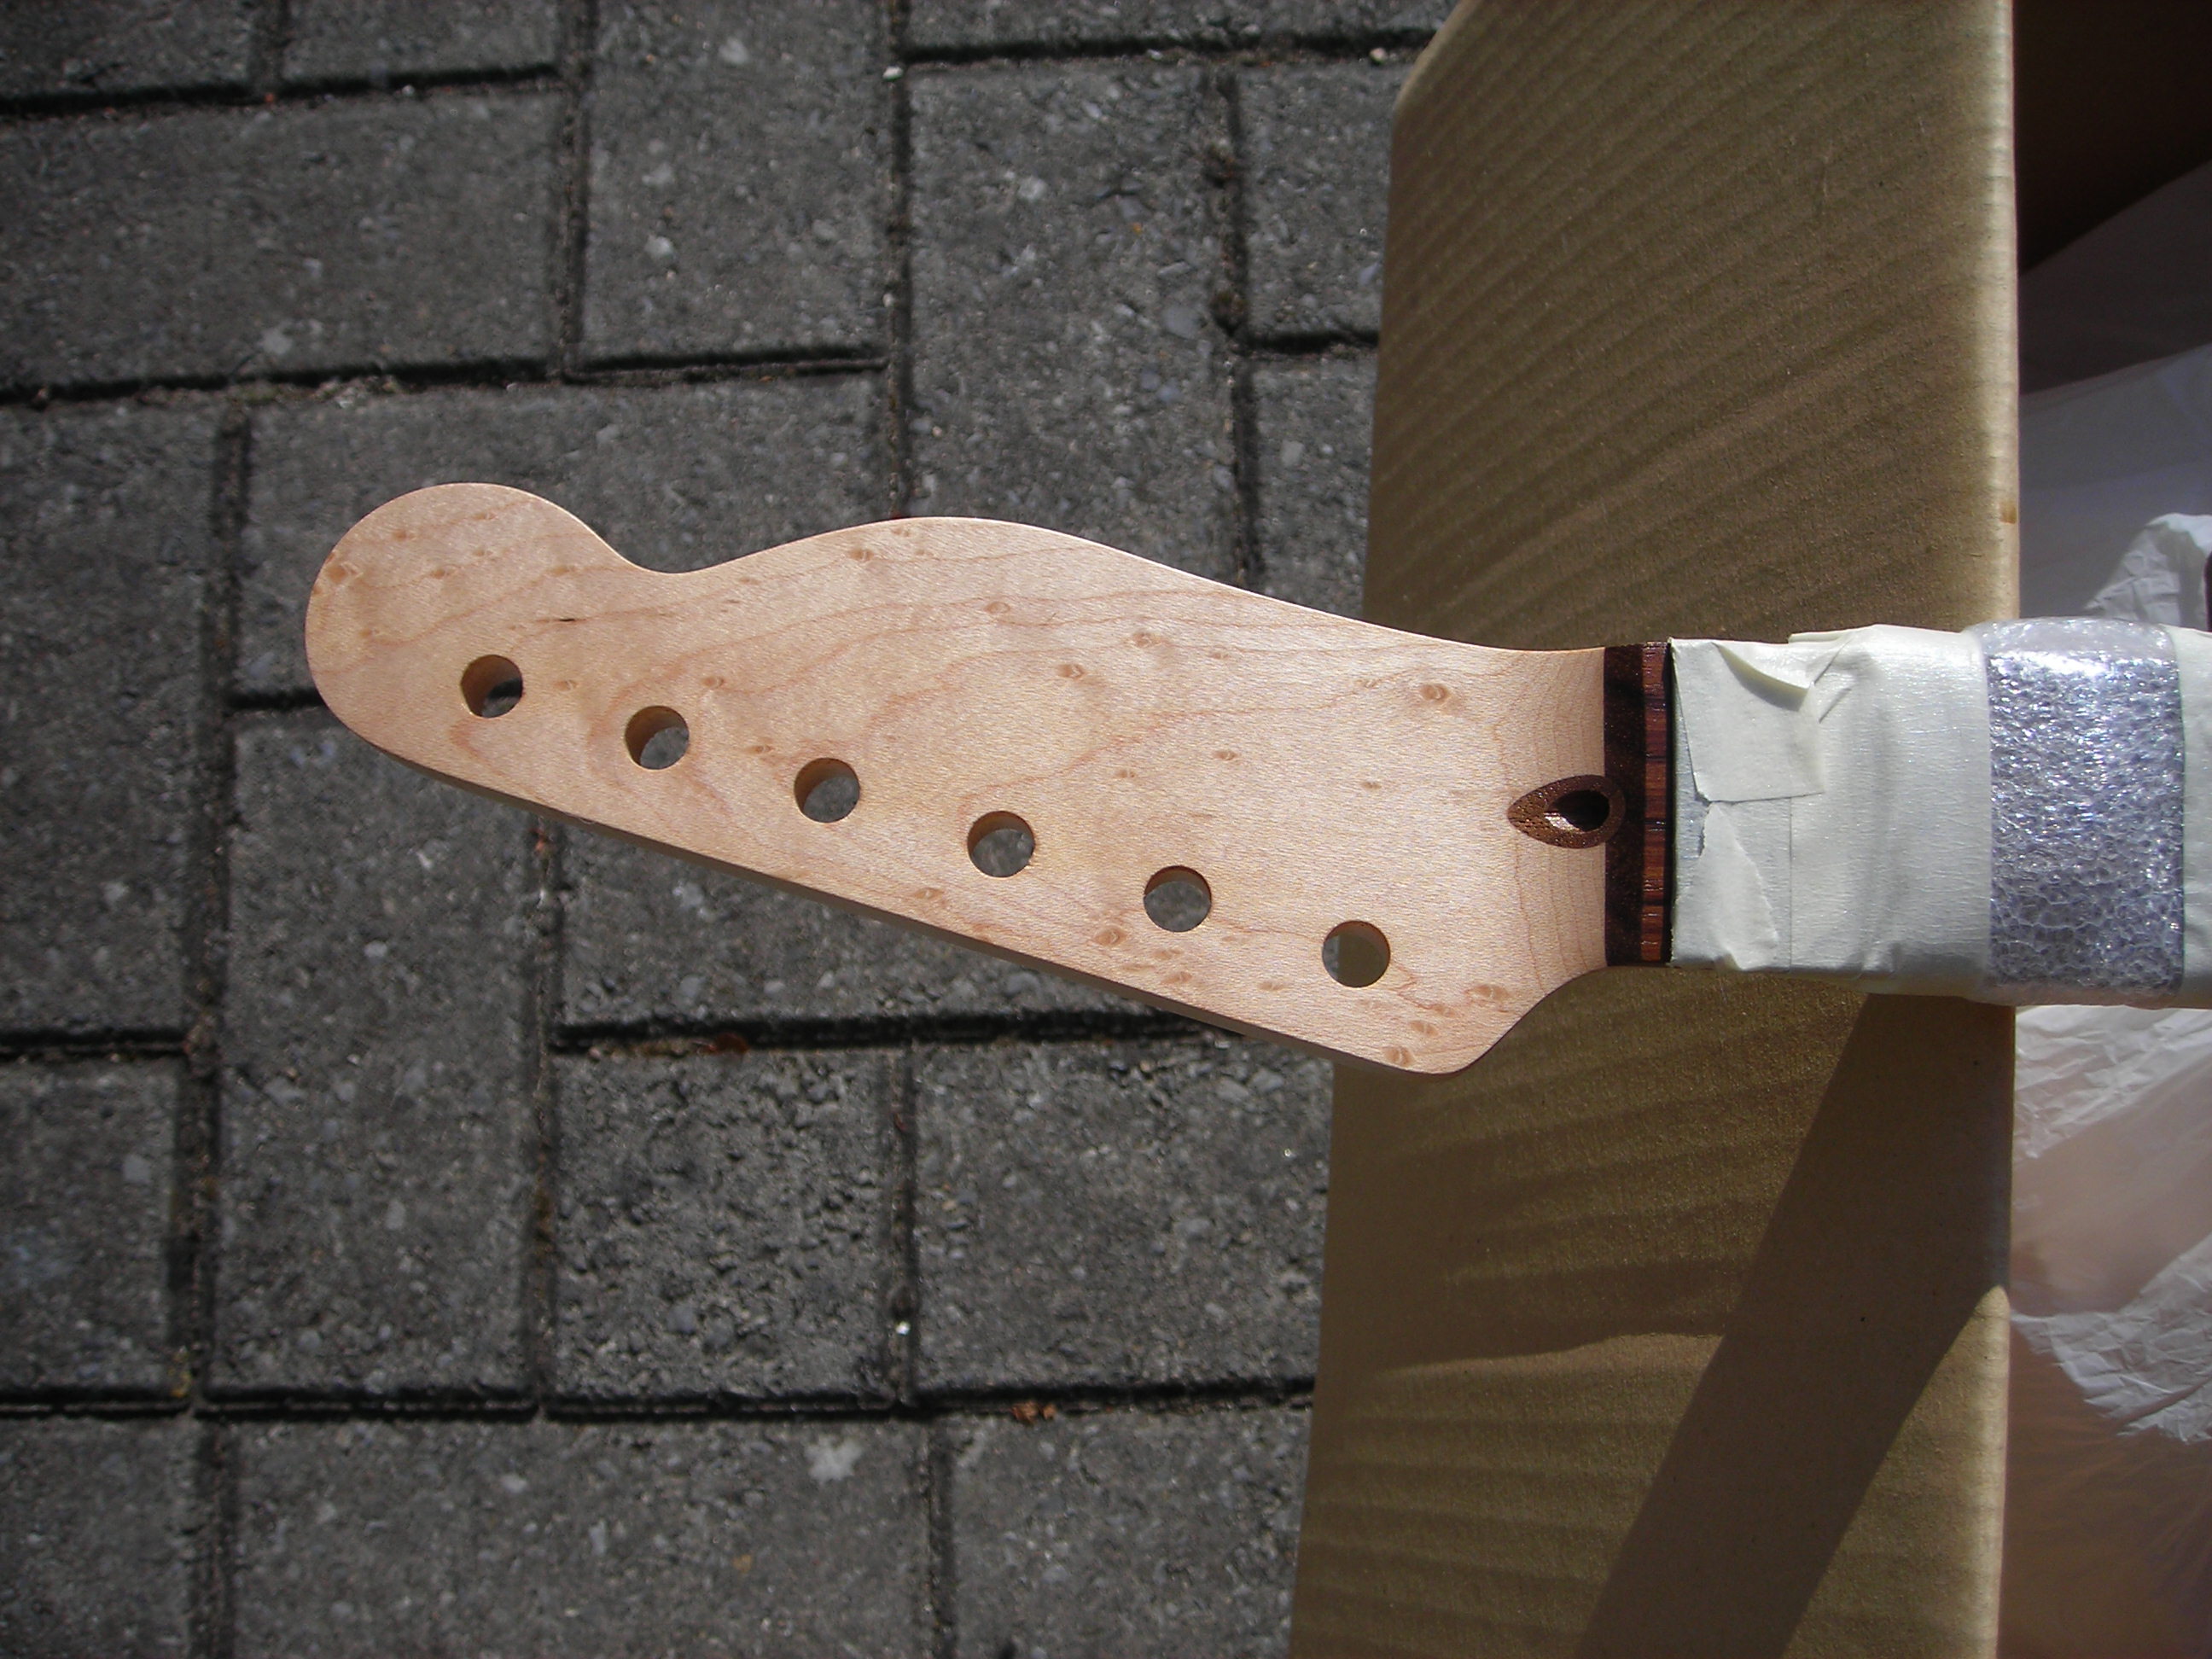
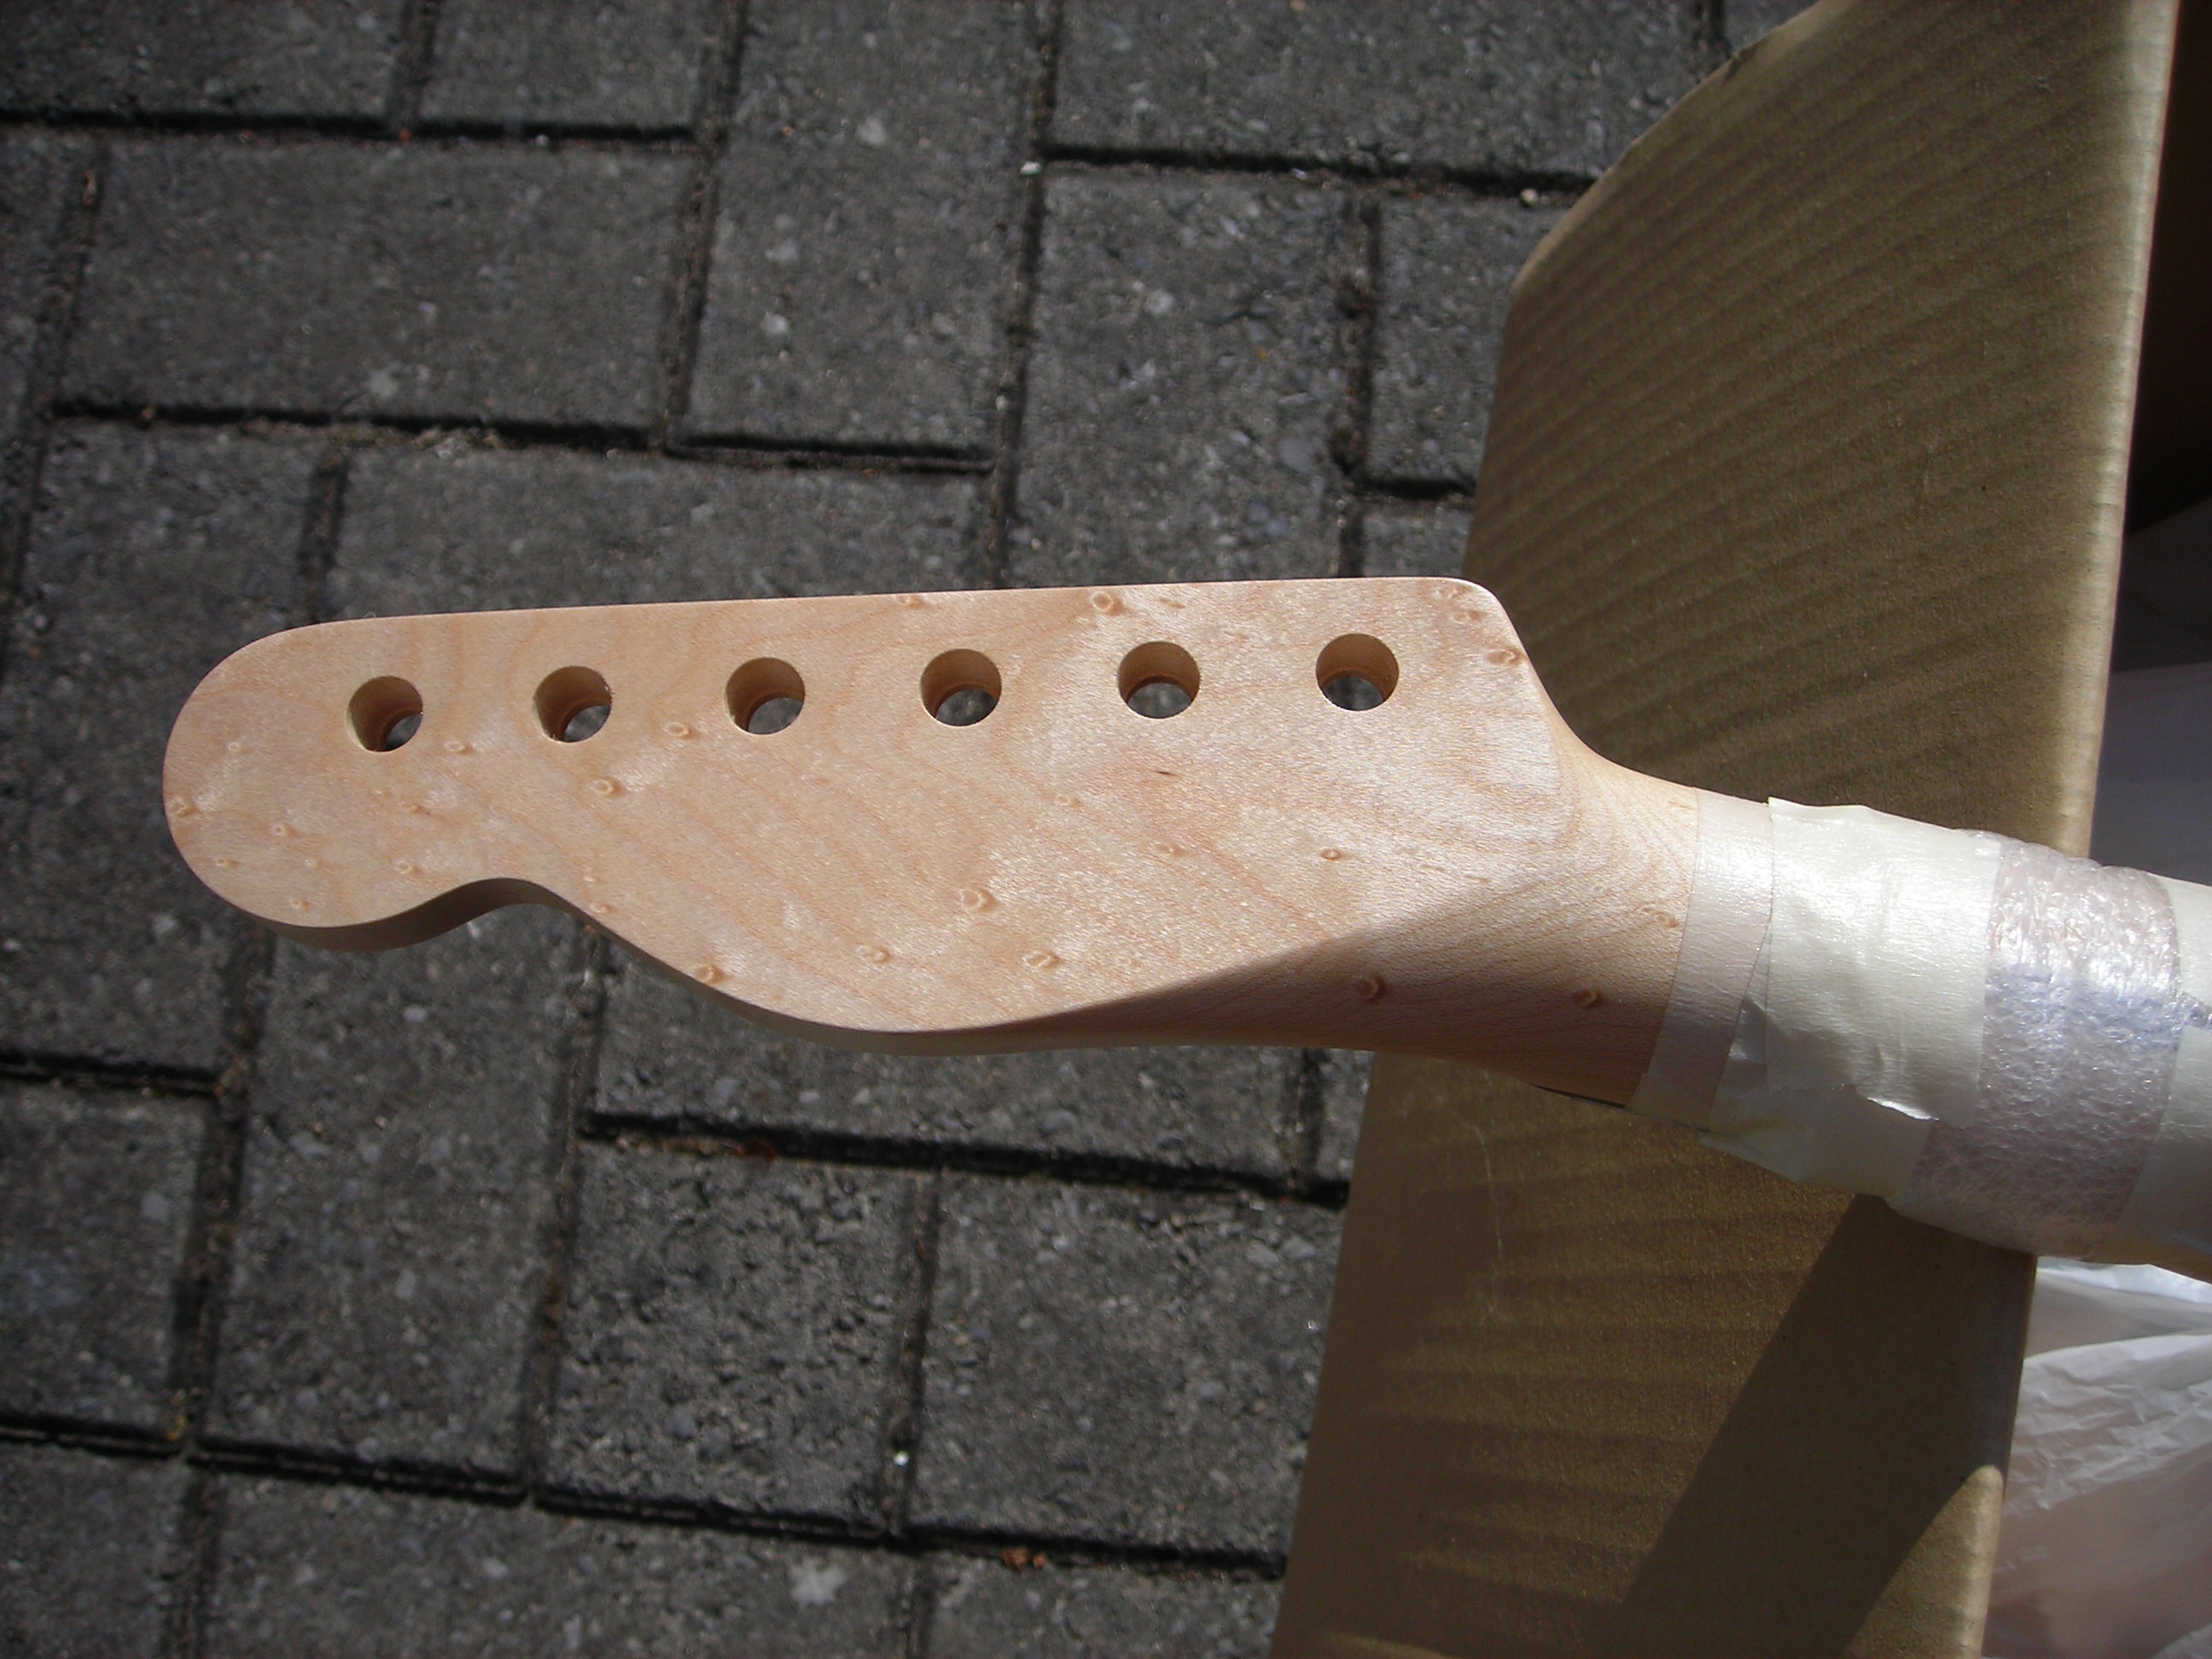
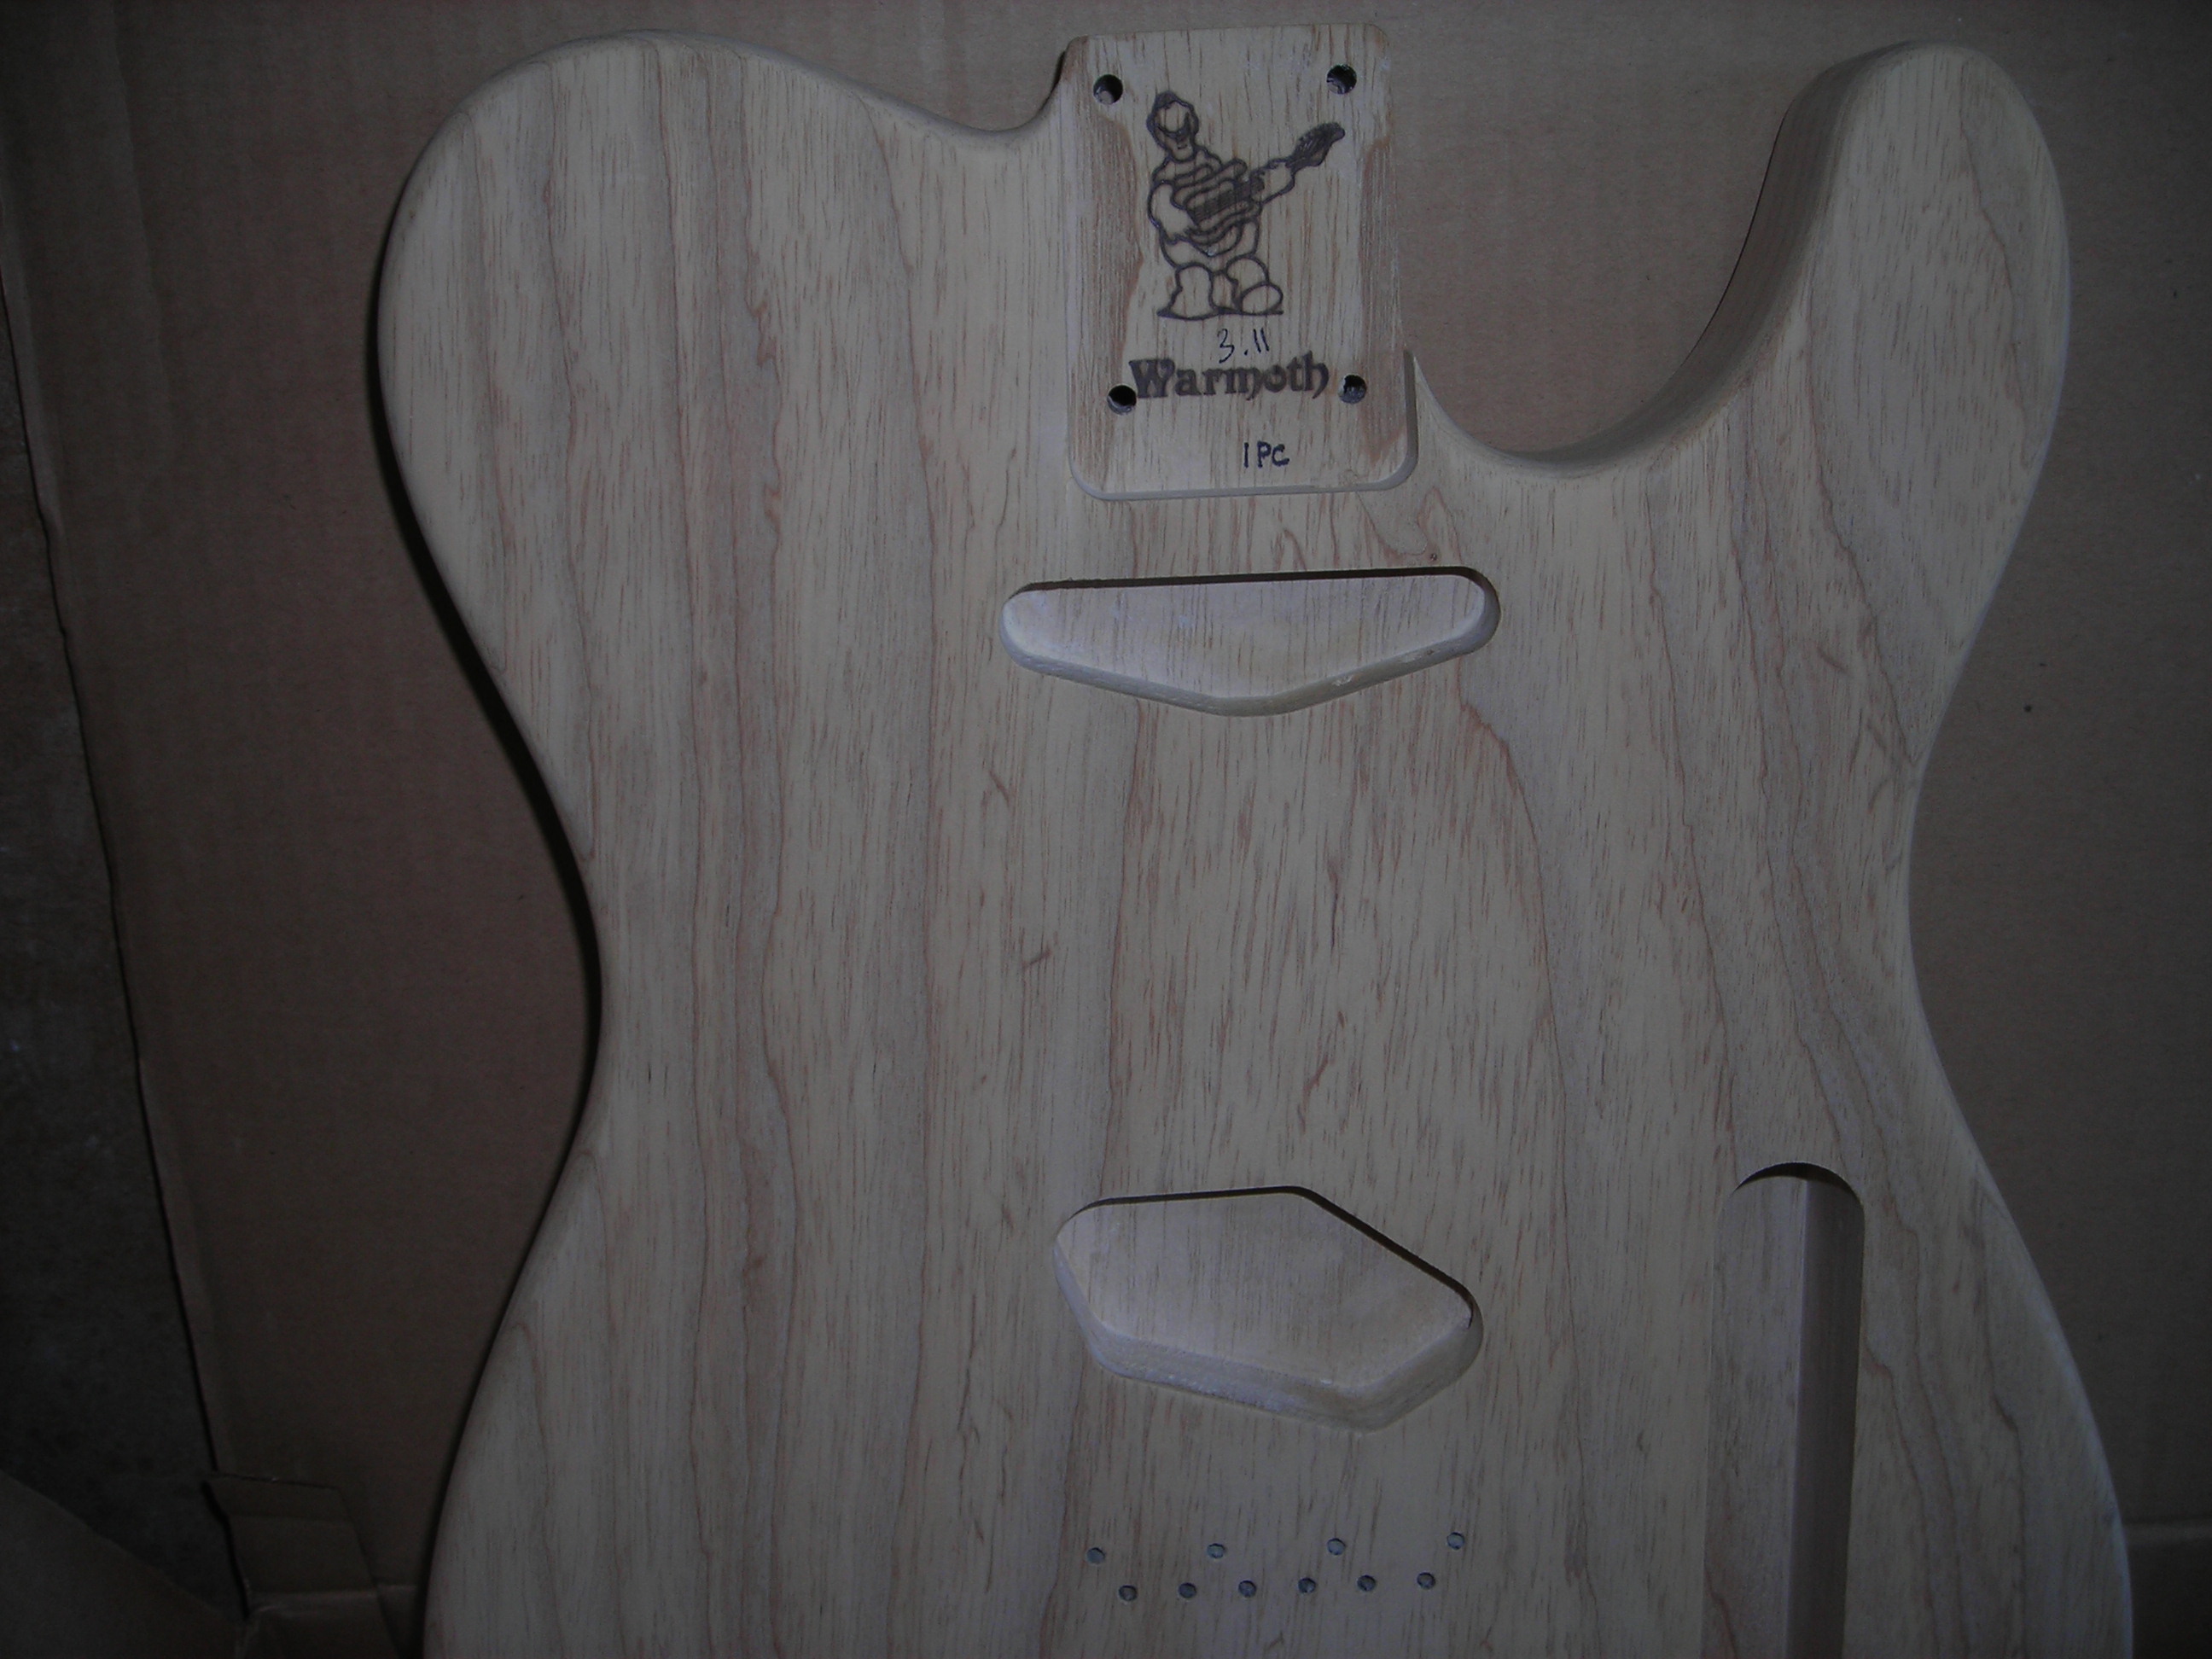
First up is grain filling. Just prior to that I gave the body a quick once over with some 320 grit, for the most part it was already fine so did not need much work out of the box.

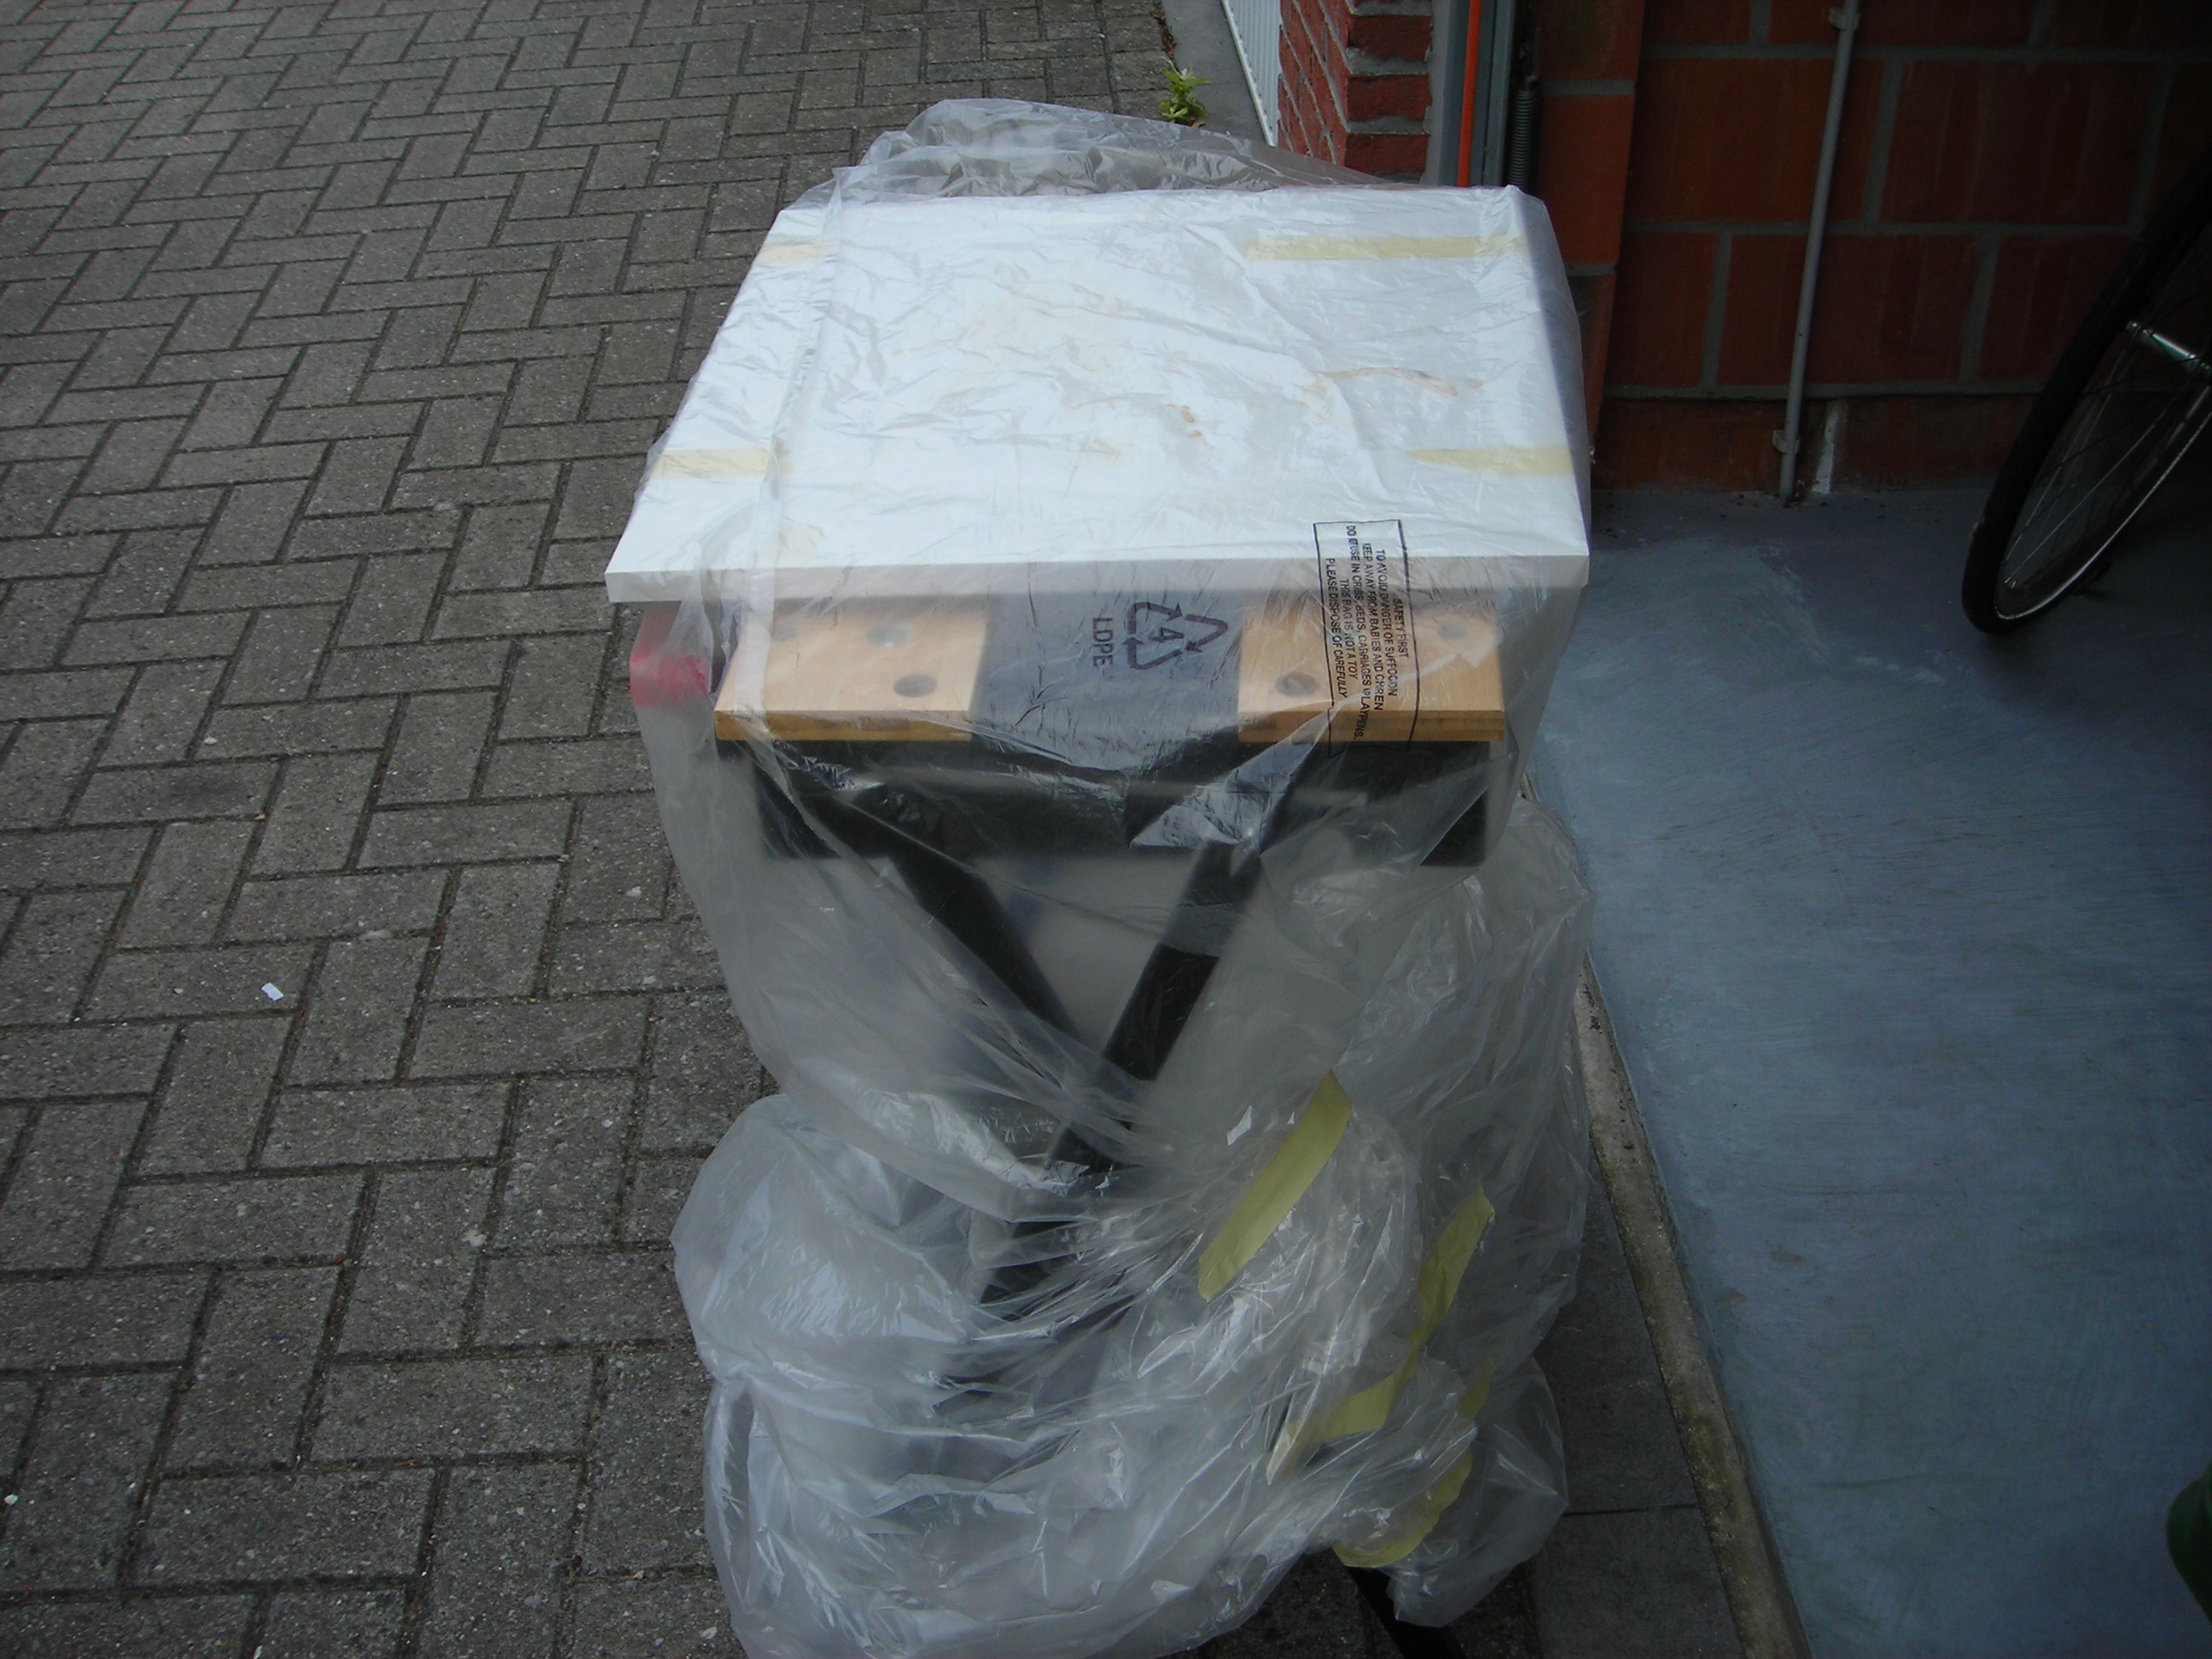
I have moved my workmate out to the garage as the weather now is OK for the most part for finish type work and also I need the air and don't want the stink in the living quarters.

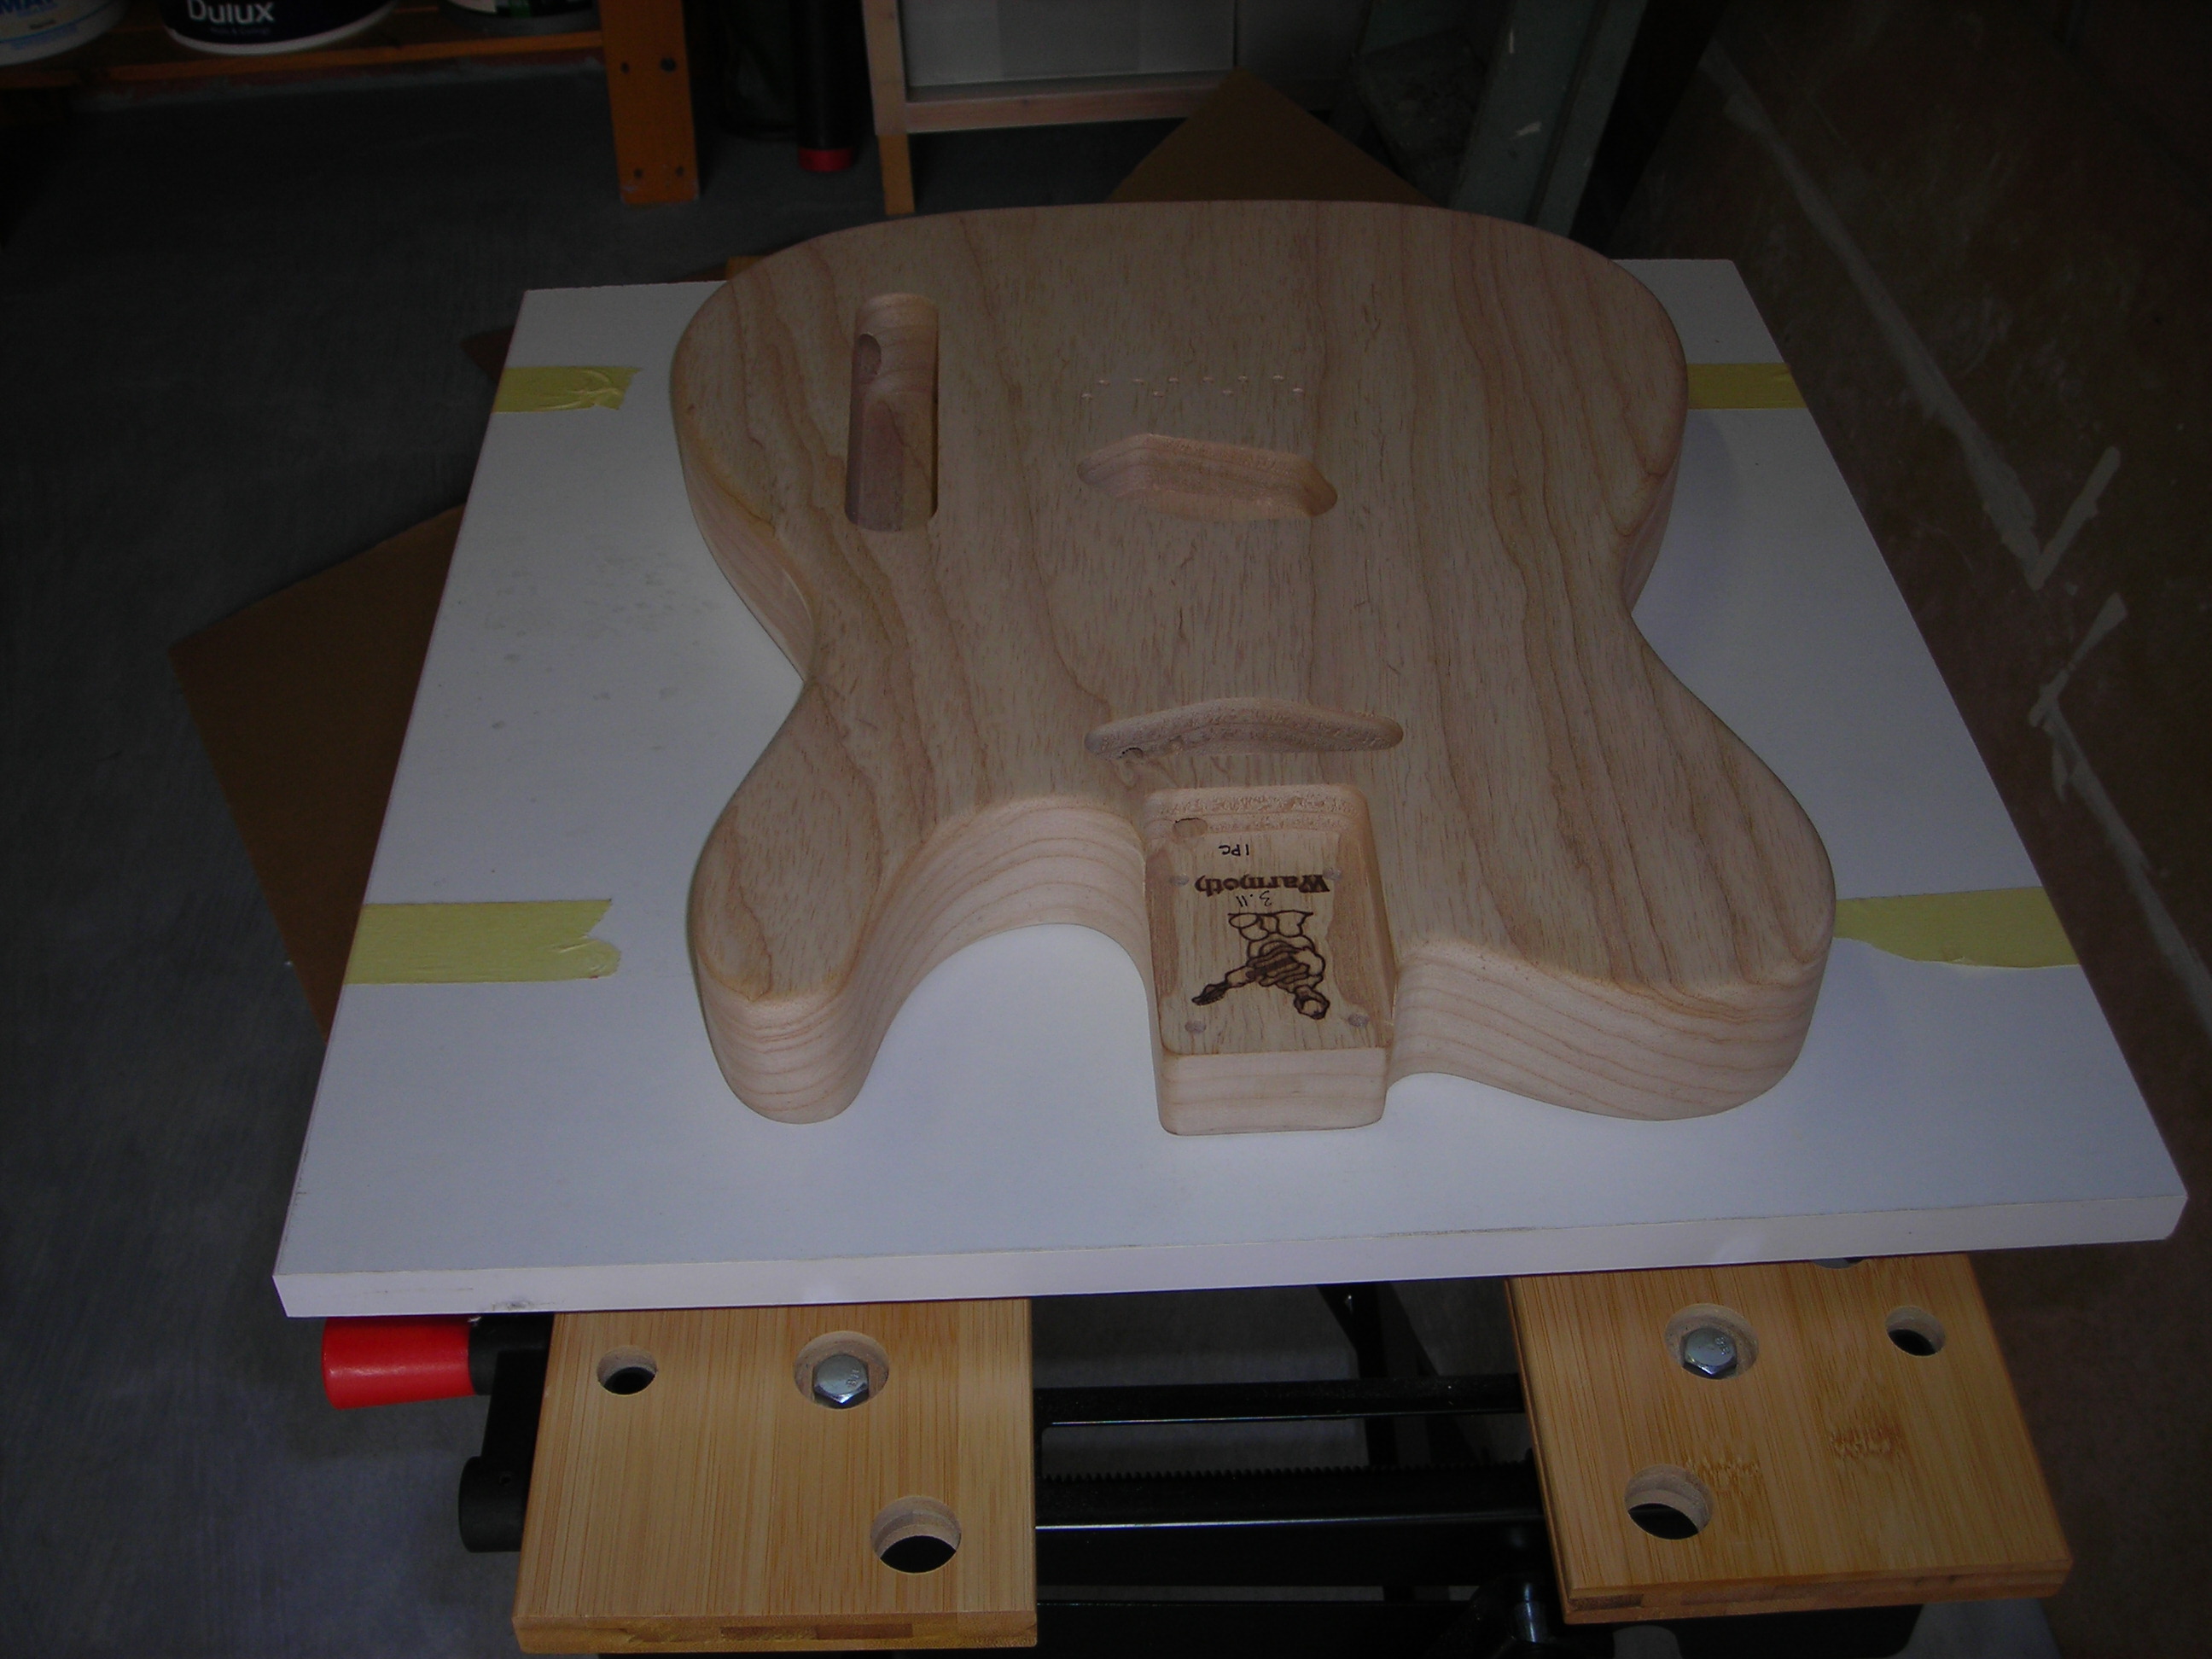
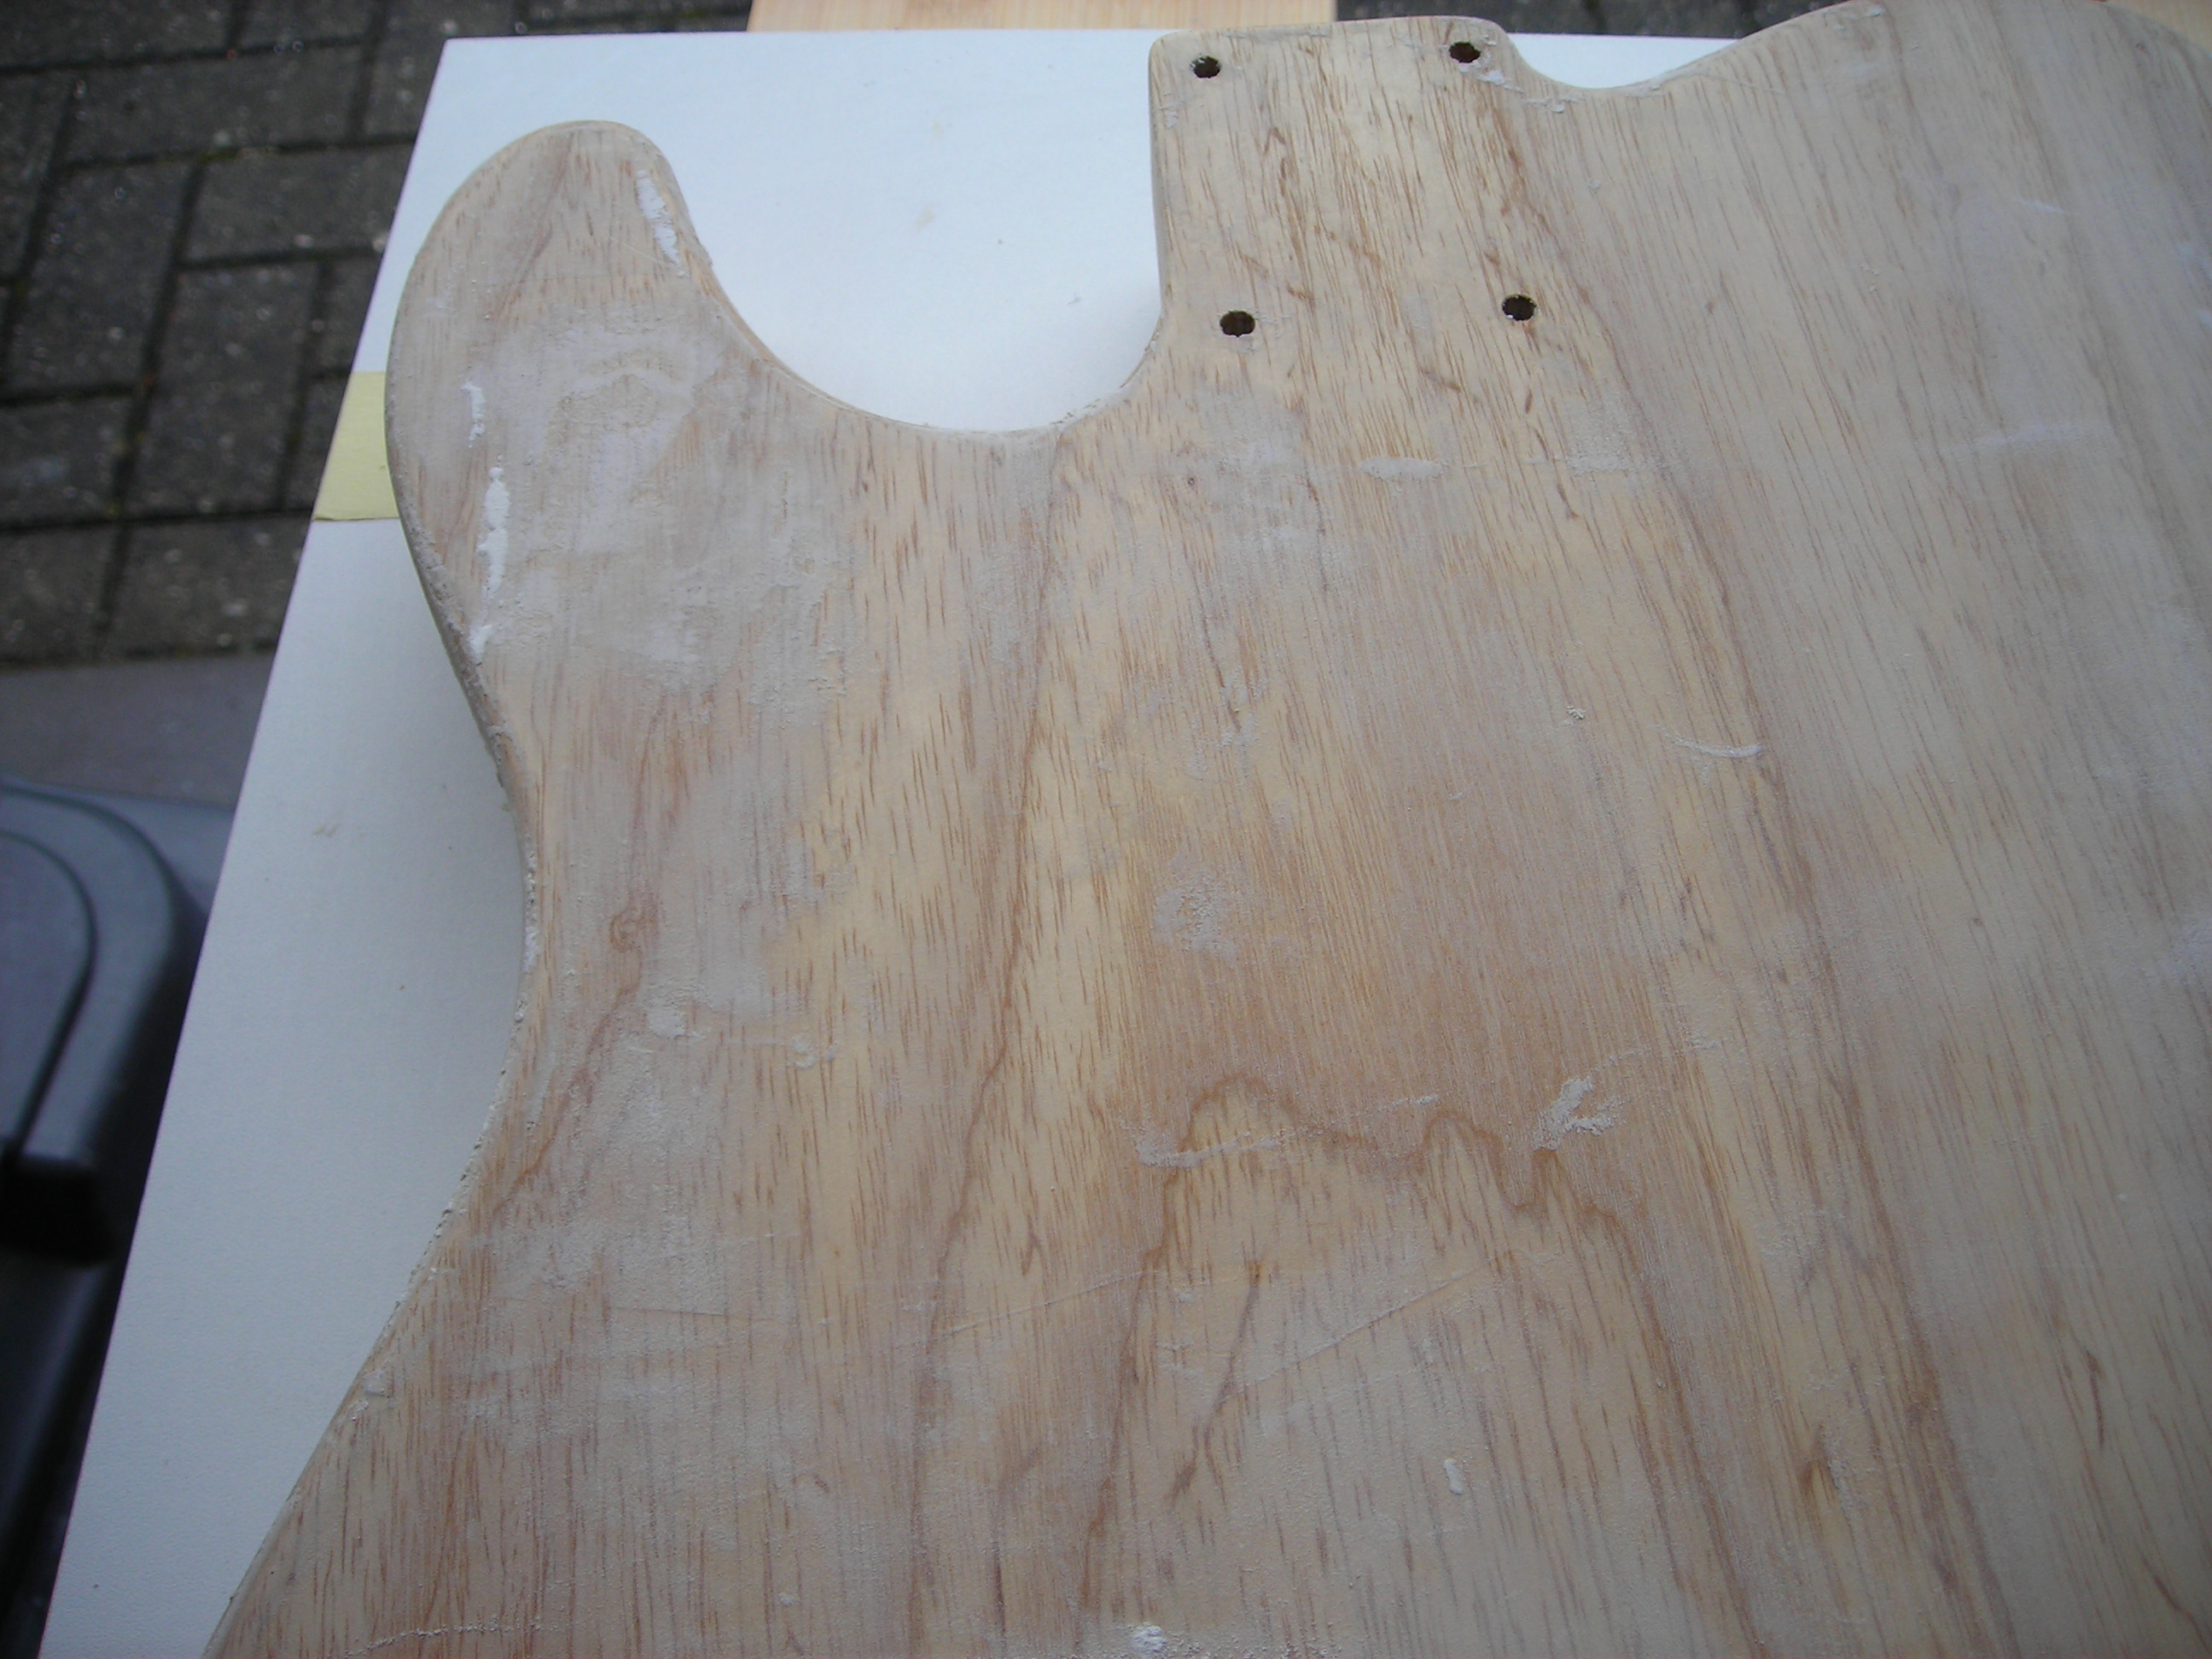
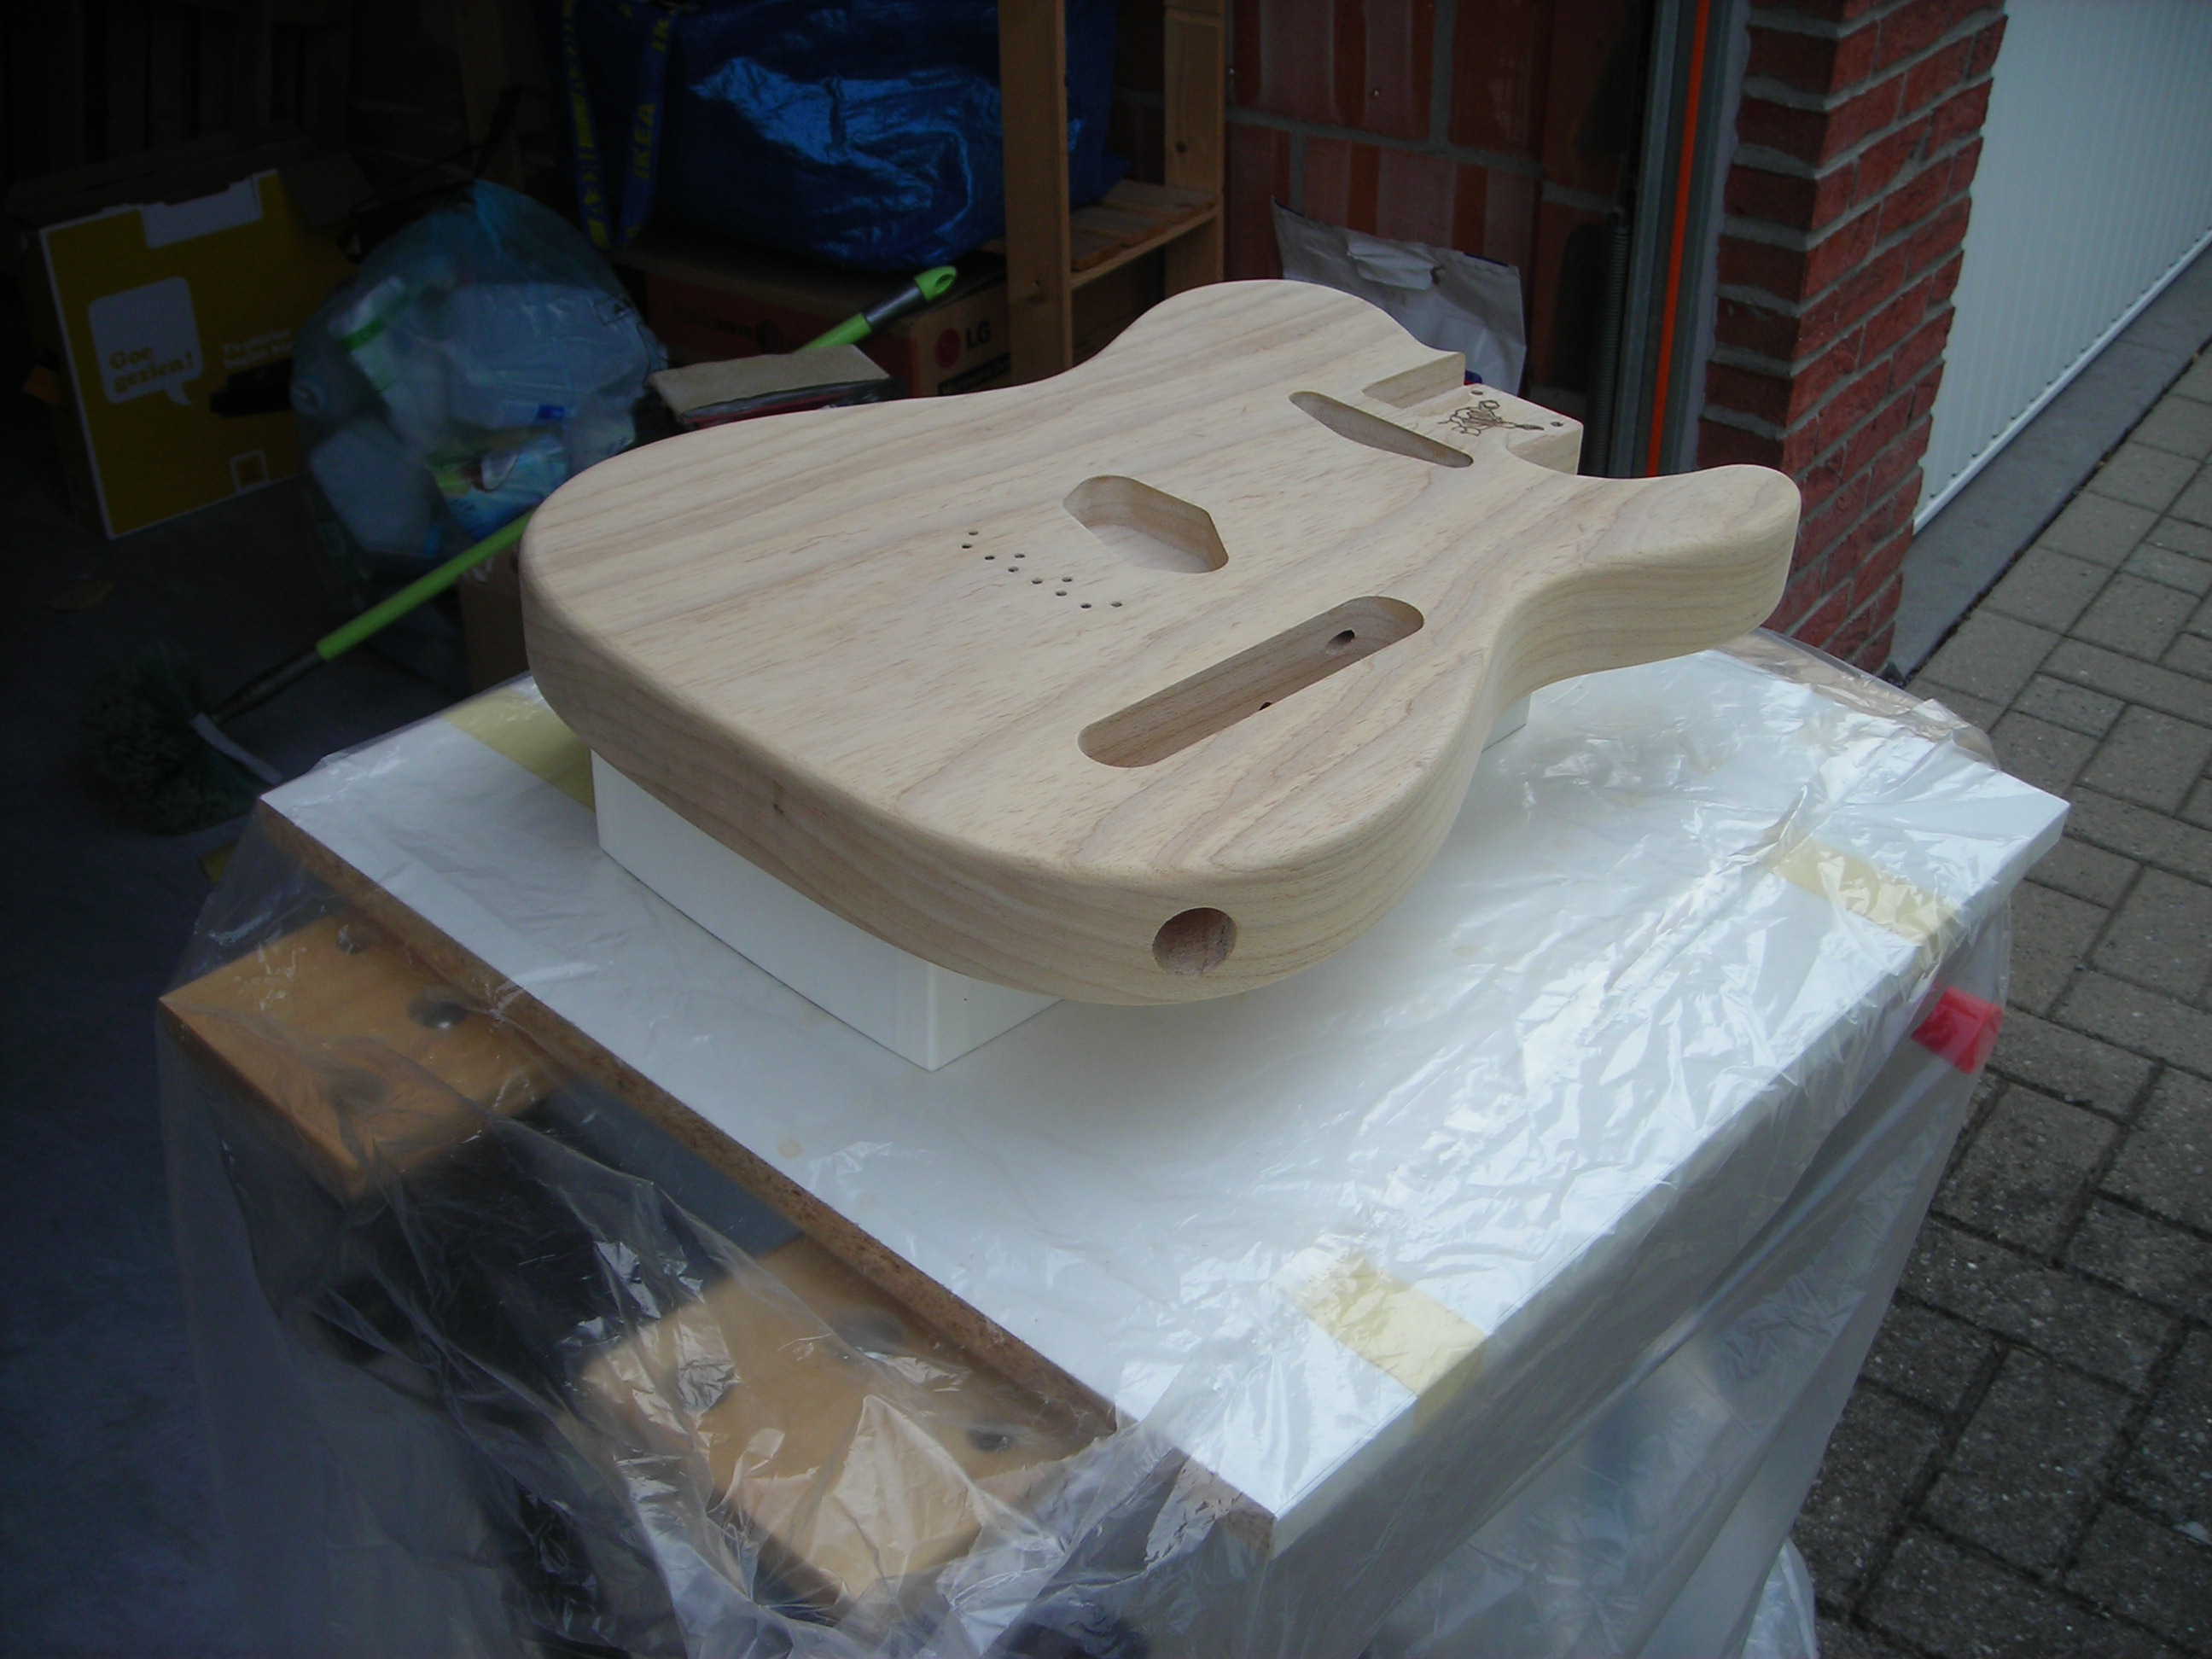
Here's the tele body on a piece of wood left over from a kitchen cabinet taped to the workmate to give a surface to work on.

Grain_Fill_1 by stratamania, on Flickr

Finishing products were obtained from Rothko and Frost in the UK. Behlens were out of stock of some items when I went to order so I thought I would try R & Fs offerings.

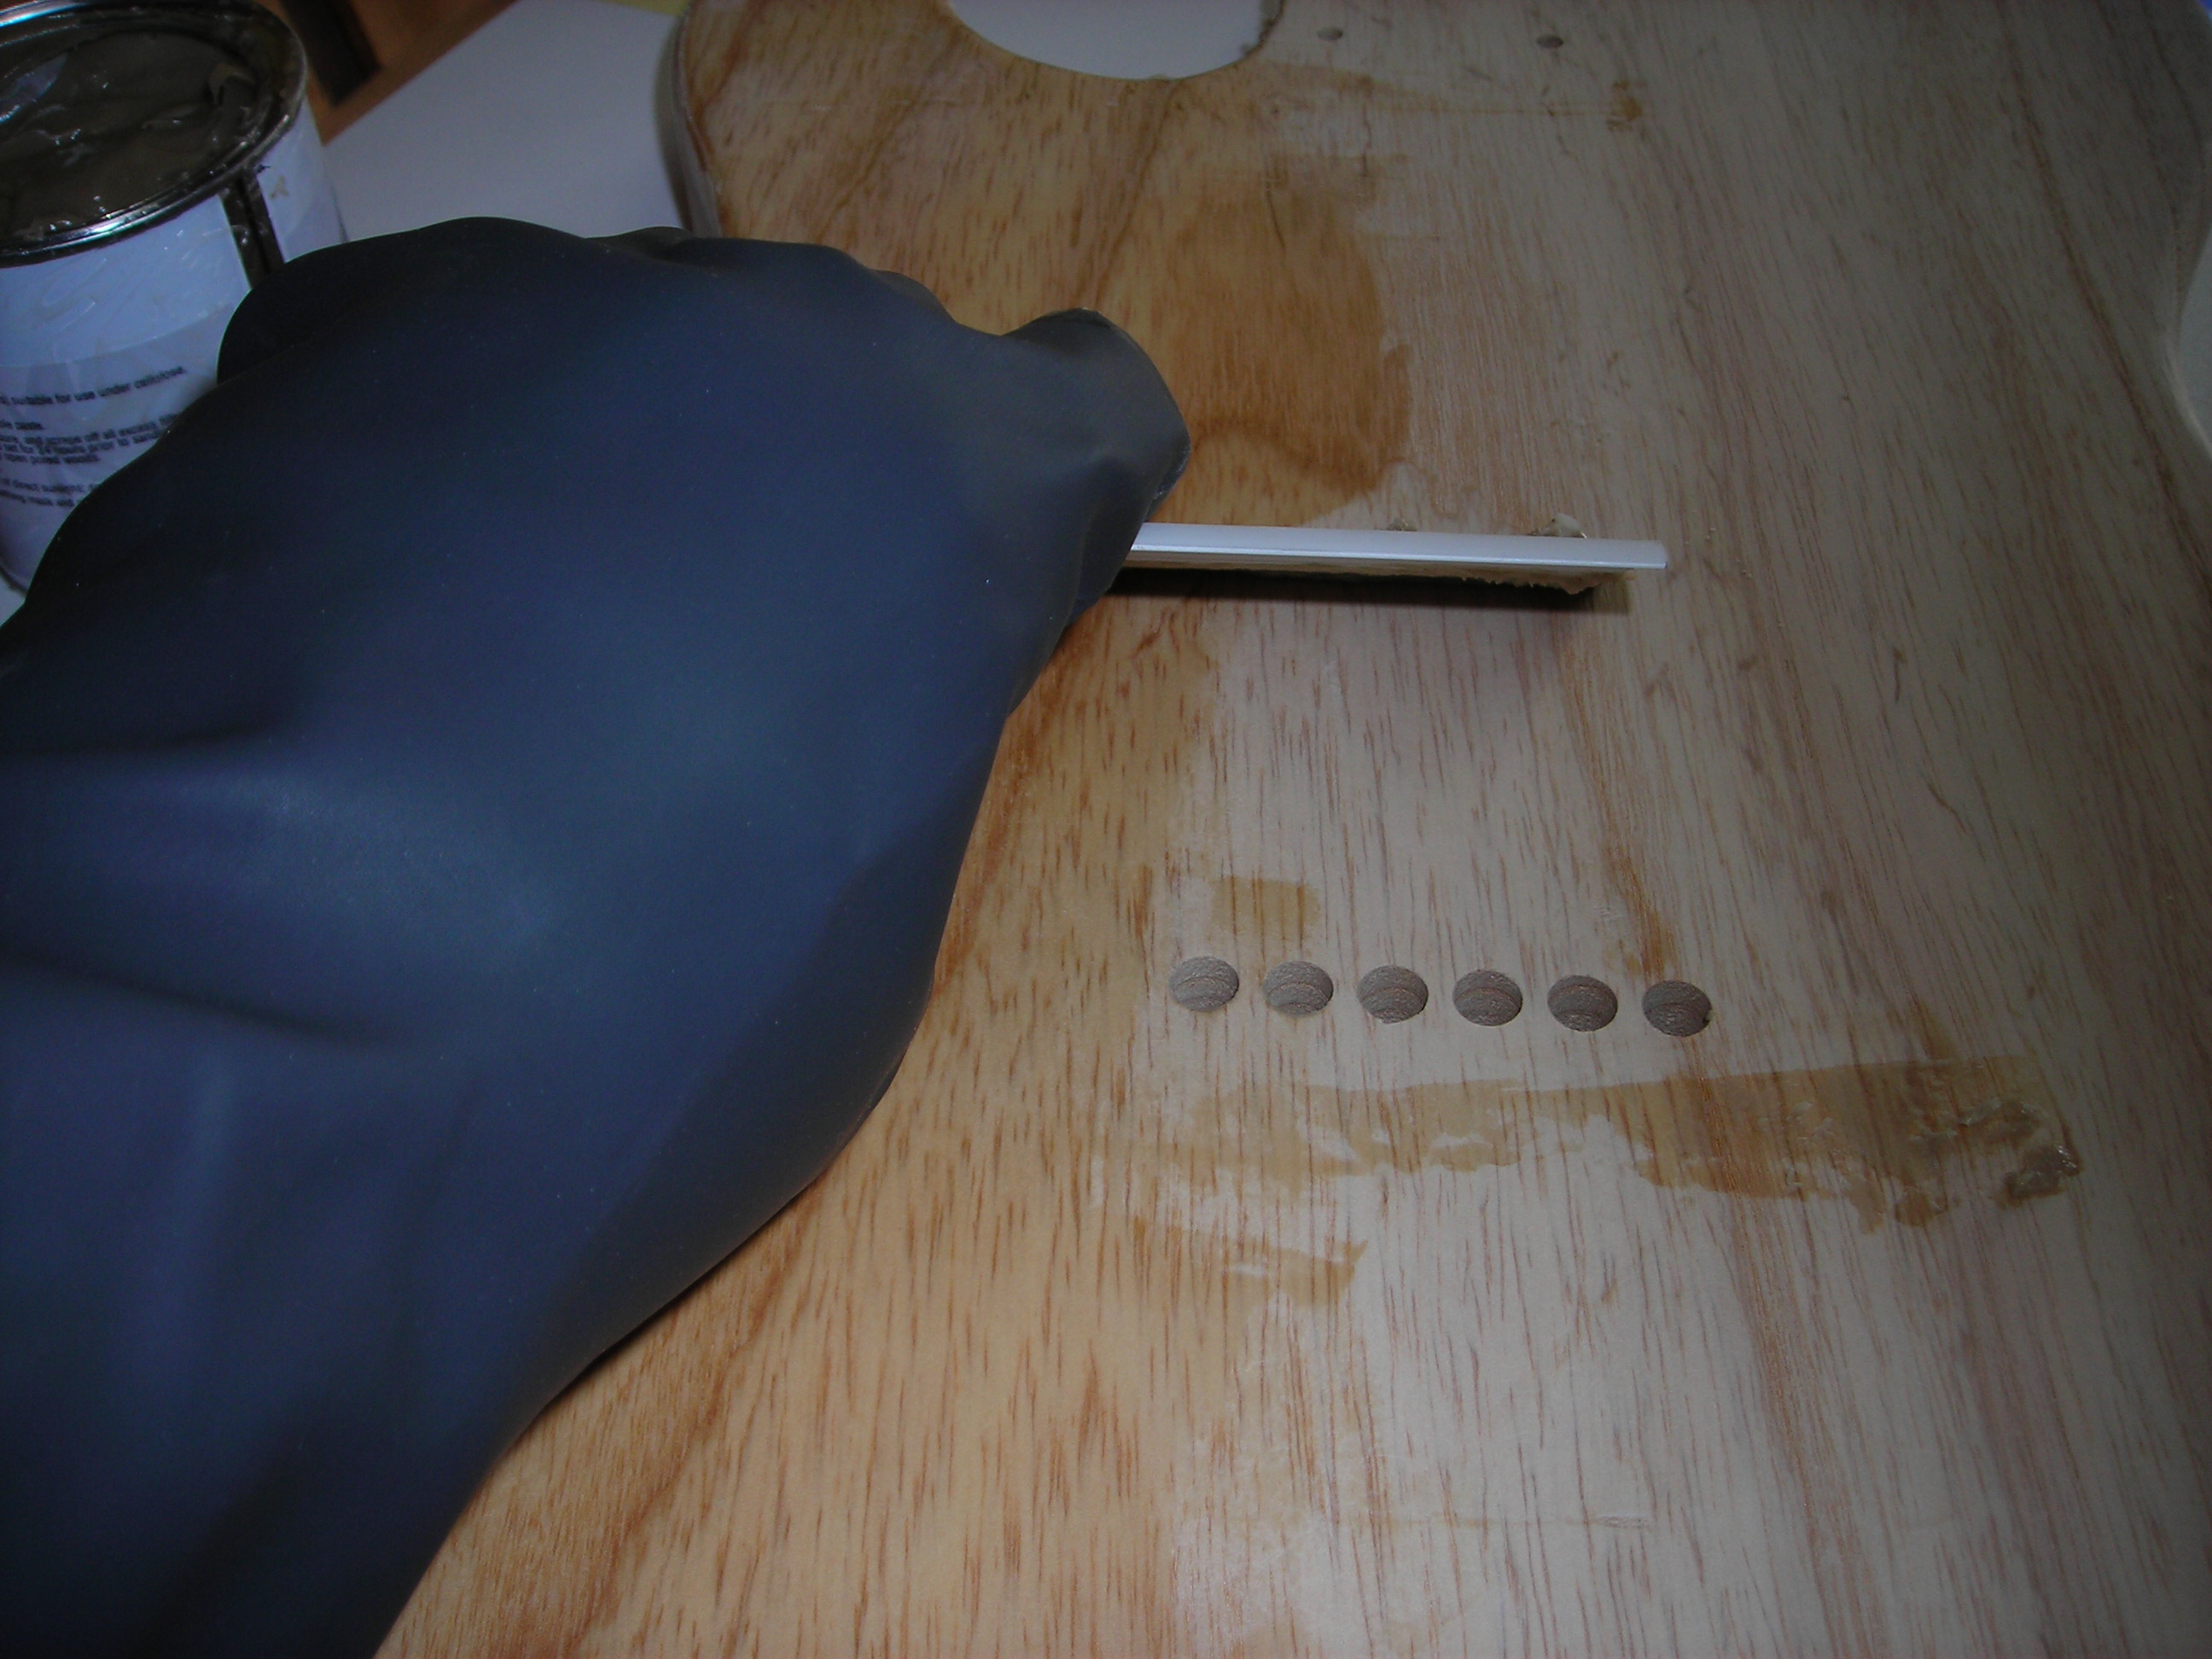
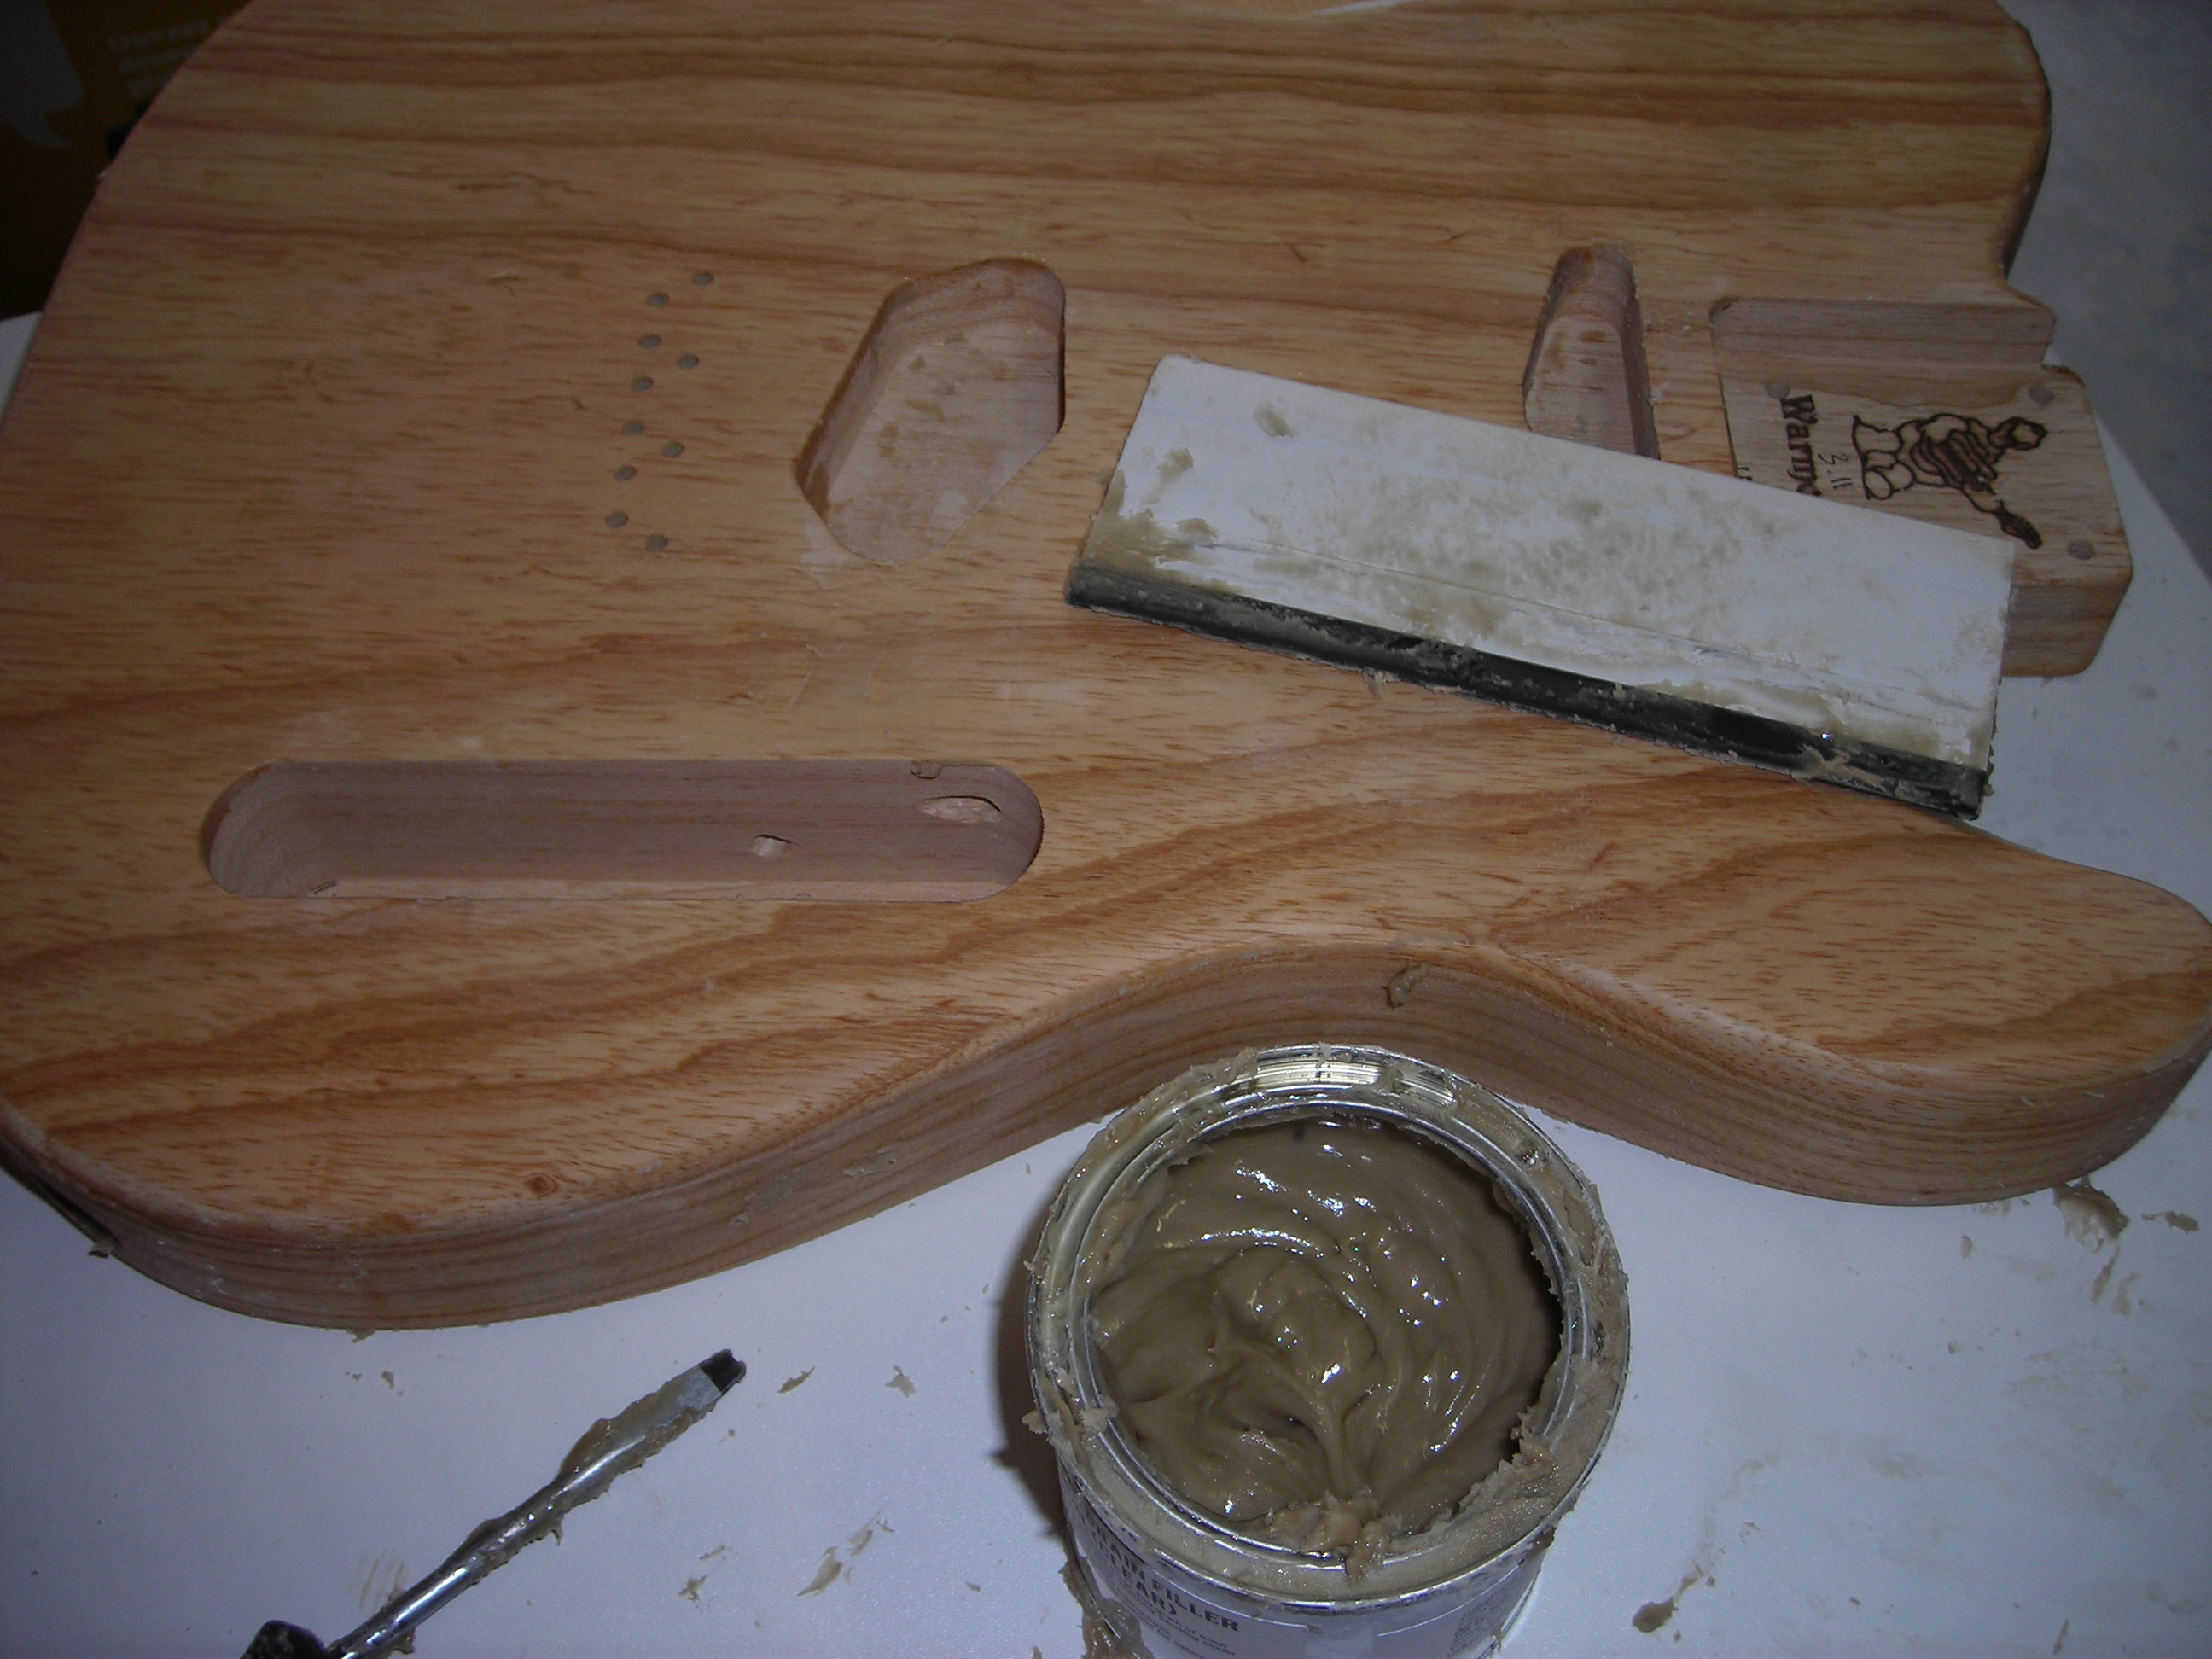
Applying the thixotropic natural grain filler. Note the use of heavy duty rubber gloves. I also used a breathing filter mask thing. This stuff is not what you want in your lungs or all over your hands. Also advisable to work in a well ventilated area.

You stir it (the grain filler) to a creamy consistency and if needed it can be thinned with White spirit (alternate names: turpentine substitute or mineral spirit ) I didn't need to thin it but just gave it a good stir. You then apply it with a spreader type of tool, probably a shower type squeegee would do. I used an old screwdriver to get it out of the tin and then spread it with the grain to force it into the pores of the Ash. You go with the grain in order to force the filler into the open pores.

Grain_Fill_2 by stratamania, on Flickr

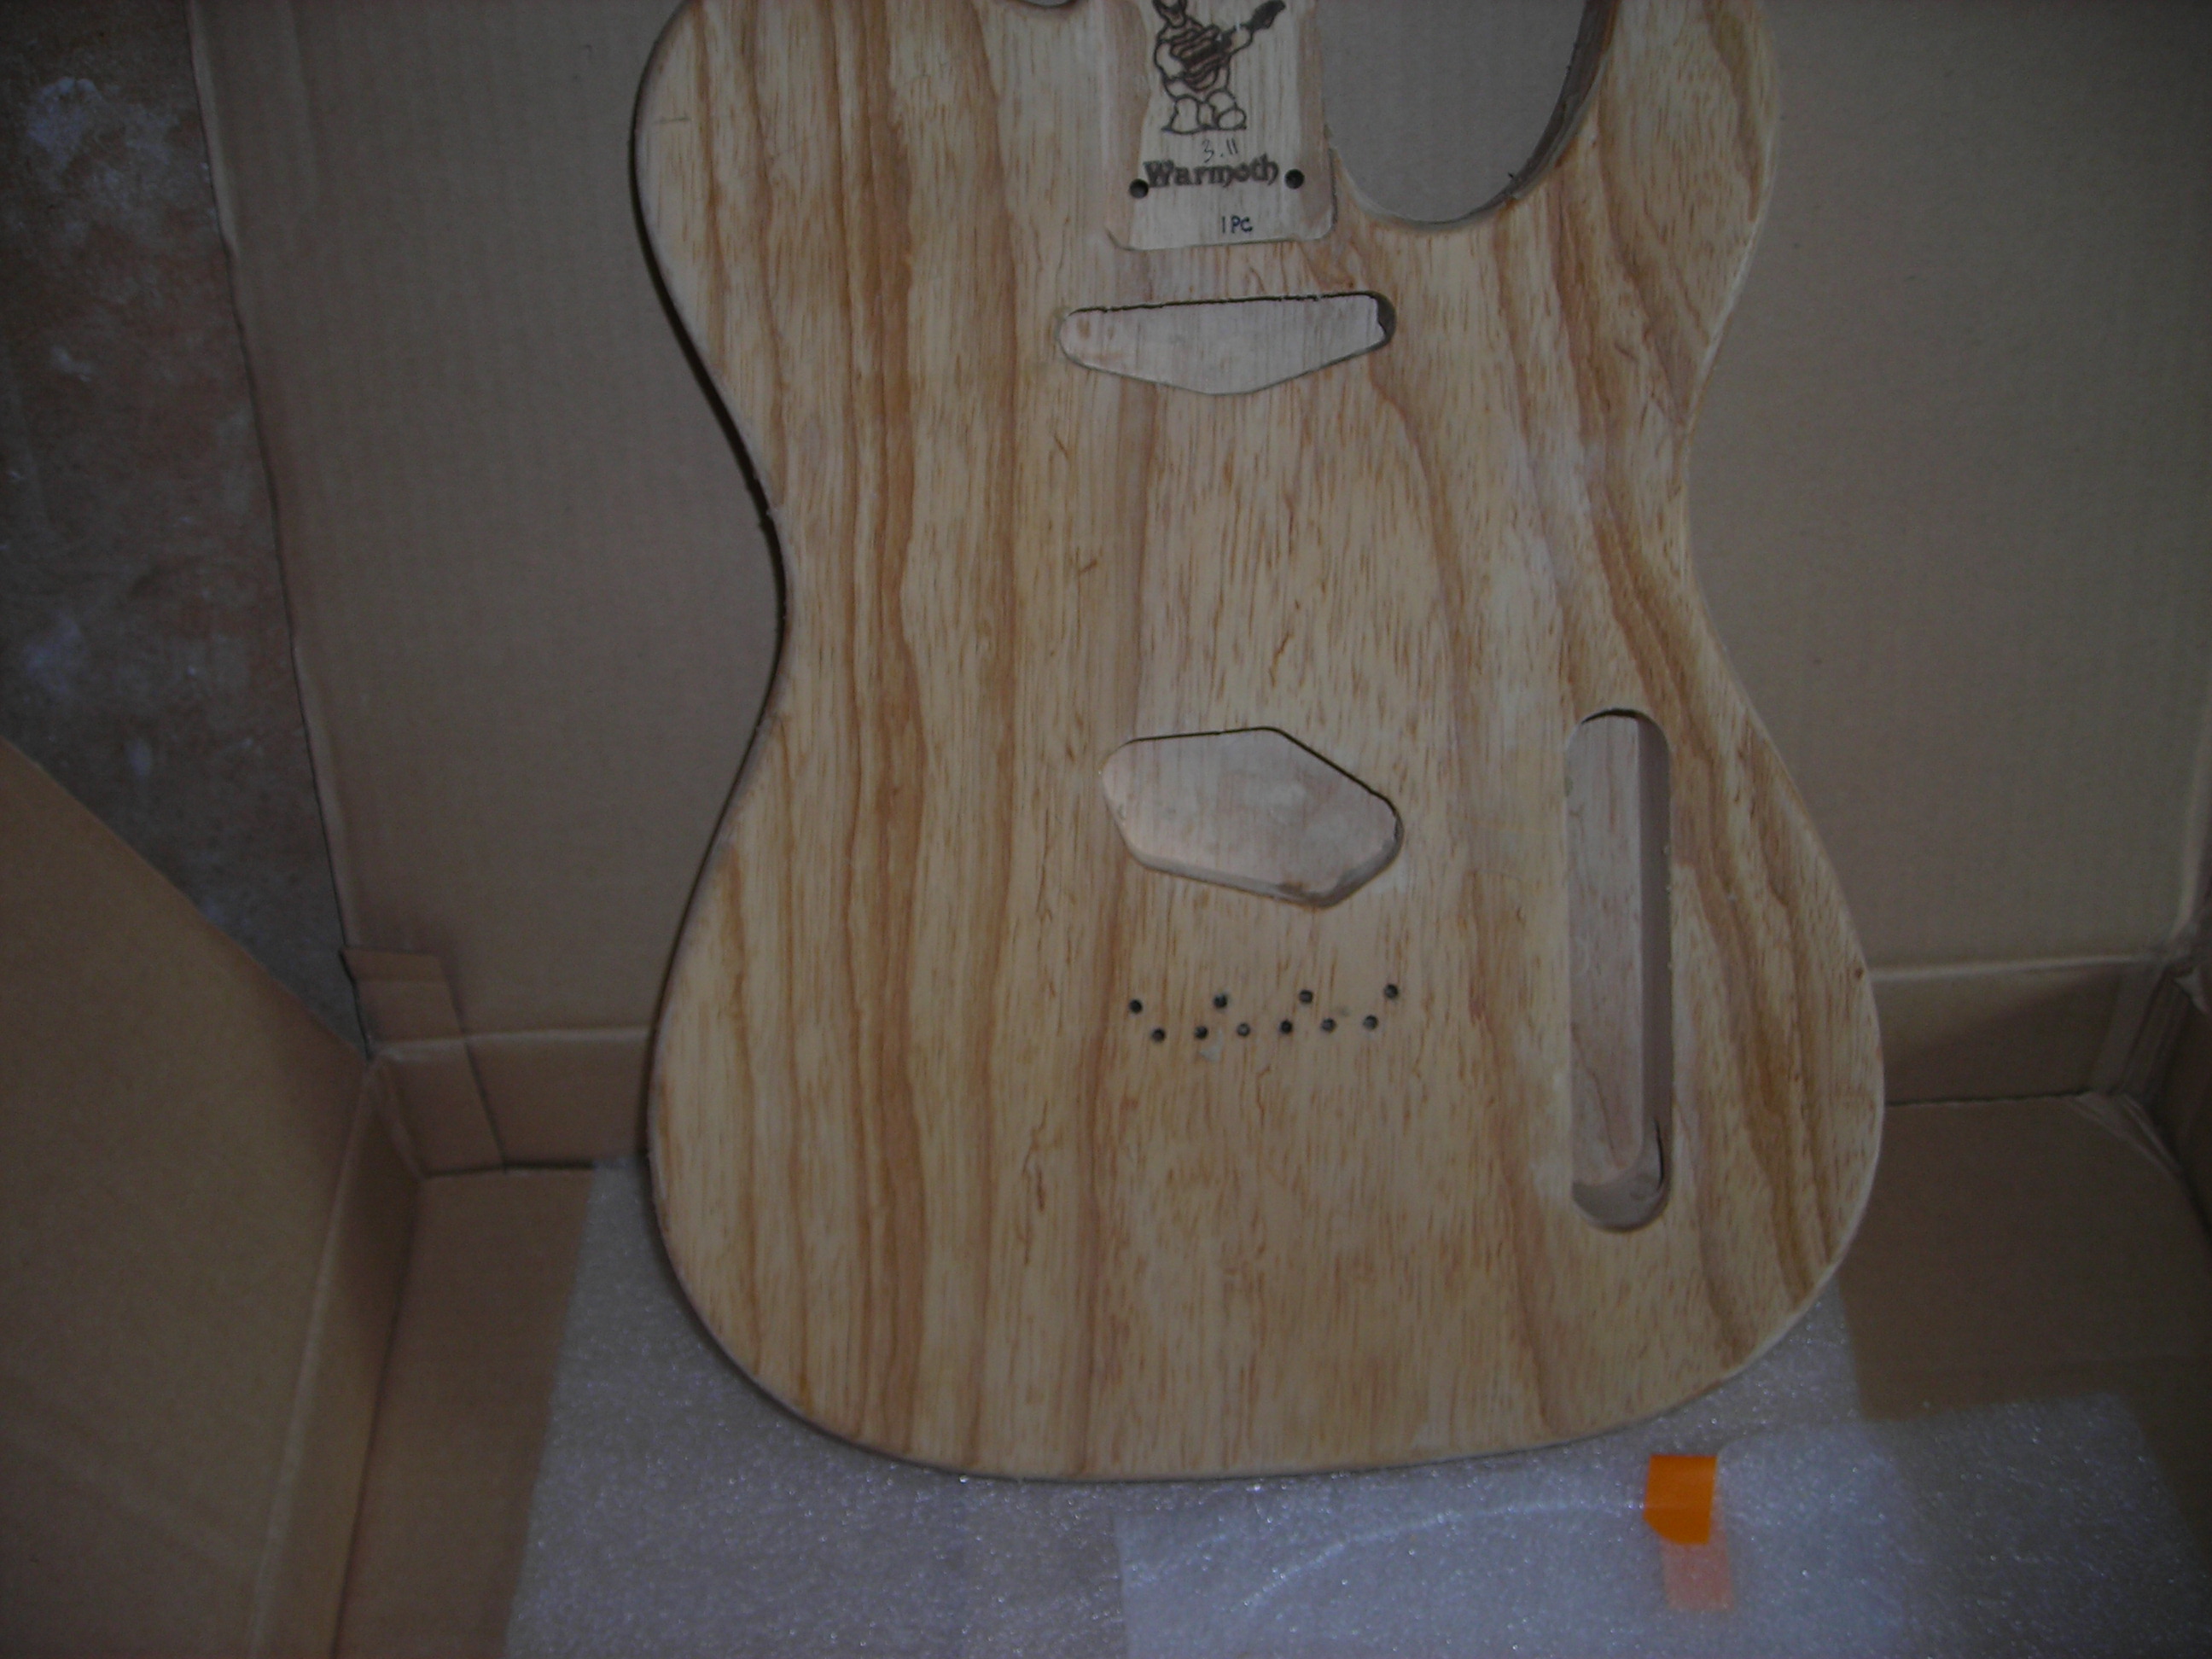
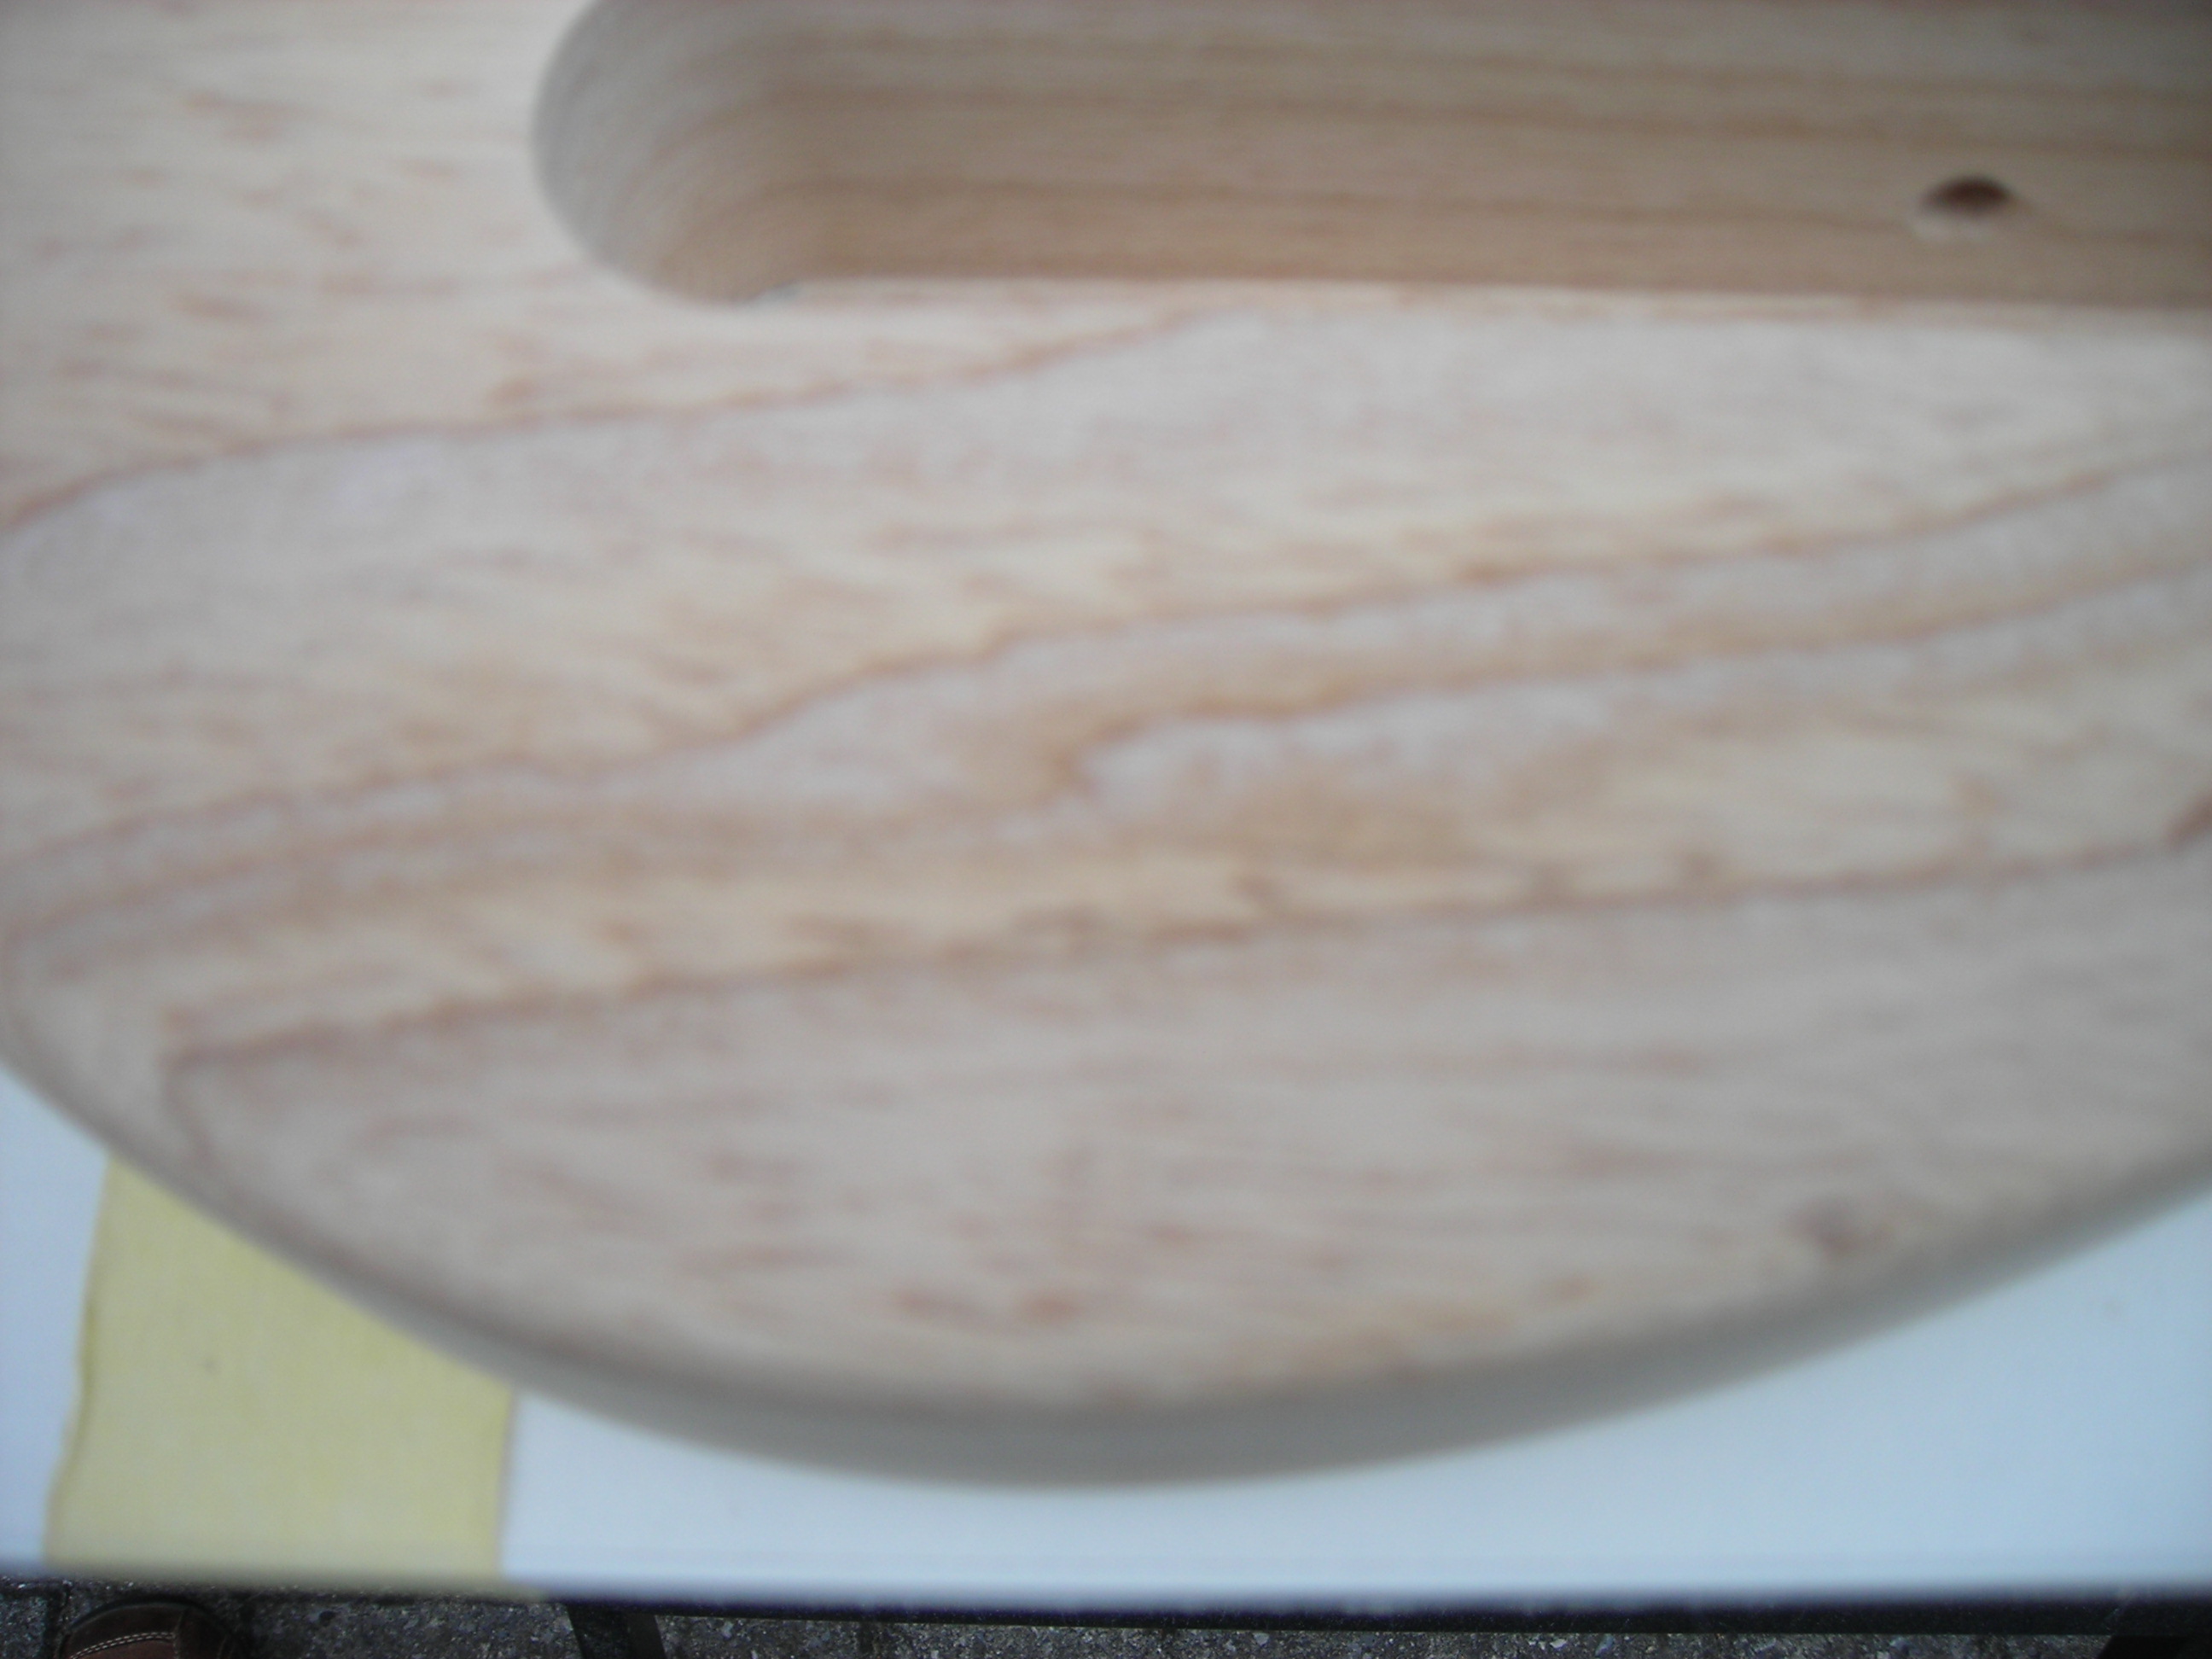
All applied along the direction of the grain, front, back and sides.

Grain_Fill_3 by stratamania, on Flickr

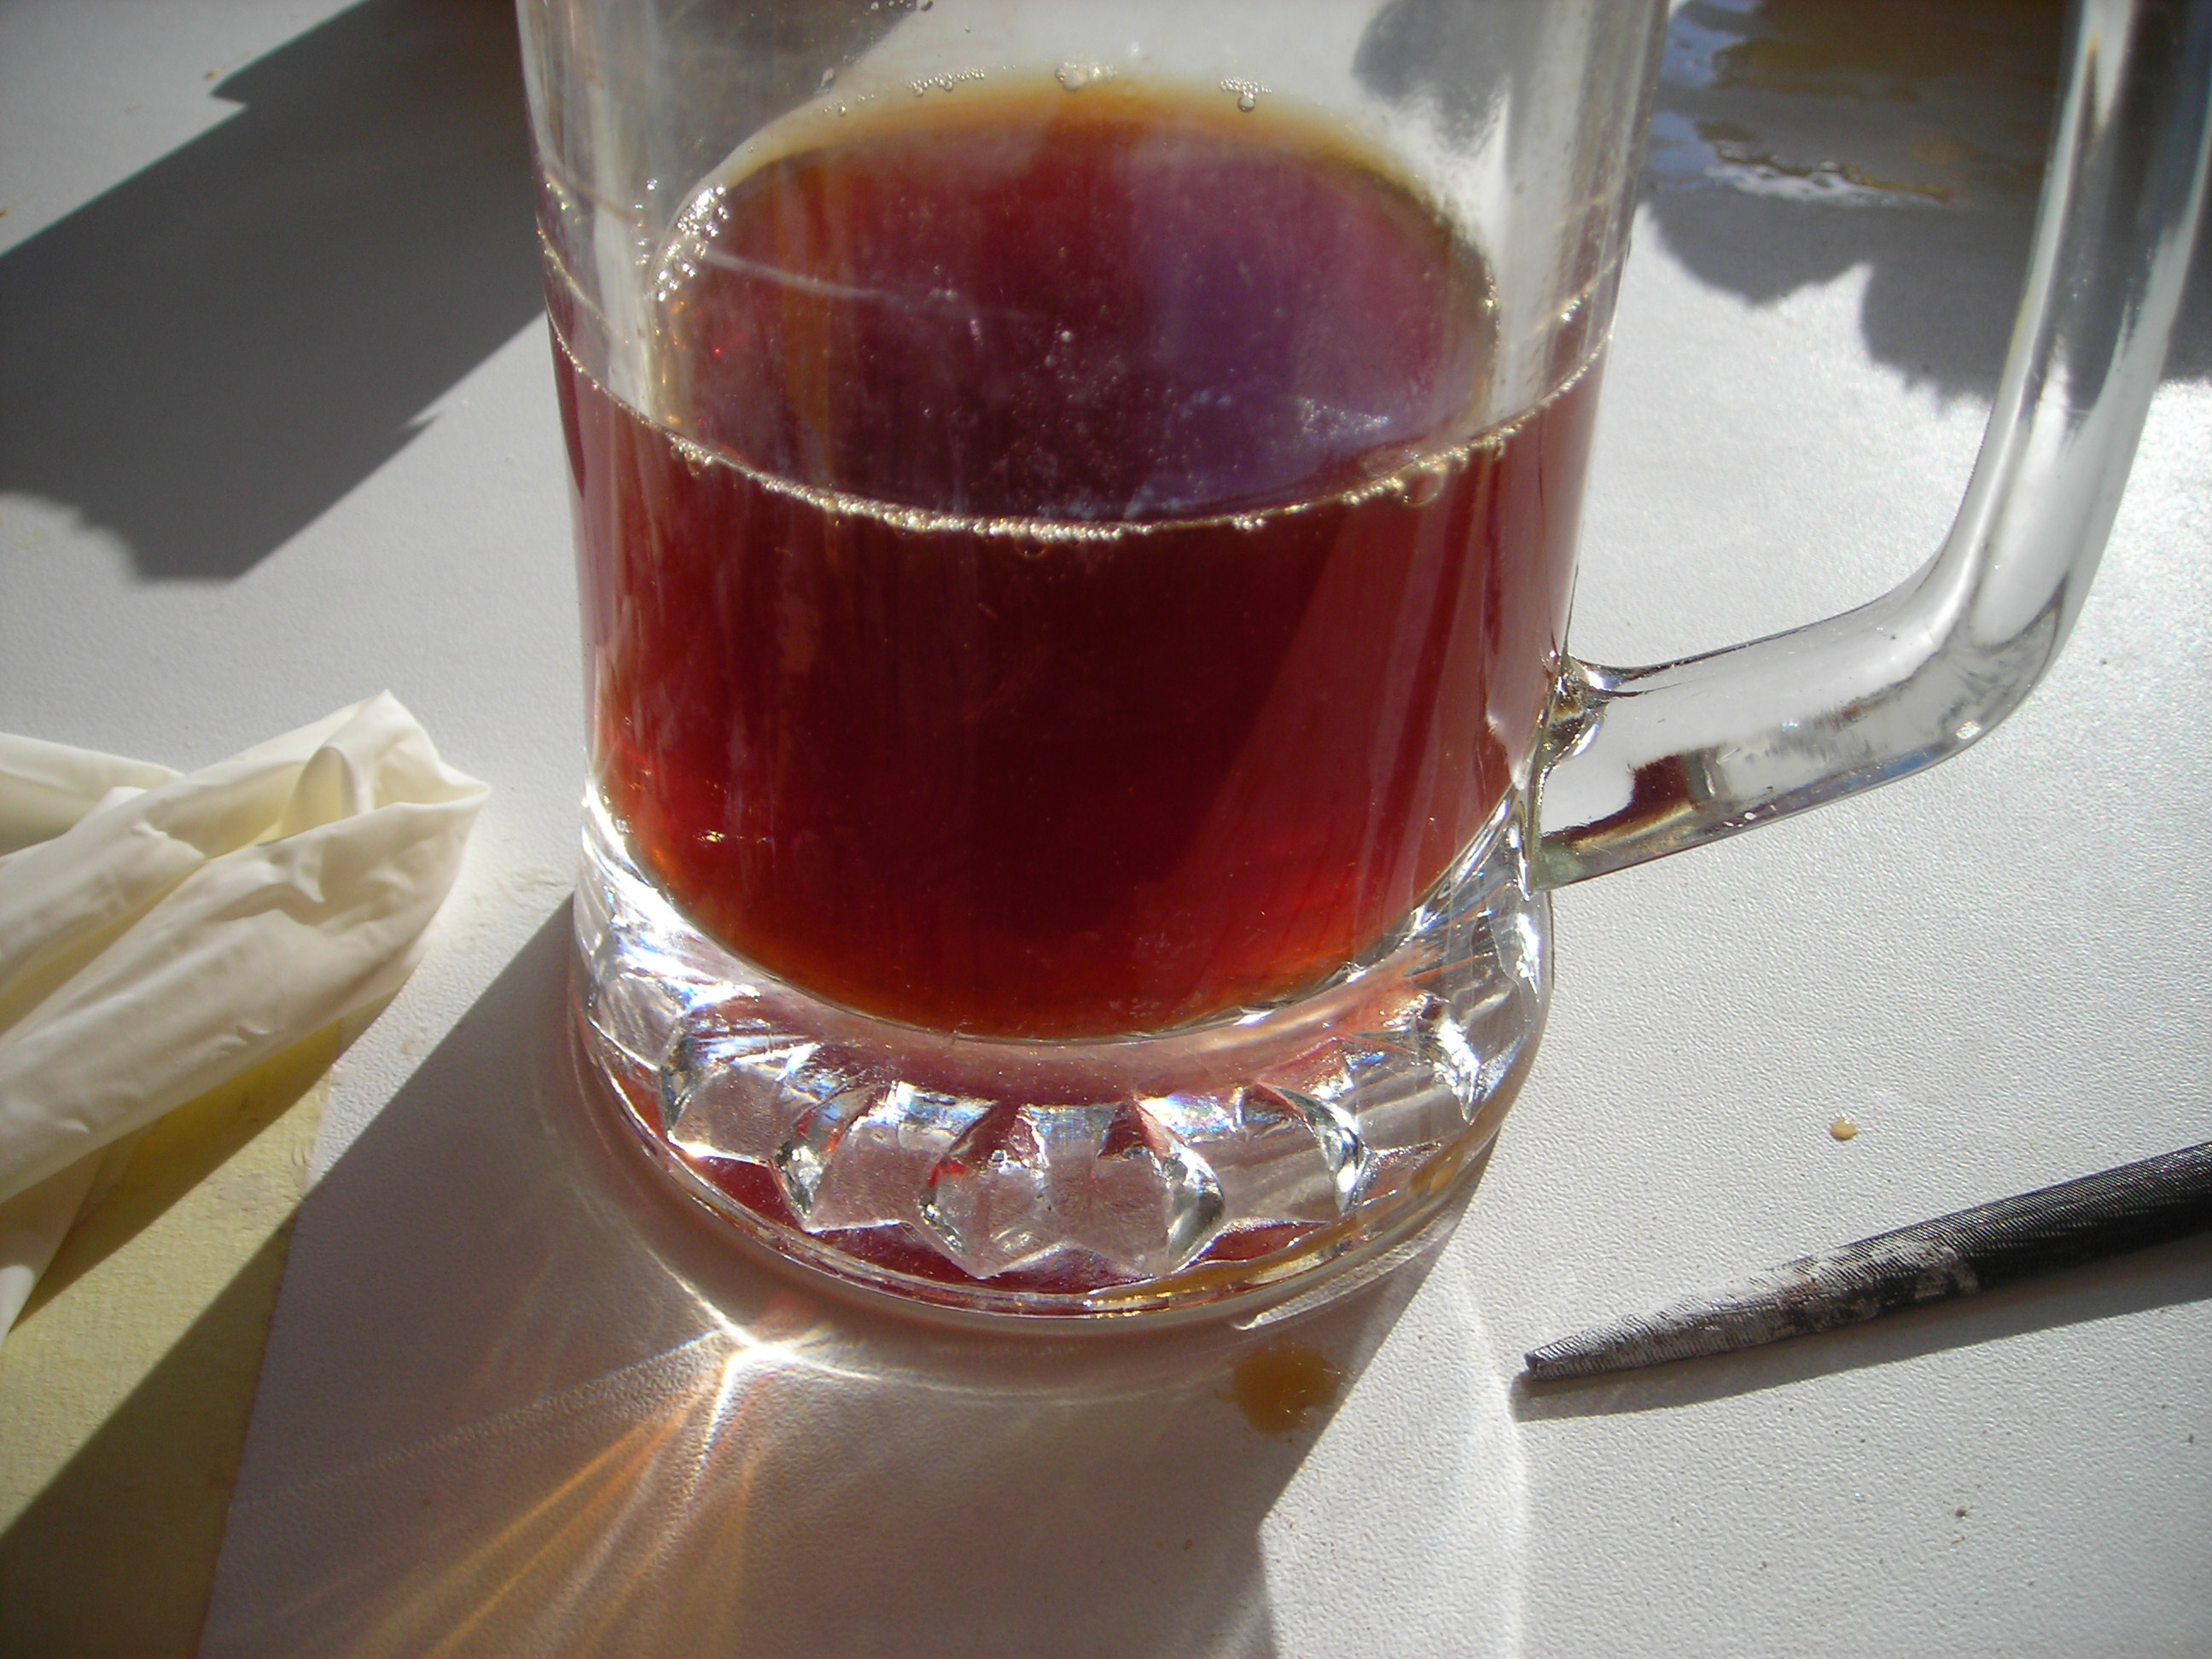
Leave it to dry about half an hour. Which gives me some time to go and have a cup of Tea.

Grain_Fill_4 by stratamania, on Flickr

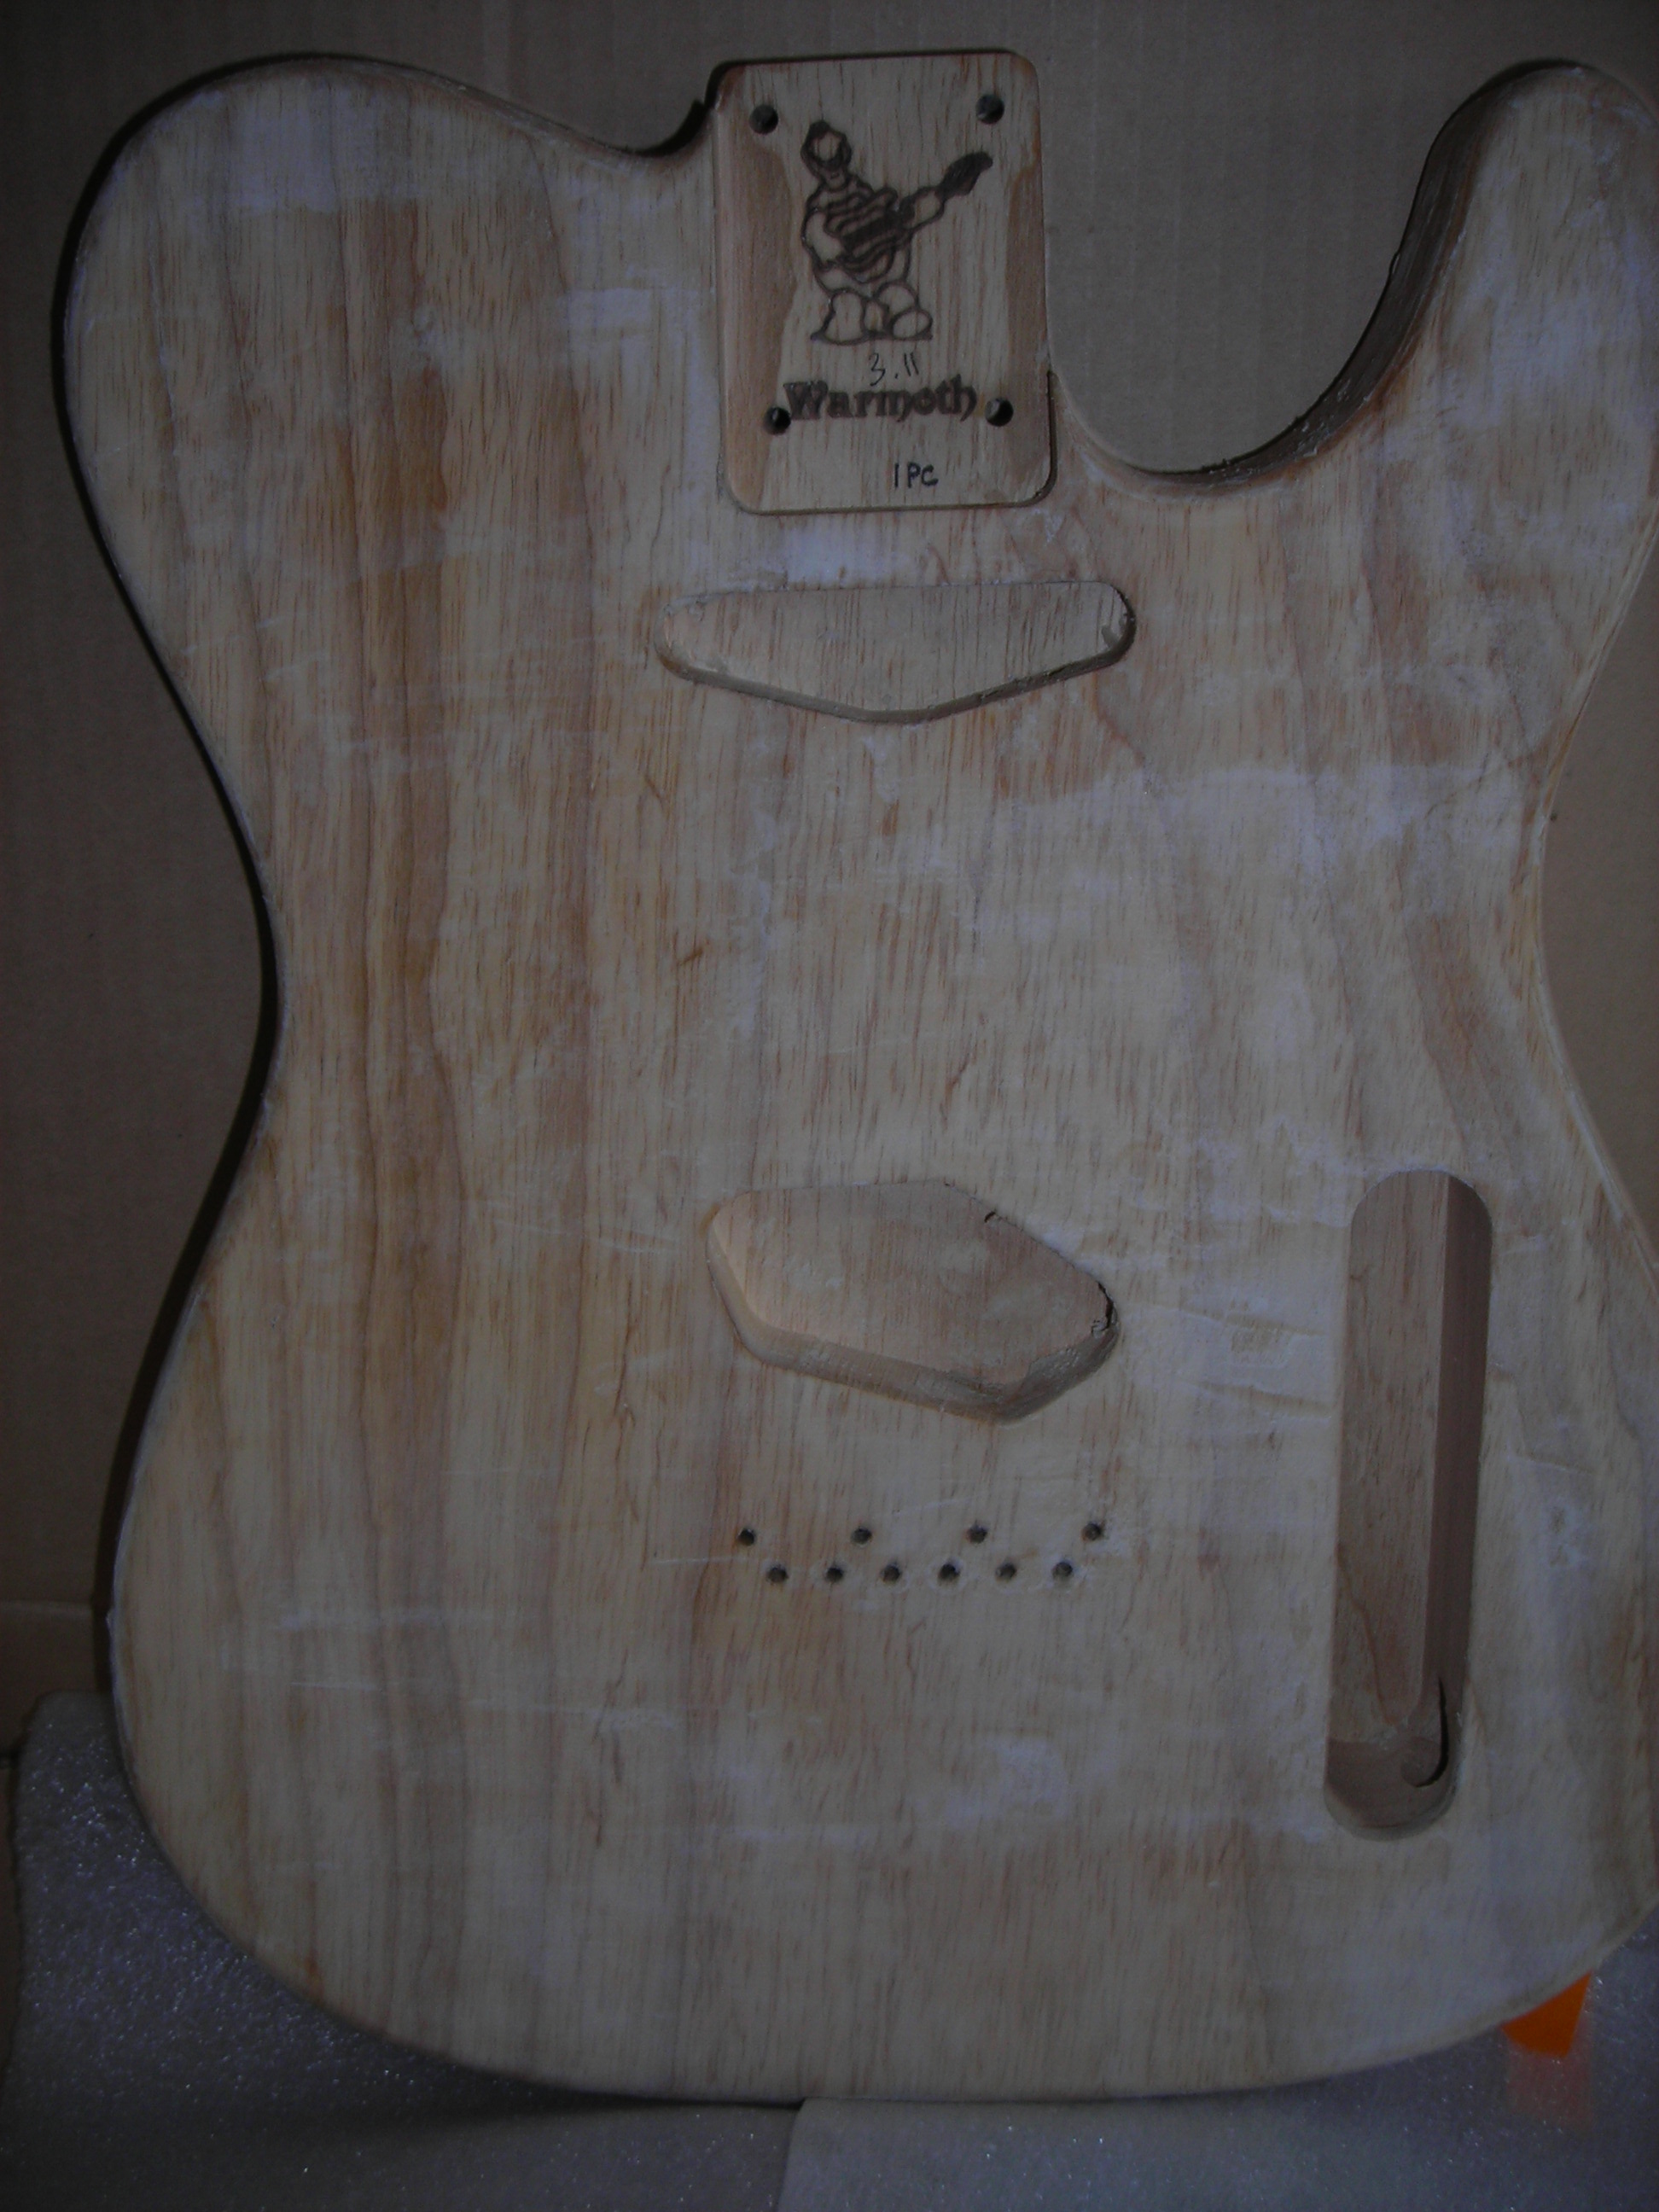
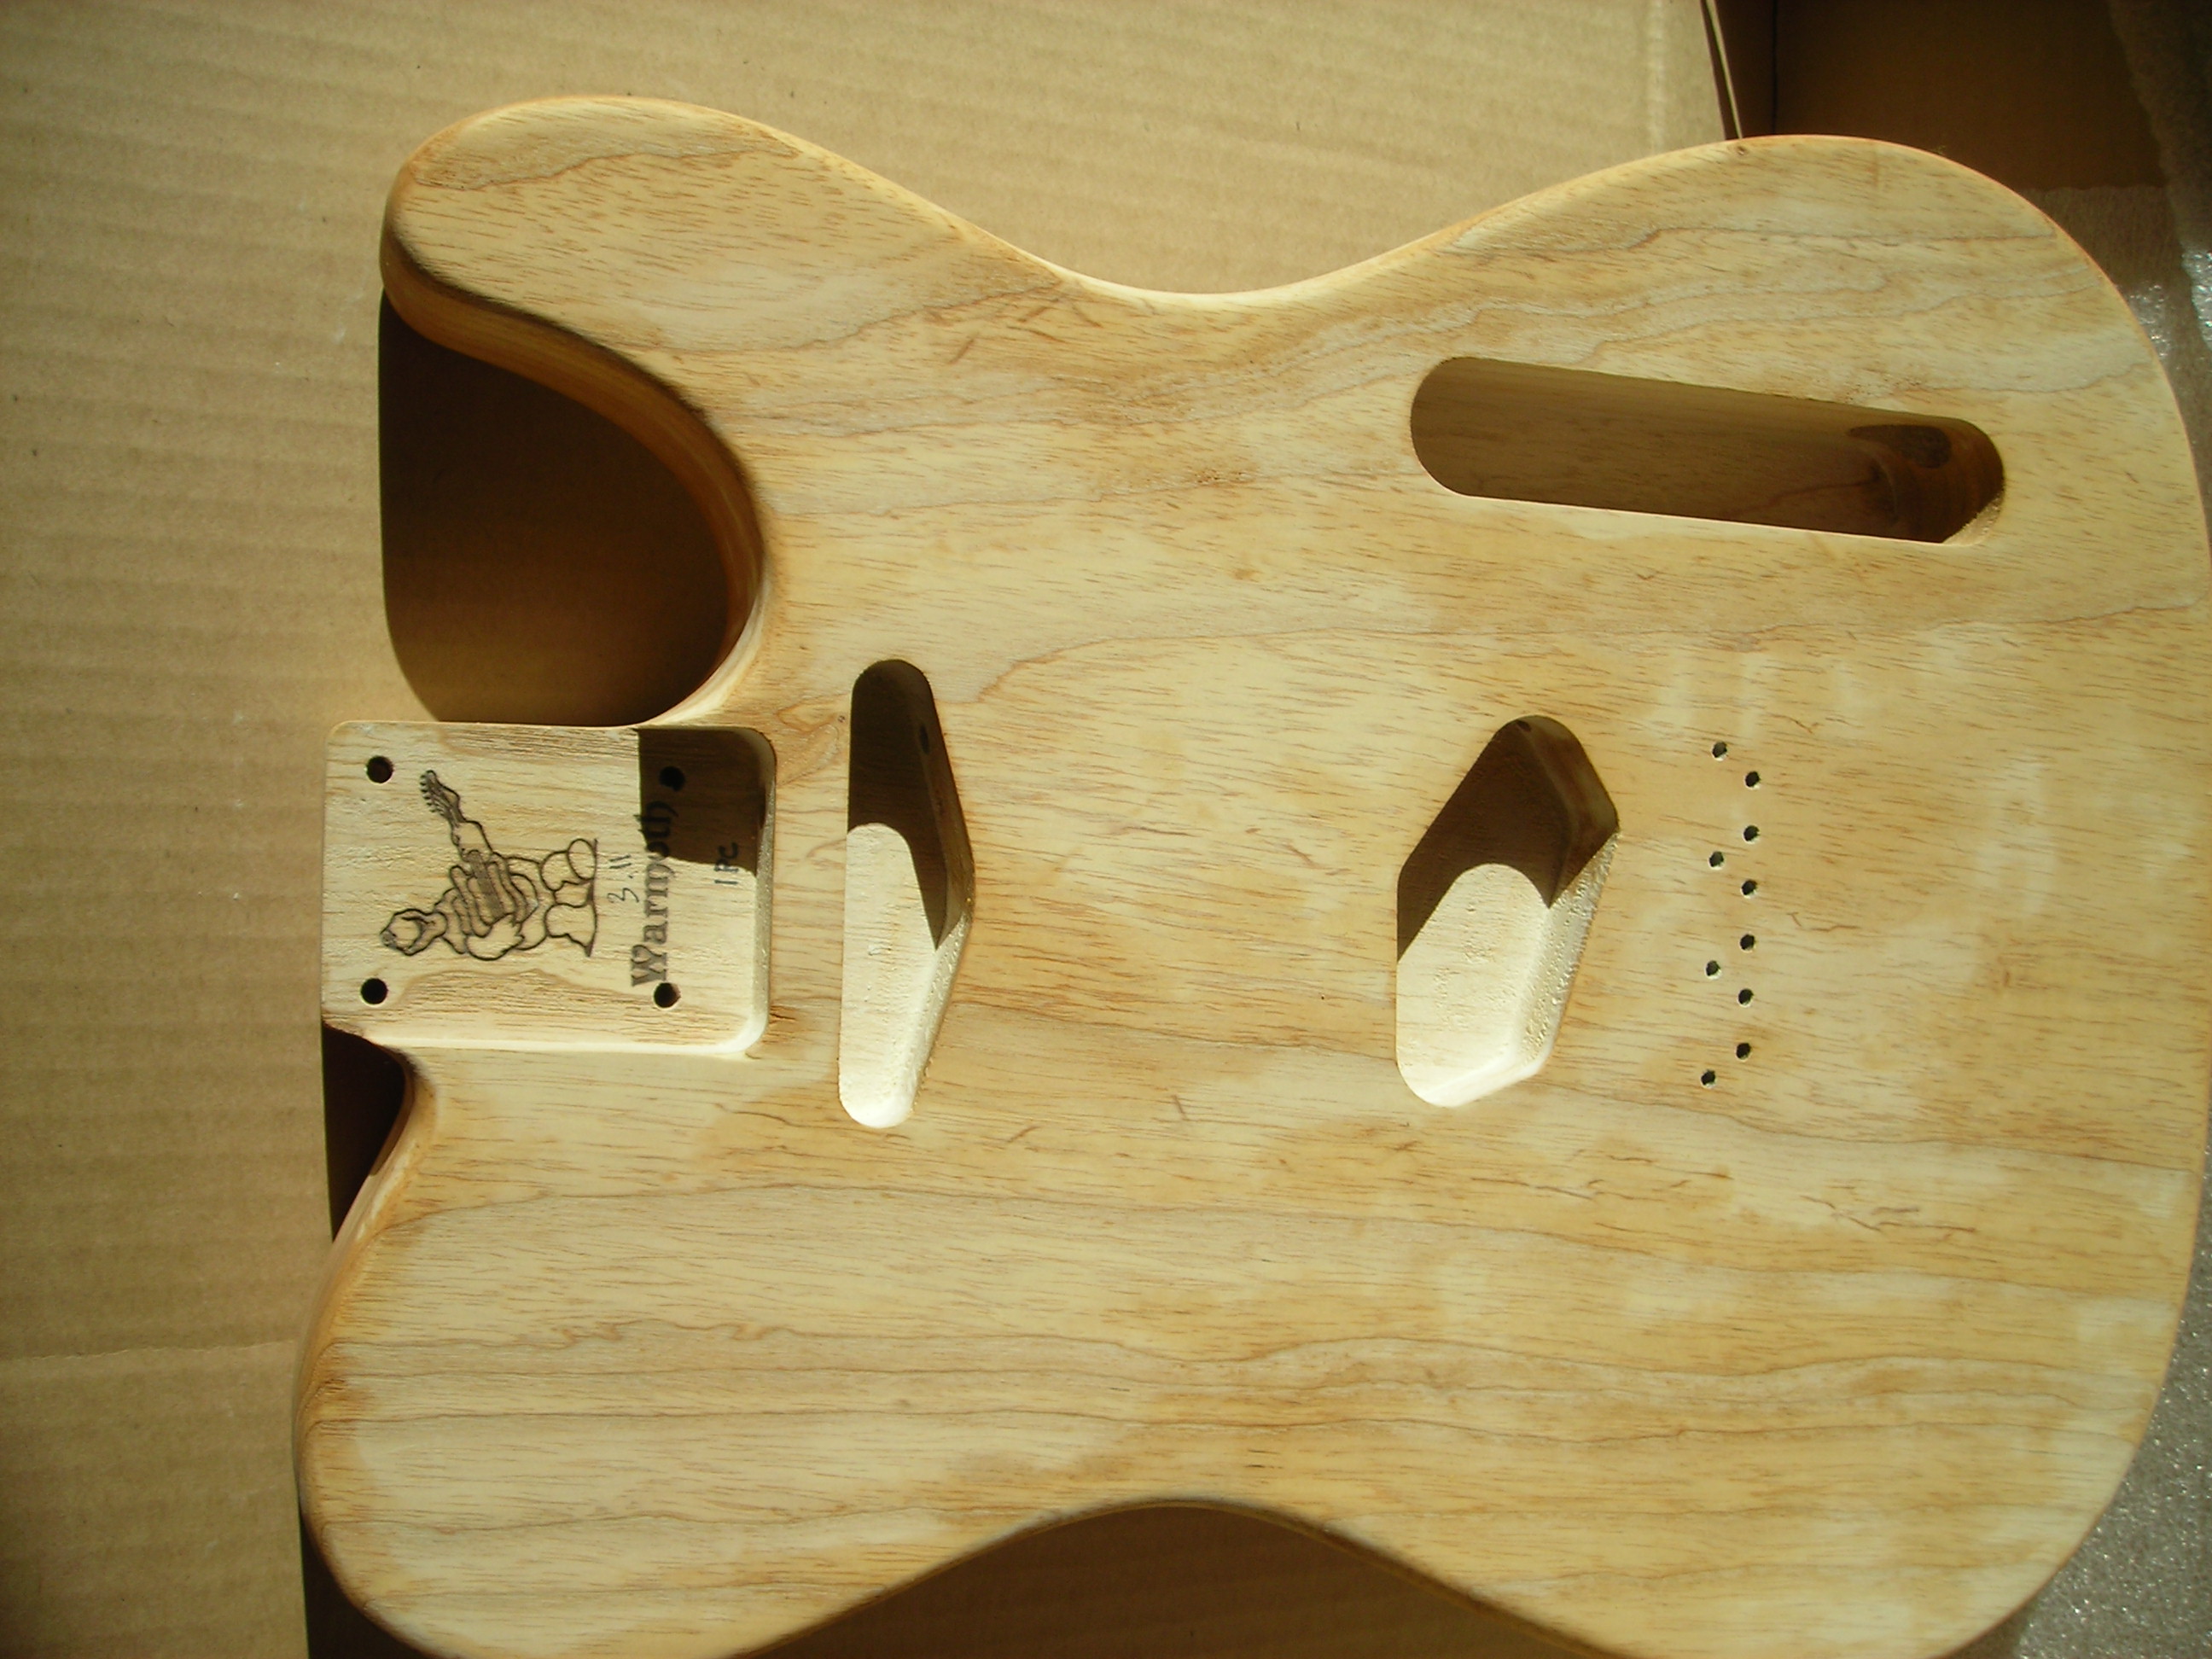
After returning from tea, I used the non-rubber side of the spreader to go across the grain to scrape off any access. I also used an old small screwdriver to poke out any of the filler that had made its way into screw holes etc. You go across the grain in this case as you don't want to pull the filler out of the grain.

Here it is after going across the grain to scrape off any excess. It will mean a little less sanding tomorrow. Now it's left to dry for 24 Hours. I may need to grain fill again but will see what it's like tomorrow.

Grain_Fill_5 by stratamania, on Flickr

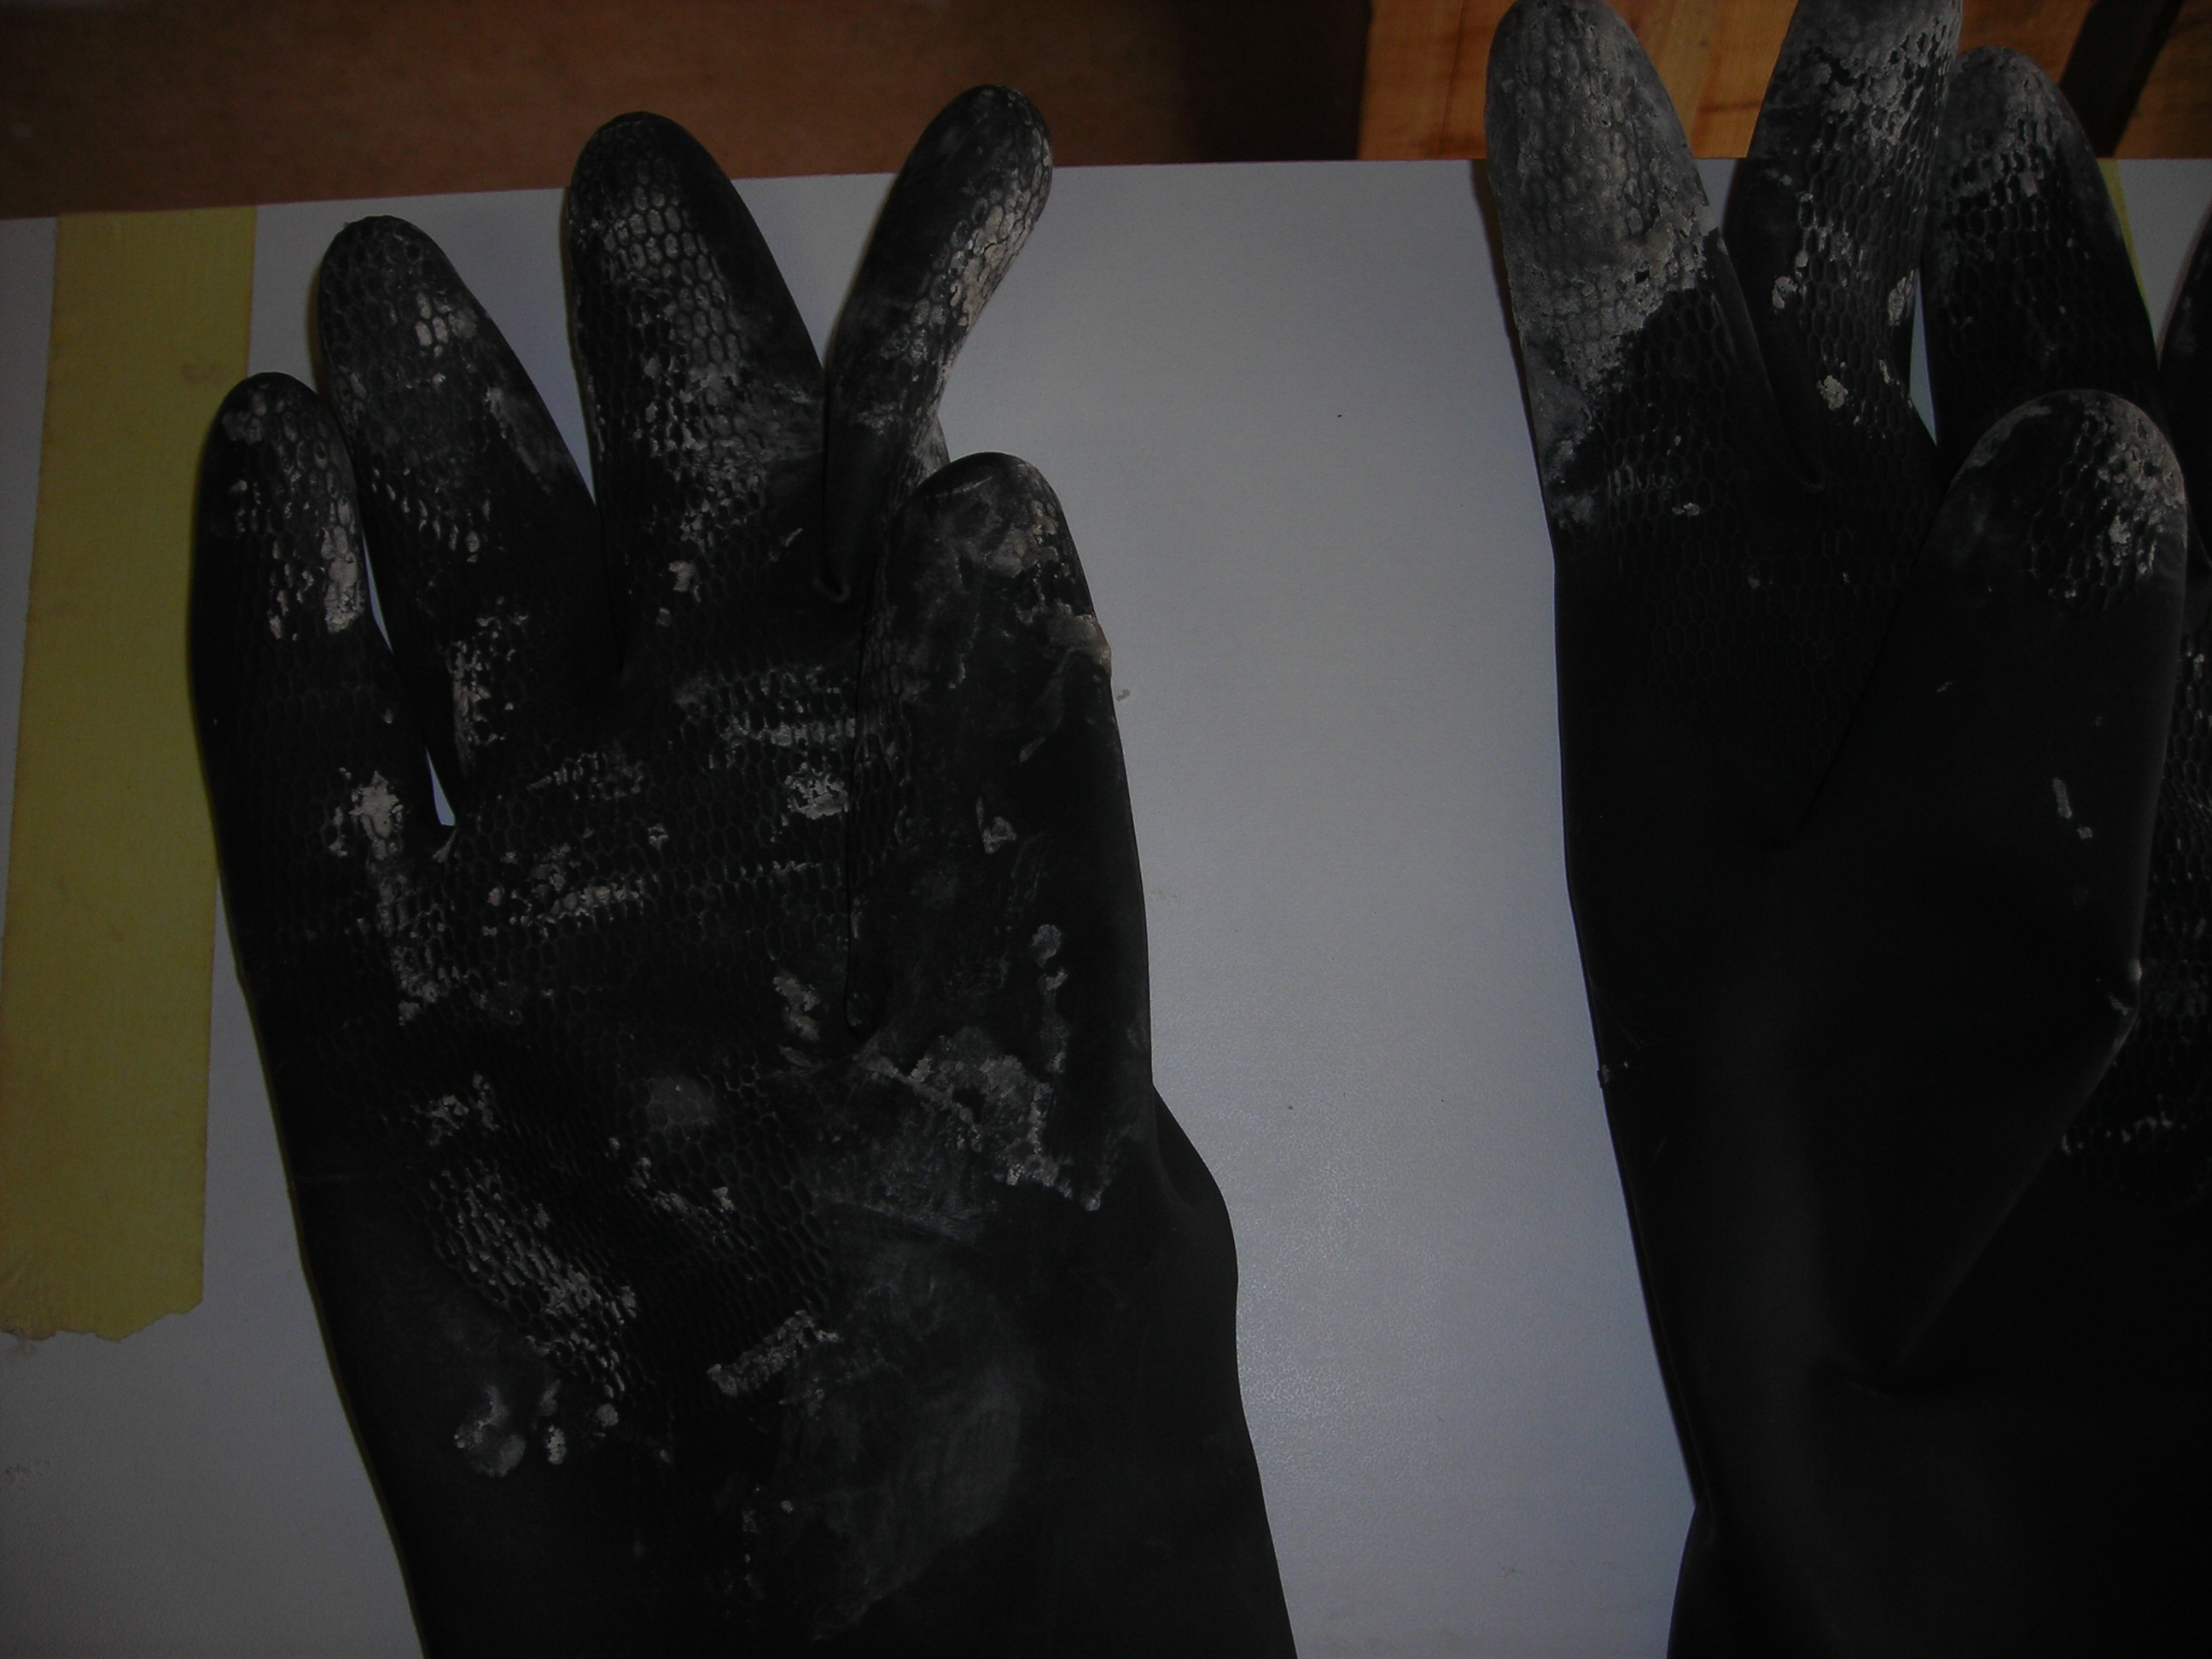
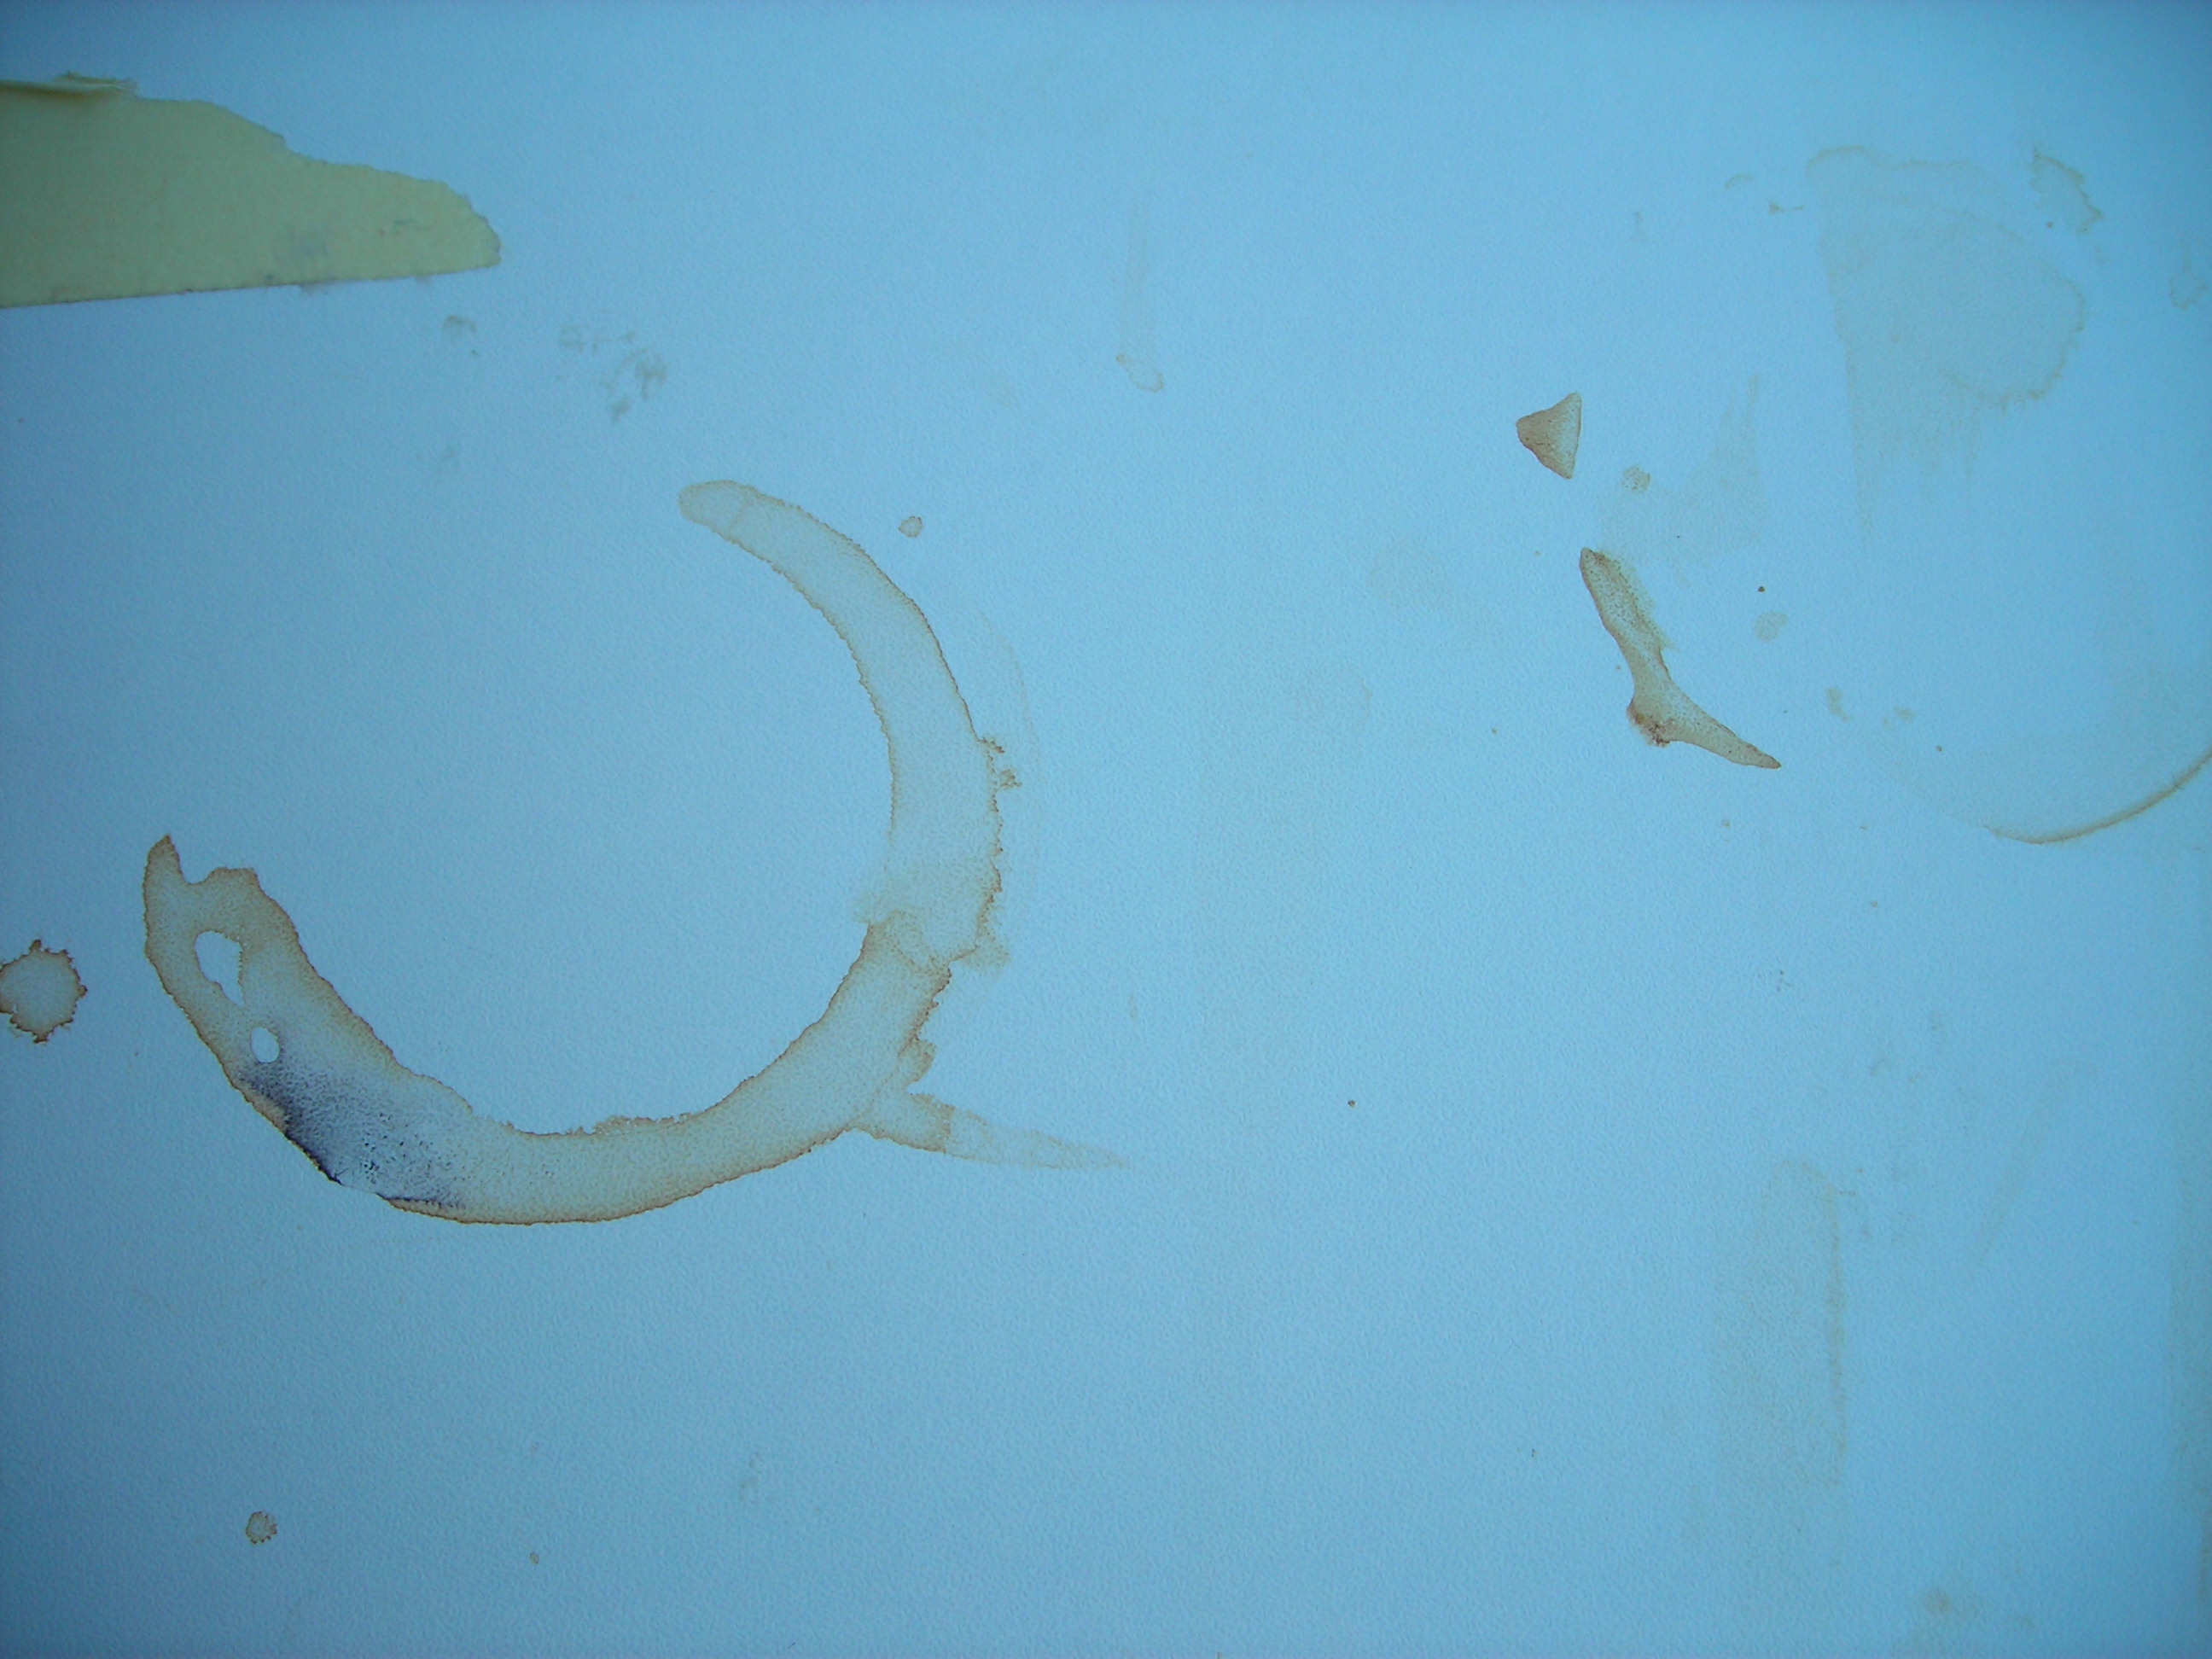
I cleaned up the tools with an old cloth and the previously mentioned white spirit. But here is a shot of the gloves, I work pretty carefully but this stuff will get where you don't want it. You really don't want this on your skin.

Grain_Fill_6 by stratamania, on Flickr

That's all for now, thanks for looking etc and feedback or questions are always welcome.
 
Last edited:
So welcome to the next installment...

In this episode we have sanding back grain filler. Staining, this time for real.  Flies, neighbors and freak gusts of wind...  so here is the last 3 days in a time capsule.

Here is the body after the grain filler dried after about 24 hours. A bit more left over in the odd spot than I had planned.

sandandsealer_1 by stratamania, on Flickr

After a fair amount of diligent and careful sanding up to 320 you can see some of the grain filler in this shot. It is a little whiter than I expected natural to be.

sandandsealer_2 by stratamania, on Flickr

So time to add a little stain...

Here is the first application of stain and the bare wood, of course, it is still wet so will dry lighter...

sandandsealer_3 by stratamania, on Flickr

What stain was used?

Here it is, cold tea. Precisely PG Tips, 1 tea bag left in the boiled water overnight. I got this idea as I had called my out of the box thread Time for Tea, being a play on words T Caster, Tee and Tea. The forum member Slackjaw had expected to see something tea stained, so after a while, I warmed to the idea.  No sugar and milk in this tea.

As this will have a tortoise shell pickguard and rosewood board, a little tea influence on the ash might be OK. 

sandandsealer_4 by stratamania, on Flickr

A little more tea application drying...

sandandsealer_5 by stratamania, on Flickr


I did about three coats of tea stain with a cloth. Here it is after drying for about 24 hours. The effect is quite subtle but has added a little warmth compared to the out of the box photos.

sandandsealer_6 by stratamania, on Flickr

The effect of tea on the work surface.

sandandsealer_7 by stratamania, on Flickr

Now I am not set up for spraying, and don't have a spray gun etc. For the finish, it will be done with aerosol nitro and sanding sealer. So this is a how do you get a decent result with relatively easy to obtain materials and tools for little expense approach.

First, the workmate has been covered with a plastic sofa cover I had left over from when we moved a few years back and kept it for a future possible use. I have taped it up too with masking tape, so I can easily pick it up and move it without snagging the plastic.


sandandsealer_8 by stratamania, on Flickr

Here is the body supported on an old sturdy box lid. Its big enough to give enough support but small enough that it doesn't extend to the edges of the body.

Apparently, Fender, years ago would use a similar system but would also use nails in the front of the body, so that it could be flipped over and the finish continued on the back.

I am not in a hurry so I will complete the front and sides for each stage and when dry enough flip it over and do the back and sides. The sides will get a double finish but that probably isn't a bad thing.

sandandsealer_10 by stratamania, on Flickr

Just prior to doing the first coat I used a clean lint free cloth, with a bit of white spirits in it and sprayed a light bit of the sanding sealer into it, scrunched it up and used it as a tack cloth.

At this point the first fly I had noticed passed by to inspect the body :)

Here is a shot after the first coat comprising of three light passes of cellulose sanding sealer.

sandandsealer_11 by stratamania, on Flickr

Just after taking that photo, the neighbor opened her garage door from the inside and began to brush the bottom of it. You could not make this up.

After three coats fifteen minutes apart.

sandandsealer_12 by stratamania, on Flickr

You really could not make this up as it had been a calm sunny morning and just as I was finishing the last pass of the third coat there was a freak gust of wind, causing the spray to splodge in a couple of places. No big deal as it will be sanded in any case.

Already I think its starting to look quite nice. I don't know what it is about ash and other wood grains but they can have real character.

It now needs to be left to dry for a few hours then I will flip it over and do the back. Then it will be left to the next day and it can be sanded level and the process repeated probably twice prior to beginning the nitro lacquer which is when I will post the next photos.

Thanks for looking.
 
Nice! That's gonna be a beautiful body!

stratamania said:
At this point the first fly I had noticed passed by to inspect the body :)

Bit of trivia... acetone is an organic solvent. Your own body actually makes the stuff in small quantities. But, because of that, it's attractive to some insects. Apparently, they think it might be food. For as wicked as the stuff is, you'd think nothing would would be interested in being anywhere near it. But, insects aren't always as smart as they should be so kinda like moths to a flame, they wanna get at it, but then it kills them due to its concentration.
 
Hi Cagey, yes that may well be the smell of the stuff. Anyway so far none of them have actually gone swimming in the stuff.

 
Not to hijack but... I seem to recall seeing somethimg, likely ash, that came out like a caramel fudge swirl. Not quite popping the grain like filling with black, but contrast controlled. Also the individual pores didn't really stand out... and unfortunately thats not enough for google. I do remember it having three rear routed singles and a wilky.

I'm hopefully getting a routef soon, and local hardwood store has a good stock of everything. Ash is the cheapest hardwood in rough lumber, and not a bad choice at all.
 
I think a caramel or toffee kind of look on ash would look great, don't worry about hijacking it's all good.

I would like to get a router and some other bits and pieces too. I have a pine pallet that the builders left behind that's been drying out in the garage for around 7 years that might turn into something. I really need a bigger place though.

I would guess maple, ash and so on is quite readily available in the US.
 
They are, but the cultural shift from people doing stuff for hobbies to sitting around being entertained is taking its toll on the places to find it. Walnut is local, but it's as expensive as all but the priciest exotics. Local shop has wenge too but woowie. My parents have a yard full of mature walnut trees but yard trees are dangerous (embedded crap), and it'll be a sad day when the big one goes... A lot of memories (and a few stitches) associated with that tree. Survived a lightning strike that we thought migut have killed it.  Yeah I guess I need to be honing my skills now
 
Hope you find a good use for those Walnut trees...

Continuing on with the finish of the Tele.

After applying the sanding sealer I noticed this section where the grain filler was showing too much white. I sanded it back to bare wood and here is a shot of that. After this I applied more sanding sealer etc.

Finish_1 by stratamania, on Flickr

Here is a shot of the same area after the whole body has received some nitro satin.

Finish_5 by stratamania, on Flickr

Next up is the neck, masked off for nitro application on the headstock. No sanding sealer was used on the maple as it is close-pored and does not need it in my opinion.

Finish_2 by stratamania, on Flickr

Finish_4 by stratamania, on Flickr

The rest of the neck will be done with Tru Oil.  I did this on an earlier project detailed http://unofficialwarmoth.com/index.php?topic=22445.0 There is a difference in where the masking has been placed in the previous project the line was at the headstock side of the nut and on this one it is at the fingerboard side of the nut.

I am now waiting for a head stock logo and then I can finish up the nitro work on the body and neck. I have just put some of the Behlen Nitro on a test piece of pine on top of a dry coat of the R & F Nitro and there has so far been no reaction. If all is well I am going to do the final finish with the Behlen nitro as I seem to prefer it. Don't ask why it just seems a little better to me.

In the meantime, I am going to look at what I can get done on mounting pickups etc in preparation for later assembly.

 
For the pickups on this Tele I will be using a set of Seymour Duncan Vintage Noiseless stack pickups with a 4 Way selector. I found a schematic at the below thread using a 4 way selector.

http://www.tdpri.com/forum/just-pickups/250932-4-way-switch-duncan-vintage-stack.html


There is also an option to do a "coil split" shown in the bottom  diagram on the Seymour Duncan site. This uses a push pull on the volume pot.

http://www.seymourduncan.com/images/products/electric/telecaster/501015-110.pdf

I am thinking of combining the two but putting the push pull on the tone pot as these drawings I made.

Tele Wiring Earth Option by stratamania, on Flickr

This option shows in dotted green a ground wire between Volume and Tone, perhaps it may not be needed as the control plate should provide the grounding continuity.

Tele Wiring by stratamania, on Flickr

If anyone has any comments and/or can sanity check my drawings it would be really appreciated...

Thanks for looking.

PLEASE SEE POST BELOW WHICH DISCUSSES THE ABOVE WIRING OPTIONS FURTHER. 


Looking quite tasty, but I've never understood the point of coil splitting stacks. The whole point is to sound like a single. I can get wanting the option with a humbucker, even though I think it seldom works out that way in practice.  In this setup I think I'd skip the push pull or come up with something else to use it for.
 
swarfrat said:
...I've never understood the point of coil splitting stacks.

I've done it, and was sorry. Didn't hurt anything, it was just work for nothing as the option was useless. Stacked coils are individually smaller (less winds), so you end up with a weak output that's still as noisy as a regular single coil. Unacceptable signal:noise ratio.
 
Thanks guys. My first thought was why split a stack, but as there was an option to do it. I will give it a try. Worse case is I don't use it or rewire.

Many thanks to Jumble Jumble too for checking the drawing.
 
The one and only case where I can even think it might be interesting, is to combine neck_n and bridge_s for a parallel hum cancel. And I'm only giving that a theoretical possibility because we're talking about passive pickups with large inductances. But since I don't hear people whining about their stacked single coils "out of phase" combinations very often I'm going hedge on even that possibility.
 
I've just realised a slight problem. The neck red and white shouldn't be grounded when you're splitting - they should be connected to the neck green. Otherwise when they're in series mode, splitting will short out the bridge pickup too.

I'm still not totally sure that they will him cancel when split and combined, but there isn't much to do about that other than try it. It seems likely.
 
Jumble Jumble said:
I've just realised a slight problem. The neck red and white shouldn't be grounded when you're splitting - they should be connected to the neck green. Otherwise when they're in series mode, splitting will short out the bridge pickup too.

I'm still not totally sure that they will him cancel when split and combined, but there isn't much to do about that other than try it. It seems likely.

Thanks for that.

I revised the drawing I think this is what you mean below.

4wayWiringPPrevised by stratamania, on Flickr

Other options may be the Power boost option for the bridge per the Seymour Duncan site with the 4 Way incorporated.

Tele4Waypowerboost by stratamania, on Flickr

Or removing the push-pull and just going for the 4 Way.

Tele4wayonly by stratamania, on Flickr

I still have a fair bit of finish work to do so will mull it over in the meantime.
 
Back
Top