Leaderboard

My first build.

casper100

Newbie
Messages
6
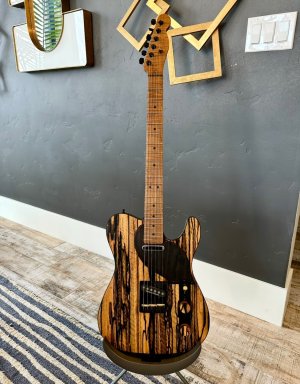
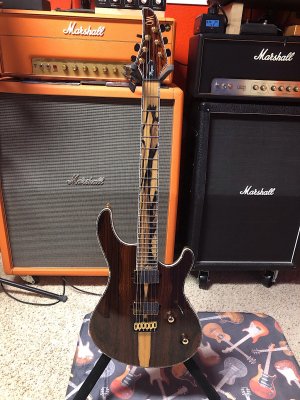
Hello everyone. I wanted to show off my first build.
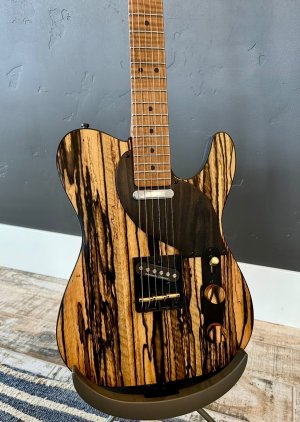
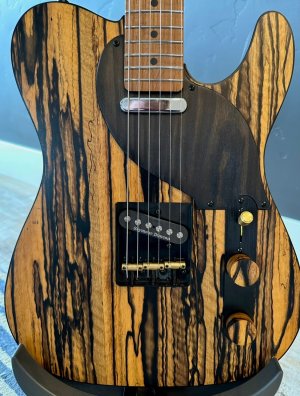
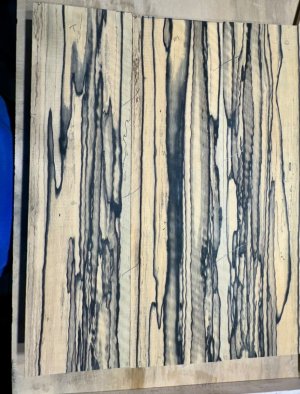
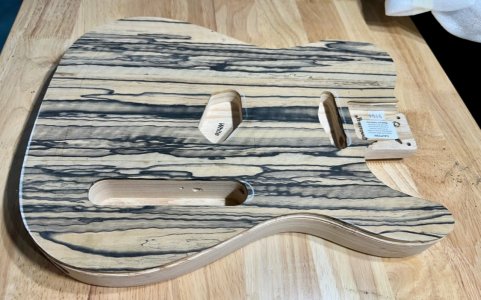
Vintage telecaster Warmoth swamp ash body. I planed 4mm off the top and glued a three piece Pale Moon Ebony 4mm top I made to the top.
Finish is Rubio monocoat Pure on the top, with Rubio Sheen plus and N3 nano ceramic coat on top.
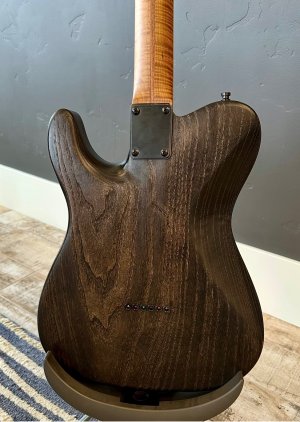
Back and sides is Rubio intense black stain followed by Rubio 2C black, Sheen Plus and N3 nano.
Pick guard is Ash finished the same as the back.
Seymour Duncan Quarter pounder pickups. Dylan talks tone prewired switch plate. Schaller locking tuners on a Warmoth roasted flame maple neck.

Had a great time with my first build and it plays great.
 

Attachments

  • IMG_2332.jpeg
    IMG_2332.jpeg
    609.5 KB · Views: 30
  • IMG_2333.jpeg
    IMG_2333.jpeg
    338.5 KB · Views: 28
  • IMG_2334.jpeg
    IMG_2334.jpeg
    408.4 KB · Views: 22
  • IMG_2335.jpeg
    IMG_2335.jpeg
    669.6 KB · Views: 21
  • IMG_2331.jpeg
    IMG_2331.jpeg
    558.5 KB · Views: 23
  • IMG_2330.jpeg
    IMG_2330.jpeg
    560.5 KB · Views: 26
Thanks!
My wife was born in Laos and Pale Moon Ebony comes from Laos.
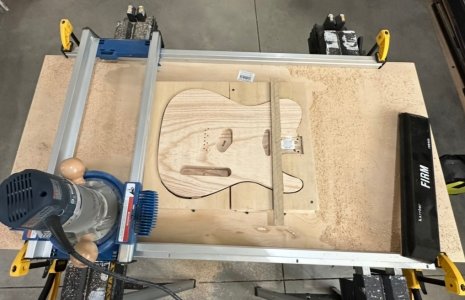
Used a router sled to take the 4mm off the top. Jointed and glued the three piece top together, then to the top. Luckily the measurements worked out.
 

Attachments

  • IMG_2338.jpeg
    IMG_2338.jpeg
    201.8 KB · Views: 16
  • IMG_2340.jpeg
    IMG_2340.jpeg
    340.2 KB · Views: 15
  • IMG_2339.jpeg
    IMG_2339.jpeg
    633.2 KB · Views: 14
  • IMG_2341.jpeg
    IMG_2341.jpeg
    282 KB · Views: 19
Great job on that top, looks fantastic !

Haven't thought of using monocoat on a guitar, but I use it a lot on furniture. May have to try that, thanks.
 
I can say already that the 4 coats of Blacktail N3 Nano ceramic coat was worth the investment. I have been hitting the pickguard hard for a couple of weeks now and I do not see a single scratch.
 
WOW, that is gorgeous!

You wrote that you planed down the surface of the body to add an ebony top layer. Am I correct in assuming that you also had to reroute the top layer for pickups, bridge, neck pocket, etc.? How did you get it all to line up correctly?

By the way......killer job on this.
 
WOW, that is gorgeous!

You wrote that you planed down the surface of the body to add an ebony top layer. Am I correct in assuming that you also had to reroute the top layer for pickups, bridge, neck pocket, etc.? How did you get it all to line up correctly?

By the way......killer job on this.
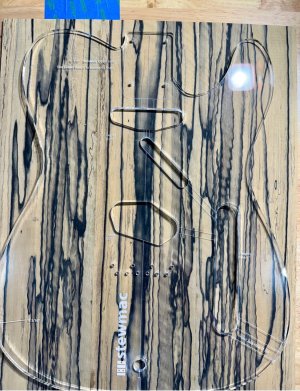
I bought a telecaster template from Stewmac. It didn't line up perfectly, but it gave me a good starting point. In the picture of the unfinished body with the top glued on, you can see white pencil mark from where I traced the template. I just made sure to enter the routing holes in the middle, then used a flush trim router bit with a bearing to route the pockets. Luckily, the string through holes lined up perfectly. The hole for the bridge ground wire I had to guess a bit on, but either way it was going to go all the way to the switch pocket and whatever I did would be covered by the bridge. The harder part was routing for the binding. I bought a body with binding, knowing I was going to take it off so I would have a guide, but in the end, I had some tear out of the ebony top. The upper horn tore out pretty severely, and I had to mix and match some scraps to find the right scrap for repair. Ended up invisible after about a week of work. Then black binding around that.
 
Back
Top