Leaderboard

Multigraincaster

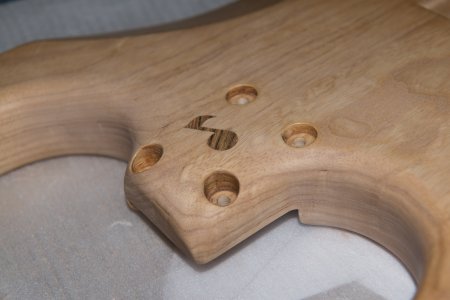
Ha thanks - yeah the dowel in the 1st photo standing up vertically is glued in solid under the bocote inlay. I was doing really well but bocote does seem brittle/chippy and it did end up breaking in 3 pieces which didn't matter for this purpose and you can't see with it glued in and sanded down.
 
Time for an update on this thing!
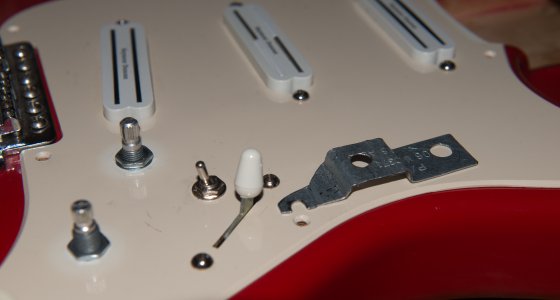
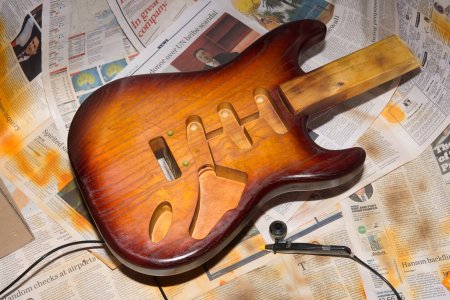
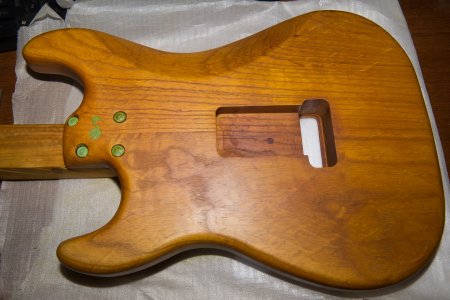
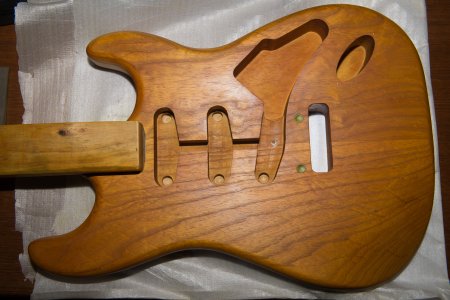
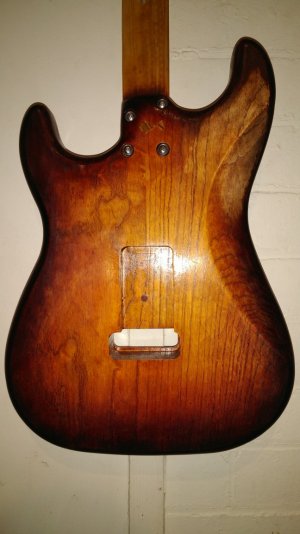
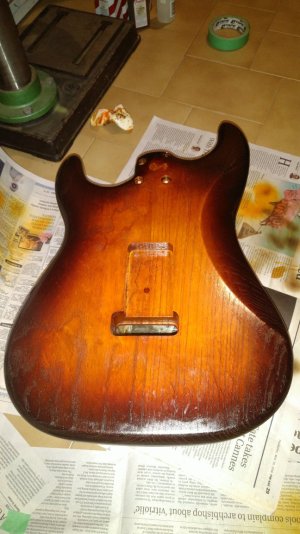
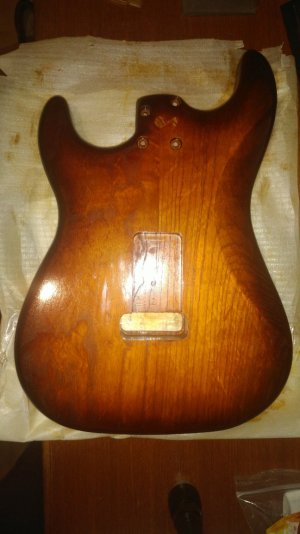
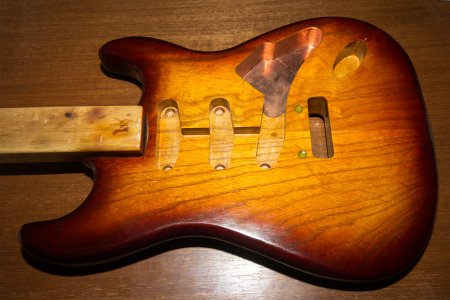
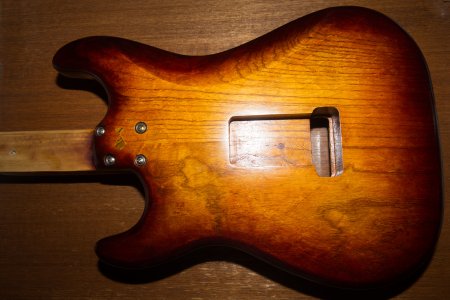
Since the last post I coated the countersunk neck screw holes with super glue, slightly expanded the trem top opening, fashioned a bracket for a recessed neck-on switch and added colour for the finish by airbrushing on gold, 'tan' and dark brown Angelus leather dyes. I'm happy with the appearance so far for a 1st effort.

Since it's just sprayed on dye and not rubbed in I'm hoping using Tru oil for the finish won't shift too much colour/grain filler around and I'll need to consider what's best to apply/rub it in with. Here's some progress pics. The camera flash probably makes it brighter than it really is - the real colour is about what I was aiming for though:
 

Attachments

  • DSC_0138.jpg
    DSC_0138.jpg
    518.5 KB · Views: 18
  • DSC_0169.jpg
    DSC_0169.jpg
    1.9 MB · Views: 52
  • DSC_0187.jpg
    DSC_0187.jpg
    366 KB · Views: 27
  • DSC_0172.jpg
    DSC_0172.jpg
    1.6 MB · Views: 21
  • DSC_0154.jpg
    DSC_0154.jpg
    1.5 MB · Views: 16
  • DSC_0145.jpg
    DSC_0145.jpg
    1.7 MB · Views: 22
  • DSC_0140.jpg
    DSC_0140.jpg
    947.7 KB · Views: 25
Very impressive. Everything you’ve done on your guitar looks highly professional.  :icon_thumright:
 
Almost done!
Since my last update I've been working on the body with tru oil at various times as well as being out of town for a couple of months.

In that time I've knocked it off the wall while drying - twice (takes forever if you use anything more than just enough@#$%) and had to repair, encouraged it to dry faster in the sun but faded the colour on one side and had to re-apply for the 3rd time! And of course do the oil finish yet again at least for that section. If anyone's wondering; the most lint-free method of application is to use your finger!

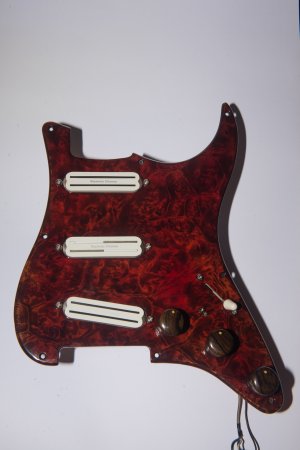
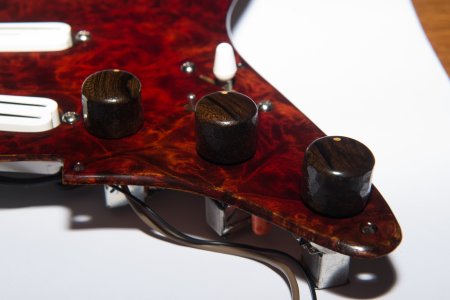
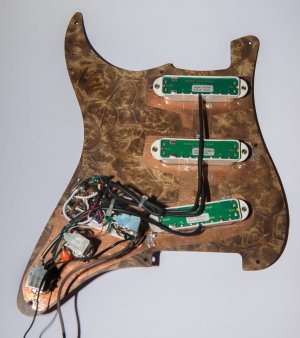
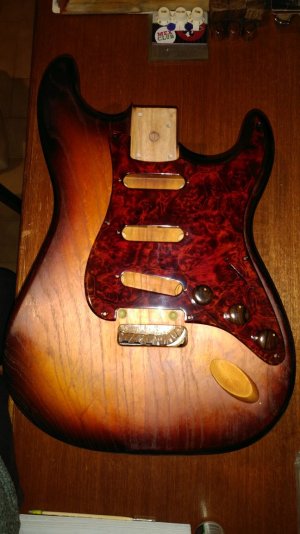
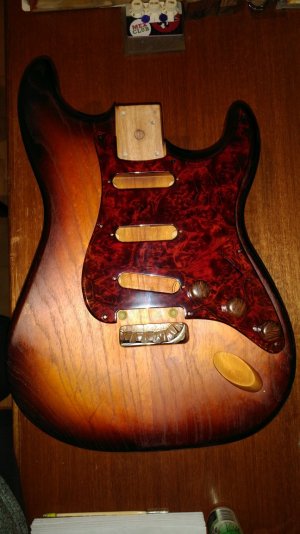
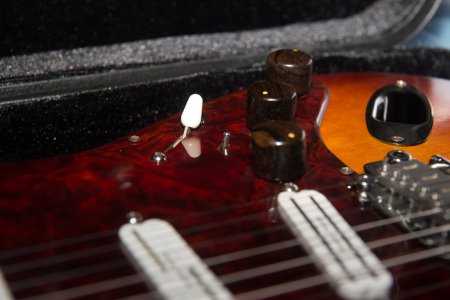
So to occupy myself and prevent me 'rushing' another coat of finish I have now shielded the wood pickguard I got for this, drilled a slot for the recessed neck-on switch and transferred electronics + knobs. I had to sand the guard thinner around the neck area to get it to fit under the fretboard overhang but I'm happy with how it's come together.

This is another element of the multigrain theme that hopefully adds to rather than detracts from the overall look which should be available in the near future :)
 

Attachments

  • DSC_0277.jpg
    DSC_0277.jpg
    783.5 KB · Views: 23
  • DSC_0304.jpg
    DSC_0304.jpg
    668.7 KB · Views: 12
  • DSC_0315.jpg
    DSC_0315.jpg
    1 MB · Views: 17
Aaand it's done!
Here's some progress pics before the final assembled shots:

Pics 1 and 2 are before any finish was applied over the colour to see how the bocote vs ziricote knobs might look.
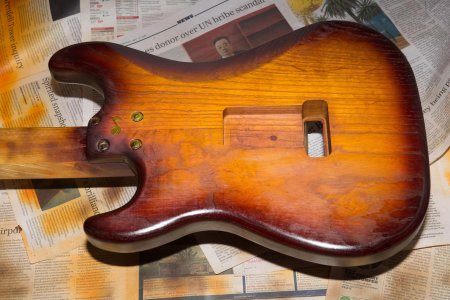
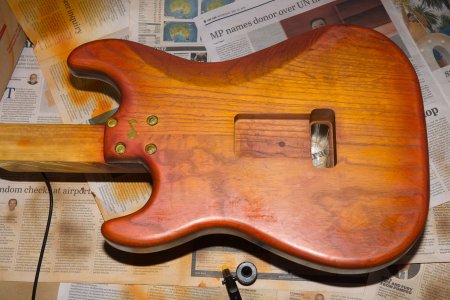
Pic 3 shows how I lost some colour and probably applied a little too much Tru Oil so I sprayed some colour back on (a bit too much in the upper horn area)
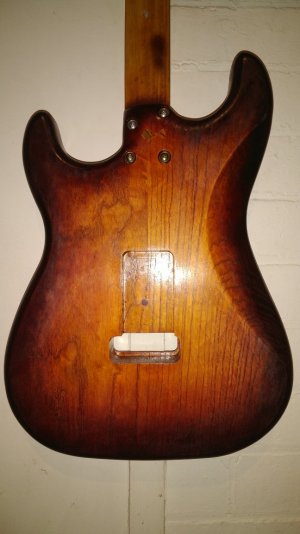
Pic 5 - I still used too much Tru Oil on back of the upper horn since that area didn't seem to want to dry and I gave up and sanded it off. At least this meant I could correct the excess application of dark brown there too.
Pic 6 and 7 - I re-applied colour and sanded it off the upper side AGAIN due to sticky tru oil and some fading by the sun on that side when I was trying to get it to dry.

All of the above even leaves out some repairs from knocking it off the wall twice during the finishing process :doh: All these were just taken with my phone since I was a bit disillusioned with the progress to bother using the real camera.
 

Attachments

  • IMG_20181103_143511.jpg
    IMG_20181103_143511.jpg
    108 KB · Views: 19
  • IMG_20180820_214719.jpg
    IMG_20180820_214719.jpg
    114.5 KB · Views: 9
  • IMG_20180820_005734.jpg
    IMG_20180820_005734.jpg
    121.5 KB · Views: 12
  • IMG_20180613_205033.jpg
    IMG_20180613_205033.jpg
    164.3 KB · Views: 8
  • IMG_20180608_011040.jpg
    IMG_20180608_011040.jpg
    121.7 KB · Views: 9
  • IMG_20180604_015156.jpg
    IMG_20180604_015156.jpg
    139.8 KB · Views: 9
  • IMG_20180604_014858.jpg
    IMG_20180604_014858.jpg
    146 KB · Views: 16
Lucky 13 coats of Tru Oil later I can safely say that the most lint-free method of application is with your finger! I couldn't really use the normal wiping off excess step with sprayed on colours. Hopefully now that it's got enough finish it won't fade again but I don't think I'll be exposing it to strong direct sunlight much.

The cavity shielding remains unfinished since I ran out of tape but I'll do that another time. It's probably not necessary with a set of SD rails in it anyway but it would be good to have it already if the pickups are ever changed and it won't harm the instrument.
 

Attachments

  • DSC_0320.jpg
    DSC_0320.jpg
    1.7 MB · Views: 33
  • DSC_0348.jpg
    DSC_0348.jpg
    1.6 MB · Views: 28
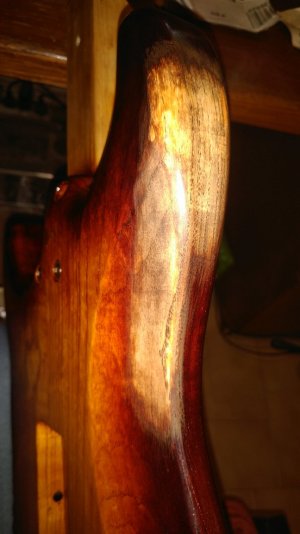
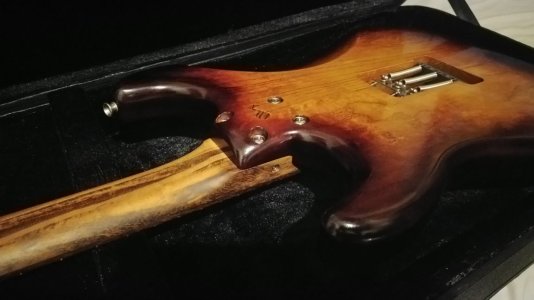
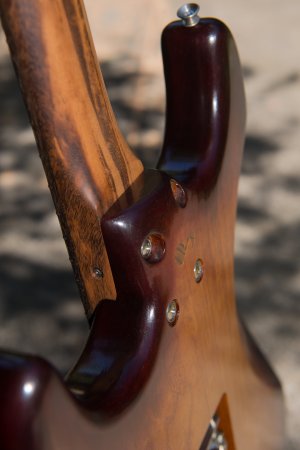
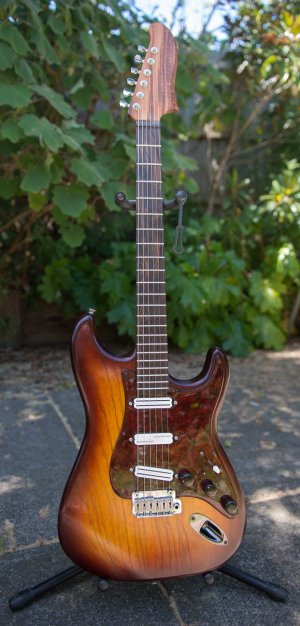
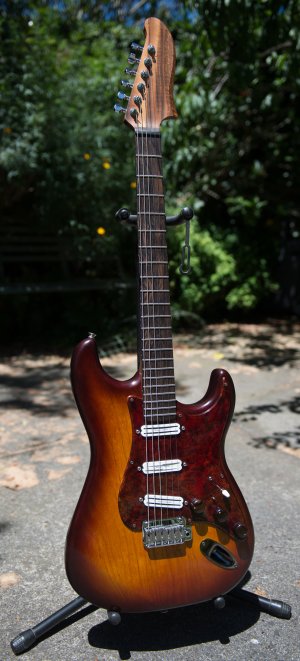
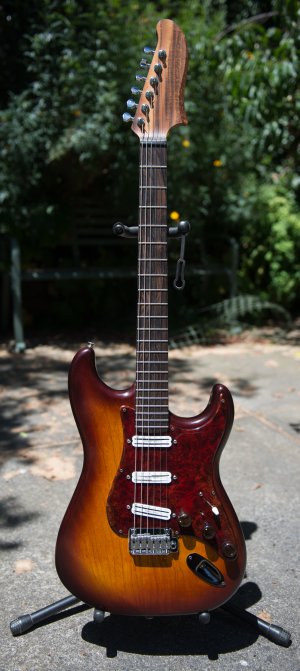
I'm happy with the final look and the feel of the carved heel. If anything I might have been better off using ebony grain filler instead of walnut but it looks good in person.

It's pretty hard to photograph because the dark brown areas look red in strong light and the middle looks more yellow than it is but the unique fretboard looks all dark in camera if I have the light right for the body. Also some of the streaks in the ash top look like scratches on some angles but 3d ripples from another viewpoint.

Overall of the pics I have taken so far I'd say DSC_390.jpg would be closest to what I see in person. All in all I got a good result and an instrument that wouldn't be available in any catalogue. Now for some practise  :bass:
 

Attachments

  • IMG_20181231_185225.jpg
    IMG_20181231_185225.jpg
    86.4 KB · Views: 37
  • DSC_0399.jpg
    DSC_0399.jpg
    689 KB · Views: 55
  • DSC_0390.jpg
    DSC_0390.jpg
    889.6 KB · Views: 37
  • DSC_0389.jpg
    DSC_0389.jpg
    851.6 KB · Views: 21
  • DSC_0386.jpg
    DSC_0386.jpg
    843.6 KB · Views: 31
  • DSC_0365.jpg
    DSC_0365.jpg
    753.4 KB · Views: 25
That came out right decent. I initially thought the pickguard color might be too bright for it but that's not the case. It adds to the overall appeal.
 
Thanks guys. The pickguard was a bit of a gamble from China on ebay so the colour match wasn't intentional. I originally thought I might find a spalted maple piece that would suit but nothing I could find suited especially given I wanted an 8 screw one and half the time I wasn't sure if the photo showed the actual item.

It also turned out the brown on the body had a bit more red hue in it than I intended and goes well with the pickguard I received.

I haven't mention the electronics I did yet - I have push/pull pots for all 3 knobs and a recessed neck on switch using the bracket shown in one of the previous pics. The push/pull pots for the tone knobs do coil splitting for the bridge and neck and the pot for volume does phase switch for the middle pickup.
 
Beautiful build! I'm considering making a contoured heel like yours on my next build I read through your detailed walkthrough (thanks!) but I couldn't find how you decided where to put the relocated neck screw. How do I know where I can put it without messing with the side adjust mechanism? Thanks!
 
ragamuffin said:
Beautiful build! I'm considering making a contoured heel like yours on my next build I read through your detailed walkthrough (thanks!) but I couldn't find how you decided where to put the relocated neck screw. How do I know where I can put it without messing with the side adjust mechanism? Thanks!

Hi and thanks, Sorry I haven't been reading the forum recently.
I just measured in from the edges based on a diagram and video from Warmoth relative to the specified width of the mechanism vs the neck width at the heel and position of the side adjust. I perhaps could have gone a little further in but it's fine where it is, feels good in the hand and nothing cracked :)

https://www.warmoth.com/Guitar/necks/SideAdjustPop_Strat.aspx
<-- Has diagram with a couple of dimensions. You can google a bigger version of the diagram.
https://www.warmoth.com/guitar/necks/faq2.aspx <-- Shows where the side adjust is not compatible with the Fender contoured neck plate.
https://www.youtube.com/watch?v=EKVWr8FRJNc <-- At around 4:30 you can see how much space (wood) there is around the mechanism and adjustment point.

I believe I ended up at 12mm in from the side and 5mm up from the edge of the adjuster hole which as per earlier post is about 3 or 4mm further in from the side and 12mm away from the headstock vs a standard/non-contoured screw hole location.
 
Back
Top