casper100
Junior Member
- Messages
- 144
This is a Warmoth build site. And I will buy all the hardware I need from Warmoth. But I decided to go all out, put my woodworking skills to the test and build a body and neck myself.
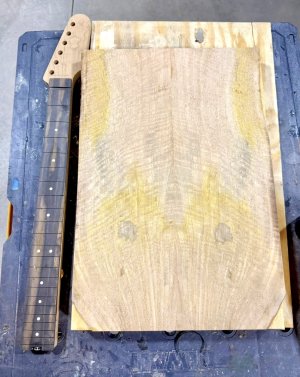
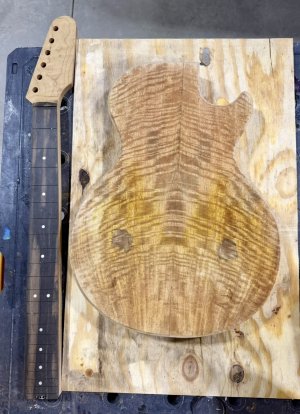
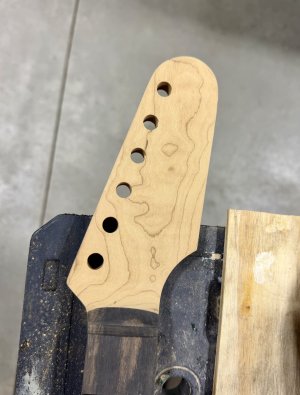
Roasted maple neck blank was from Stewmac, cut out with a Stewmac template.
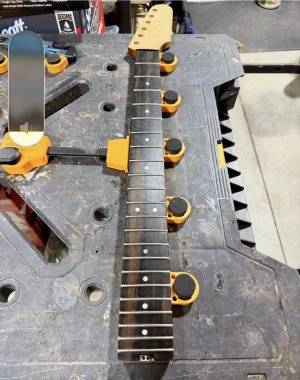
Ebony fingerboard from Exotic wood zone, shaped and fret slots cut with the Shaper Origin handheld CNC. Gold abalone fret markers (I cut the holes too deep, so I had to put two markers in each, lol.
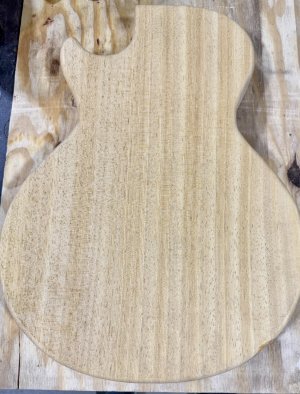
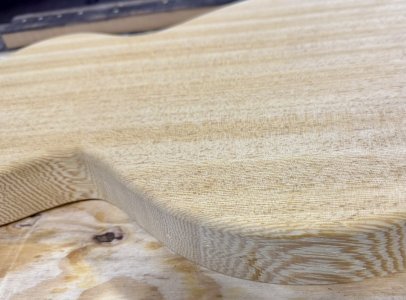
White Wenge body purchased from a local wood shop. I have something creative in mind to lower the weight, since this is a very dense wood.
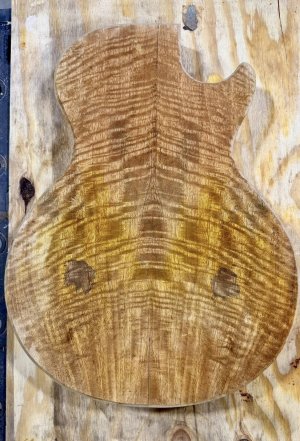
Mango top purchased from Australian Guitar Timbers.
Gonna be a Les Paul Junior type body mashed up with a Fender neck.
Roasted maple neck blank was from Stewmac, cut out with a Stewmac template.
Ebony fingerboard from Exotic wood zone, shaped and fret slots cut with the Shaper Origin handheld CNC. Gold abalone fret markers (I cut the holes too deep, so I had to put two markers in each, lol.
White Wenge body purchased from a local wood shop. I have something creative in mind to lower the weight, since this is a very dense wood.
Mango top purchased from Australian Guitar Timbers.
Gonna be a Les Paul Junior type body mashed up with a Fender neck.