
rauchman
Hero Member
- Messages
- 872
Greetings,
I have a Velocity body I'm working on and going all out on this build (at least, all out for me). I've routed channels for bindings and center inlays. I've glued in the center inlays, but need some advice on how to do the bindings
There will be 4 layers of bindings (3 snugged up against each other and 1 underneath). When applying the bindings, do you do all the layers at once, or glue in each layer separately?
Some pics....
The original body...

Experimenting with the inlay (notice the wood tear from my idiot move in using masking tape when drilling the pot holes)
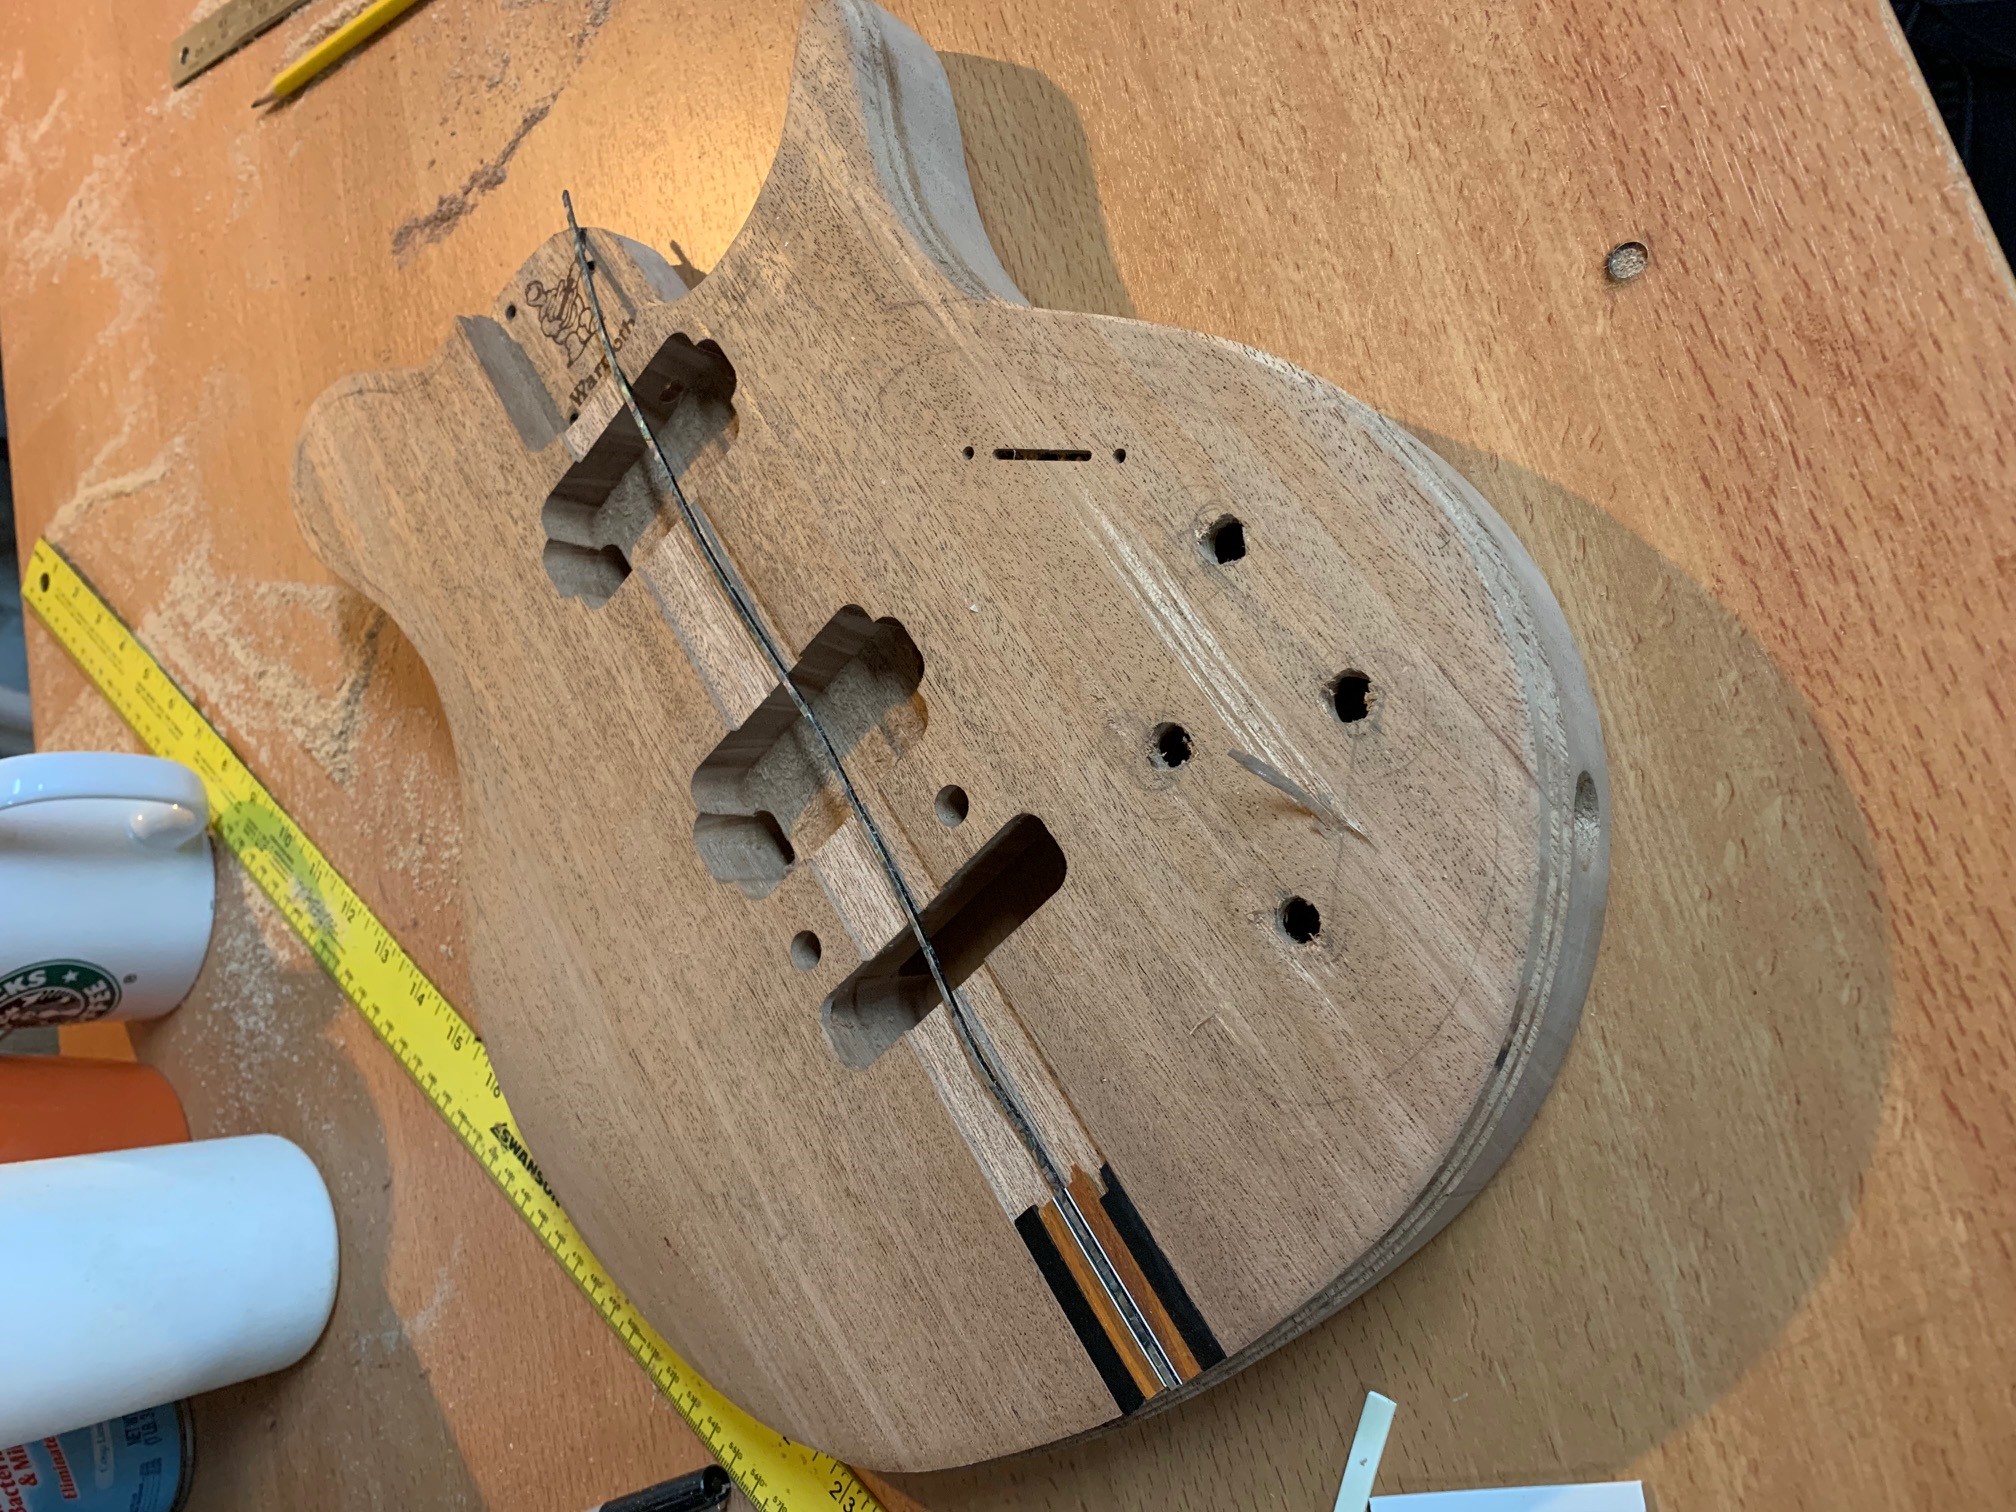
Center inlay strips glued in. You can see the routed binding channels on the side of the body. Ebony and Coco Bolo with white edge binding surrounding an abalone center line (notice, the wood tear has been repaired....thanks for the help on that!!!!)

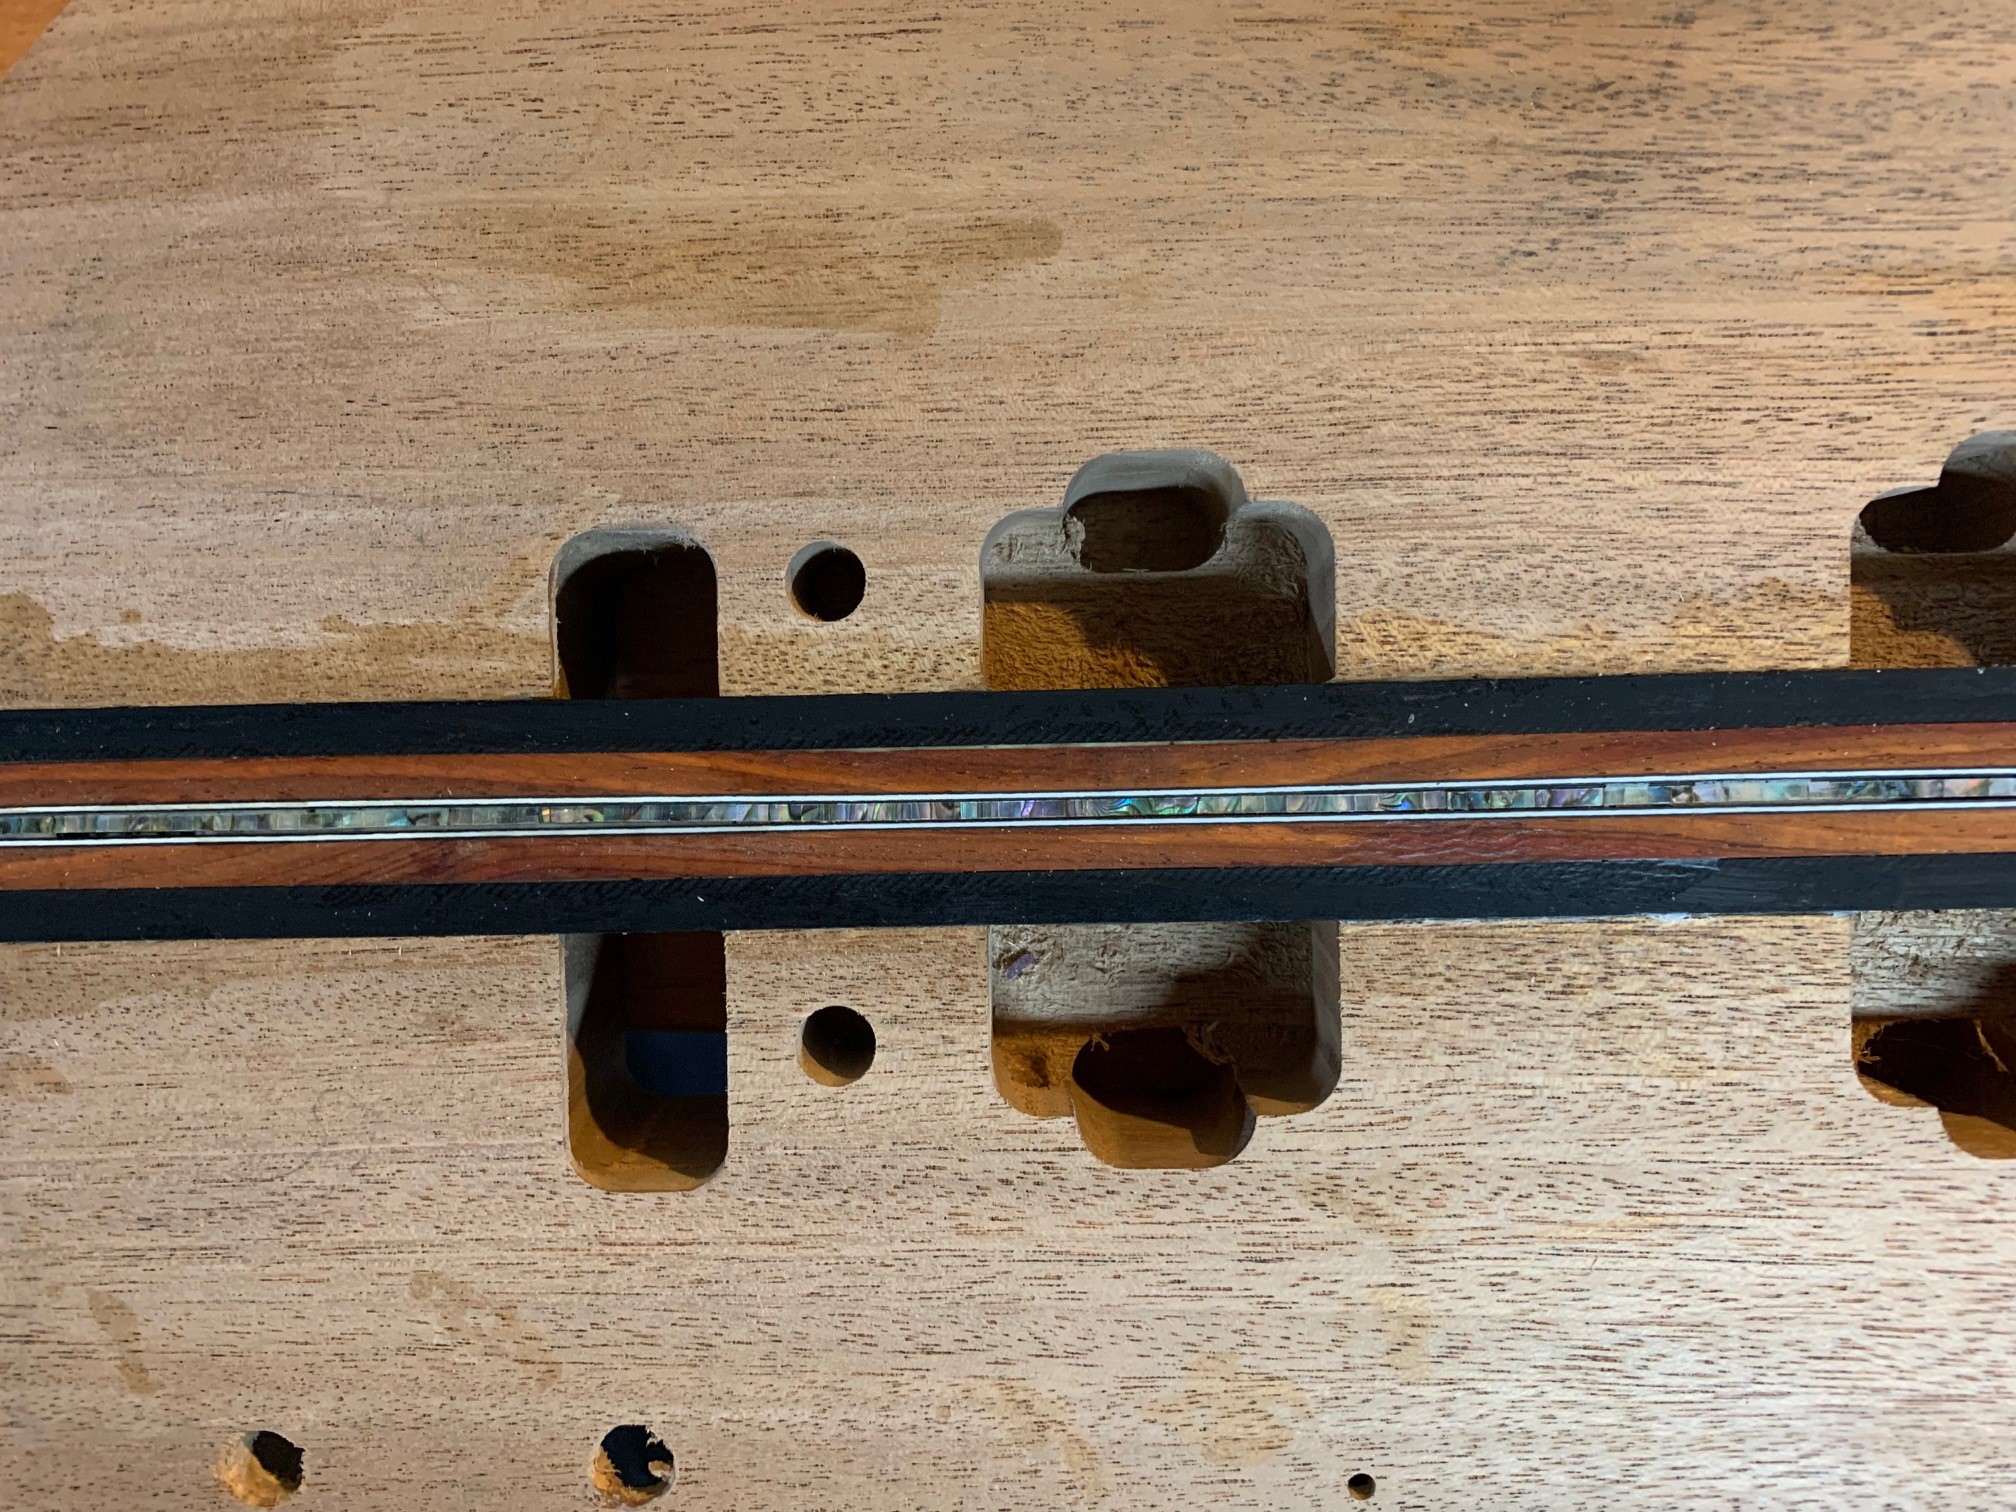
Close up of the center body inlays. Still needs some sanding
Very very very happy with my first attempt at inlaying. I've spent just as much as the guitar body and neck, in tools and supplies if not more, for this project. Makita router, CNC racking and gantry plates to make something like the StewMac binding machine (lots of experimenting on that), lots of cool StewMac Dremel related tools, etc. Have yet to route a faux "f" hole with flaked Mother Of Pearl in the route.
Edited to add....
Mahogany is a much softer wood than Swamp Ash, which was the wood from my previous 2 builds. Dents easy, and obviously, tear out can be a concern. But, oh mama, is it going to look and sound good.
I have a Velocity body I'm working on and going all out on this build (at least, all out for me). I've routed channels for bindings and center inlays. I've glued in the center inlays, but need some advice on how to do the bindings
There will be 4 layers of bindings (3 snugged up against each other and 1 underneath). When applying the bindings, do you do all the layers at once, or glue in each layer separately?
Some pics....
The original body...
Experimenting with the inlay (notice the wood tear from my idiot move in using masking tape when drilling the pot holes)
Center inlay strips glued in. You can see the routed binding channels on the side of the body. Ebony and Coco Bolo with white edge binding surrounding an abalone center line (notice, the wood tear has been repaired....thanks for the help on that!!!!)
Close up of the center body inlays. Still needs some sanding
Very very very happy with my first attempt at inlaying. I've spent just as much as the guitar body and neck, in tools and supplies if not more, for this project. Makita router, CNC racking and gantry plates to make something like the StewMac binding machine (lots of experimenting on that), lots of cool StewMac Dremel related tools, etc. Have yet to route a faux "f" hole with flaked Mother Of Pearl in the route.
Edited to add....
Mahogany is a much softer wood than Swamp Ash, which was the wood from my previous 2 builds. Dents easy, and obviously, tear out can be a concern. But, oh mama, is it going to look and sound good.