The Mystical Mahogany Build...

stratamania

Mythical Status
Messages
10,883
Some of you may recall a recent Incoming UPS Notification thread

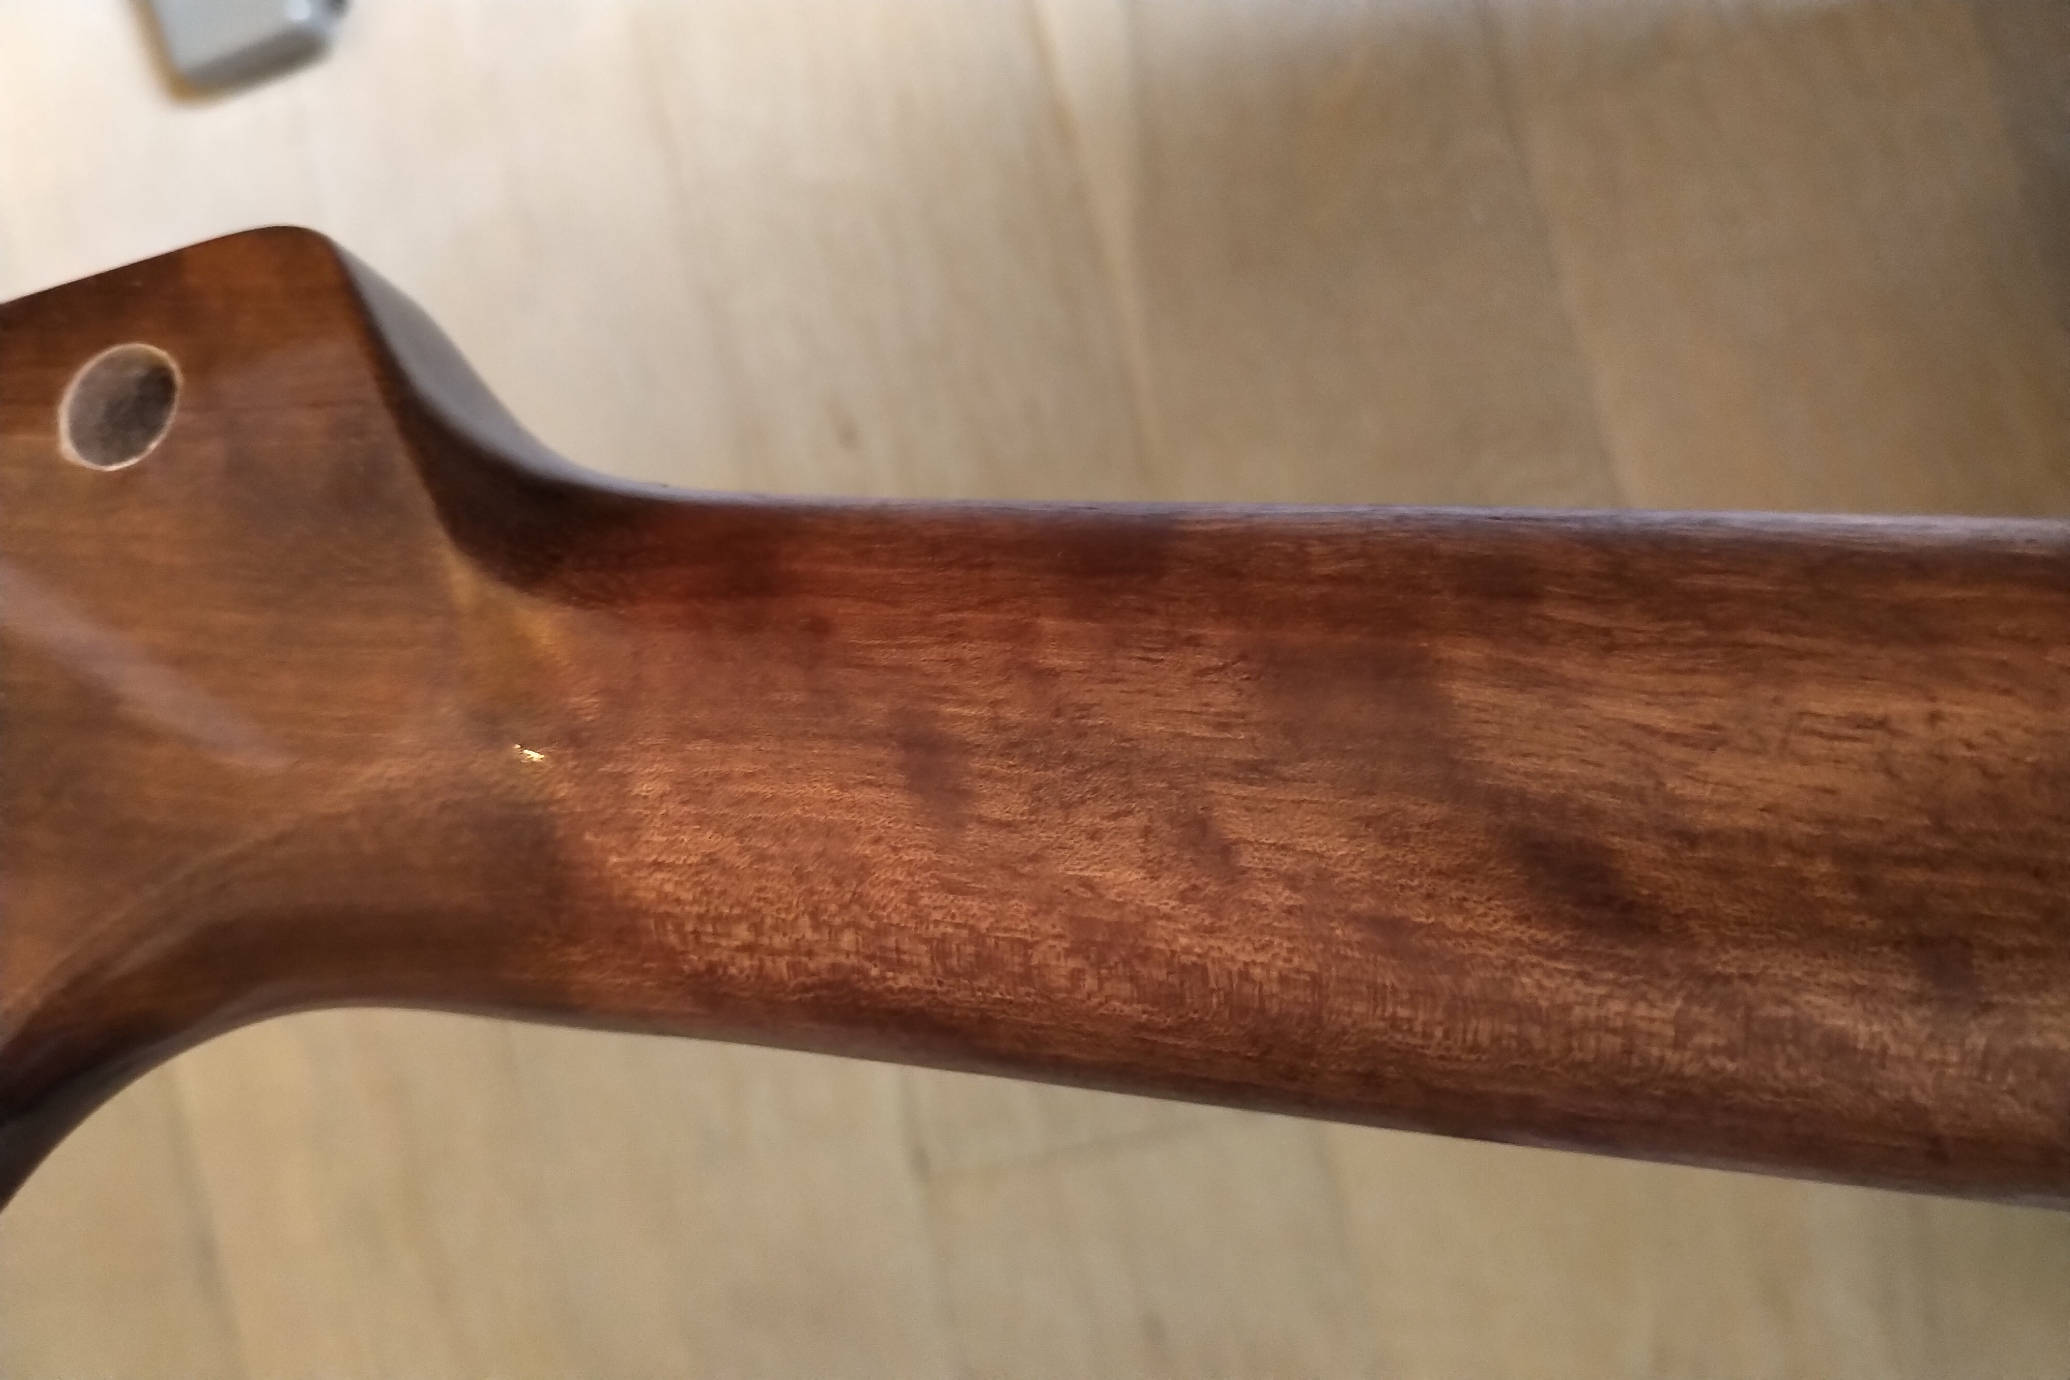
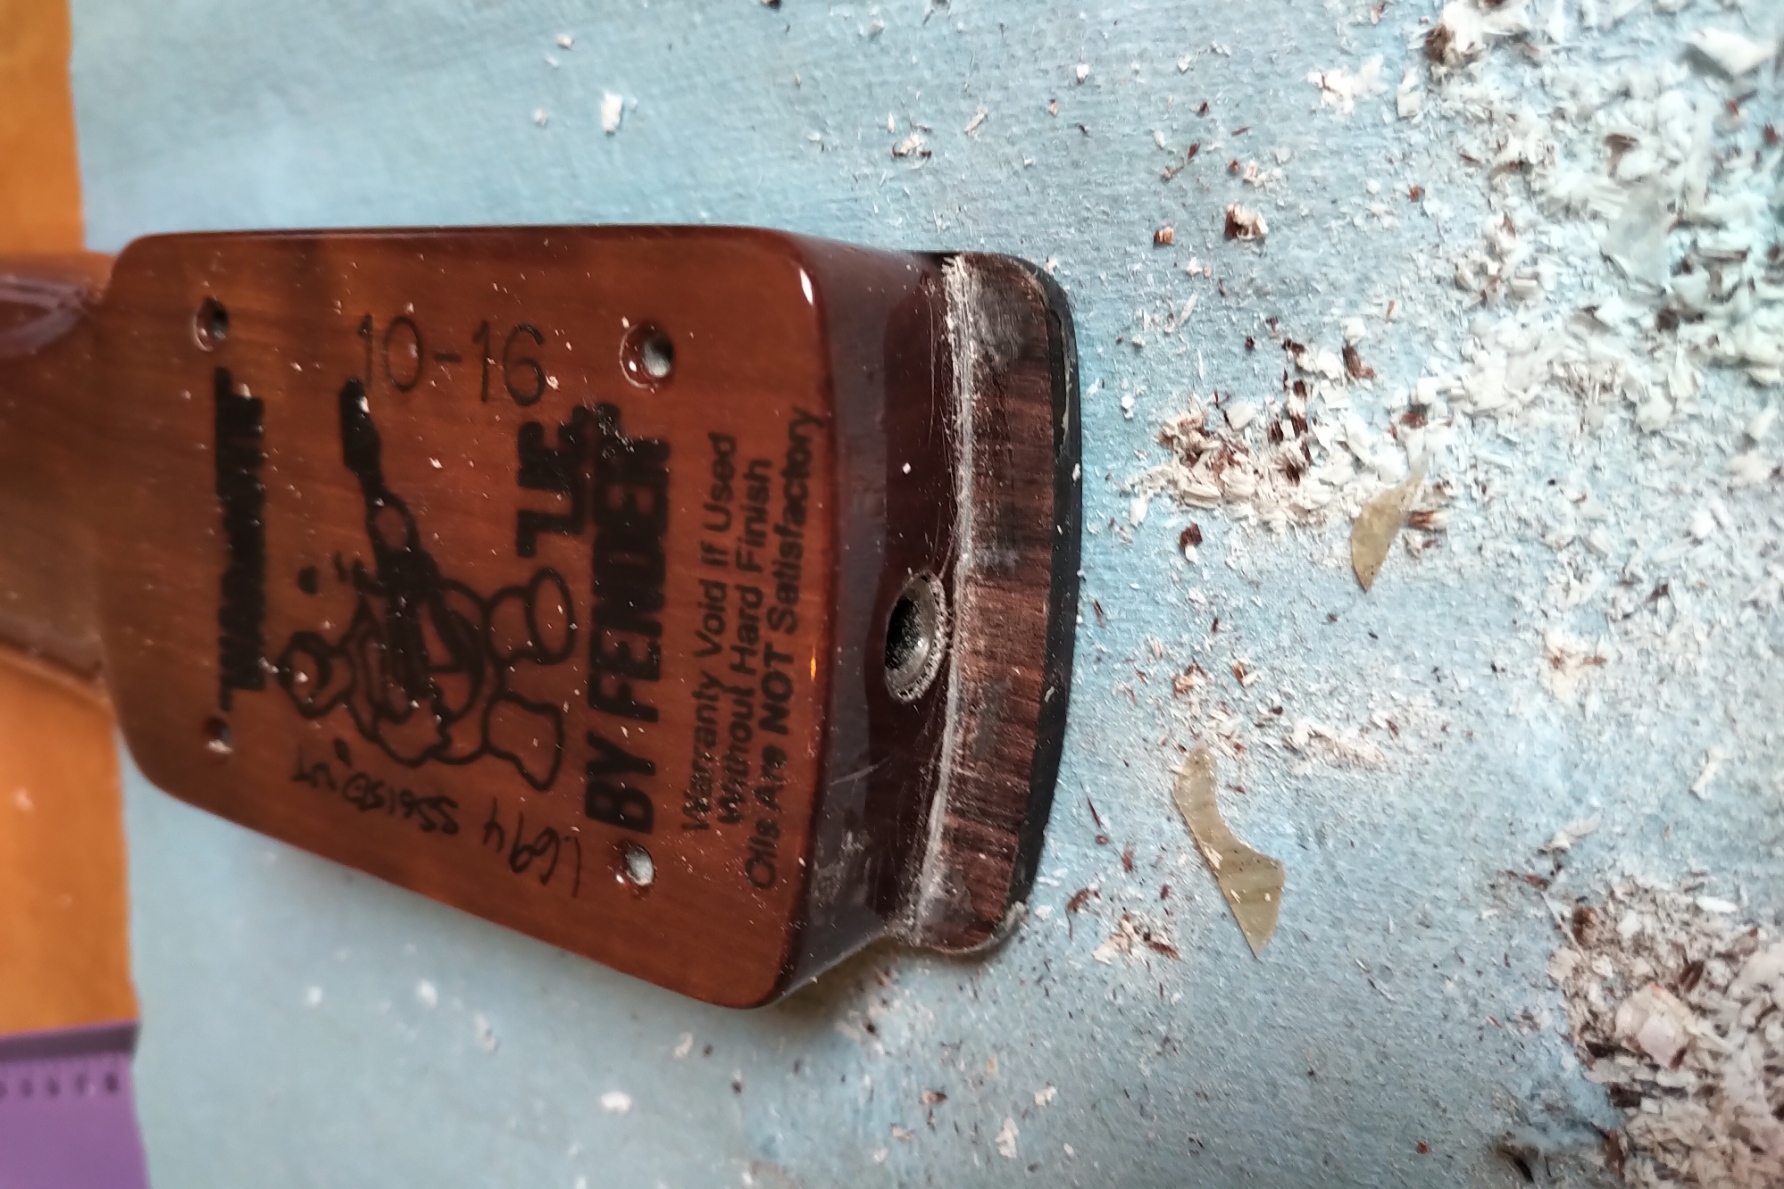
So here is a summary this really nice neck arrived.

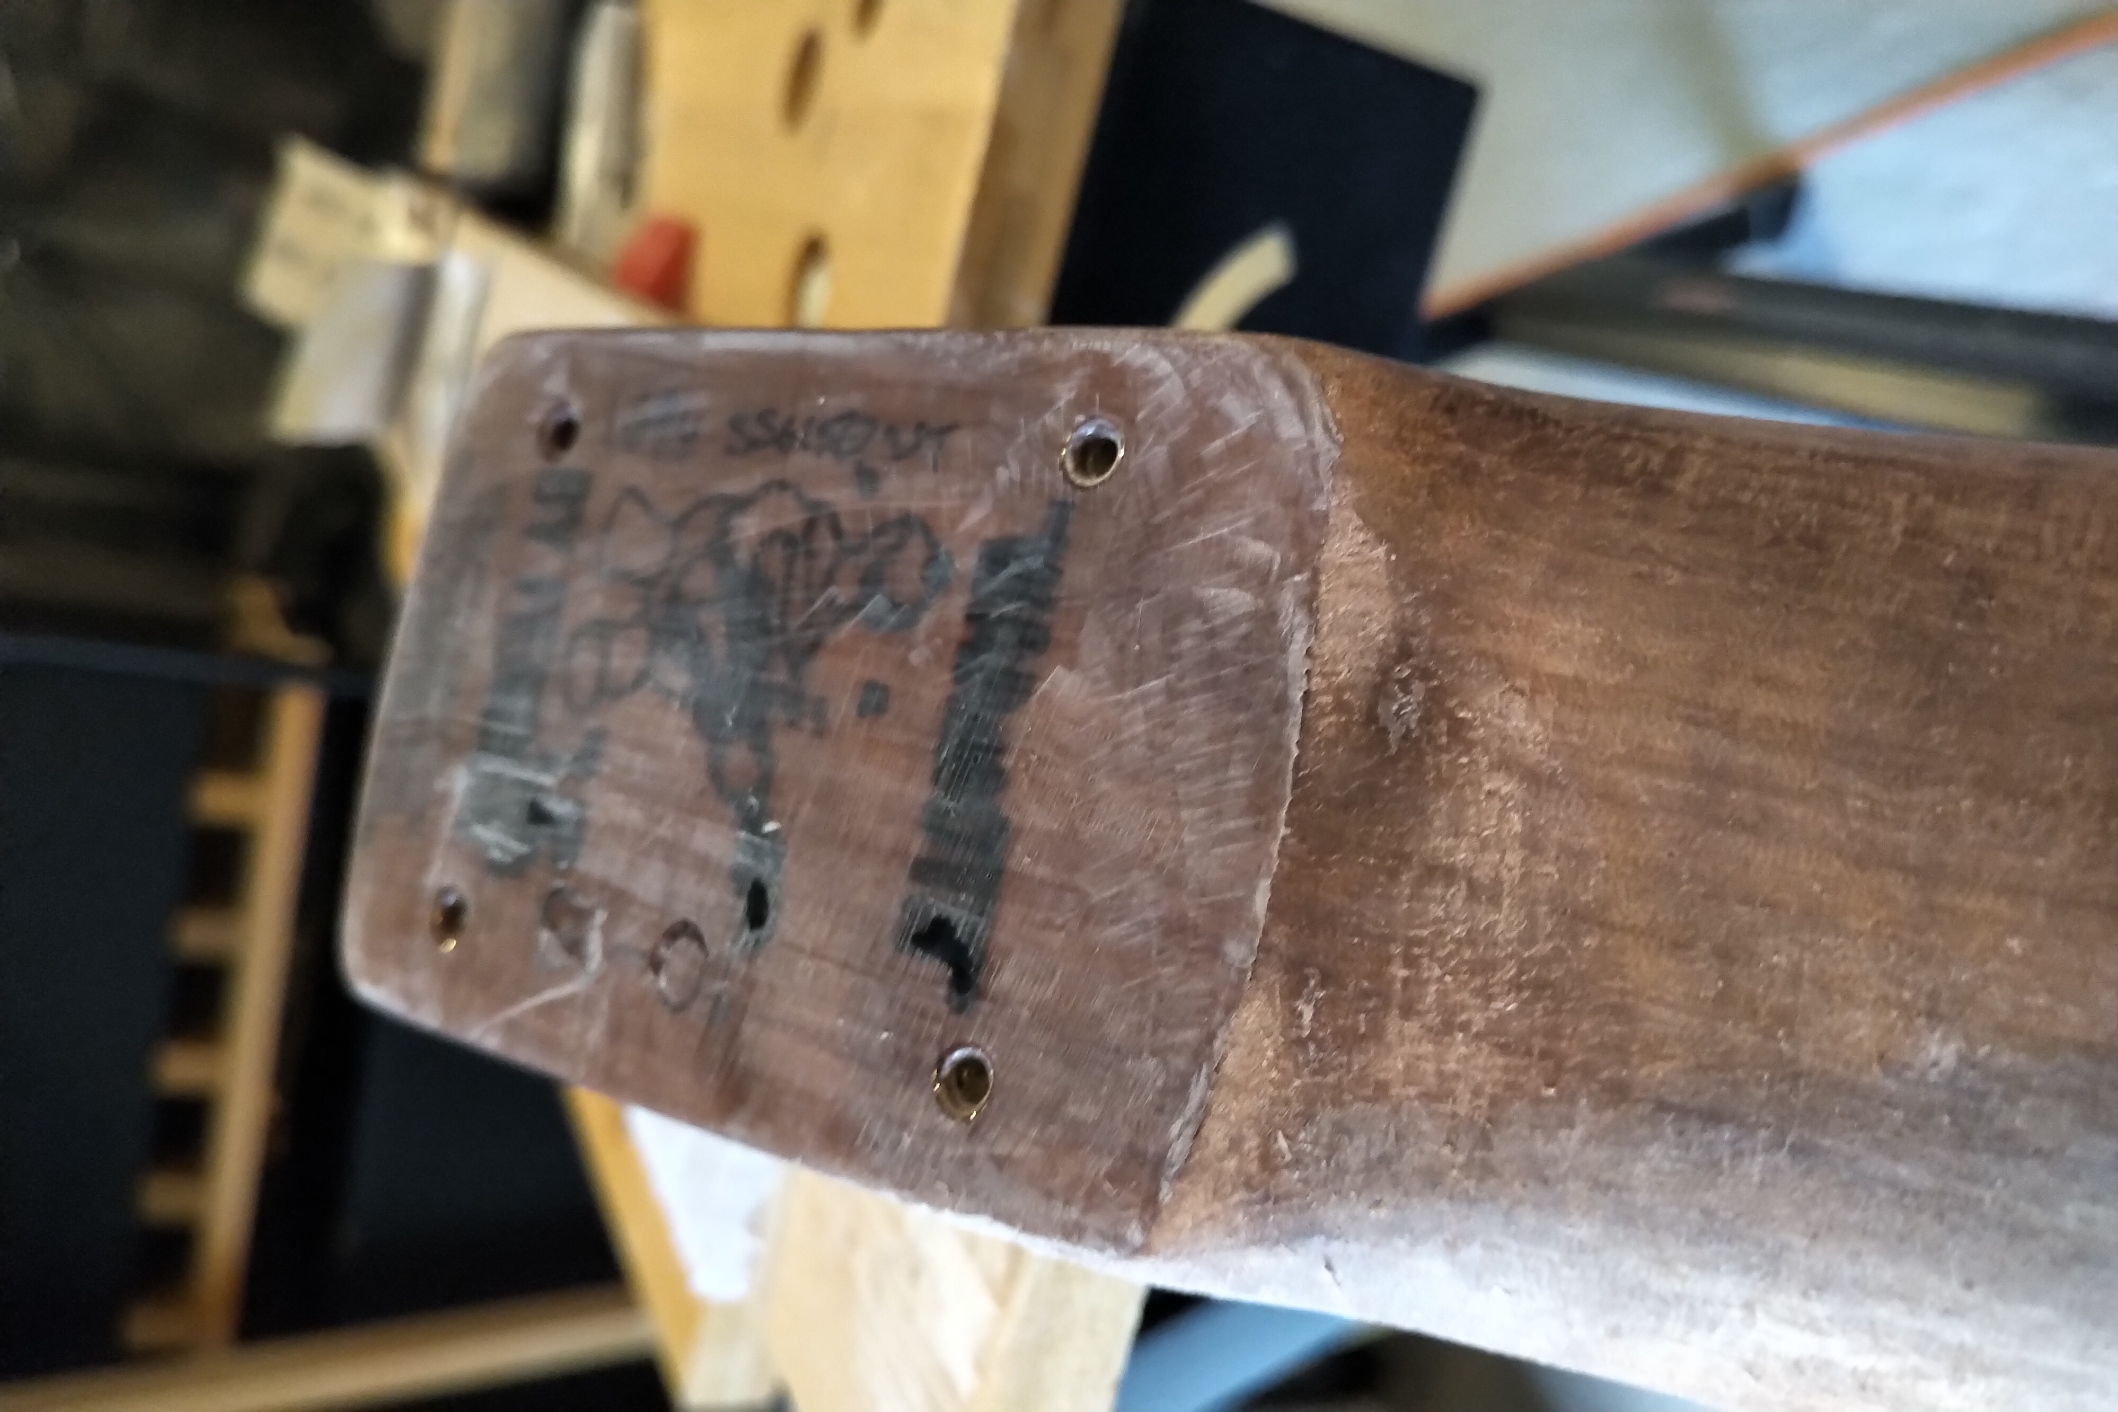
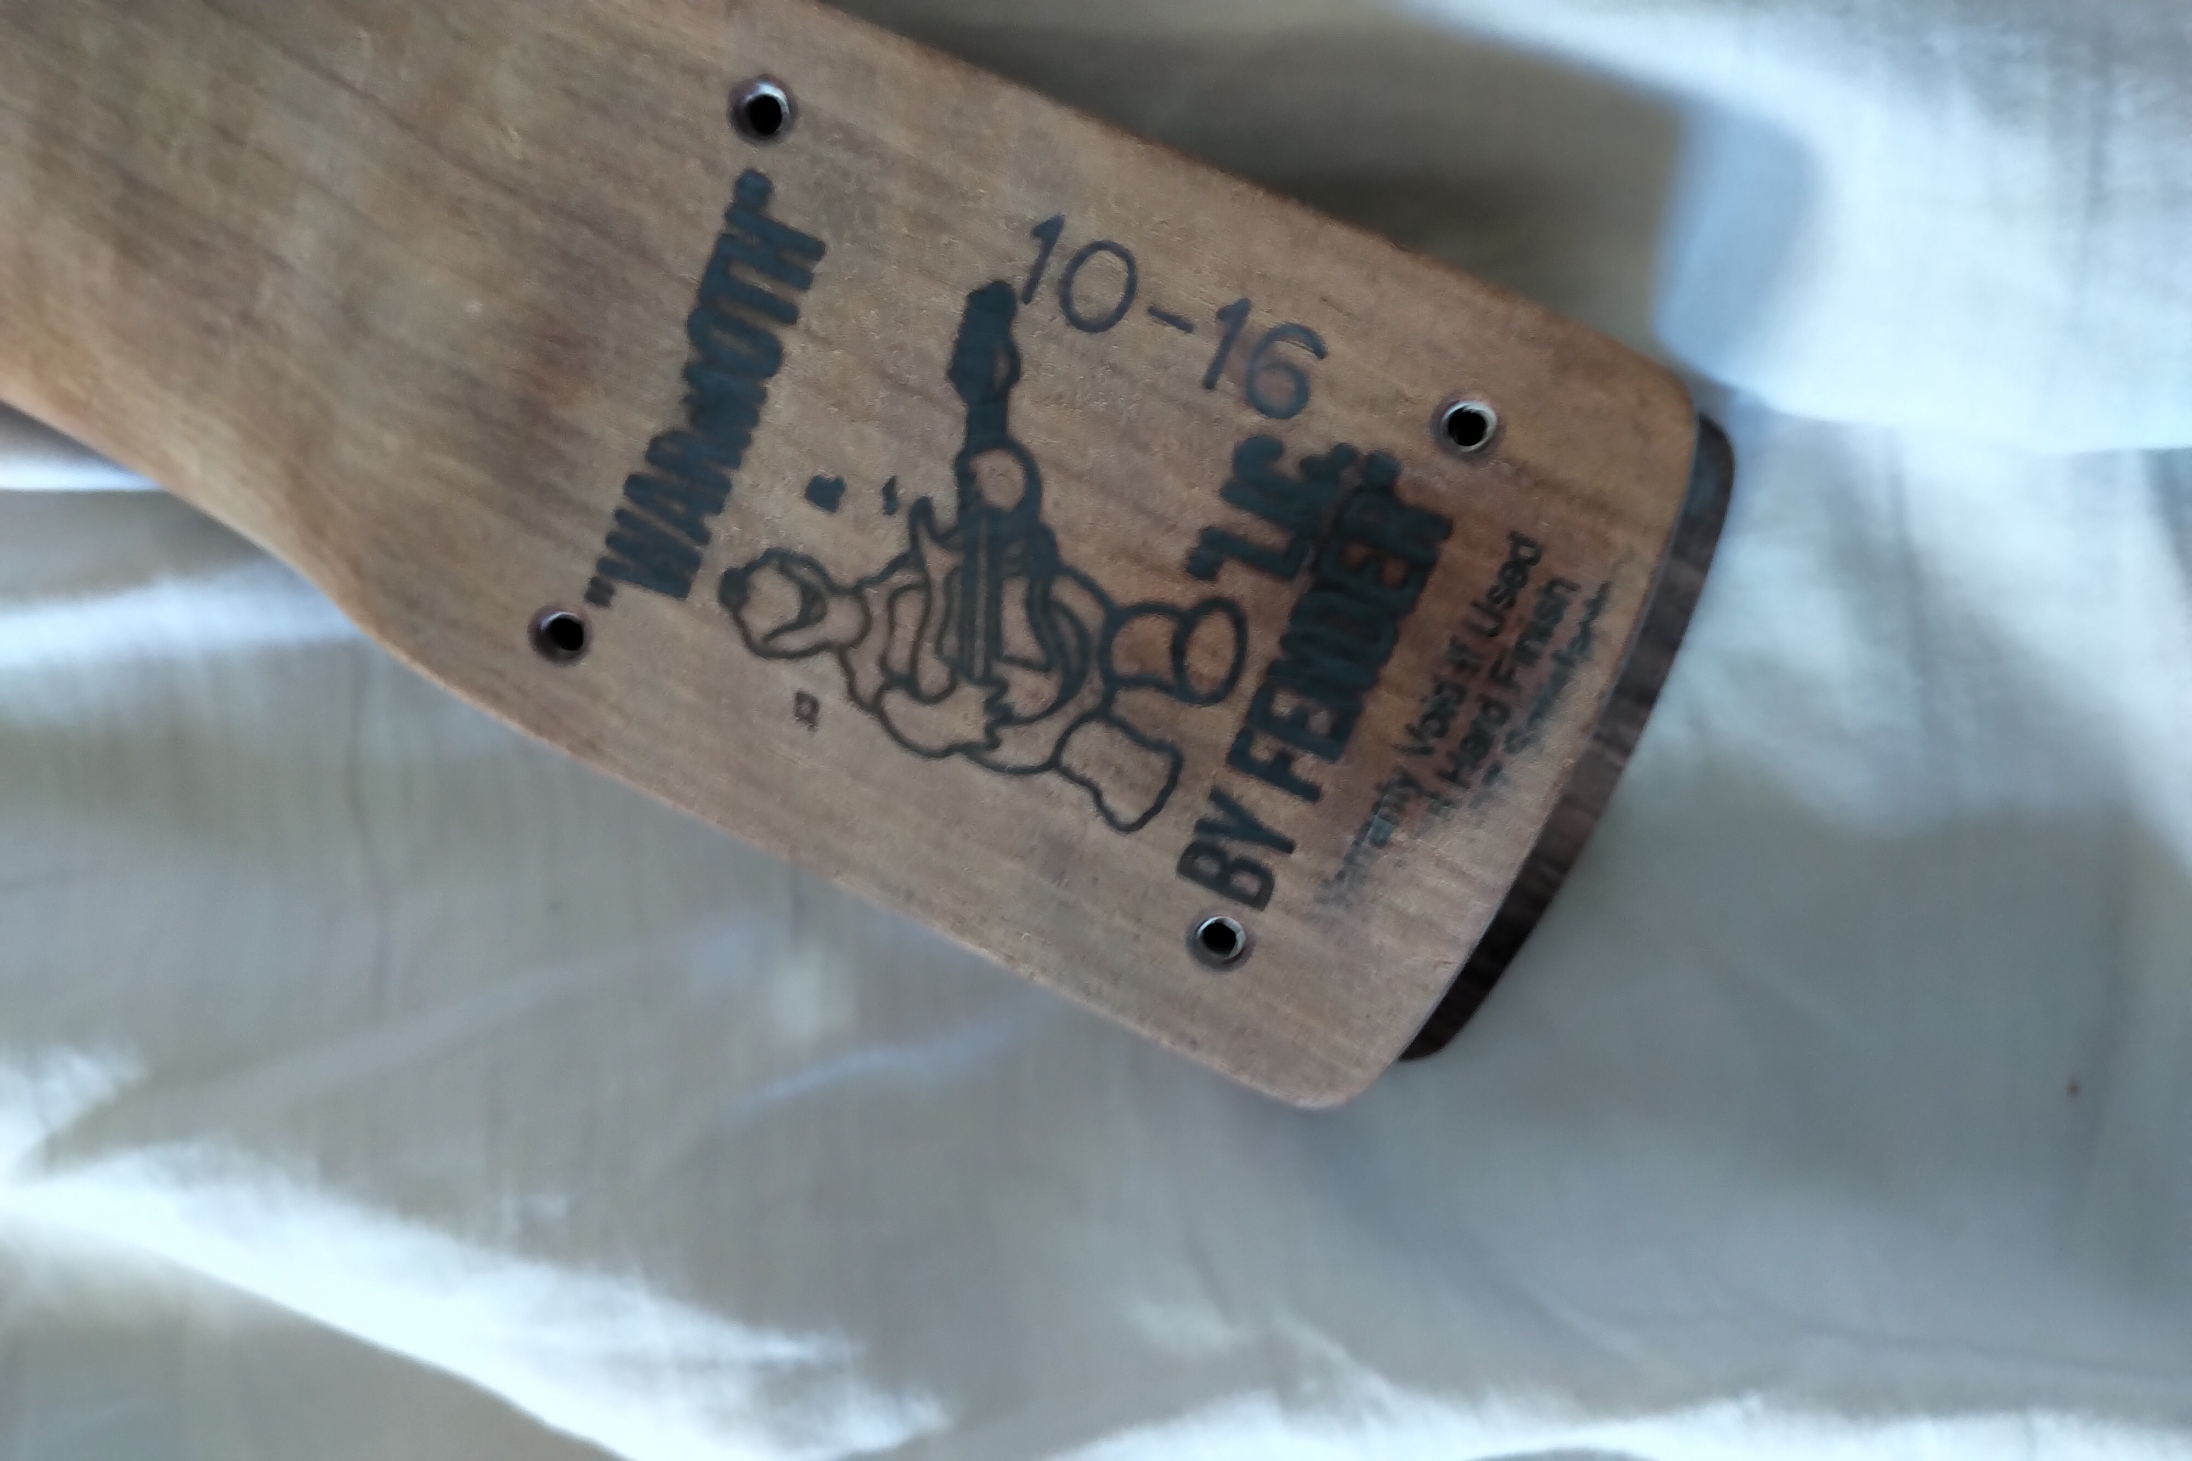
Here is a Warmoth pic of the neck from the showcase.


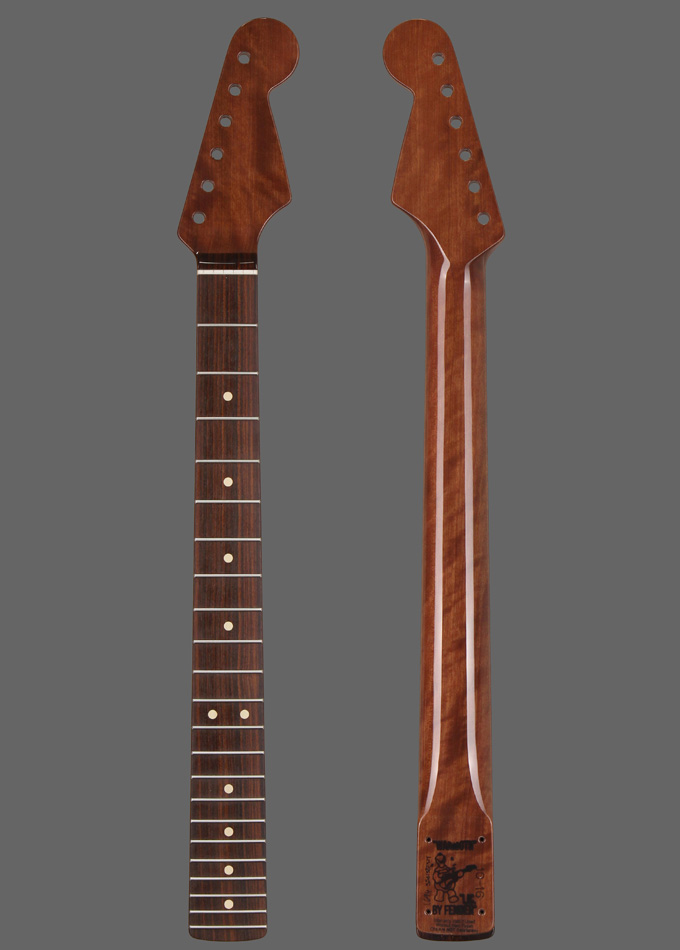
SN_MAHOGANY by stratamania, on Flickr

I generally buy unfinished necks but in this case I thought that looks nice and that it might save me some work.

I ended up having the option to send it back to Warmoth as there were a couple of things that were not quite as expected.

After seeing the neck on my desk and not yet having gone to the post office etc due to snow and ice etc...I came to the conclusion that I would just tweak and fix the neck myself.

Note and caveat: I do not recommend to most people to do this course of action in this thread with regard to neck modification. In general if in the unlikely event of something not being up to par to do a warranty return and let Warmoth take care of you.

In the other thread Mayfly asked me what was wrong with the neck and here is the breakdown...

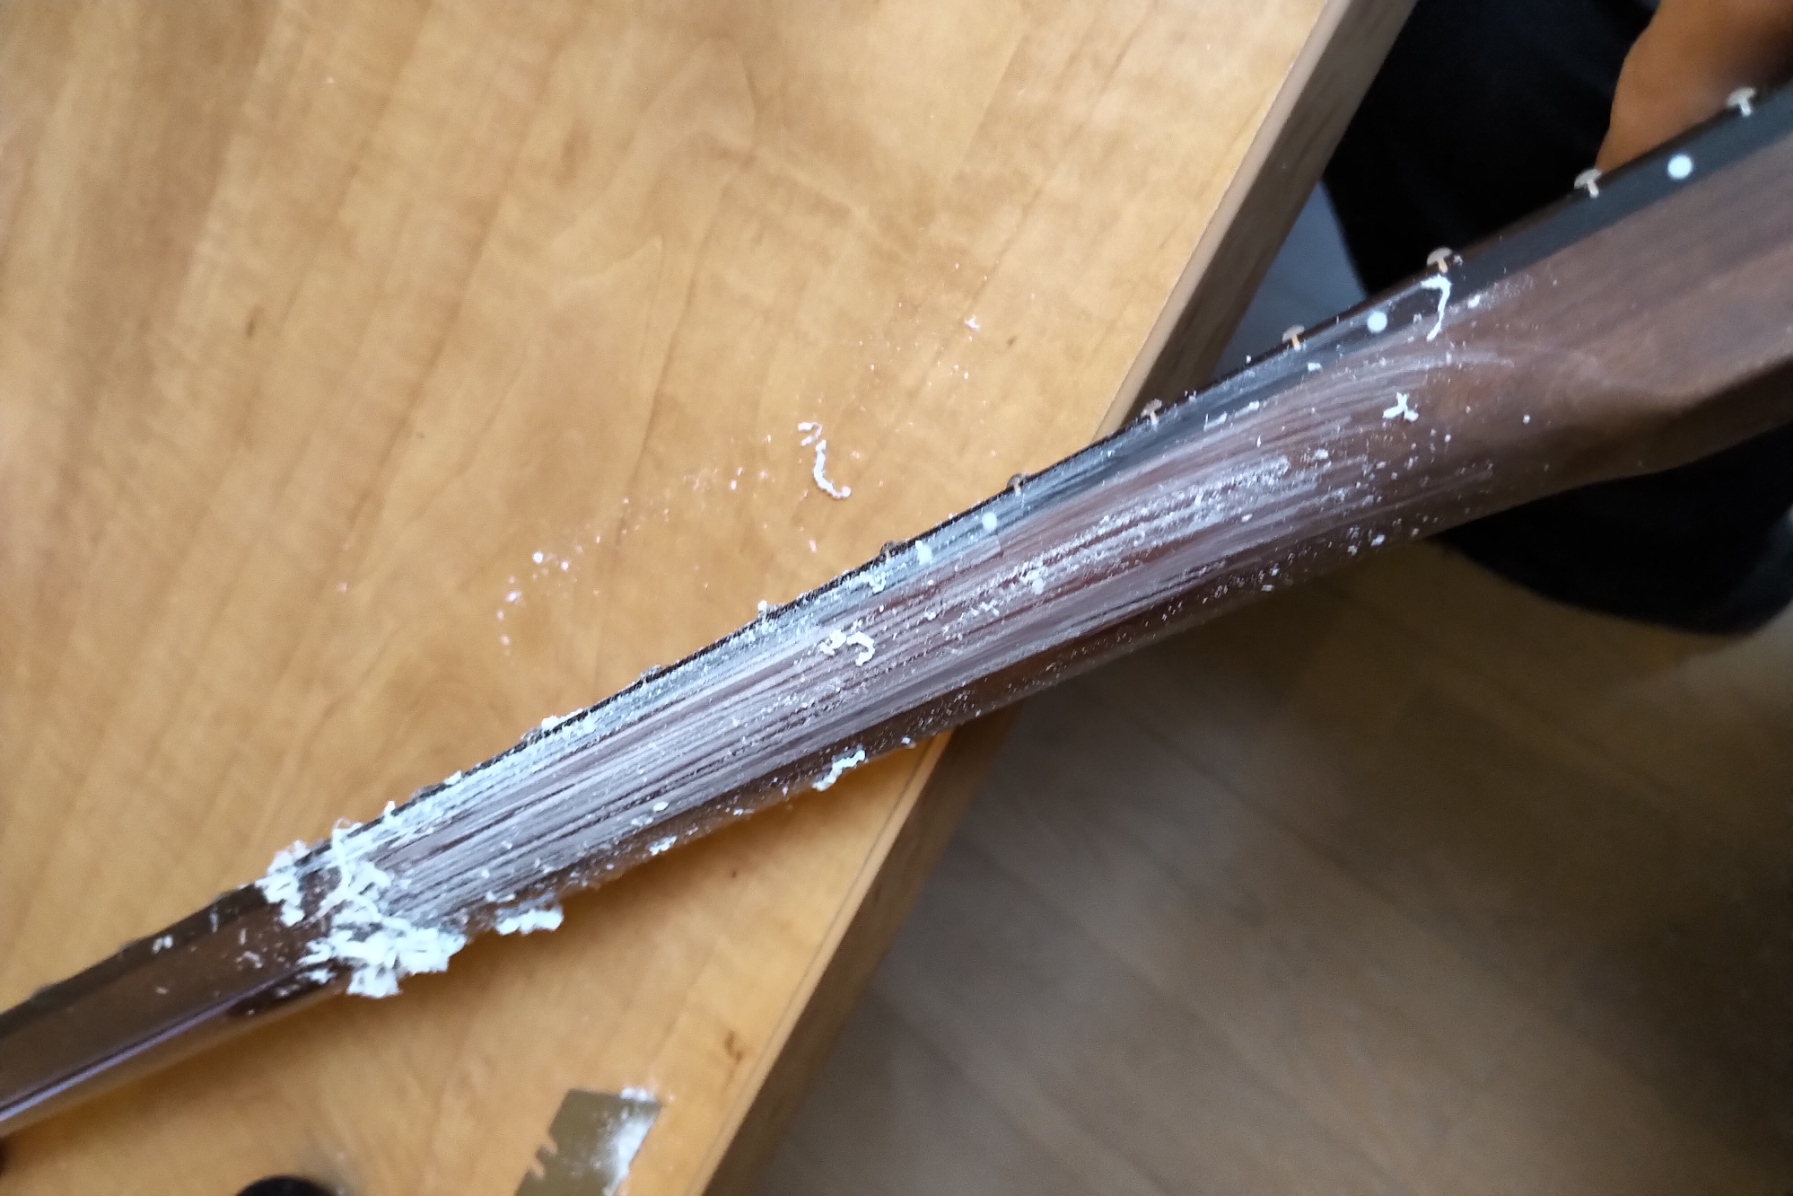
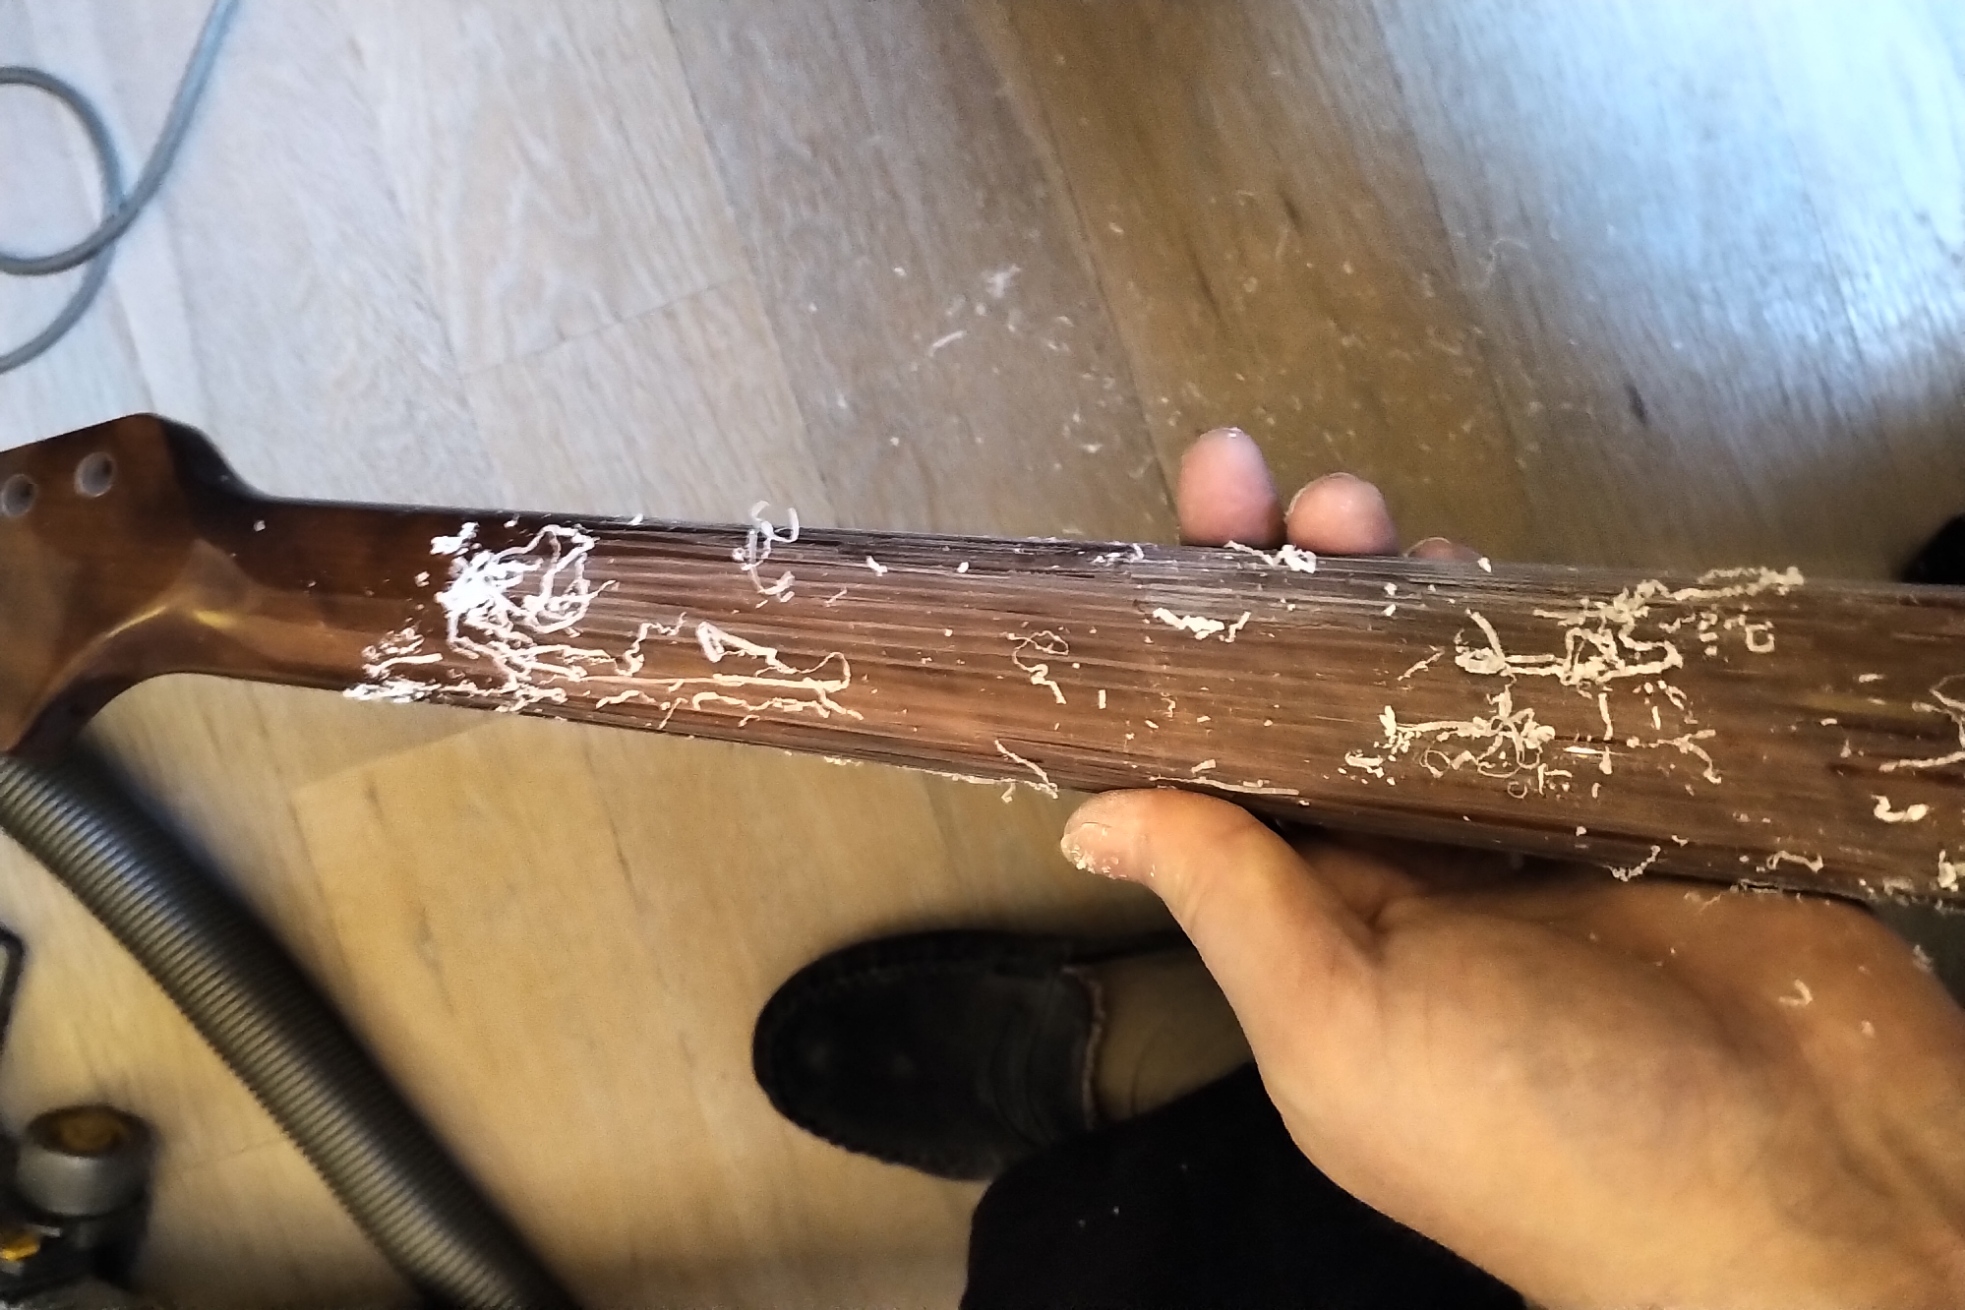
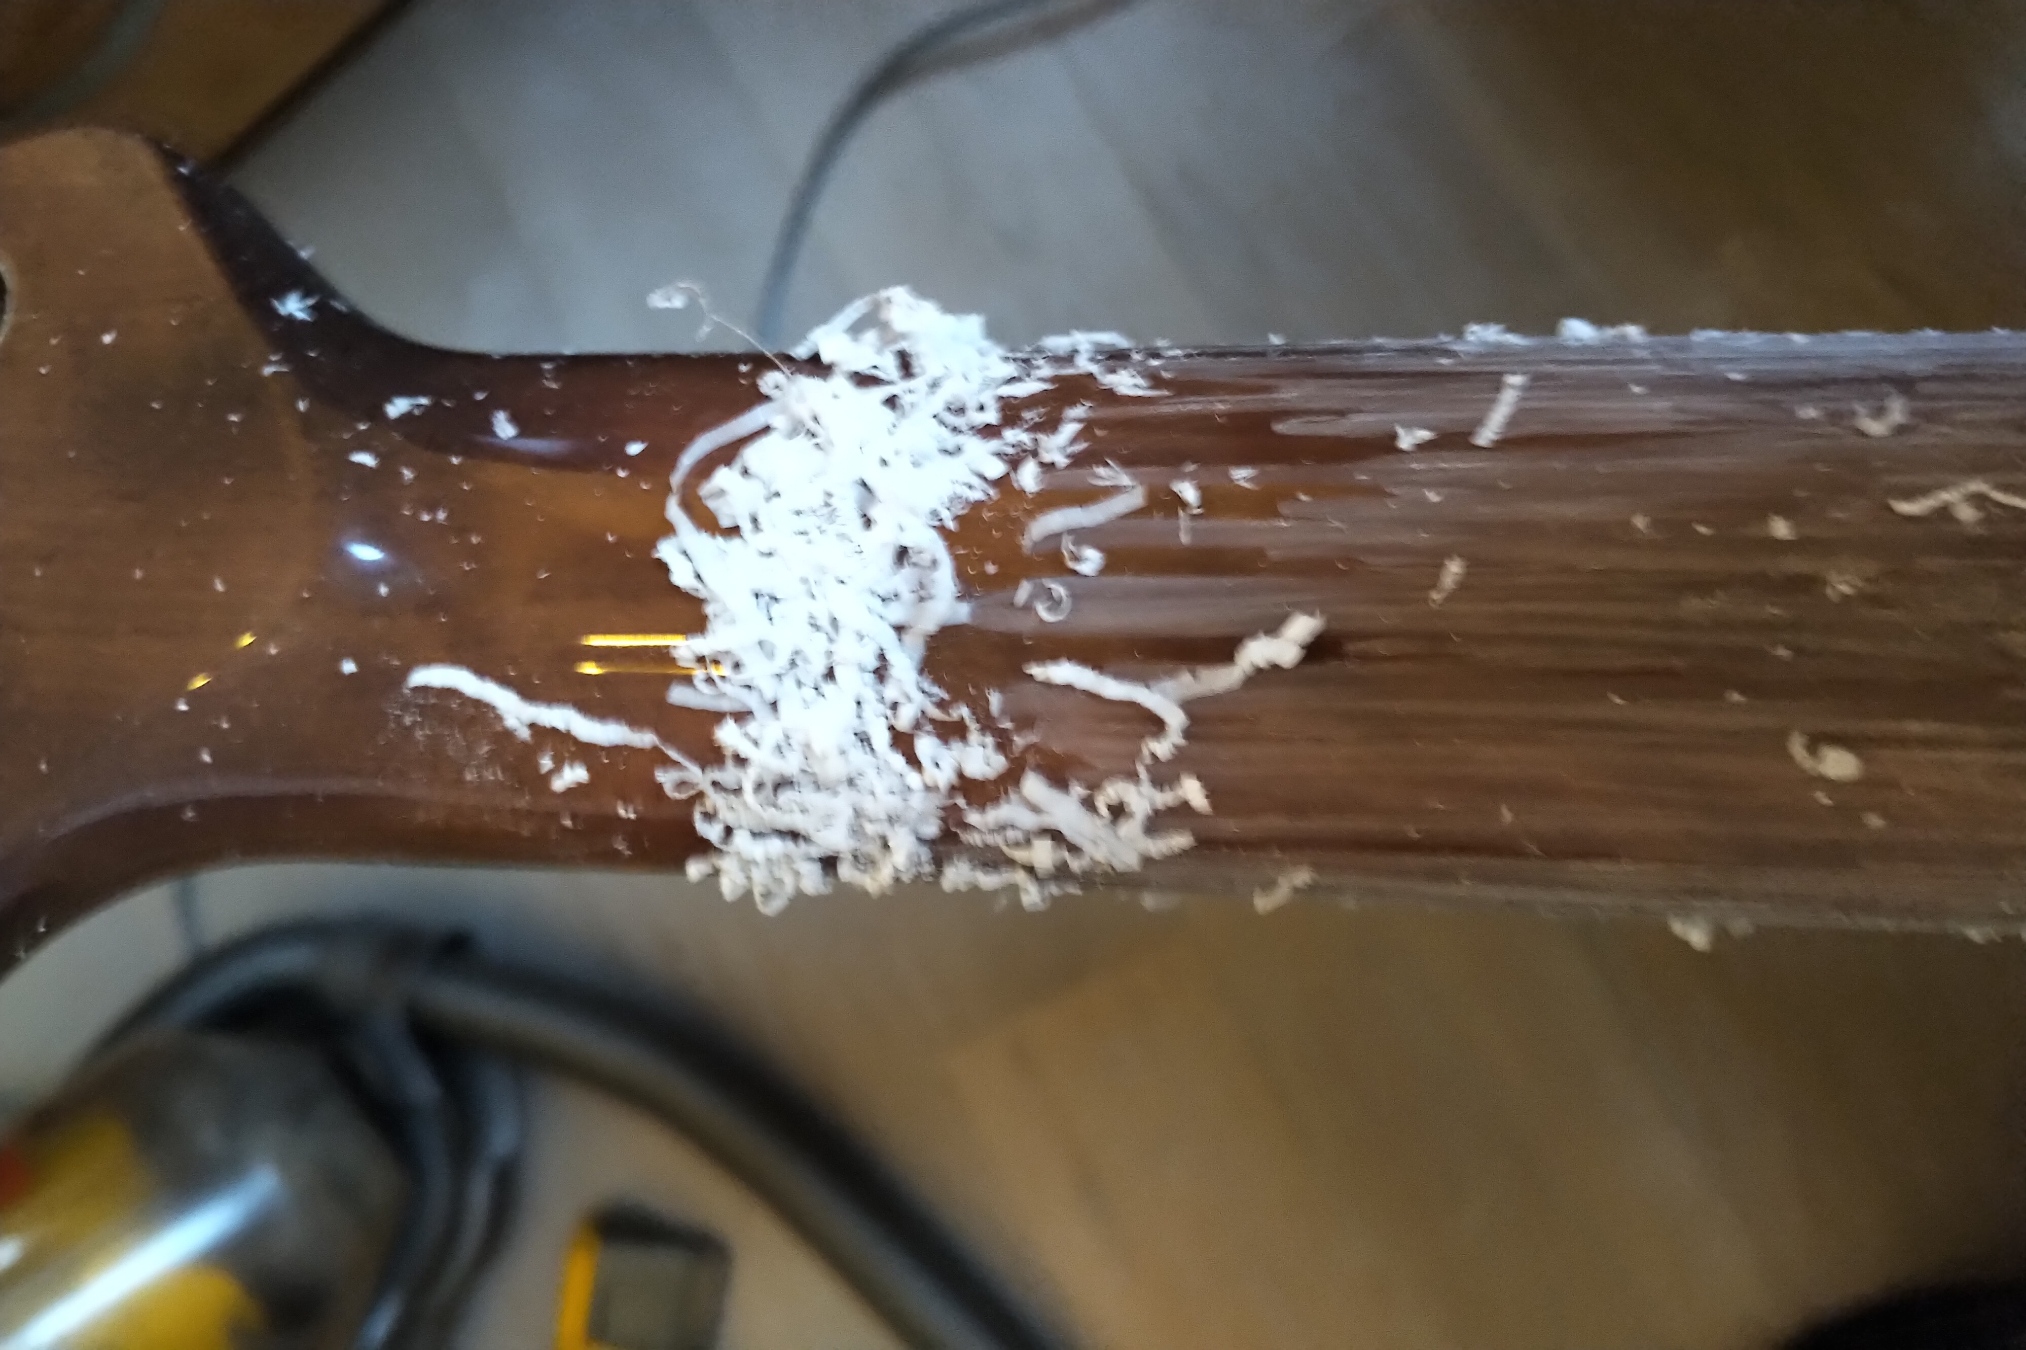
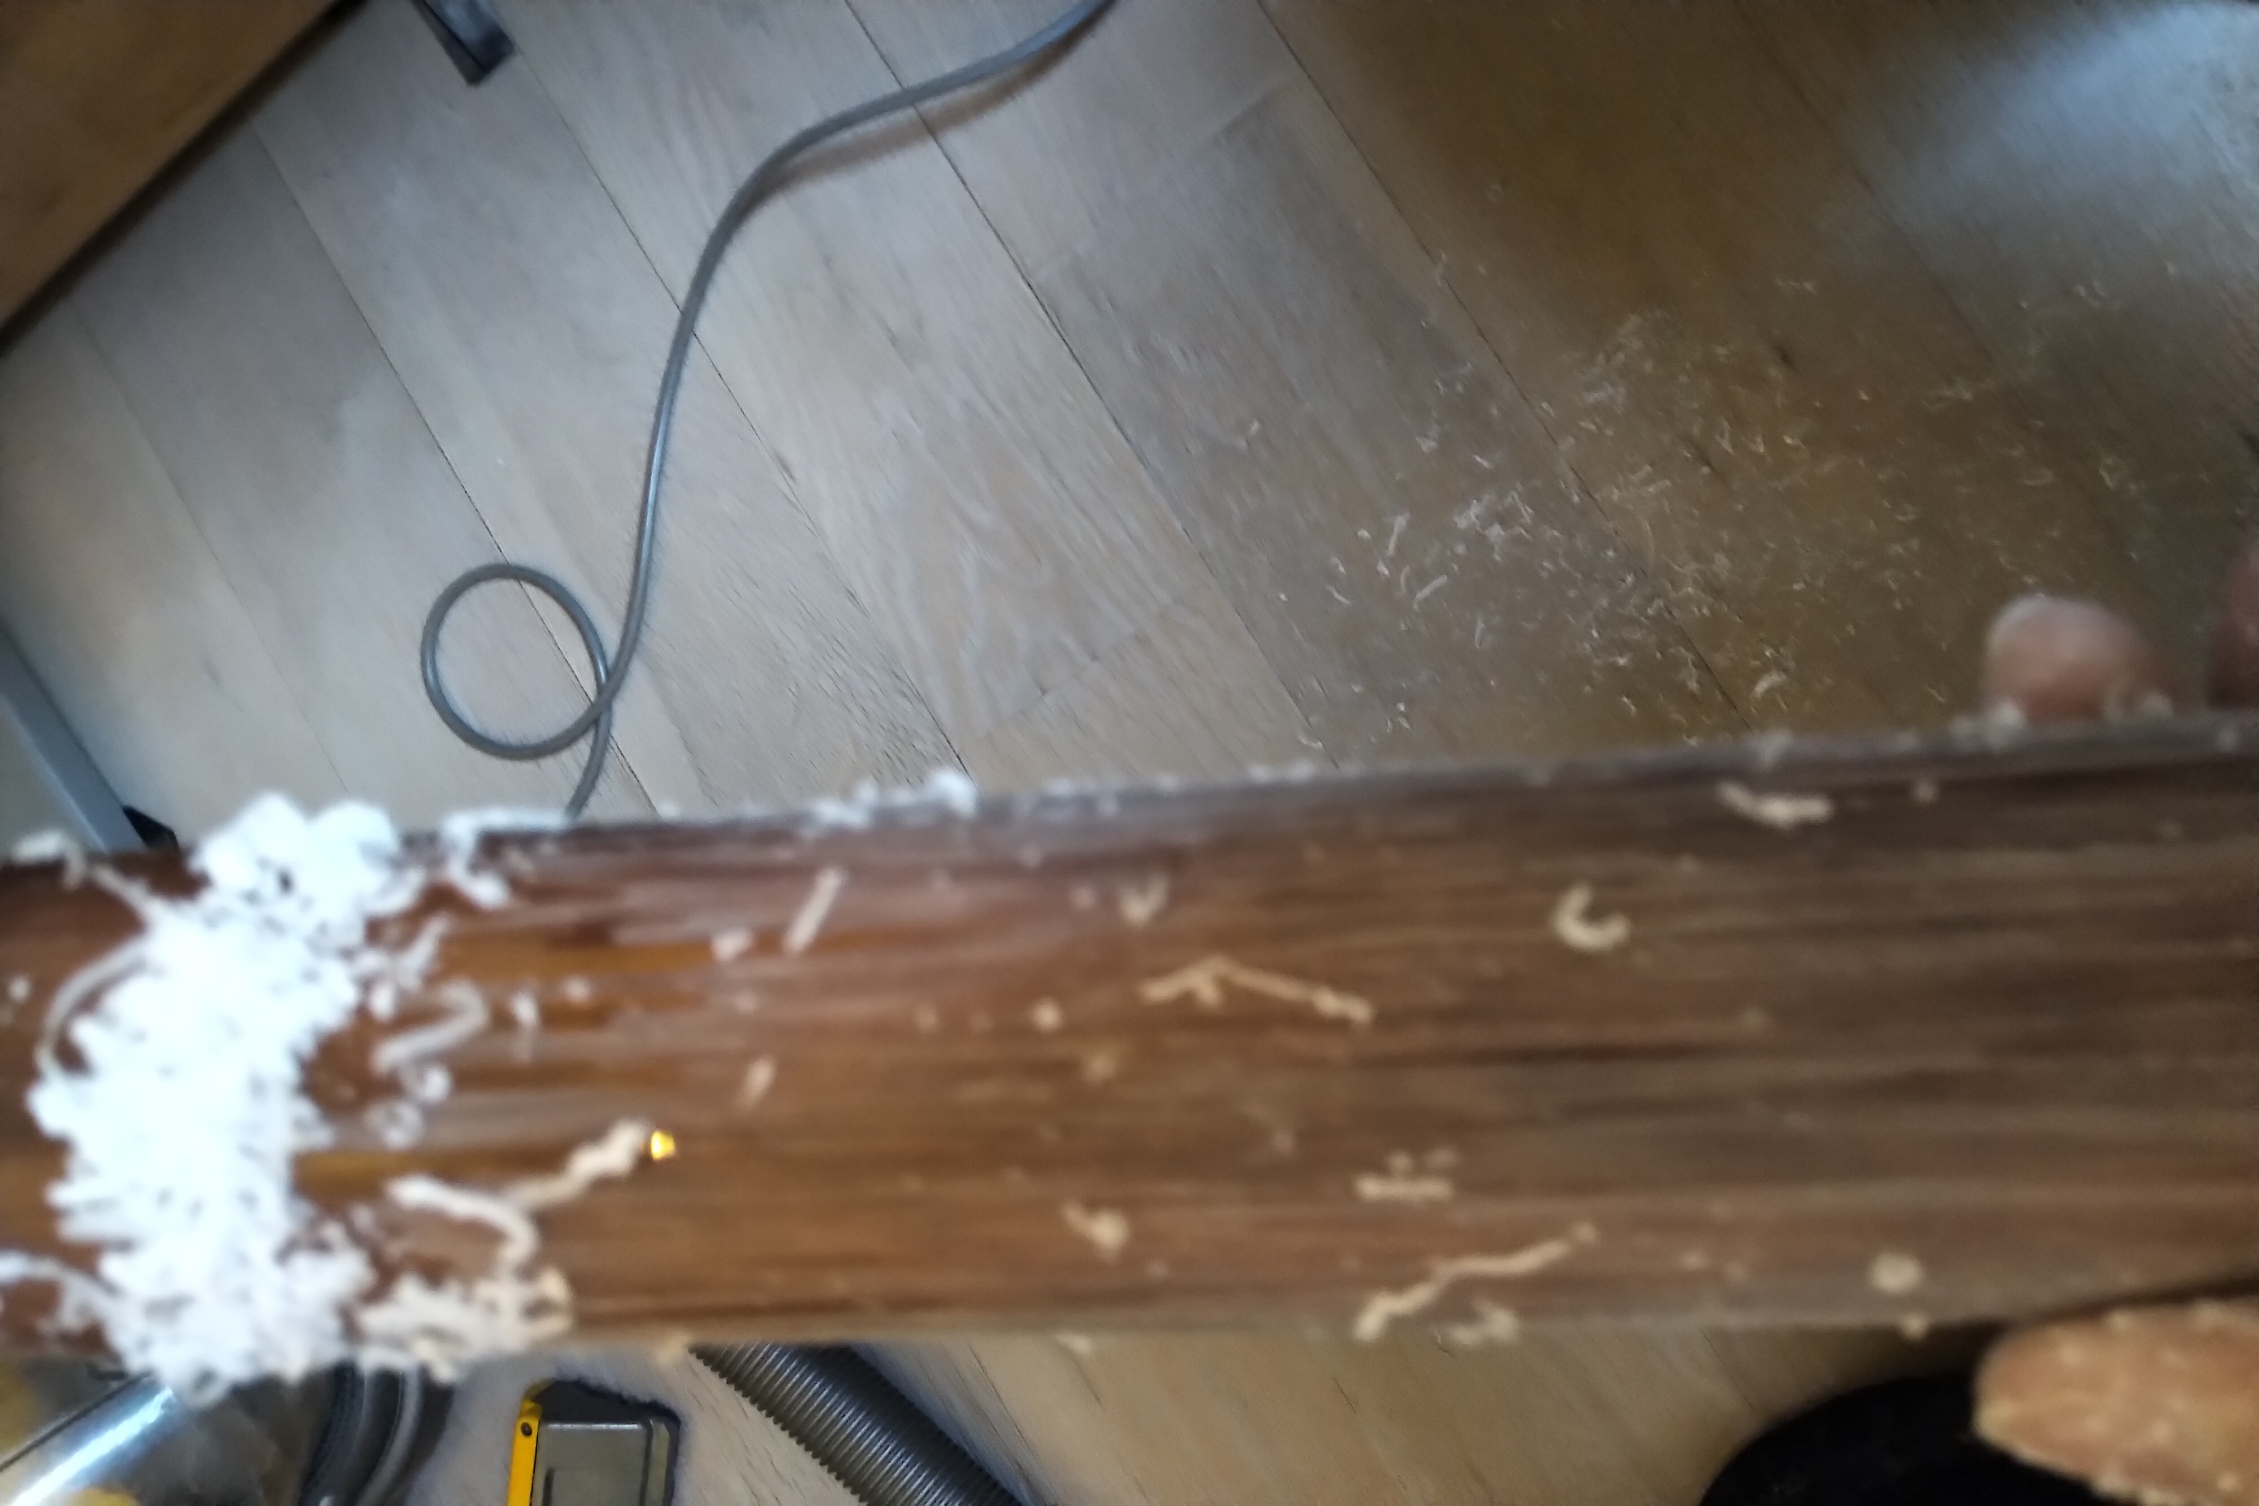
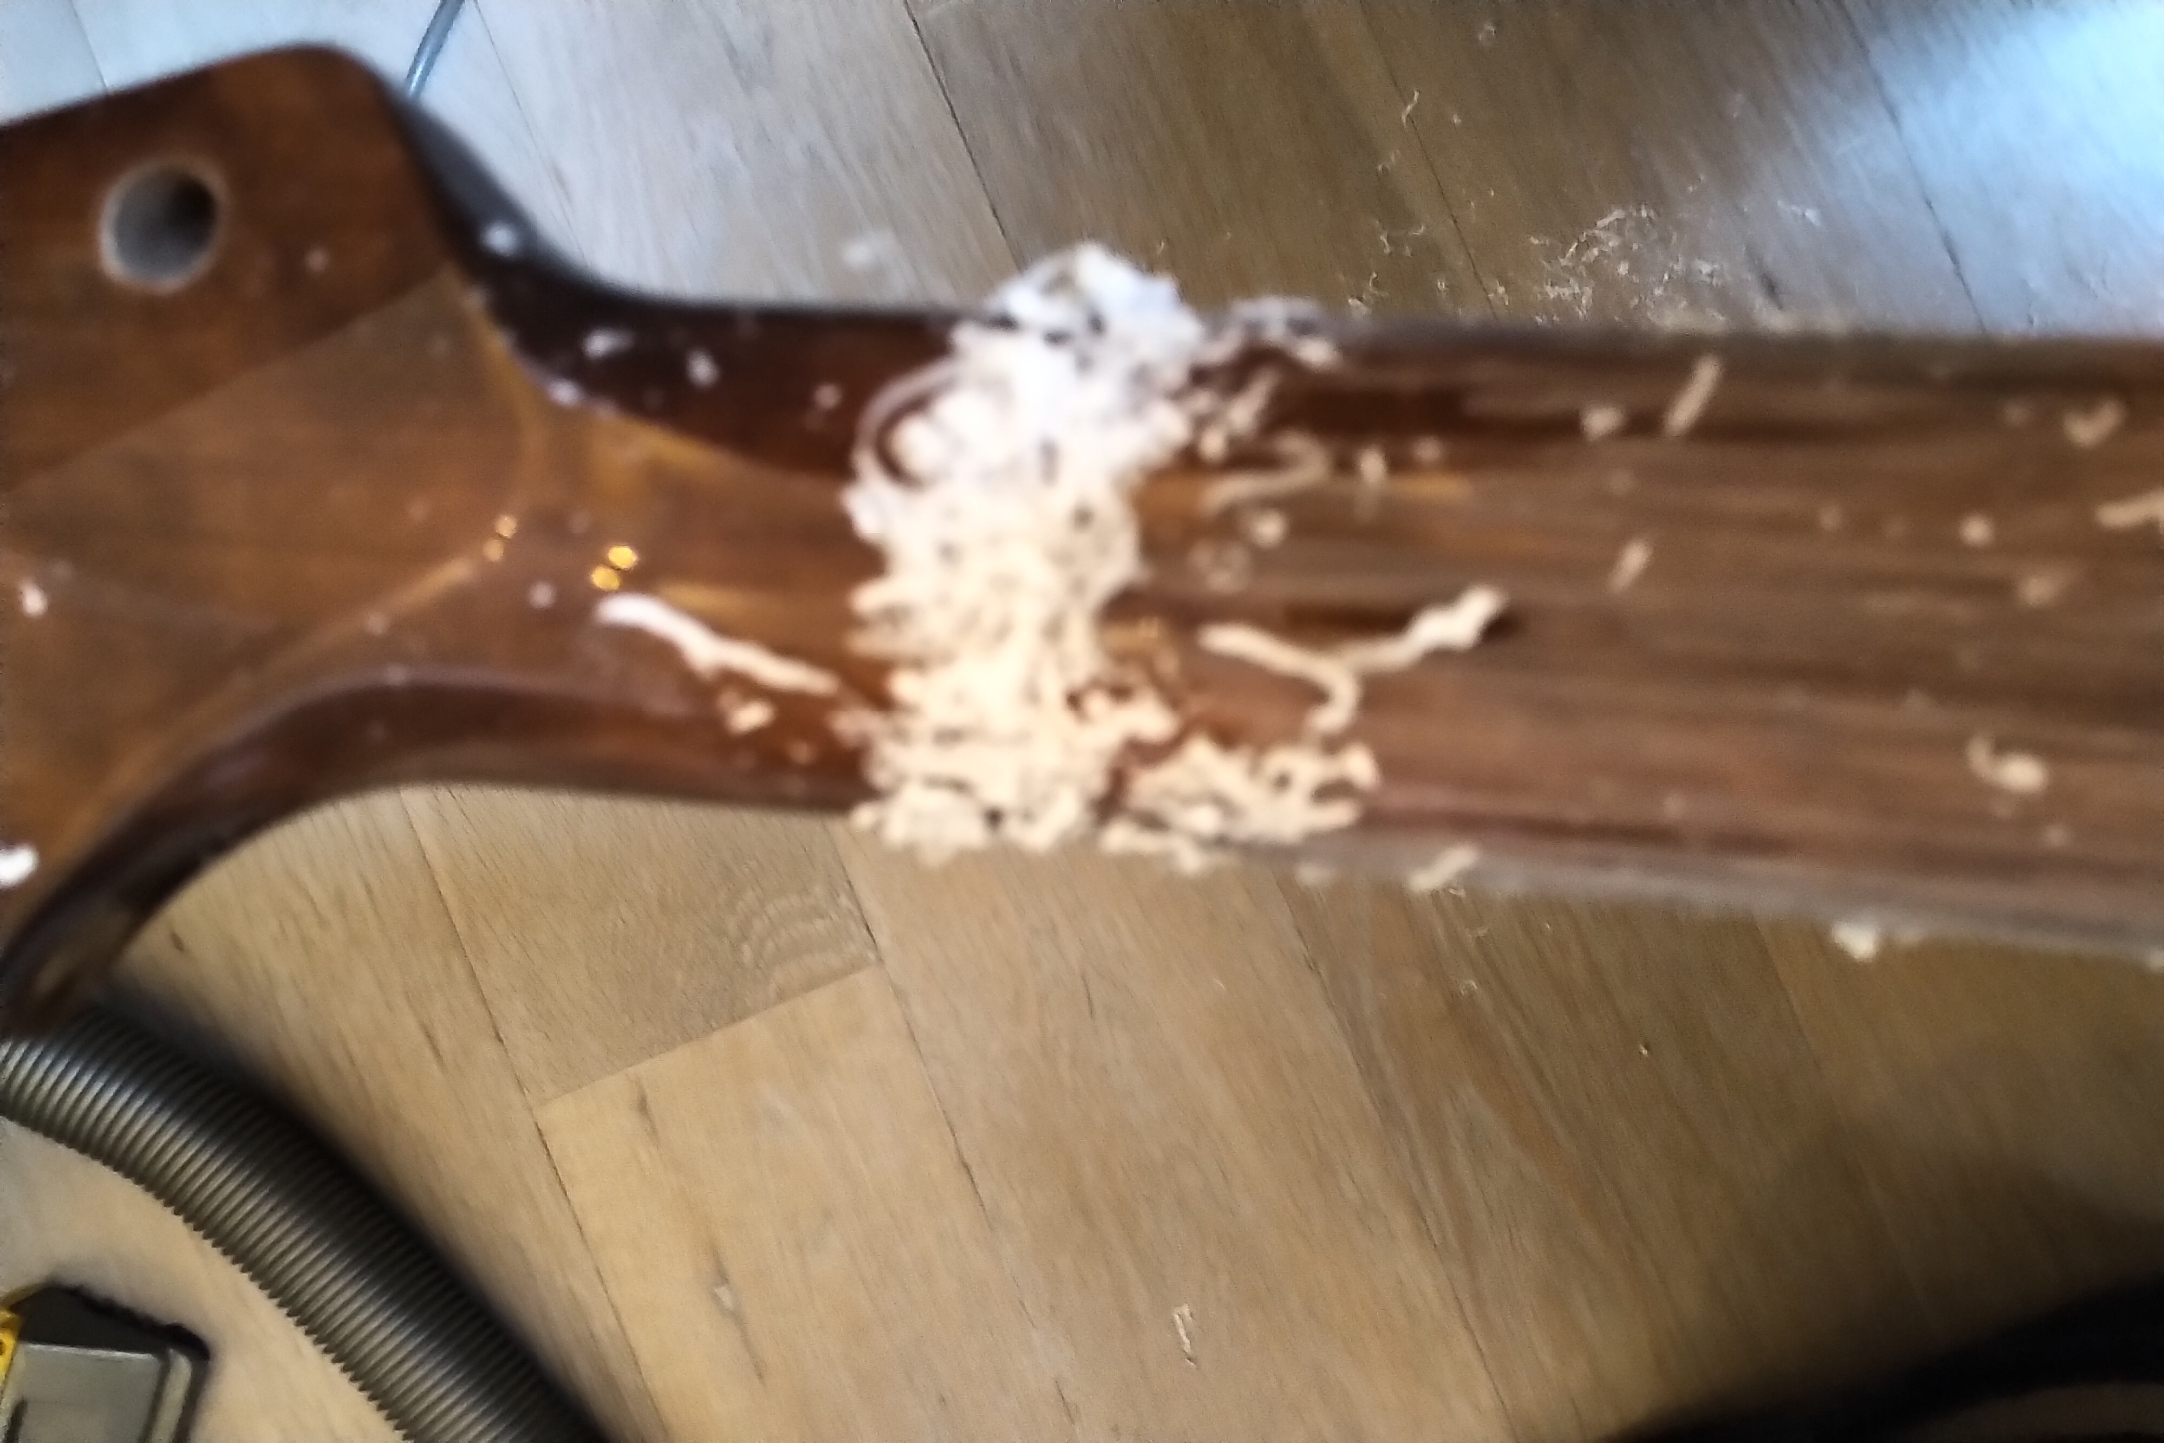
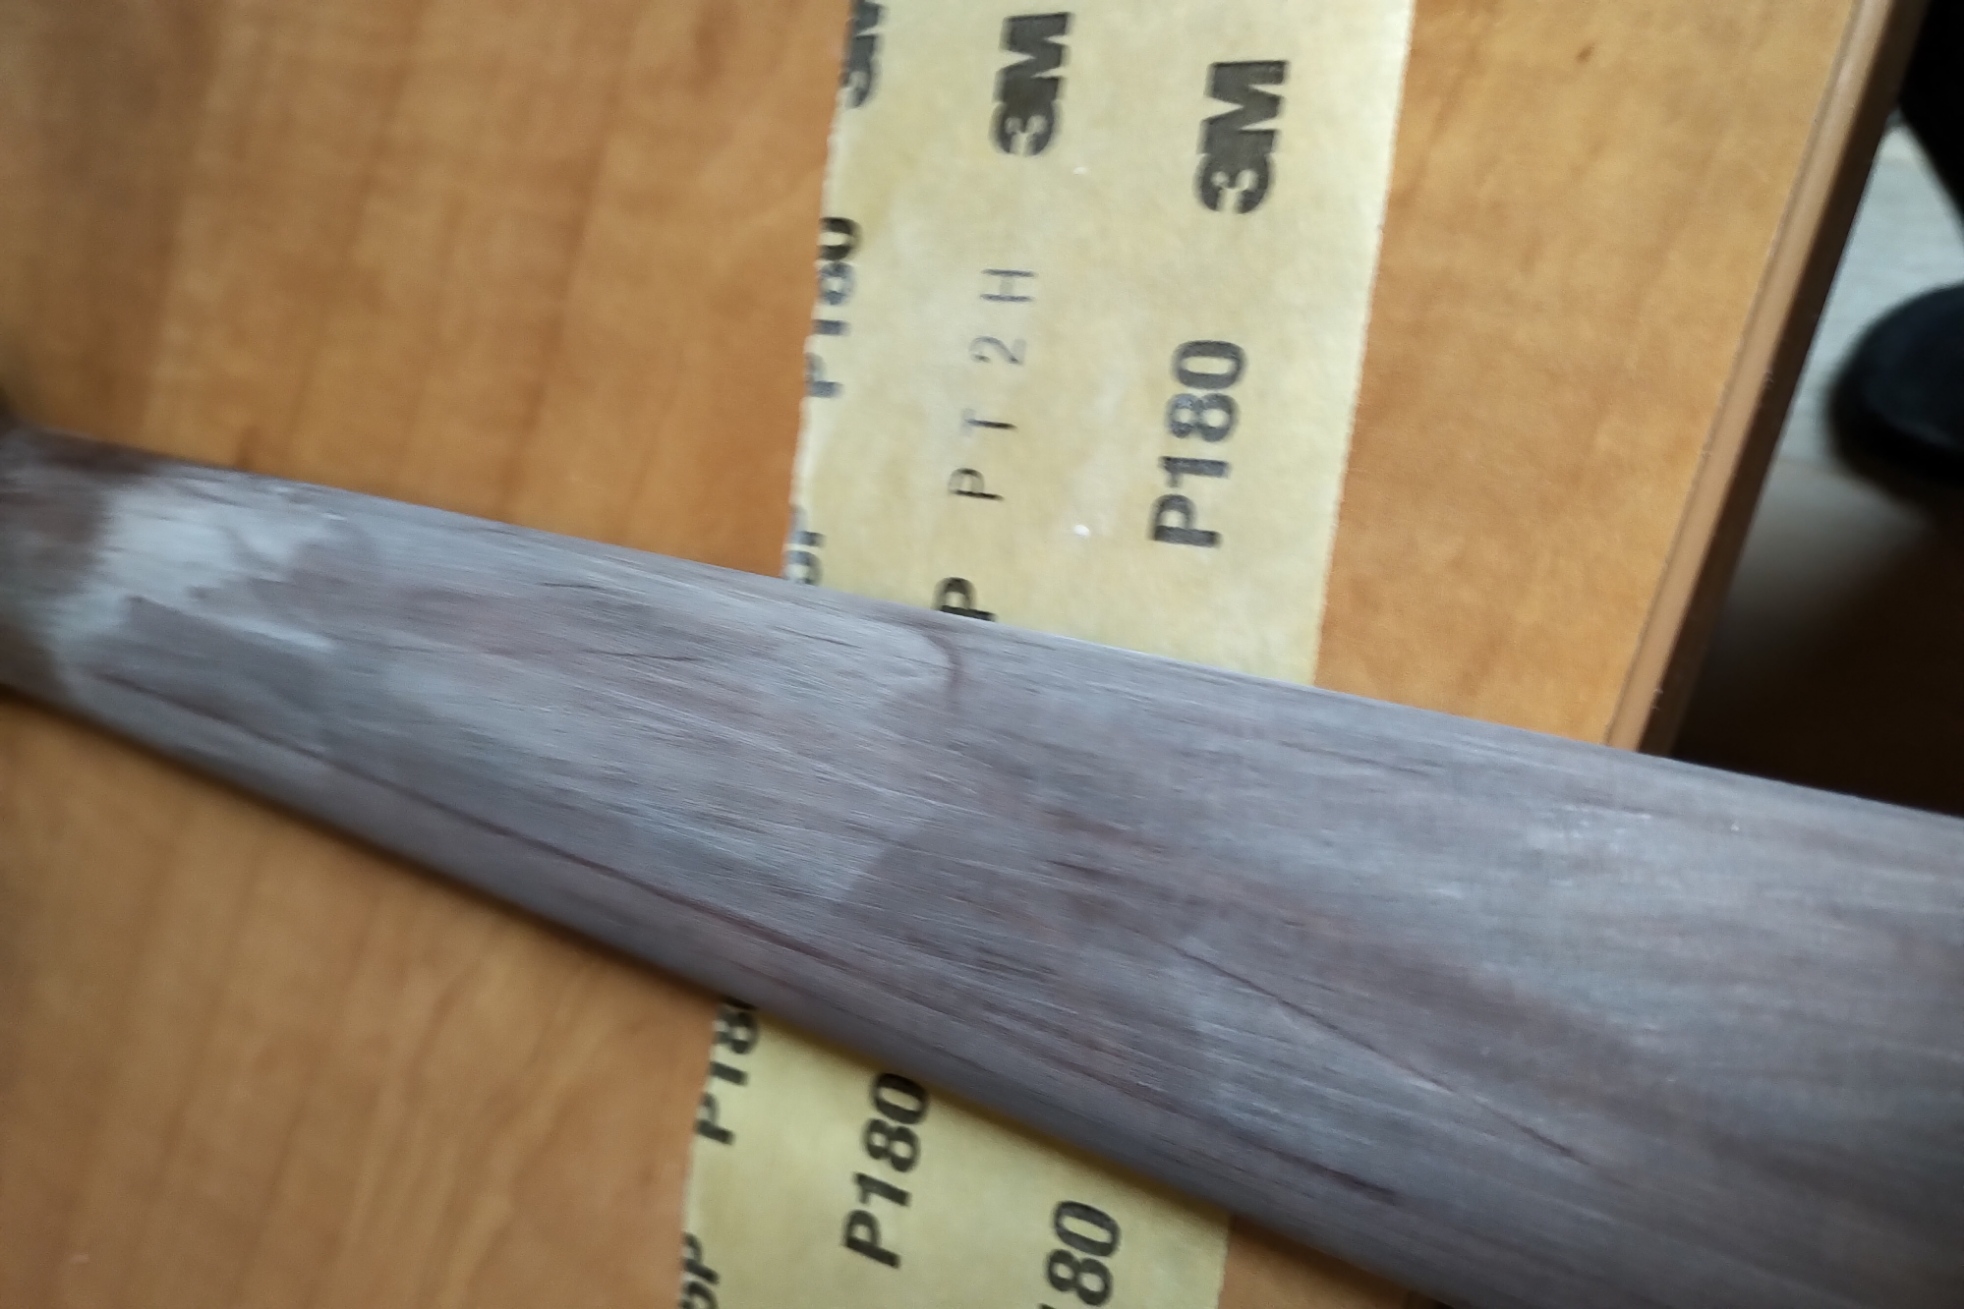
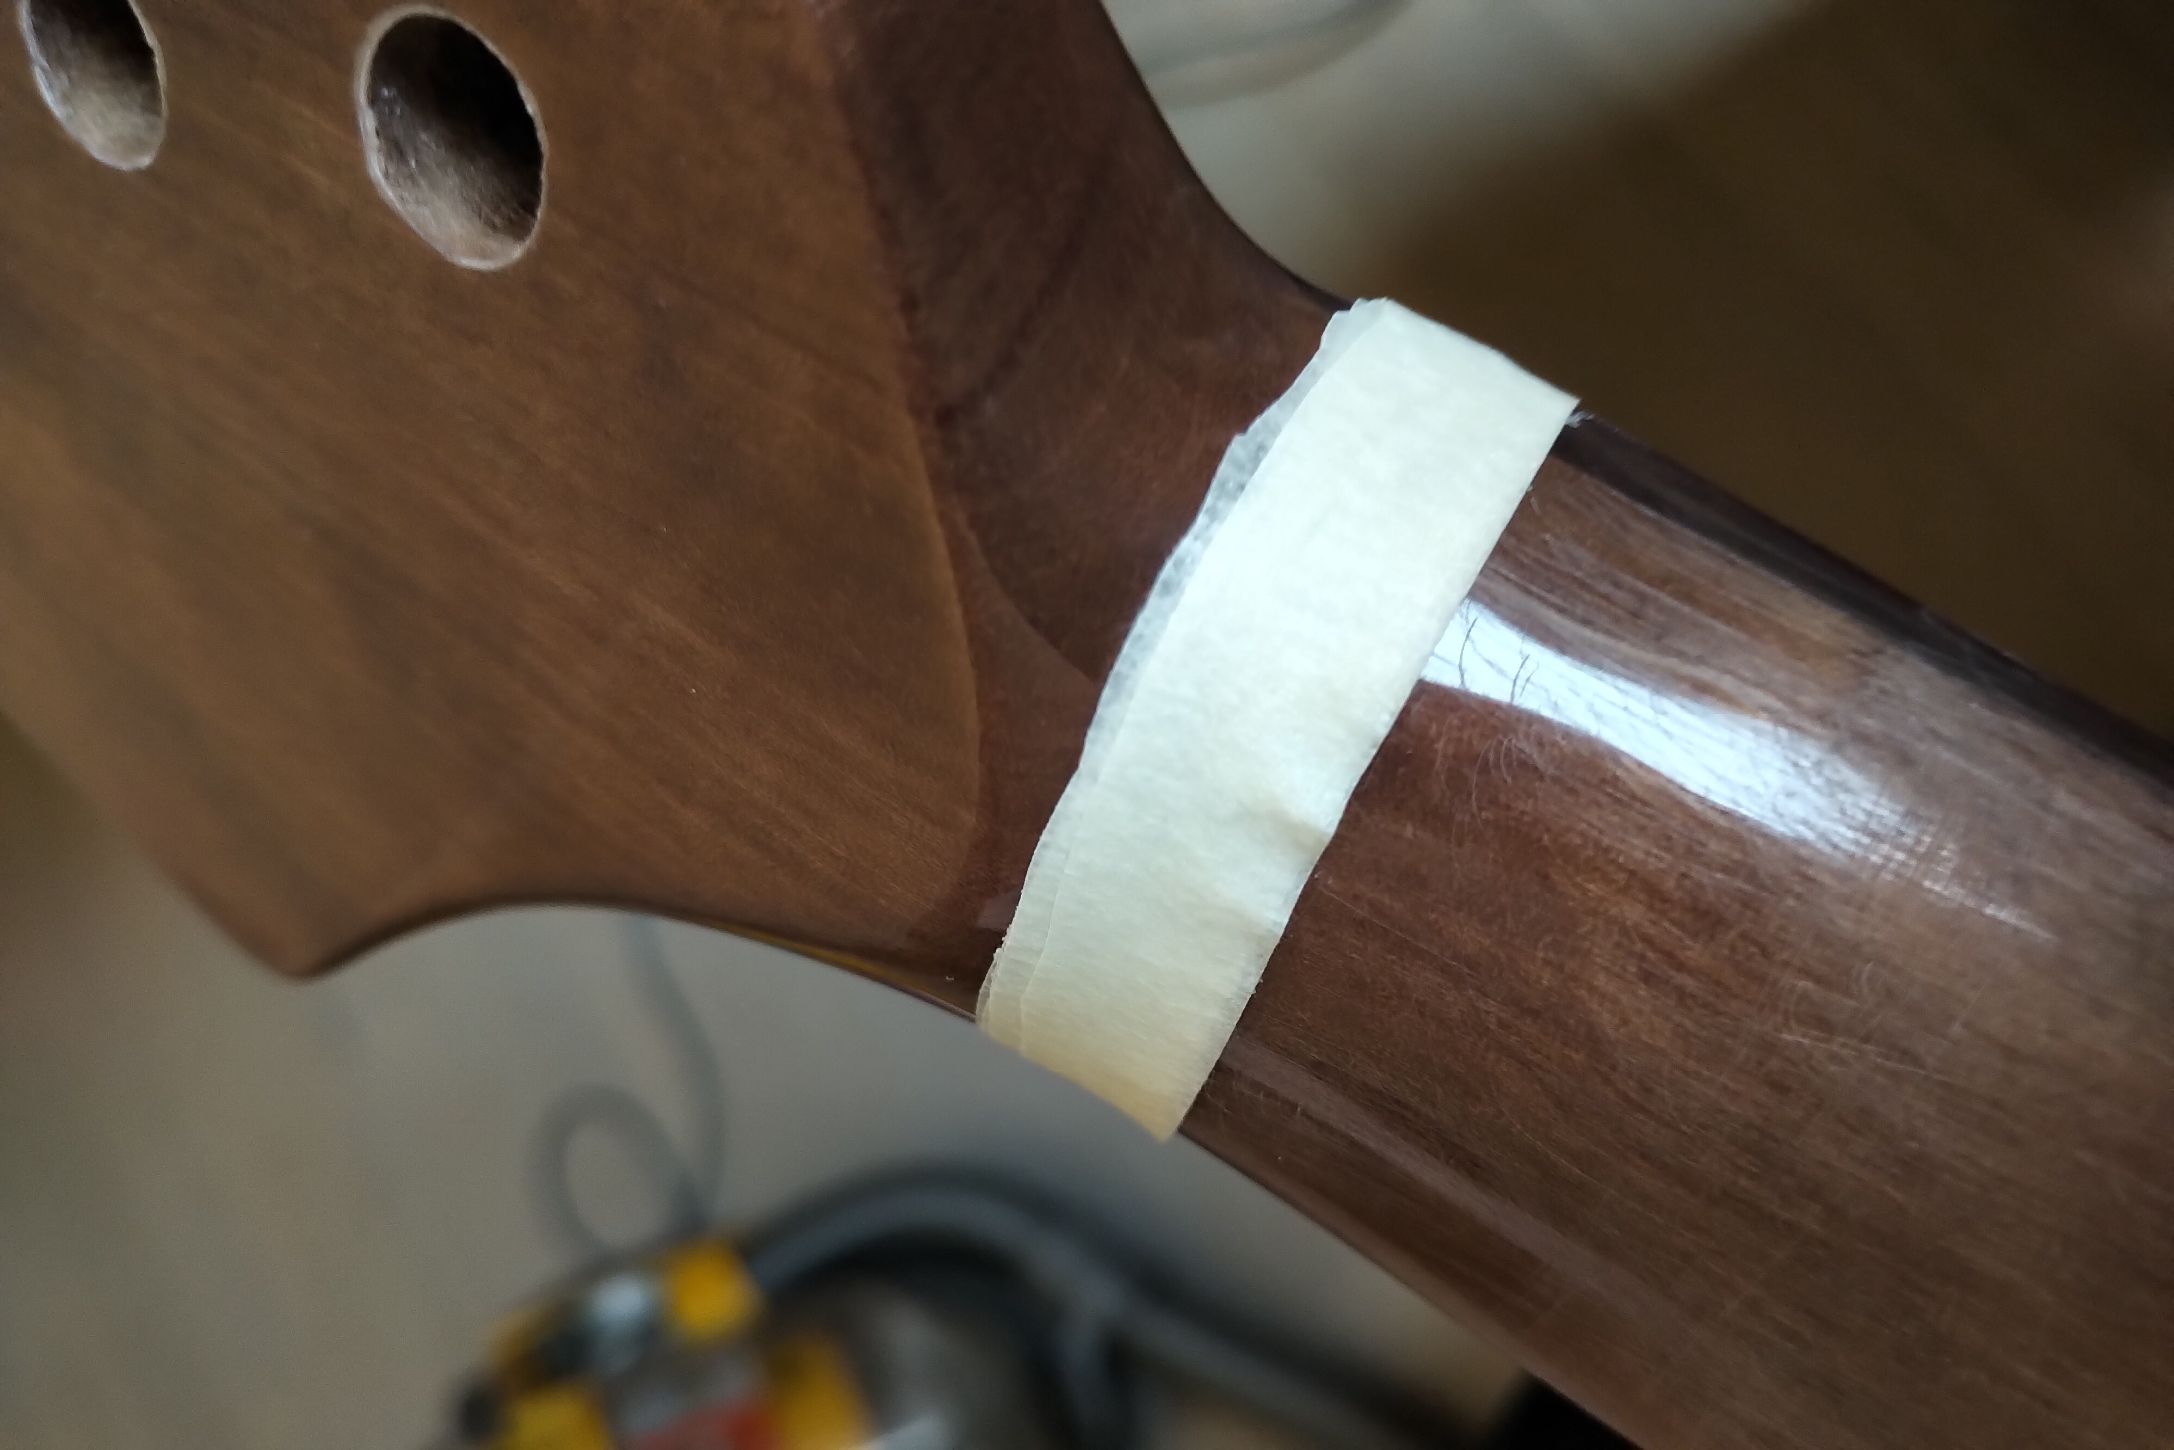
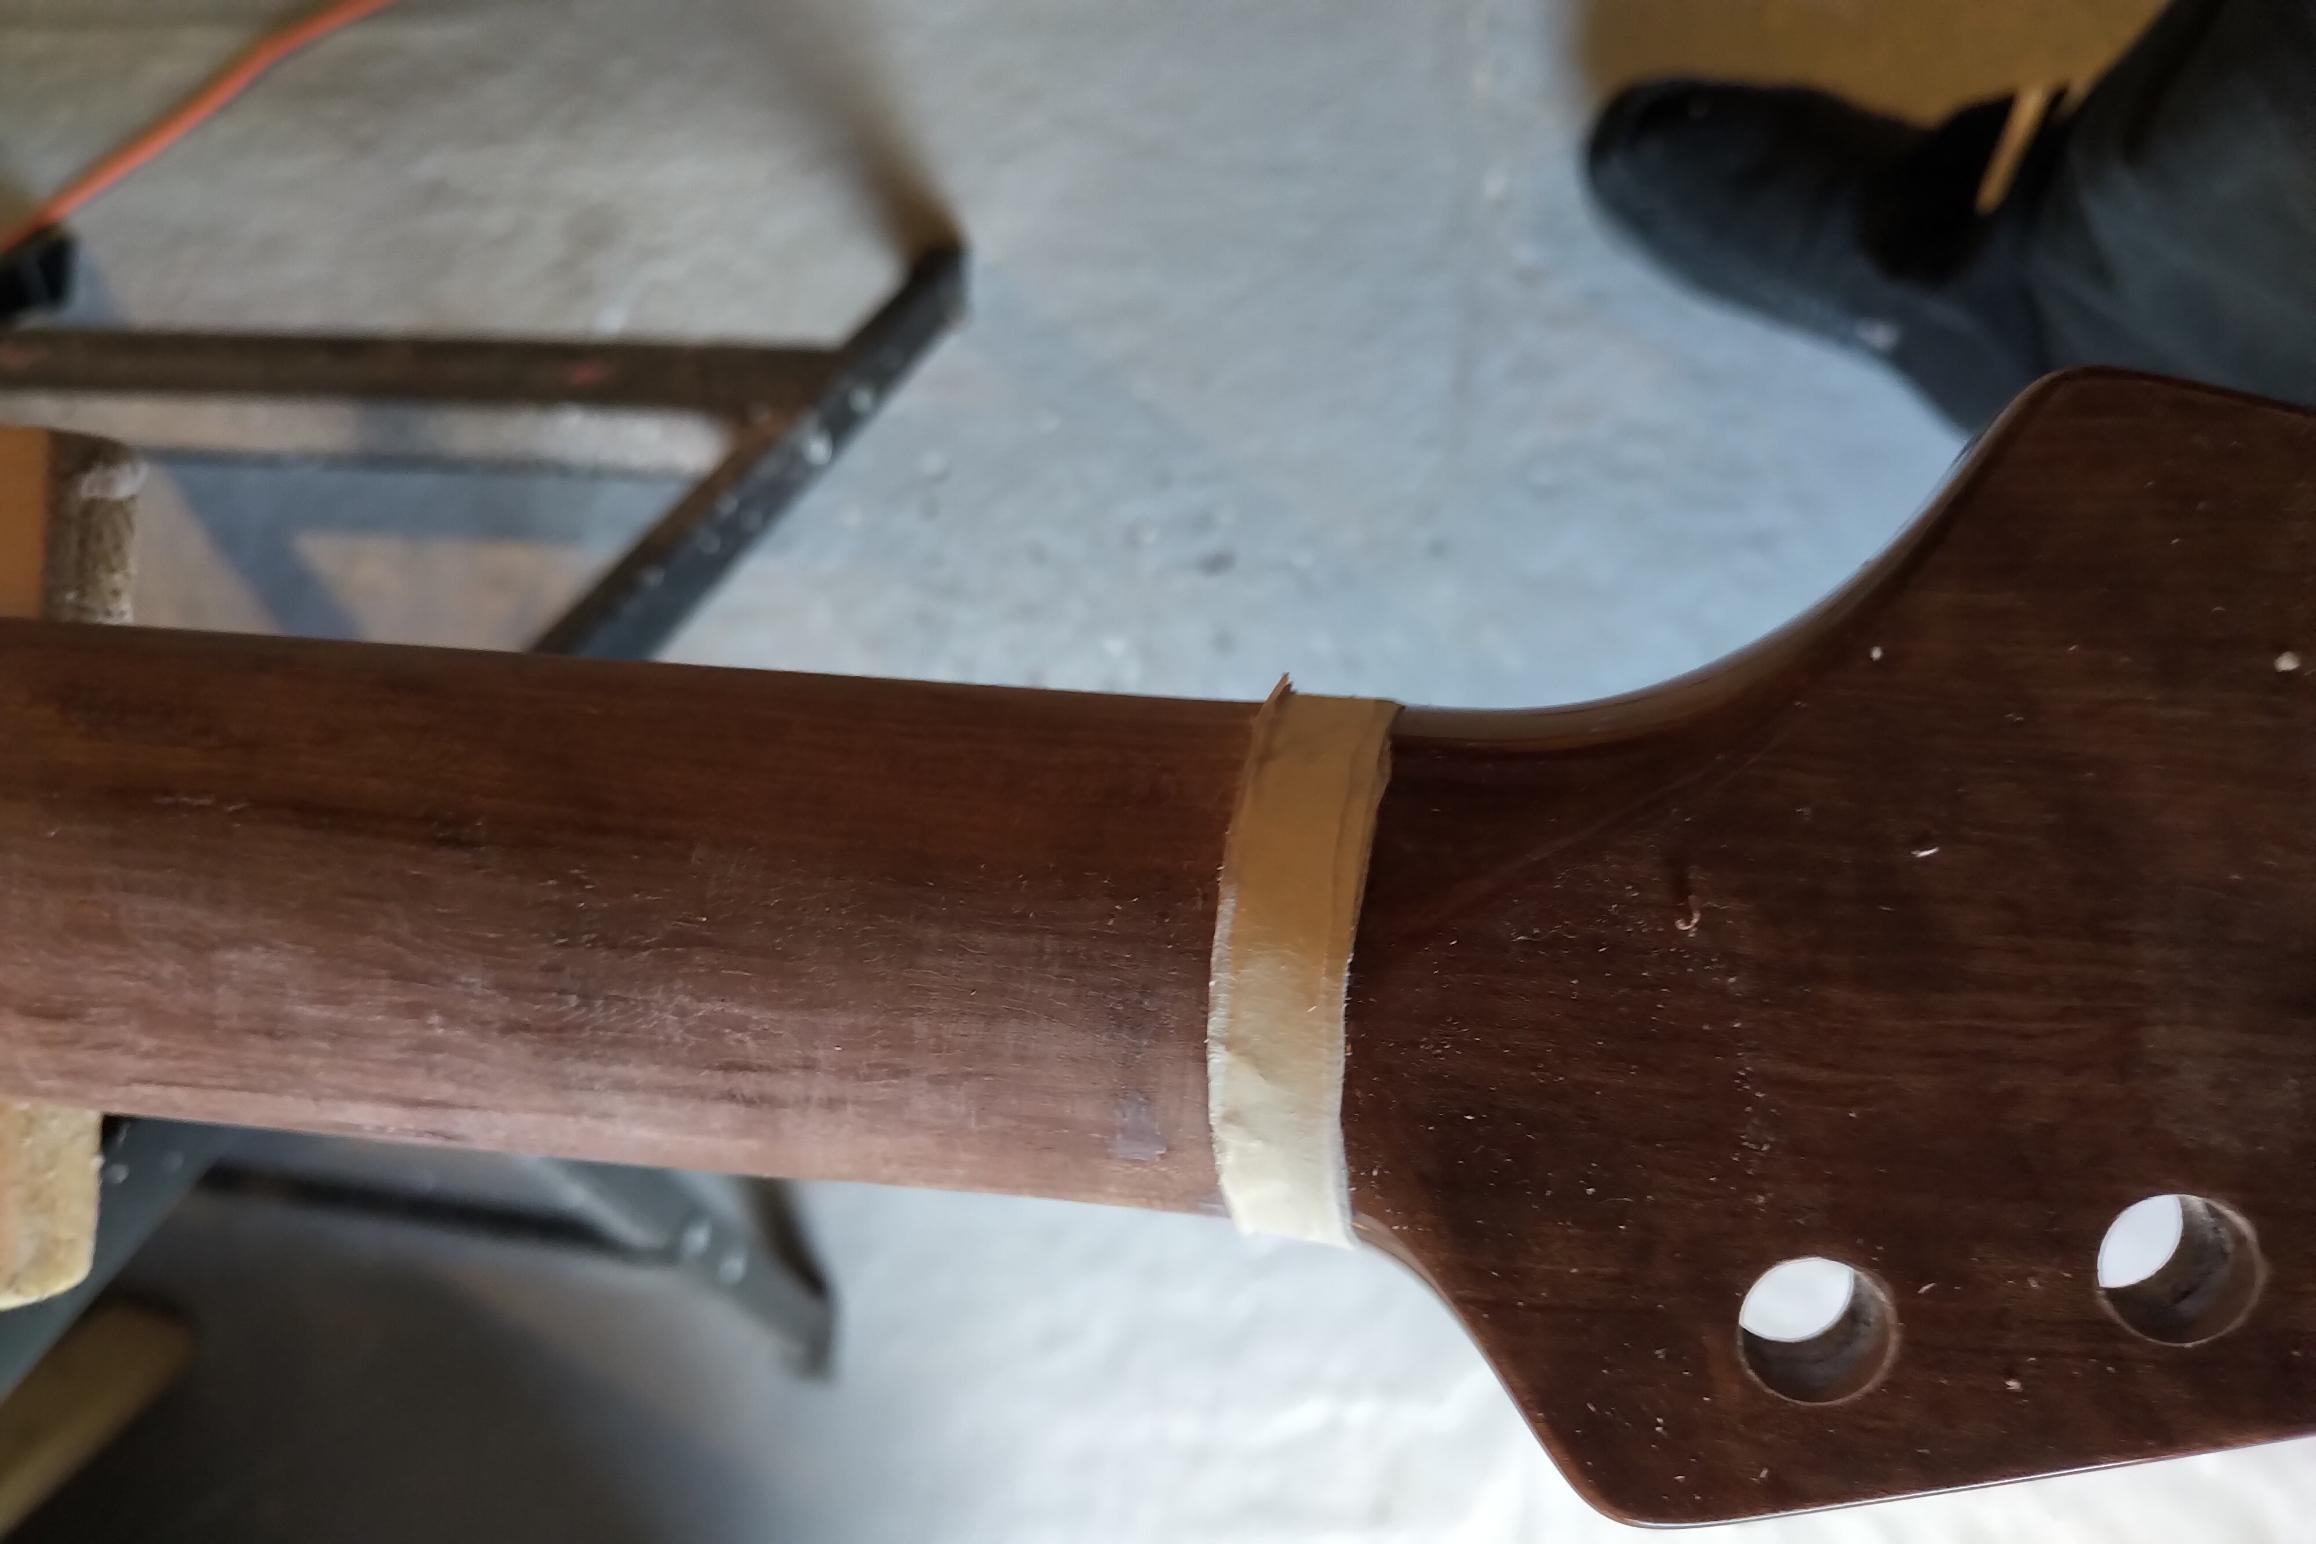
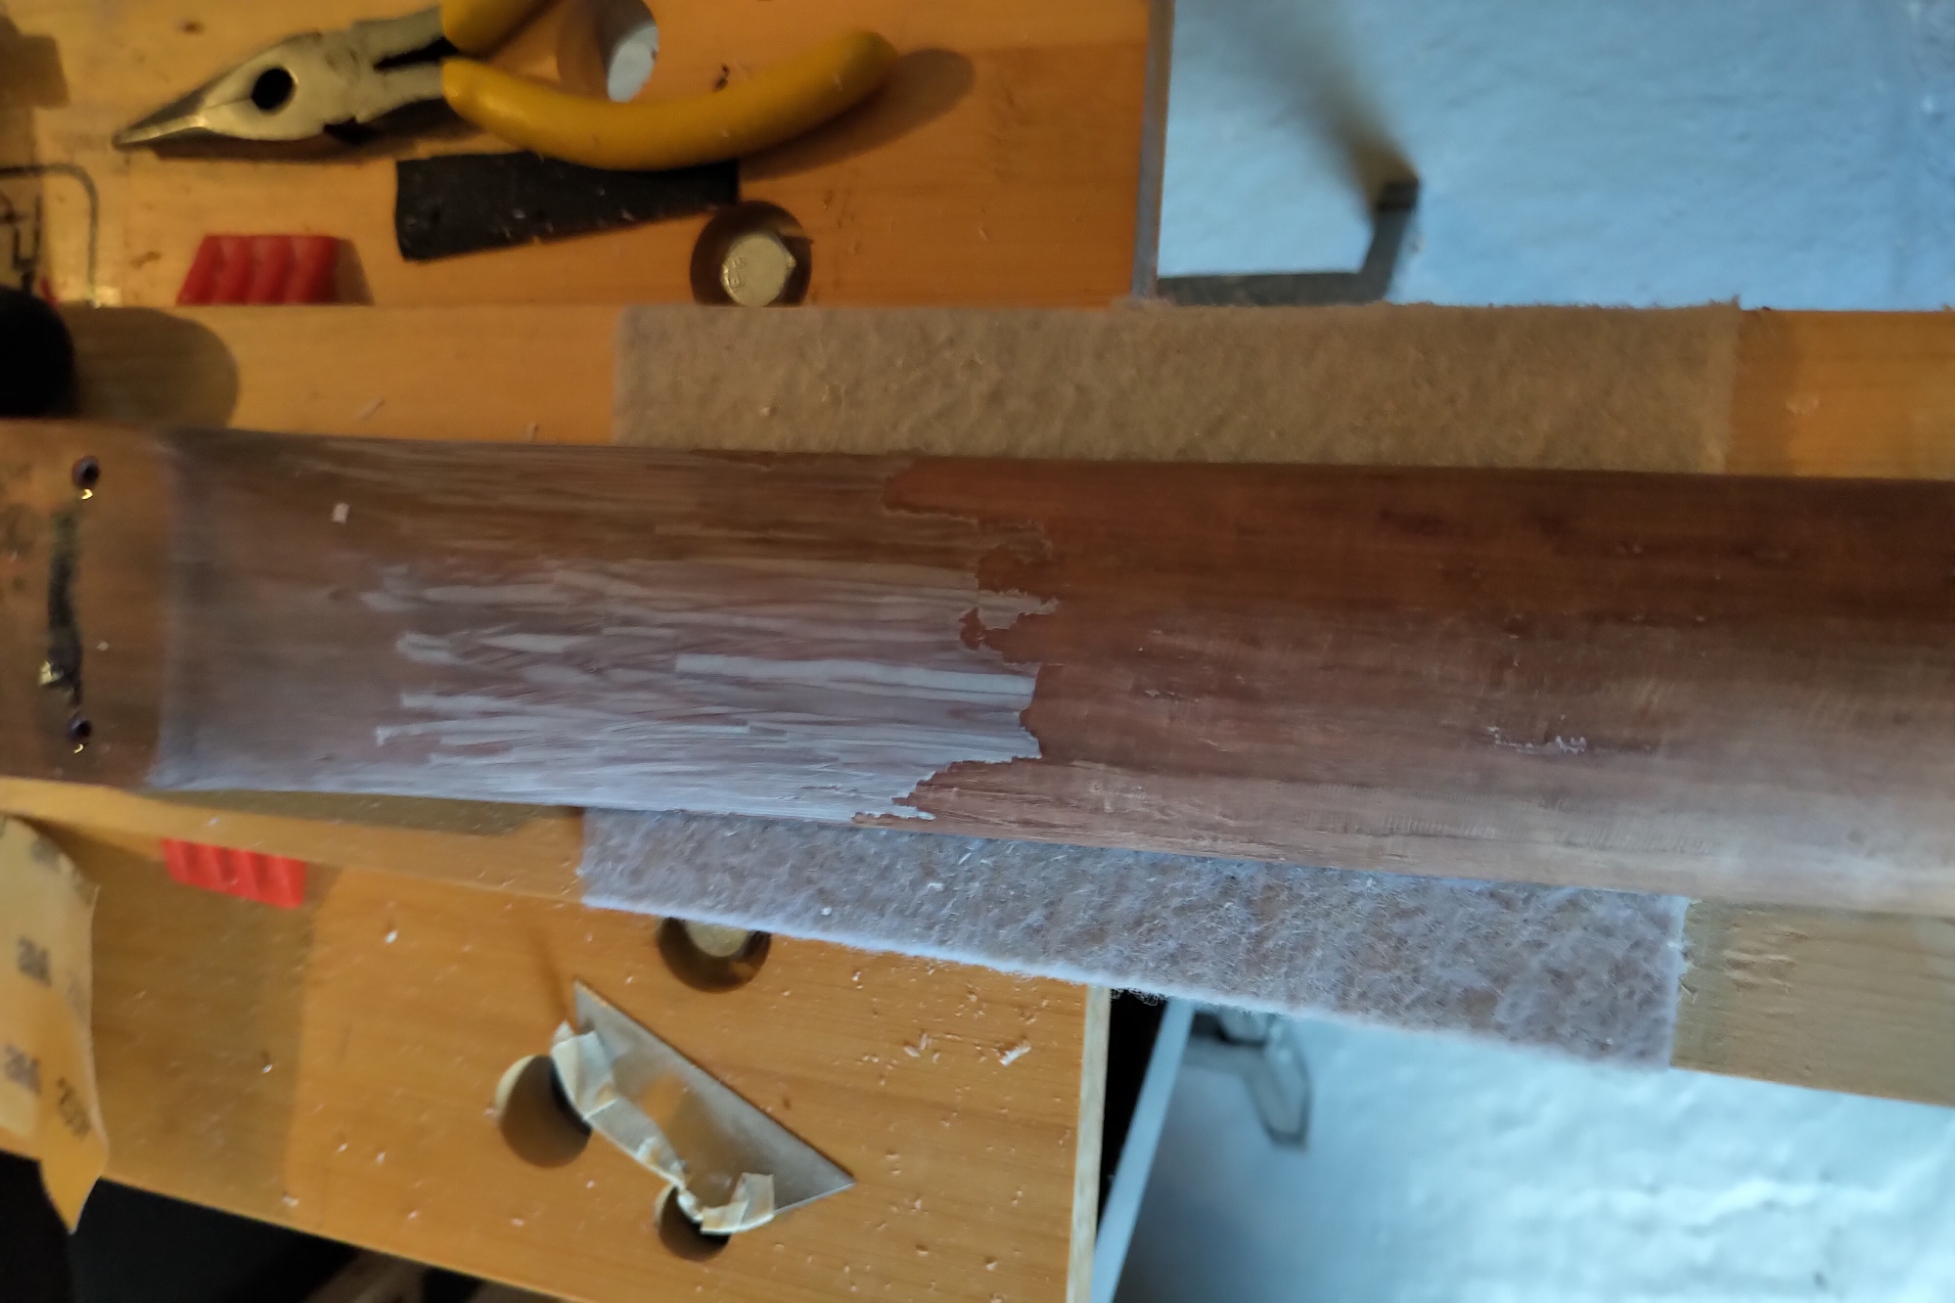
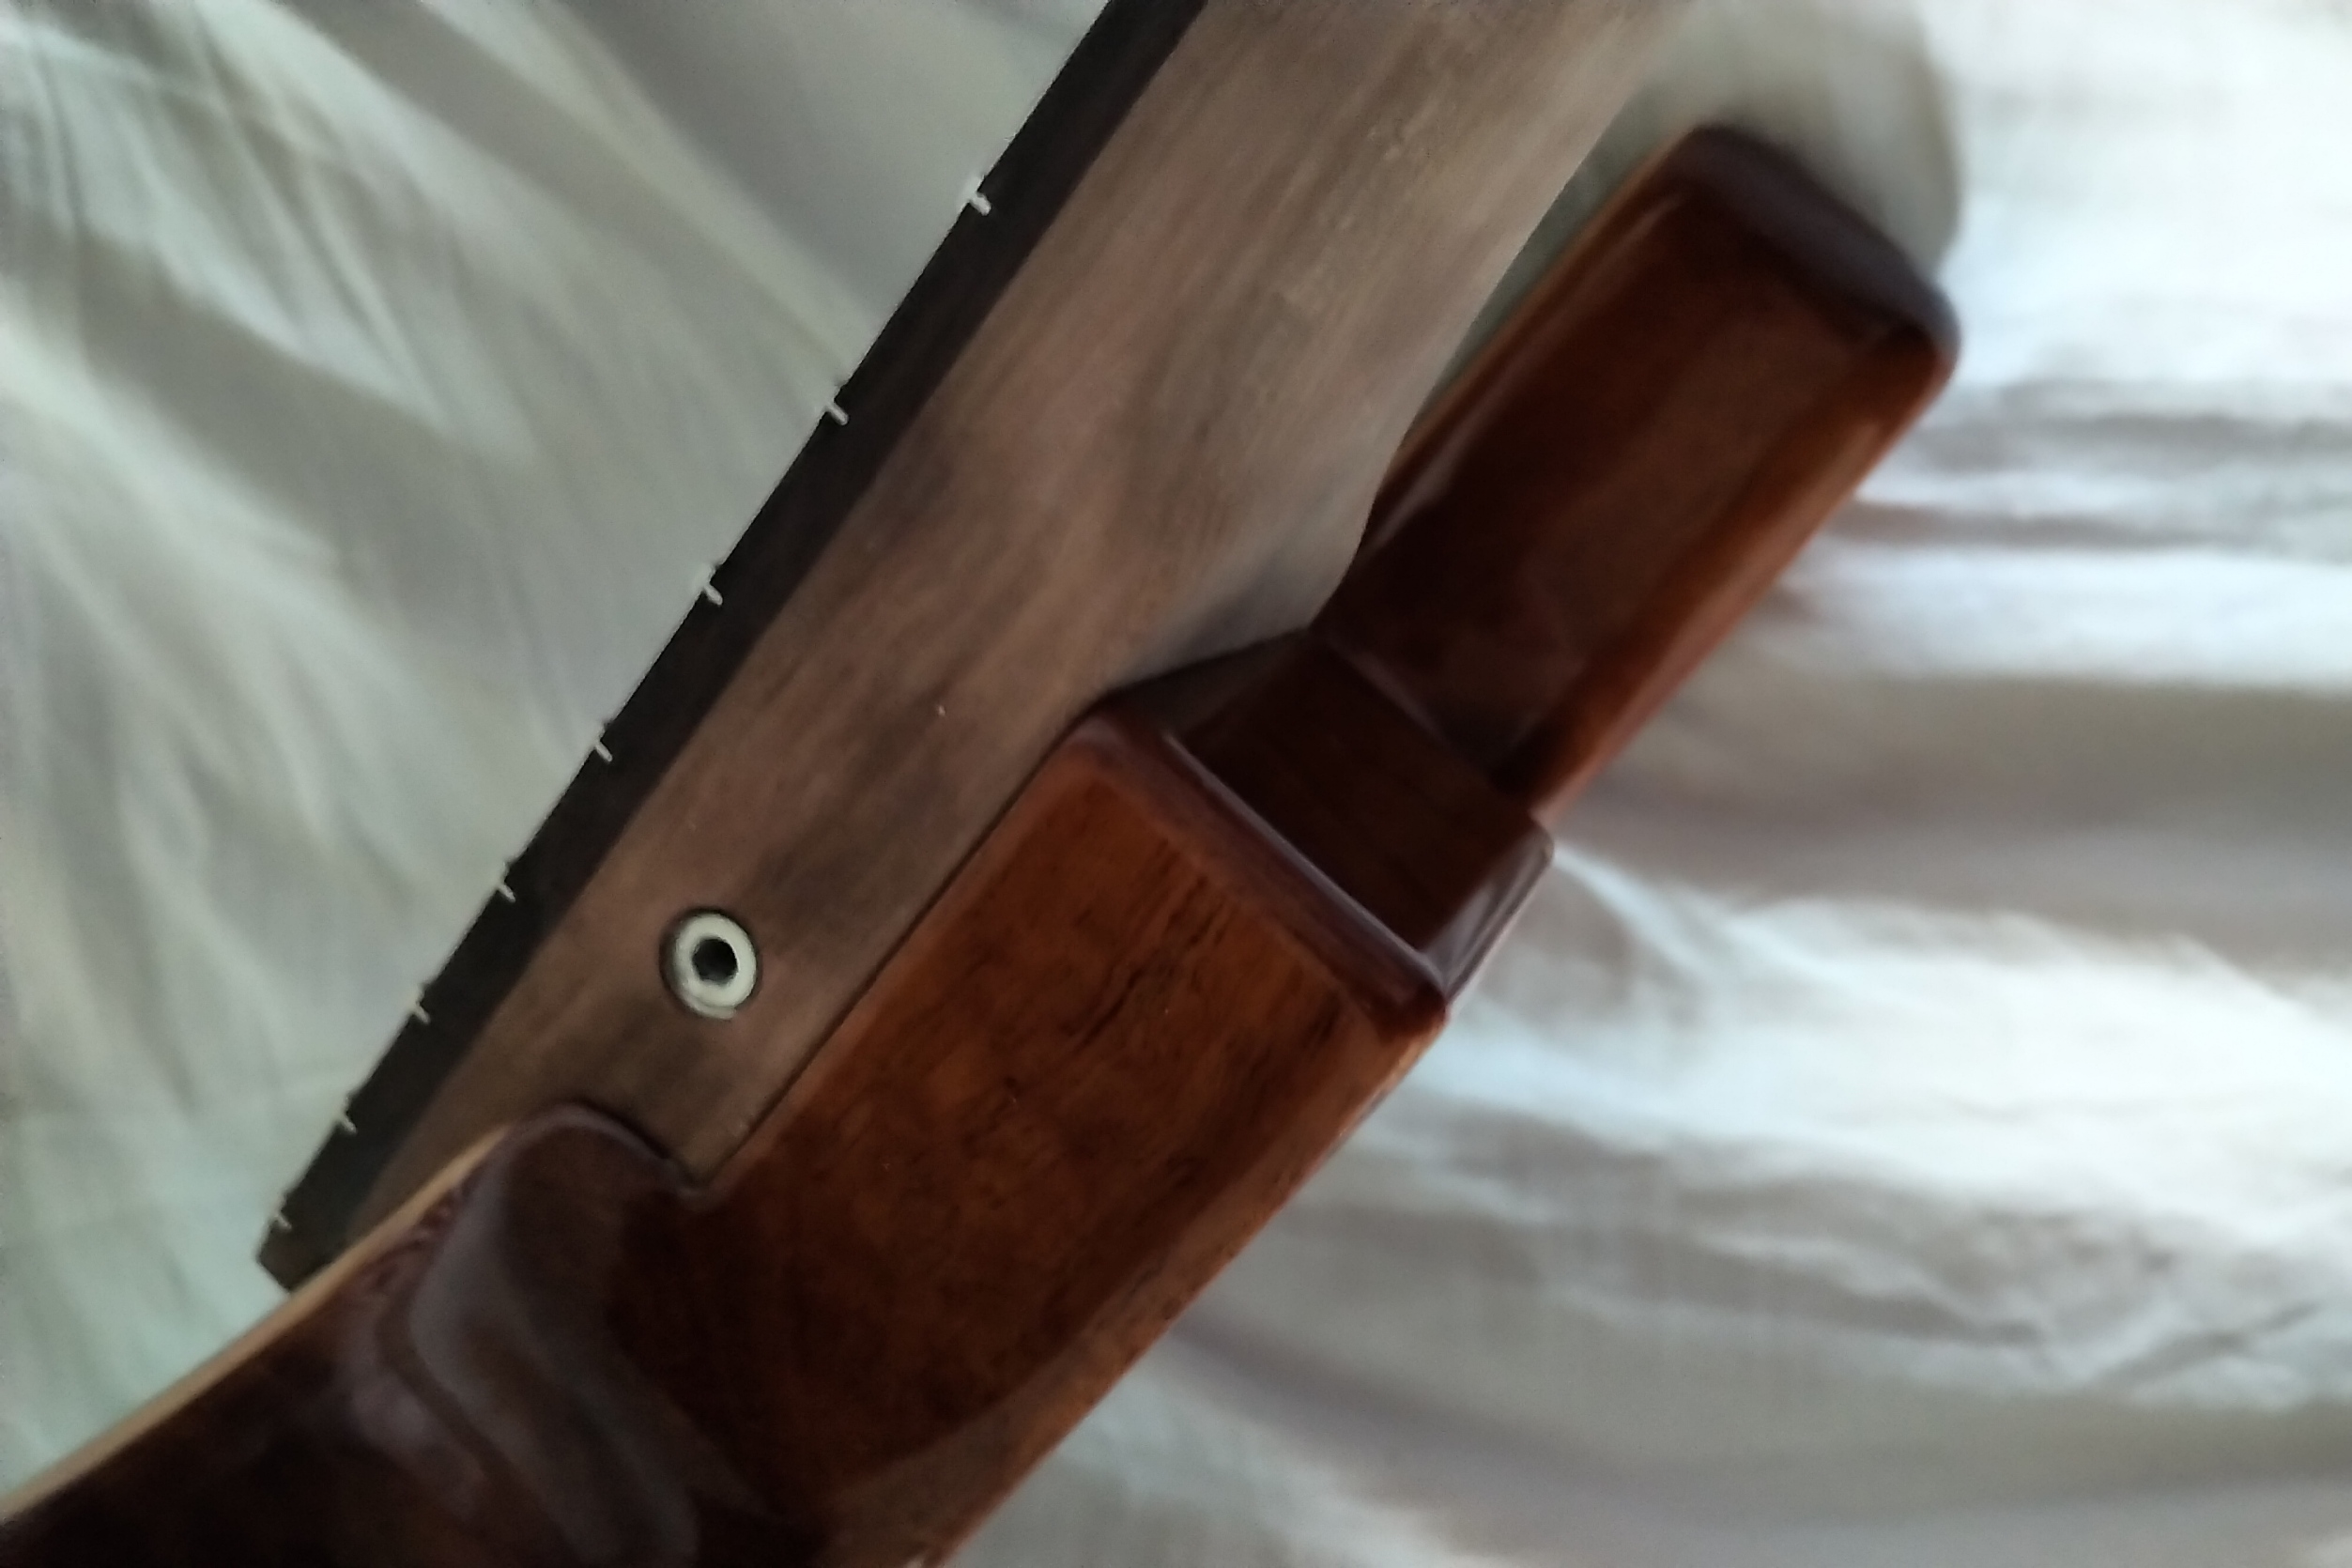
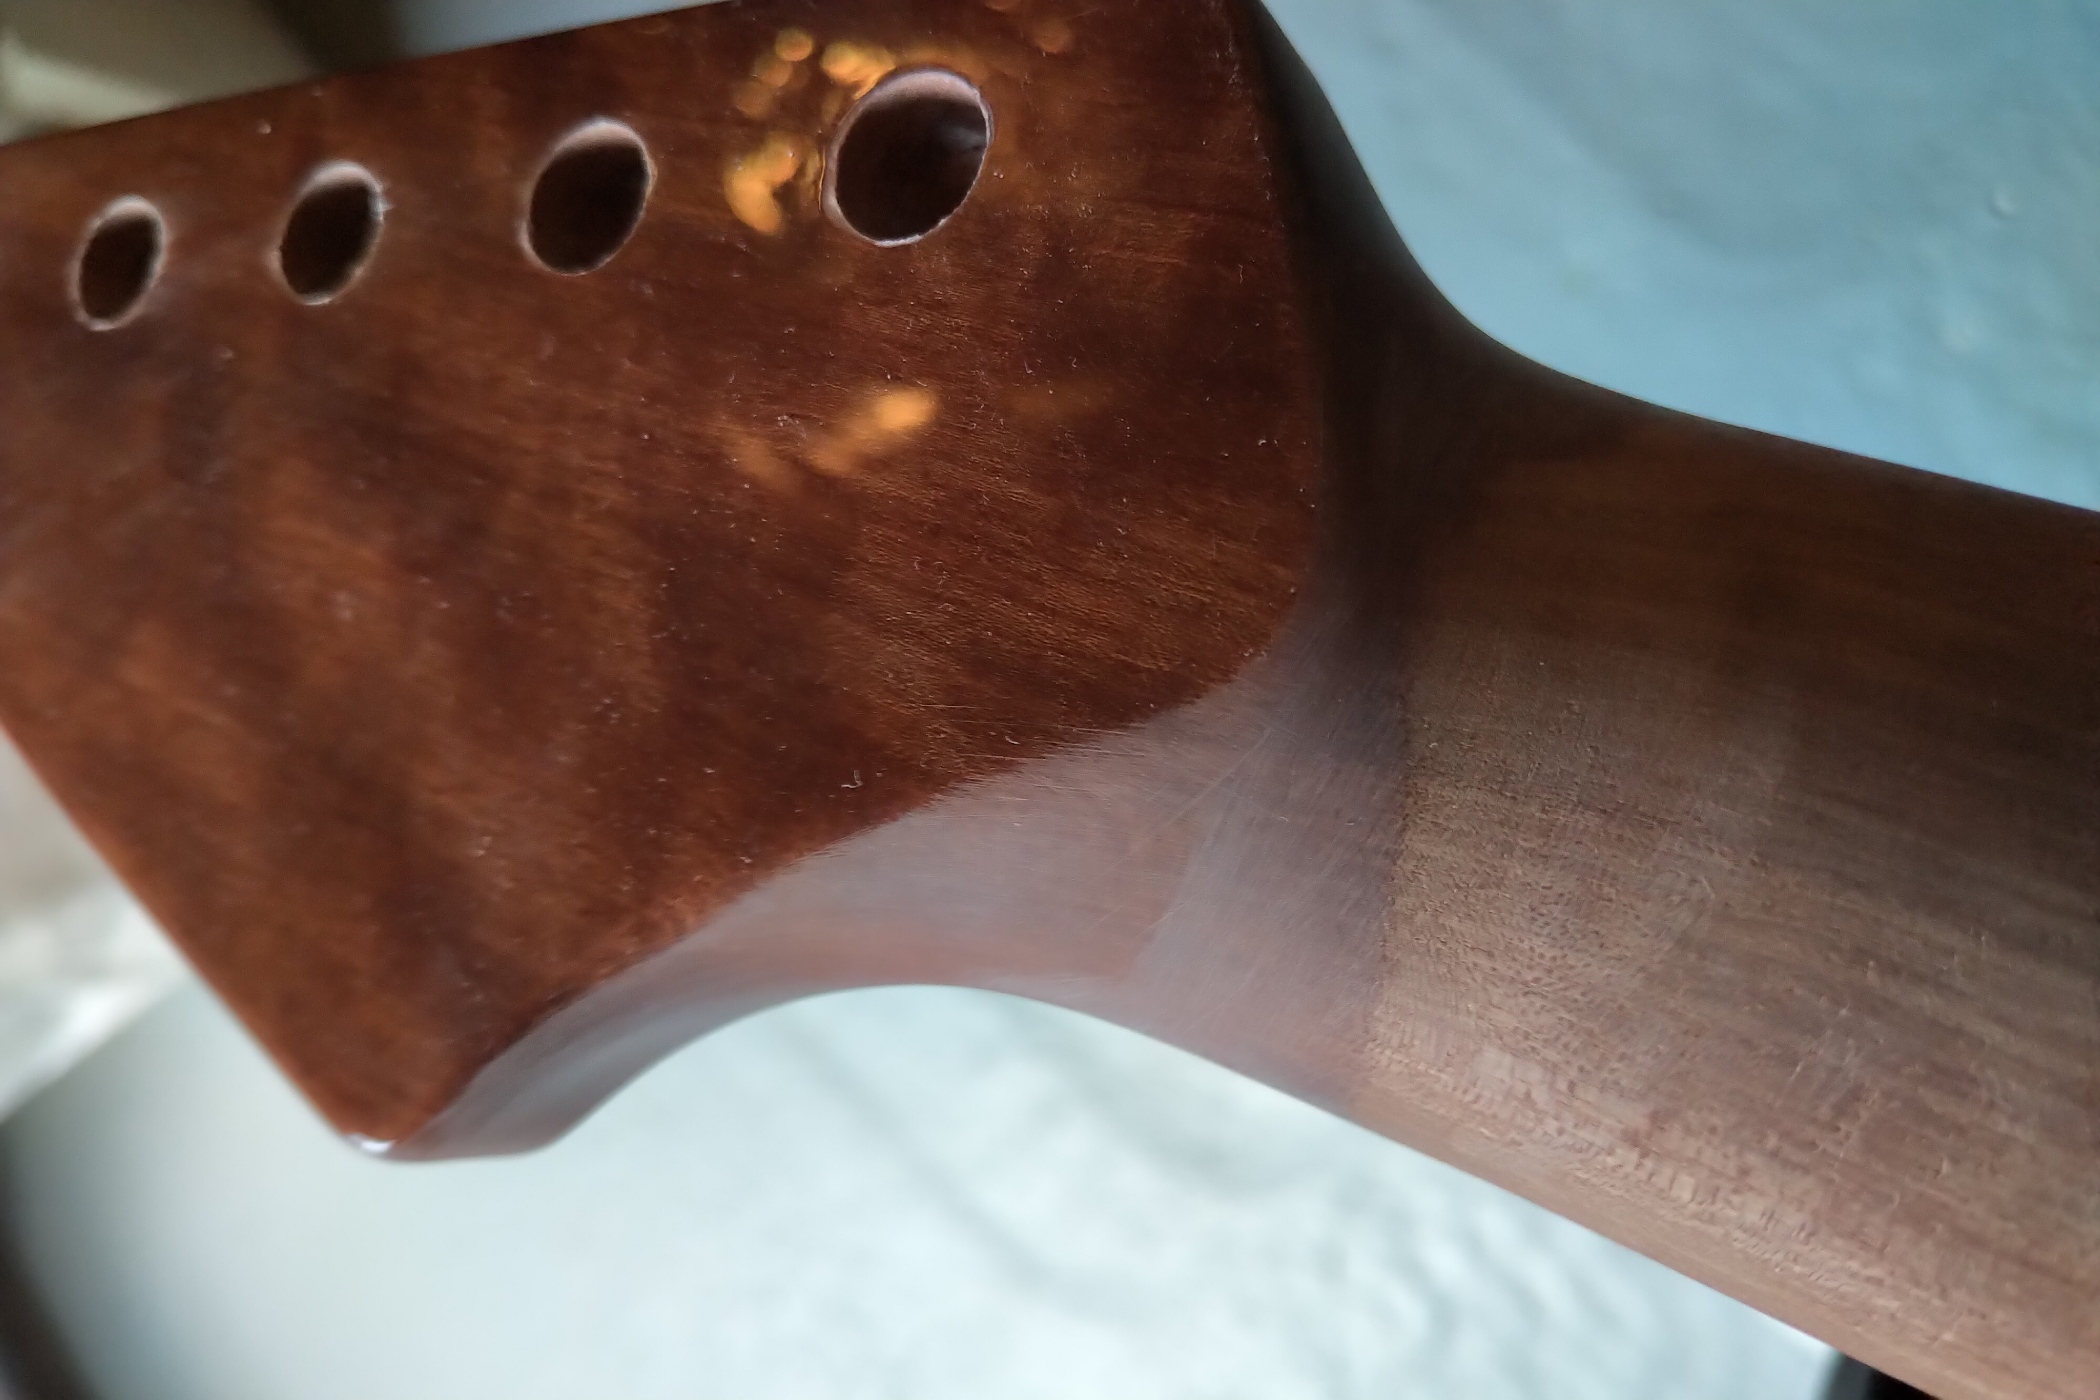
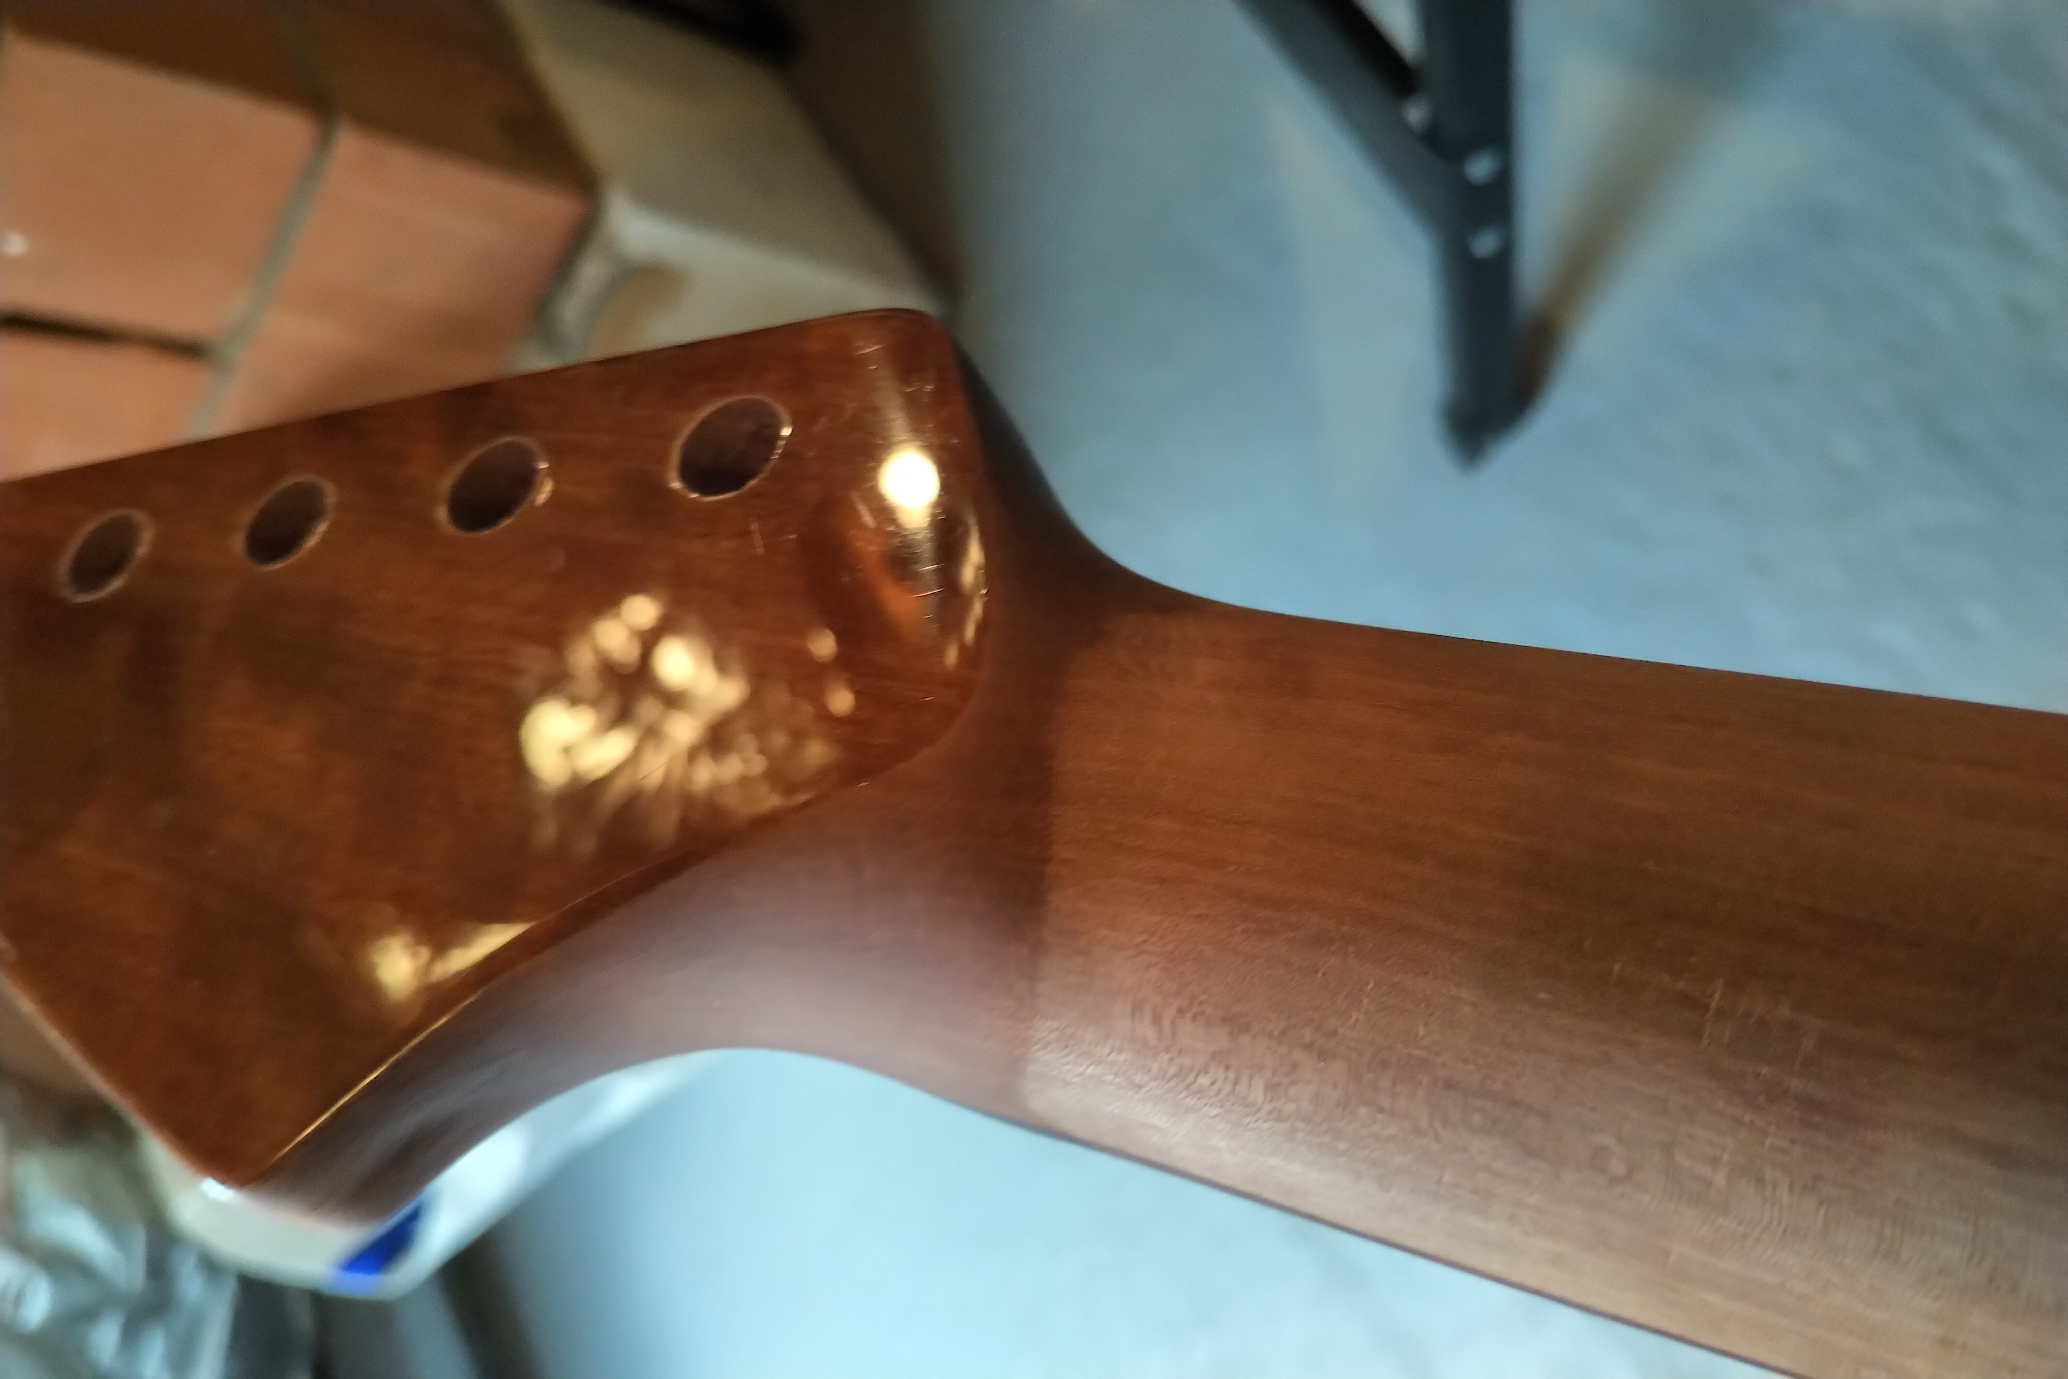
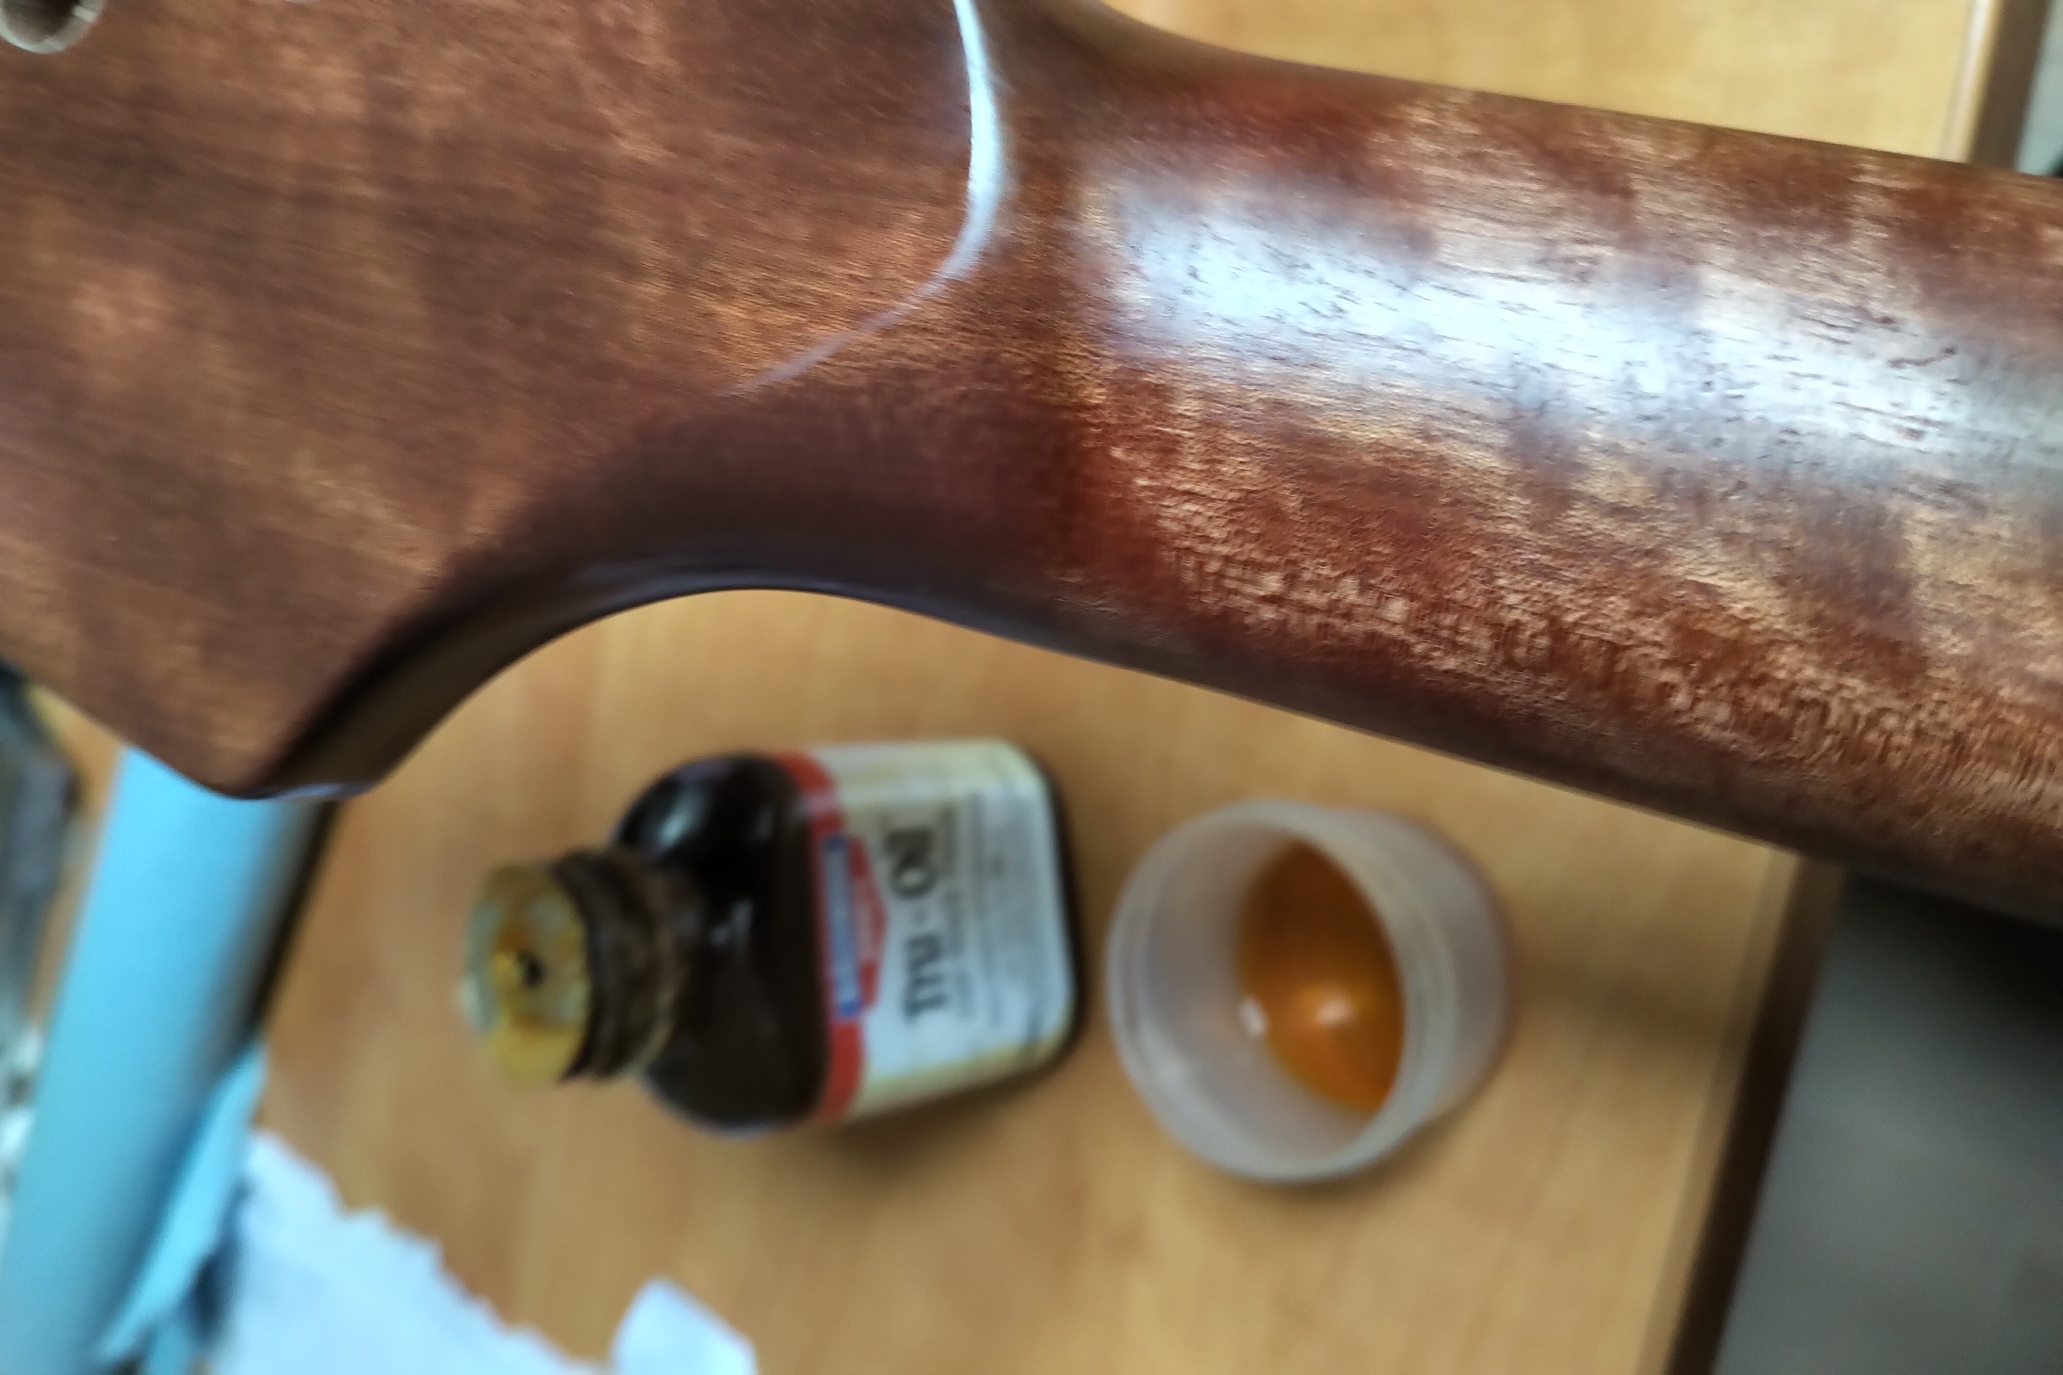
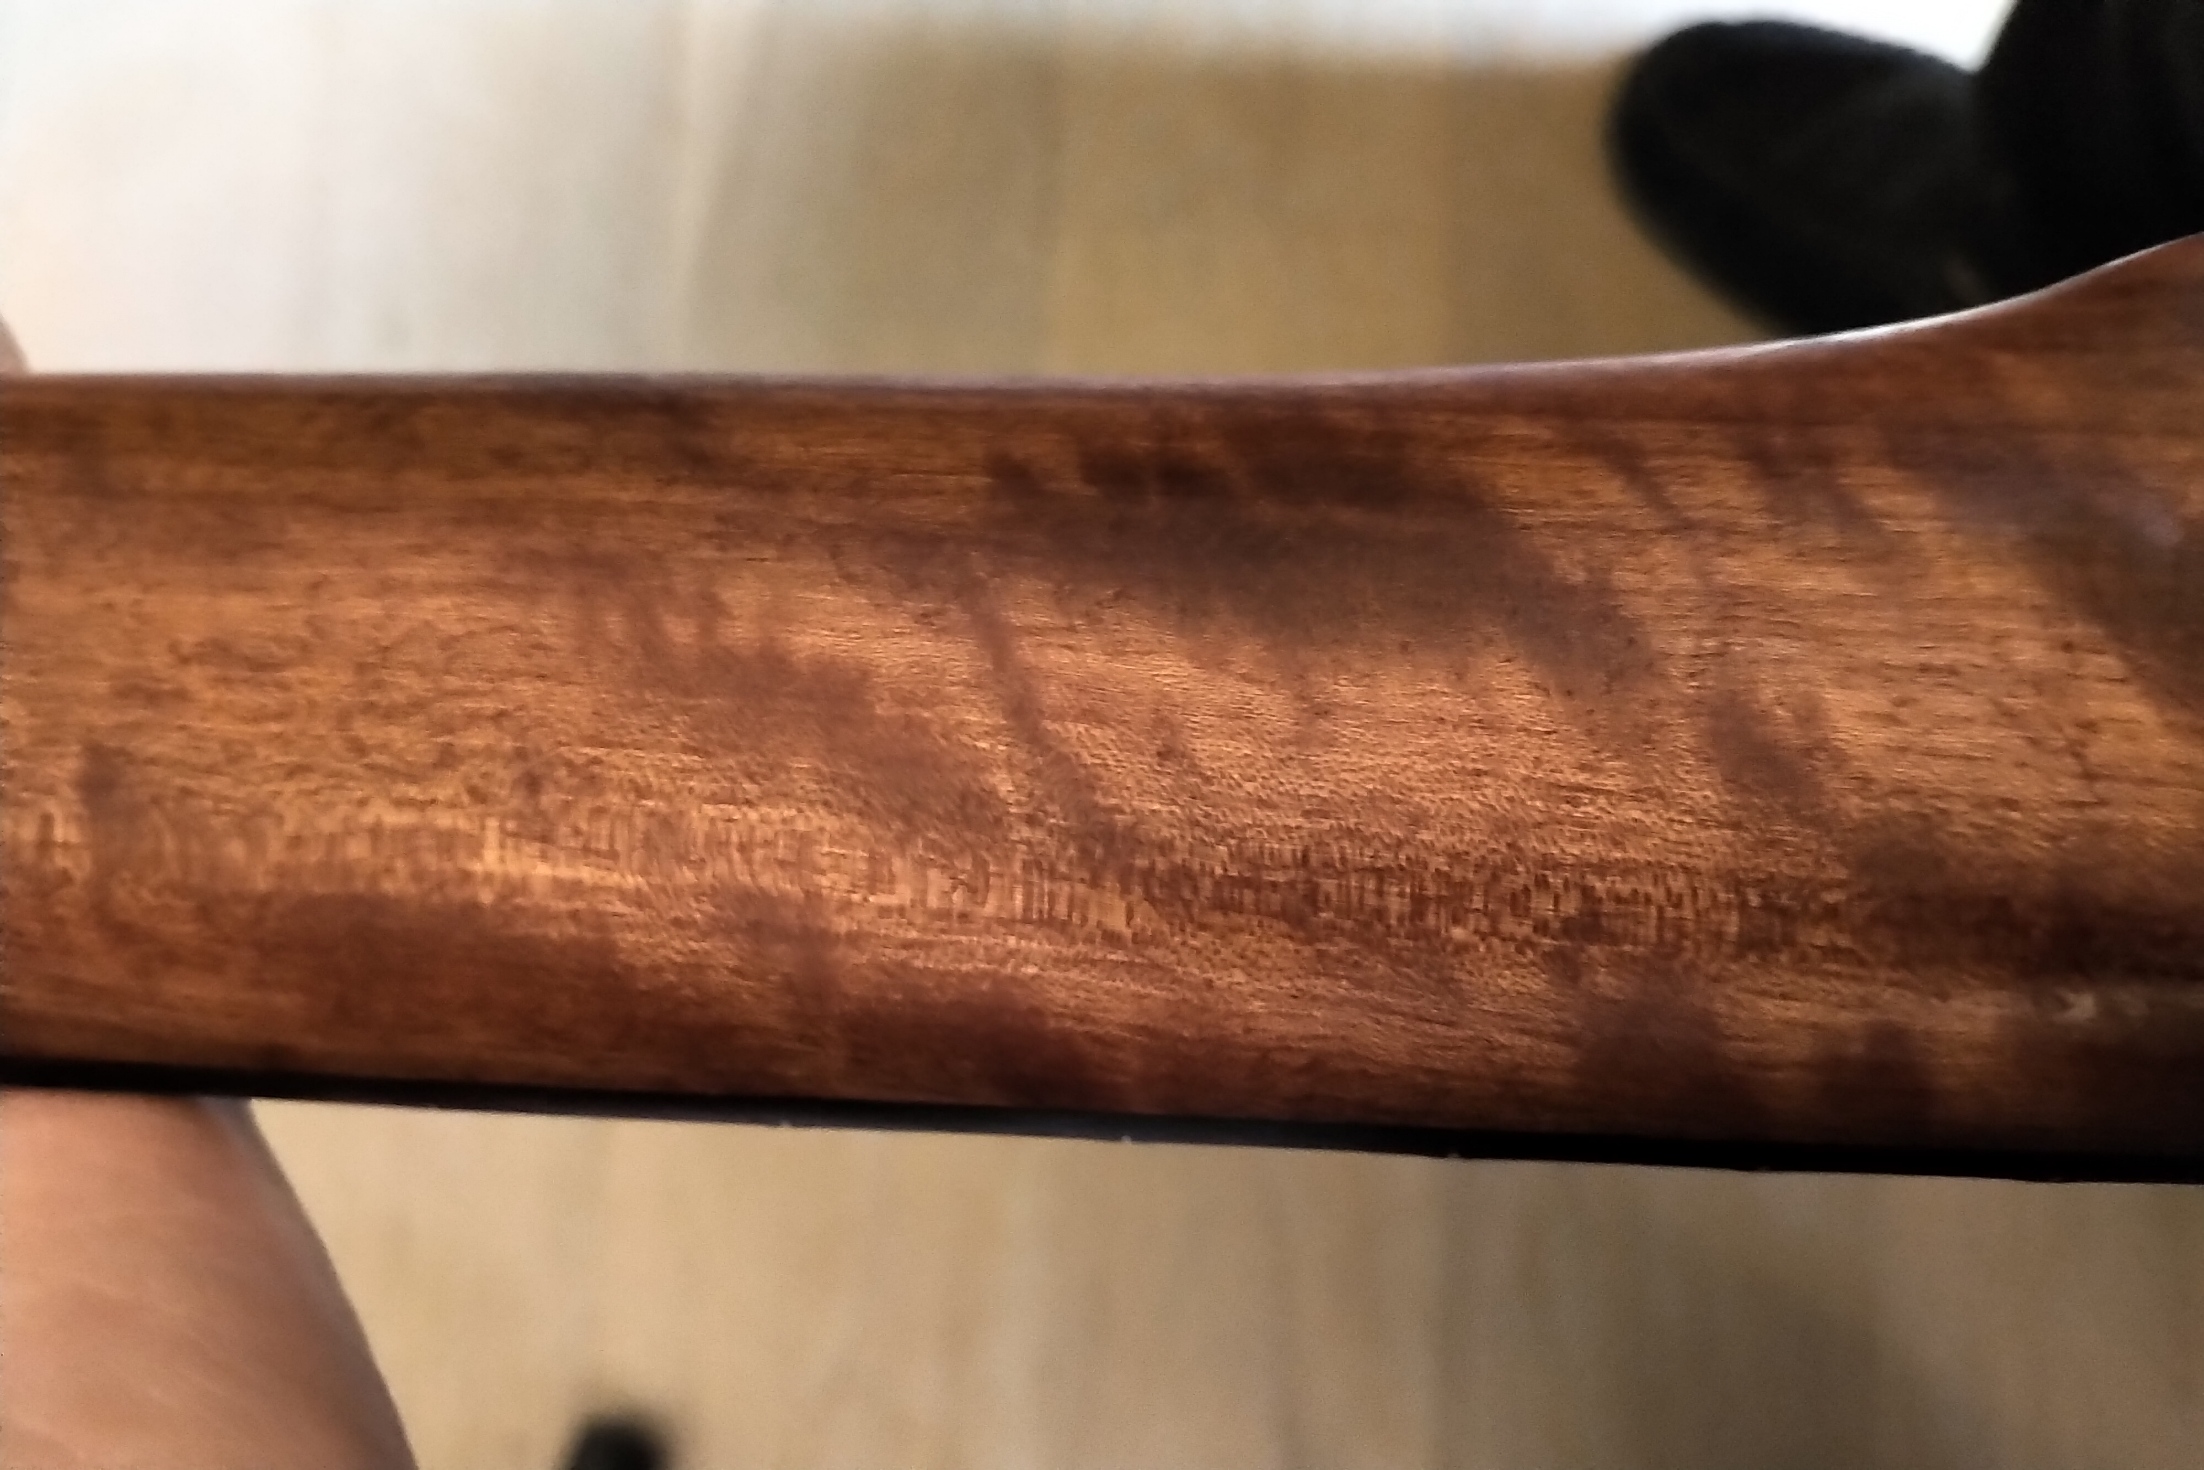
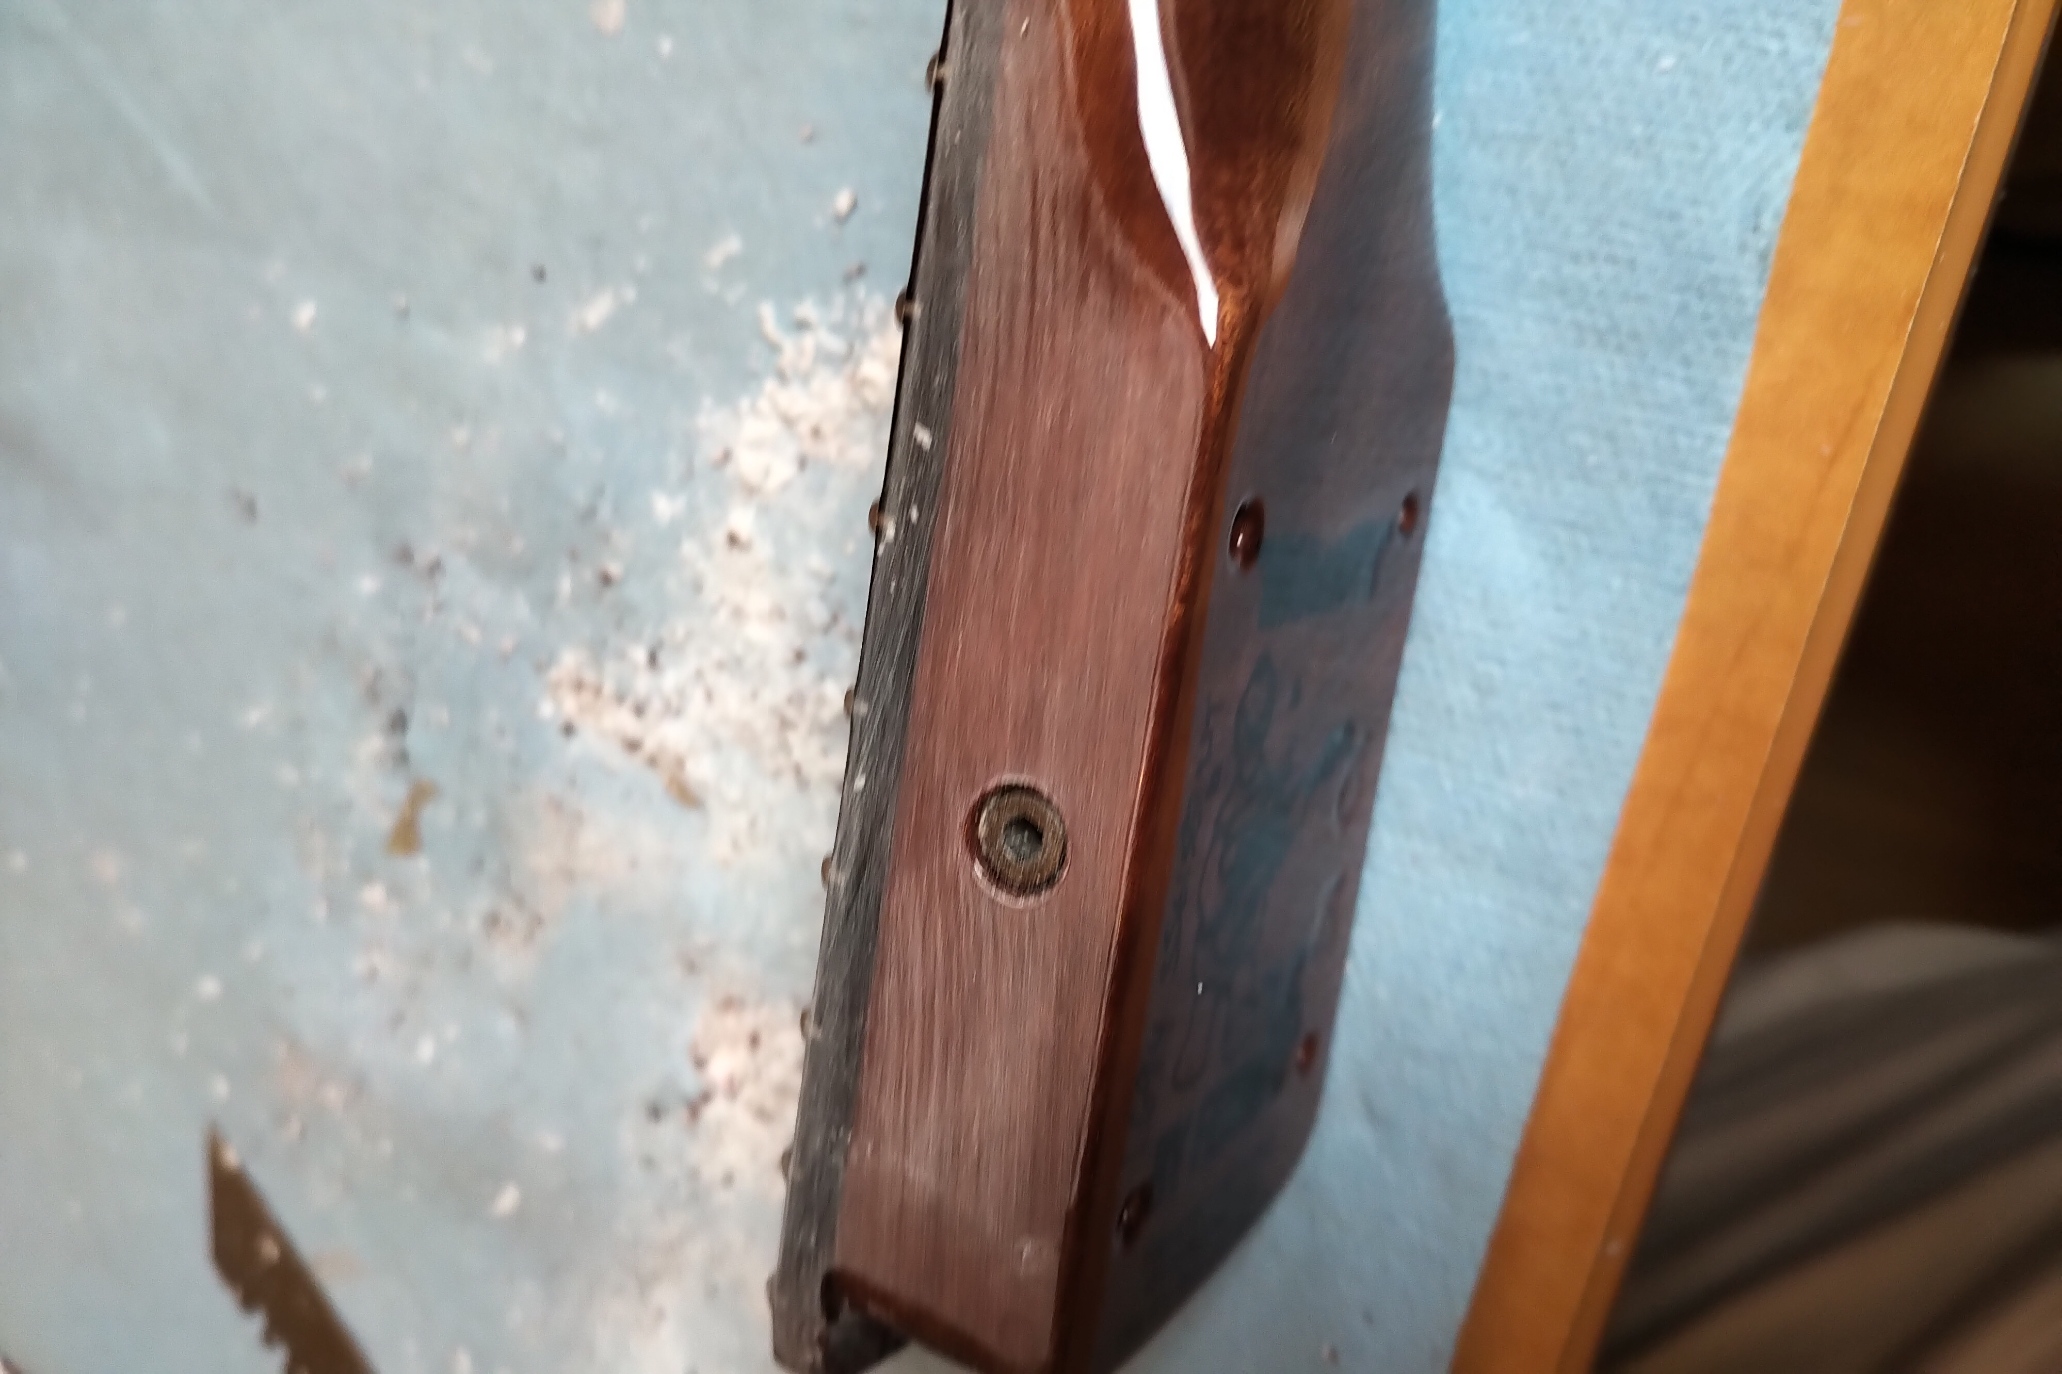
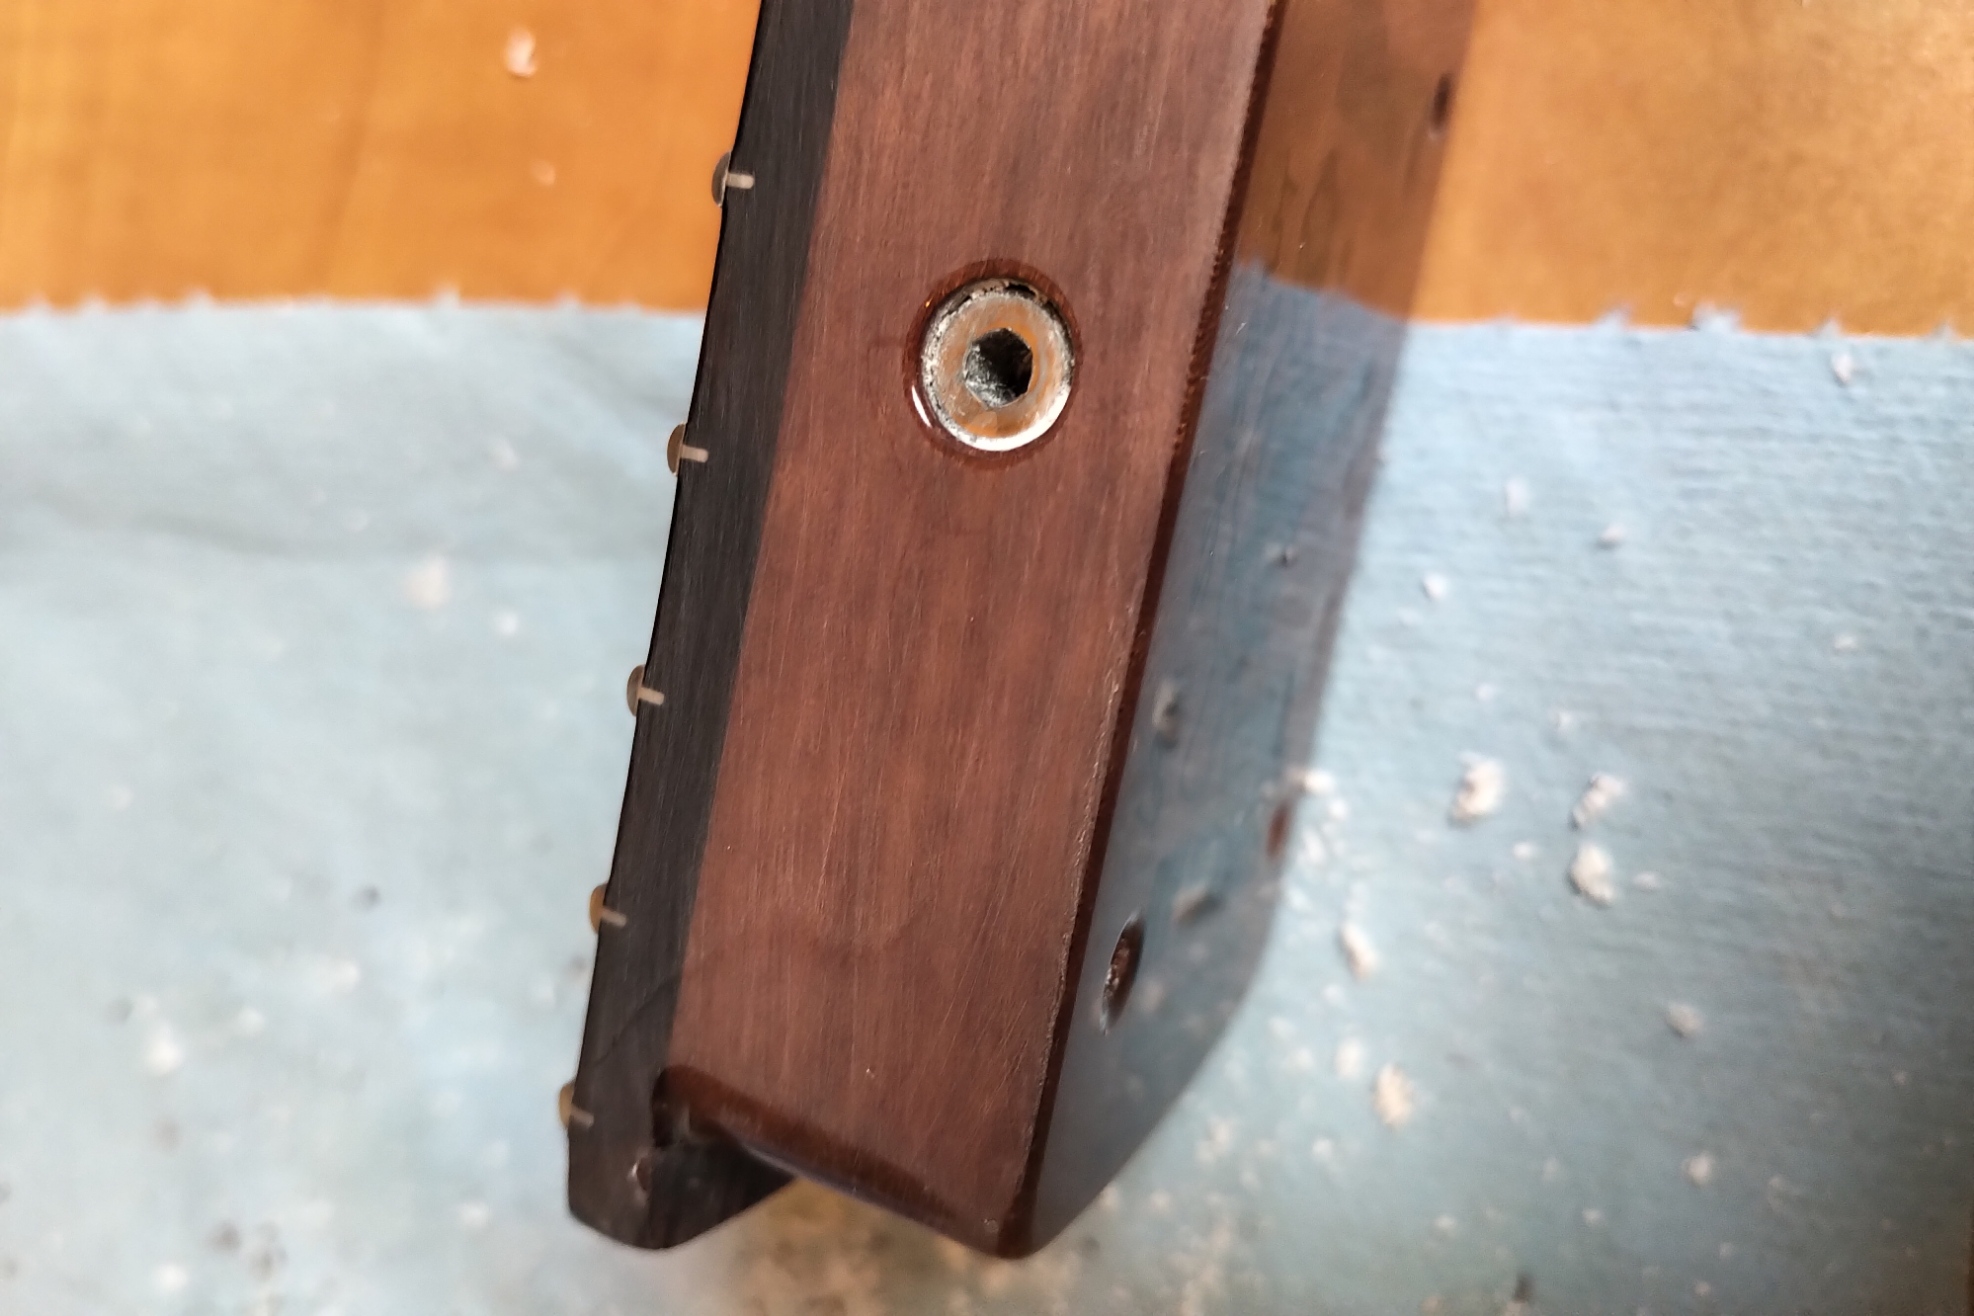
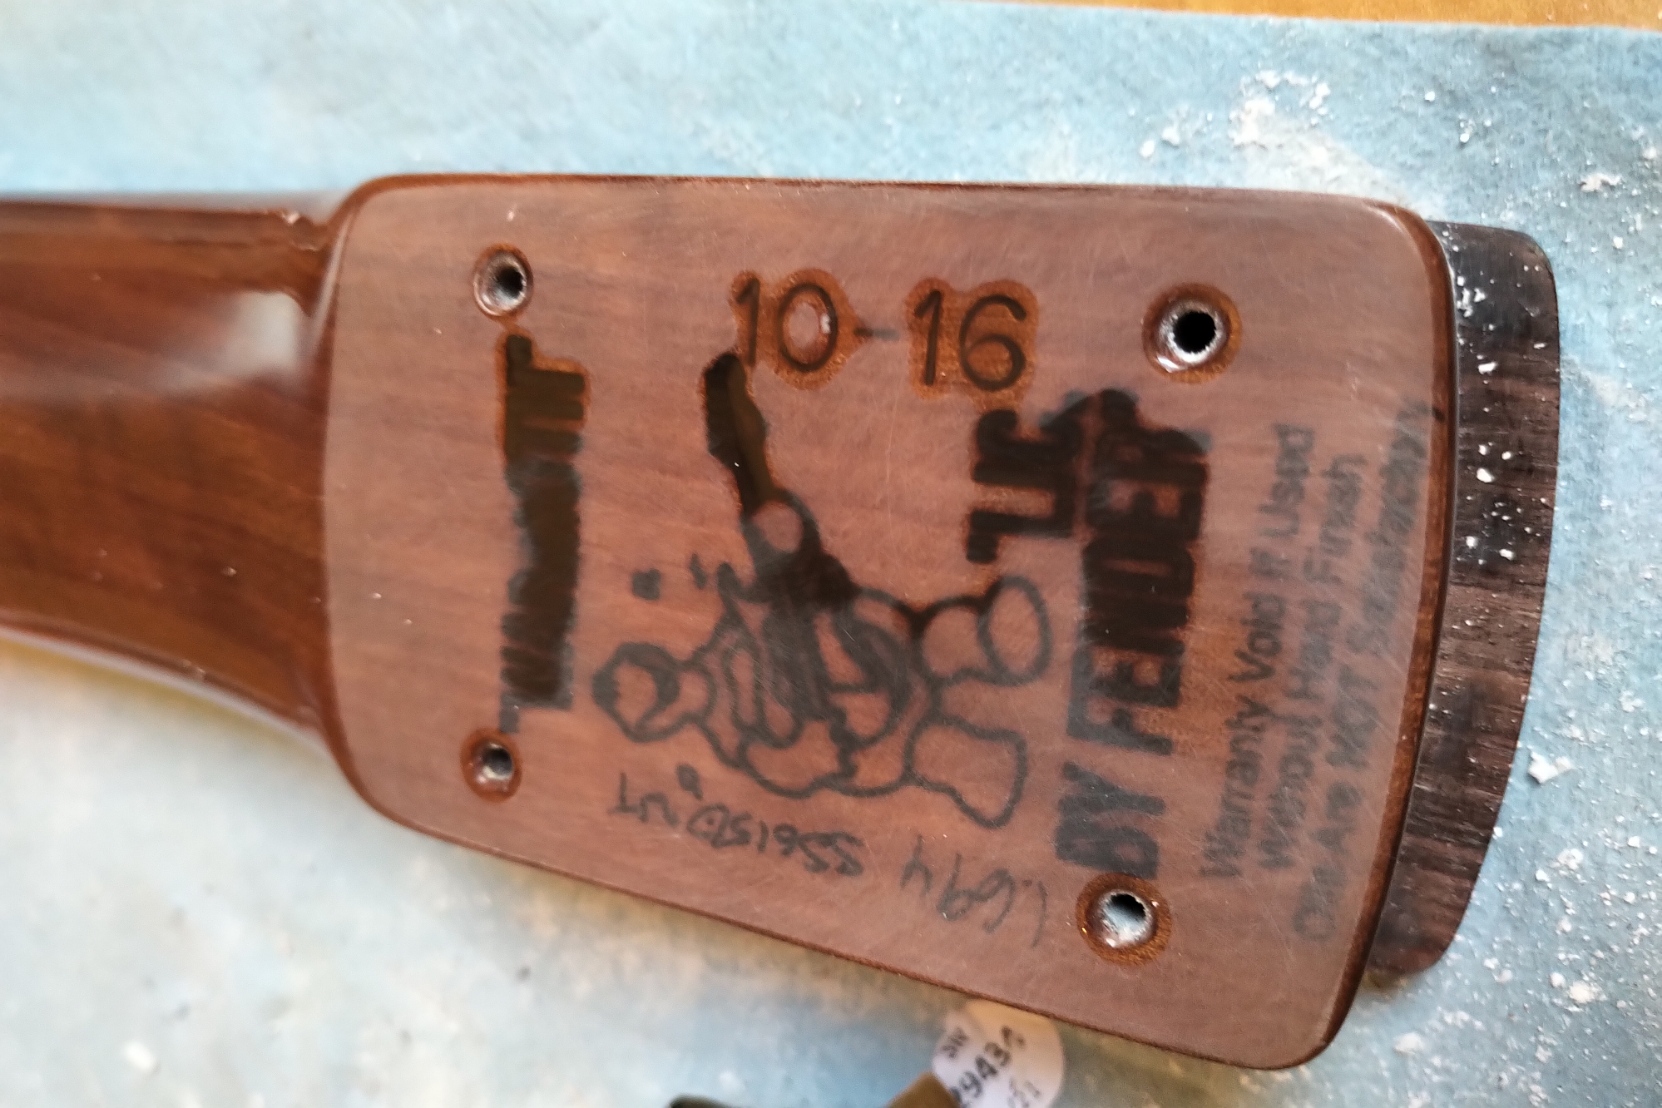
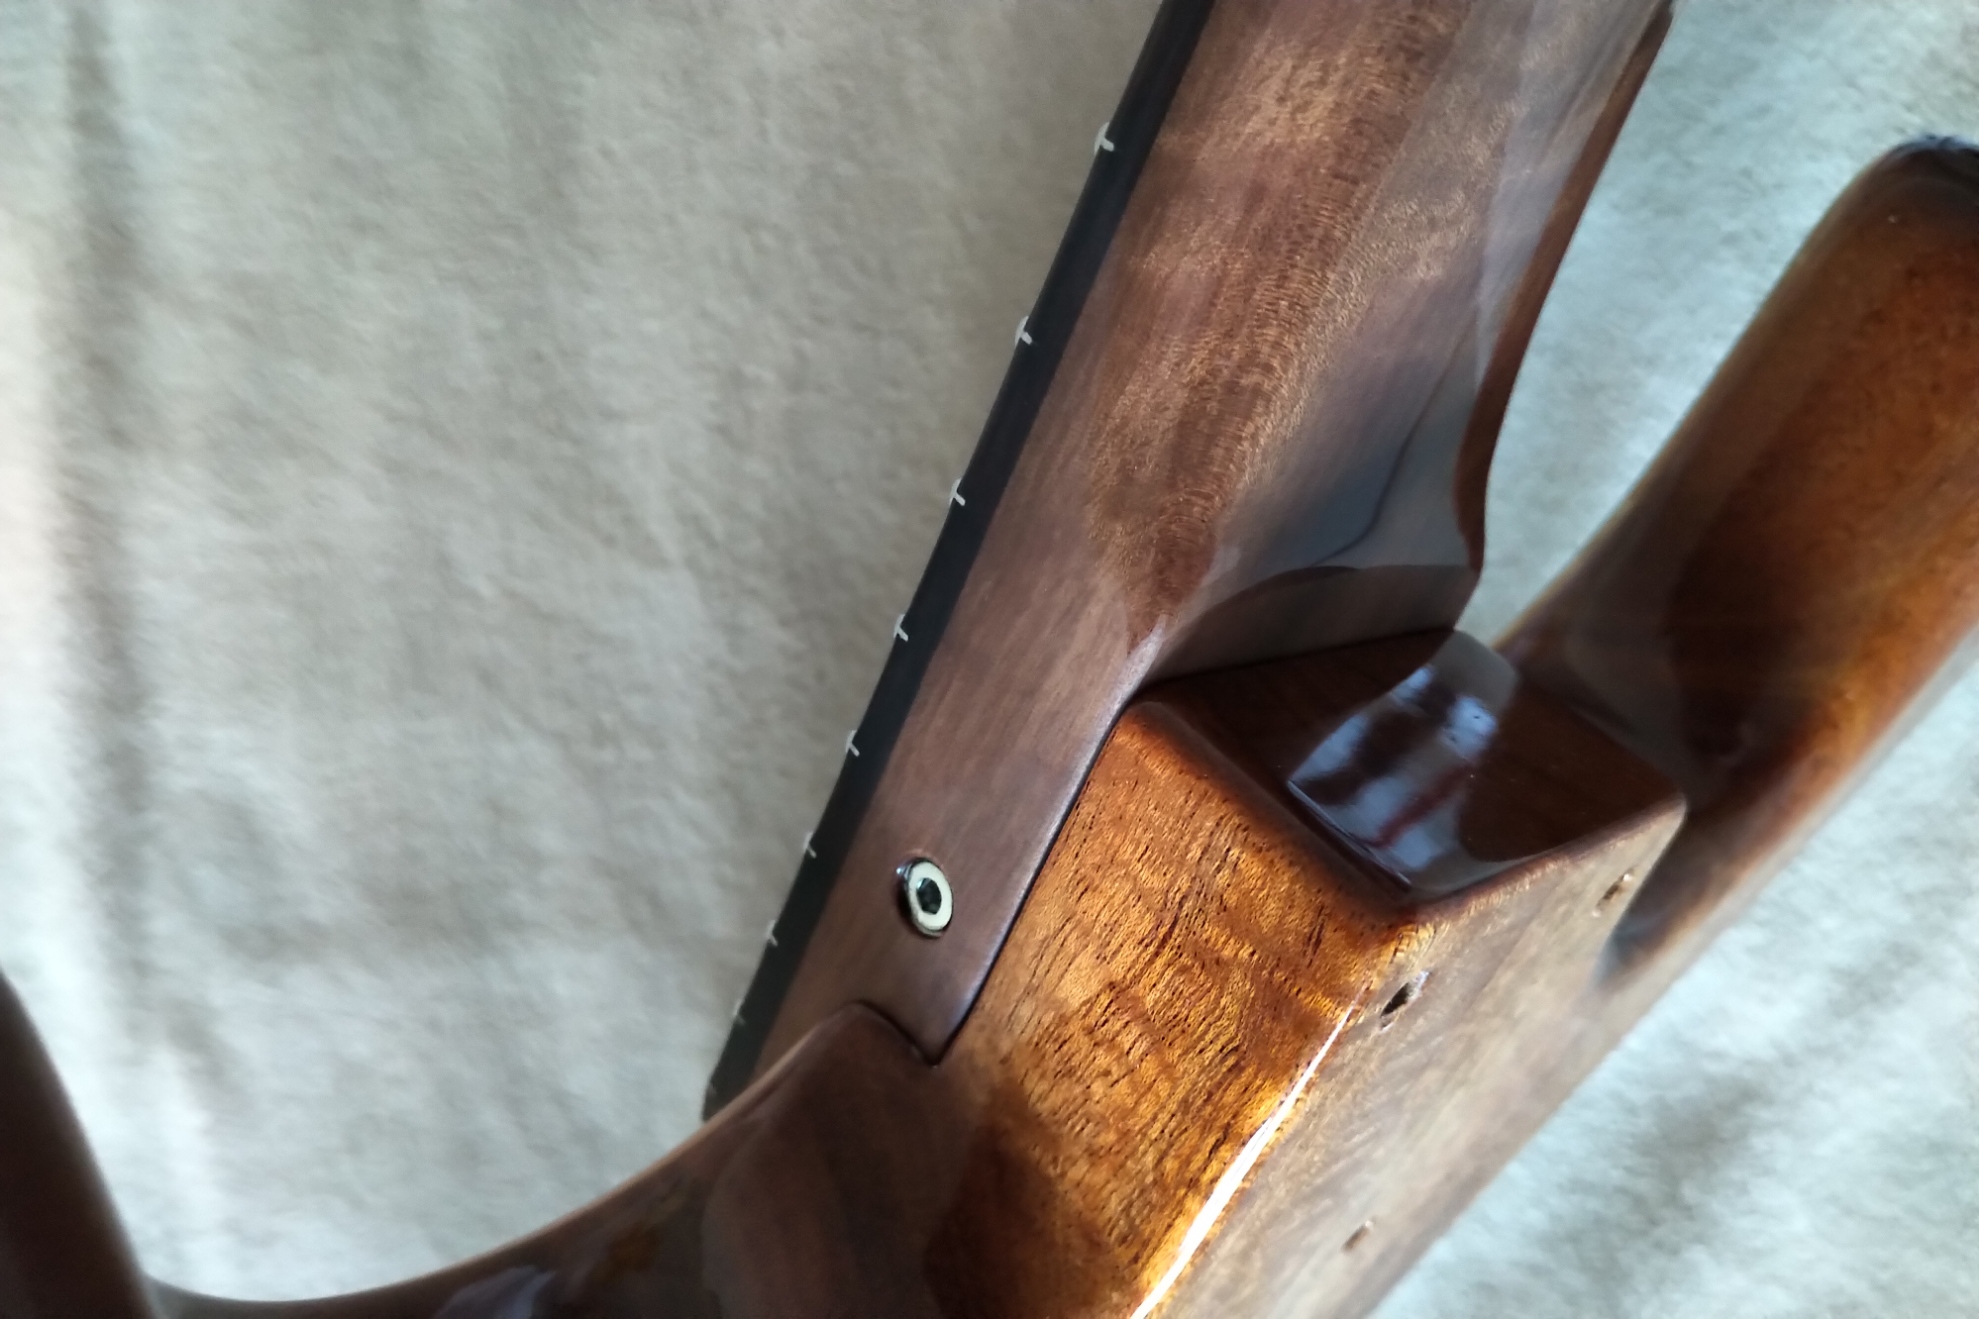
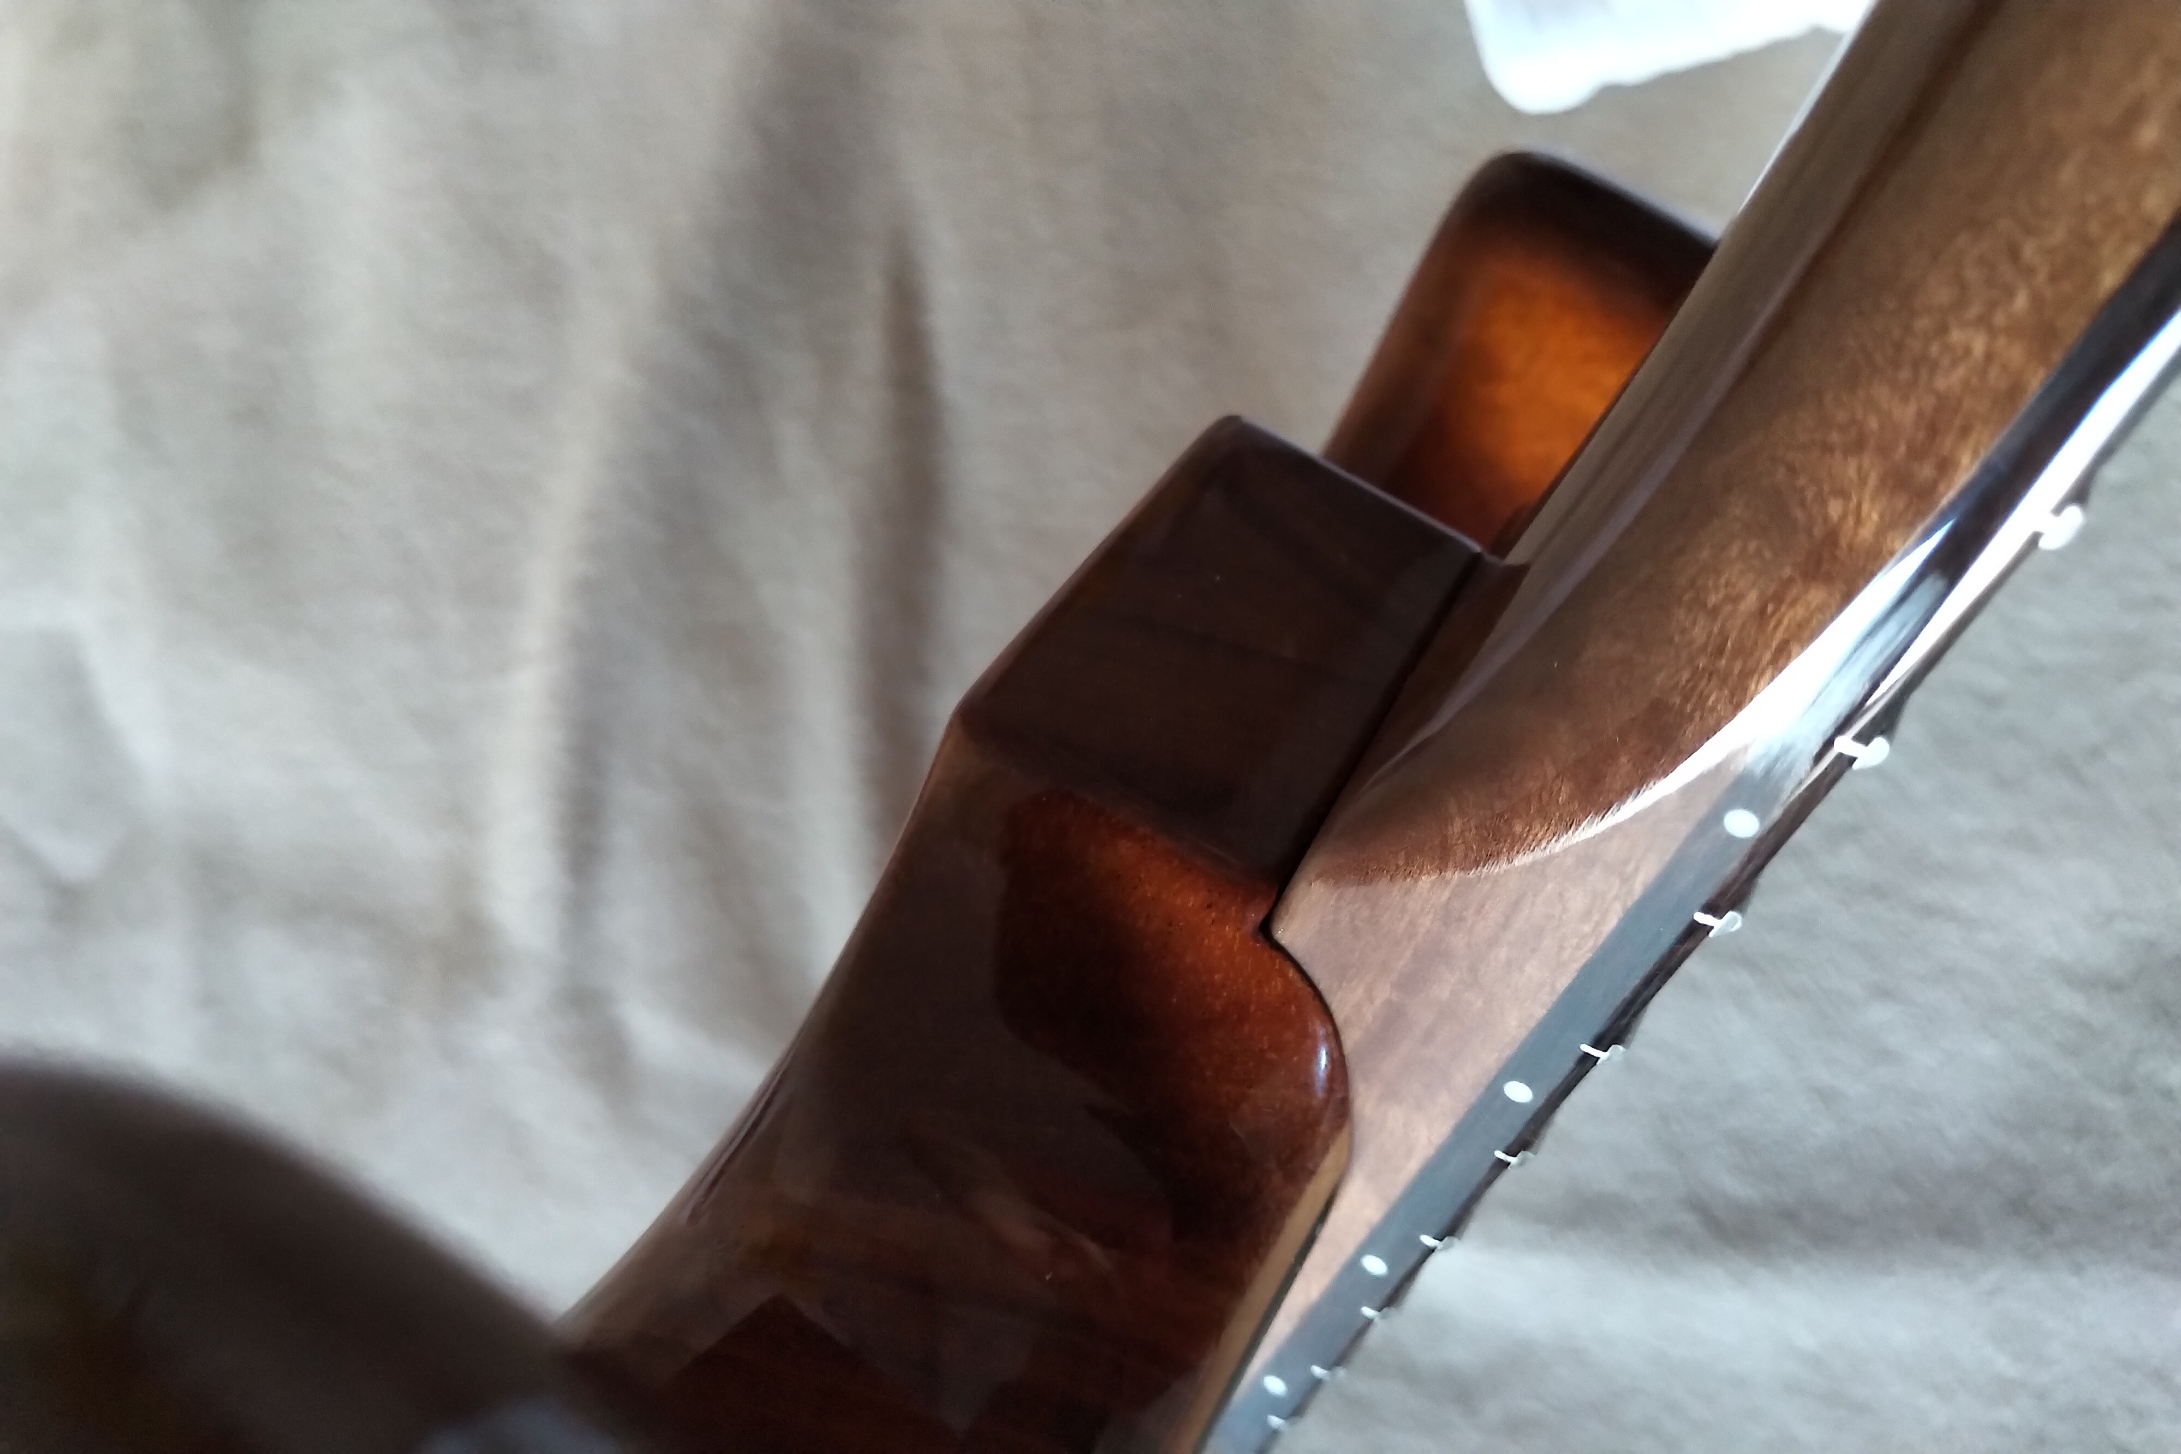
It is a clear gloss finish and thickly applied. This means that it will not go into the neck pocket of the body - actually I have three Warmoth bodies here to test against and it will not go into any of them where other Warmoth necks do as expected. So I am hoping that I can carefully take the finish down without cutting through it and that it will fit. If not I will have some touch up to the finish to do.(the alternate would be easing the neck pocket but as those are to spec I prefer to sort the neck out)

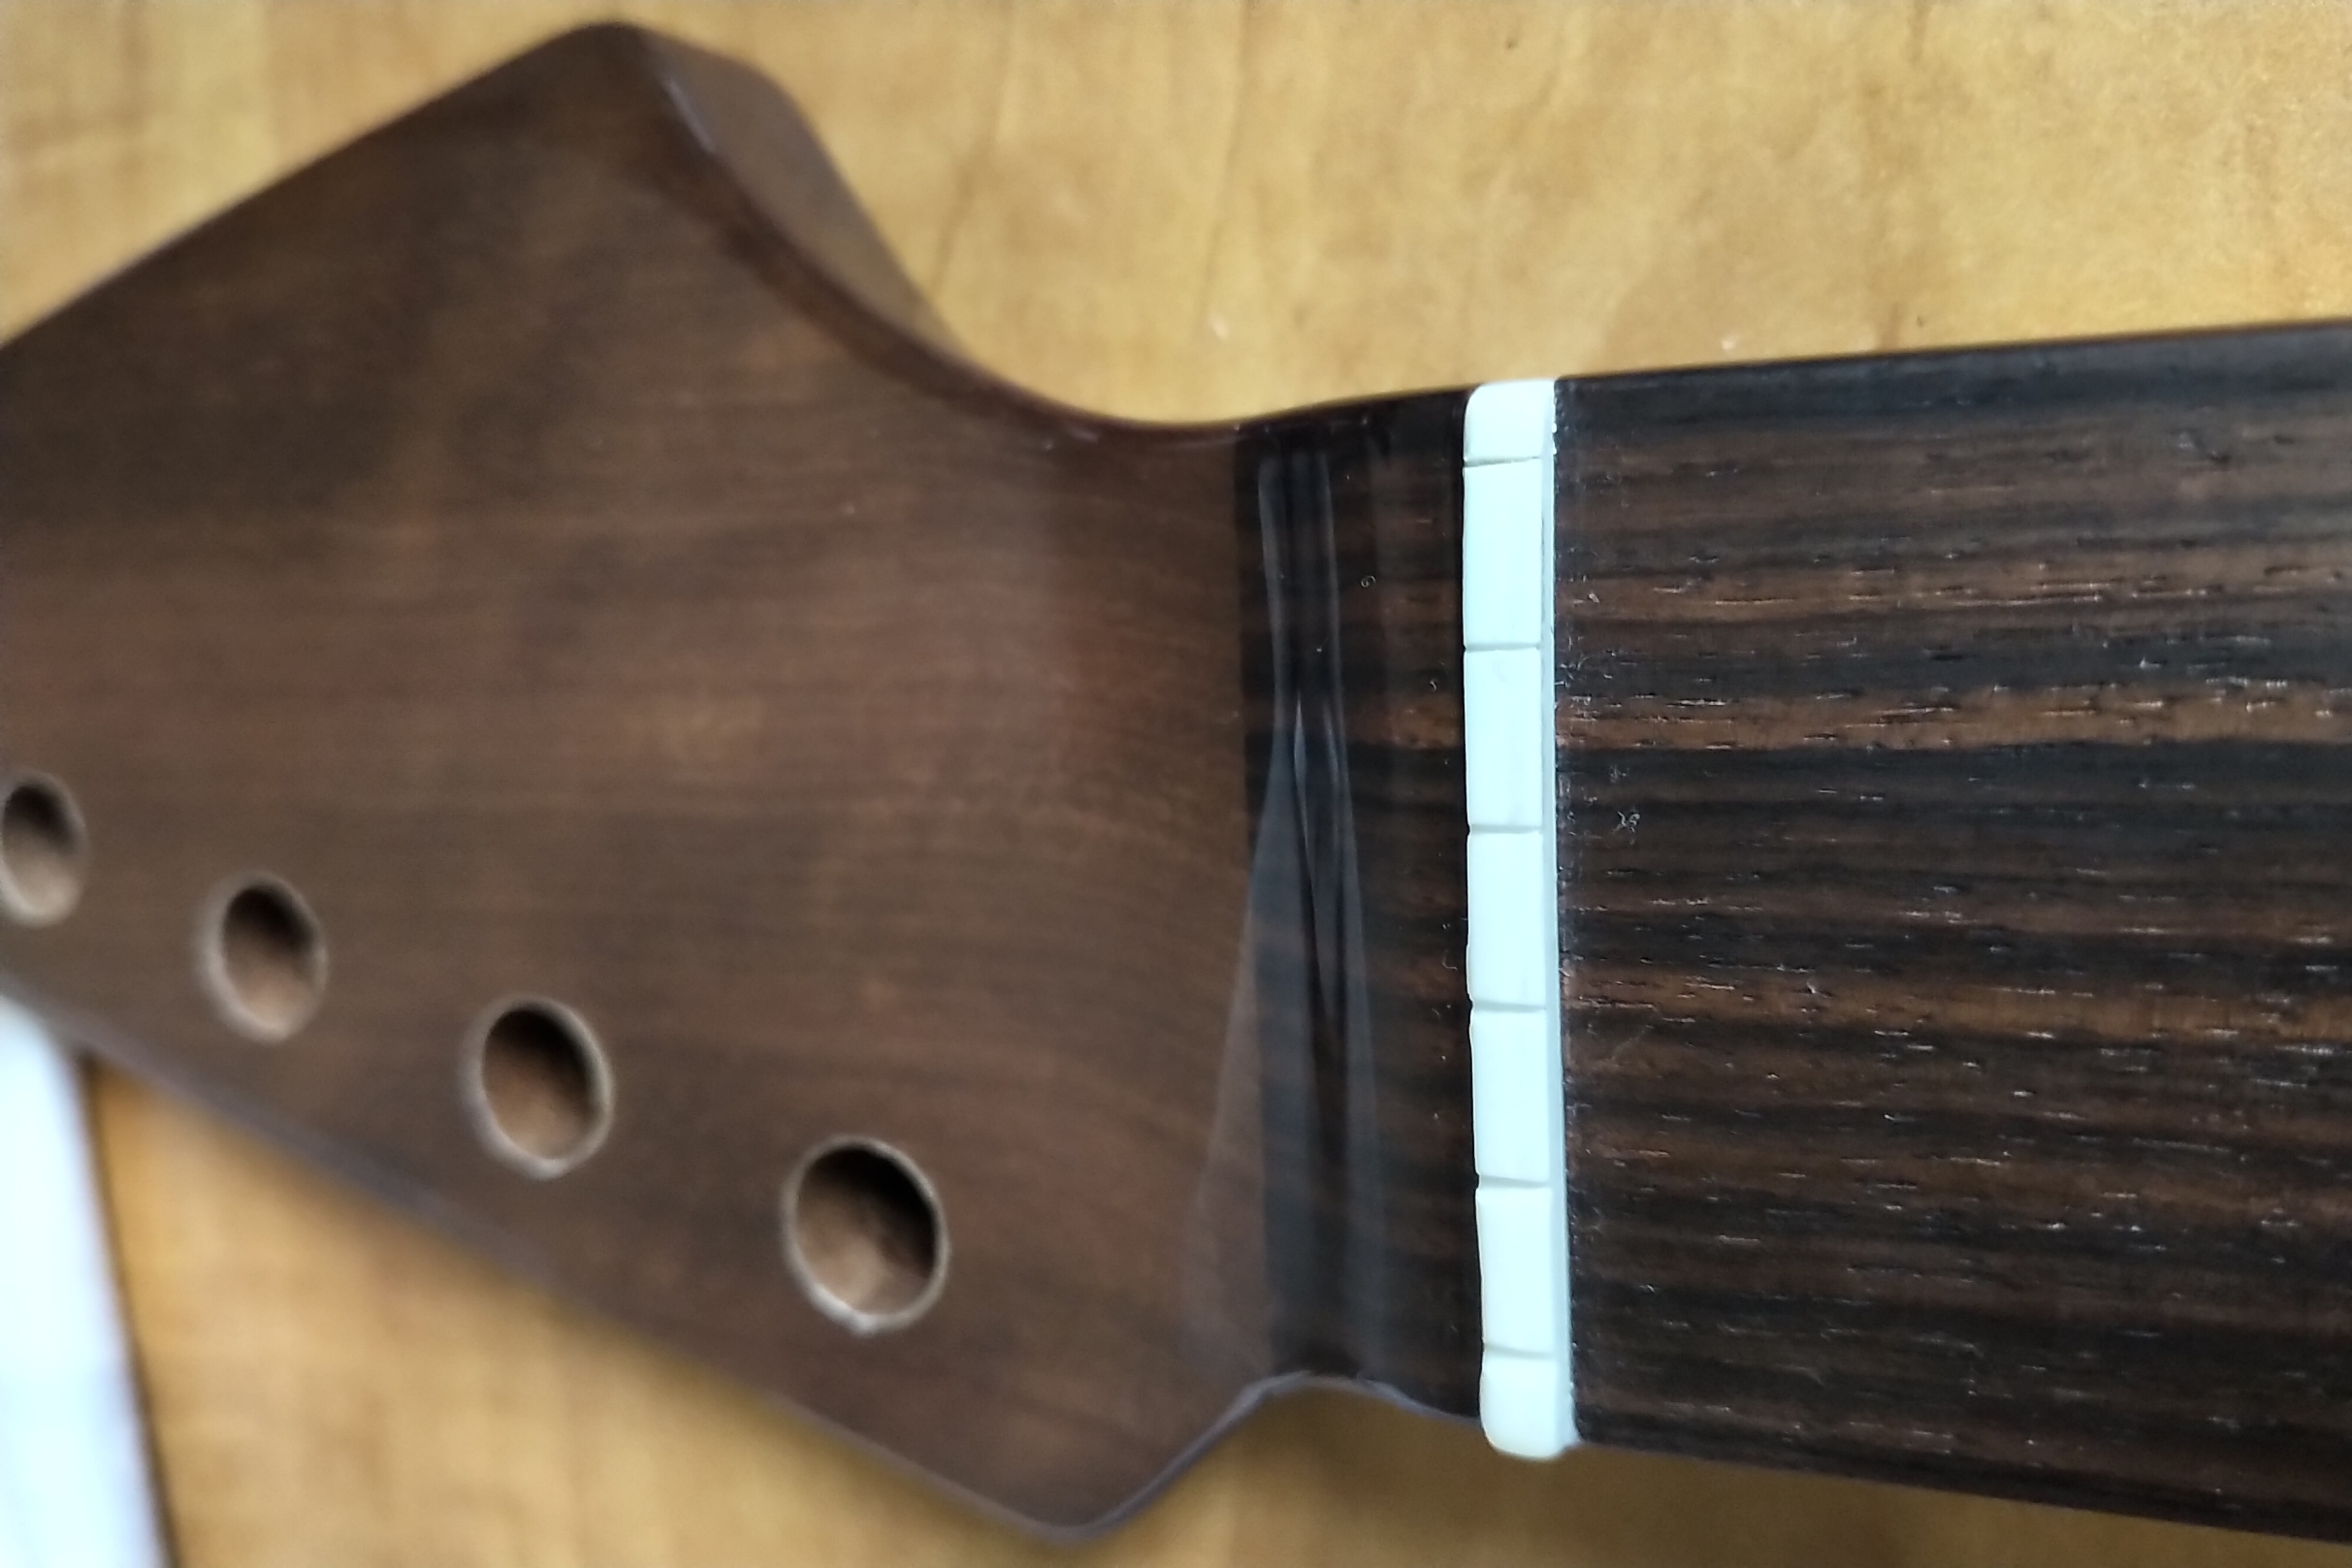
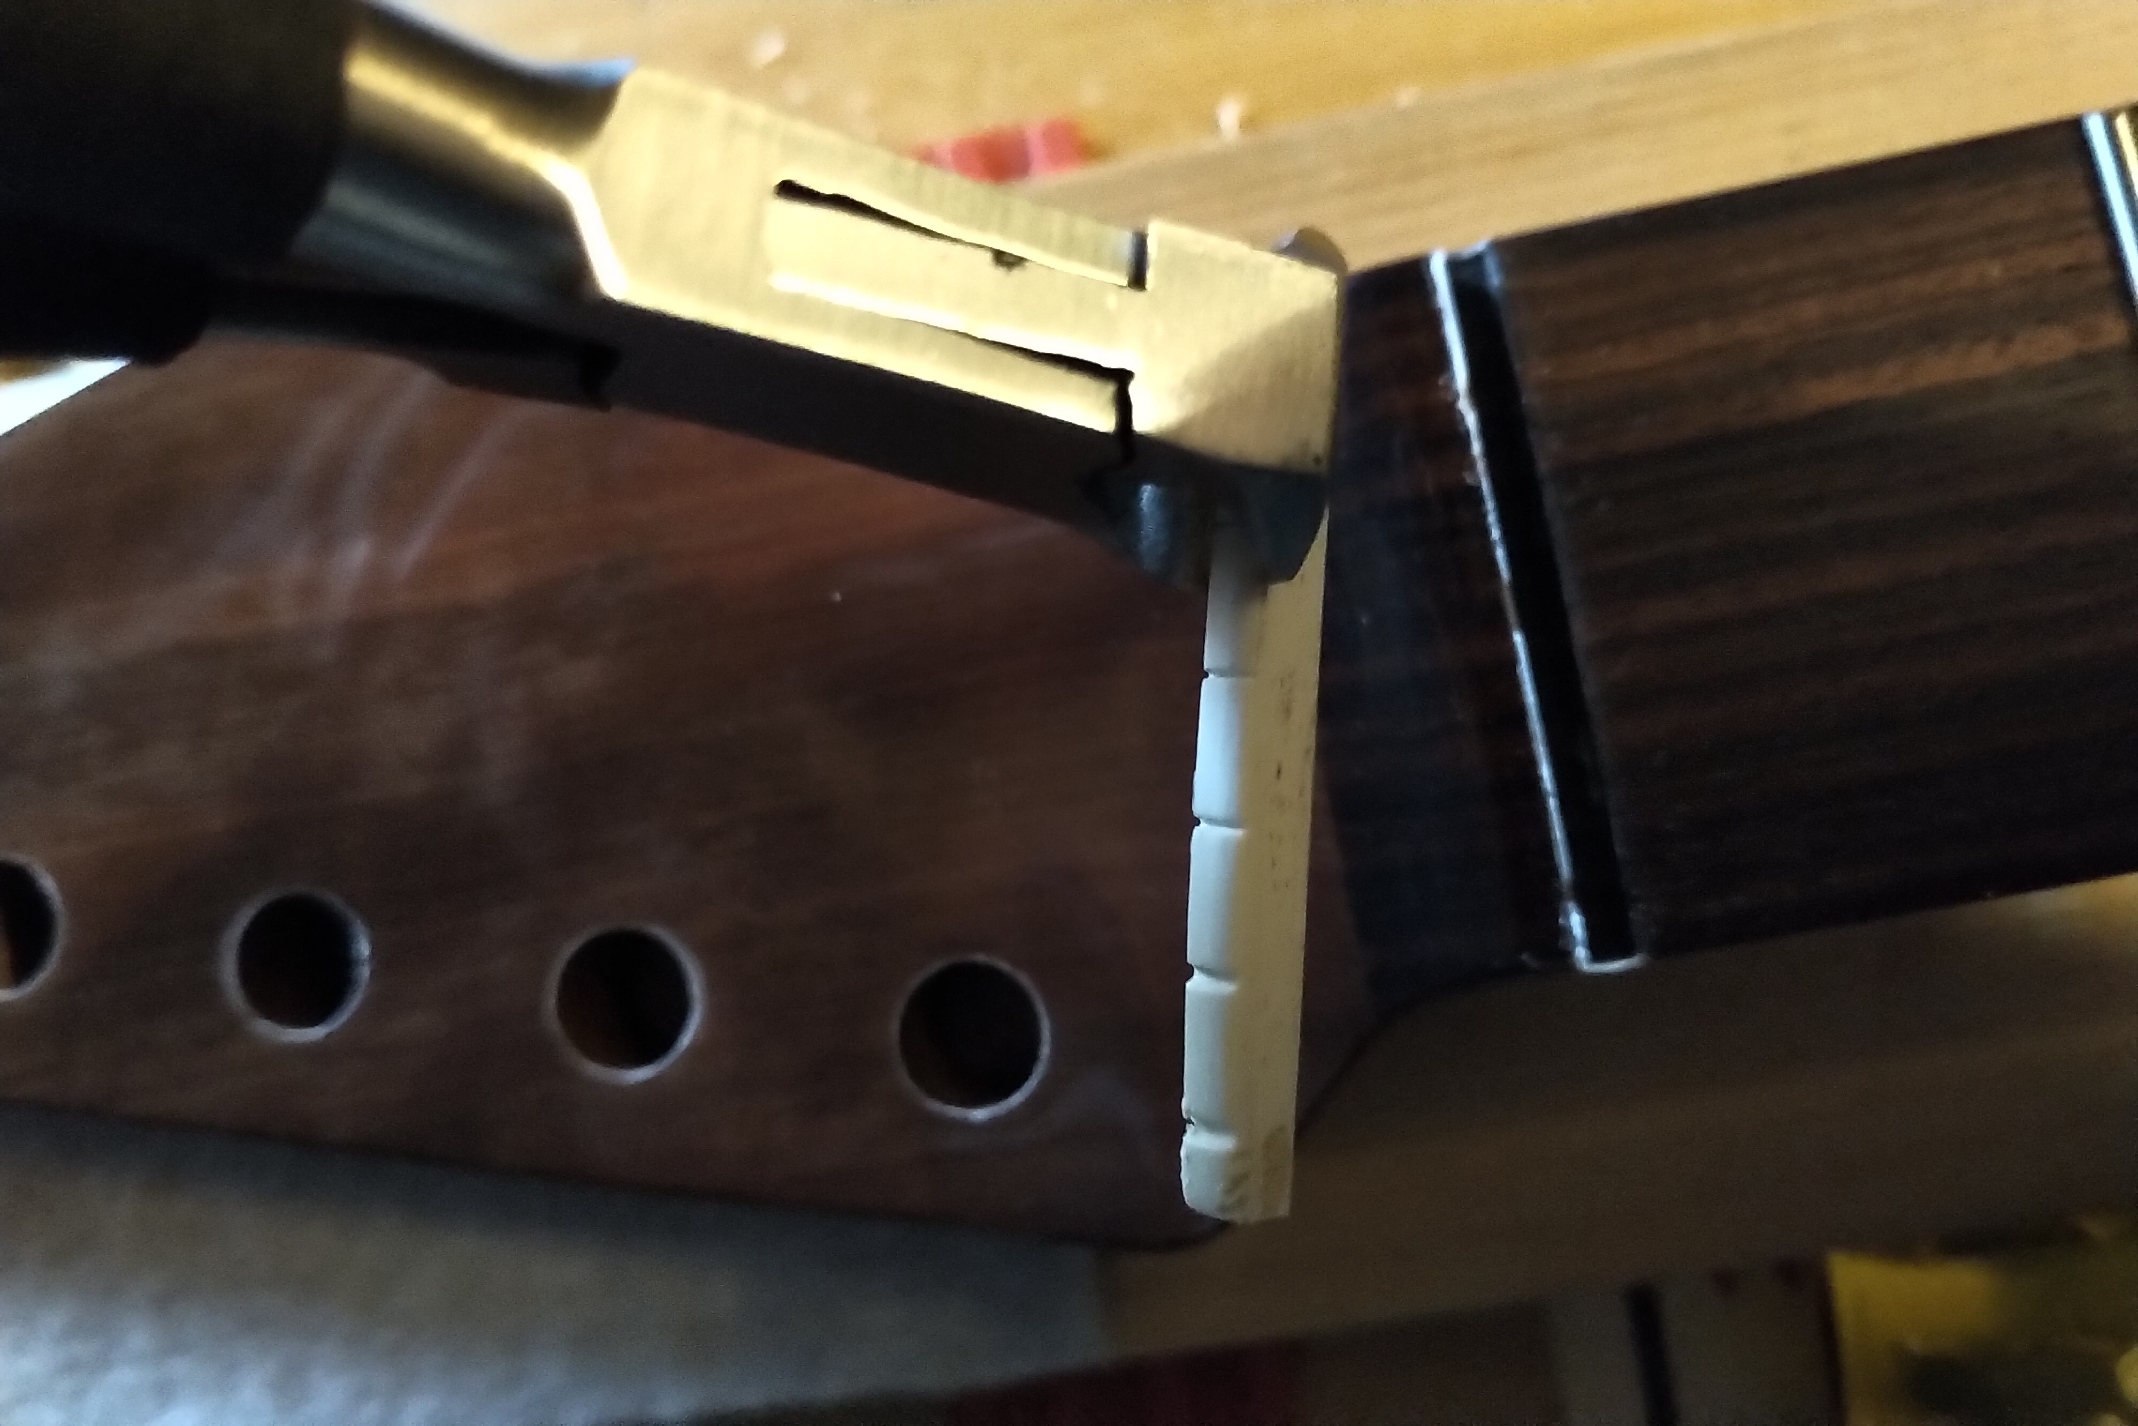
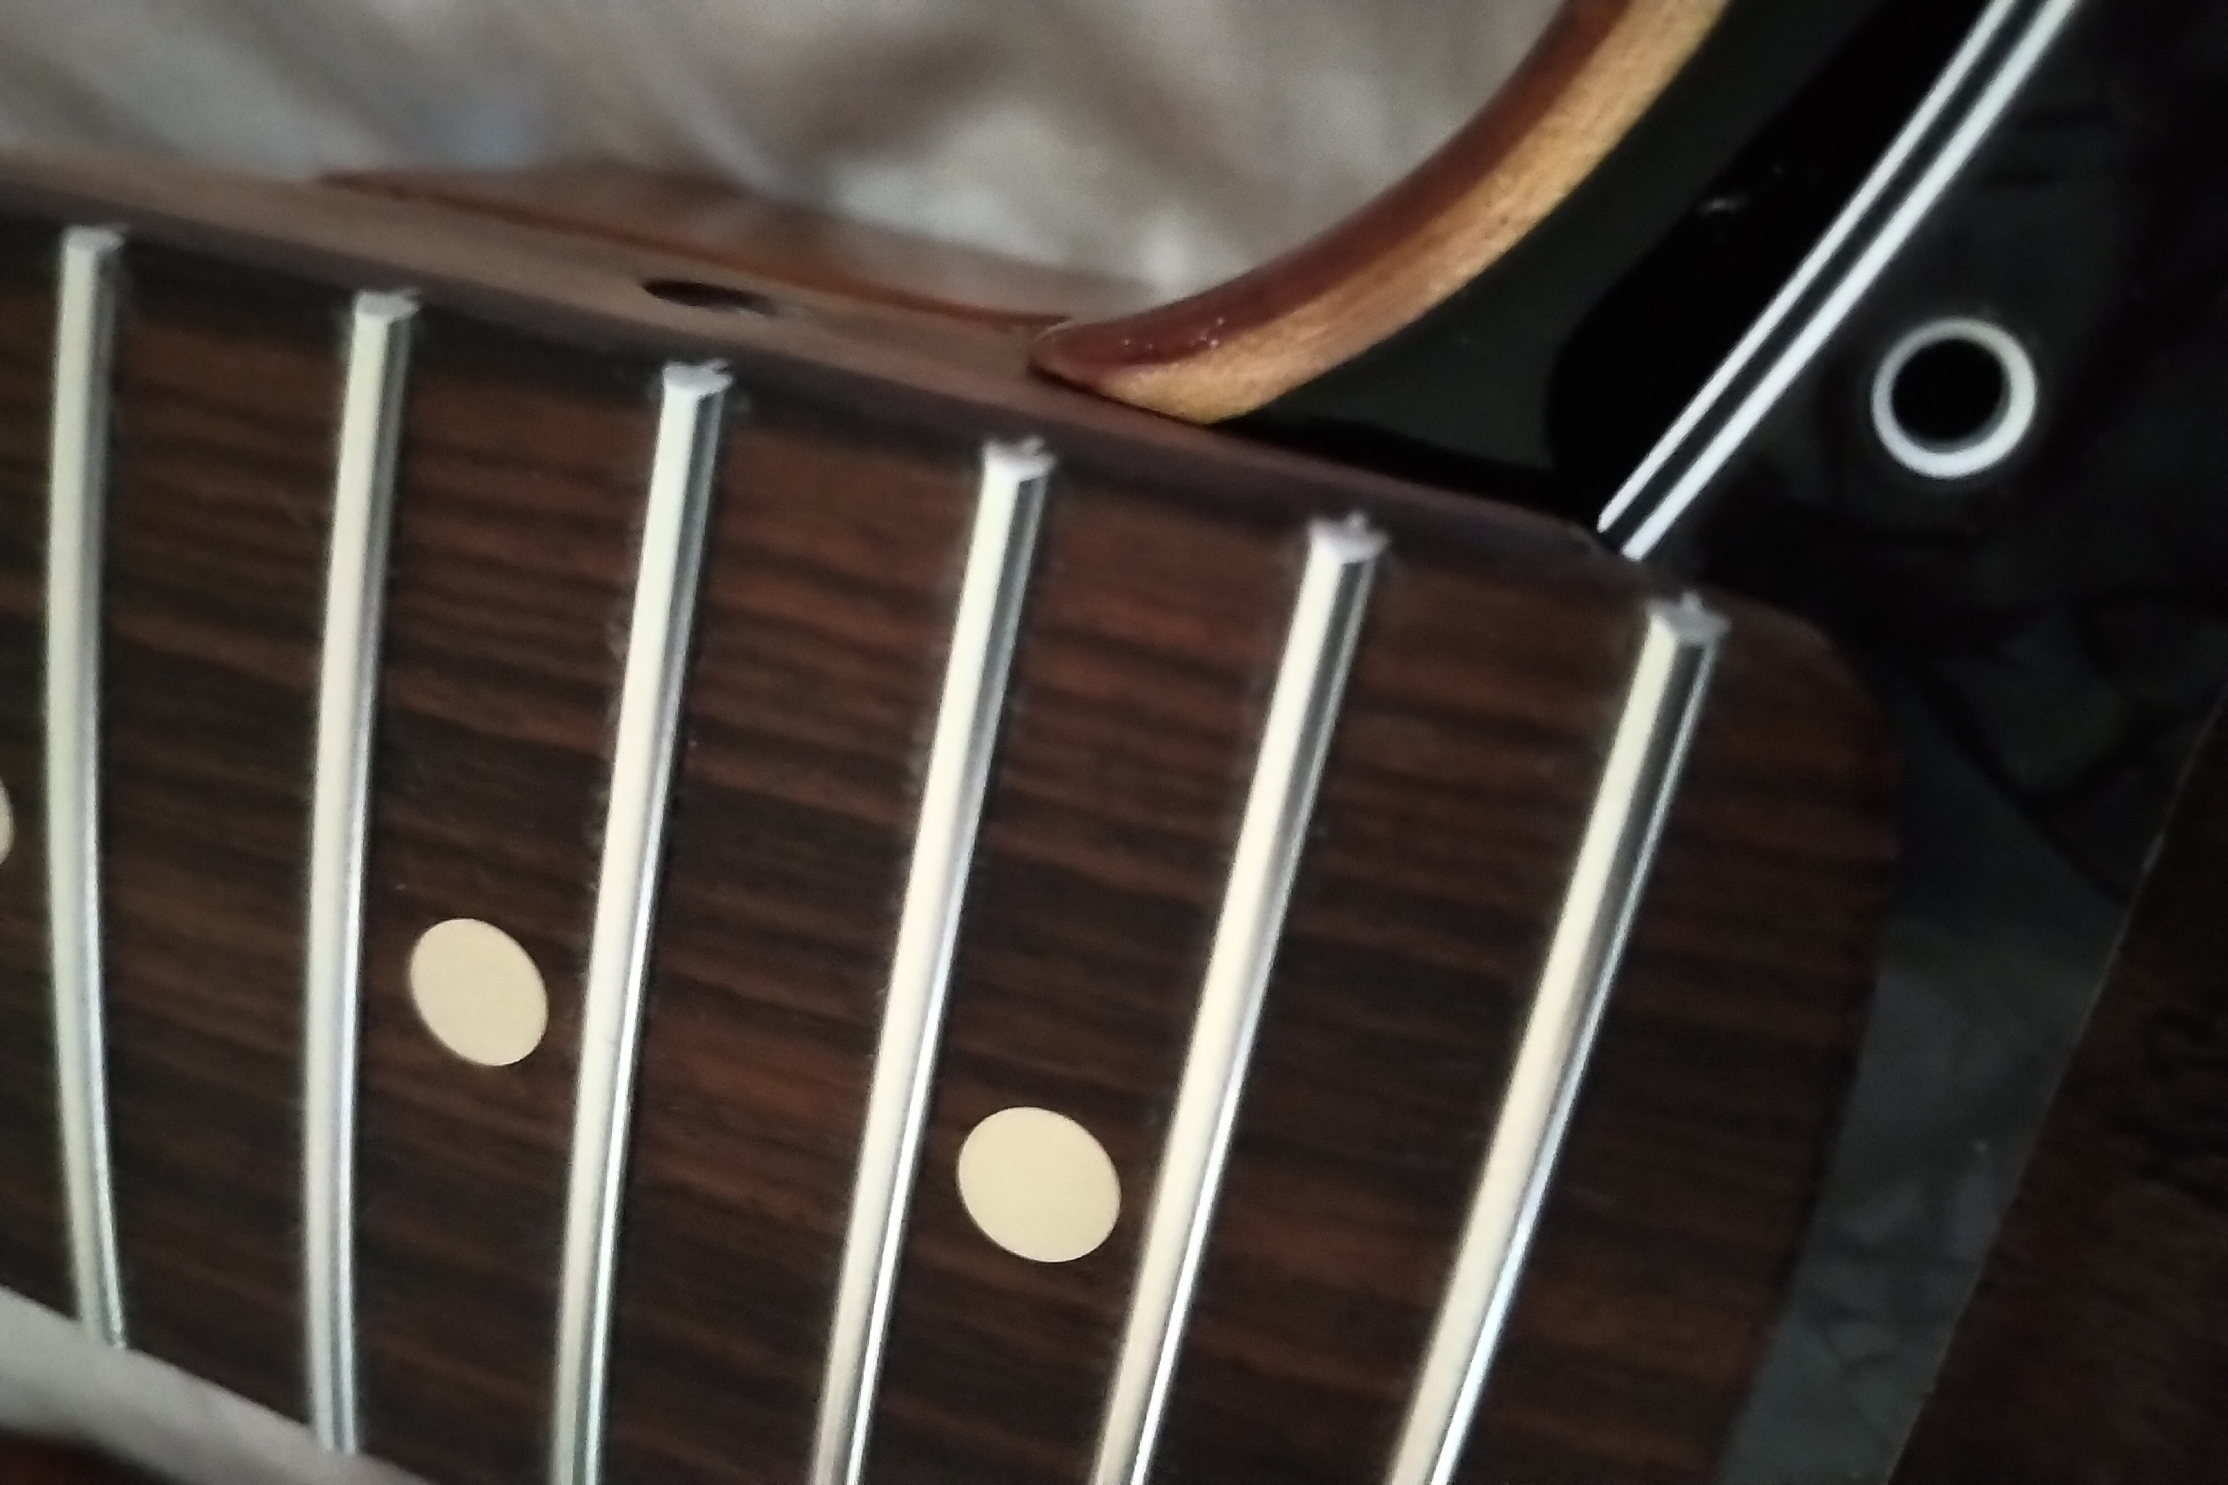
Also the nut is not as accurately placed as I would prefer with the low E further from the fretboard than it should be and the high E closer than would be expected. The spacing other than that is correct but it is somewhere around 1 - 2 mm off centre.

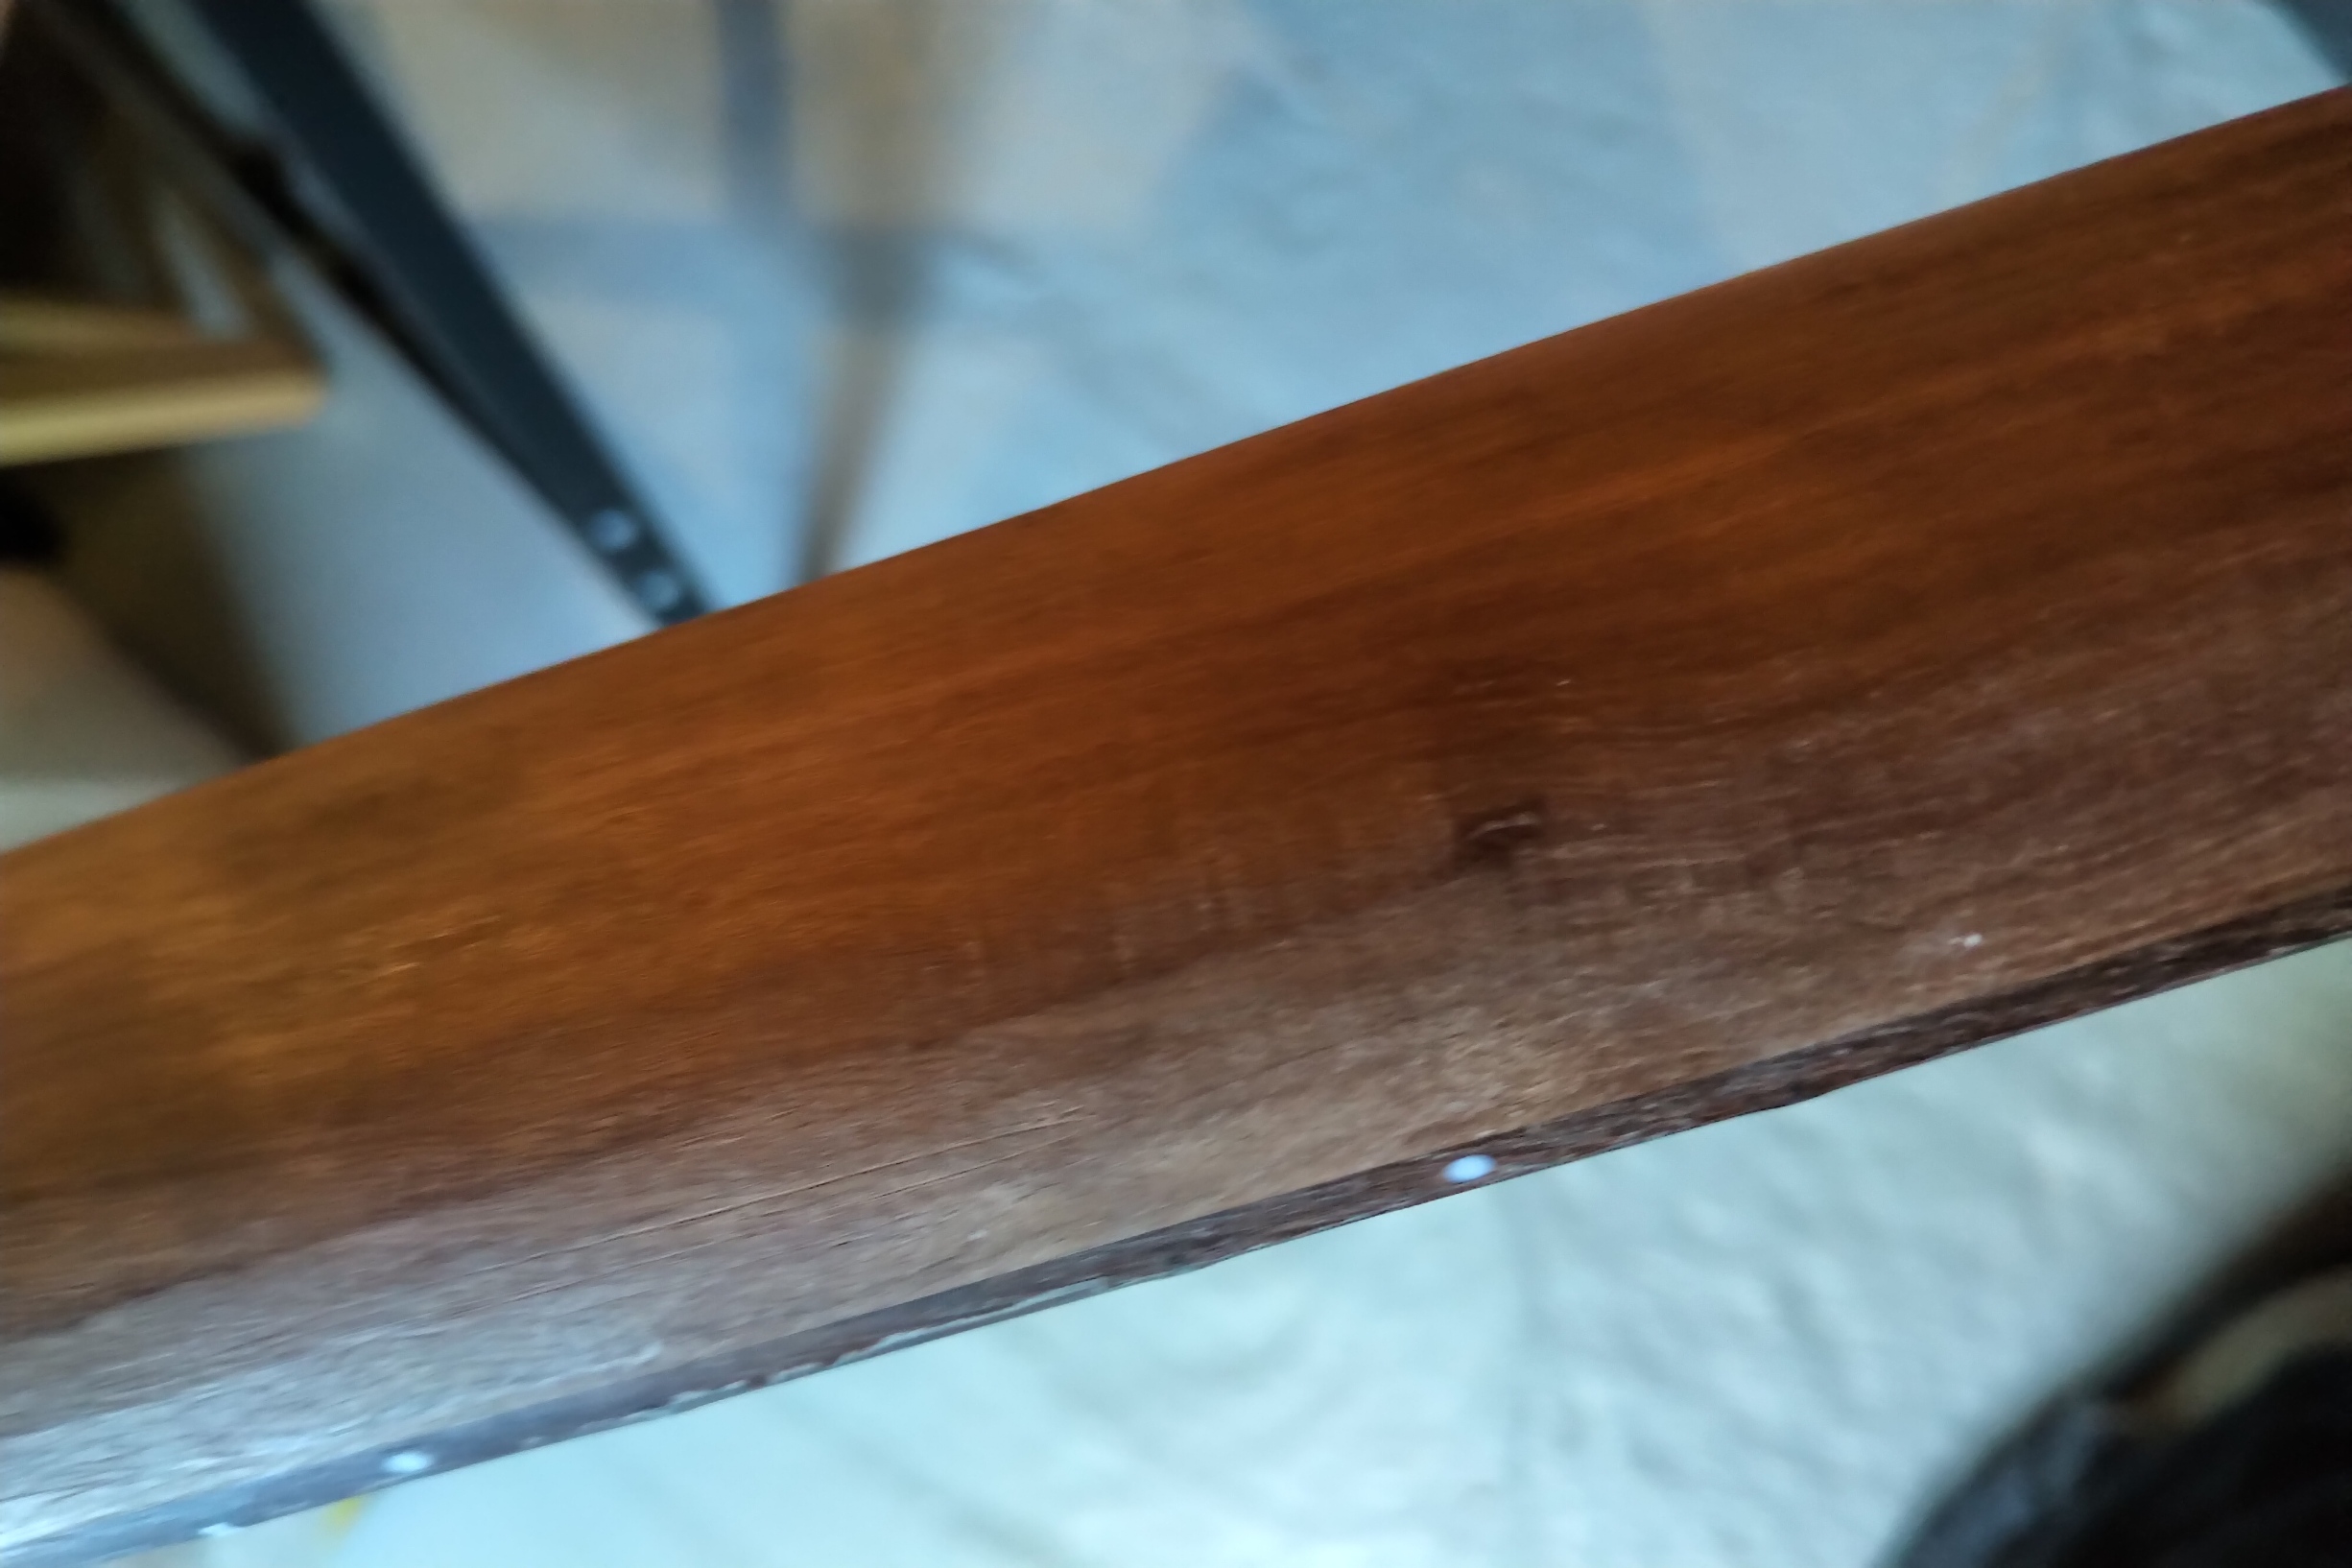
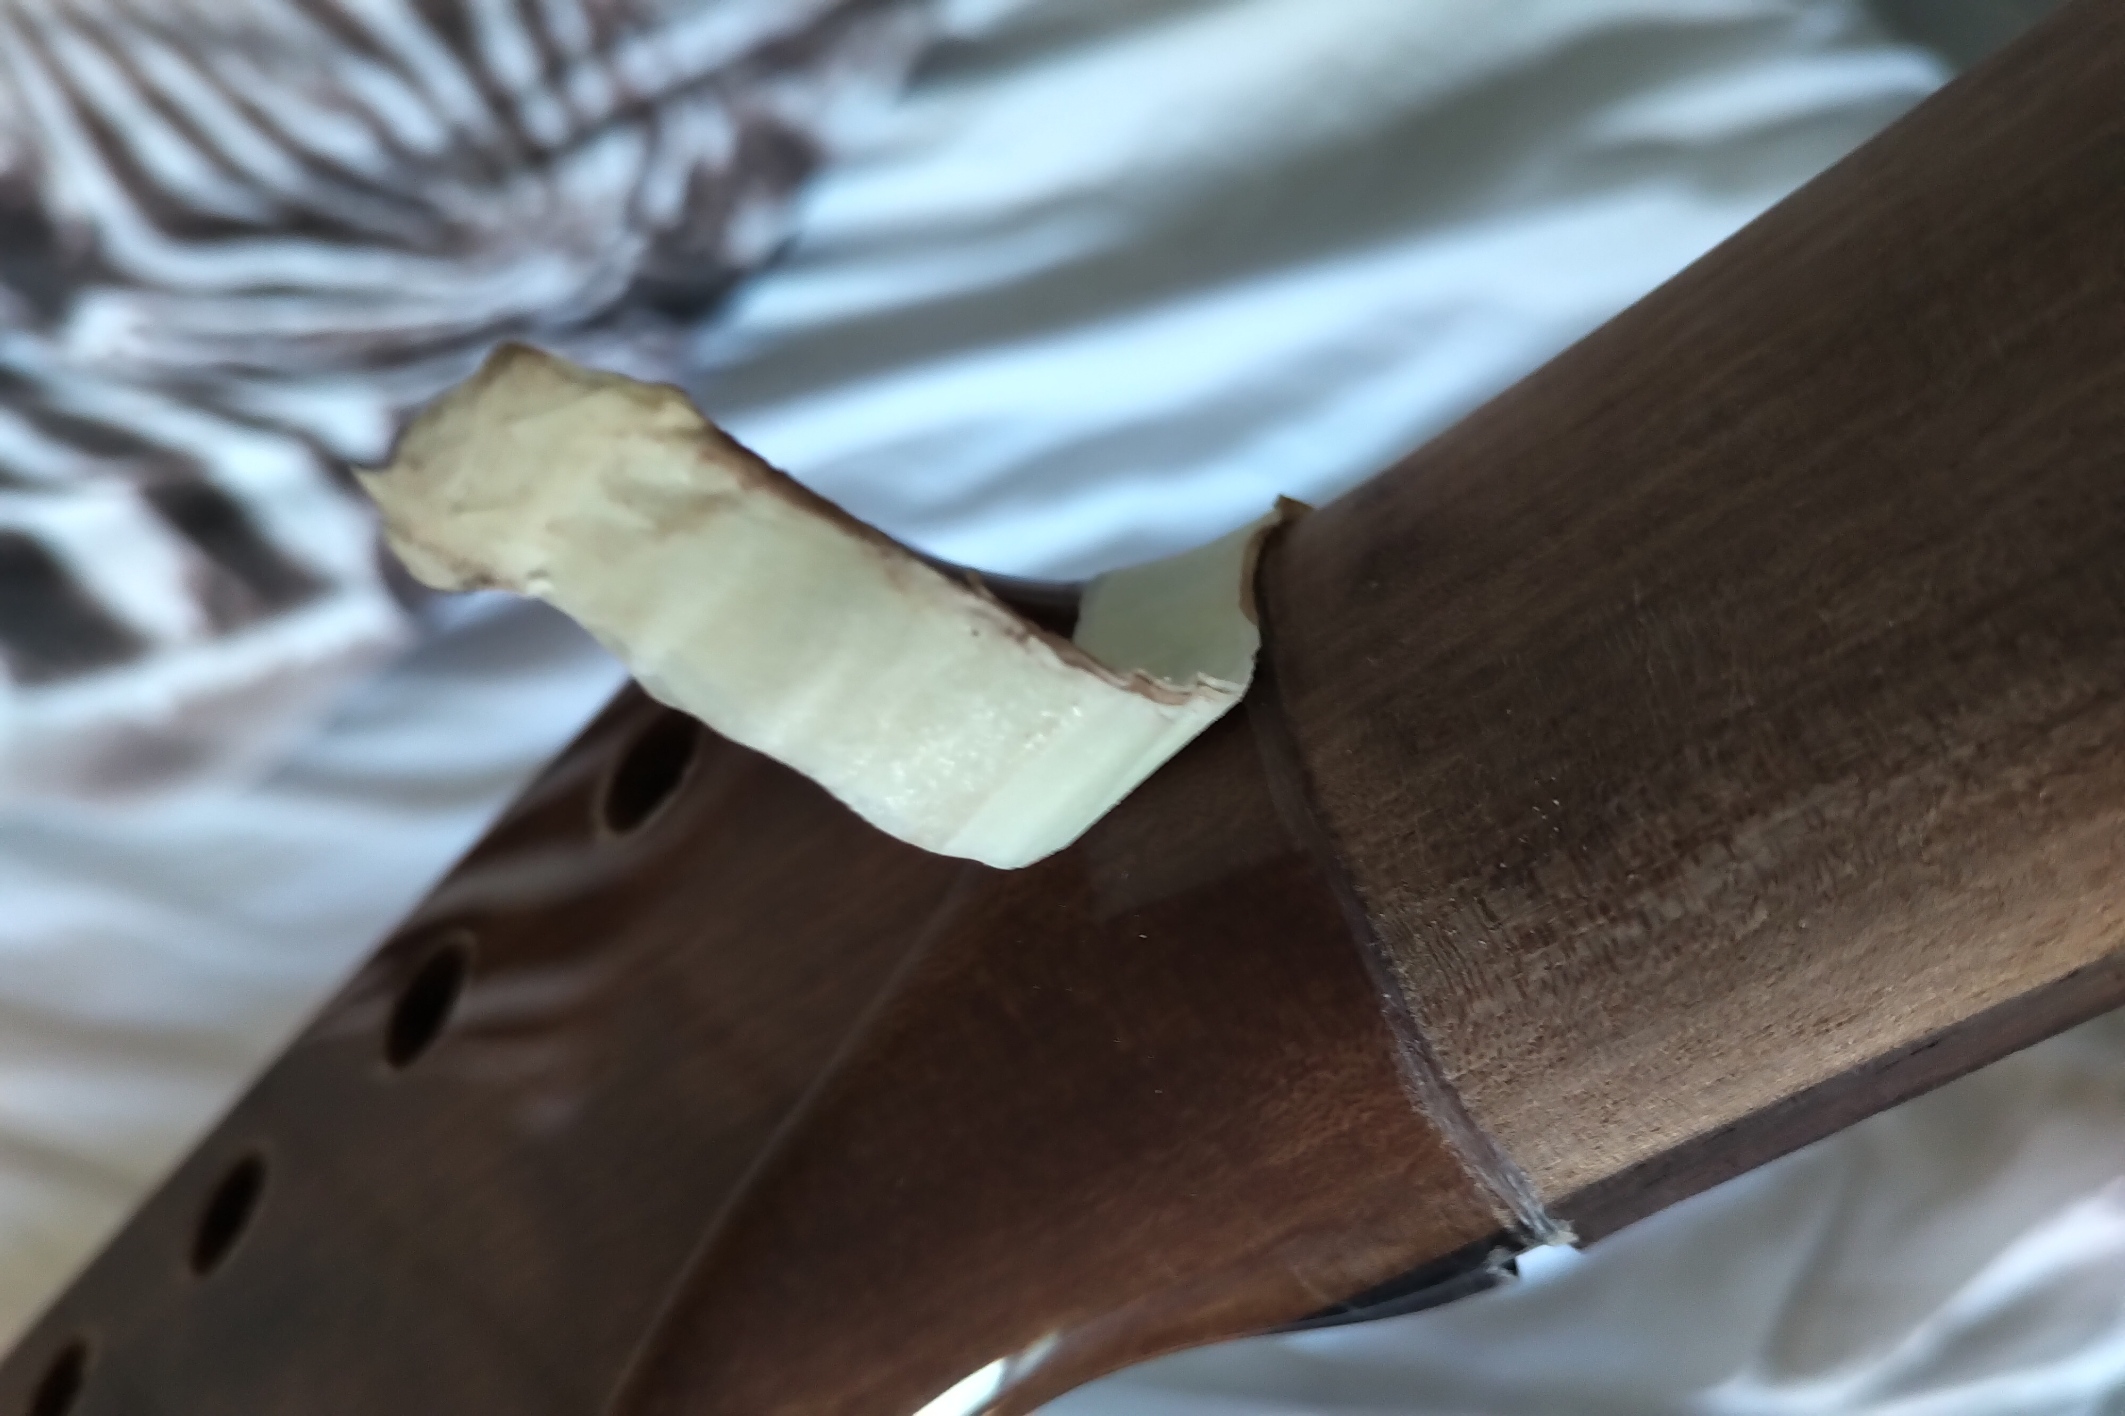
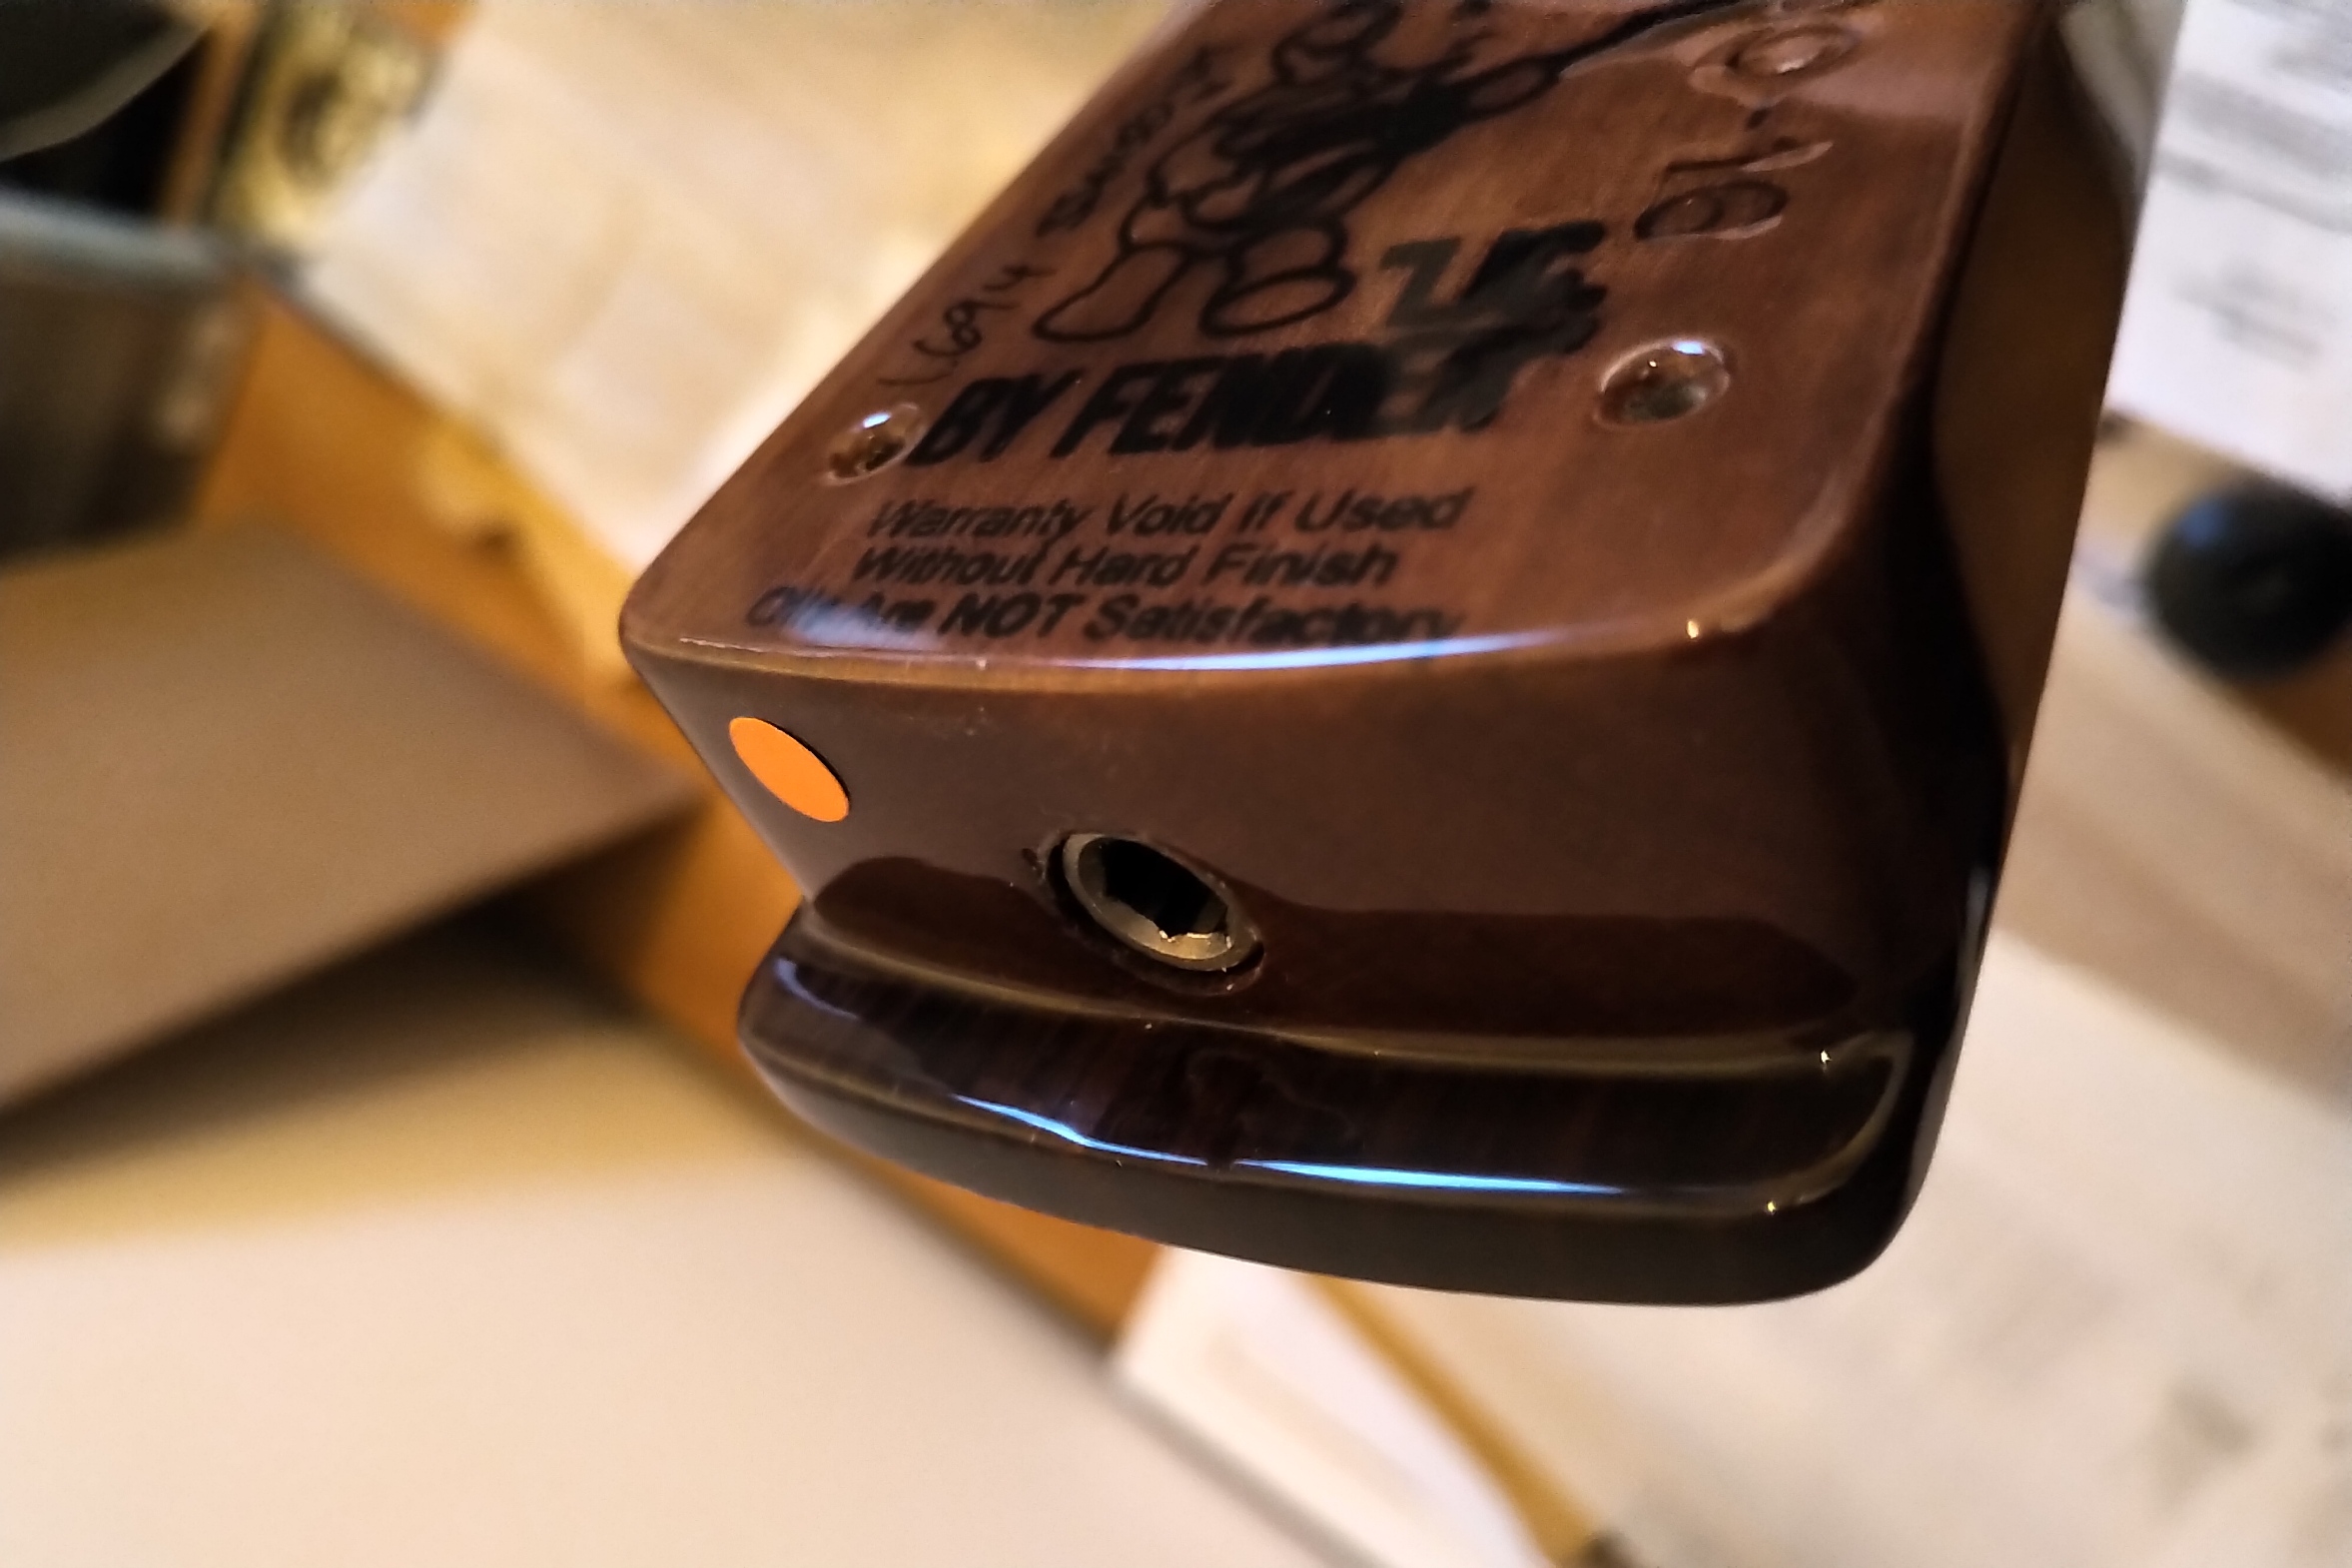
I have also noticed a bump in the finish near the tip of the headstock on the edge again I am hoping that will sand/buff out.

Somewhat ironically I was almost going to buy a Q-Sawn Mahogany without a finish or frets and do that work myself. But I liked the figure in this one that had popped up in the showcase it was already finished and fretted with a nut fitted so I thought it might save me some time. Still it is all part of a project when all is said and done...

So here we go with the build thread...
 
Getting the party started. (Don't try this at home folks it will invalidate your warranty)

So here is a pic of the neck heel end out of the box. You can see the finish is thickly applied and forming a curved shape on the underside of the fingerboard.

heeloob by stratamania, on Flickr

A sharp blade is needed...

neckheel (1) by stratamania, on Flickr

And after some more careful scraping...

neckheel (2) by stratamania, on Flickr

All the white detritus is from the underside of the fretboard next to the heel along with two flakes of finish that came off the end of the board.

I wanted this gone from the underside of the board to avoid the possibility that it may interfere with the pickguard when fitted to the body.
 
Let the sanding commence.

I used some 400 grit wet and dry, used dry on a block to take down each side of the neck.

The start of the process...

neckheel (3) by stratamania, on Flickr

I used an equal number of strokes on each side and used a Tele body I had to hand to test the fit with. This was then repeated till the neck fit snugly but not too tight into the pocket.

After quite a bit of time and easing up on the fit slowly this is how it looked. I only took pictures of one side of the neck.

neckheel (4) by stratamania, on Flickr

And I also sanded the finish on the bottom of the heel down.

neckheel (5) by stratamania, on Flickr

Then I sanded the end of the heel and did a test fit into the new body this neck is planned to go with.

It is interesting to note that I have not gone through the finish to bare wood with the exception of where I intended to at the bottom of the rosewood board at the bottom of the heel.
 
After cleaning up the neck with some alcohol on some shop towel here are a couple of shots with the body it is going into...

neckheel (6) by stratamania, on Flickr

neckheel (7) by stratamania, on Flickr

Where I have sanded it is quite smooth and satin like.

Which has given me a further game plan which will be to follow.
 
Great job! Adapt and Overcome, the Marines would be Proud...................... :icon_thumright:
 
Excellent work, Stratamania.
Very impressive.
It looks absolutely beautiful!


So continuing on with this neck tweaking...

Here is the nut that it came with. However the slots are not positioned as I would prefer and can not be adjusted.I was surprised when I saw this but it is what it is.

strip (1) by stratamania, on Flickr


So after scoring around the nut to cut the finish I pulled it out with some fret pullers and it came out easily.

strip (2) by stratamania, on Flickr

I had initially thought that perhaps I would rebuff the heel after removing enough finish to get it to fit into the body but I have changed my game plan. The gloss finish on the neck shaft needs to go.

Scrape with a sharp blade...

strip (3) by stratamania, on Flickr


and scrape...

strip (4) by stratamania, on Flickr

 
Masking to create a line as if possible I will leave the finish on the headstock. 4 layers of masking tape were used.

strip (9) by stratamania, on Flickr

I now decided to move out of my office and into my attic workspace as there was still a lot of finish to go and it was messy and needed regular vacuuming.

After some careful scraping with a fresh blade I was through some of the finish...

strip (10) by stratamania, on Flickr

And continued along the neck gradually and slowly getting the finish scraped away.

strip (11) by stratamania, on Flickr

Now we are getting somewhere...


strip (12) by stratamania, on Flickr
 
The transition to the heel and the bottom of the heel really took some work...

strip (13) by stratamania, on Flickr

But now I am calling it good. After the scraping I gave the neck a light sand with some 180 grit.

Look it says the warranty is void without a hard finish...well I think I have voided the warranty already...

strip (14) by stratamania, on Flickr

I will eventually probably go to about 400 grit before I refinish the neck shaft with Tru-Oil but there is other work coming up for this neck so will wait till that is done before further smoothing.
 
Lets put it in the body - still a snug fit but without being too tight. Once the Tru-Oil is on the fit will be fine.

strip (15) by stratamania, on Flickr

And the neck sits well in the pocket and is not sitting too high from the pickguard. It is as I would expect the fit to be now. You also get a bit more of a sneak peak at the body...

strip (16) by stratamania, on Flickr

Lets have a look at the edge where the tape was near the nut position. There is a bit of a ridge I need to clean up but I expected that. What I did not expect was how thick this finish was.

strip (17) by stratamania, on Flickr

I asked Warmoth sales what the finish was on the neck and was told a type of urethane. While removing it I was reminded of scraping a hard epoxy so I suspect it may be catalysed but in any event it was applied too thick and it is no wonder the neck did not fit the body.

Well that is it for now. The above took quite some time to do (hours) so I am taking a break now.
 
Lordy, they must have sub contracted Fender to finish that neck for them..................I commend your perseverance.  :icon_thumright: :icon_thumright:
 
@PhilHill and -VB- Thanks and yes I think chore and perseverance are probably apt words.

I don't know what they were thinking when they did this finish and nut or whether gloss finishes are generally like that but I will be sticking to buying necks without a finish from now on. The satin finish I have from Warmoth is very thin but this one is not...
 
Some further progress today. The first thing was to get a smooth transition of the bare wood of the neck shaft and towards the headstock. I taped off the bare wood and used some rolled up 240 grit as a tool to make a start on this. (The ridge that you can see in the last post seemed almost 1mm thick in places)


sand (1) by stratamania, on Flickr

After getting rid of the visible ridge which required removing and using new tape a few times and cleaning the dust away with shop towel and isopropyl alcohol it was starting to get a reasonable transition.


sand (2) by stratamania, on Flickr

Eventually I took the transition and the rest of the neck down or is it up to 800 grit. This is a photo on the way to that.

sand (3) by stratamania, on Flickr

The good thing is that it is now smooth there is no transition that can be felt by the hand so that is good progress.


Let the Tru Oil commence. Not too bad just for the first little drop applied near the transition to the headstock.

troil (1) by stratamania, on Flickr

After finishing applying the Tru-Oil here is a view of the neck towards the transition to the headstock.

troil (2) by stratamania, on Flickr


And finally the neck near the transition to the heel.

troil (3) by stratamania, on Flickr


The mahogany figure seems to have popped quite well under the Tru-Oil. So now I will let it dry till tomorrow and see where we go from there.

 
Back
Top