You are using an out of date browser. It may not display this or other websites correctly.
You should upgrade or use an alternative browser.
You should upgrade or use an alternative browser.
The Adventure Begins ends
- Thread starter JPOL007
- Start date
JPOL007
Senior Member
- Messages
- 470
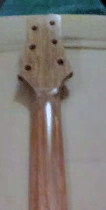
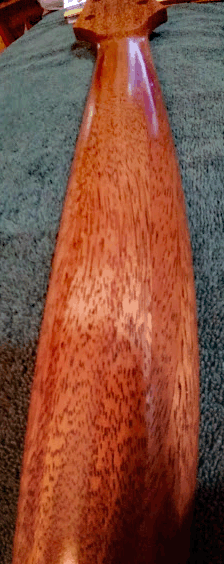
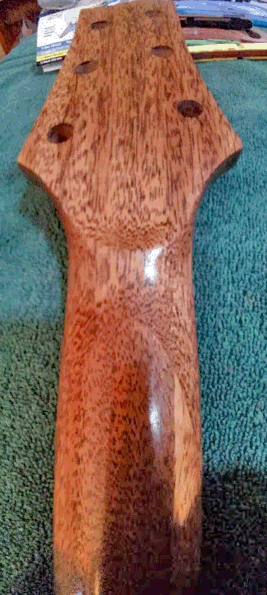
I decided to use Tru-Oil as the top coat on the RPG neck. To get started I watched The Man in the High Castle while 2000 grit sandpaper was used to burnish the neck. Nothing like 10 episodes of a show to keep your mind busy while rubbing a guitar neck. I was done by episode 3. The back was so smooth it seemed shameful to seal it. I applied 2 coats of dewaxed shellac using wadded up cheese cloth wrapped inside of a piece of t-shirt material. The homemade applicator was from a YouTube video on applying shellac.
Two light coats were applied with 25 minutes of drying time between coats. I let the second coat dry for 40 minutes and lightly sanded the neck with 600 grit sandpaper. I used a tack cloth to remove sanding dust and applied 2 more light coats using the same drying times. I waited 24 hours and then started applying Tru-Oil to the neck; the photo was taken after 3 coats. I want to apply more coats after letting these 3 dry overnight. I used light coats when applying the Tru-Oil to avoid drying time issues for sanding.
Two light coats were applied with 25 minutes of drying time between coats. I let the second coat dry for 40 minutes and lightly sanded the neck with 600 grit sandpaper. I used a tack cloth to remove sanding dust and applied 2 more light coats using the same drying times. I waited 24 hours and then started applying Tru-Oil to the neck; the photo was taken after 3 coats. I want to apply more coats after letting these 3 dry overnight. I used light coats when applying the Tru-Oil to avoid drying time issues for sanding.
Attachments
BroccoliRob
Hero Member
- Messages
- 1,126
Although those are the lowest rez images i have seen in 20 years i can tell that neck is looking supremely tender, sexy, and muy interesante
JPOL007
Senior Member
- Messages
- 470
Thanks, Sometimes that camera phone just don't get the job done :doh: I will post some good ones after all of the top coats have been applied.BroccoliRob said:Although those are the lowest rez images i have seen in 20 years i can tell that neck is looking supremely tender, sexy, and muy interesante
JPOL007
Senior Member
- Messages
- 470
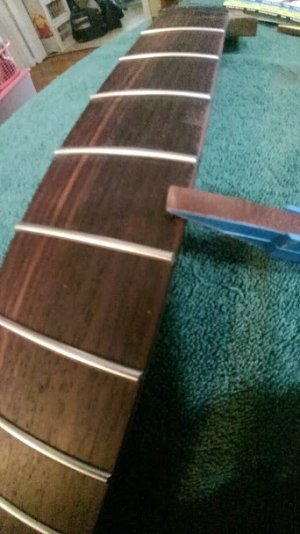
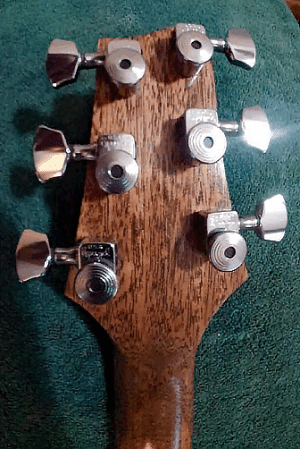
I finished applying all of the top coats to the neck. After talking to a buddy who is a gunsmith, I put wipe on poly over the Tru-Oil. He uses Tru-Oil when he does gunstocks but said it was never going to be a hard finish like poly. So the neck has 2 coats of shellac, 3 coats of Tru-Oil and 2 coats of high gloss wipe on poly. I rounded the fretboard edges and installed the Schaller locking tuners.
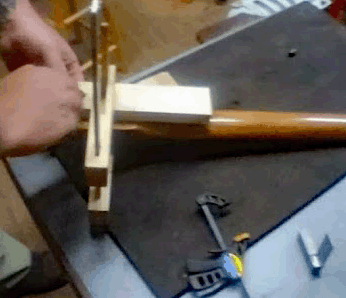
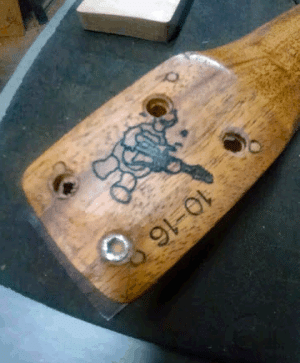
I got the factory screw holes filled and the inserts will be installed tomorrow in class. The screw holes were about 7/64 of an inch. Instead of drilling them out to 1/8” I sized a 1/8” dowel rod to fit the holes. I put the dowel rod in my Dremel tool and used 120 grit sandpaper to resize the rod. It took a few tries to get the size where it would be snug in the holes. Each hole was custom fitted and half filled with CA glue to hold the rods in place. You definitely want to work fast when using the glue. I inserted the rods in the holes to find the right depth and cut the rods to length before using the glue. I still ended up sanding all of the holes flush with the heel surface.
I got the factory screw holes filled and the inserts will be installed tomorrow in class. The screw holes were about 7/64 of an inch. Instead of drilling them out to 1/8” I sized a 1/8” dowel rod to fit the holes. I put the dowel rod in my Dremel tool and used 120 grit sandpaper to resize the rod. It took a few tries to get the size where it would be snug in the holes. Each hole was custom fitted and half filled with CA glue to hold the rods in place. You definitely want to work fast when using the glue. I inserted the rods in the holes to find the right depth and cut the rods to length before using the glue. I still ended up sanding all of the holes flush with the heel surface.
Attachments
stratamania
Mythical Status
- Messages
- 12,279
It seems to be progressing nicely. Are those not Sperzel tuners?
JPOL007
Senior Member
- Messages
- 470
Thanks... hoping to get a lot of things squared away today in class. You are correct; I had originally wanted to install Schallers but didn’t want to drill a hole for the locating pin. These Sperzel tuners have a tooth like metal barb that holds the tuner in place. I feel a little dumber than usual for missing that detail. I even went and looked in the trash bin for the packaging. The neck is less than 5 feet away from where I’m sitting :doh:stratamania said:It seems to be progressing nicely. Are those not Sperzel tuners?
stratamania
Mythical Status
- Messages
- 12,279
This is a useful jig if you do want to drill locating pins in the future.
https://www.stewmac.com/Luthier_Tools/Types_of_Tools/Jigs_and_Fixtures_for_Guitar_Building_and_Repair/Tuner_Pin_Drill_Jig.html
https://www.stewmac.com/Luthier_Tools/Types_of_Tools/Jigs_and_Fixtures_for_Guitar_Building_and_Repair/Tuner_Pin_Drill_Jig.html
JPOL007
Senior Member
- Messages
- 470
Sweet piece of gear :icon_thumright:thanks for the information.stratamania said:This is a useful jig if you do want to drill locating pins in the future.
https://www.stewmac.com/Luthier_Tools/Types_of_Tools/Jigs_and_Fixtures_for_Guitar_Building_and_Repair/Tuner_Pin_Drill_Jig.html
stratamania
Mythical Status
- Messages
- 12,279
JPOL007 said:Sweet piece of gear :icon_thumright:thanks for the information.stratamania said:This is a useful jig if you do want to drill locating pins in the future.
https://www.stewmac.com/Luthier_Tools/Types_of_Tools/Jigs_and_Fixtures_for_Guitar_Building_and_Repair/Tuner_Pin_Drill_Jig.html
No problem, happy to help...
JPOL007
Senior Member
- Messages
- 470
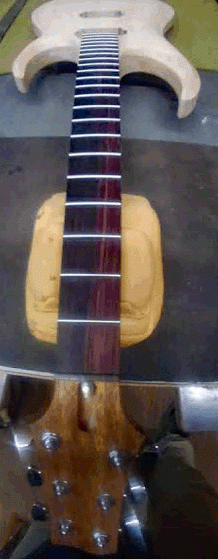
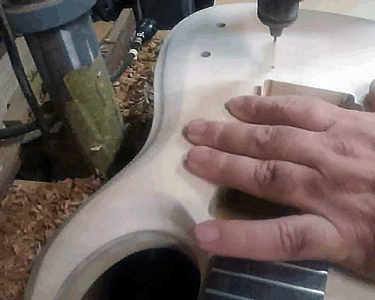
All of the holes necessary for mounting hardware are now in place. The neck insert were a pain but everything worked out well. The threads on the EZ-Loc inserts were a bit aggressive and wanted to pull the wood up arounds the hole. Enlarged the hole opening a little and added some paste wax. Also made a jig using a scrap of wood drilled with a hole the diameter of the hole in the neck. I then clamped the jig to the neck to reinforce the area of the neck hole. Wood stopped being pulled up during the insert installation. The larger opening in the hole and wax probably did all of the fixing associated with the problem.
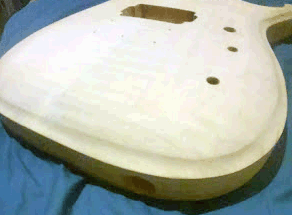
Mounted the neck to the body and got all of the measurements needed for the tremolo installation. Drilled the holes needed to mount the switch and output jack. Will be sanding the body for dyeing and finishing for the next couple of days. I’ll do a test mount and fit of the hardware before any dyeing or oil finishing take place.
Mounted the neck to the body and got all of the measurements needed for the tremolo installation. Drilled the holes needed to mount the switch and output jack. Will be sanding the body for dyeing and finishing for the next couple of days. I’ll do a test mount and fit of the hardware before any dyeing or oil finishing take place.
Attachments
Cagey
Mythical Status
- Messages
- 24,425
When I started doing inserts many moons ago, that wood blistering due to displacement issues used to drive me nuts. I kept thinking "one of these days, I'm gonna split the heel of some super-nice neck from over-pressure and I'm gonna be pist!" So, I started threading the hole before installing the insert. Problem solved. Neck wood is always hard enough to take thread cutting well, so no worries.
BroccoliRob
Hero Member
- Messages
- 1,126
i like the fisheye wide angle lens on those fotos, my turtle. reminds me of when i broke my ankle filming skateboard videos in the late 90's. i really shouldn't of been on the skateboard AND holding the camera. but hey you live you learn and then you get luvs
rgand
Epic Member
- Messages
- 5,934
In case you're interested, I found the 5/16-16 tap here for $10.72 plus shipping. All said, under $20 shipped.
BigSteve22
Hero Member
- Messages
- 2,798
:icon_thumright:Rgand said:In case you're interested, I found the 5/16-16 tap here for $10.72 plus shipping. All said, under $20 shipped.
JPOL007
Senior Member
- Messages
- 470
That’s what I get for not asking you guys first :doh:. The guy I got the inserts from uses them because they are self-threading and don’t need the hole to be tapped. It would have been faster to tap the holes. This is one of those lessons that stick with you; tapping threads from now on.Cagey said:When I started doing inserts many moons ago, that wood blistering due to displacement issues used to drive me nuts. I kept thinking "one of these days, I'm gonna split the heel of some super-nice neck from over-pressure and I'm gonna be pist!" So, I started threading the hole before installing the insert. Problem solved. Neck wood is always hard enough to take thread cutting well, so no worries.
JPOL007
Senior Member
- Messages
- 470
I did too many shots of ranch and was in a hurry to finish the job :laughing7:. The classes are kind of expensive and I tend to hurry the photos taken there. I definitely could do better with the photos taken at home :icon_thumright:.BroccoliRob said:i like the fisheye wide angle lens on those fotos, my turtle. reminds me of when i broke my ankle filming skateboard videos in the late 90's. i really shouldn't of been on the skateboard AND holding the camera. but hey you live you learn and then you get luvs
JPOL007
Senior Member
- Messages
- 470
Thanks…ordering one today for the next time :icon_thumright:Rgand said:In case you're interested, I found the 5/16-16 tap here for $10.72 plus shipping. All said, under $20 shipped.
JPOL007
Senior Member
- Messages
- 470
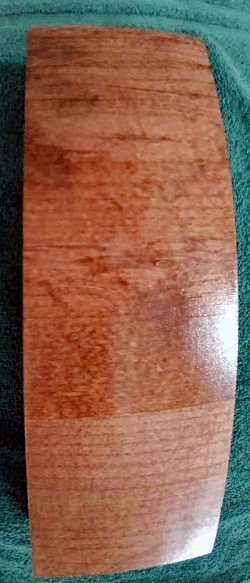
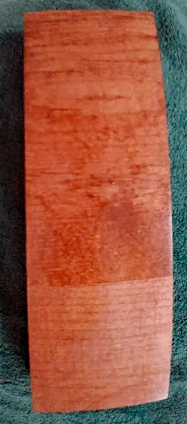
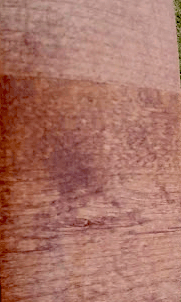
I’ve been playing around with Danish oil for the alder back finish. Red mahogany colored Watco Danish oil was applied first. Then a light coat of the dark walnut color of the same brand Danish oil. Another light coat of red mahogany was added to bring more red to the wood. I let this dry 48 hours and applied 2 coats of gloss wipe on poly.
Since I’m not too good with colors; what do you finishing guys think? Is it too red…too brown? I’m looking for a good separation of wood colors between front and back. The faux wood binding color may be vintage maple TransTint dye colored vs plain maple covered with shellac.
Since I’m not too good with colors; what do you finishing guys think? Is it too red…too brown? I’m looking for a good separation of wood colors between front and back. The faux wood binding color may be vintage maple TransTint dye colored vs plain maple covered with shellac.
Attachments
JPOL007
Senior Member
- Messages
- 470
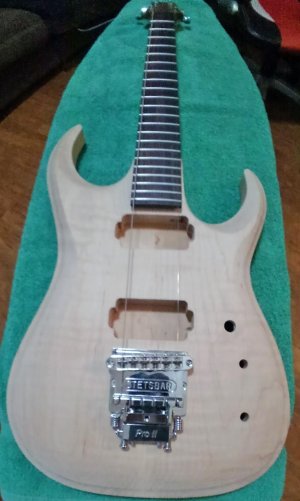
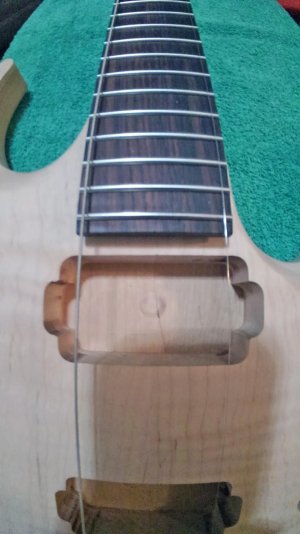
Finally got time to start working on the RGP build again. Put the StetsBar trem and neck on to check alignment. Used the low and high E strings to check where they lined up on the fretboard. It really does pay to measure multiple times. I’m happy everything was in the right place. I can finish with the detail sanding now and start dying the body. It’s still not warm enough to apply top coats here in North Carolina.


