You are using an out of date browser. It may not display this or other websites correctly.
You should upgrade or use an alternative browser.
You should upgrade or use an alternative browser.
The Adventure Begins ends
- Thread starter JPOL007
- Start date
JPOL007
Senior Member
- Messages
- 470
I dropped the body off with the guy to clear coat last Wednesday. He said it should be ready by this Friday 5/8/2020. Started working on the Scandinavian/German tele build’s neck while I’m waiting. The laser cutting makes some discoloring around the engraving in some areas. This got removed by using the abrasive material pads.
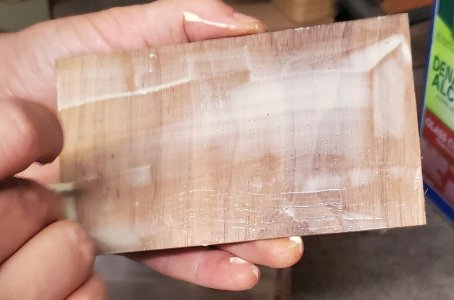
I used some TransTint green and bright red to make a brown color by mixing equal parts of each color in distilled water. This was applied to a scrap piece of maple and more green was added to darken the brown. I wasn’t impressed with this color and added some vintage maple color to the mix. The new color looked pretty good so I applied it to the back and sides of the neck. The color had a vintage maple kind of look when it dried. This was ok but I wanted a little more brown in the color. I applied some Watco dark walnut colored Danish oil and I really like the results. I’m thinking of using the dark walnut Danish oil on the fret board when I finish the sword inlay and clearing the back and fret board with semi-gloss poly.
I used some TransTint green and bright red to make a brown color by mixing equal parts of each color in distilled water. This was applied to a scrap piece of maple and more green was added to darken the brown. I wasn’t impressed with this color and added some vintage maple color to the mix. The new color looked pretty good so I applied it to the back and sides of the neck. The color had a vintage maple kind of look when it dried. This was ok but I wanted a little more brown in the color. I applied some Watco dark walnut colored Danish oil and I really like the results. I’m thinking of using the dark walnut Danish oil on the fret board when I finish the sword inlay and clearing the back and fret board with semi-gloss poly.
Attachments
JPOL007
Senior Member
- Messages
- 470
Thanks, The scalloping makes if difficult to measure, but the depth is between .75 mm to 1.4 mm. The width is easier to measure and is .49 mm in the pommel area, .63 mm to .69 mm in the blade outline and .75 mm to 1 mm in the blades center area. The color of the neck looks like roasted maple after the oil has dried for a couple of hours. I may just use the same dye color on the fretboard.PhilHill said:Love the sword engraving. Just out of curiosity, how deep does it go?
PhilHill
Hero Member
- Messages
- 1,653
JPOL007 said:Thanks, The scalloping makes if difficult to measure, but the depth is between .75 mm to 1.4 mm. The width is easier to measure and is .49 mm in the pommel area, .63 mm to .69 mm in the blade outline and .75 mm to 1 mm in the blades center area. The color of the neck looks like roasted maple after the oil has dried for a couple of hours. I may just use the same dye color on the fretboard.PhilHill said:Love the sword engraving. Just out of curiosity, how deep does it go?
Ohh, ok. I was thinking that the uneven surface of the fret board would bother a player. But that was my brain fart, as I forgot it's scalloped. so it doesn't matter.
Outstanding job so far, the finished guitar should be quite impressive! :icon_thumright:
JPOL007
Senior Member
- Messages
- 470
I got a call from the clear coat guy yesterday that about caused a heart attack. Conversation started with is the green color stain or dye and do you have any more? He had sanded through the first coat of clear and thought he went to the wood layer. I took everything needed to recover the affected area to his shop. There were some scuffed places on the sharp corners of the contouring. The abrasions didn’t go through the green color so I mixed some green dye and went over the scuffed areas. The green colored the scuffing some but still looked lighter that the surrounding area. I took a piece of the 0000 abrasive material and lightly burnished the scuffed sections. You could feel the slight resistance of the rough area where the scuff marks were located. It took about 20 minutes using the dye and abrasive material to make the scuff marks go away. He couldn’t believe how the surface looked just like the areas that weren’t scuffed. He is applying the second coats of poly today and will buff them out first of next week.
JPOL007
Senior Member
- Messages
- 470
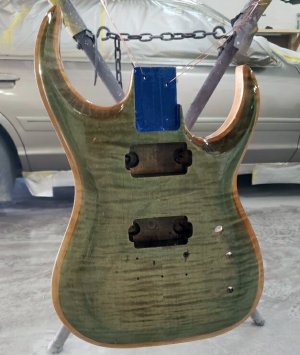
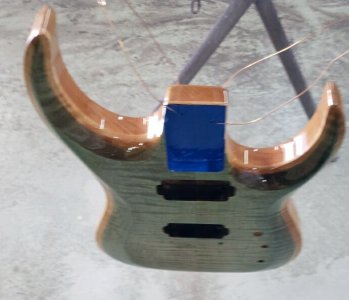
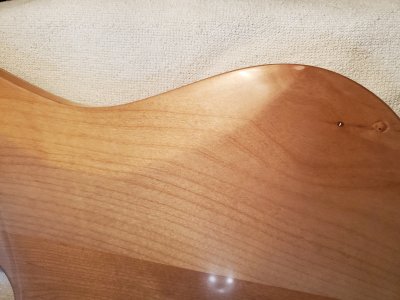
After yesterday’s scare Tony sends some photos. The clear was shot again today and needs to set and be buffed out later. This is what it looks like before being buffed out.
Attachments
stratamania
Mythical Status
- Messages
- 12,279
The adventure begins and ends and keeps changing its thread name...why not just change the post subject and keep the thread the same...
JPOL007
Senior Member
- Messages
- 470
I've been confused about how the post subject gets changed. Is it as simple as just making a reply to the same thread :doh: That would be easier than renaming every time.stratamania said:The adventure begins and ends and keeps changing its thread name...why not just change the post subject and keep the thread the same...
stratamania
Mythical Status
- Messages
- 12,279
JPOL007 said:I've been confused about how the post subject gets changed. Is it as simple as just making a reply to the same thread :doh: That would be easier than renaming every time.stratamania said:The adventure begins and ends and keeps changing its thread name...why not just change the post subject and keep the thread the same...
That is it. Just reply to the thread and in the subject of the reply you can edit there if you want.
JPOL007
Senior Member
- Messages
- 470
stratamania said:Thanks, I really have been feeling I was doing it wrong, but didn't know how to ask for help. Got a handle on it now :redflag:JPOL007 said:I've been confused about how the post subject gets changed. Is it as simple as just making a reply to the same thread :doh: That would be easier than renaming every time.stratamania said:The adventure begins and ends and keeps changing its thread name...why not just change the post subject and keep the thread the same...
That is it. Just reply to the thread and in the subject of the reply you can edit there if you want.
JPOL007
Senior Member
- Messages
- 470
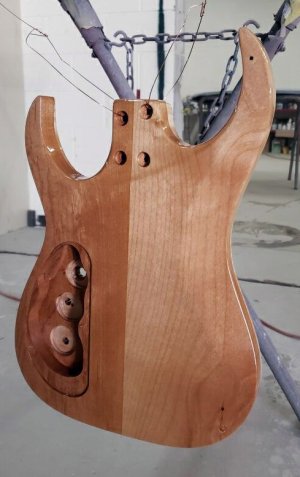
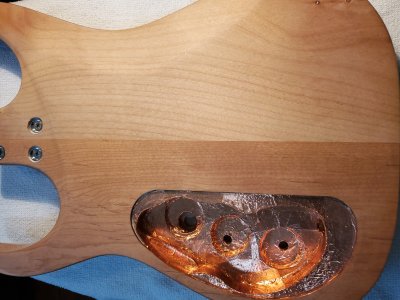
Well I’m finally back on track with the build. I thought a small place on the big horn just needed more rubbing out. It was about the size of my thumb and had a slight haze appearance. The clear coat manufacture said to start with 2000 grit and go up in grade until the haze disappeared then compound until everything was uniform in appearance.
Turned out to be delamination of the clear coat. I ended up sanding all the way down to raw wood before the clear stopped rolling up. This led me to look for more of these places. I ended up level sanding the entire body in an attempt to find trouble spots. I found 3 more spots with poor adhesion and sanded to raw wood in these places.
The guy who cleared the body is going to repair the raw spots. I ended up using 1000 grit to take the delamination spots down to raw wood. Then 1500, 2000, 3000 and finally 5000 grit papers were used to blend and level the back and sides. Since no delamination spots were found on the top; I started with 2000 and worked through 3000 and finished with 5000 grit papers. Mineral spirits were used in place of water for the sanding to help prevent wood swelling. Wear a mask if you use mineral spirits for wet sanding, the smell is deadly. Some gloves are also suggested to prevent skin irritation.
Attachments
JPOL007
Senior Member
- Messages
- 470
Thanks, the paint and body guy will get it later this week. I'll wait a minimum of 2 weeks after he is done and then level the repair work. This automotive clear is hard as a rock when it sets up.rick2 said:Wow, that's looking good.
JPOL007
Senior Member
- Messages
- 470
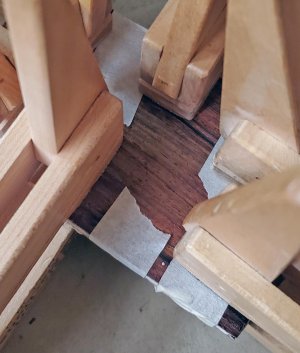
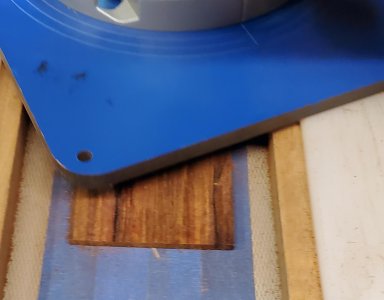
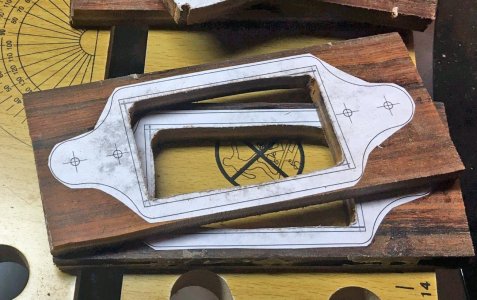
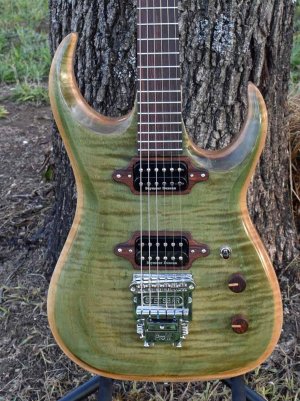
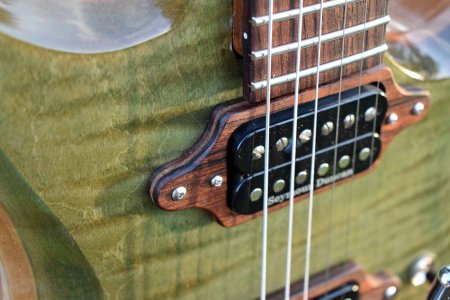
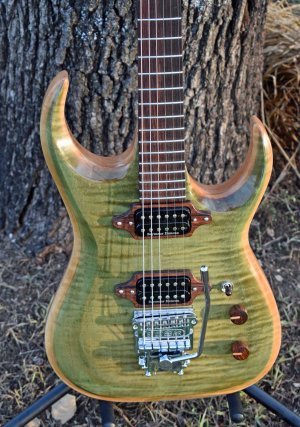
I’m making pickup rings for the build because regular dimension rings don’t fit the neck area. I took too much material off when contouring the small horn area. This makes a normal pickup ring extend a little too far into the contoured area. There was plenty of cocobolo left from making the pickup covers; so I’m using that to make the rings. The grain of the cocobolo might let the rings split in the corners so I’m using walnut to reinforce the grain. The cocobolo and walnut were routed flat then glued together with their grains running 90 degrees from each other. I glued a template to the wood and used a scroll saw to cut out the middle section. The template is a drawing made using solid works when I worked out the ring’s shape. The rings are the last piece of this build and then the final assembly can be completed.
Attachments
JPOL007
Senior Member
- Messages
- 470
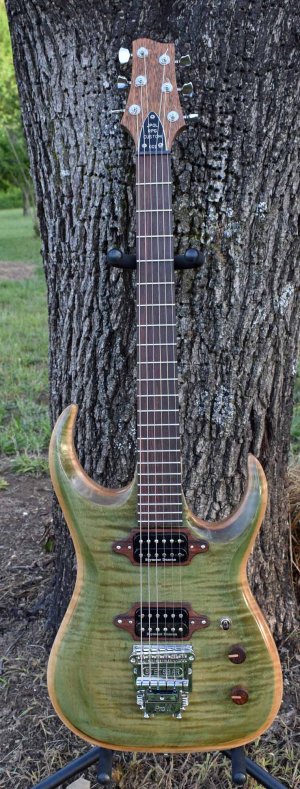
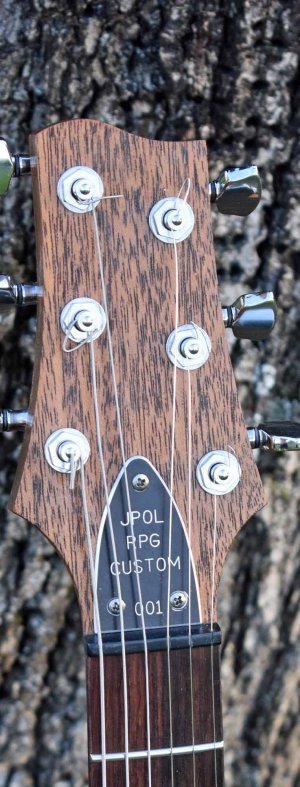
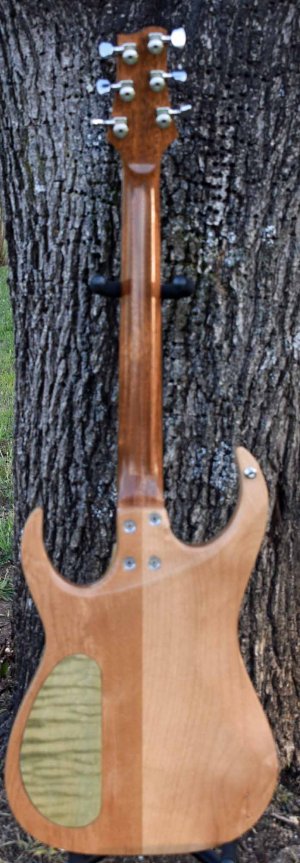
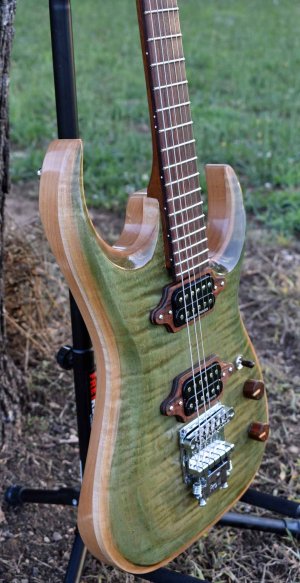
What started out as almost a joke has been a serious lesson. It is amazing what building a body from scratch involves. Having access to the forum was a priceless resource. Thank you everyone who answered questions and gave encouragement during this project. The build is finally completed. :redflag:
Attachments
JPOL007
Senior Member
- Messages
- 470
Thank youBeagJon said::band: Don't call it a comeback, he's been here for years. Epic project sir.
DangerousR6
Mythical Status
- Messages
- 15,478
Very cool, nice job on the pup rings... :icon_thumright: :kewlpics:


