I had a little more time today so I did some more on the pickguard.
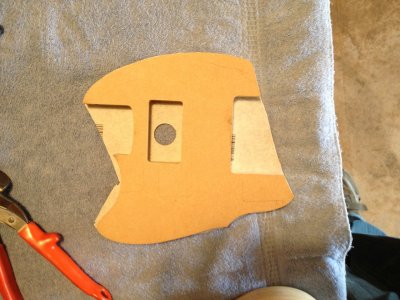
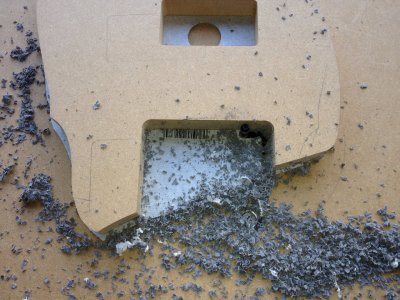
To check the pickguard pattern and locate the blade switch, I made a test guard out of a self-adhesive linoleum square. I experimented with the adhesive to make it just slightly effective so I could stick it on the pattern to work with but it was just too damn sticky. If I put anything on it, it negated any adhesion. I simply left the backing on and screwed it to the pattern using two of the existing screw holes from the original pattern(s). I cut the excess off the linoleum with sheet metal shears and drilled an access hole in the pickup opening. Then I cut it out with the router table.
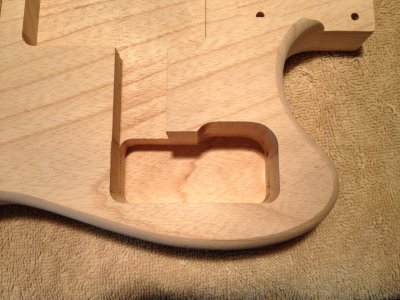
I transferred the 5 rocker switch locations from the lower switch plate to the linoleum test guard. I was undecided whether to put the switch parallel to the centerline of the body or at an angle. I figured cutting it at an angle would be more work to get lined up right but I figured I’d try that first. It looked like I could put the switch in at a 30 degree angle so that’s what I did. No-go. The switch hit on both sides just enough to keep the guard from lining up so I slotted the holes and worked on the switch slot with swiss files until the switch was rotated enough to fit in the existing route on the body. When I measured the angle, it was about 28 degrees off from centerline alignment.
With the neck on the body again, I mounted the pickguard with the center hole that held the body pattern on. The neck kept it from rotating. I sat on a wine barrel and held the guitar the way I would if I was going to play it and tried the switch. It was good. No, it wasn’t just ‘good’, it was frikkin fantastic. Birds sang and crickets chirped. Angels sang. It felt so right that I decided to put the switch in the finished guitar the same way.
If I run into any alignment problems with the switch hitting the sides of the cavity when I make the actual pickguard, I’ll just adjust the cavity. There’s plenty of room to do that. Which brings up an interesting thought: why do guitar makers route just barely enough out to fit something in? When there’s plenty of room, why not cut out a big area so you can have options or at least an easy job of putting things in?
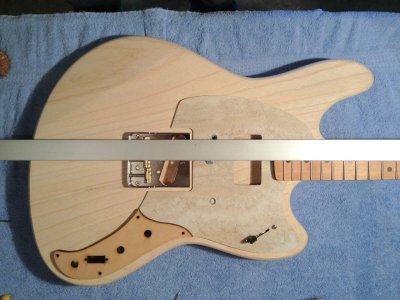
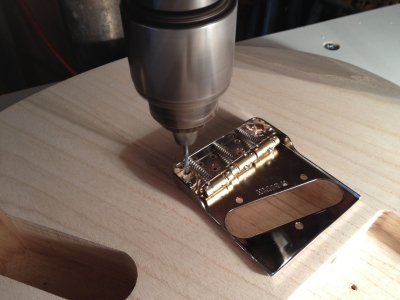
Next I laid the guitar on the bench and set the bridge on where it will go. The pickguard will need a slight adjustment for that but not enough to change the pattern. It can be adjusted with sandpaper and a block.
I ran a straight edge along the sides and center of the neck to see how it aligned with the saddles. Both sides lined up with the exact center of the outside height adjustment screws. Nice. I also laid the straight edge from the center of the nut to the center saddle screw and it went right down the center of the neck spots. The holes from the original pattern proved to be in the right place and I can mount that bridge right on those two holes to align the rest.
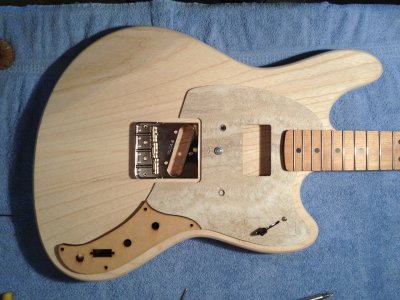
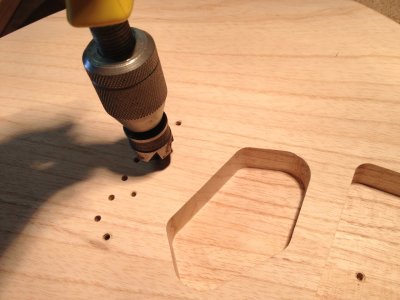
For purposes of the photos, I put the control plate pattern in place. This thing is going to be an outstanding guitar. I wish I could get a side jack in it. Then I could put the blade switch in that plate, which would be ideal, or I could leave the switch where it’s planned and move the controls even further from the line of fire while thrashing wildly with a pick.


