Staining idea

mysticaxe

Junior Member
Messages
45
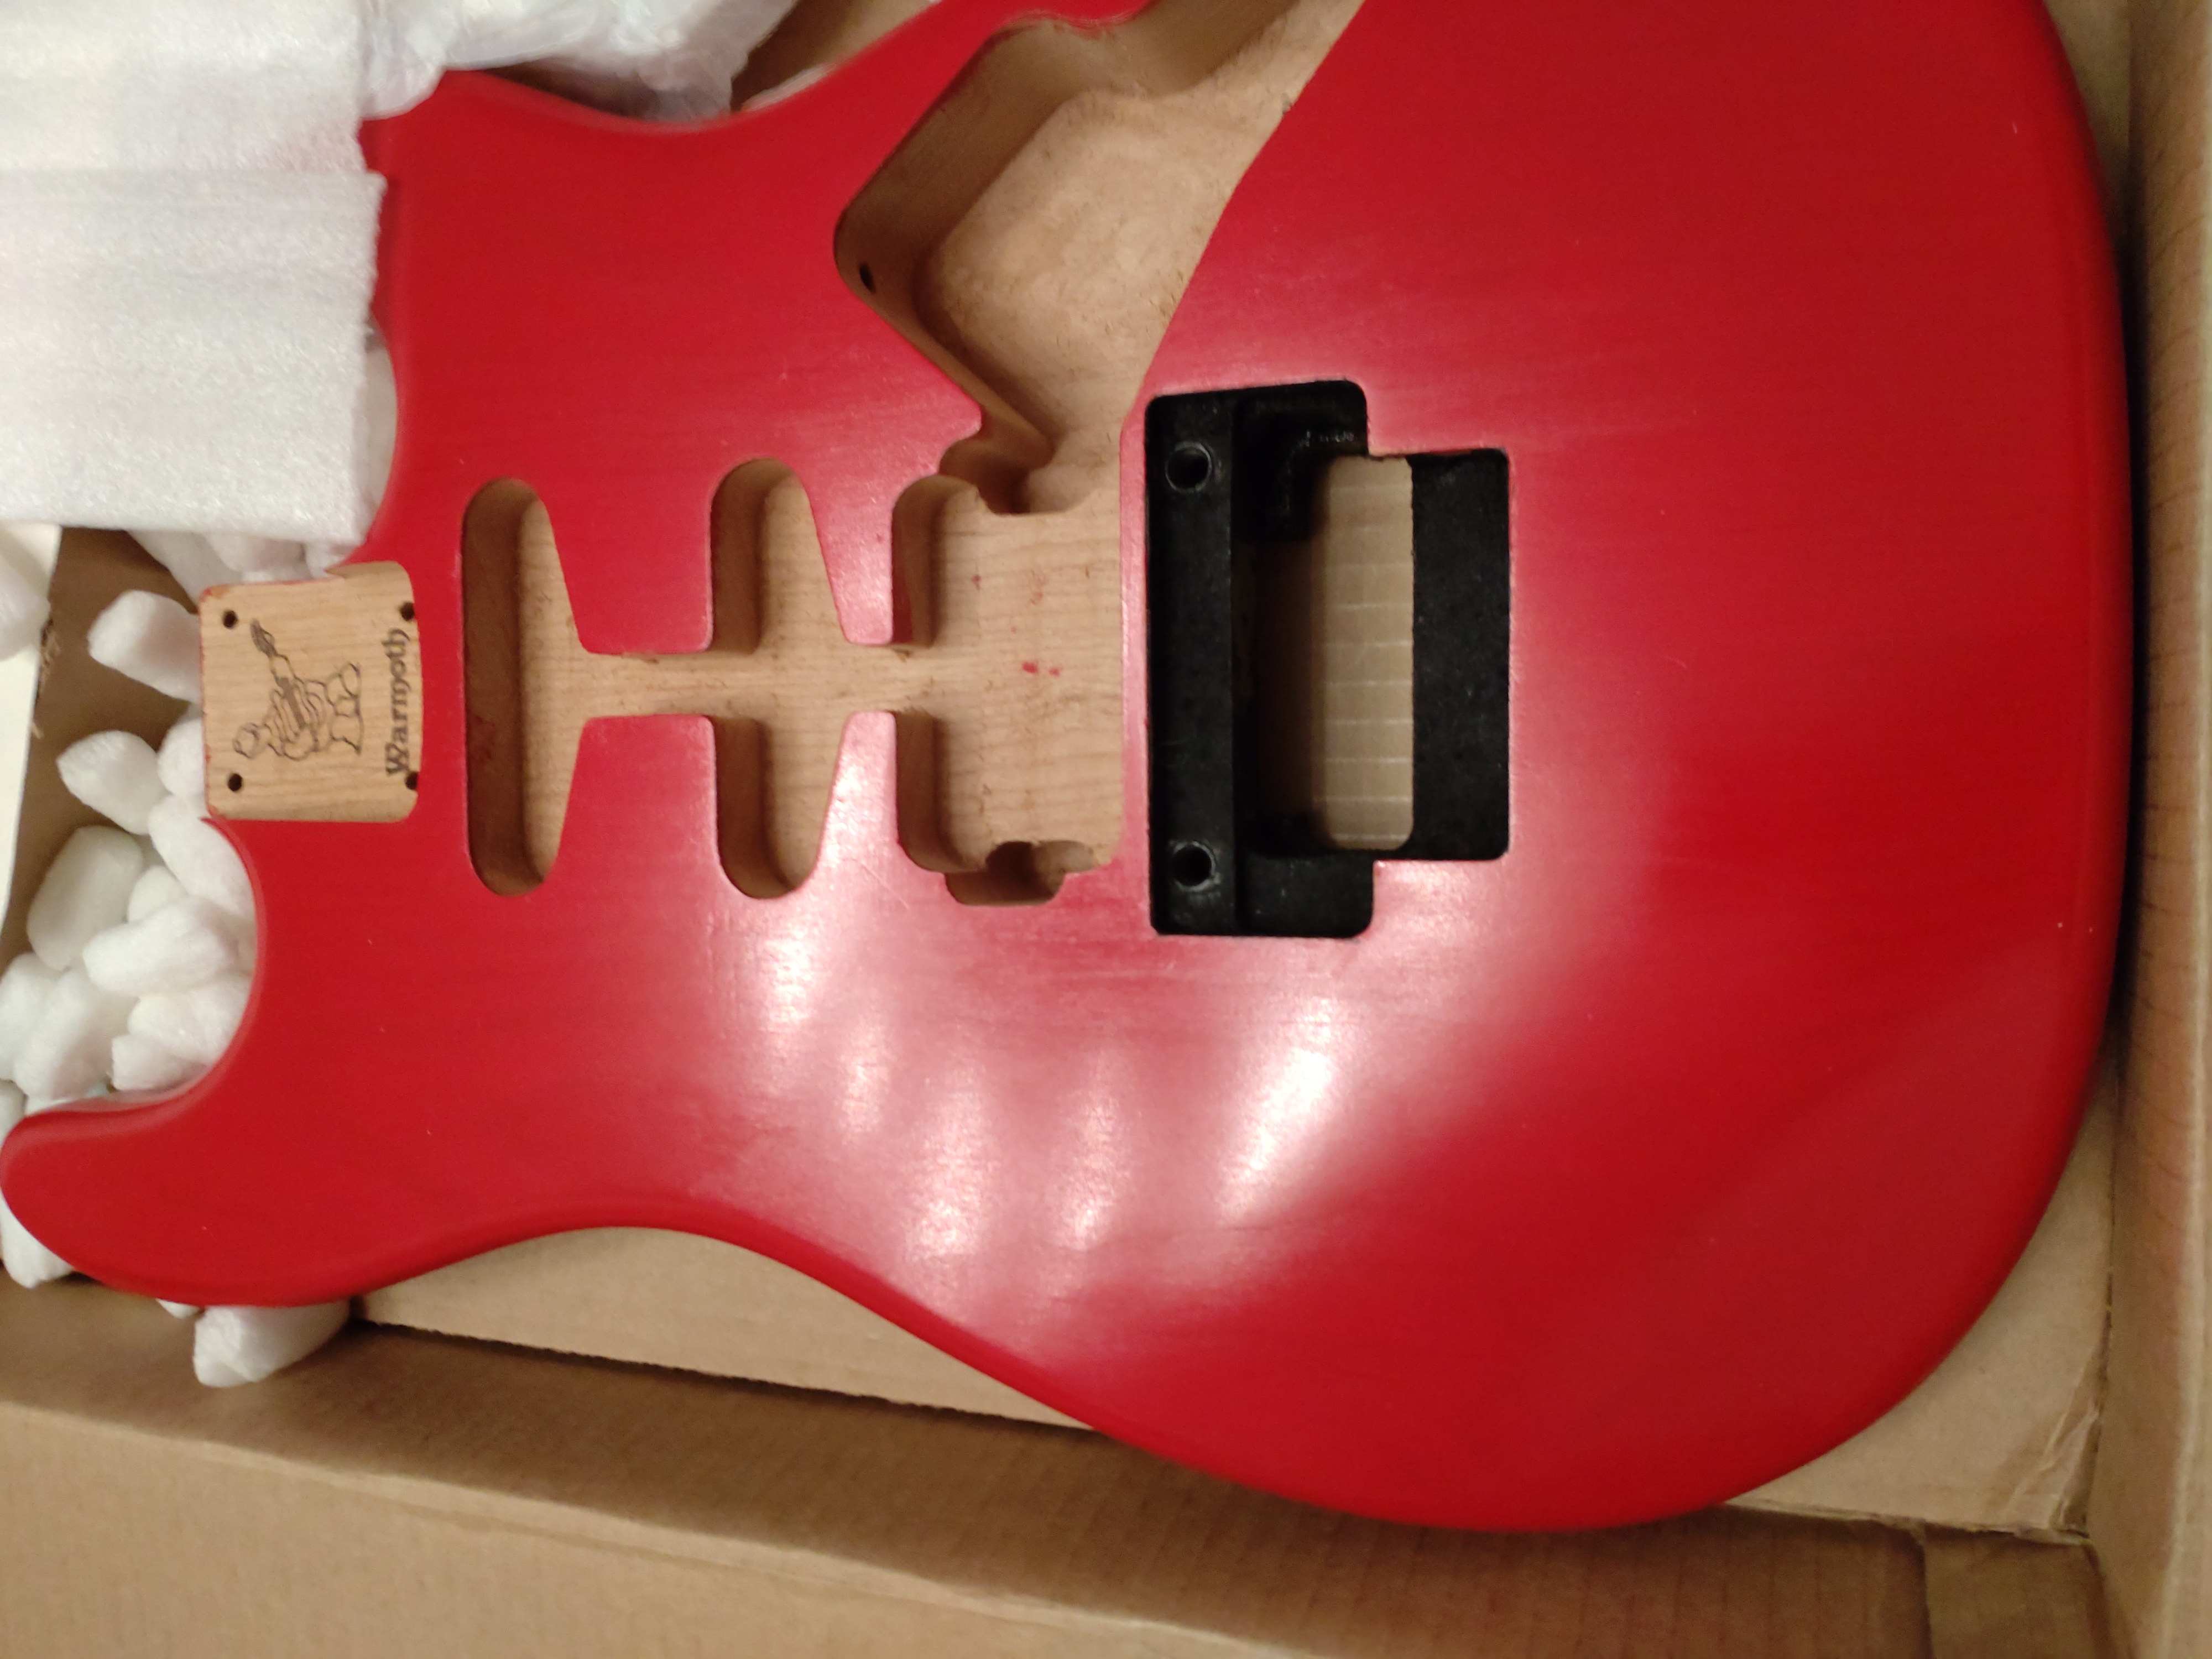
I'm planning for a new build and thinking of a transparent finish on swamp ash (which I'll finish in Tru-Oil).  One of the key aspects of my concept requires fairly crisp lines with different colors on the front of the guitar (like stripes).  I'd like to minimize bleed as the two colors won't really mix well (and wouldn't work for what I want).  I've seen videos where people take an exacto knife to cut the grain along the boundary between the two colors, then tape off the edge, possibly pushing some tape into the 1/16" "channel" in the context of making Cornhole boards.  Does this feel like the right way to try to do this?  Should I expect issues due to using Swamp Ash (with the deep grain)?
 
It sounds like an exercise in frustration waiting to happen.

Perhaps a different finish on swamp ash would be a better choice. Or if you are really struck on the stripes a different finish medium and a different wood to finish it on. And practice first on scrap...
 
stratamania said:
It sounds like a exercise in frustration waiting to happen.

Perhaps a different finish on swamp ash would be a better choice. Or if you are really struck on the stripes a different finish medium and a different wood to finish it on. And practice first on scrap...

That is why I'm scared.  The stripes aren't really stripes, but part of a finish idea that I have essentially fixated on.  I want to see the wood grain (hence the stain idea).  I will have to try to locate a wood shop that has swamp ash (the local Woodcraft doesn't seem to have any).
 
stratamania said:
Fixation is not a good thing generally. Perhaps consider an alternative.

Obsession can occasion invention.

OP, I'll think on this after dispatching some immediate things.
 
So to be a little clear, it isn't a ton of stripes (like the EVH guitar), but rather only a couple places where this would come into play.  I suppose another variation of the question would be if I were to use paint as one of the colors and stain the remainder.  Is paint compatible with Tru-Oil?
 
I could see the groove between working perhaps if you fill that with a fine line of e.g. shellac, using a needle tip paintbrush. Definitely test out on a similar wood, maybe basswood. A clean edge seems hard to get using stain and even shellac seems likely to bleed some into an open grain wood.
 
I can't think of how to how to cleanly do this with a brush-on/wipe-on finish. Stain, by it's nature soaked into the grain, making hard edges difficult. Especially since ash needs grain filler, which (unless properly sanded back) can cause blotchiness when applying stain/dye directly to the wood. This is why all of the Fender transparent colors are sprayed lacquer toner.  Scoring the wood a little bit has promise and may preventing bleeding because the small cut creates a tiny lip on each side, but could result in a dark edge where the stain/dyes meet.

If I were doing this, it would be shooting tinted/toner lacquer...sealer coat; then tape off and shoot one color; remove tape and shoot clear seal coats; tape off an shoot second color; remove tape and shoot clear seal coats; .... 𝓃. And even that has it's challenges (tape peeling off finish).

I would ask around at some of the woodworking or furniture making forums.
 
Hmm, would a maple laminate make my life easier?  The dark edge at the scores probably aren't a problem.  The two colors I'm think are yellow and a darker blue.
 
I personally think a closed grain wood like maple may be easier to deal with...but ultimately, this will require plenty test wood, a lot of experimenting, trail & error, and practice to develop a process. I would experiment with different dyes and stains; scoring; taping; frisk-it film; wiping/brushing techniques and direction; etc. The nice thing is you won't have to wait too long to view the results. Then when you have a edge and color you like, you need to test the tru oil over it hoping it doesn't leech.
 
I am not sure why I did not mention this earlier but I have mixed Tru-Oil with oil based artists paints if that helps you at all. But I used it on alder.

Perhaps if you use linseed based artists paint mixed with Tru-oil and build up some sealer coats first of Birchwood Casey's Sealer and Filler and Tru-oil before adding coloured layers it might work though I would say it will be an exercise in patience to make sure each step is fully dry.

Here is a picture of the body I did that way which took quite a bit of work to get to this point. At this point this finish is three years old.

DSC_0093 by stratamania, on Flickr
 
stratamania said:
I am not sure why I did not mention this earlier but I have mixed Tru-Oil with oil based artists paints if that helps you at all. But I used it on alder.

Perhaps if you use linseed based artists paint mixed with Tru-oil and build up some sealer coats first of Birchwood Casey's Sealer and Filler and Tru-oil before adding coloured layers it might work though I would say it will be an exercise in patience to make sure each step is fully dry.

Here is a picture of the body I did that way which took quite a bit of work to get to this point. At this point this finish is three years old.

DSC_0093 by stratamania, on Flickr

OK - this is very interesting!  (the reason for my obsession is that the planned finish is in honor of the 25th anniversary of something important to me, so I will do my absolute best to make it work).  When you say "artists paint" - are those one of the colors?  If I understand correctly, the order would be:
1. Birchwood Casey Sealer coat(s) to fill grain
2. Dilute each paint in Tru-Oil - build up coats of each individually, slowly, making sure the whole thing is dry before introducing the second color.
3. Some level of Tru-Oil "clear" for a top coat.

How far off is that?
 
bro, if you require crisp lines i think you gotta suck it up and just use masking tape and transparent spray-on color. practice on some home depot lumber first
 
The paint used was Winsor and Newton, Deep Cadmium Red, artist grade. It is artists oil paint. The oil in it is Linseed Oil/Safflower Oil. Tru-Oil also contains Linseed oil so they are compatible. It is available though in many other colours.

The paint was not diluted with Tru-Oil but more the paint added to Tru-oil and mineral (white) spirits to achieve a usable consistency and the finish was built up in layers. It took a few layers before the richness of the colour was achieved.

Sorry I cannot give you a ratio as I do these things more by feel. But other than that your steps would probably work. If you were to do stripes you really would have to take a lot of care to give it time to make sure things dry really well.

I did this partly as an experiment. I am not sure I would repeat it as a process as it is very slow.
 
So as a follow-up, this technique seems to work on my flamed maple test board.  A couple things I've "learned":

- I diluted the trans-tint stain in denatured alcohol instead of water.  I suspect the faster evaporation time helps reduce bleed.
- I taped off the desired pattern, outlined the planned cut in sharpie over the tape, then cut the edge between the contrasting color.  Go slow to keep on your planned line.  The cut was pretty shallow (~1/16" - just through the outer grains).
- Peel back and stain the darker color, with the tape in place where the lighter color will go.  While the stain doesn't bleed, slip is still a concern.  A darker color will appear more easily/apparently on a lighter color than vice versa.
- Once that is dried (pretty quick with the alcohol based stain), peel back the tape and carefully stain the lighter color.  A steady hand is important if you are in tight spaces.  A Q-tip can also help provide finer control.
- To "firm" up the visual effect of the transition/border, a fine sharpie (preferably matching the color of one of the stains) can go over the cut.
- I used Birchwood Casey Sealer/Filler until I couldn't feel the border cuts anymore, then applied Tru-Oil.

I used a test board of flamed maple I got at Woodcraft.  The things I'm still playing with are specific shades of the dyes and how to minimize blotchy staining.  In the places where it didn't get blotchy, it looks really great and you can see the grain cross into different stain colors.  I expect to order the body shortly and start to figure out how to lay it out on the guitar.
 
Most of the key features are present here (without giving away where the final idea is going).  I started from the right and cut and dyed the blue (while tape still covered where the amber is).  I then taped the other side, dyed amber to the second tape line (where the second blue is).  So amber was dyed free-hand against the blue on the right and against tape on the left.  I finally free-hand stained the narrow strip of blue (clear where the hand slipped, hence the "work dark to light" recommendation).  This was also before I figured out the sharpie to make the edge pop a little better.  A Q-Tip also helps in some of the tighter spots (and subsequent attempts have been better at the edge).
 

Attachments

  • IMG_2830.jpg
    IMG_2830.jpg
    781.2 KB · Views: 101
So work firmly in progress and I am thrilled with the results.  At this point, I am waiting for the Truoil to cure before final assembly.
 

Attachments

  • stain idea.jpg
    1.3 MB · Views: 25
For posterity - this technique works well on maple, and is likely feasible on swamp ash, based on the scraps I got from Warmoth when I ordered my body.  Swamp ash came out lighter with the same dye than maple did, but for my final product, it was close enough that I didn't worry about it.

(edit - direct image)
DUnVKCV.jpg
 

Attachments

  • IMG_2946.jpg
    1.2 MB · Views: 26
Back
Top