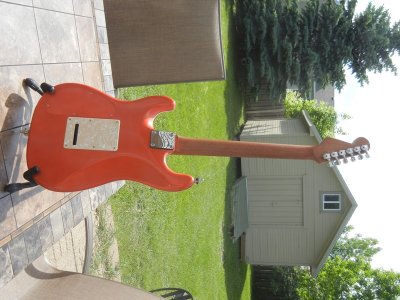
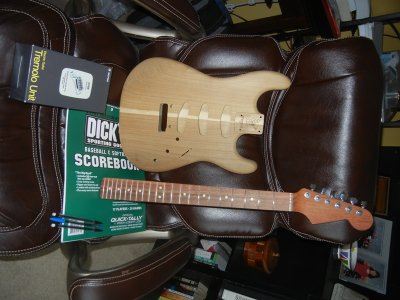
After having a body sit on the shelf for a couple of years, I am finally ready to finish the build. I am starting with a poplar Stratocaster body, rear routed with a Wilkinson trem. For the neck, I was able to buy a Warmoth quartersawn rosewood neck with a pau ferro fingerboard, stainless frets and Sperzel locking tuners for $200 on Craig's List.
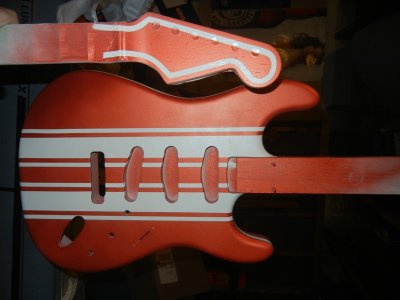
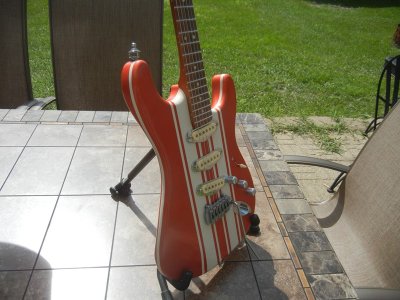
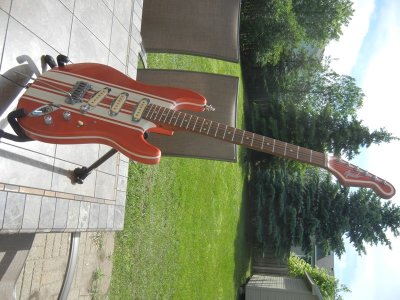
For the finish, I am going to do Porsche 911 "Cremeweiss" stripes on BMW Z4 "Valencia Orange" using automotive basecoat paint and a urethane clear coat. I got the paint from automotivetouchup.com. The clear is a 2-part SprayMax 2K catalyzed urethane.
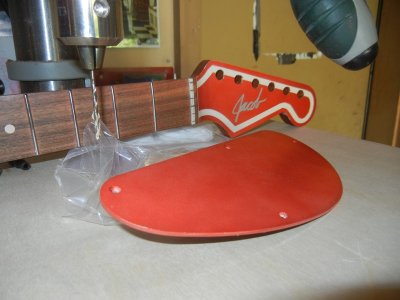
First step was to install the bridge studs using a punch mounted in the drill press chuck. I probably could have done that later, but I wanted to be able to fix any problems in case things didn't go well. This is my first body, so I'm sure I am going to screw some things up. I wanted to sink the studs just barely below the surface; this was done to be able to block sand the body.
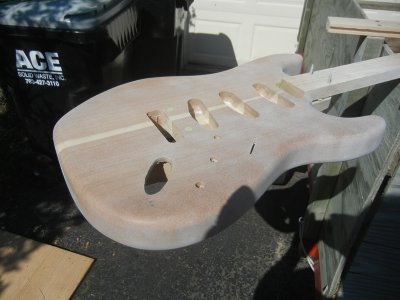
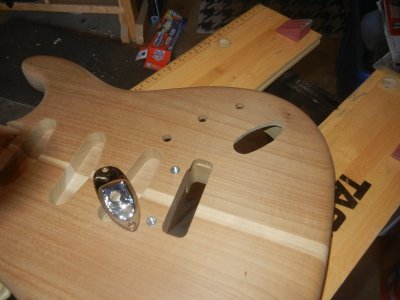
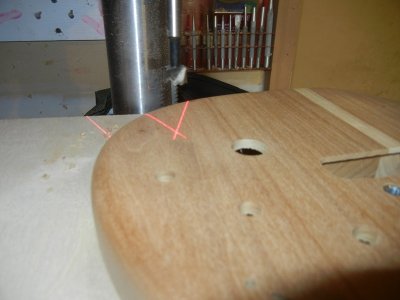
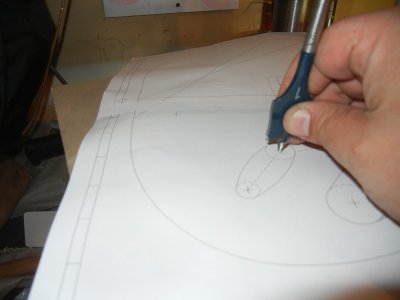
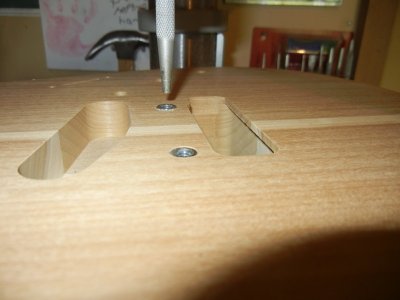
Next, I wanted a top-mounted strat jack, one of the touches that makes a strat a strat. Warmoth wanted $45 to cut the hole, which was insane on a $129 body. I printed off a full-size strat plan I found on the old interweb. I marked the position of the outer circles of the jack hole. The hole closest to the bridge was 3/4" and the other was 1/2". I cut the rest of the hole with a jigsaw. I filed the opening smooth. I final sanded the body using 220 grit and then 320.
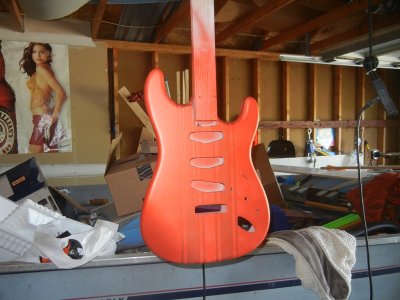
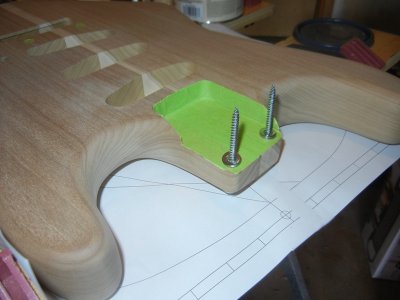
After taping the neck pocket and bridge studs, I attached a 2" wide scrap board to use as a handle for painting. I put 3 washers between the board and body so that the paint wouldn't attach the board to the body. Likewise, I made sure the sides of the board were not touching the neck pocket.
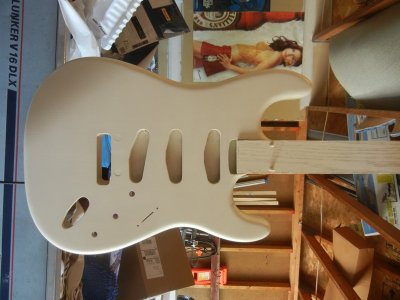
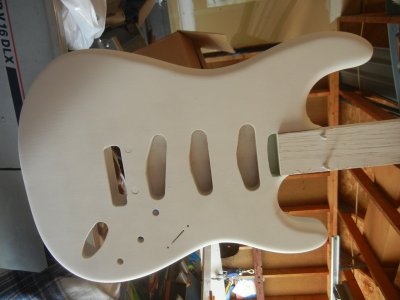
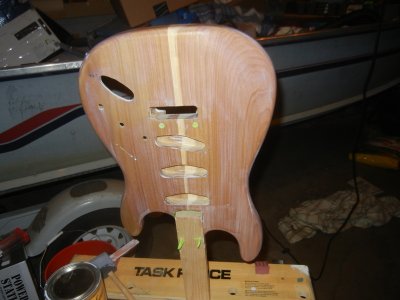
Ok, the finishing can begin. I applied Varathane Sanding Sealer to the body. The first coat was sucked into the wood within minutes. I applied the 2nd and then a 3rd coat until I got solid coverage. The wood on the contoured heel raised crazy, hard to explain. I sanded it flat with 180 grit and resealed. I sanded the body with 320 grit until it was perfectly smooth with no shiny spots. It is ready for paint, unfortunately, Minnesota is not - I want 70 degrees temps with less than 50% humidity. Hopefully soon.
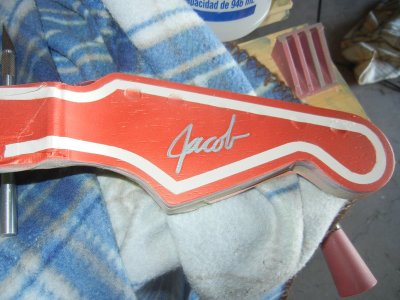
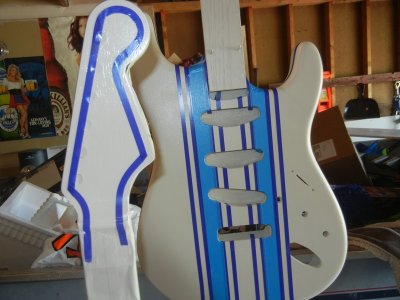
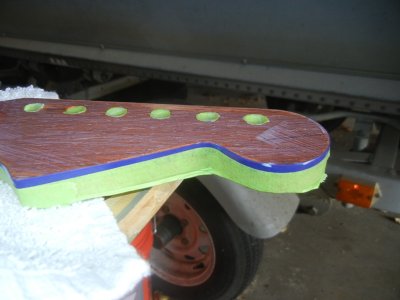
Since my clear is only good for one day once opened, I want to spray the headstock at the same time. I started to prep the area by sanding the rosewood headstock and applied multiple coats of denatured alcohol to dry out the wood. I taped the neck and cut out circles to barely cover the tuner holes. I immediately applied the sealer. I used vinyl tape to mark the edge - this stuff is awesome for going around curves as it will stretch and lay flat on even tight curves.
Ok, that's part I. Once I can get a full day of good weather I will apply primer, paint and clear. Stay tuned...
For the finish, I am going to do Porsche 911 "Cremeweiss" stripes on BMW Z4 "Valencia Orange" using automotive basecoat paint and a urethane clear coat. I got the paint from automotivetouchup.com. The clear is a 2-part SprayMax 2K catalyzed urethane.
First step was to install the bridge studs using a punch mounted in the drill press chuck. I probably could have done that later, but I wanted to be able to fix any problems in case things didn't go well. This is my first body, so I'm sure I am going to screw some things up. I wanted to sink the studs just barely below the surface; this was done to be able to block sand the body.
Next, I wanted a top-mounted strat jack, one of the touches that makes a strat a strat. Warmoth wanted $45 to cut the hole, which was insane on a $129 body. I printed off a full-size strat plan I found on the old interweb. I marked the position of the outer circles of the jack hole. The hole closest to the bridge was 3/4" and the other was 1/2". I cut the rest of the hole with a jigsaw. I filed the opening smooth. I final sanded the body using 220 grit and then 320.
After taping the neck pocket and bridge studs, I attached a 2" wide scrap board to use as a handle for painting. I put 3 washers between the board and body so that the paint wouldn't attach the board to the body. Likewise, I made sure the sides of the board were not touching the neck pocket.
Ok, the finishing can begin. I applied Varathane Sanding Sealer to the body. The first coat was sucked into the wood within minutes. I applied the 2nd and then a 3rd coat until I got solid coverage. The wood on the contoured heel raised crazy, hard to explain. I sanded it flat with 180 grit and resealed. I sanded the body with 320 grit until it was perfectly smooth with no shiny spots. It is ready for paint, unfortunately, Minnesota is not - I want 70 degrees temps with less than 50% humidity. Hopefully soon.
Since my clear is only good for one day once opened, I want to spray the headstock at the same time. I started to prep the area by sanding the rosewood headstock and applied multiple coats of denatured alcohol to dry out the wood. I taped the neck and cut out circles to barely cover the tuner holes. I immediately applied the sealer. I used vinyl tape to mark the edge - this stuff is awesome for going around curves as it will stretch and lay flat on even tight curves.
Ok, that's part I. Once I can get a full day of good weather I will apply primer, paint and clear. Stay tuned...
Attachments
-
 01 - Start.JPG143.5 KB · Views: 33
 -
 09 - Seal Neck.JPG112.9 KB · Views: 18
 -
 08 - Seal Body.JPG123.1 KB · Views: 15
 -
 07 - Fake Neck.JPG112 KB · Views: 13
 -
 06 - Cut Jack Hole.JPG116.9 KB · Views: 15
 -
 05 - Drill Holes.JPG100.1 KB · Views: 9
 -
 04 - Mark Drill Marks.JPG88 KB · Views: 10
 -
 03 - Sink Studs.JPG105.5 KB · Views: 11
 -
 02 - Install Studs.JPG103.7 KB · Views: 14