stratamania
Mythical Status
- Messages
- 12,359
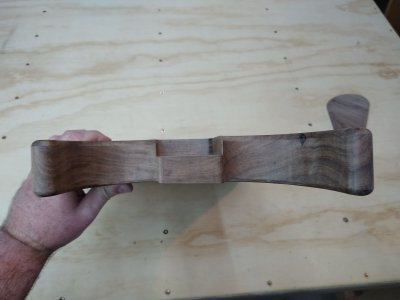
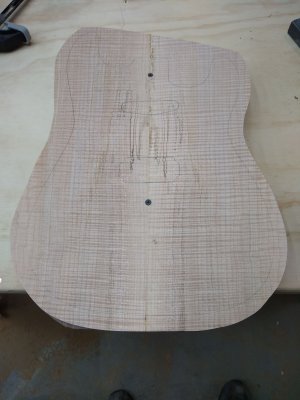
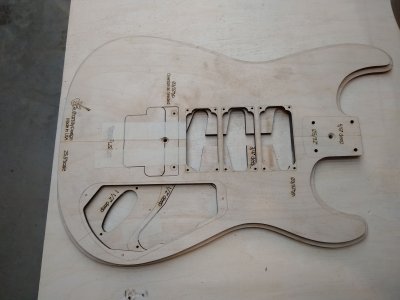
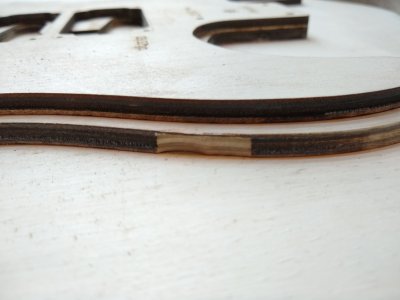
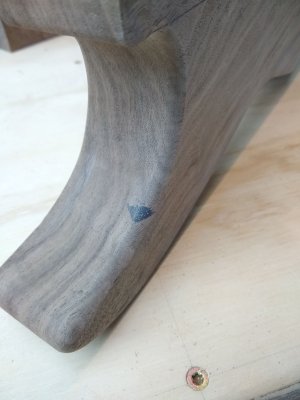
I know you plan on not using binding but you could take the kerfs across and using some of the sawdust from the same piece once you have fitted the drop top fill the kerfs at the edge with sawdust and glue.
 ccasion14:
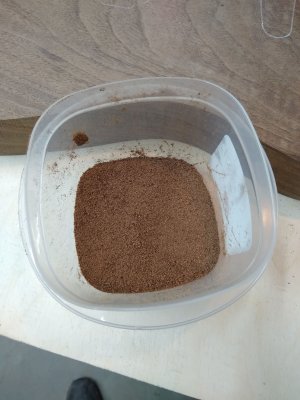
")