Metallic Black Cherry Floyd Rose Non-Fine Tuner

stratamania

Mythical Status
Messages
10,888
Continuing on from the out of the box photos of the Another fine body... thread...found at the below link...


After undergoing some emergency surgery just after Easter, I now have some time and regaining enough health to get this one started.
 
Last edited:
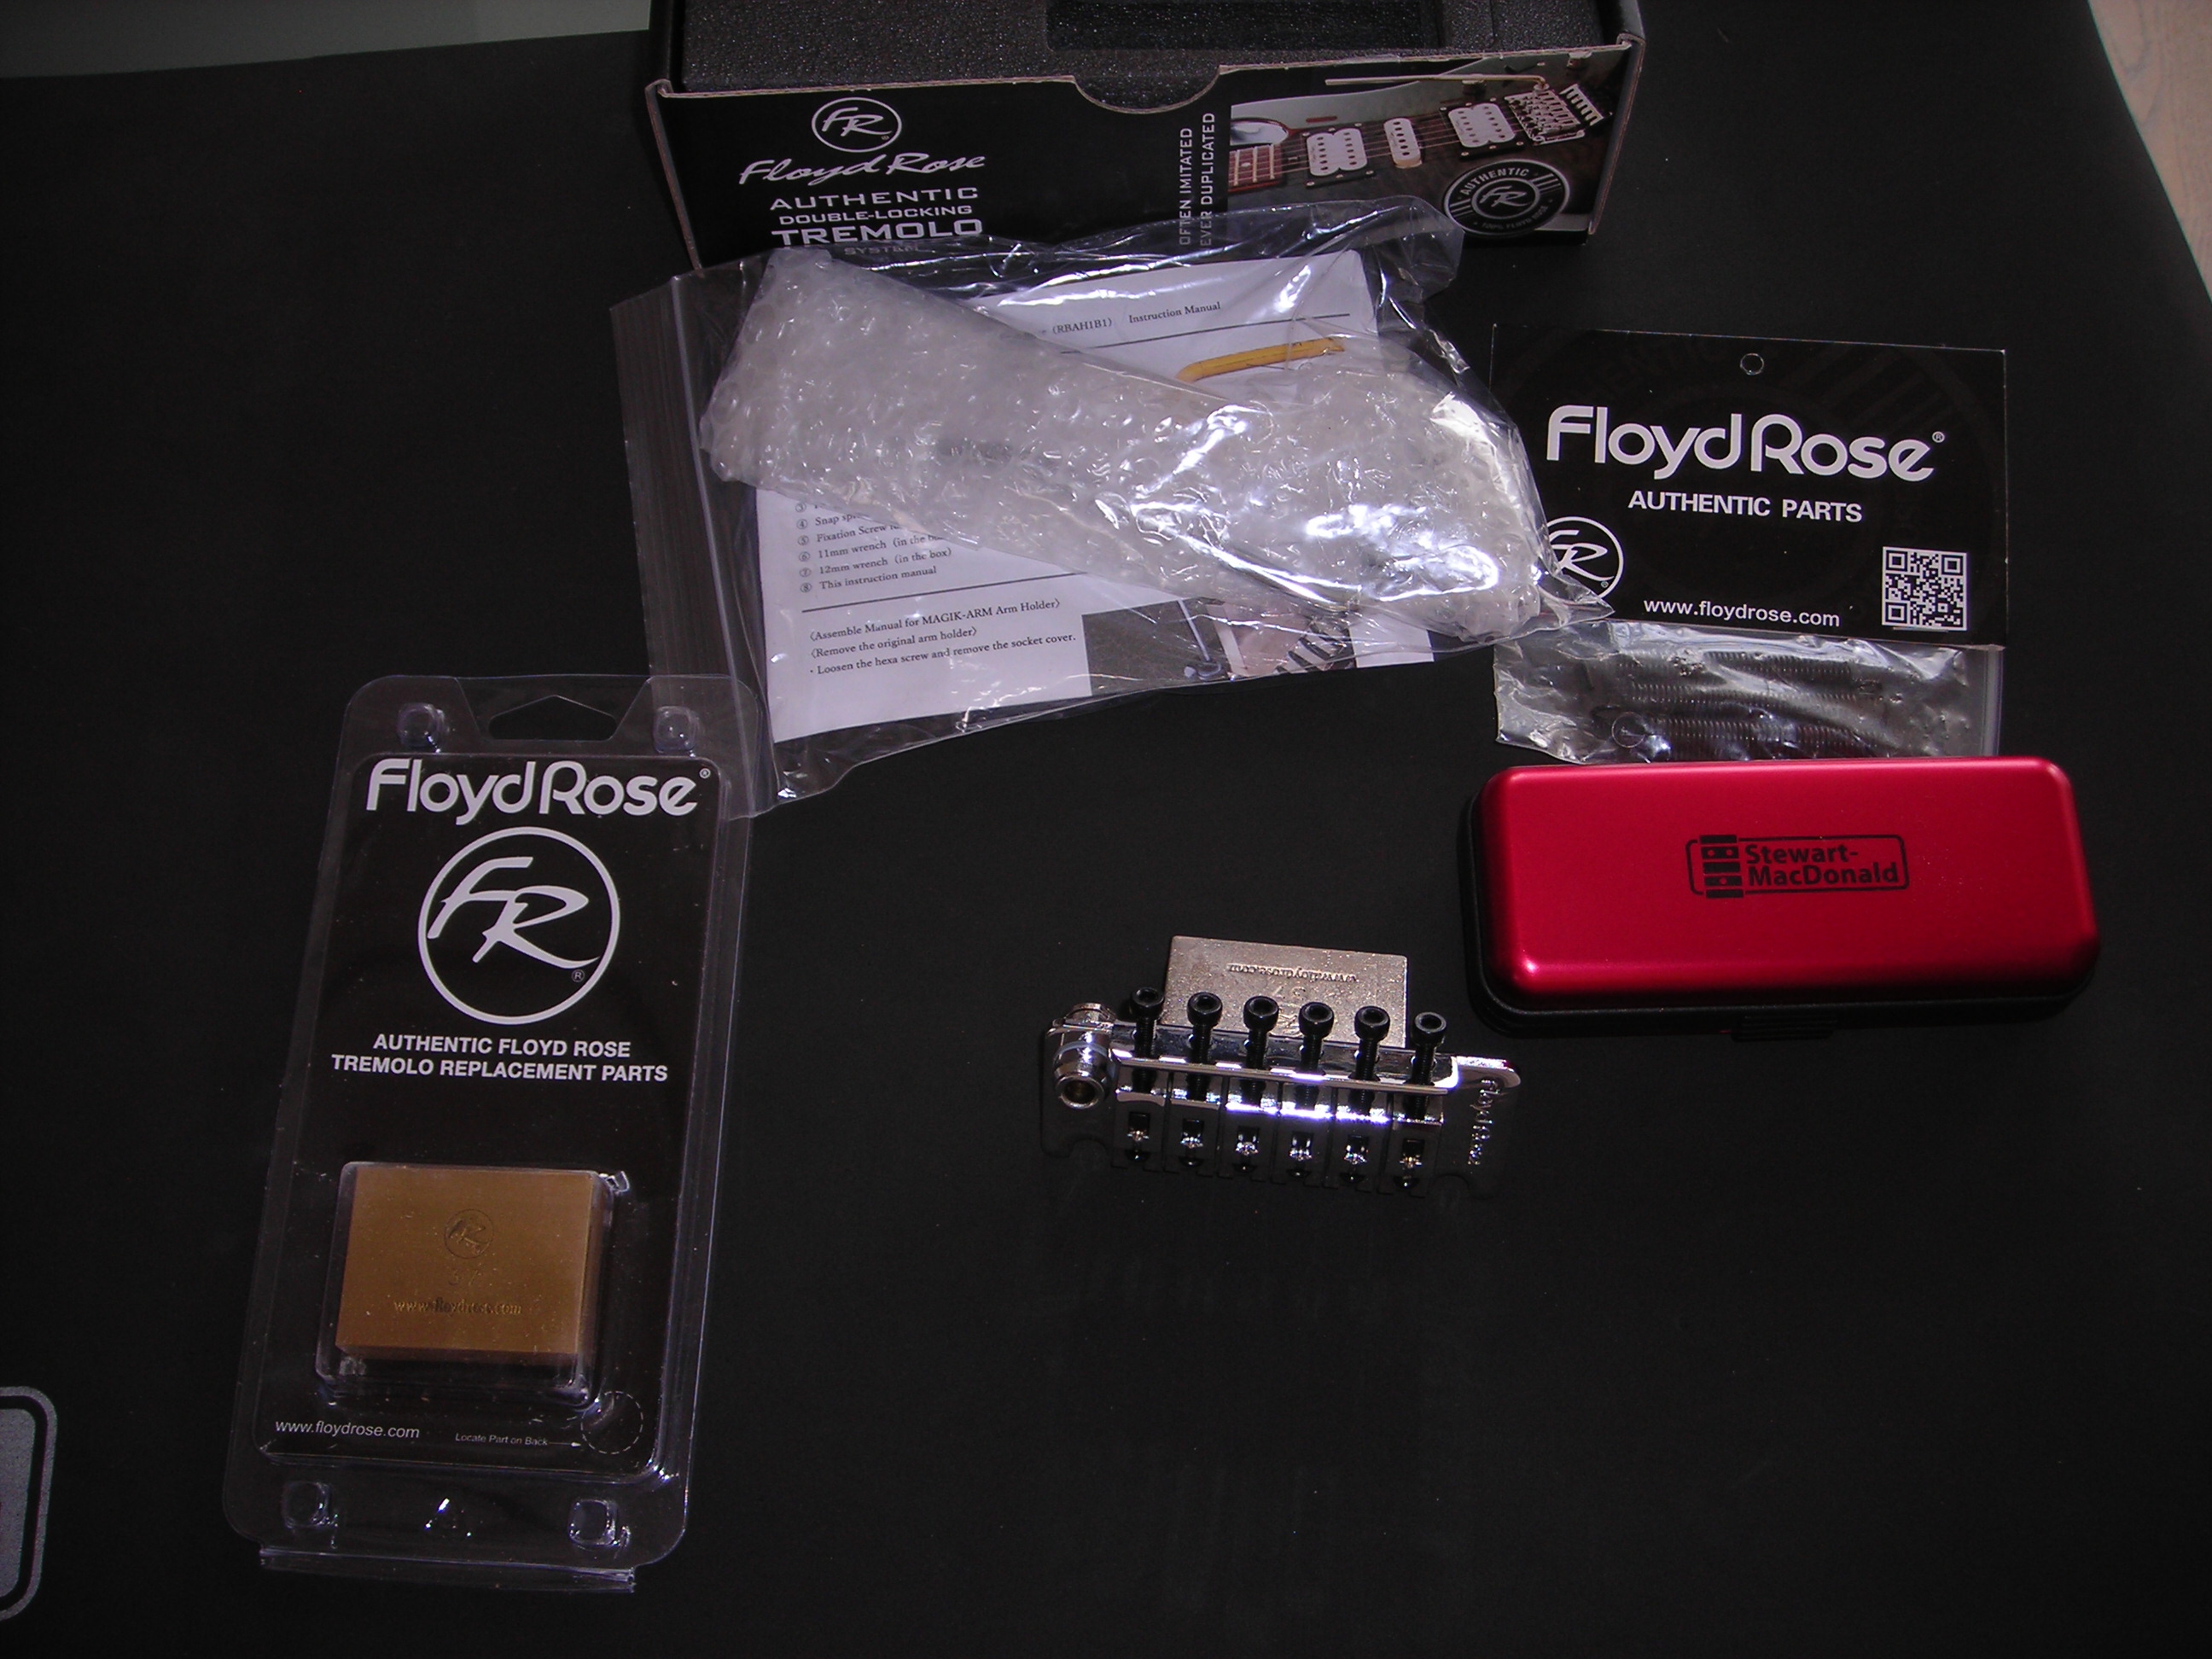
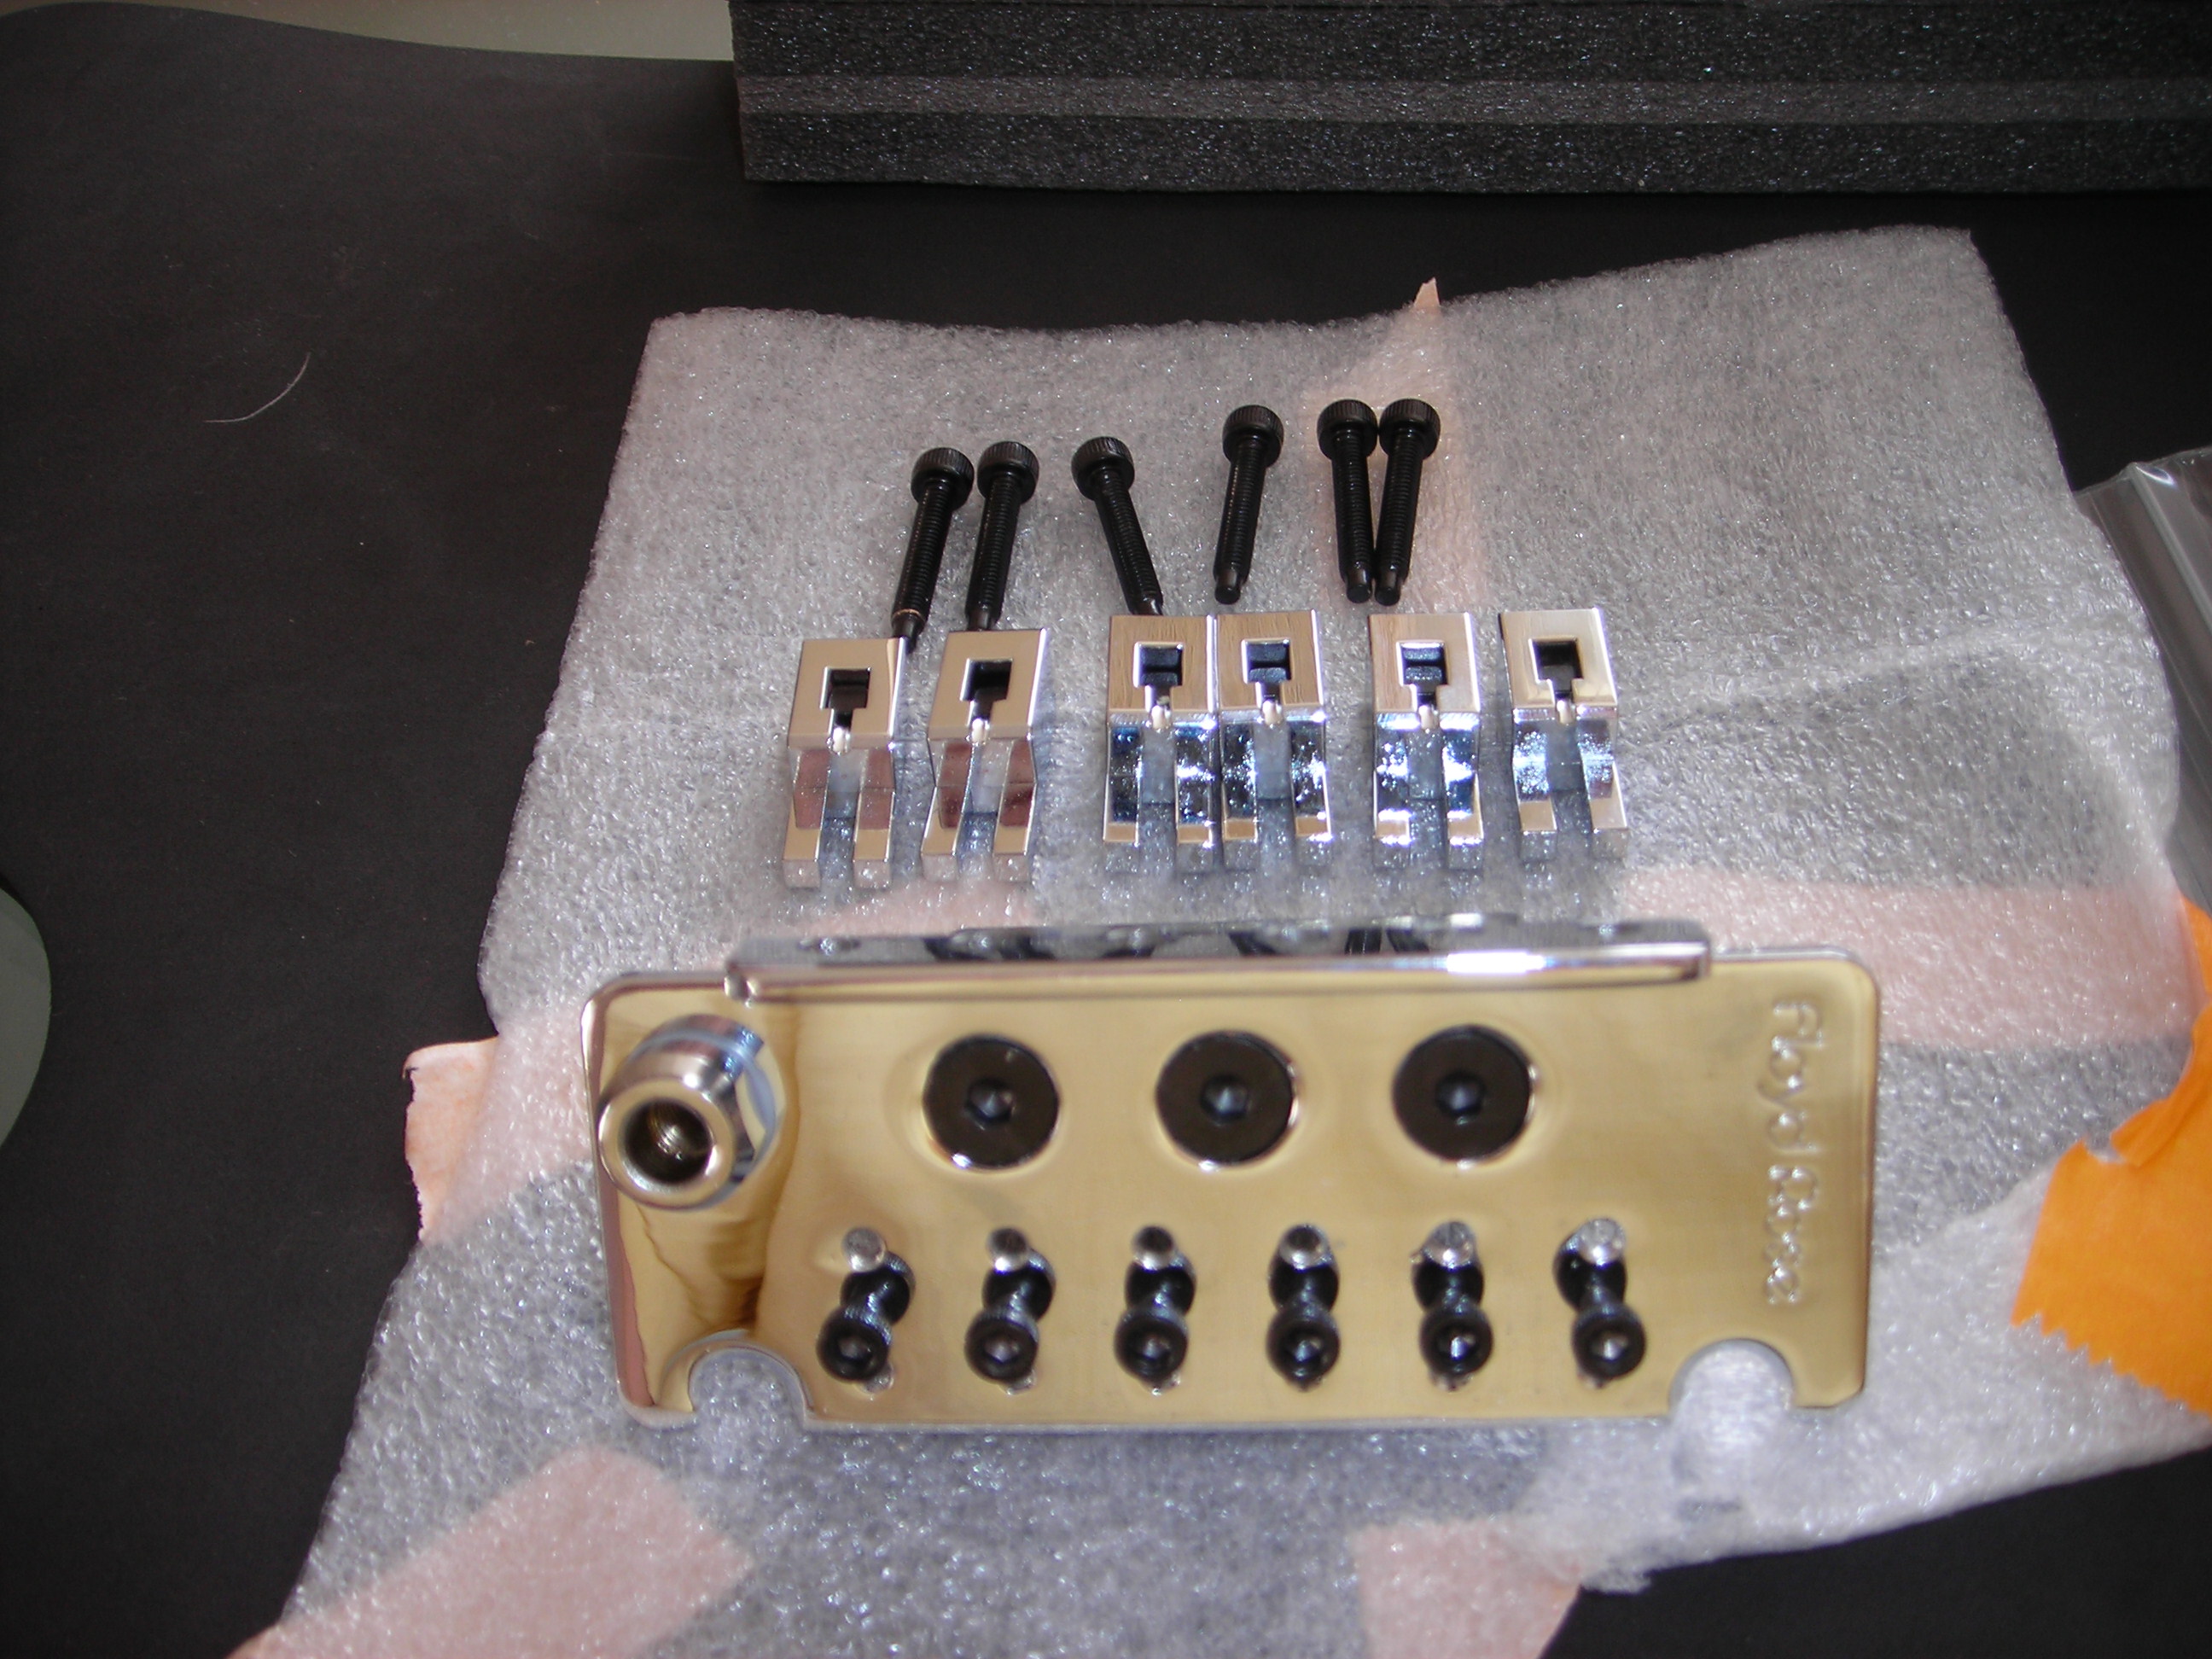
The first step was to get the Non-Fine Tuner Floyd Rose ready. Some updates to do and here are a few photos.

A bunch of parts and some of the tools ready to go.
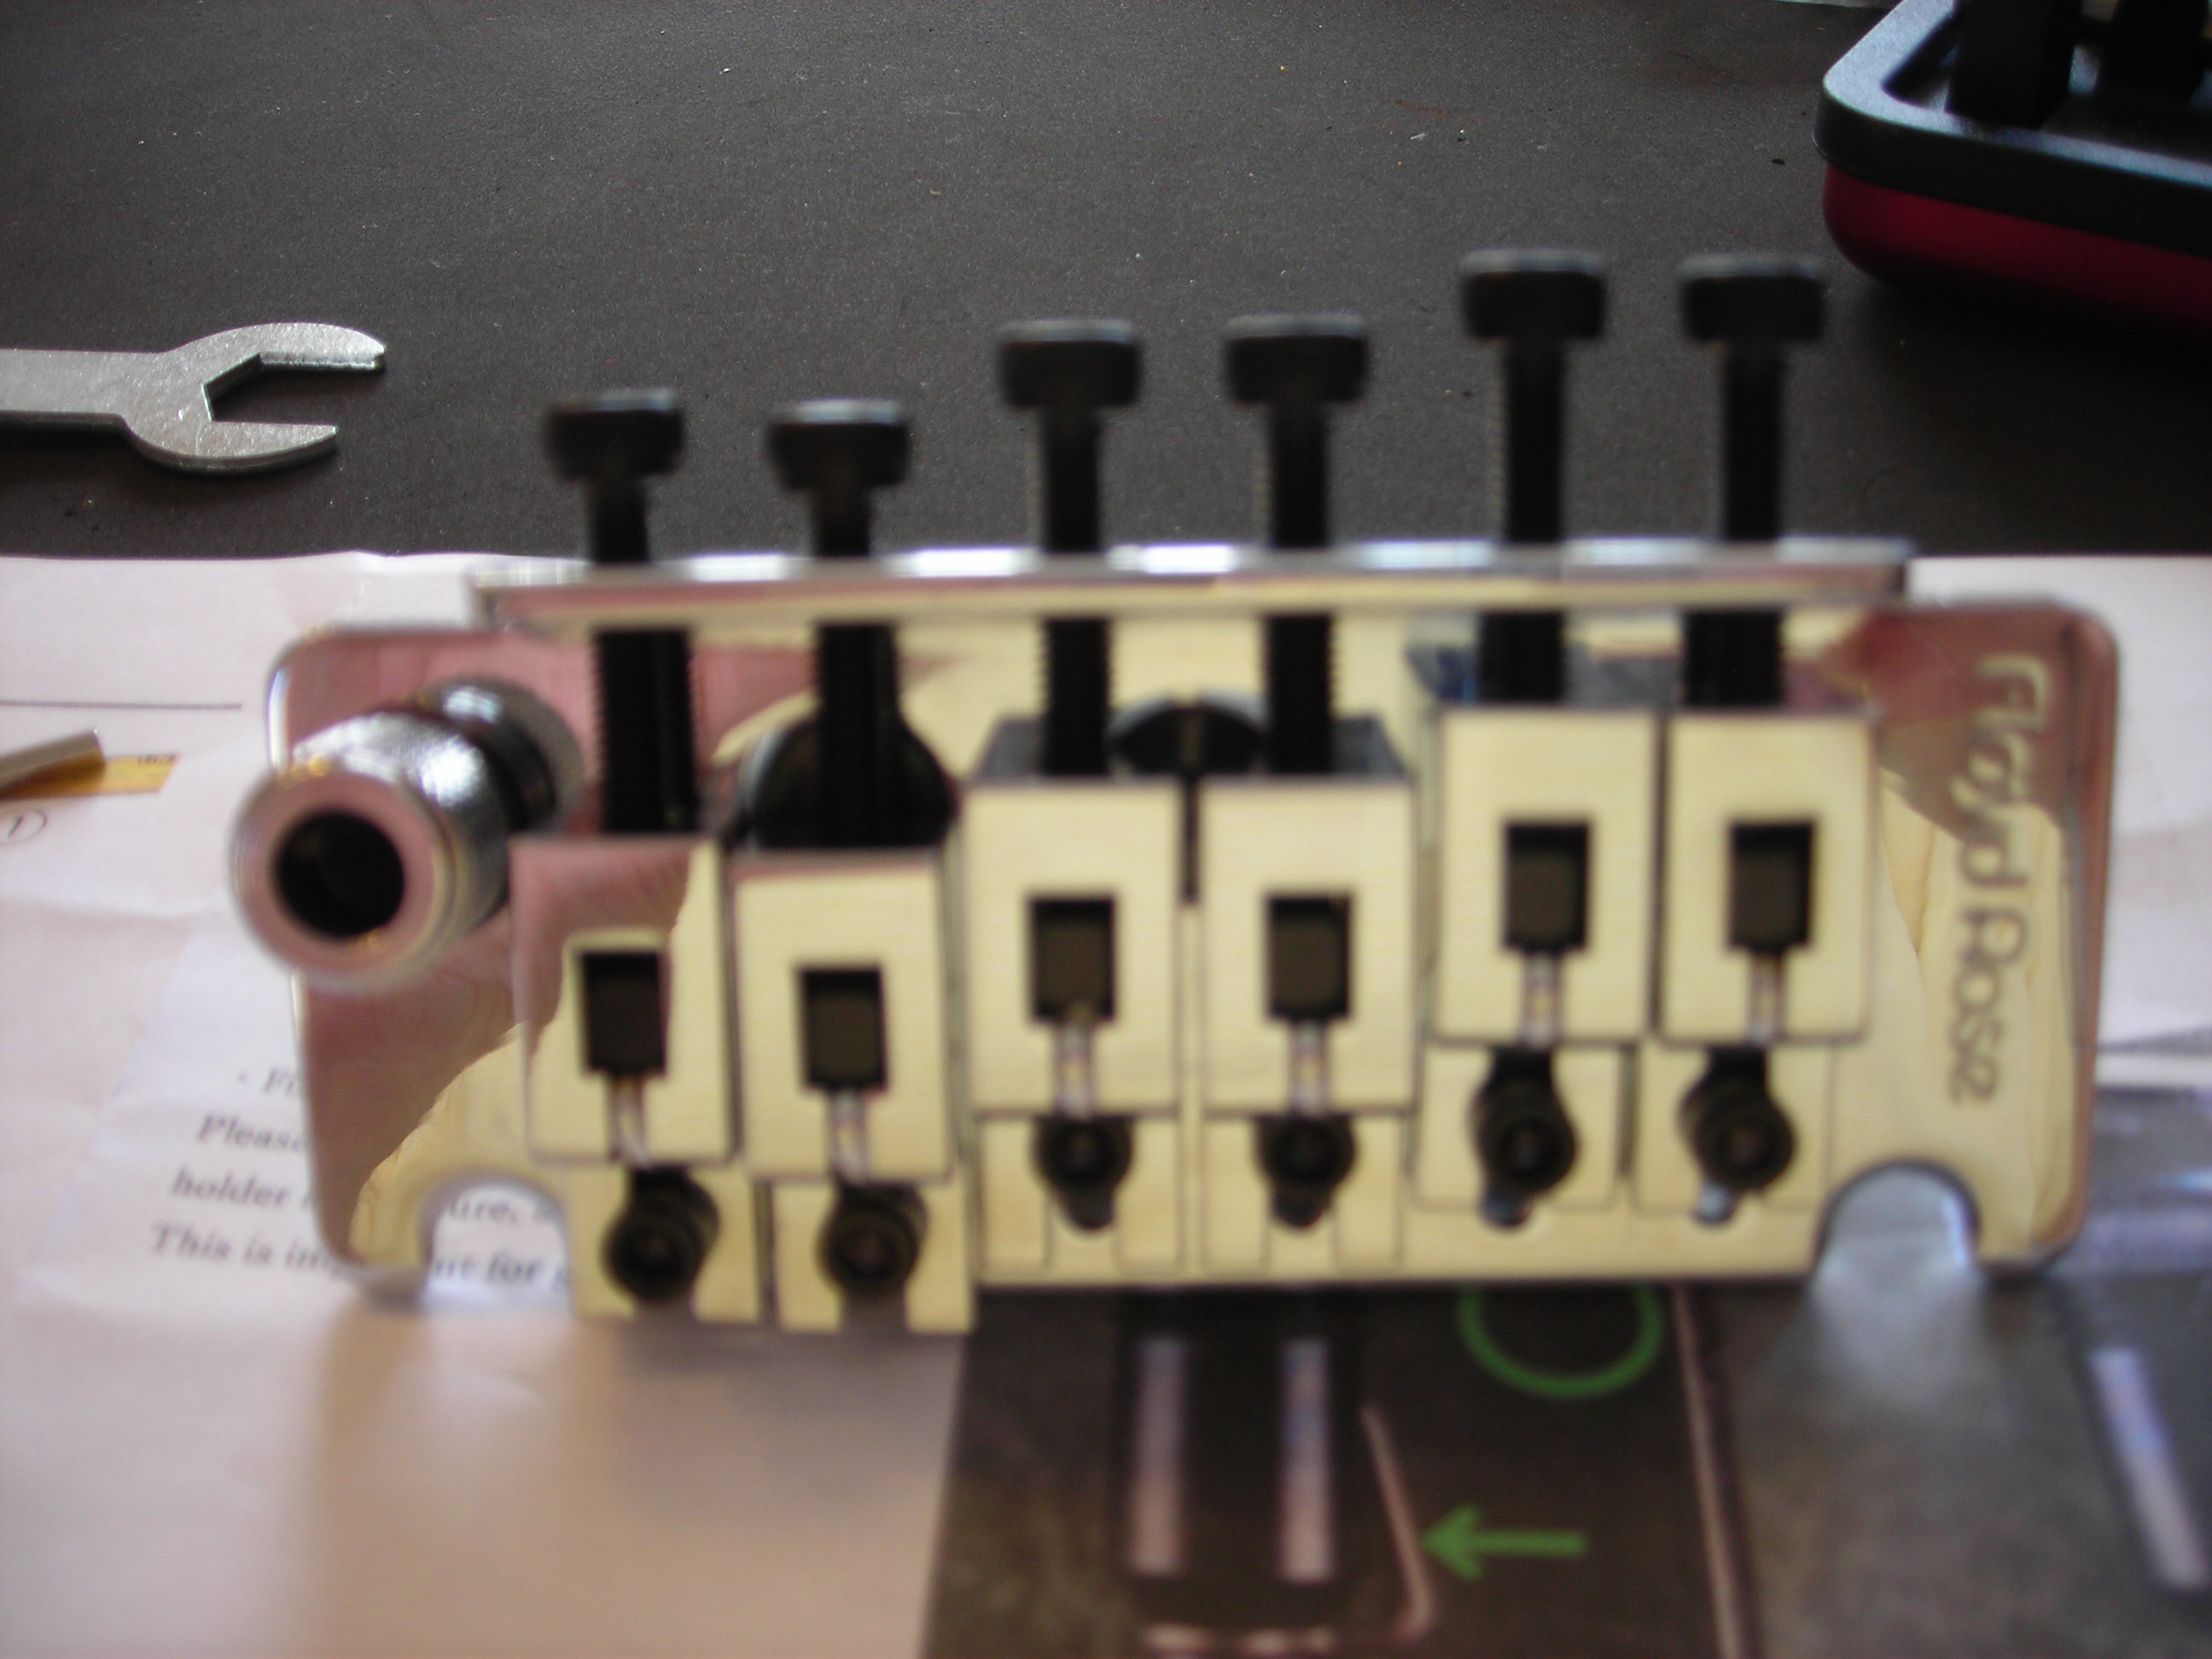
FloydAssembly1 by stratamania, on Flickr

We have in addition to the tremolo:

[list type=decimal]
[*]A brass block upgrade
[*]Heavy springs
[*]Some shims for flattening the radius
[*]A Red Bishop tremolo arm

[/list]

Not all are visible in the photo.

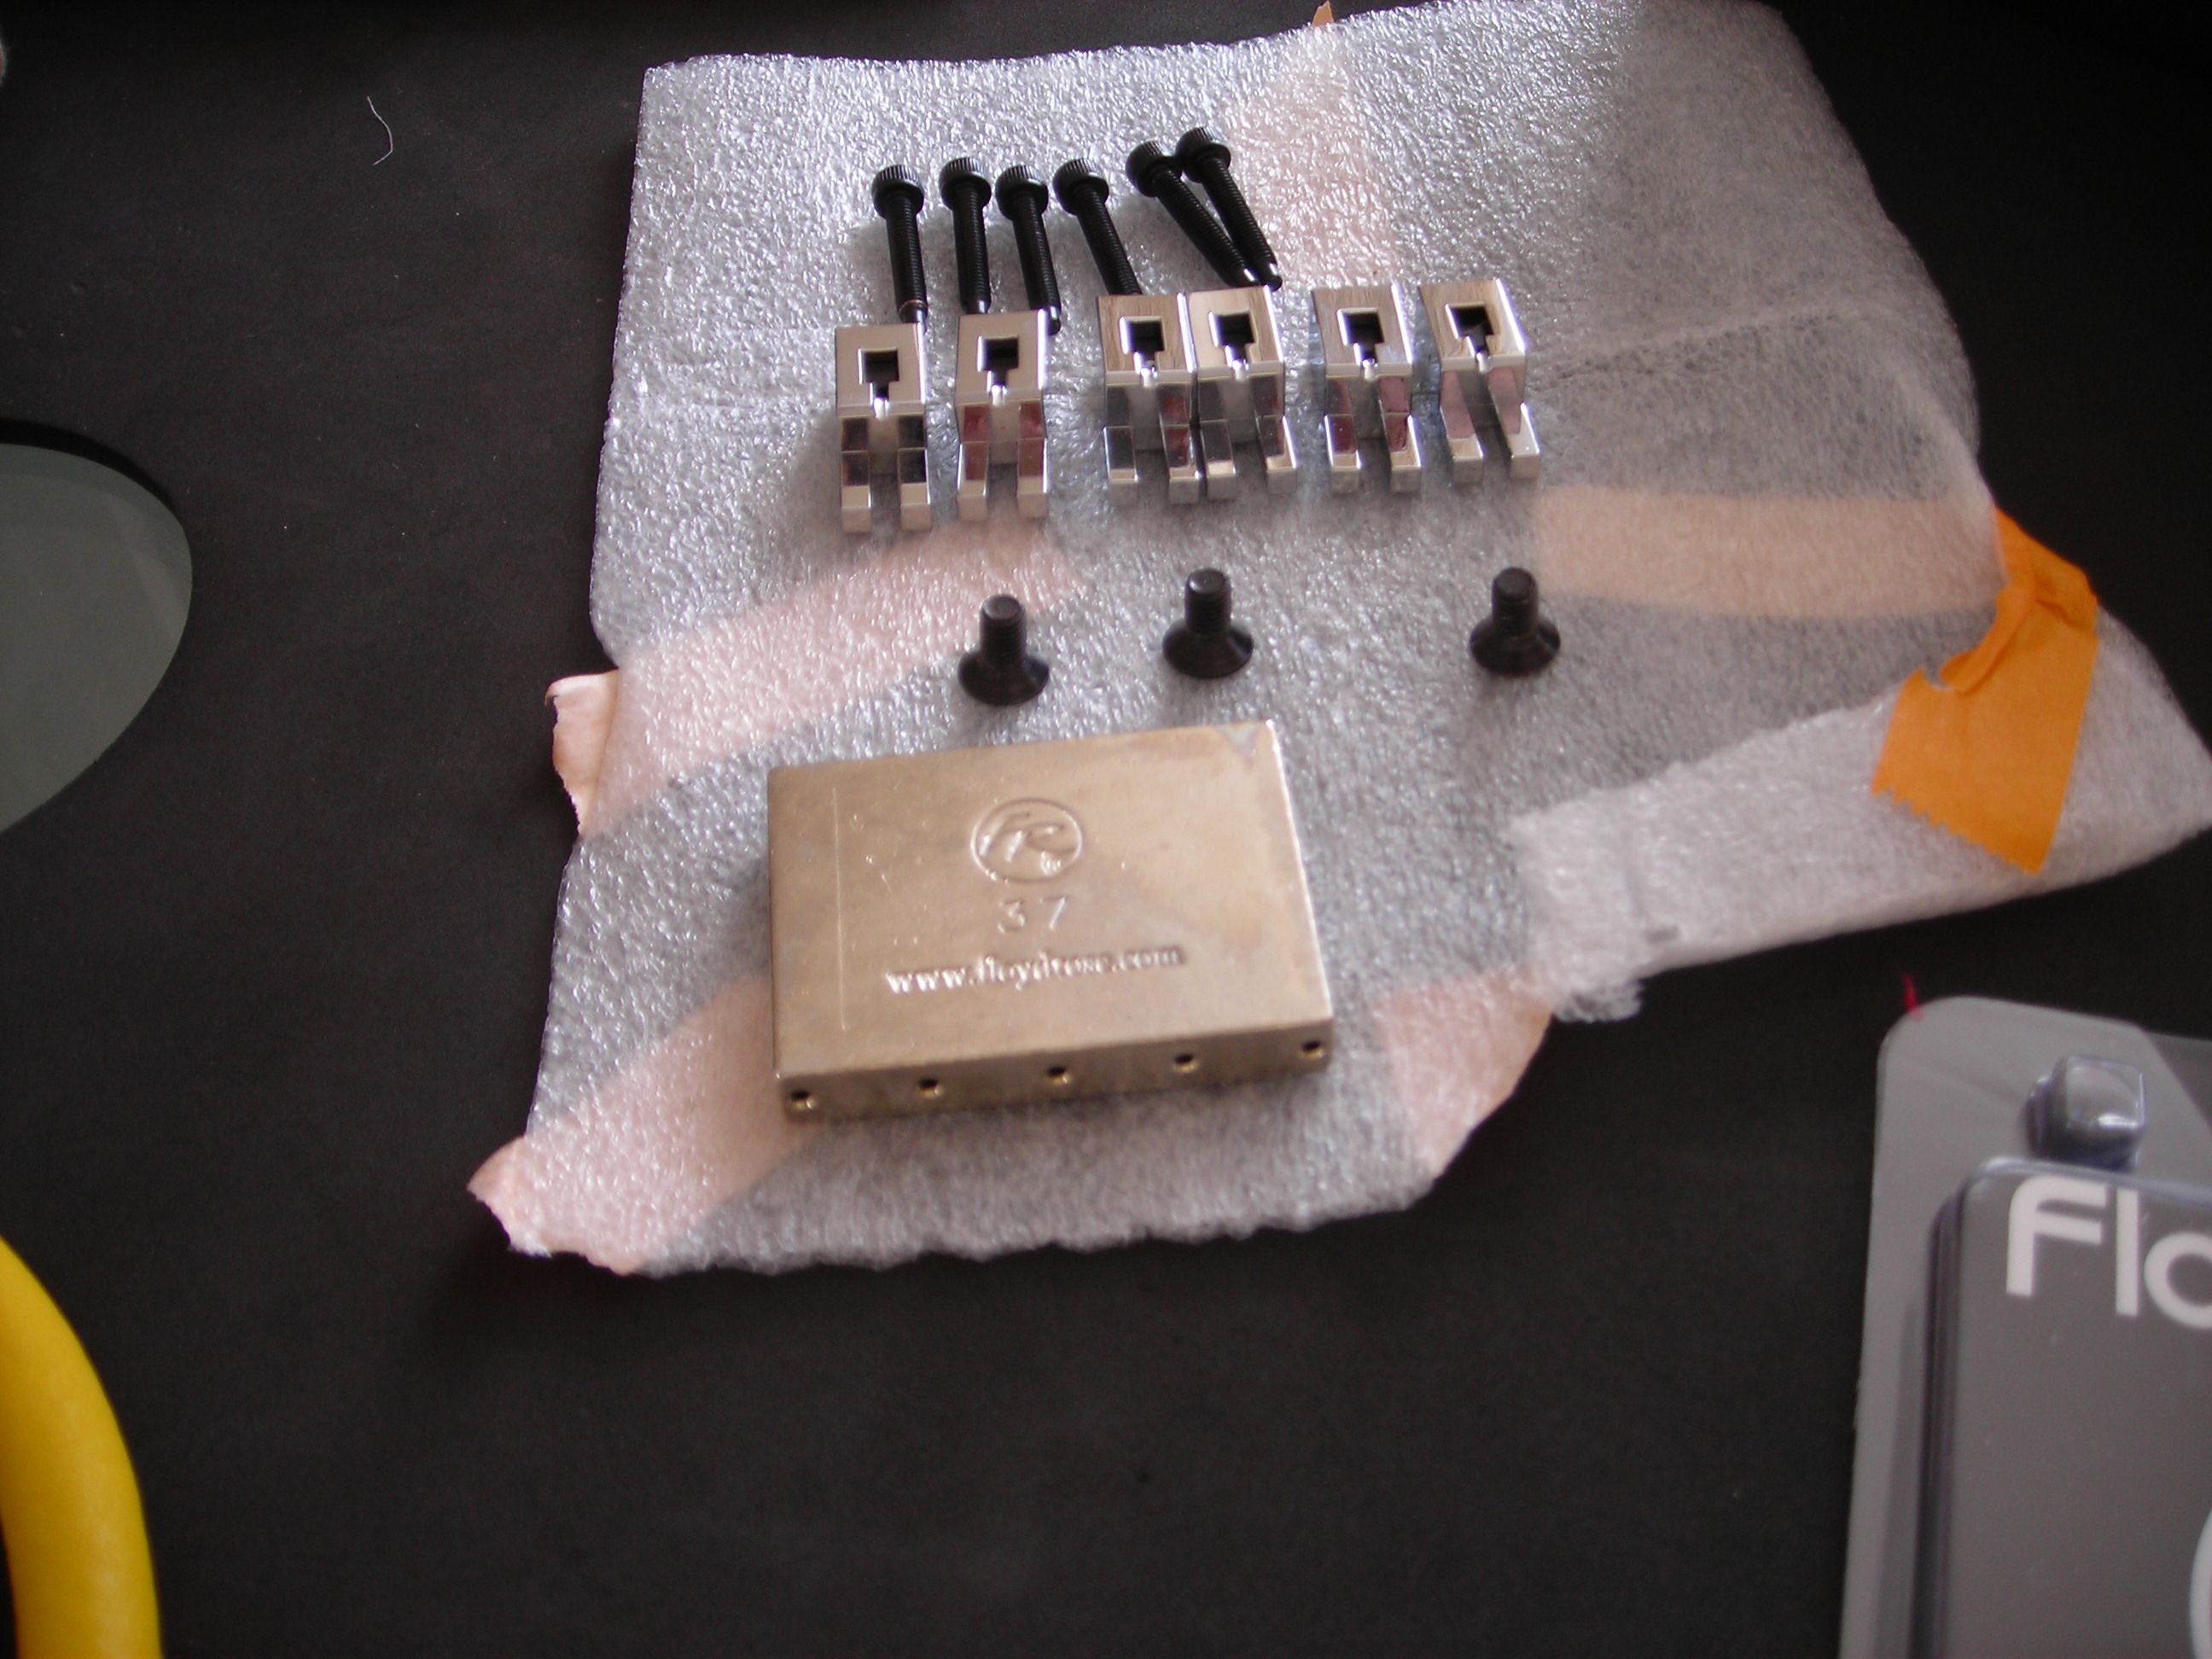
Next getting the saddles off ready to upgrade the block and the arm holder.

FloydAssembly3 by stratamania, on Flickr

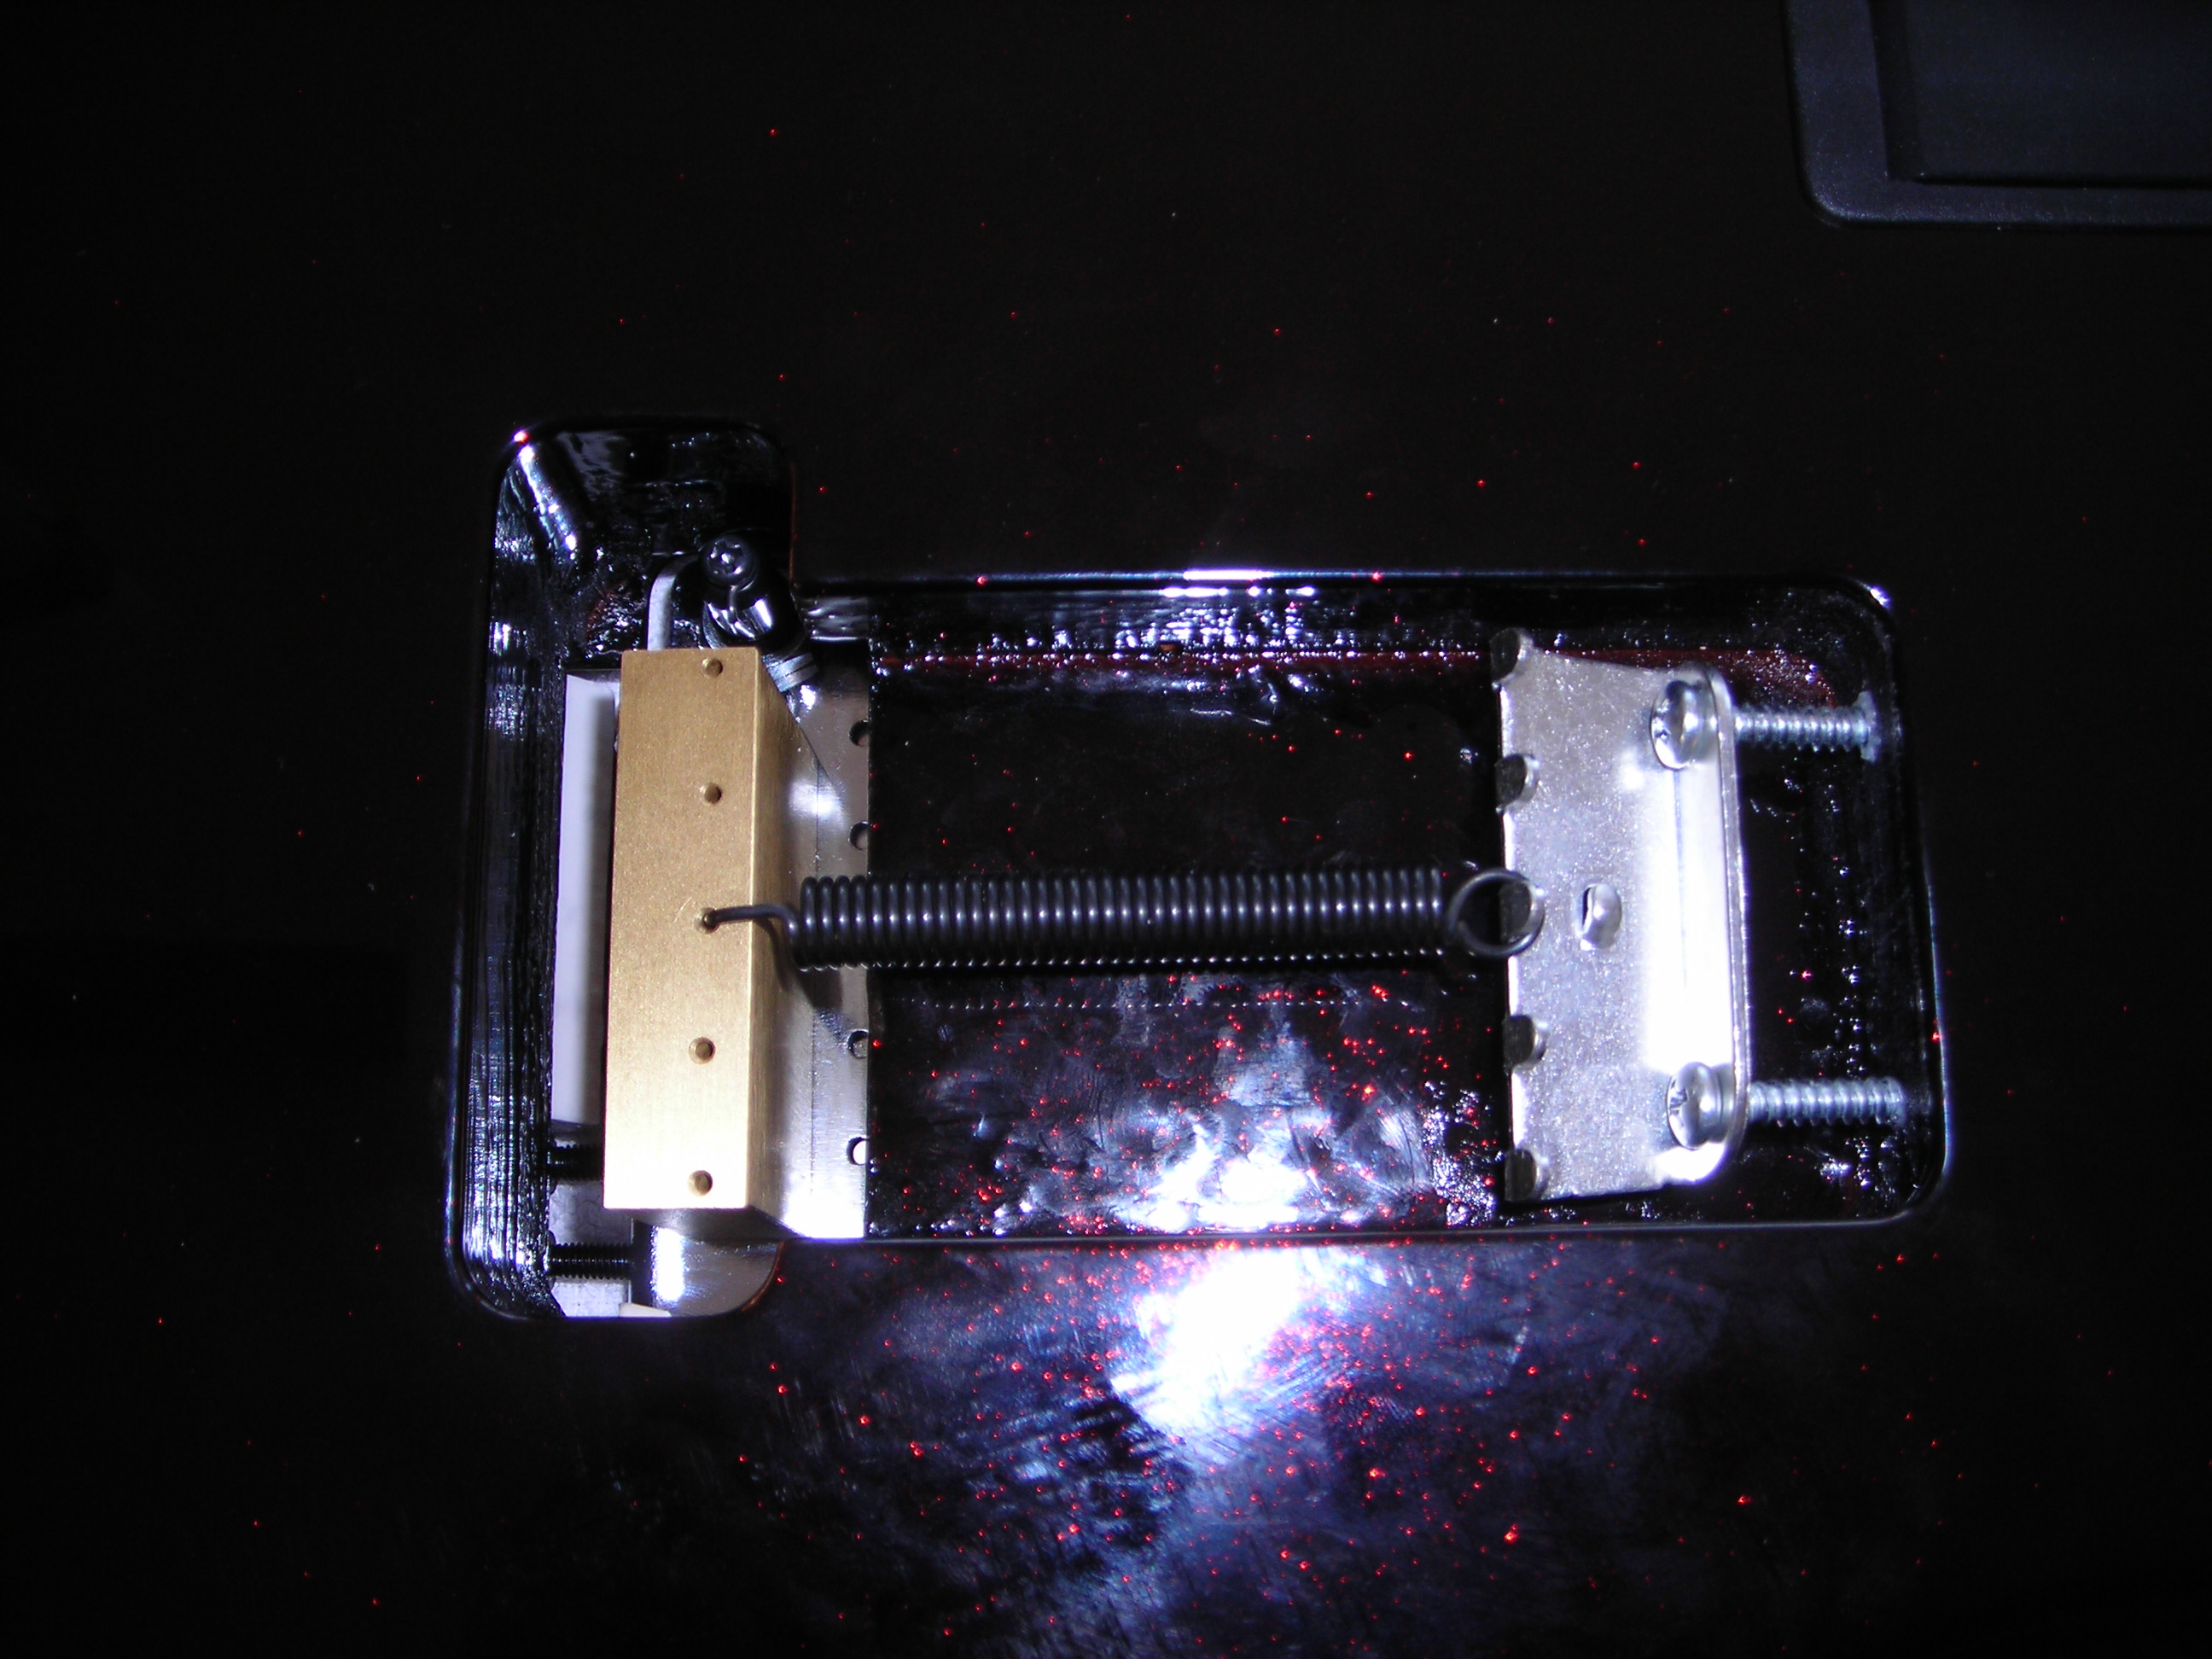
After removing the original block and arm holder here is the new block and arm ready for fitting.
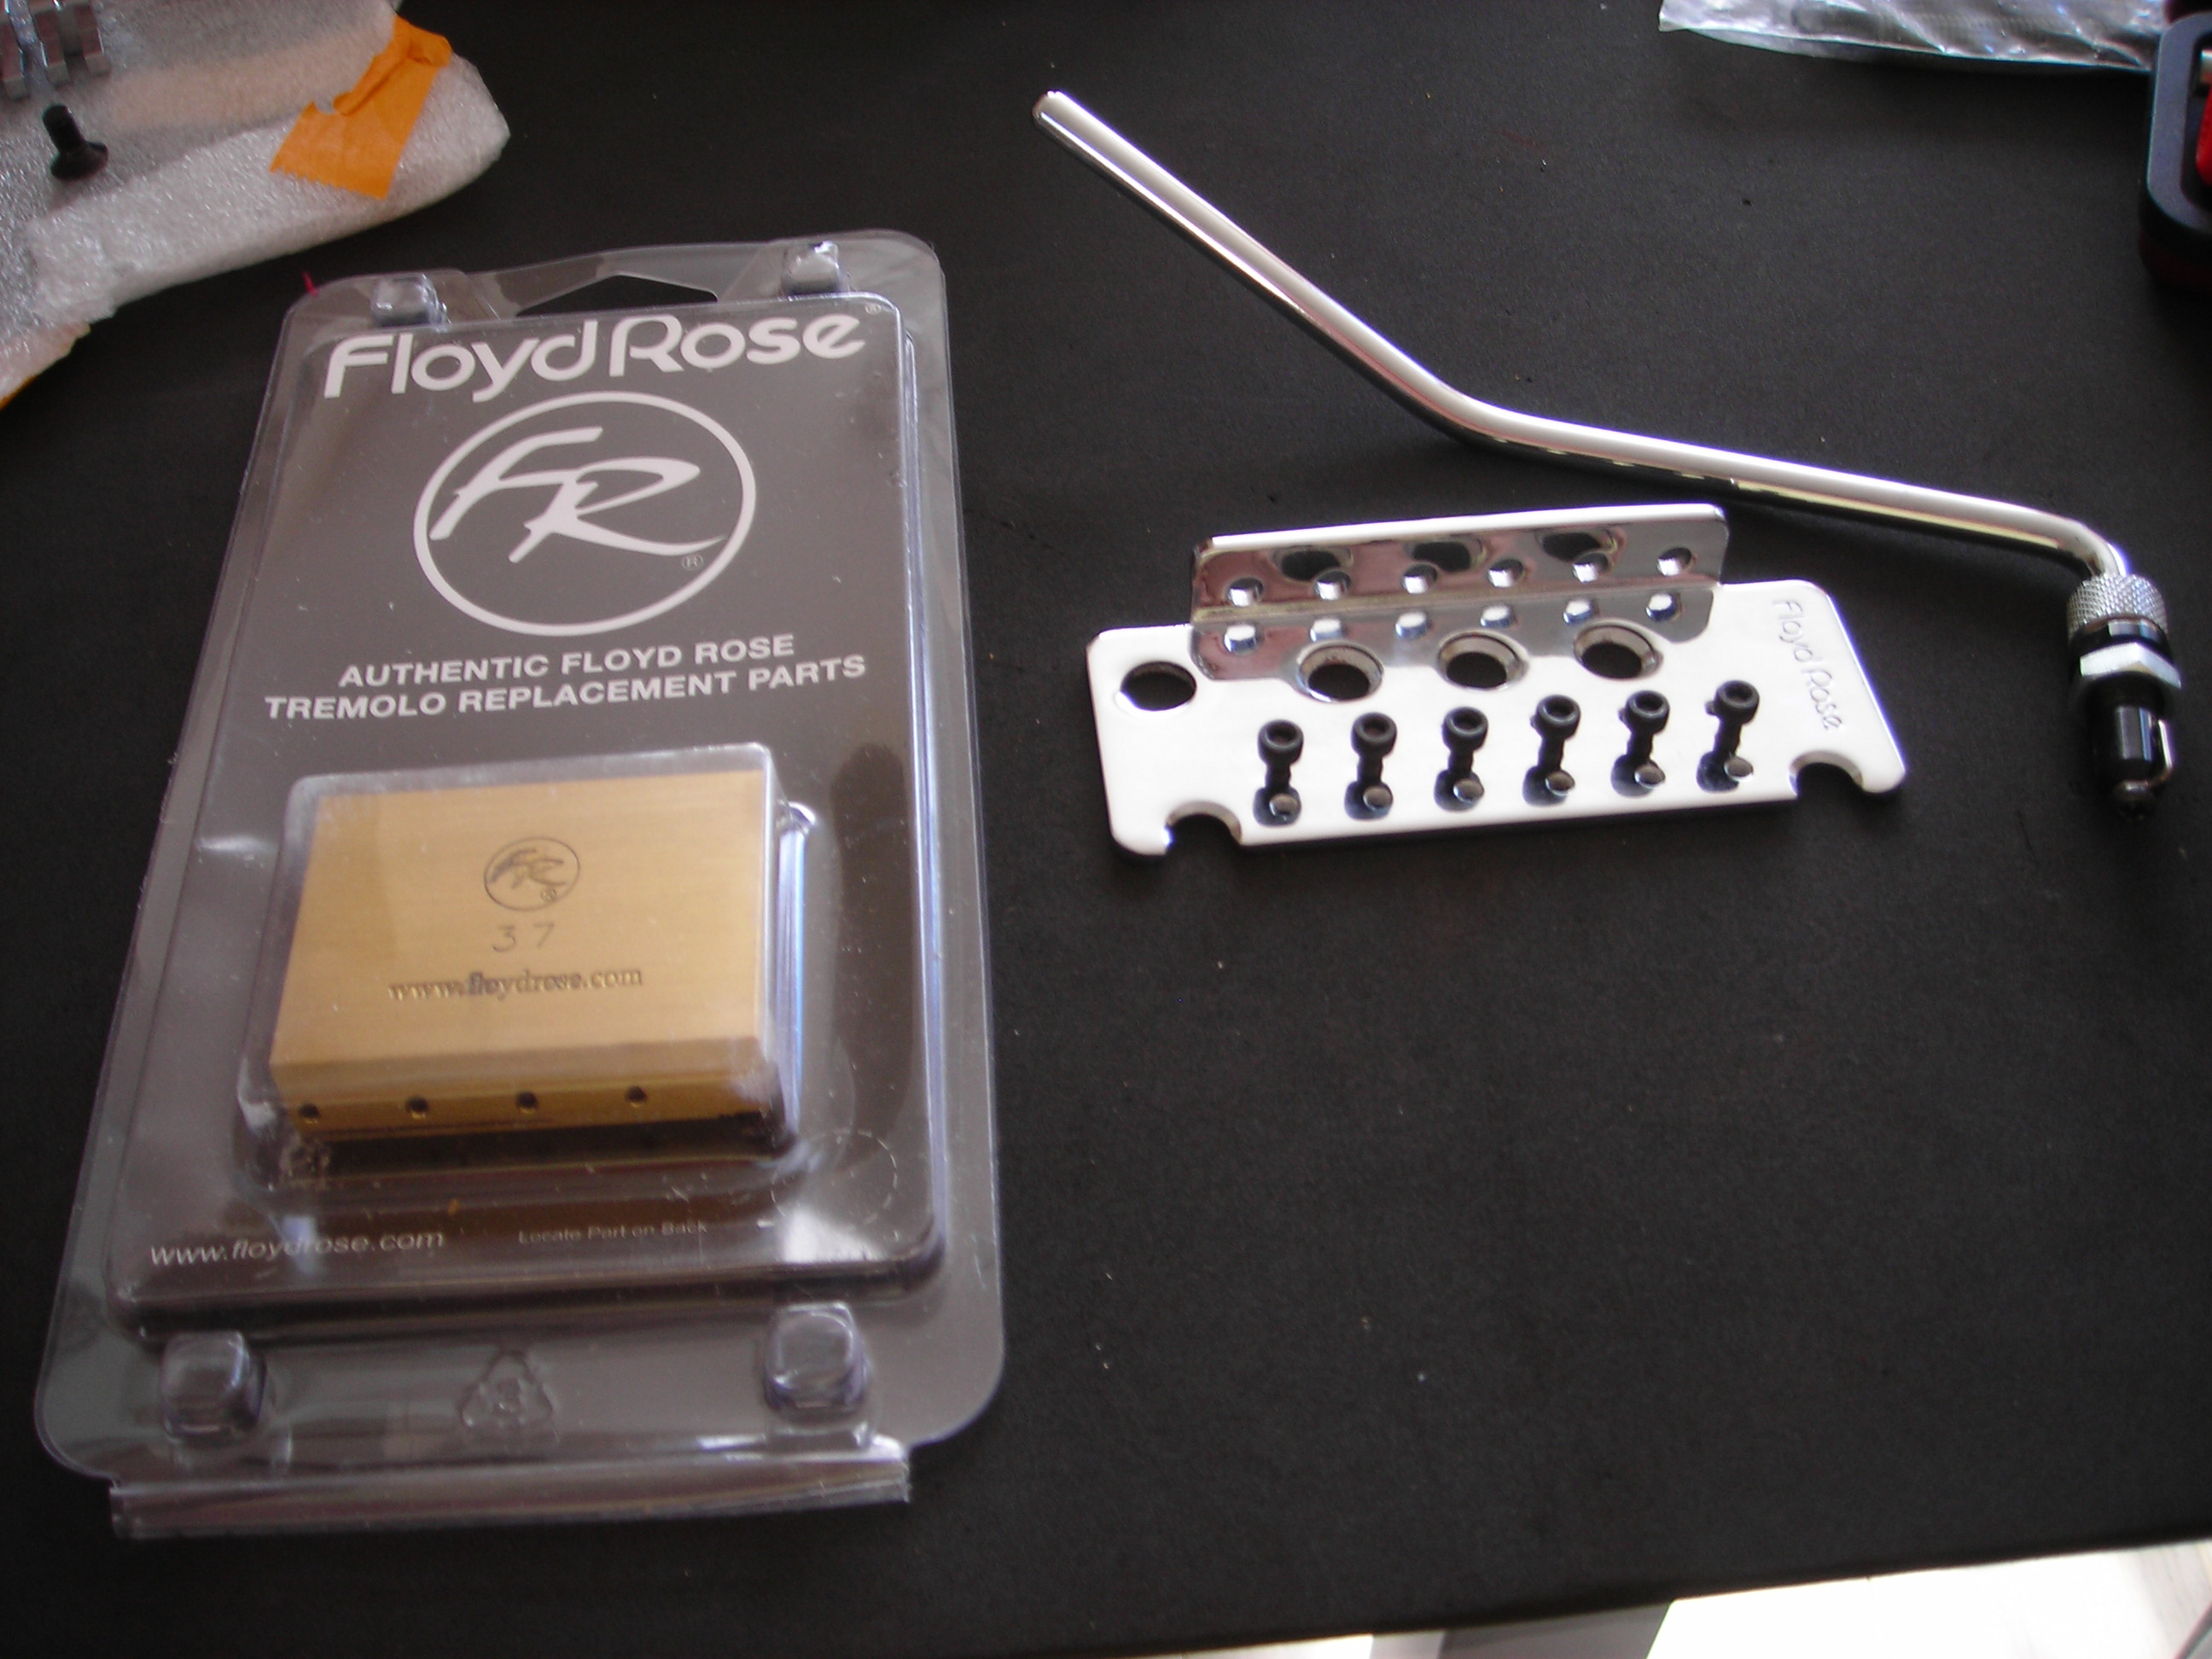
FloydAssembly4 by stratamania, on Flickr

You will notice the brass block is thicker than the original block. Where the Floyd Rose 37mm is marked this fits towards the rear of the bridge similar to the original.

FloydAssembly5 by stratamania, on Flickr

As described above the last photo this ensures the holes for the springs are towards the front of the bridge where they need to be. The brass block is much thicker than the original so this is important.
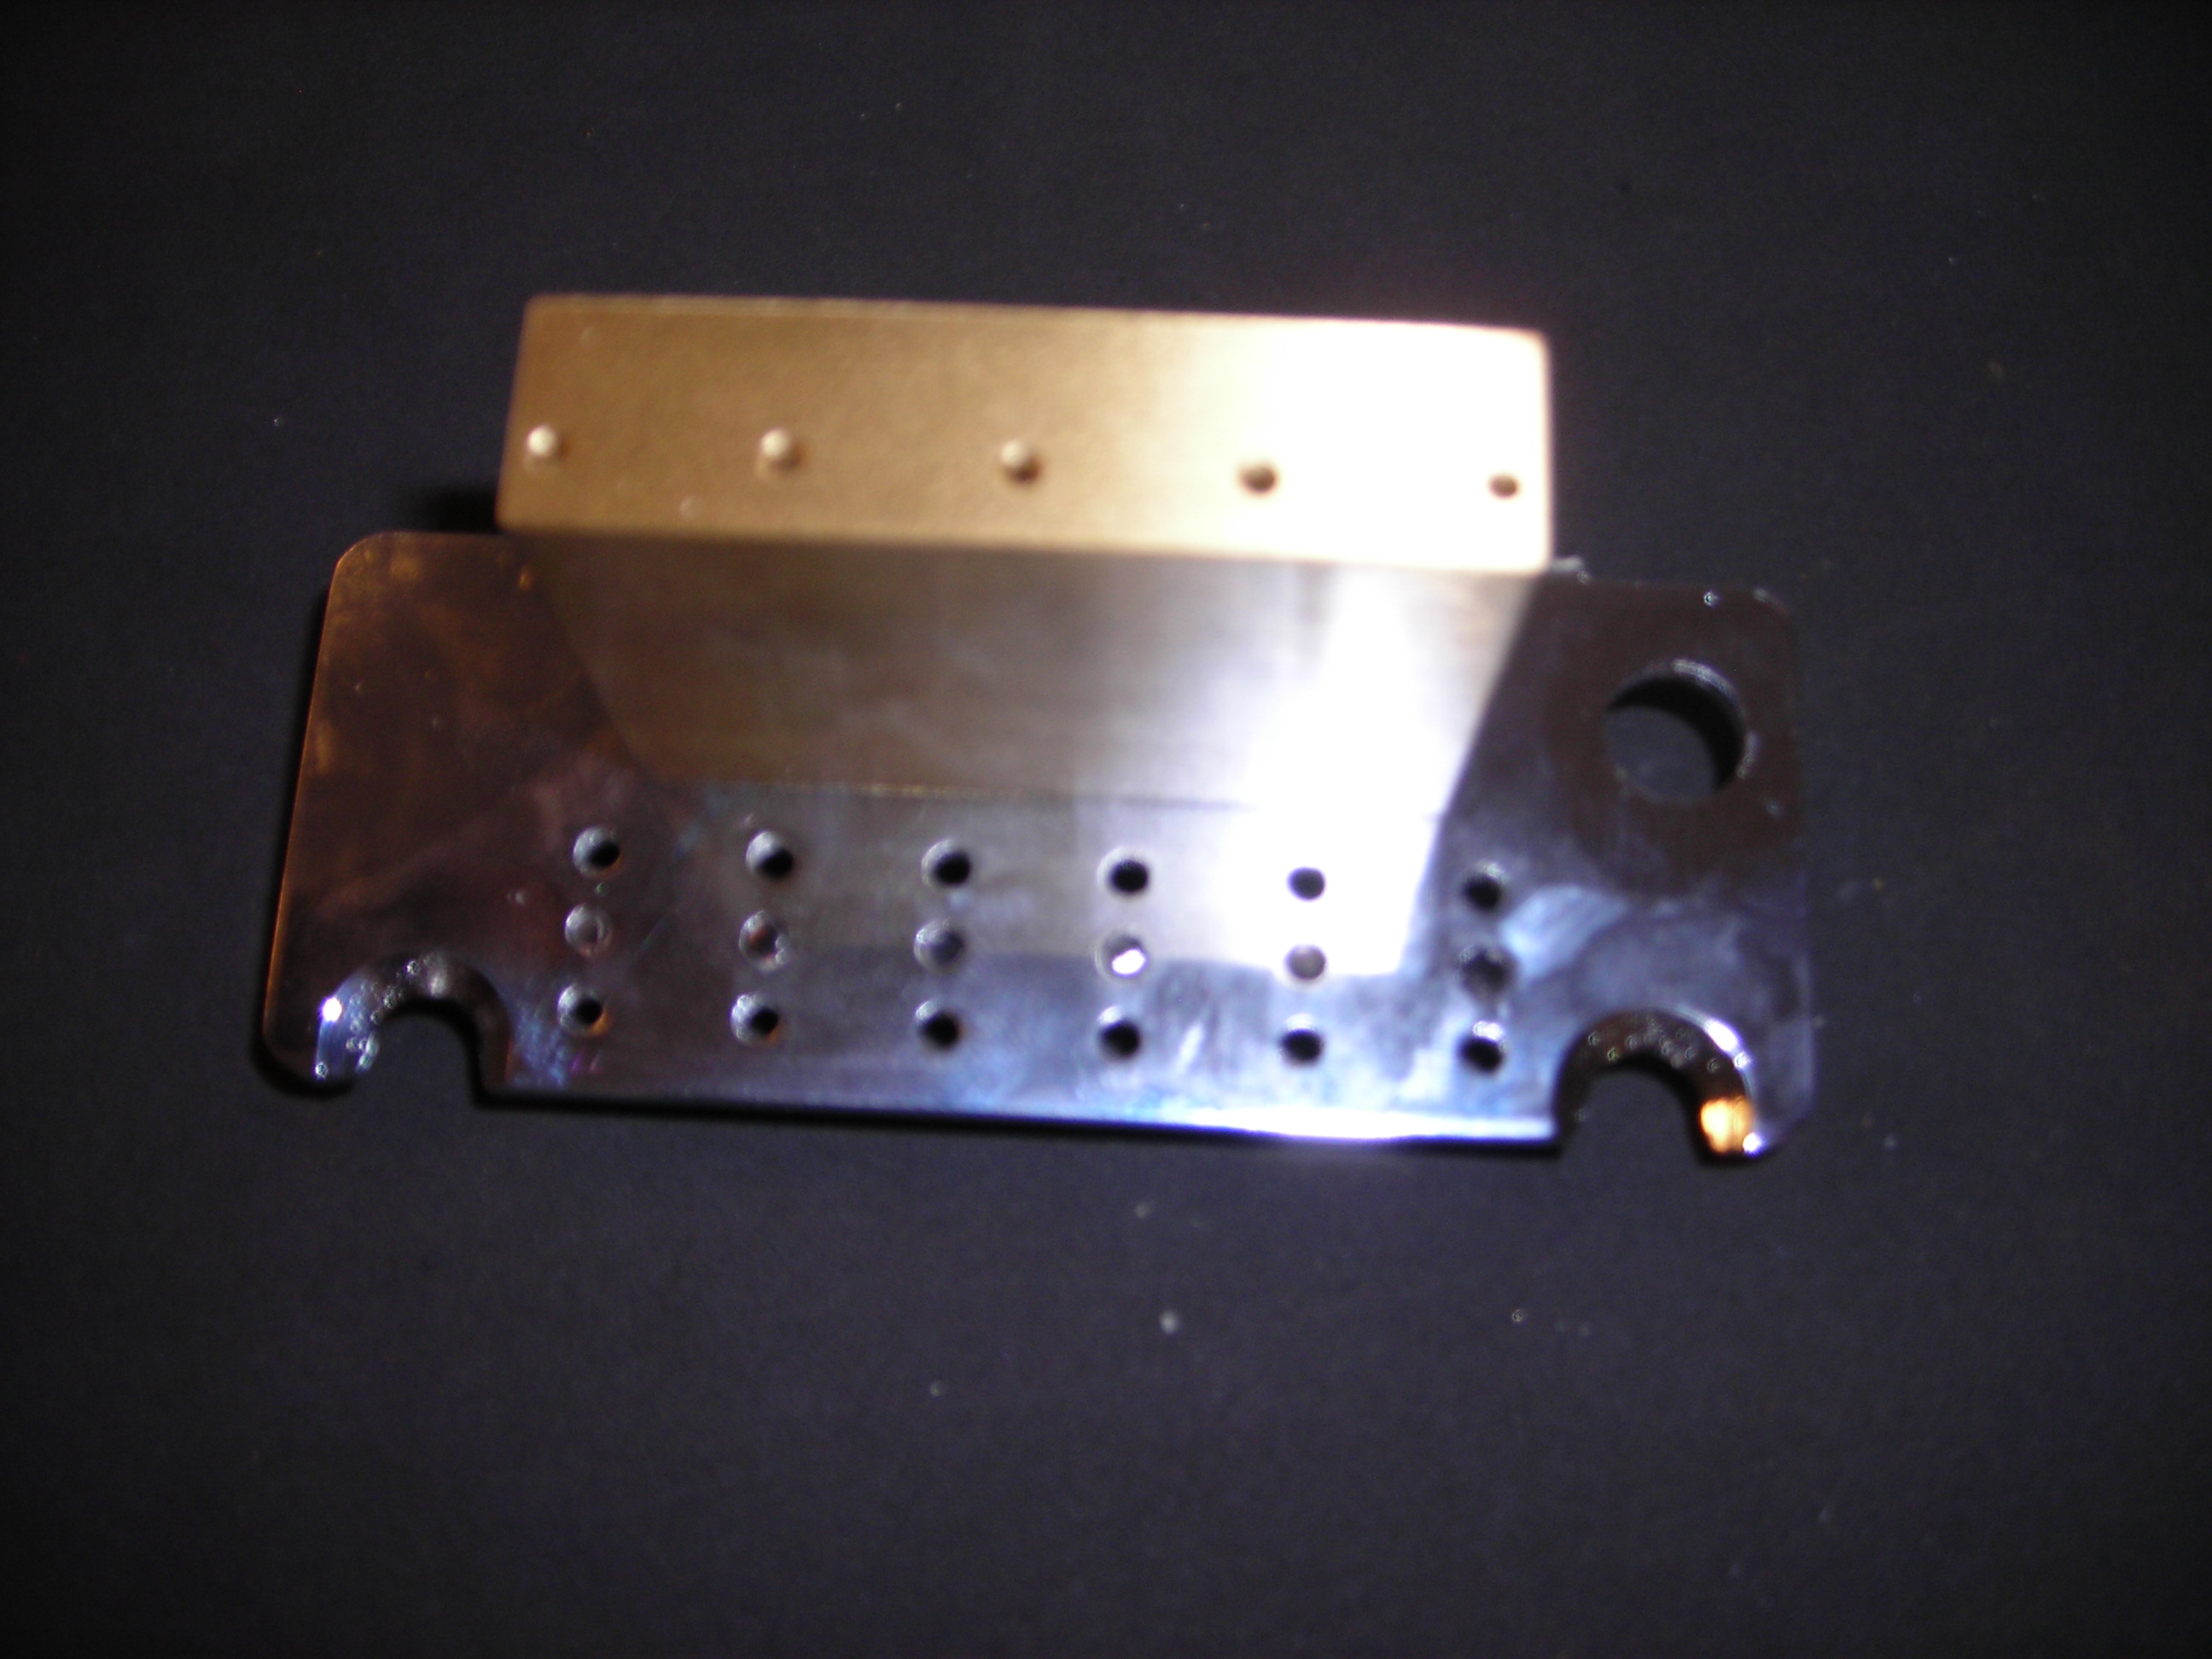
FloydAssembly6 by stratamania, on Flickr

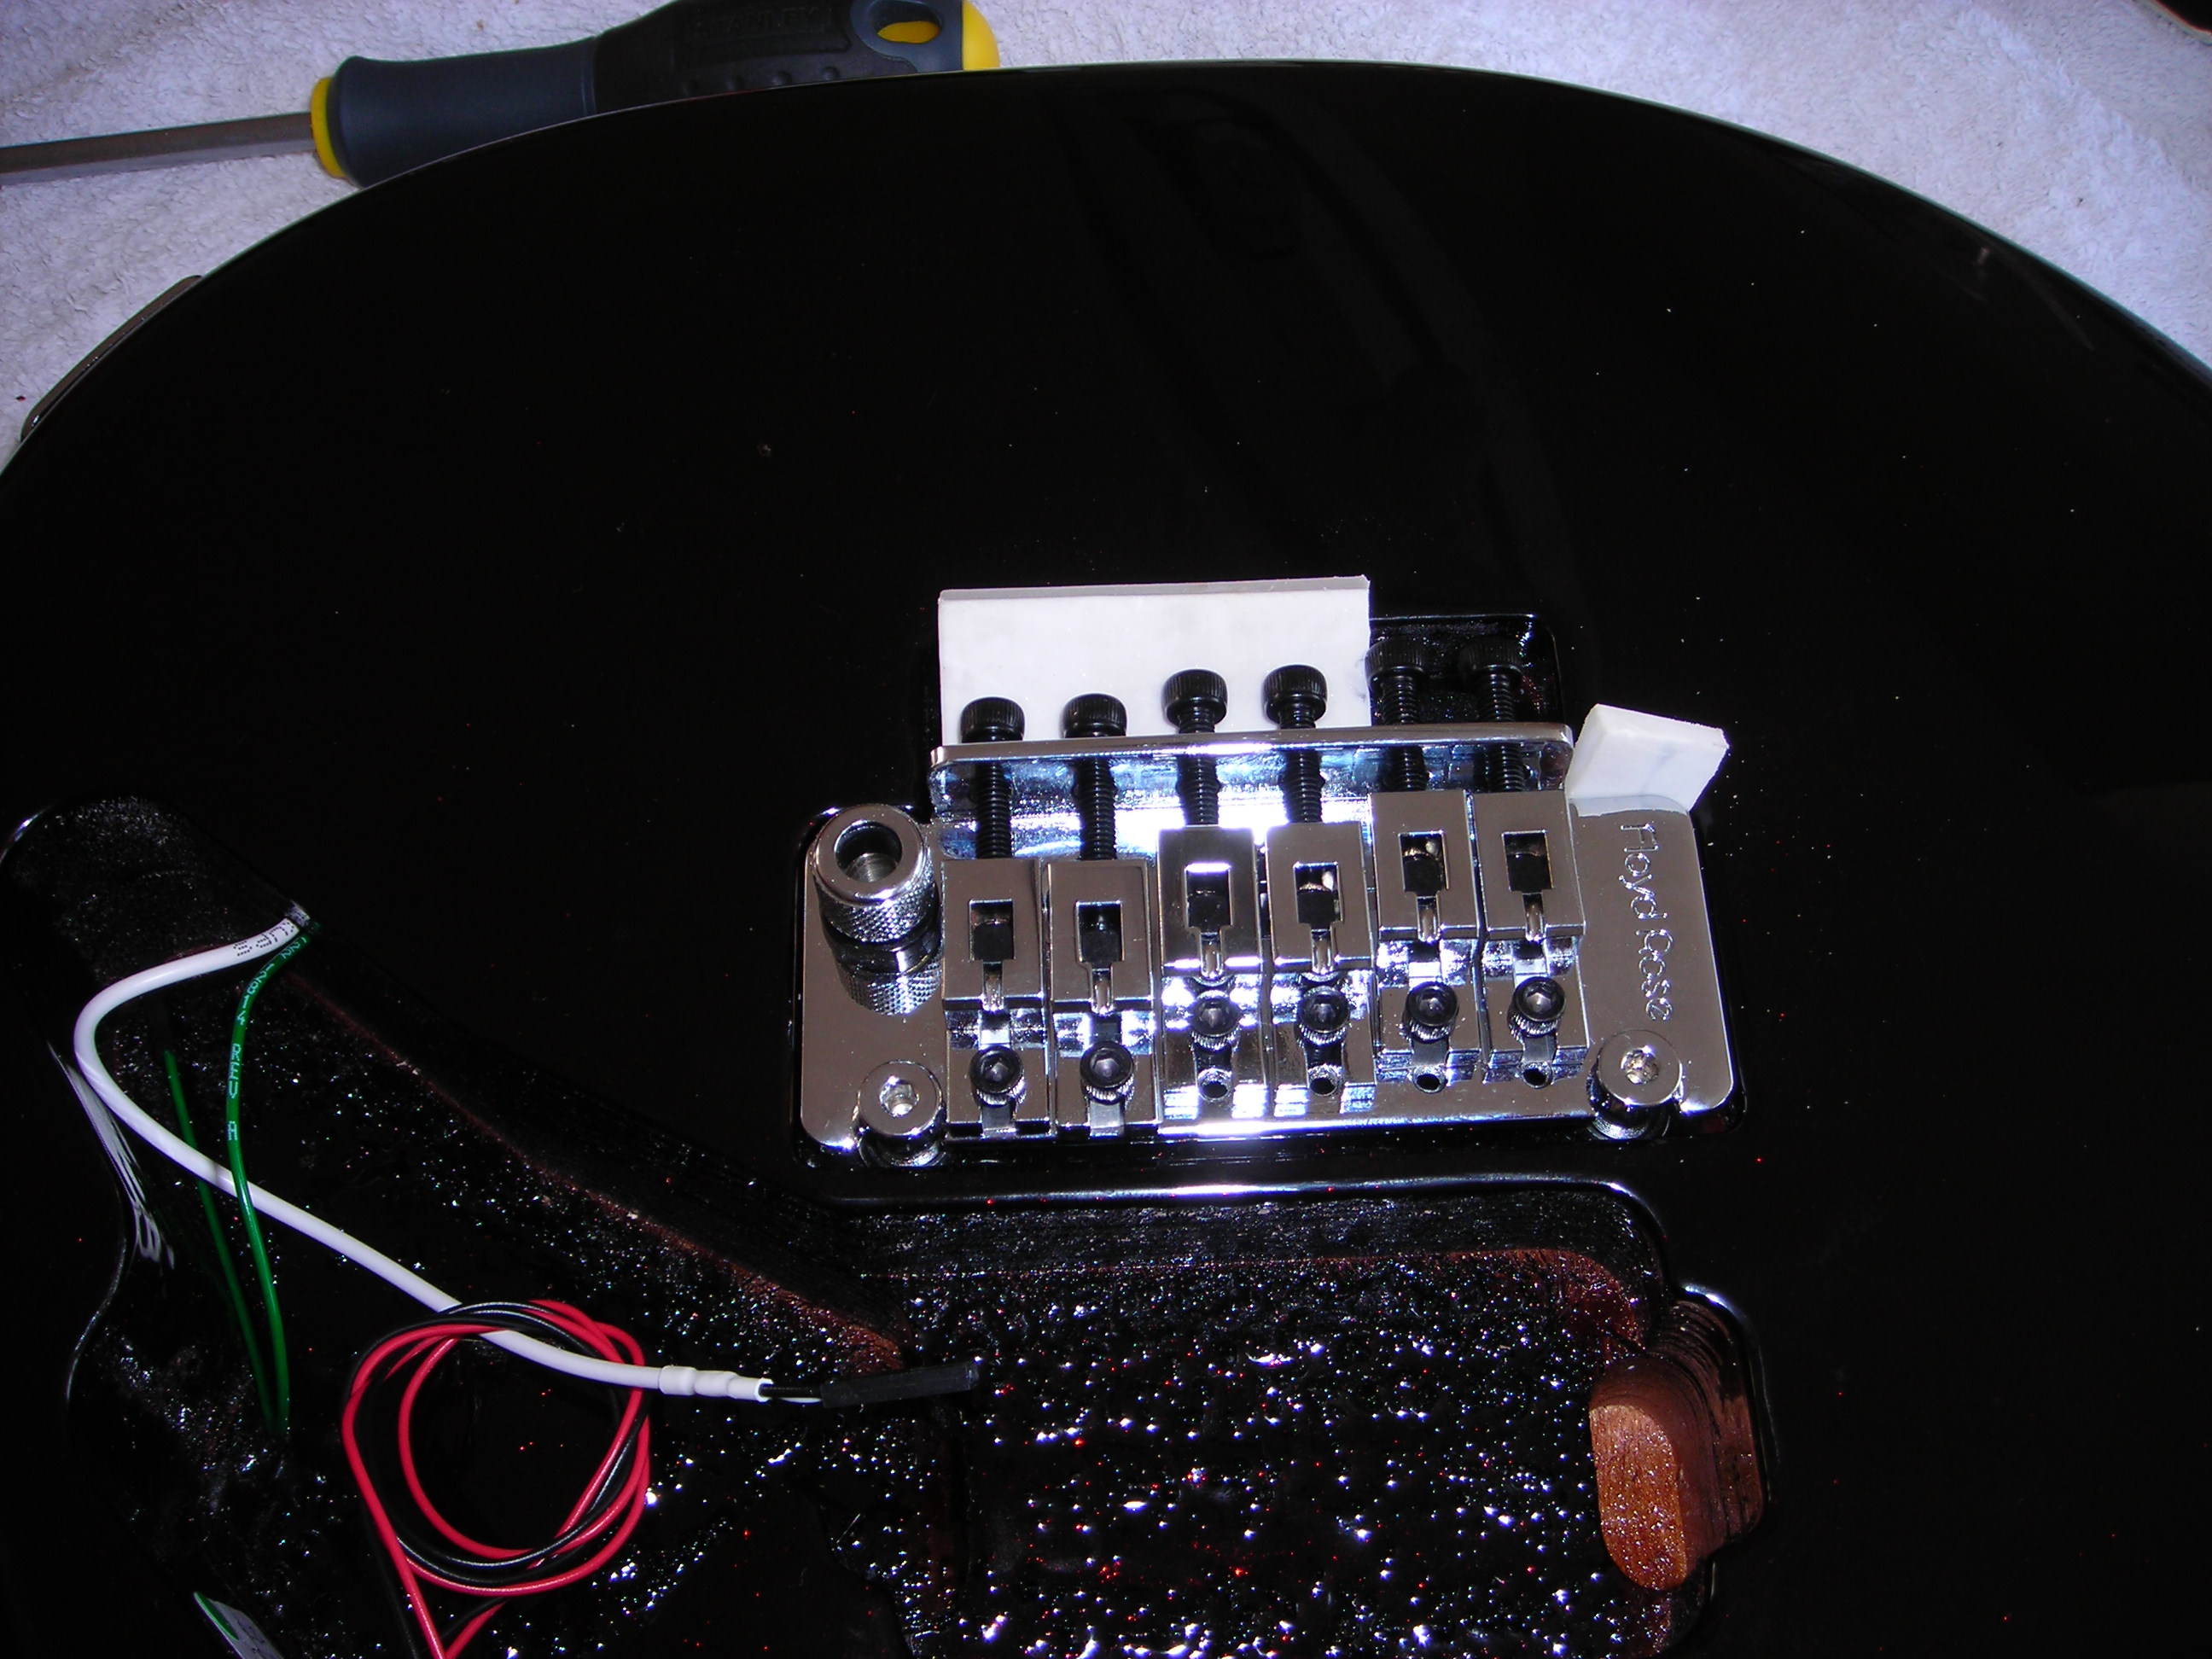
After the block and arm were fitted I positioned some shims to help with flattening the radius ready for the compound radius neck and set up which comes later.

There are two shims below each E string saddle and a single shim below the B and A string saddles. The D and G string saddles have no shims.

FloydAssembly8 by stratamania, on Flickr

It can also be noticed that I have positioned the B and E saddles machine screws in the forward facing holes and approximated an intonation spread. Of course, it will need to be set up later when the guitar is done. This is just a roughed in and educated guess for now.


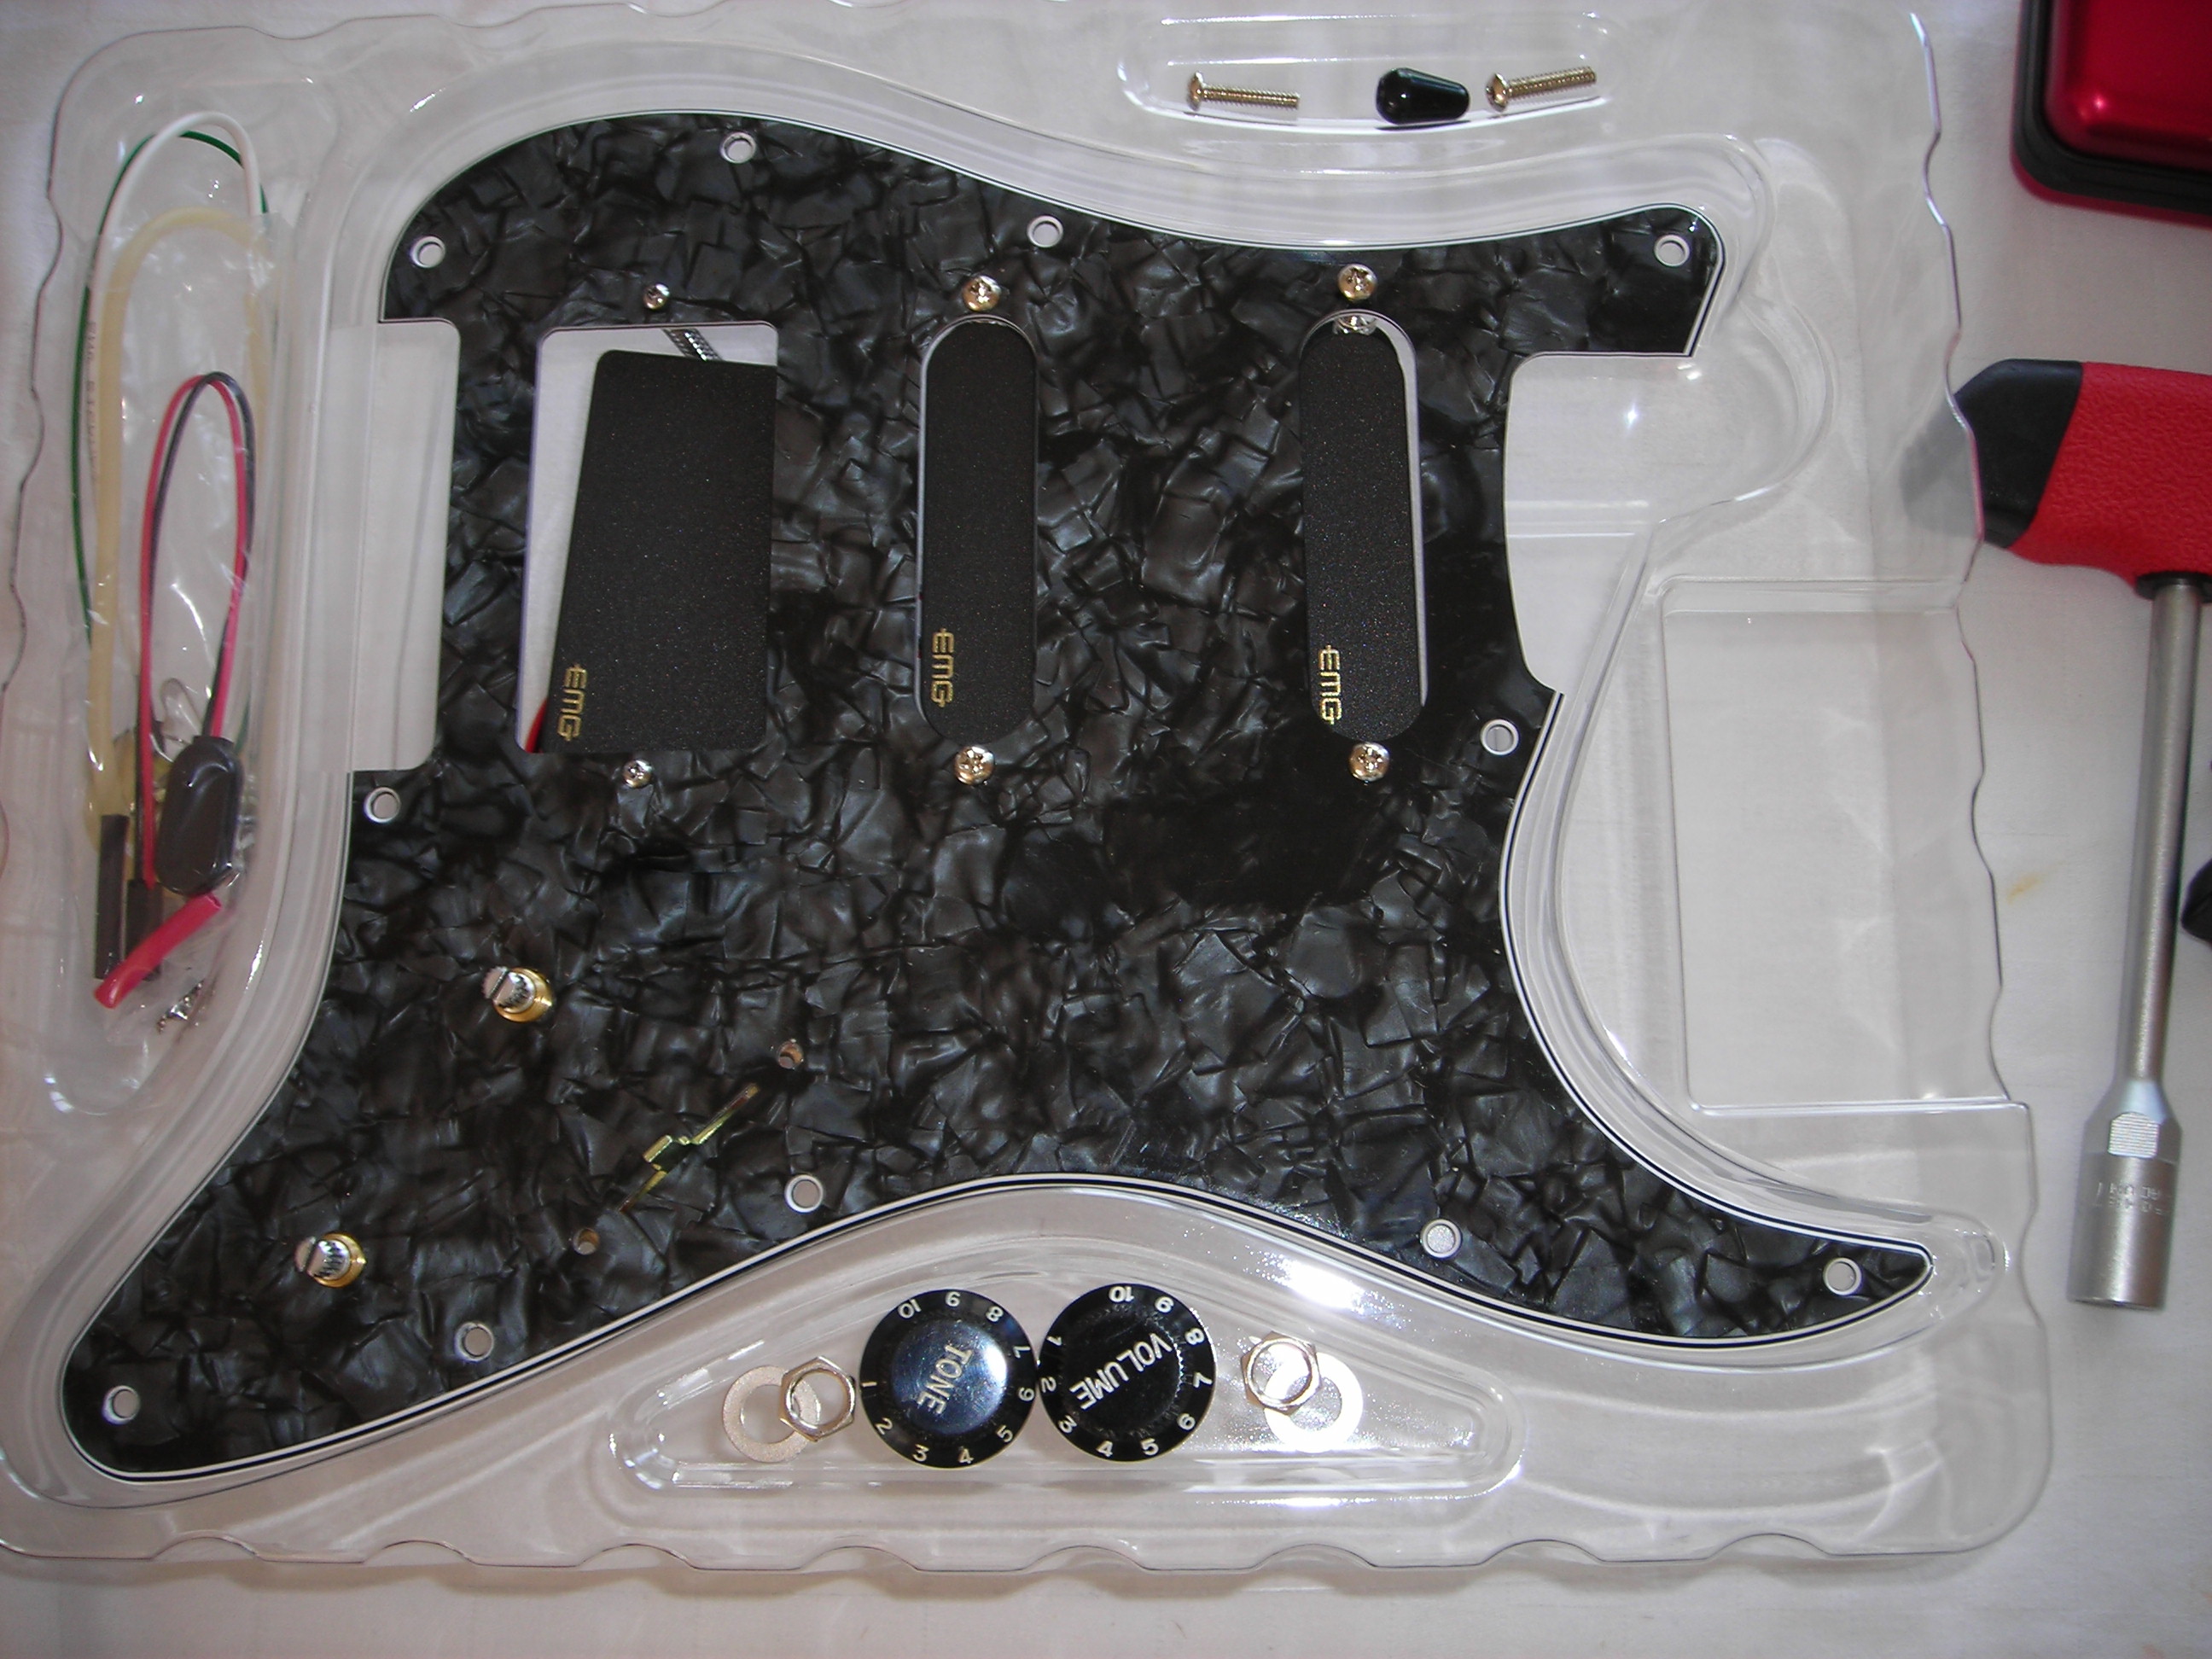
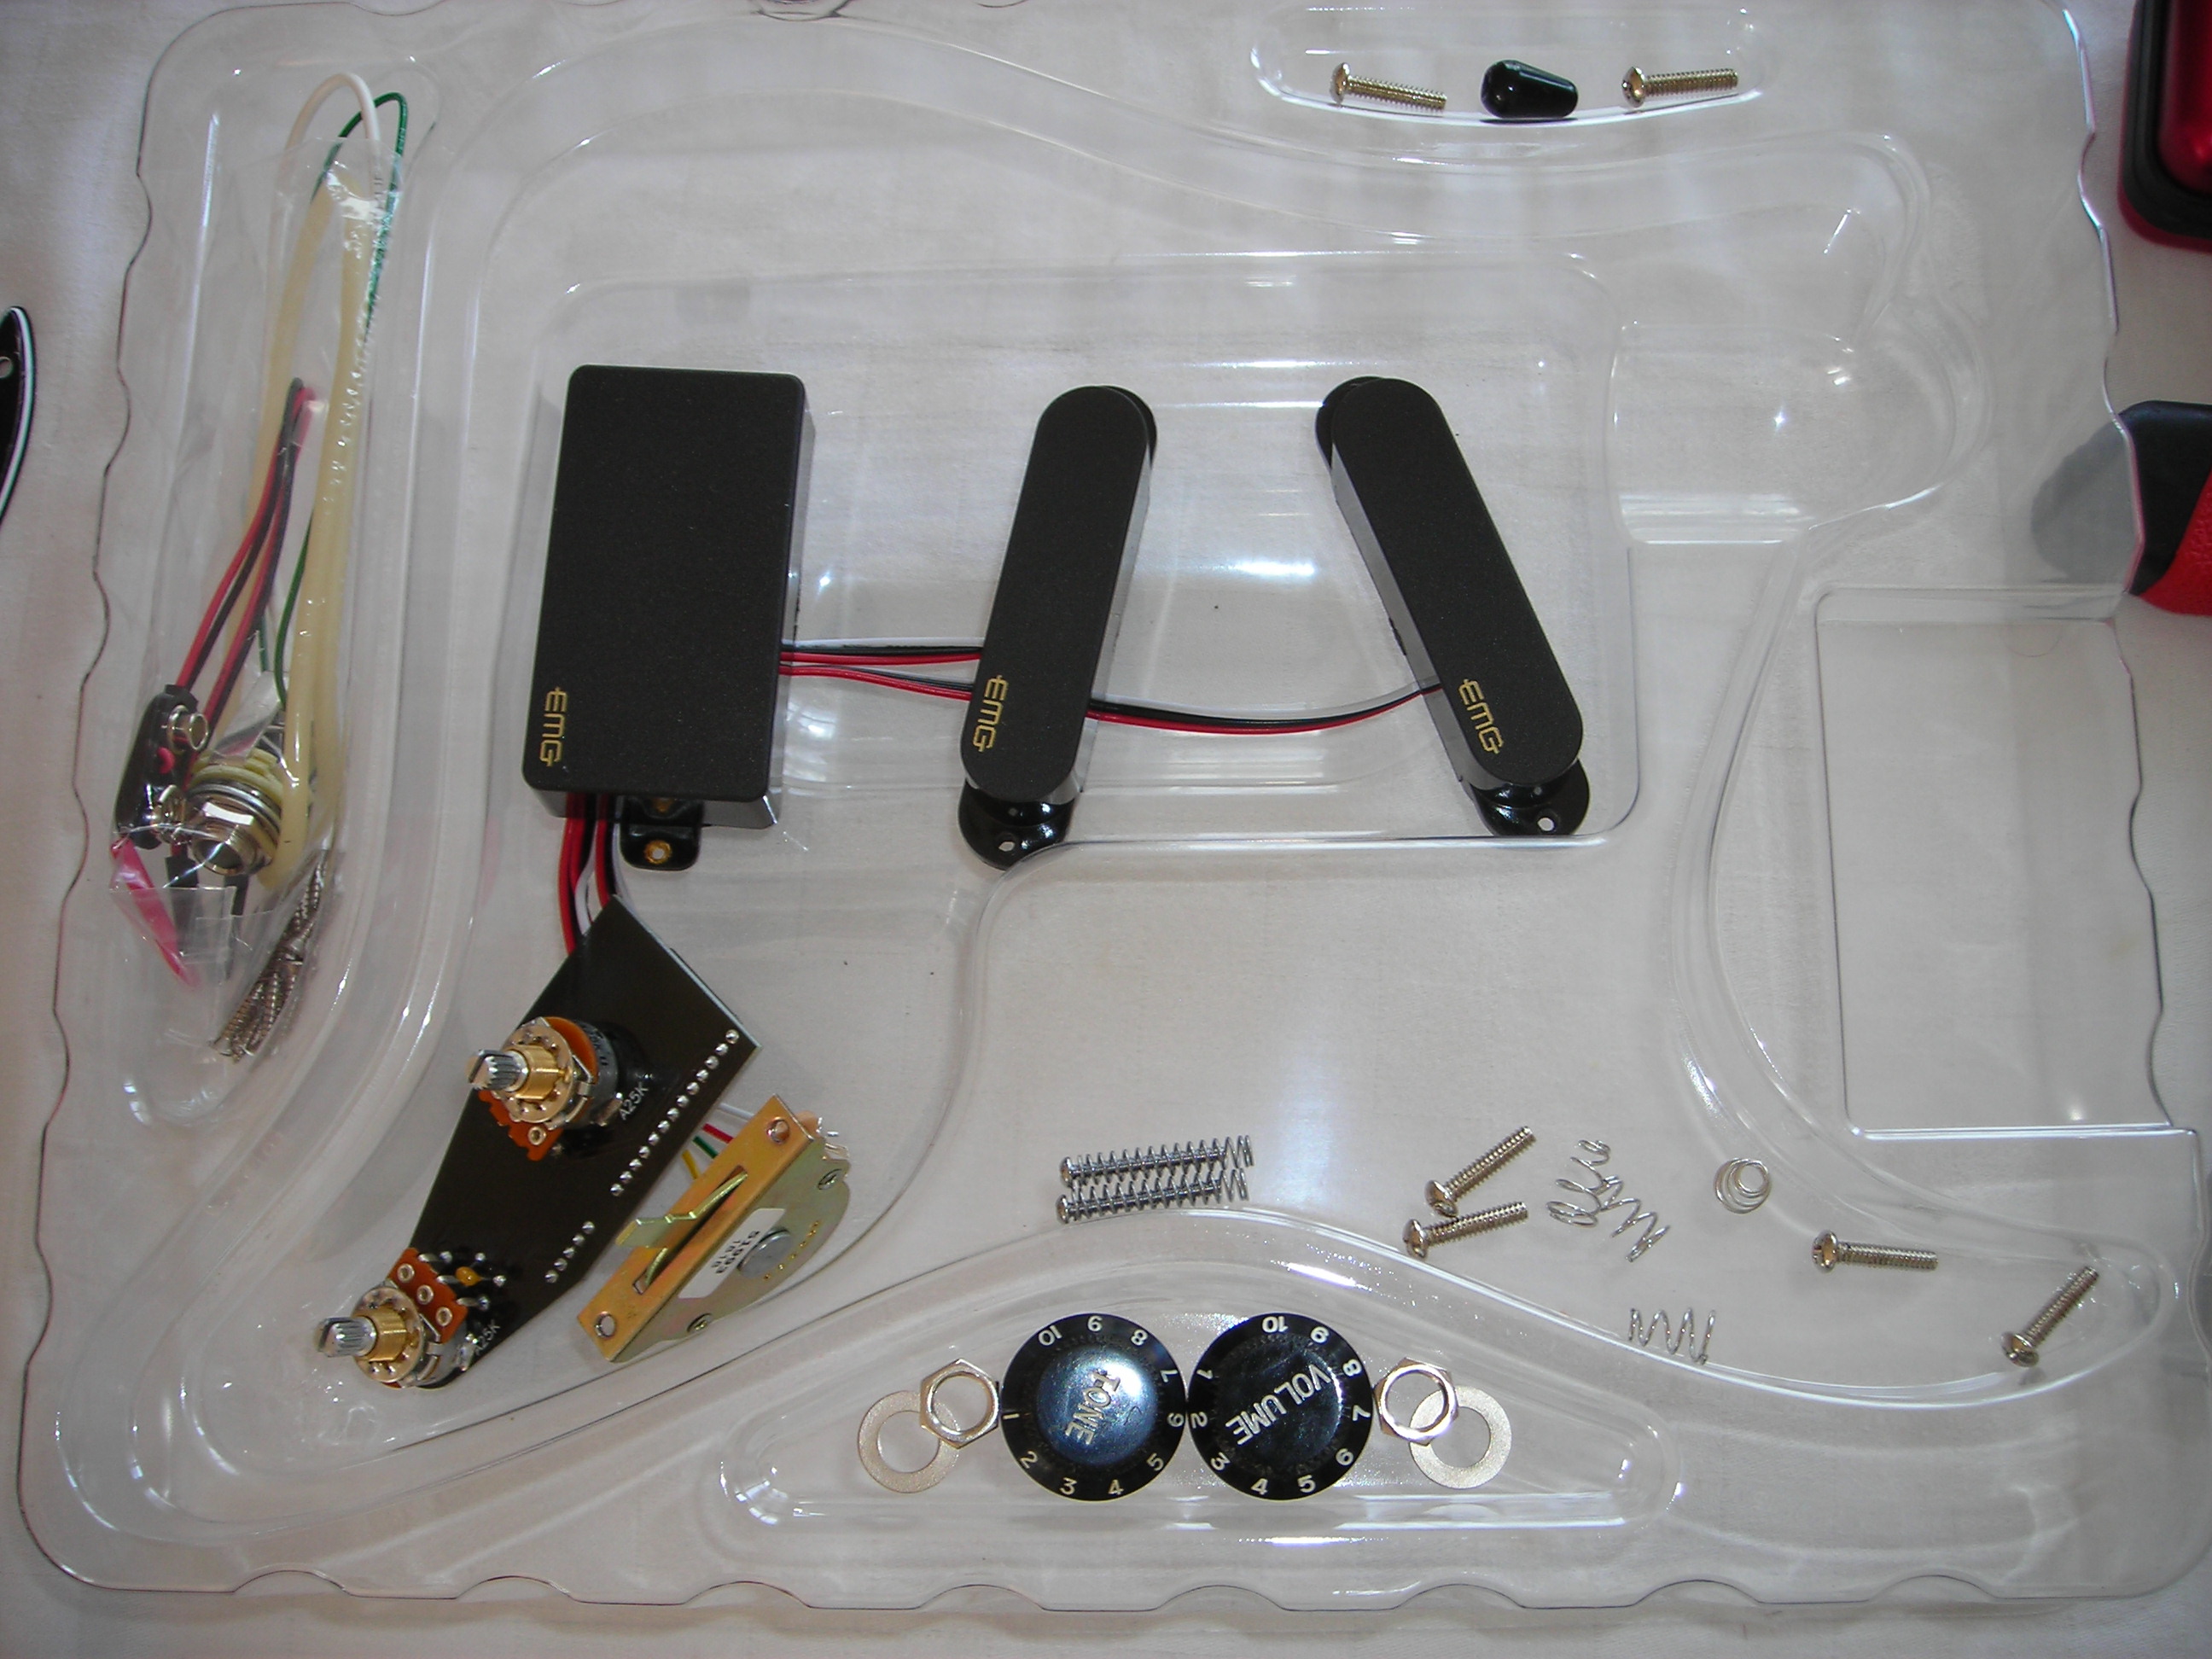
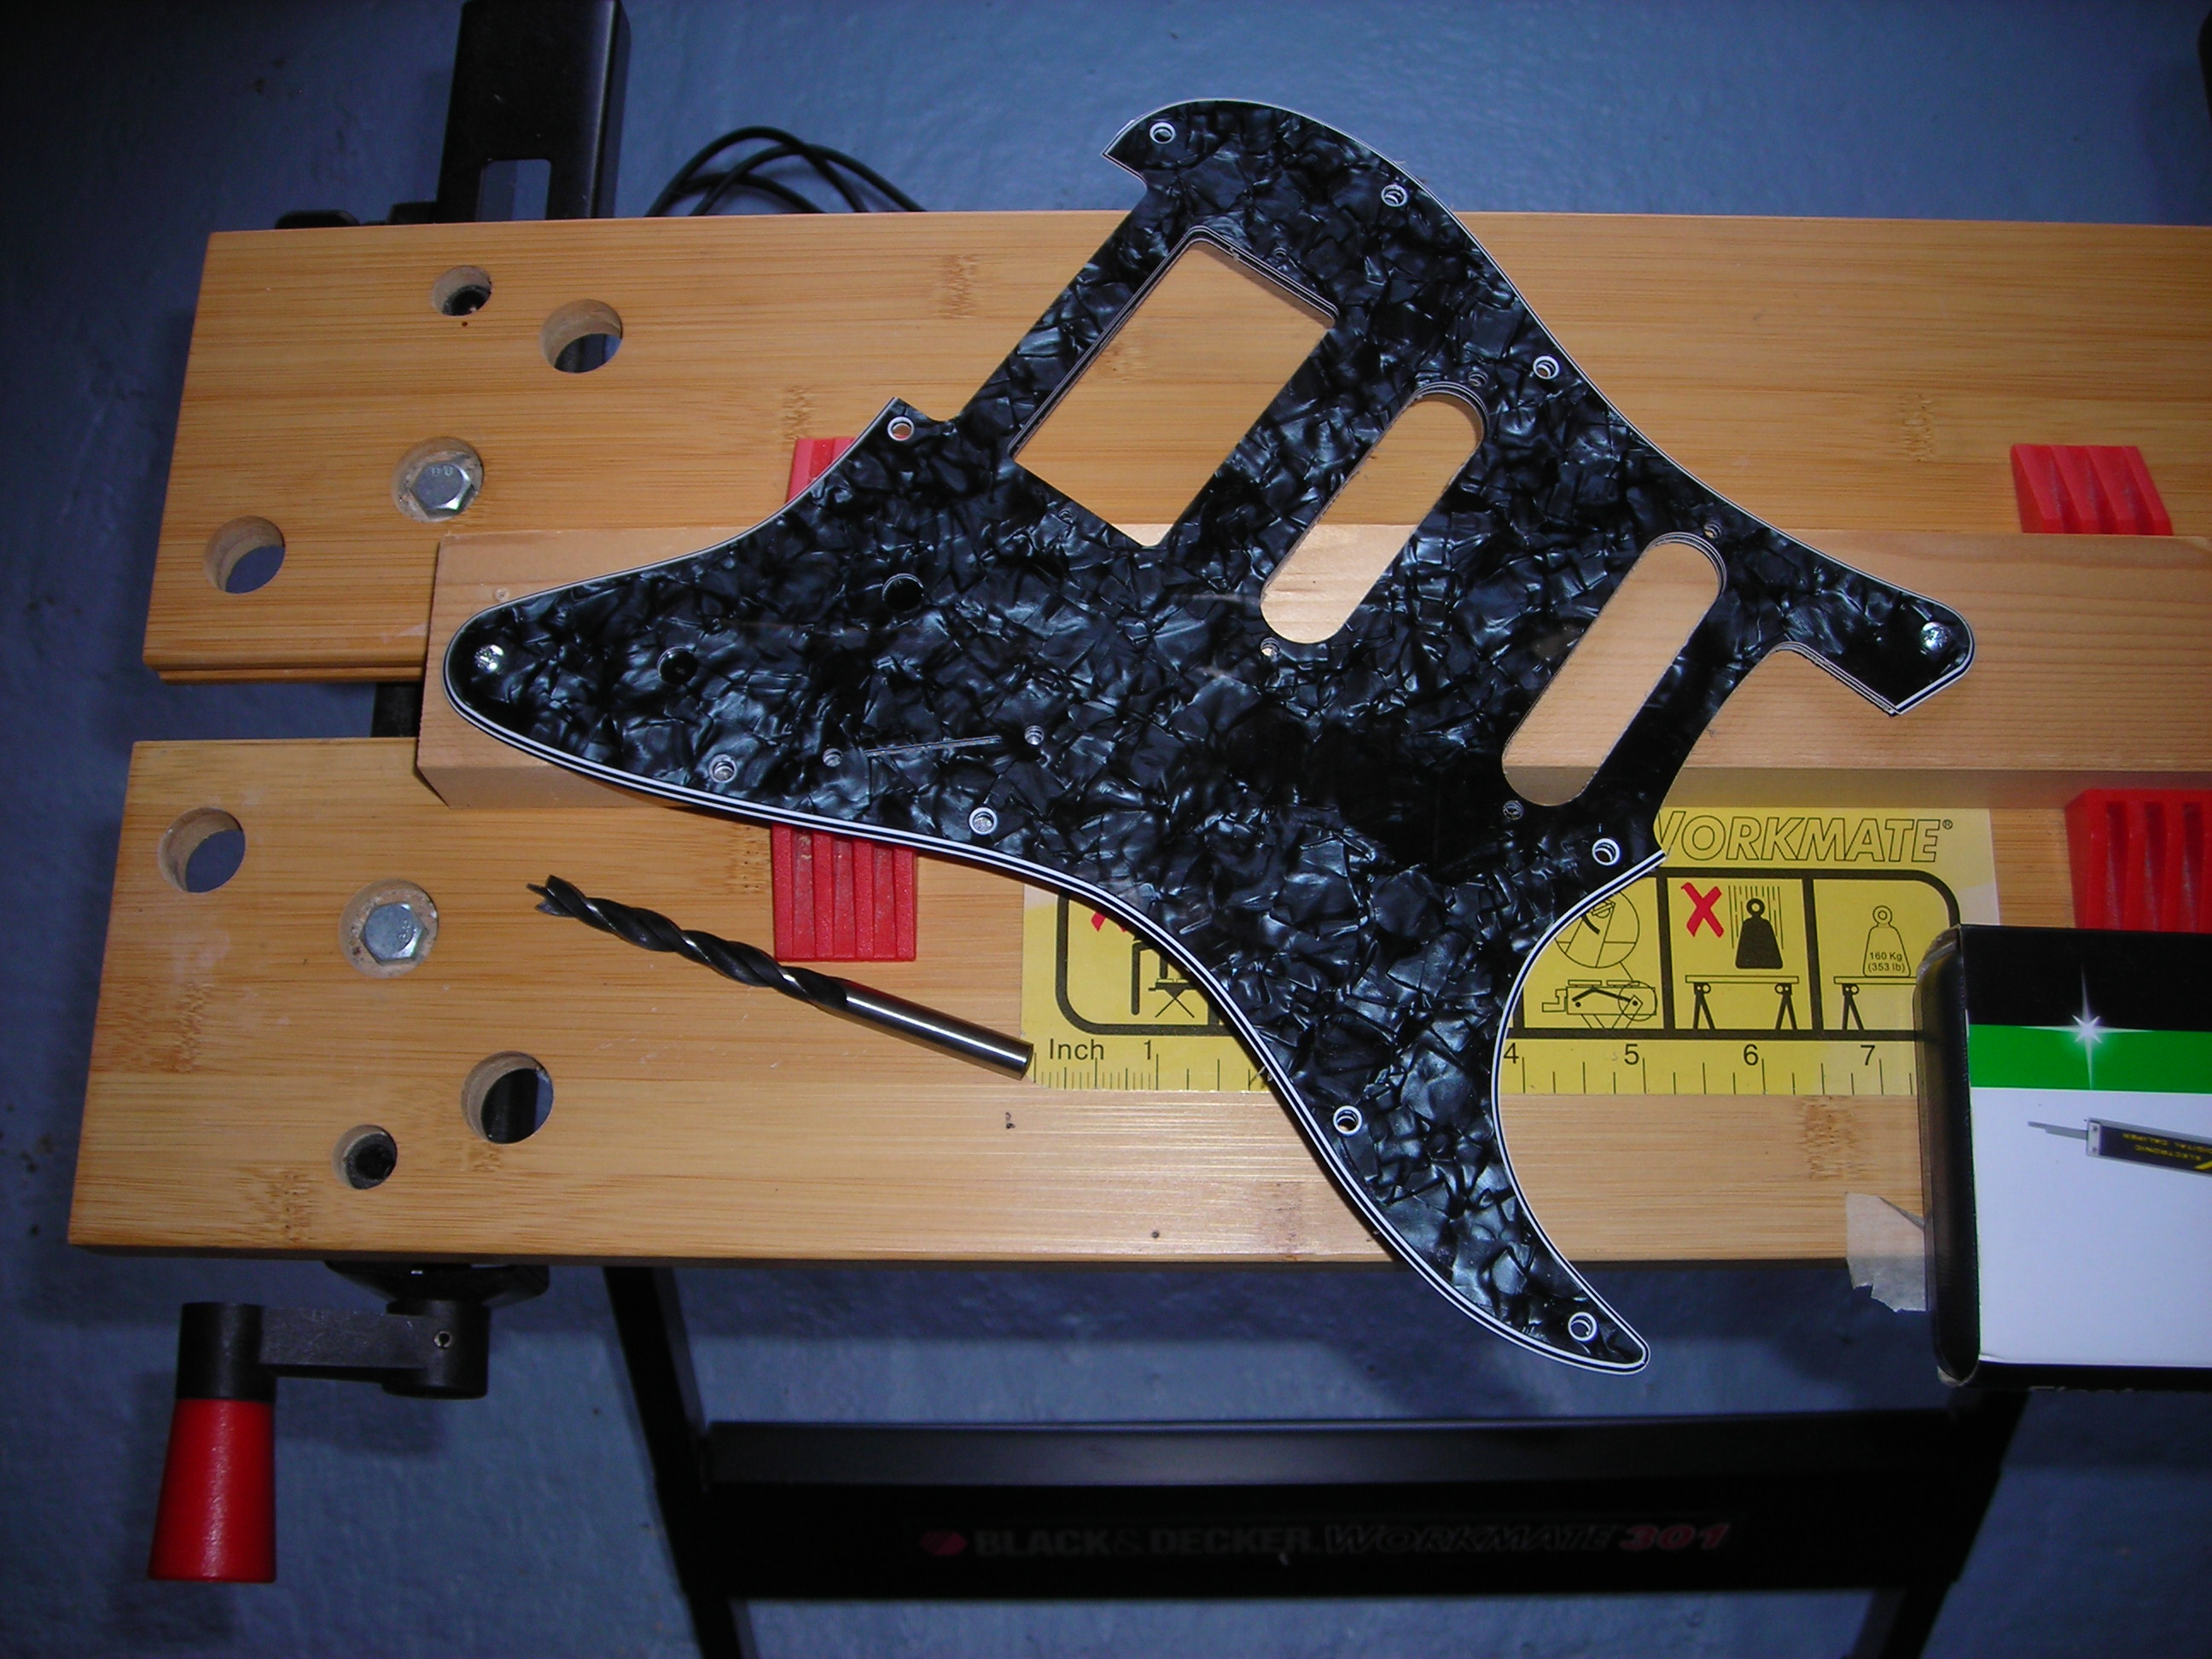
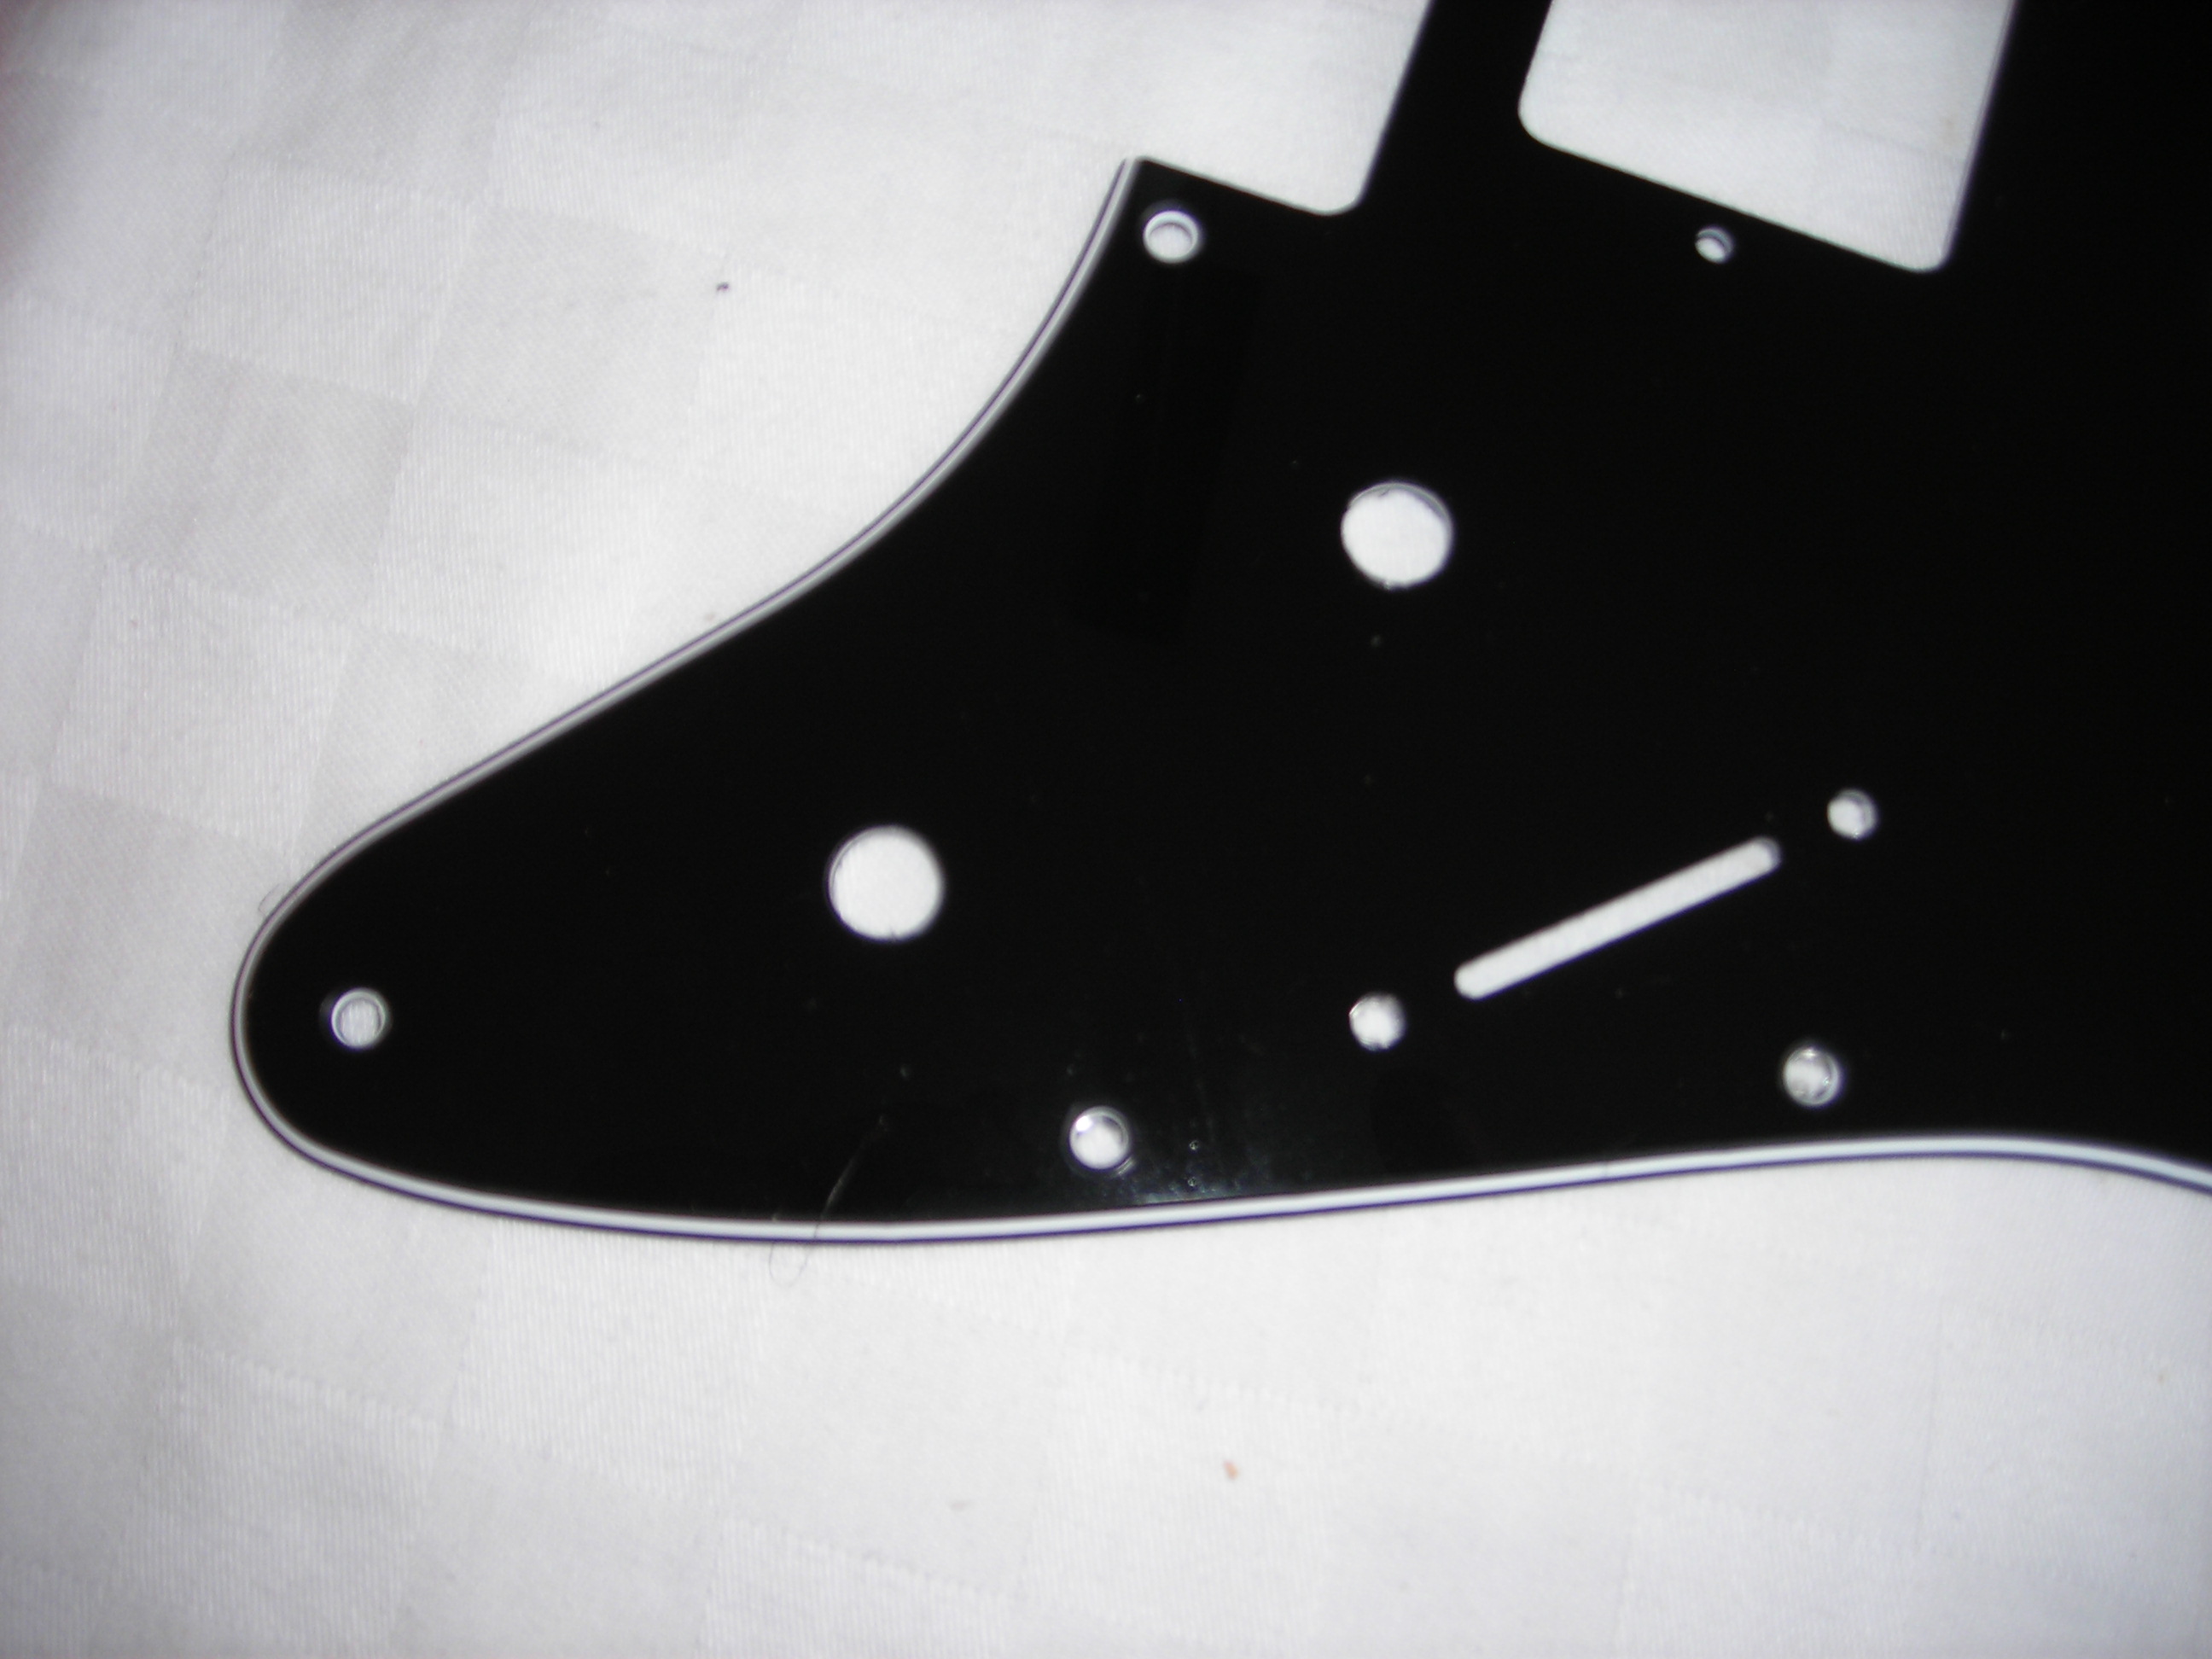
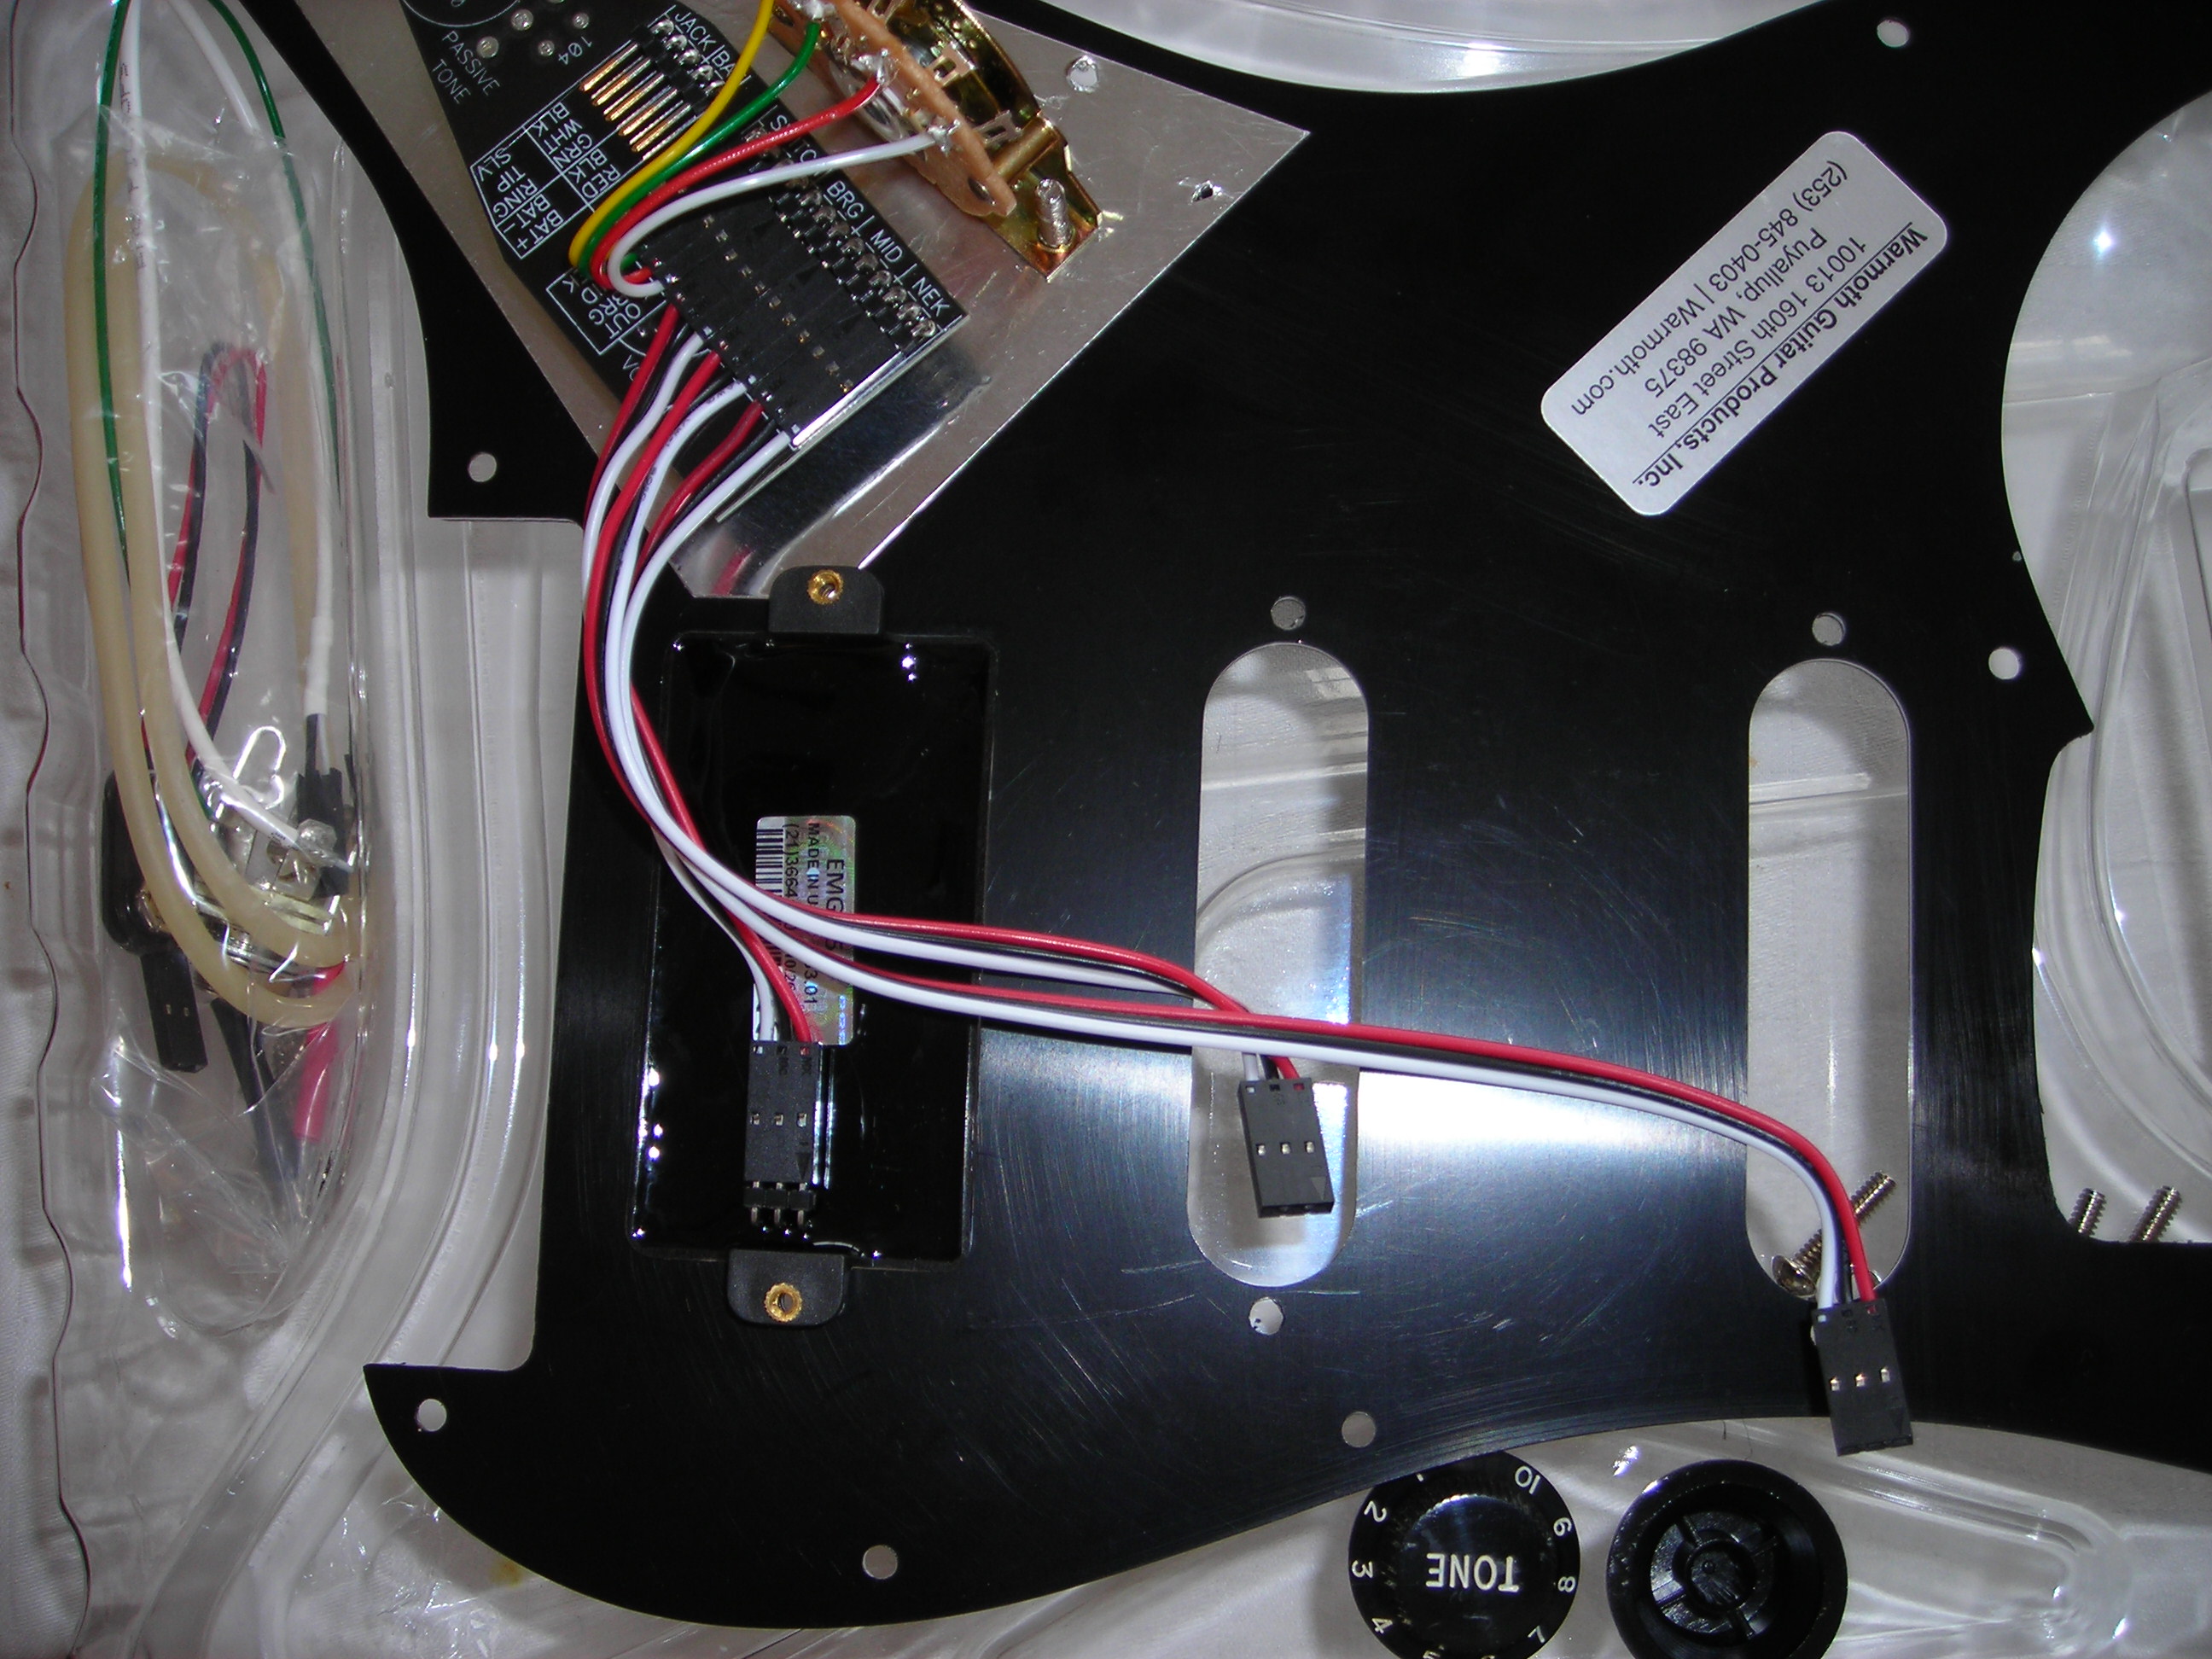
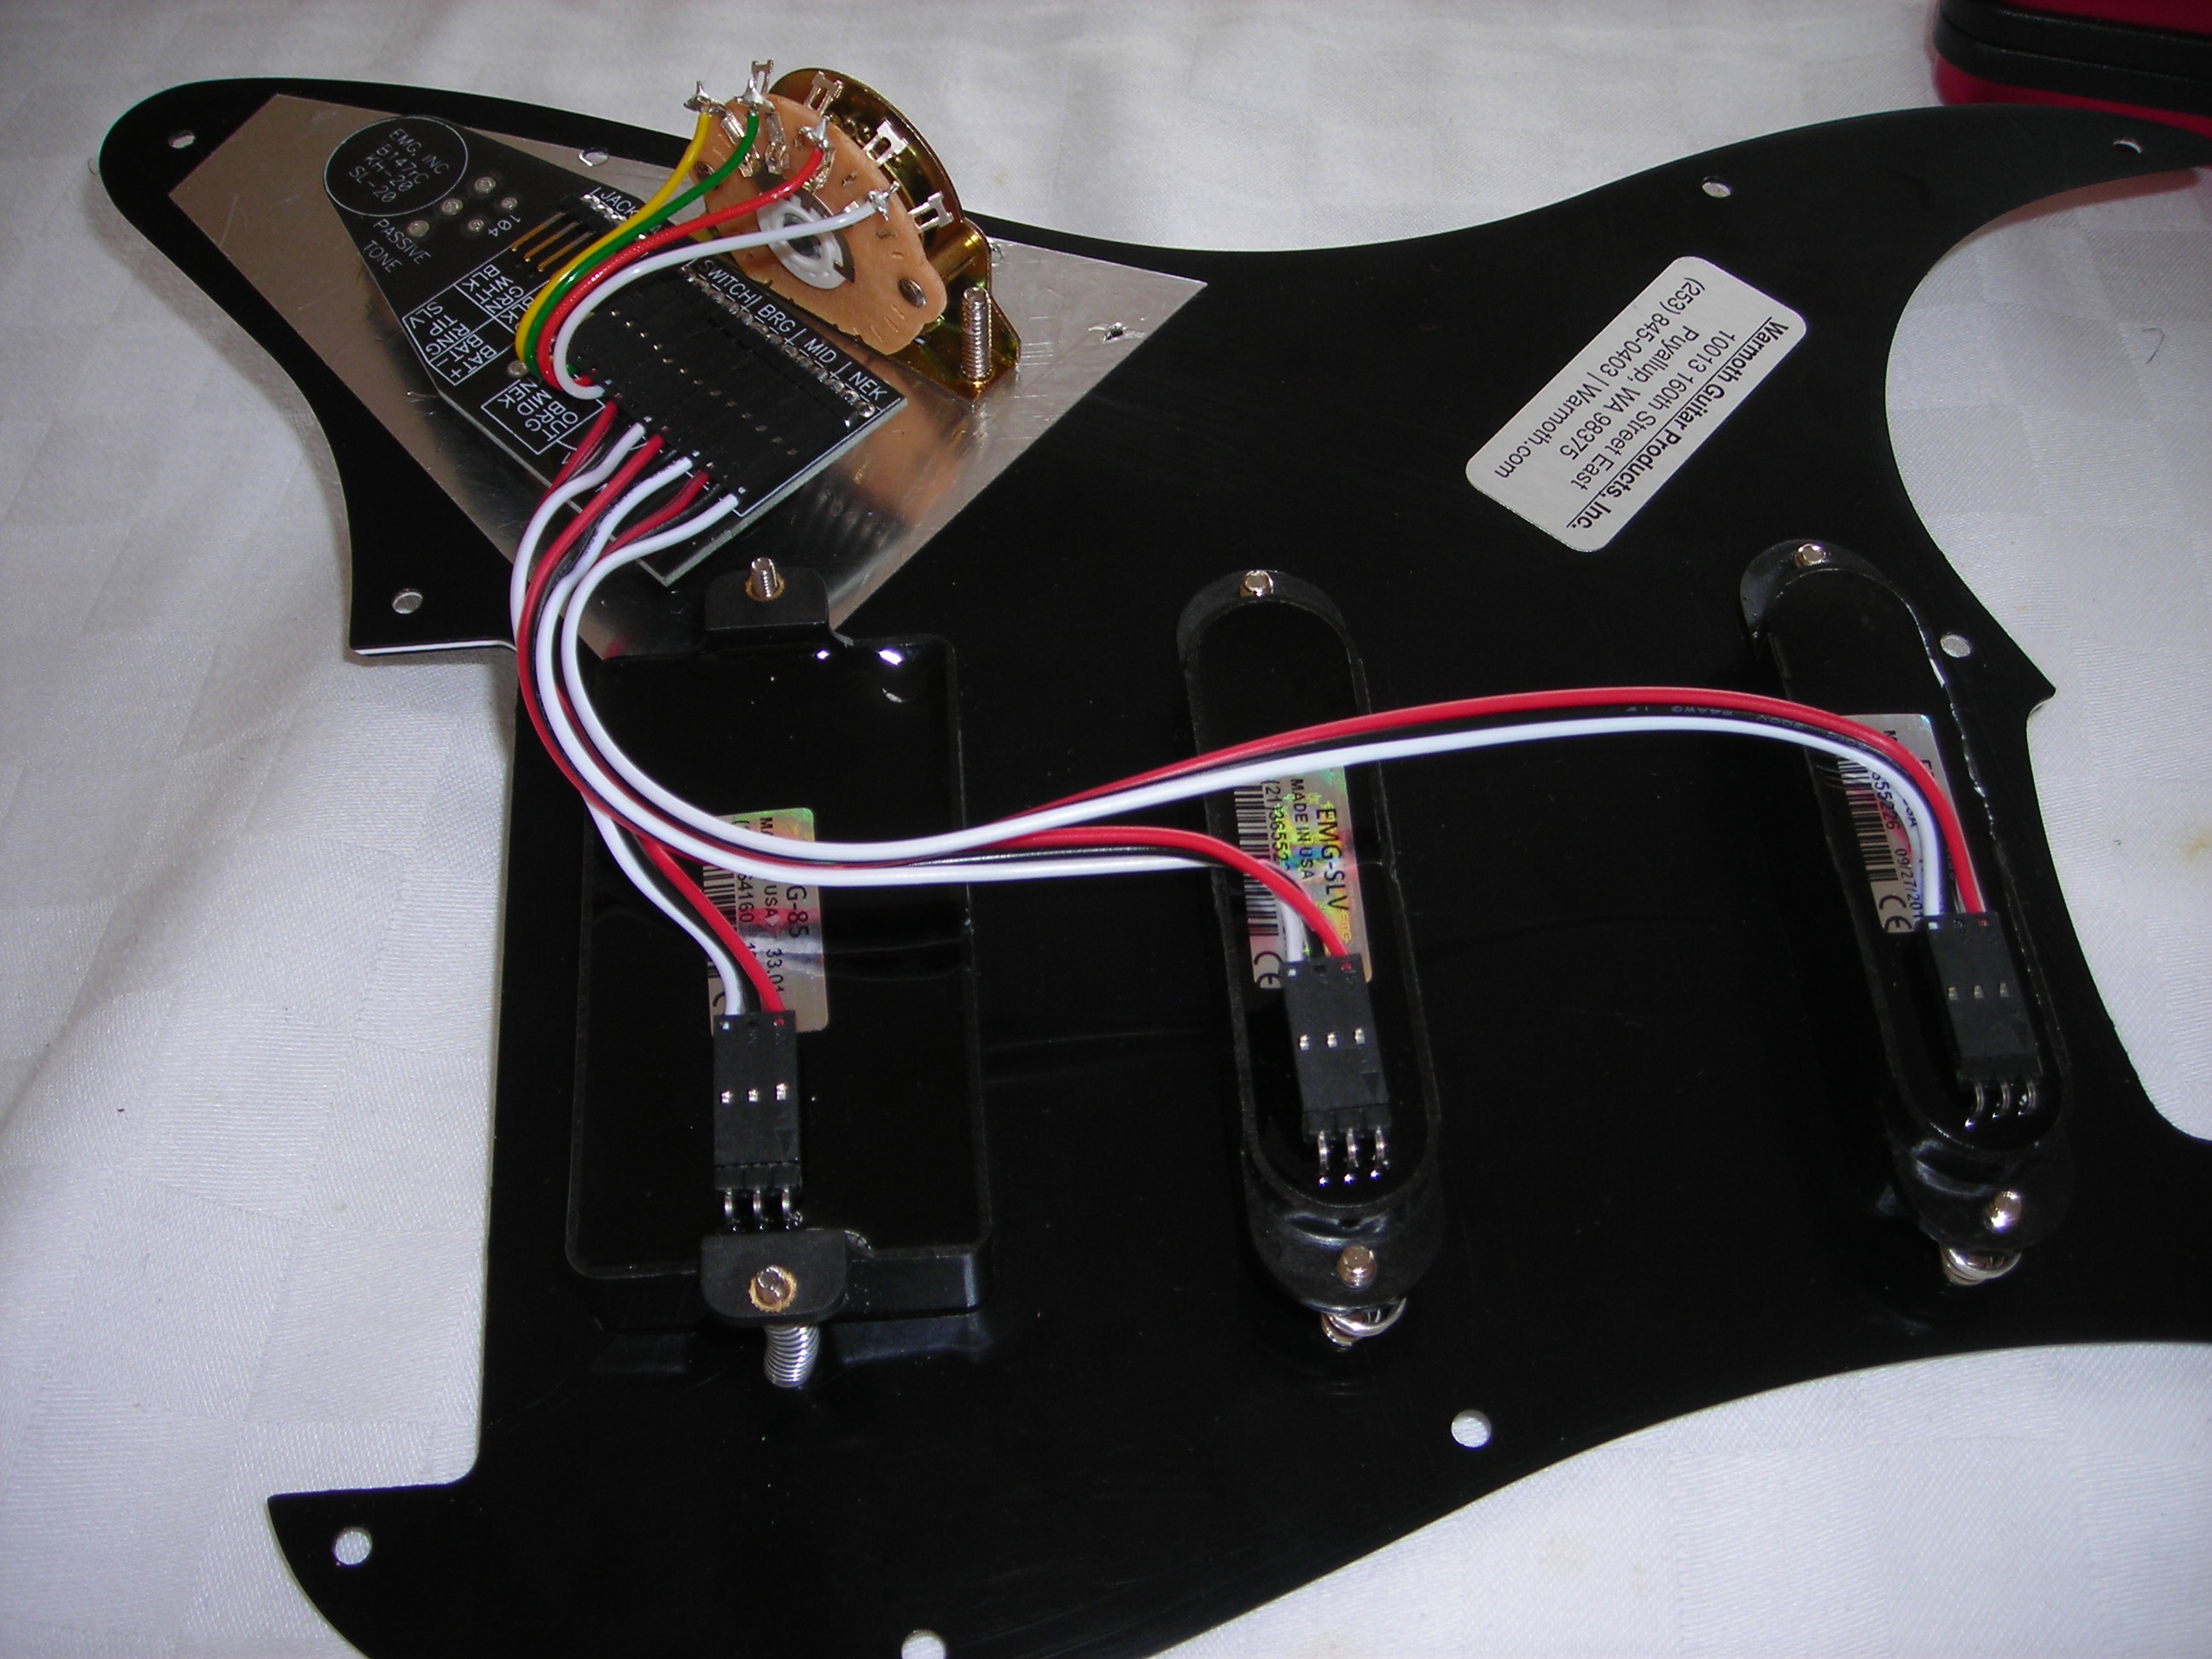
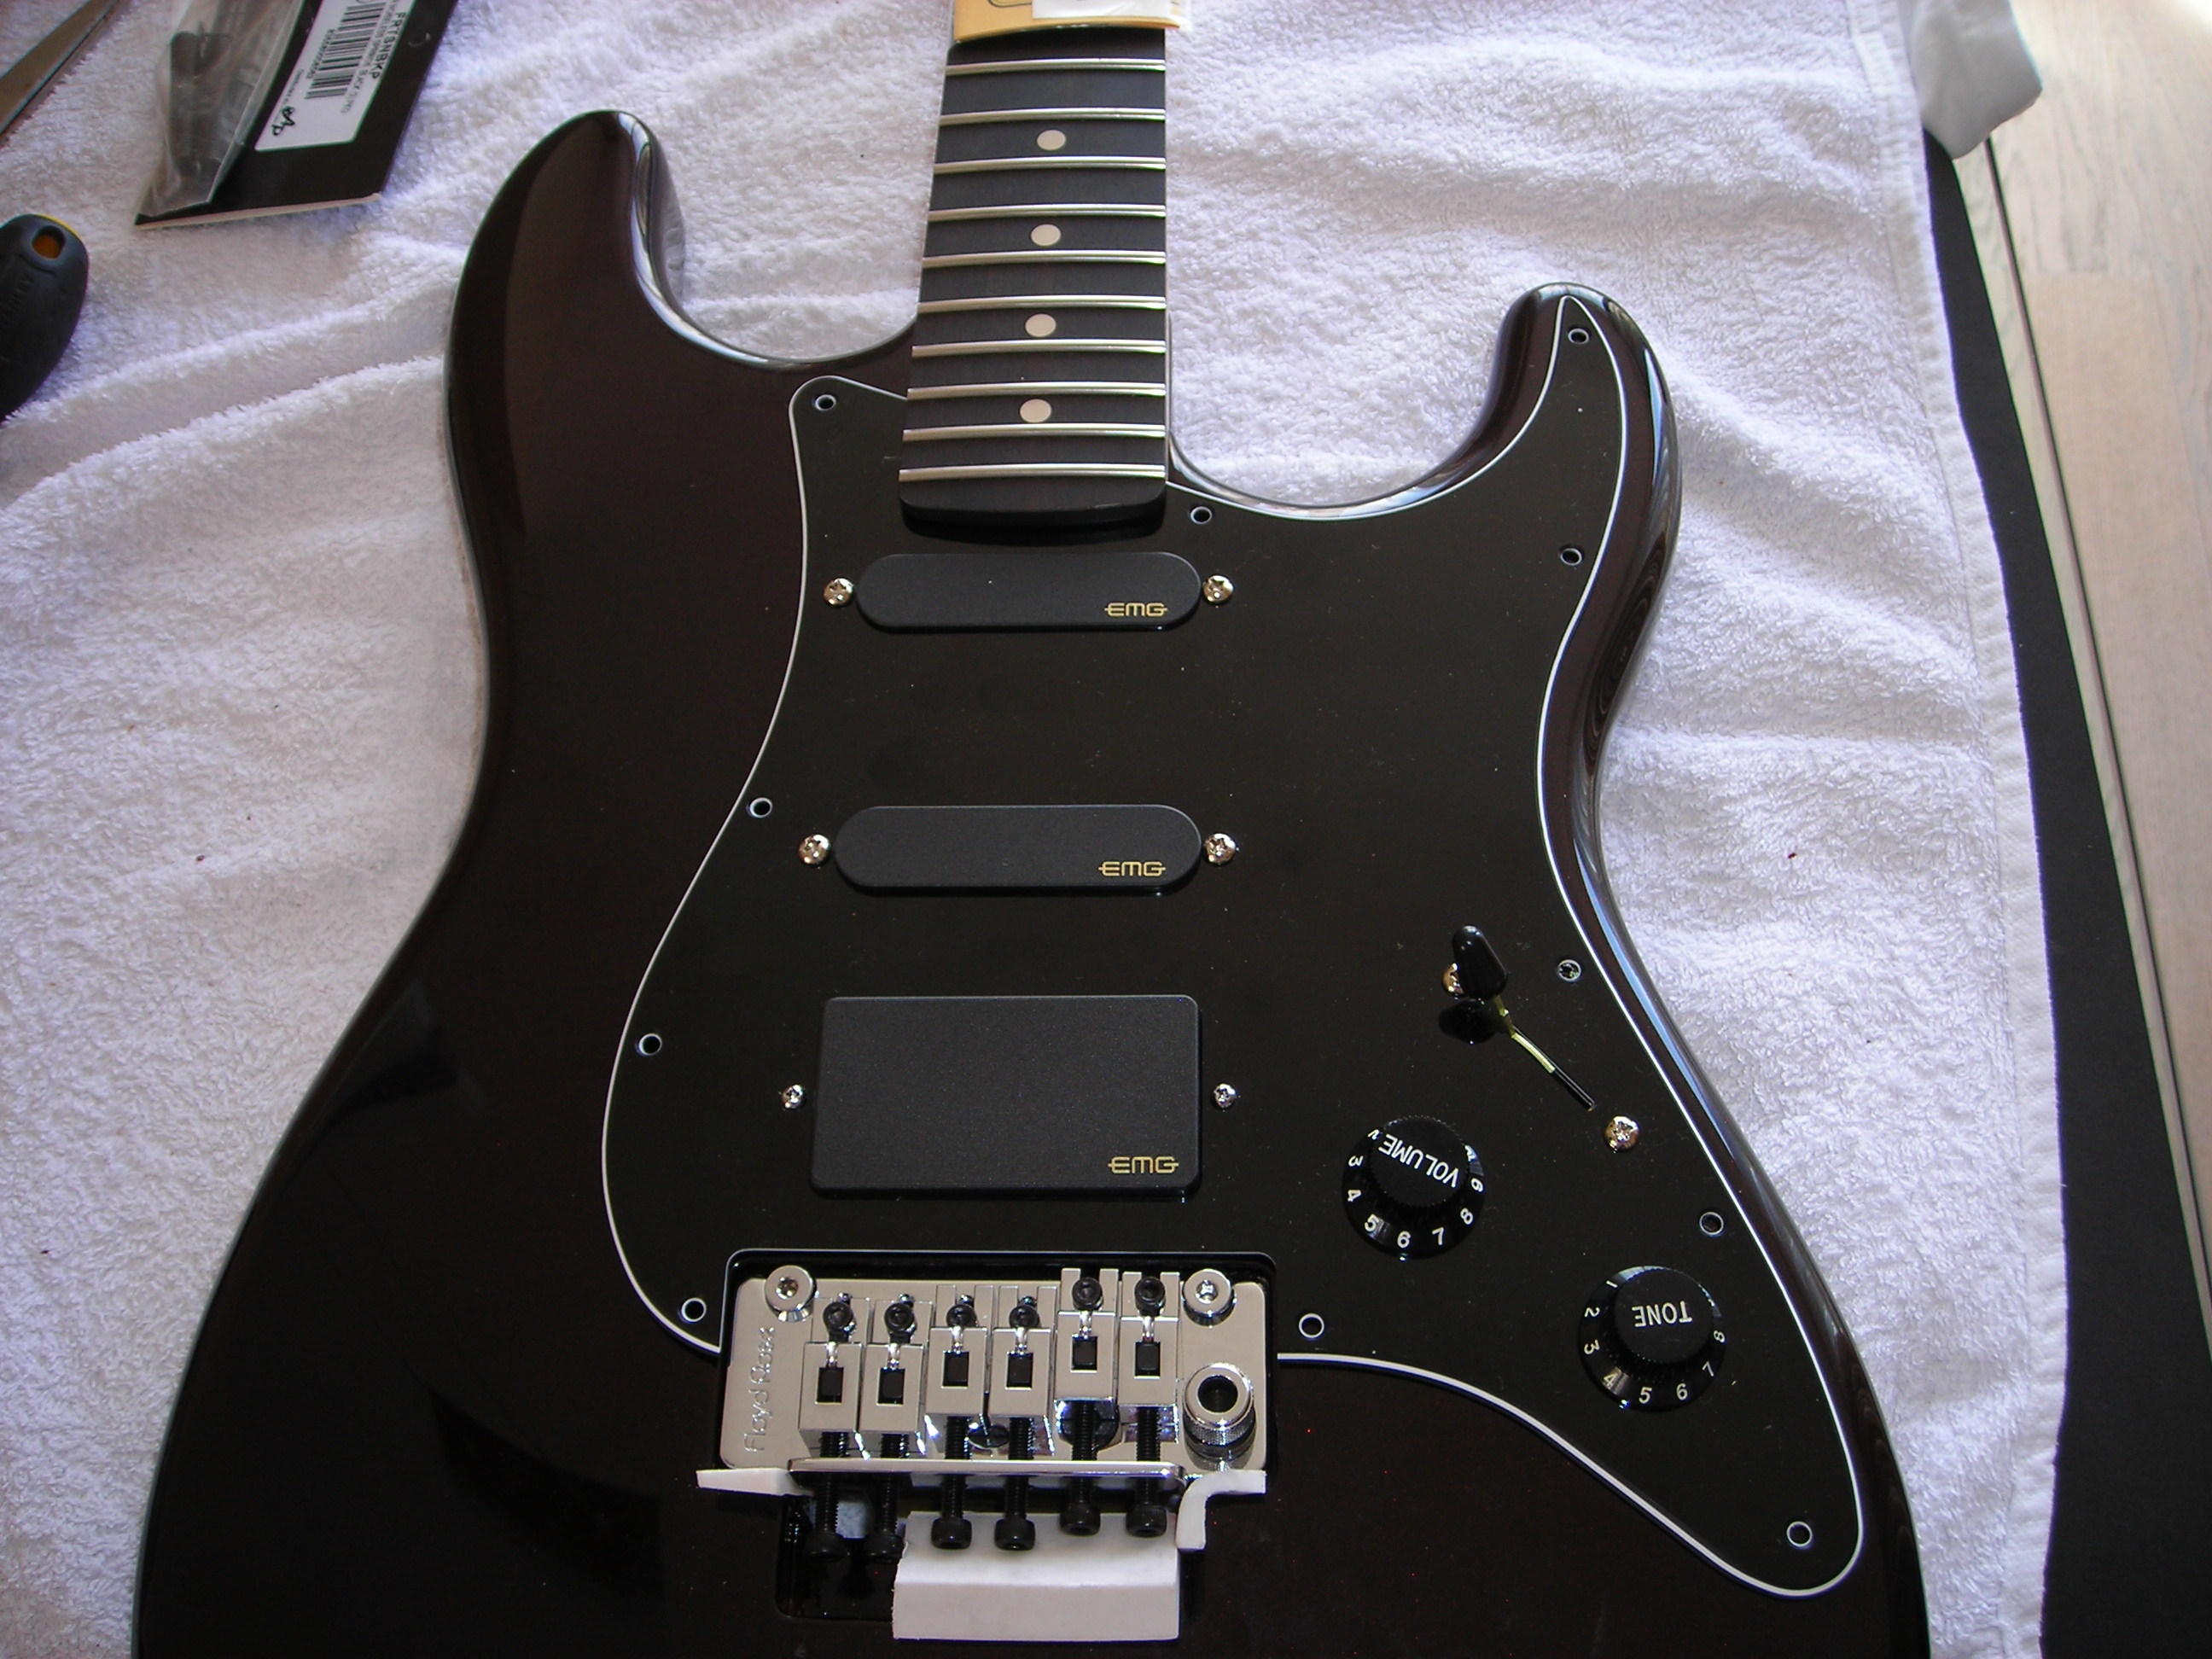
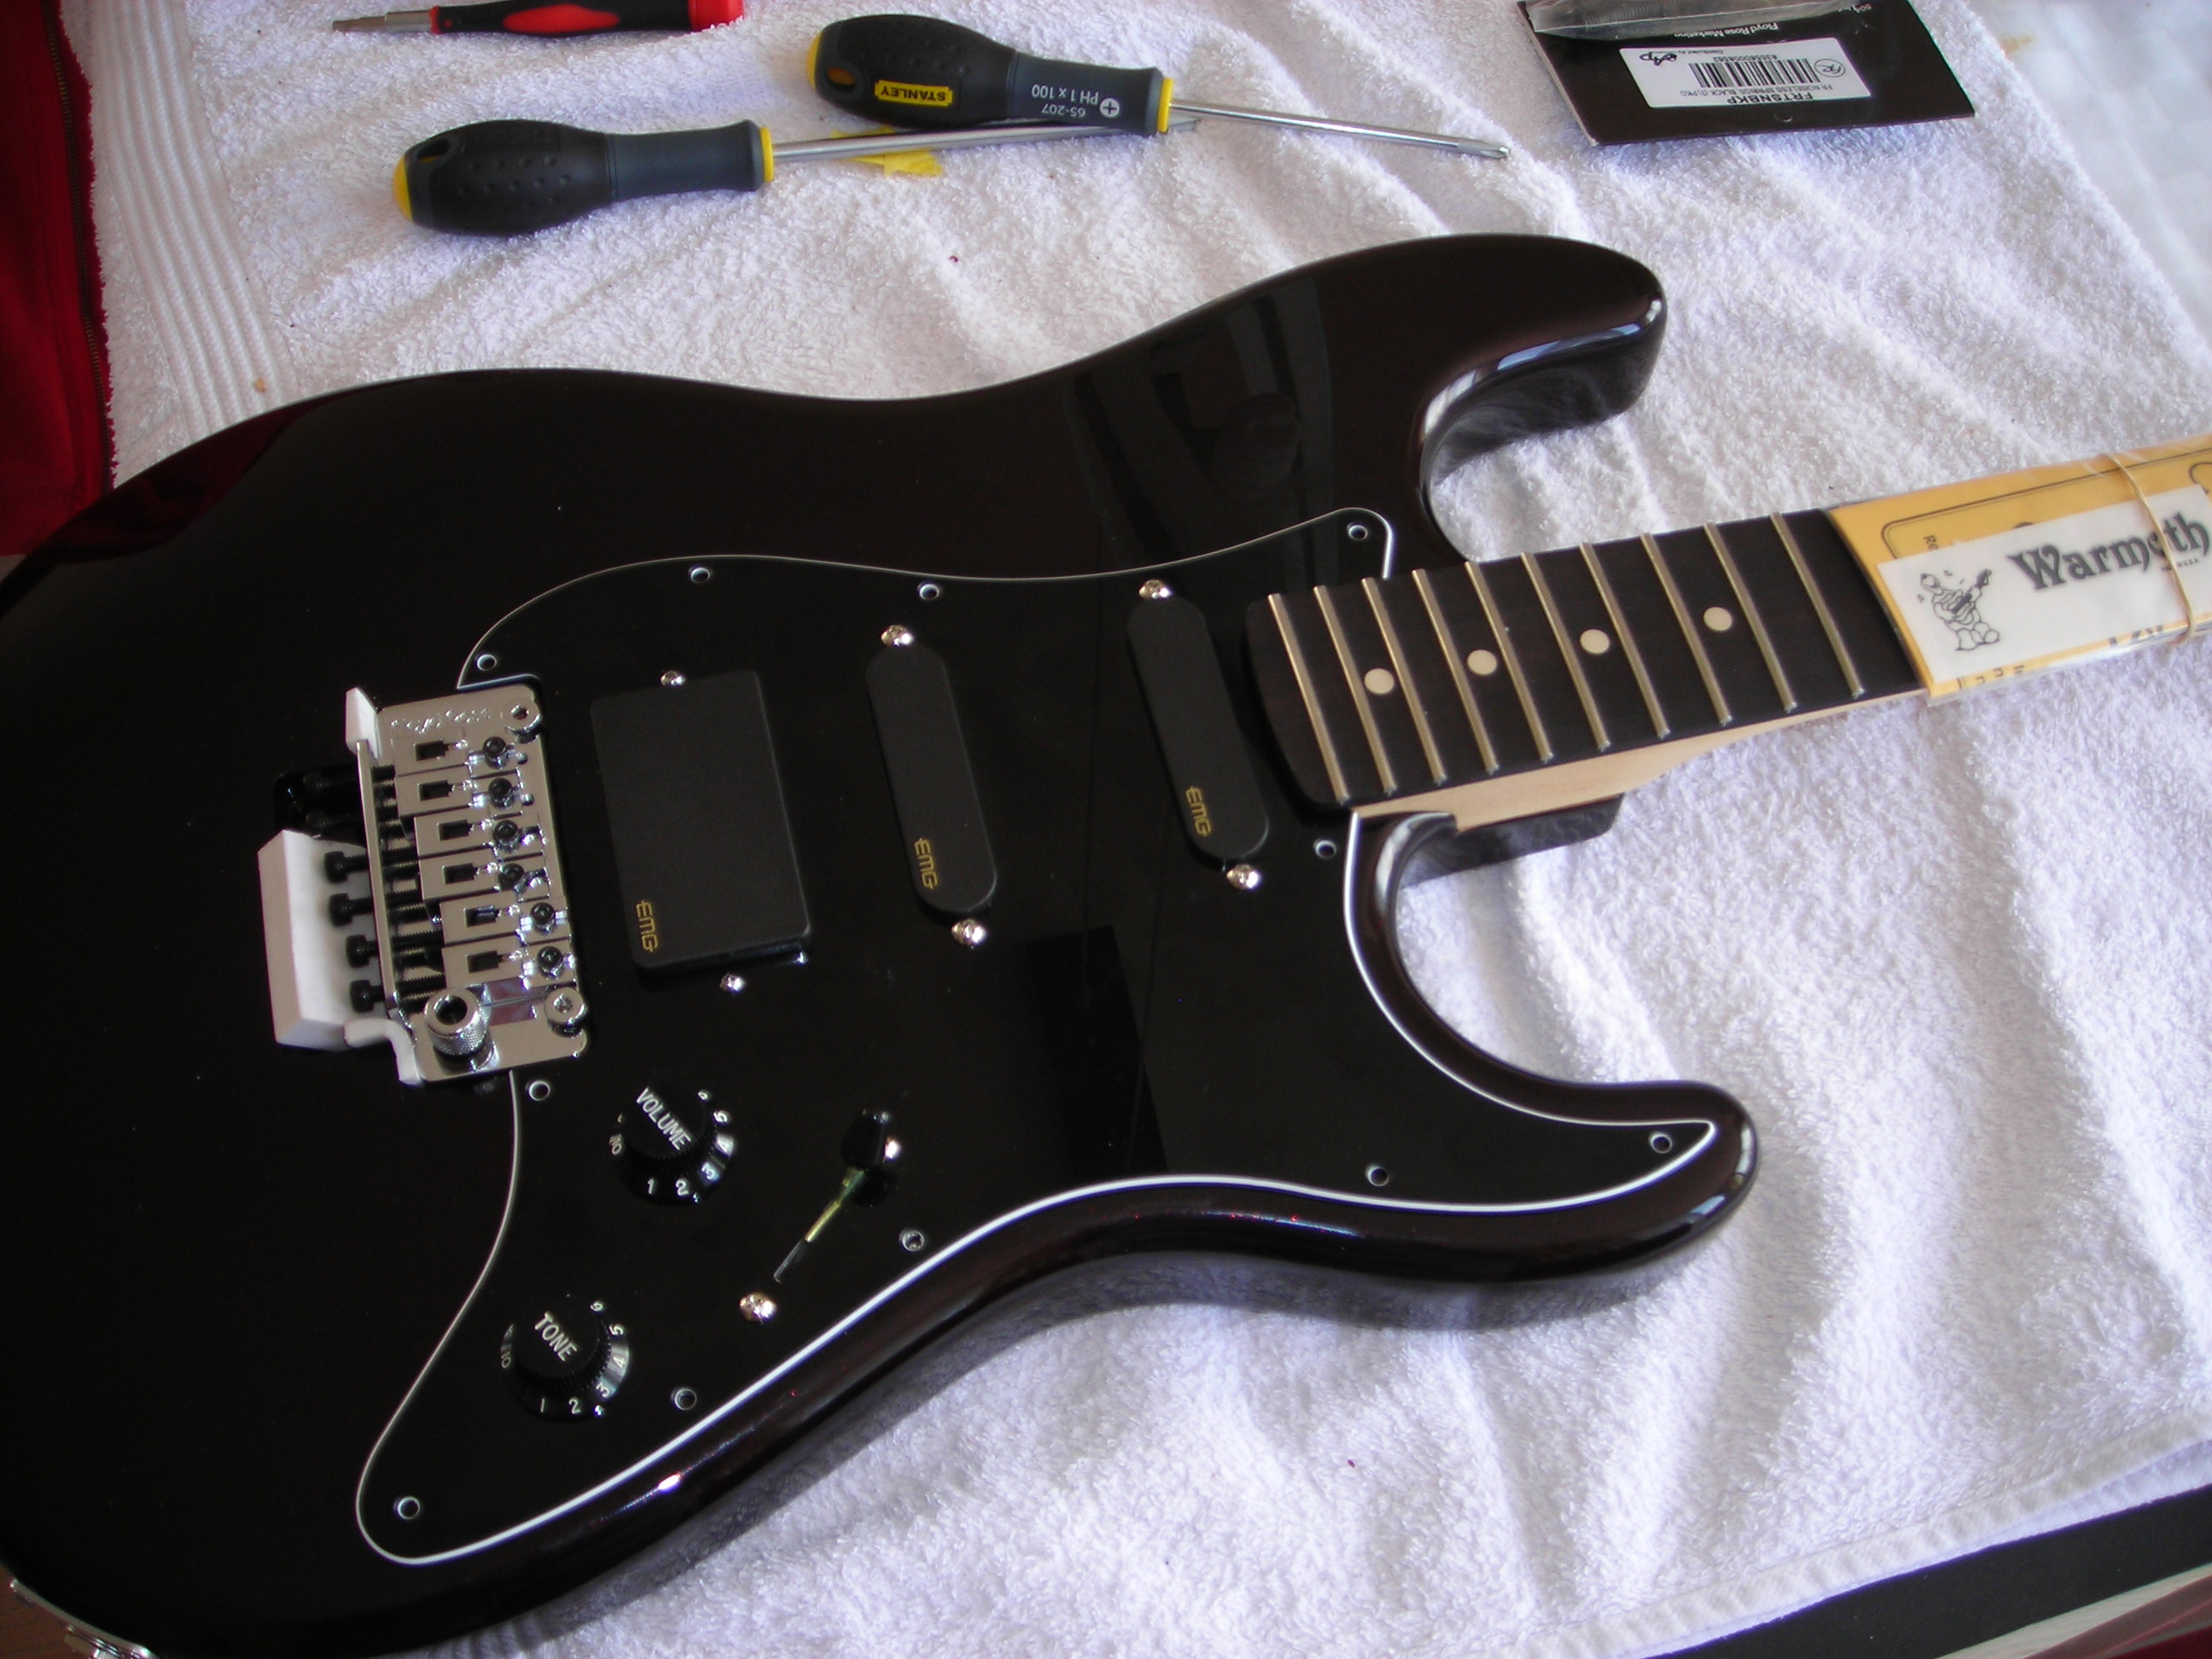
Next up pickguard and pickup preparation.
 
Cool. It's good to see this build in progress. It's even more important that you're doing better.

Guitar work. :icon_thumright:

Health.  :icon_thumright: :icon_thumright:
 
Sweet, huge fan of the old skool Floyds. I still have an OG Kramer with a non fine tuner Floyd... :icon_thumright:
 
stratamania said:
Continuing on from the out of the box photos of the Another fine body... thread...found at the below link...

http://www.unofficialwarmoth.com/index.php?topic=30445.0

After undergoing some emergency surgery just after Easter, I now have some time and regaining enough health to get this one started.
Glad you are healthy, I found a Kramer Focus 1 several years ago during a pawn shop dive. Sold the Floyd Rose for 4x the price of the guitar :cool01: A co-worker's son bought the body for a Van Hallen frankenstein project build. Those old floyds are built like a tank...better than the licensed models :icon_biggrin:
 
@DangerousR6, thanks I never had a non-fine tuner FR back in the day. I think my first Floyd was on a Hamer back in 85 and then another Hamer I bought in 89. I should have kept both of them but only have the one bought in 89 now. The spanner came in handy yesterday.

@JPOL007 cool find when you get something like that. Although this is a non-fine tuner it is not old as they were re-released a couple of years ago. But I would say my older Floyds certainly are more tank-like, though not indestructible.
 
Glad to hear you are back in action! I really REALLY like that Metallic Black Cherry, reminds me of the Fender Oxblood finish that they use on the Troy Van Leeuwen Jazzmasters, I’ve spent much time drooling over those....
 
Thanks, for your feedback and best wishes VB.

I had to look up Troy Van Leeuwen Jazzmasters, as I was not familiar with who he was. I had heard of his band QOTSA. I see what you mean though on the colour.


Today I spent some time on swapping out the pickguard of the EMGSL20. The main reason, of course, being that the OFR NFT is much wider than a stock width Strat tremolo dimensions.

Here is the first bit of the disassembly. The plastic tray that the EMG SL20 came in is quite useful here.


EMG_PG_BB_1 by stratamania, on Flickr


The main tools in use for this job are:

StewMac 7/16" Guitar Nut-driver
Stanley Philips #1 screwdriver
Stanley Philips #2 screwdriver

And the StewMac Guitar Tech Screwdriver Set is always useful to have nearby.

EMG_PG_BB_2 by stratamania, on Flickr

And all the parts are off the pick-guard and safely in the tray

EMG_PG_BB_3 by stratamania, on Flickr

 
Here we can see the original EMG SL20 pickguard superimposed over the black Warmoth pickguard.

EMG_PG_BB_4 by stratamania, on Flickr

The Warmoth pickguard to have the correct dimensions has to be ordered specifically for an NFT OFR which is wider than the more usual Floyd Rose with fine tuners.

You can also see below the volume and tone control holes the black of the Warmoth pickguard showing through. This is because it was ordered without those holes. If you notice earlier the EMG controls are mounted on a bus which means the holes need to be of the correct distance from each other.

So the original pickguard will be used as a template to place the holes.

A piece of scrap timber was used to attach the two pickguards with two self-tapping screws and to provide a backing to where the holes will be drilled. This then was held in place in the workmate so nothing is going to move when drilling.


EMG_PG_BB_5 by stratamania, on Flickr

I suspect the original holes are 3/8" which is a shade over 9mm. The drill bit that is shown was the nearest I had to hand at 8mm. After checking the dimensions of the pot shafts 8mm was going to be fine.

After drilling and cutting the shielding foil away behind the selector switch, cleaning up the back of the holes and removing the plastic protective film here is the result.

EMG_PG_BB_6 by stratamania, on Flickr
 
Mounting the pickups and controls on the new pickguard...

I fitted the selector switch and control bus which was straightforward.

EMG_PG_BB_7 by stratamania, on Flickr

For mounting the pickups it is much easier if the cables are not connected. The EMG Quick connect system makes it easy to do this and reconnect after the pickups are mounted.

Completed view of rear...

EMG_PG_BB_8 by stratamania, on Flickr

Completed view of the front...

EMG_PG_BB_10 by stratamania, on Flickr

 
As most readers of this thread will probably know the EMG pickups require a battery to power them. In this case, a Gotoh battery box is used which will hold the battery.

The parts are laid out in the direction they will be used. One of the plastic parts has two locating pins that fit into the holes of the other.

EMG_PG_BB_12 by stratamania, on Flickr

It may be noticed that this box comprises of two main parts one of which fits into the body and once pushed firmly in so that it is sitting flush two small screws that require a Philips 0 screwdriver are used at the bottom of it that screw into the body.

Once that is in place I fed through some bicycle valve rubber from the control cavity and put the red and black wires into it so that they can be pulled through. I also checked that the red and black wires are connected to the correct terminals of the battery box so I won't have any unexpected surprises. The red positive wire goes to the terminal that is closest to the top of the battery box when closed.

EMG_PG_BB_13 by stratamania, on Flickr

And here is the job done.

EMG_PG_BB_14 by stratamania, on Flickr

And a bonus view of the wires pulled through to the cavity. I will use a similar technique to get the wires from the output jack into the cavity.

EMG_PG_BB_15 by stratamania, on Flickr

That's it for today...
 
A fine day's work, indeed! Thanks for taking the time to photograph all the steps, I know it adds a bunch of time to the project.  :icon_thumright:
 
BigSteve22 said:
A fine day's work, indeed! Thanks for taking the time to photograph all the steps, I know it adds a bunch of time to the project.  :icon_thumright:

Thank you. It also takes some time to think through the steps and how to present them. But I actually enjoy doing it.
 
A little more progress today.

Fitting the claw ready for getting the Floyd Rose NFT installed.

Claw by stratamania, on Flickr

Single Noiseless Floyd Rose spring installed. (This is an upgrade spring and not standard with the NFT bridge)

Spring by stratamania, on Flickr

A view of the FR-NFT from the top. The white pieces are made from a synthetic eraser to keep the bridge in place and oppose the tension from the spring.

The green, black and white wiring from the EMG supplied jack was also fished through and the side plate mounted today.

FR_NFT by stratamania, on Flickr

A little bit of dry fitting and after a couple of height adjustments to the pickups the pickguard is sitting flush.

DryFit_2 by stratamania, on Flickr

And finally for today.

DryFit_1 by stratamania, on Flickr

The next job will be cutting and splicing the battery wires from the battery box to the EMG supplied wire and connectors.

 
This is really beautiful. Classy.

What a great idea to use an eraser to protect things for the installation. I'll remember that trick.
 
Rgand said:
This is really beautiful. Classy.

What a great idea to use an eraser to protect things for the installation. I'll remember that trick.

Thanks on both counts. Saves using wood and wrapping it in insulating tape or something.

Erasers are also especially useful for wrapping sanding or wet and dry paper around and using as a small block.
 
Look'n real good there, Brother! Wish I was better able to see the deep color of that finish, I'm sure it's even prettier in person.  :headbang:
 
BigSteve22 said:
Look'n real good there, Brother! Wish I was better able to see the deep color of that finish, I'm sure it's even prettier in person.  :headbang:


Thanks, so much.

It is quite a colour at times it just appears dark and at others shines in different ways.
 
Back
Top