
You are using an out of date browser. It may not display this or other websites correctly.
You should upgrade or use an alternative browser.
You should upgrade or use an alternative browser.
Max goes to Woodstock (Another Strat in Progress )
- Thread starter stratamania
- Start date
stratamania
Mythical Status
- Messages
- 12,210
Logrinn said:Very cool thread that I hadn't seen before. Awseome looking axe, Stratamania. :icon_thumright:
Thanks, although it still needs to be finished. Not sure when I will get it done. I am going to take a new look at the project and see what else needs to be done.
stratamania
Mythical Status
- Messages
- 12,210
Sun 5 May 2019
Well here we are and it is going on two years since I last posted in this thread.
Recent surprise health events have prompted me to some changes. So planning some projects that need finishing once I have recovered fully.
I took a look at the body and neck for this build a couple of weeks ago and came to the following conclusions and findings.
Not only does the neck and body not align as in an earlier post in the thread now that both are acclimated in the same room for some time now the neck does not fit into the body.
Contrary to an earlier post where I thought about making two projects out of this I am going to make the two parts work together.
The plan of attack will be:
Remove the tuners from the neck.
Some lacquer does not quite look as good as it should and needs touching up. As this is the case rather than making the neck pocket bigger than the specified size the neck heel needs bringing down to spec size.
Once this is done touch up any fret end dressing near the heel as needed and redo the lacquer where required.
While the lacquer is drying remove the pickguard and rewire for a standard Strat wiring as I have decided to omit the blend pot.
When the lacquer has had time to dry well enough, wet sand and buff.
Refit tuners.
Reassemble
Final fit of nut. I had a brass but may change to a bone nut. Still to determine.
More to follow. In the meantime here is another tribute to Jimi...
Last edited:
BigSteve22
Hero Member
- Messages
- 2,798
I agree that that's probably the best course of action. Could be just a little swelling up of the heel, along with a little extra bit from the lacquer. As for the alignment, it certainly wouldn't be the first time I had to wrestle the neck just a hair to make it play nice with the body....stratamania said:..Some lacquer does not quite look as good as it should and needs touching up. As this is the case rather than making the neck pocket bigger than the specified size the neck heel needs bringing down to spec size....
DangerousR6
Mythical Status
- Messages
- 15,478
Speaking of Max, anyone know what ever happened to the little bugger? :dontknow:
stratamania
Mythical Status
- Messages
- 12,210
BigSteve22 said:I agree that that's probably the best course of action. Could be just a little swelling up of the heel, along with a little extra bit from the lacquer. As for the alignment, it certainly wouldn't be the first time I had to wrestle the neck just a hair to make it play nice with the body....stratamania said:..Some lacquer does not quite look as good as it should and needs touching up. As this is the case rather than making the neck pocket bigger than the specified size the neck heel needs bringing down to spec size....
Thanks what is odd though is this...
In this post of the thread here is the neck in the pocket, not too tight or lose. Just was not quite as aligned as I wanted. A lot may have not noticed.
Here we are quite sometime later, no more lacquer has been added to the neck or anything else done to either neck or body. Both parts have been in the same environment since then. The body pocket is a good fit with a couple of other necks I have dry fitted into it. But this neck has become wider by all accounts.
The only thing I can think of is at the heel of the neck there is end grain and on this neck, a heel-adjust truss rod. It may be possible moisture from the air has got in that way. Maybe it is a good thing that this has happened prior to final assembly.
Last edited:
ByteFrenzy
Hero Member
- Messages
- 1,177
Last I heard of him, still very much alive and kicking. We're friends on FB and every so often I see some silliness or other come by. He's also on the FB unofficial W group but I believe he's not super active over there anymore either.DangerousR6 said:Speaking of Max, anyone know what ever happened to the little bugger? :dontknow:
BigSteve22
Hero Member
- Messages
- 2,798
Well, your right about that, in fact I still don't see where the alignment is lacking. Looks OK from my house....stratamania said:In this post of the thread here is the neck in the pocket, not too tight or lose. Just was not quite as aligned as I wanted. A lot may have not noticed...
Yeah, I could see that possibility. Could also just be the nature of the beast: Wood moves. Moisture, temperature, even barometric pressure can effect it, and no two pieces will react exactly the same. I would expect some variation between the neck and body.stratamania said:The only thing I can think of is at the heel of the neck there is end grain and on this neck, a heel-adjust truss rod. It may be possible moisture from the air has got in that way. Maybe it is a good thing that this has happened prior to final assembly.
DangerousR6
Mythical Status
- Messages
- 15,478
:icon_thumright:ByteFrenzy said:Last I heard of him, still very much alive and kicking. We're friends on FB and every so often I see some silliness or other come by. He's also on the FB unofficial W group but I believe he's not super active over there anymore either.DangerousR6 said:Speaking of Max, anyone know what ever happened to the little bugger? :dontknow:
stratamania
Mythical Status
- Messages
- 12,210
For those newer members of the forum who are wondering who is Max or why the guitar is called Max...
Summary, the body and pickups used to belong to forum member Tonar8353 who had called the guitar the body came from Max after a young very prolific forum member Max, who has not been active on the forum now for quite a while.
In addition, my eldest grandson is called Max, so the name has stuck.
http://www.unofficialwarmoth.com/index.php?topic=24710.0
ByteFrenzy
Hero Member
- Messages
- 1,177
One of these days somebody is going to built a guitar named Wanna and also have some explaining to do.
stratamania
Mythical Status
- Messages
- 12,210
Well here we are in a New Year and one of the things I have decided to do this year is get caught up on older projects.
So I started the year with this stalled build that has been incomplete for too long.
A couple of posts or so ago I mentioned that the neck heel had become too big to go into the neck pocket and even when it did when it was newer the alignment was out.
So what to do perhaps a lot of measuring finding centre lines and so on, or a freehand sanding approach but then what are you sanding?
Solution four small adjusted to size dowels to go into the screw holes. (Out of focus photo but you get the idea)
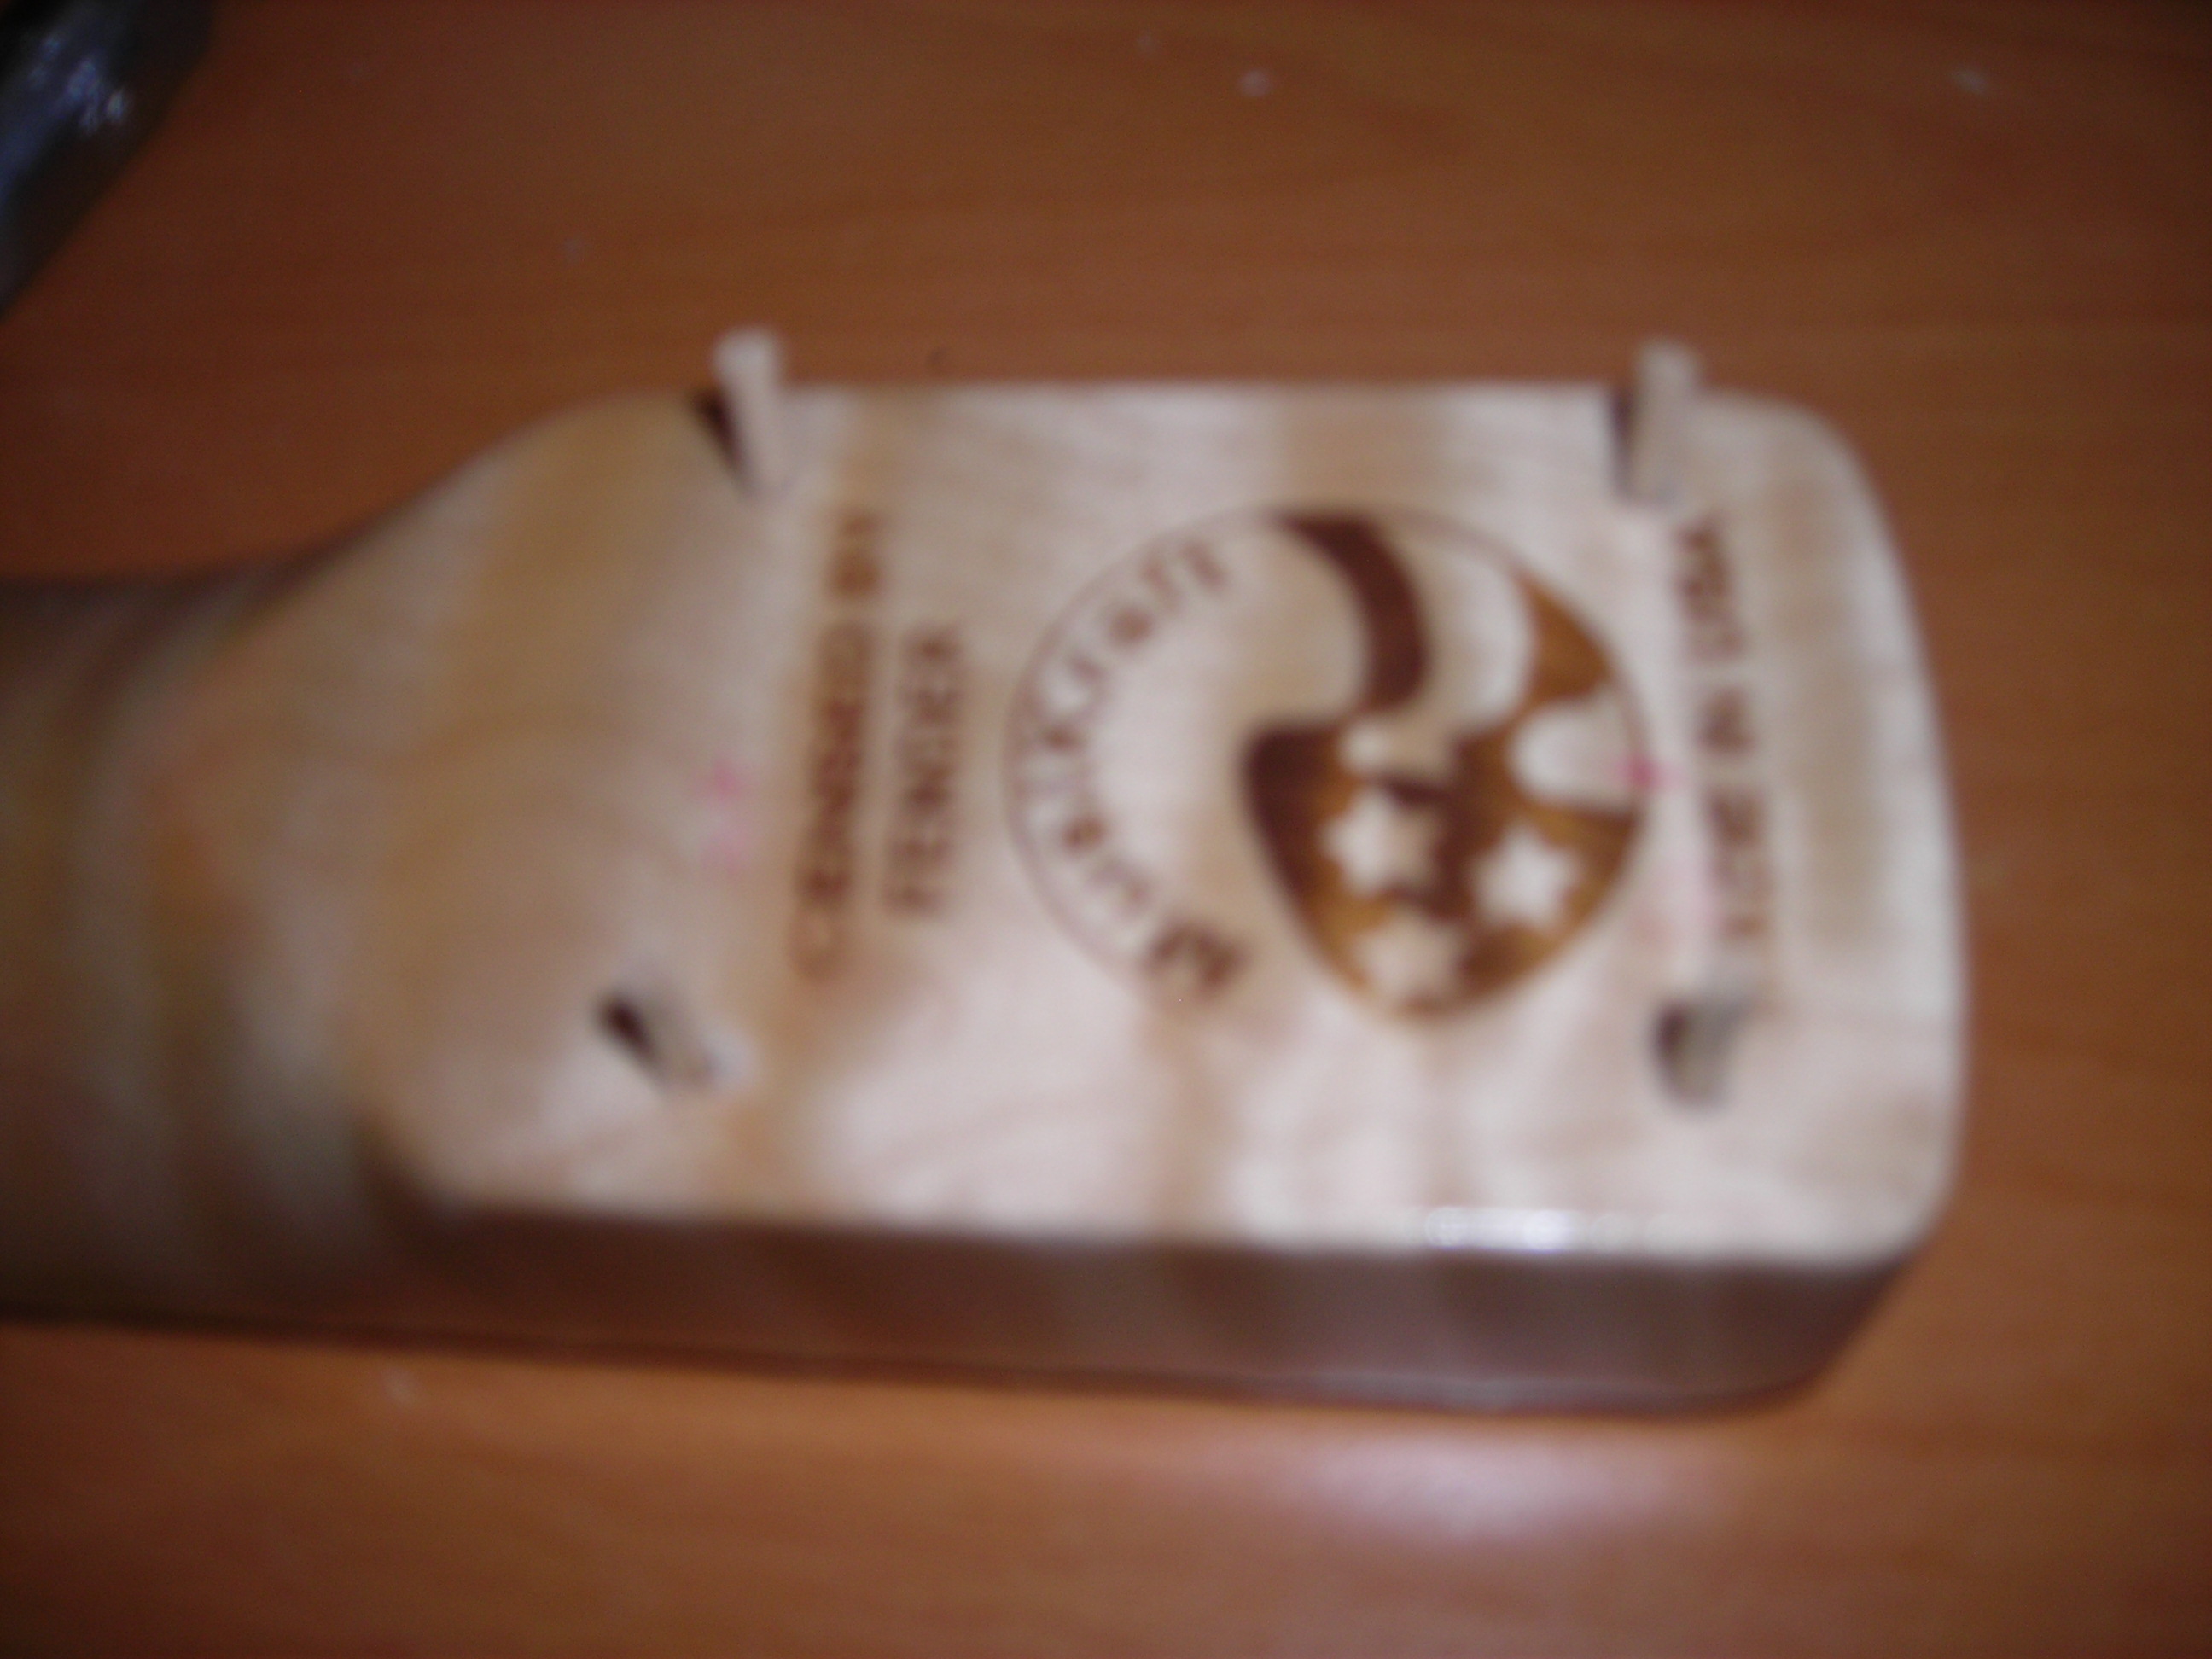 HeelAdjust1 by stratamania, on Flickr
Take a Warmoth neck that does fit the neck pocket and does align correctly. Place it back to back and use the dowels to line up the two necks. The dowels are in the holes of the heels of both necks as a key and a sort of dry joint. Use masking tape in about three places to keep the necks together and aligned along their lengths.
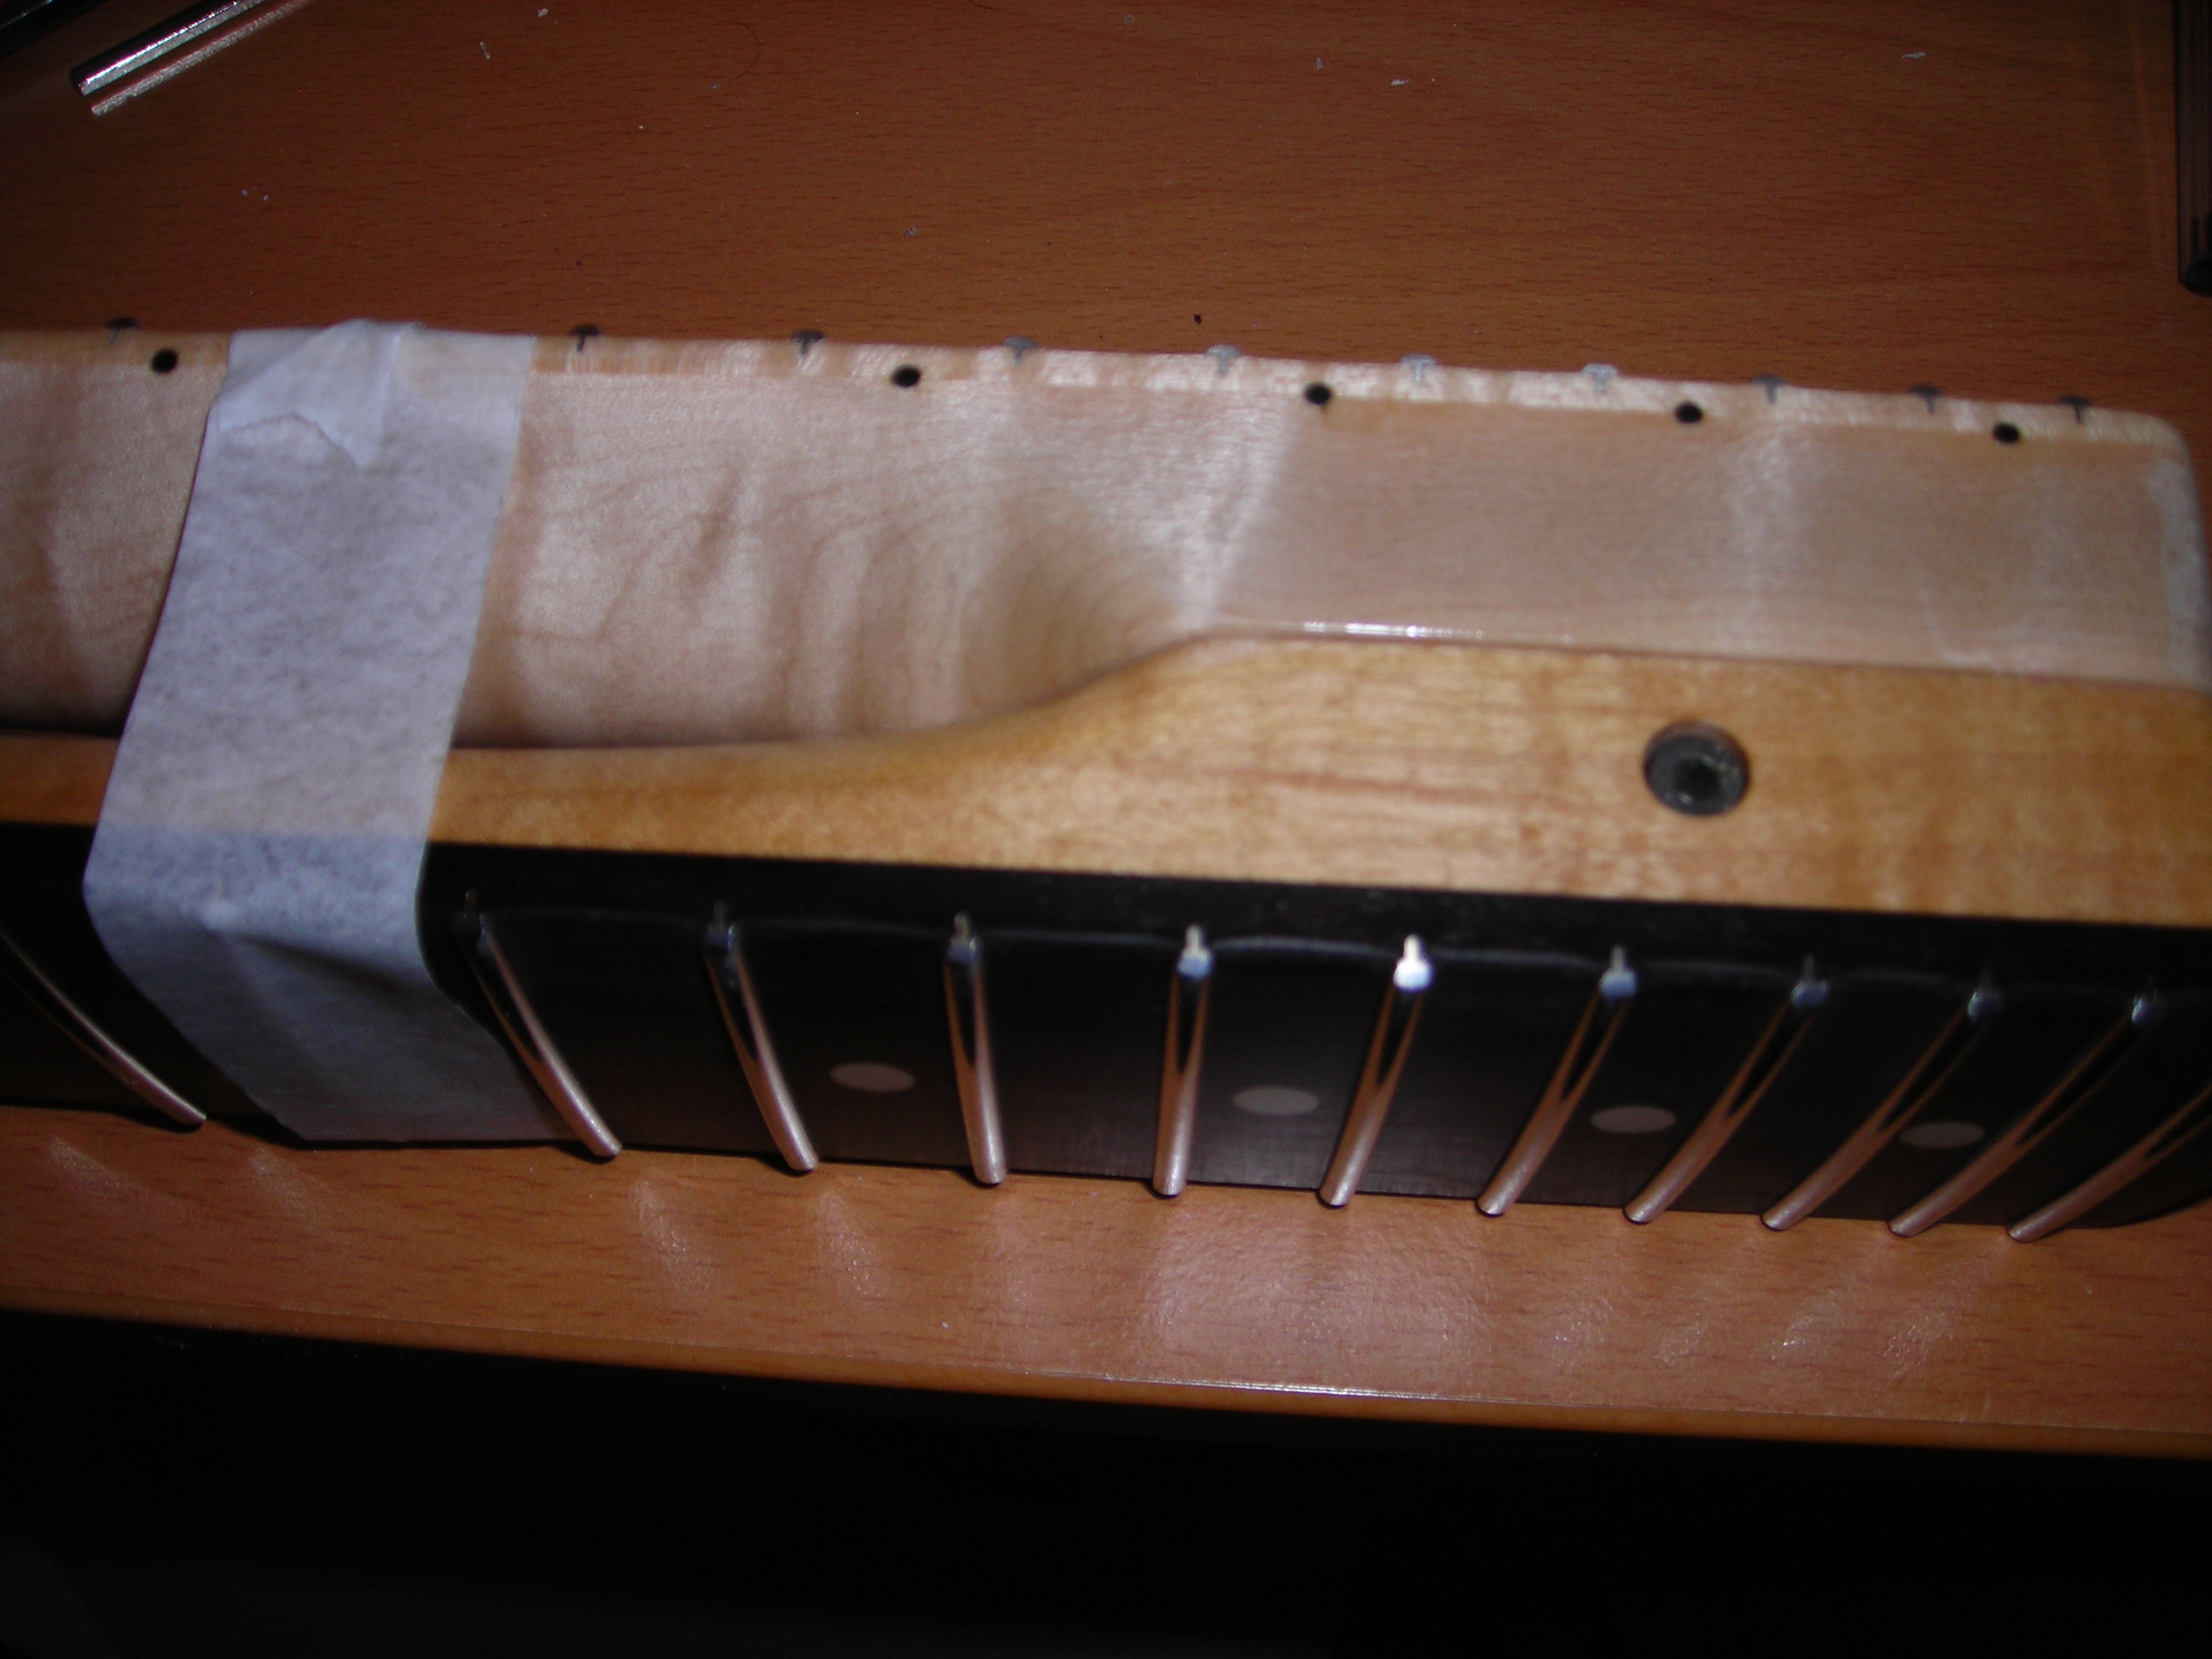 HeelAdjust2 by stratamania, on Flickr
The next job was using a straightedge to see where the neck heel that needs adjusting is out. One side was flush and the end of the heel was slightly short of the Warmoth so nothing to take off there. On one side the Musikraft neck was proud along its side by somewhere around 0.5mm on average. This corresponded to the neck pocket that I made a note of where the neck would need to move further ages ago as I had marked the neck pocket with a pencil as a reference.
I used some masking tape to give a little protection to the neck being used as a sort of template and marked the side that needed adjustment. I then used a wooden block and some 80 grit sandpaper to get it to a point where it was just kissing the masking tape when testing rather than when sanding itself. I then separated the necks and did the final adjustments.
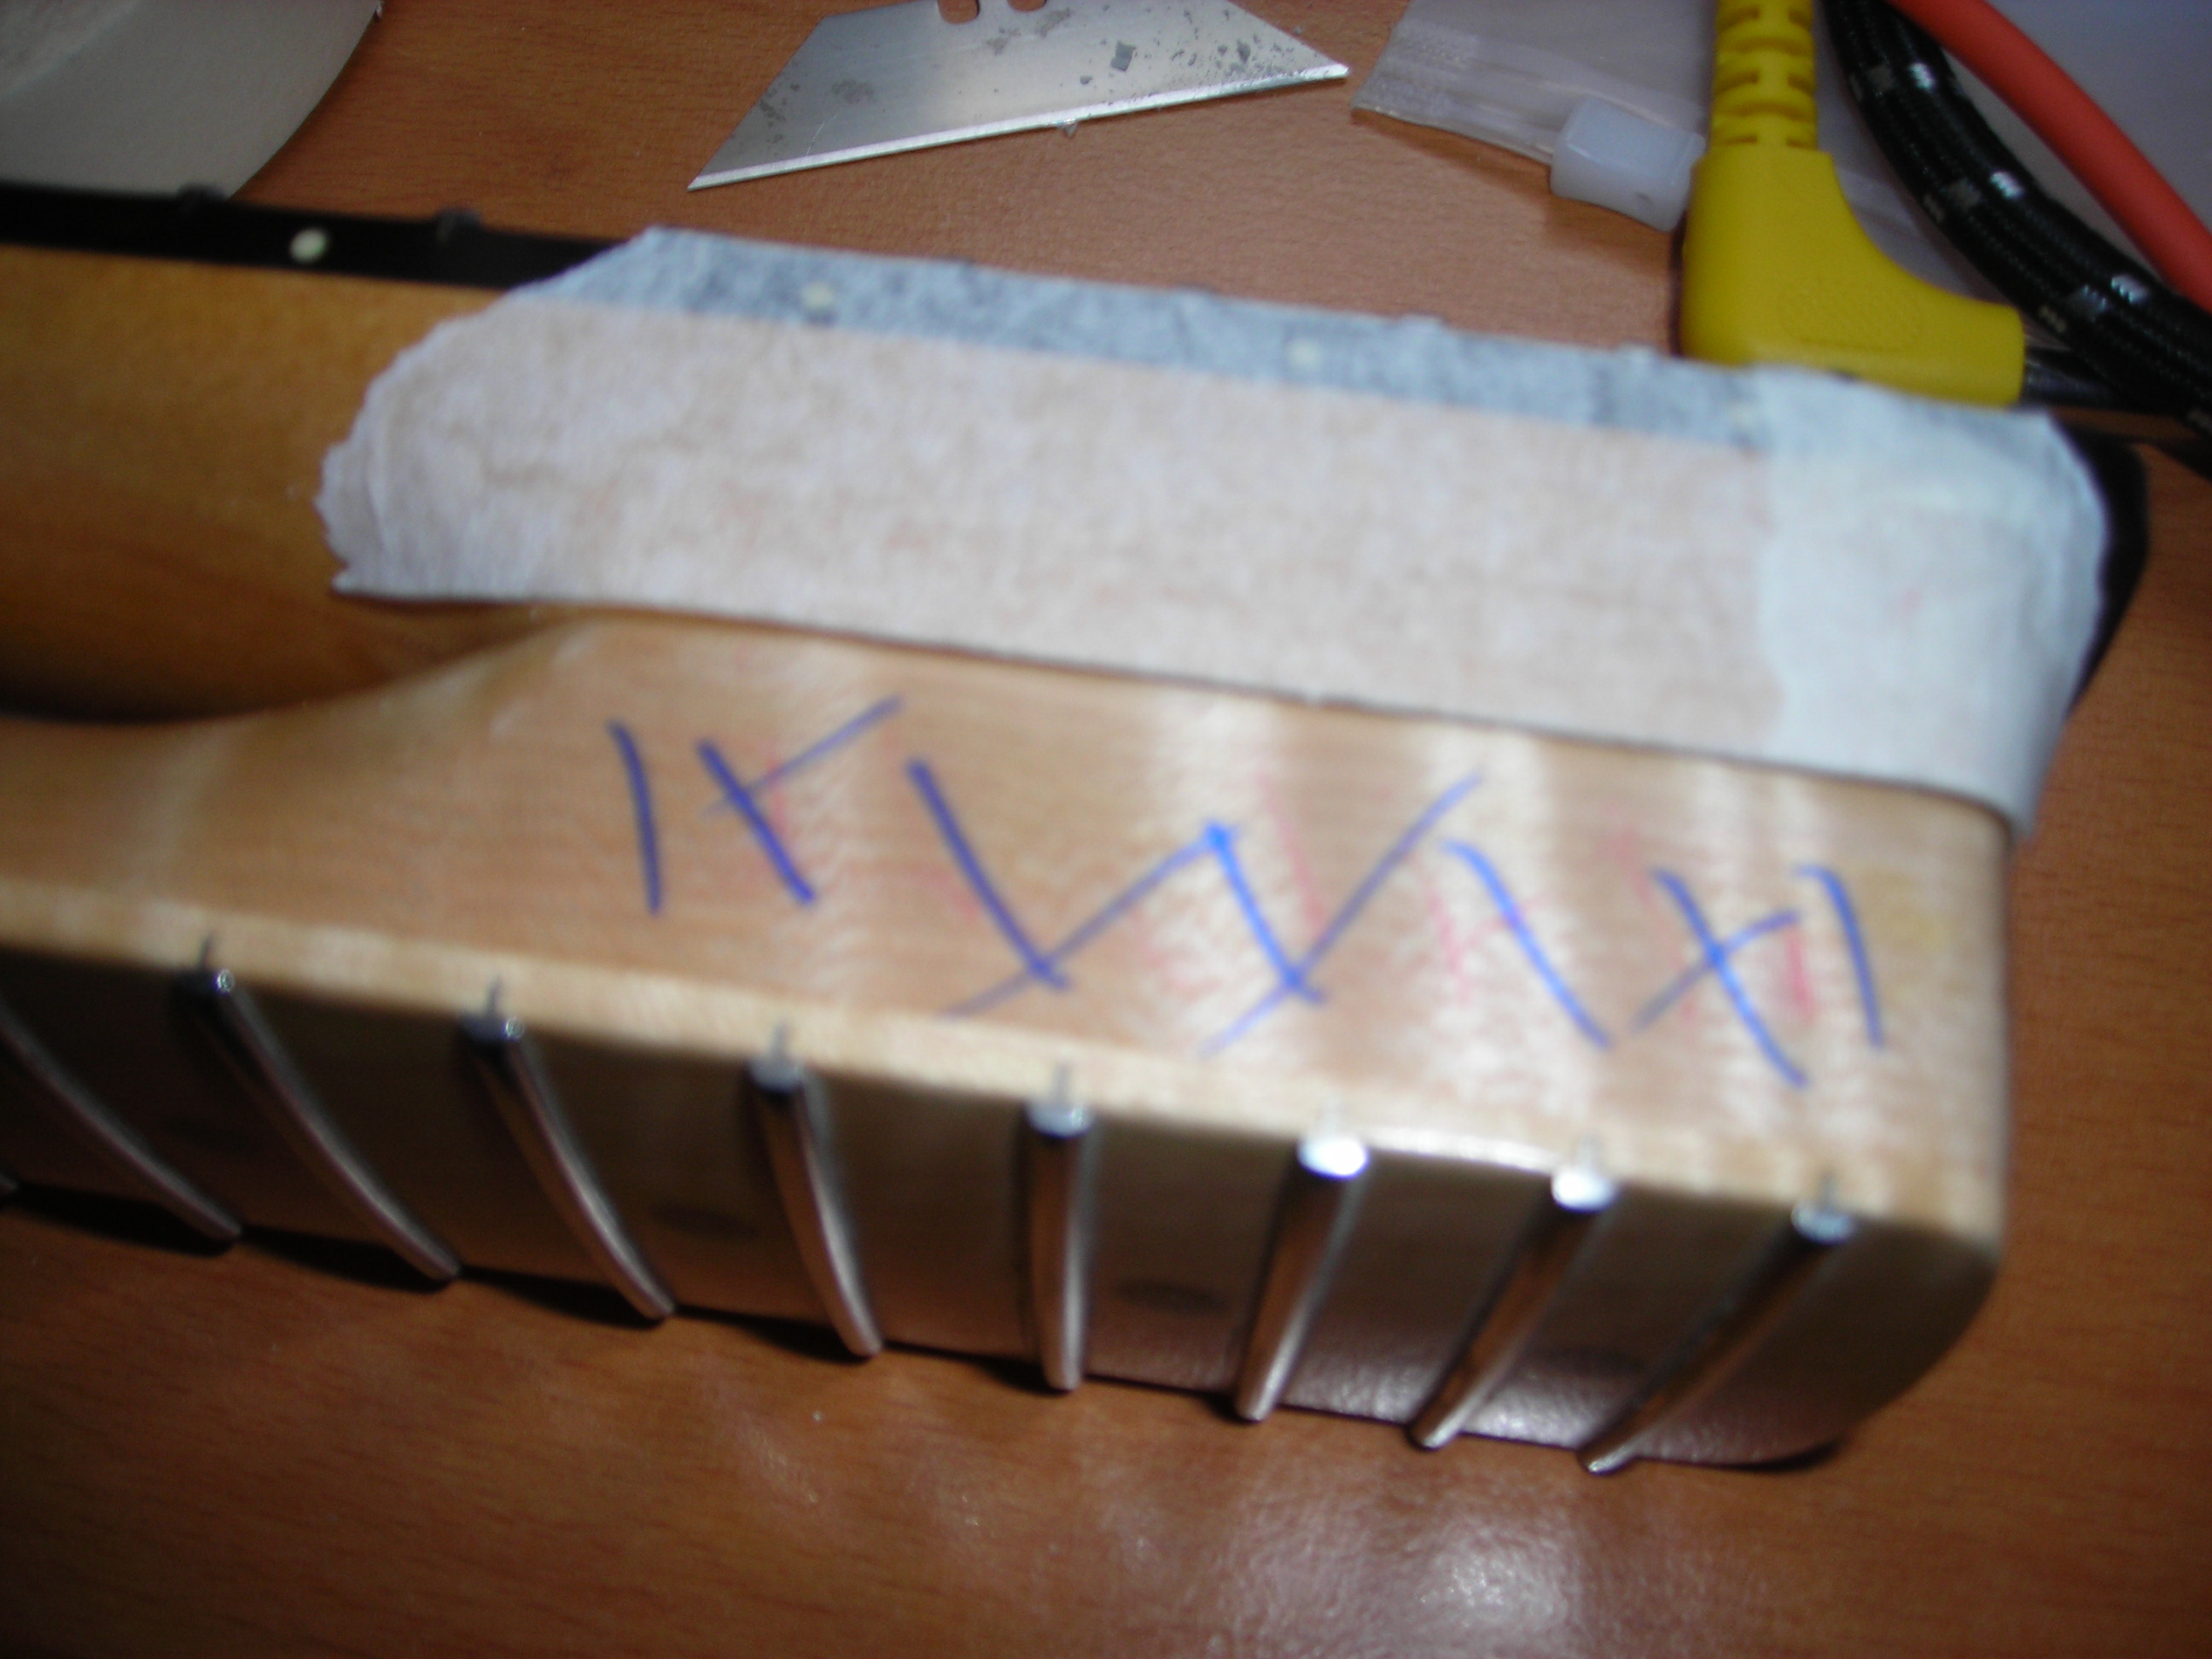 HeelAdjust3 by stratamania, on Flickr
Test fitting also using the wooden dowels between the neck and the body pockets screw holes. Alignment looked good.
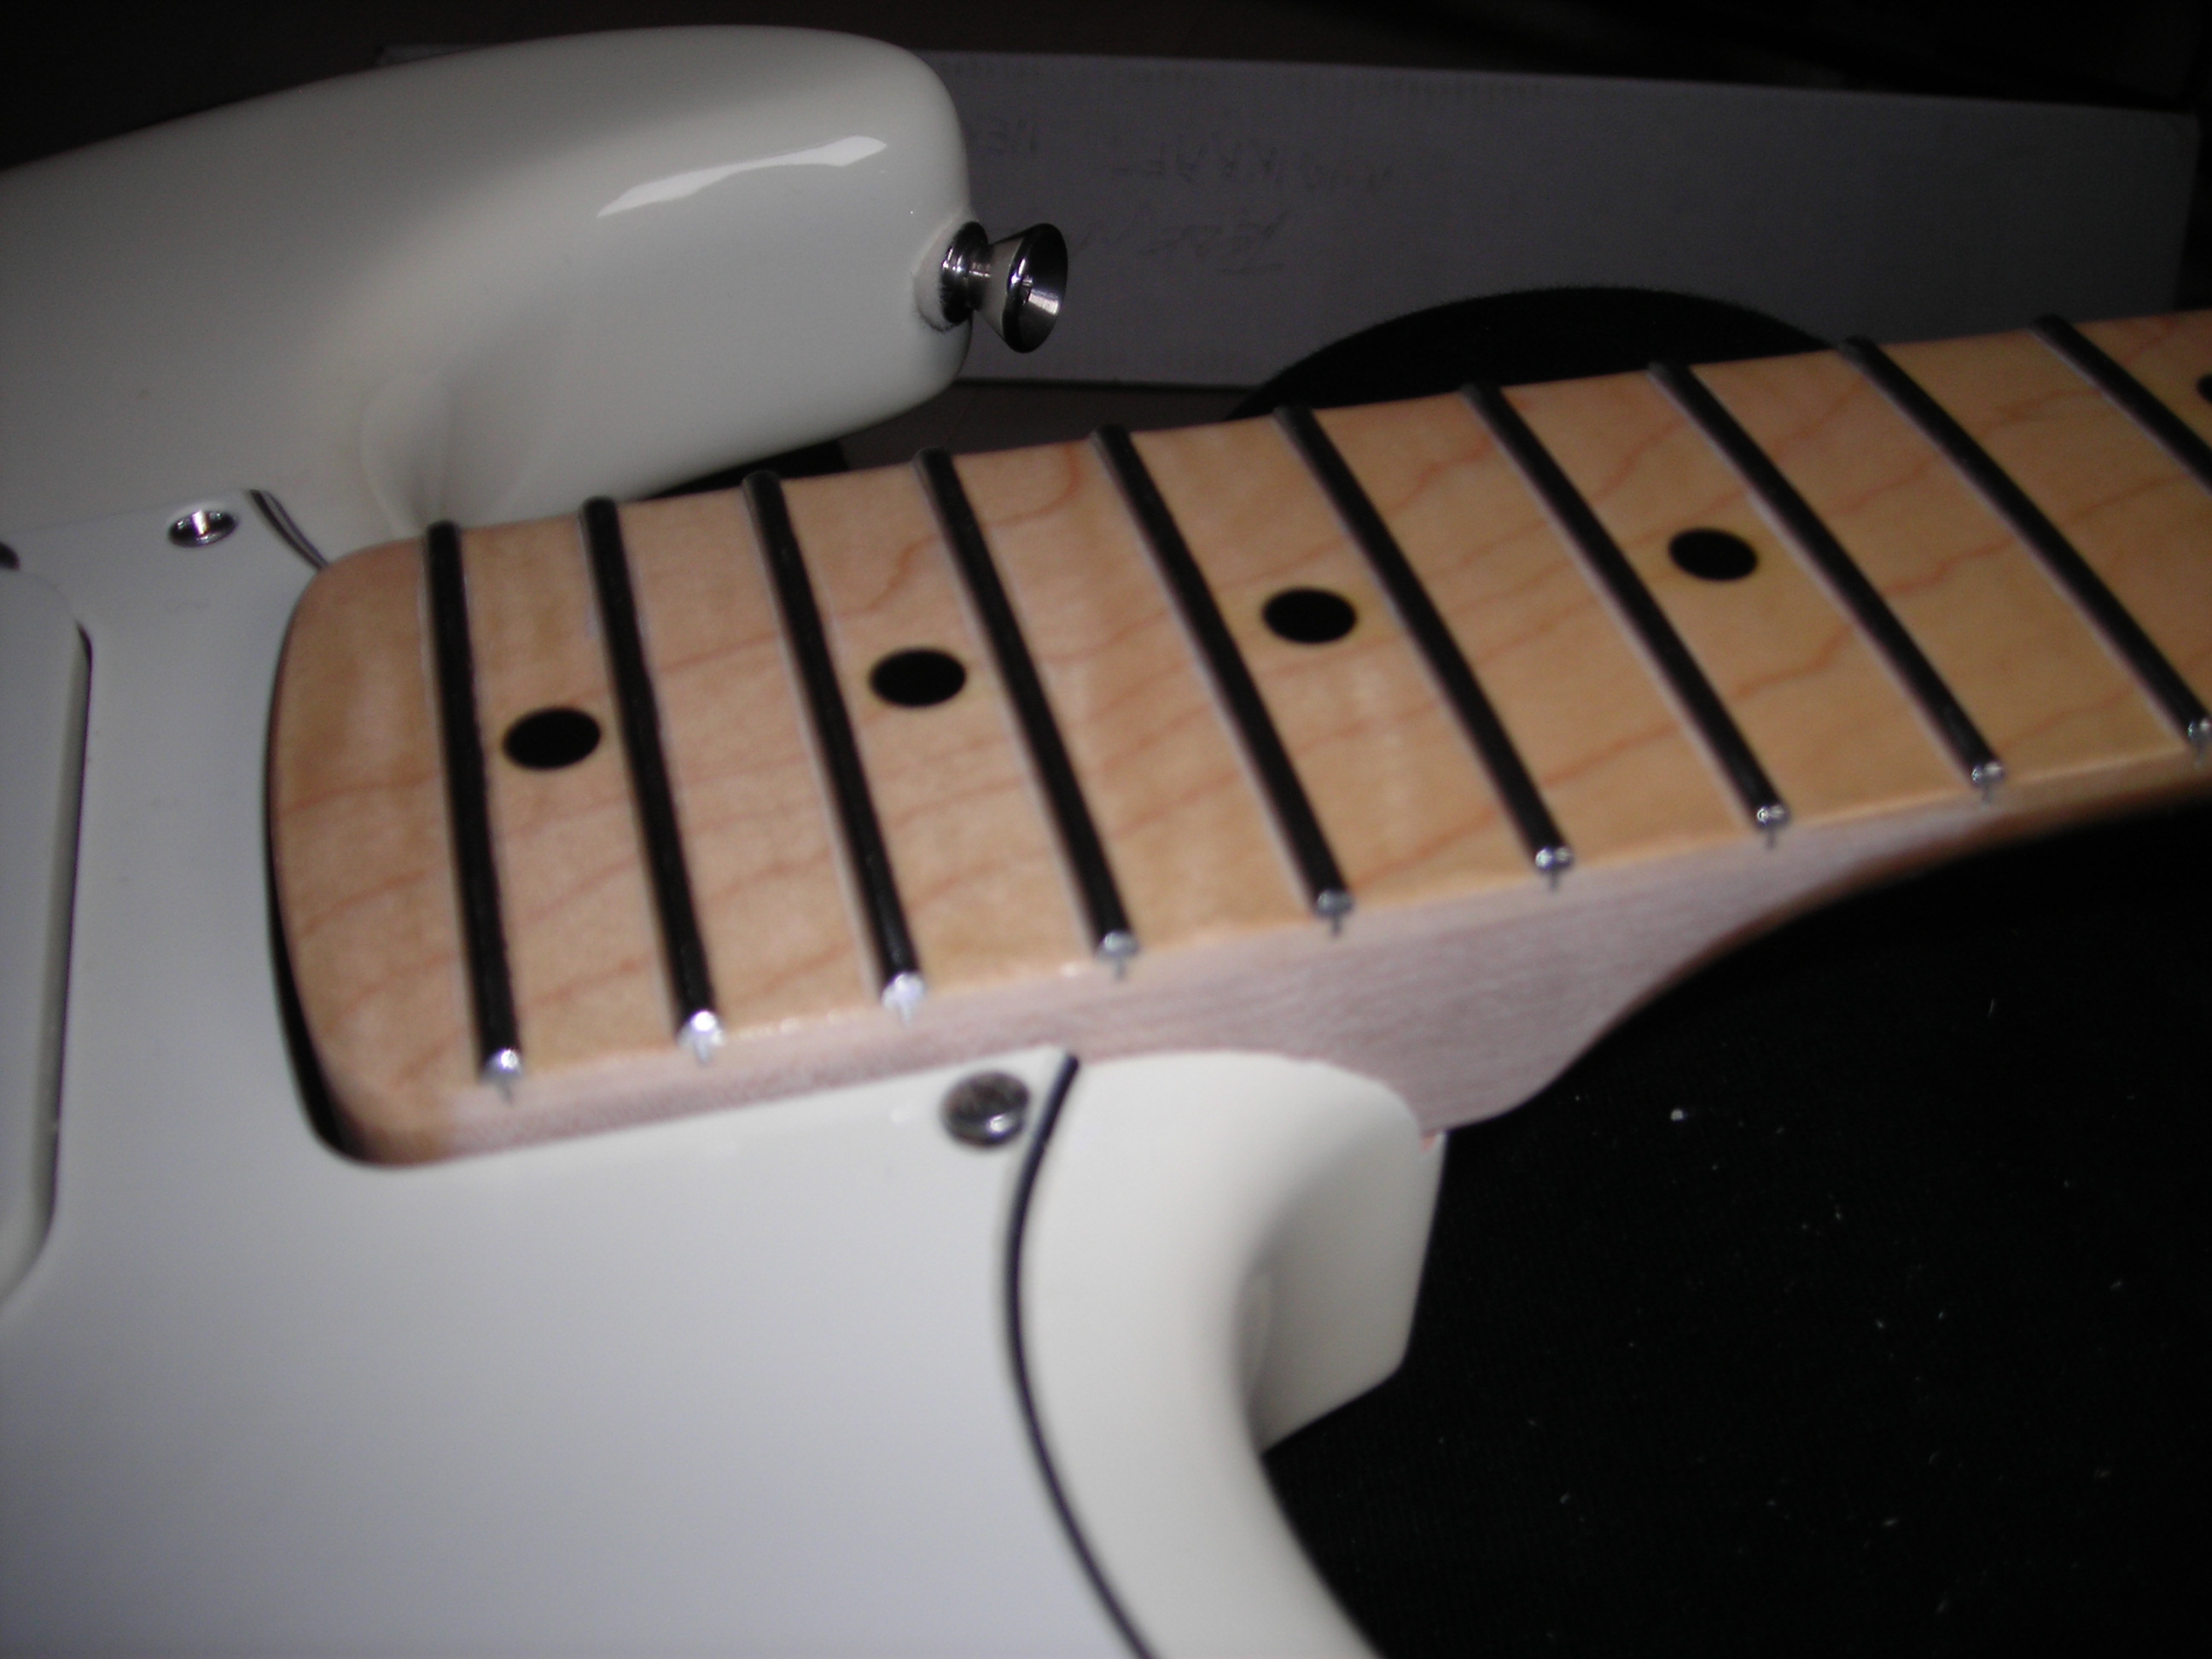 HeelAdjust4 by stratamania, on Flickr
After finishing the test fitting I went up through the grits to 320 sandpaper and blended in the transition. I also with the finer grits took the opportunity to sand back some of the finish I was not happy with and here is a progress picture.
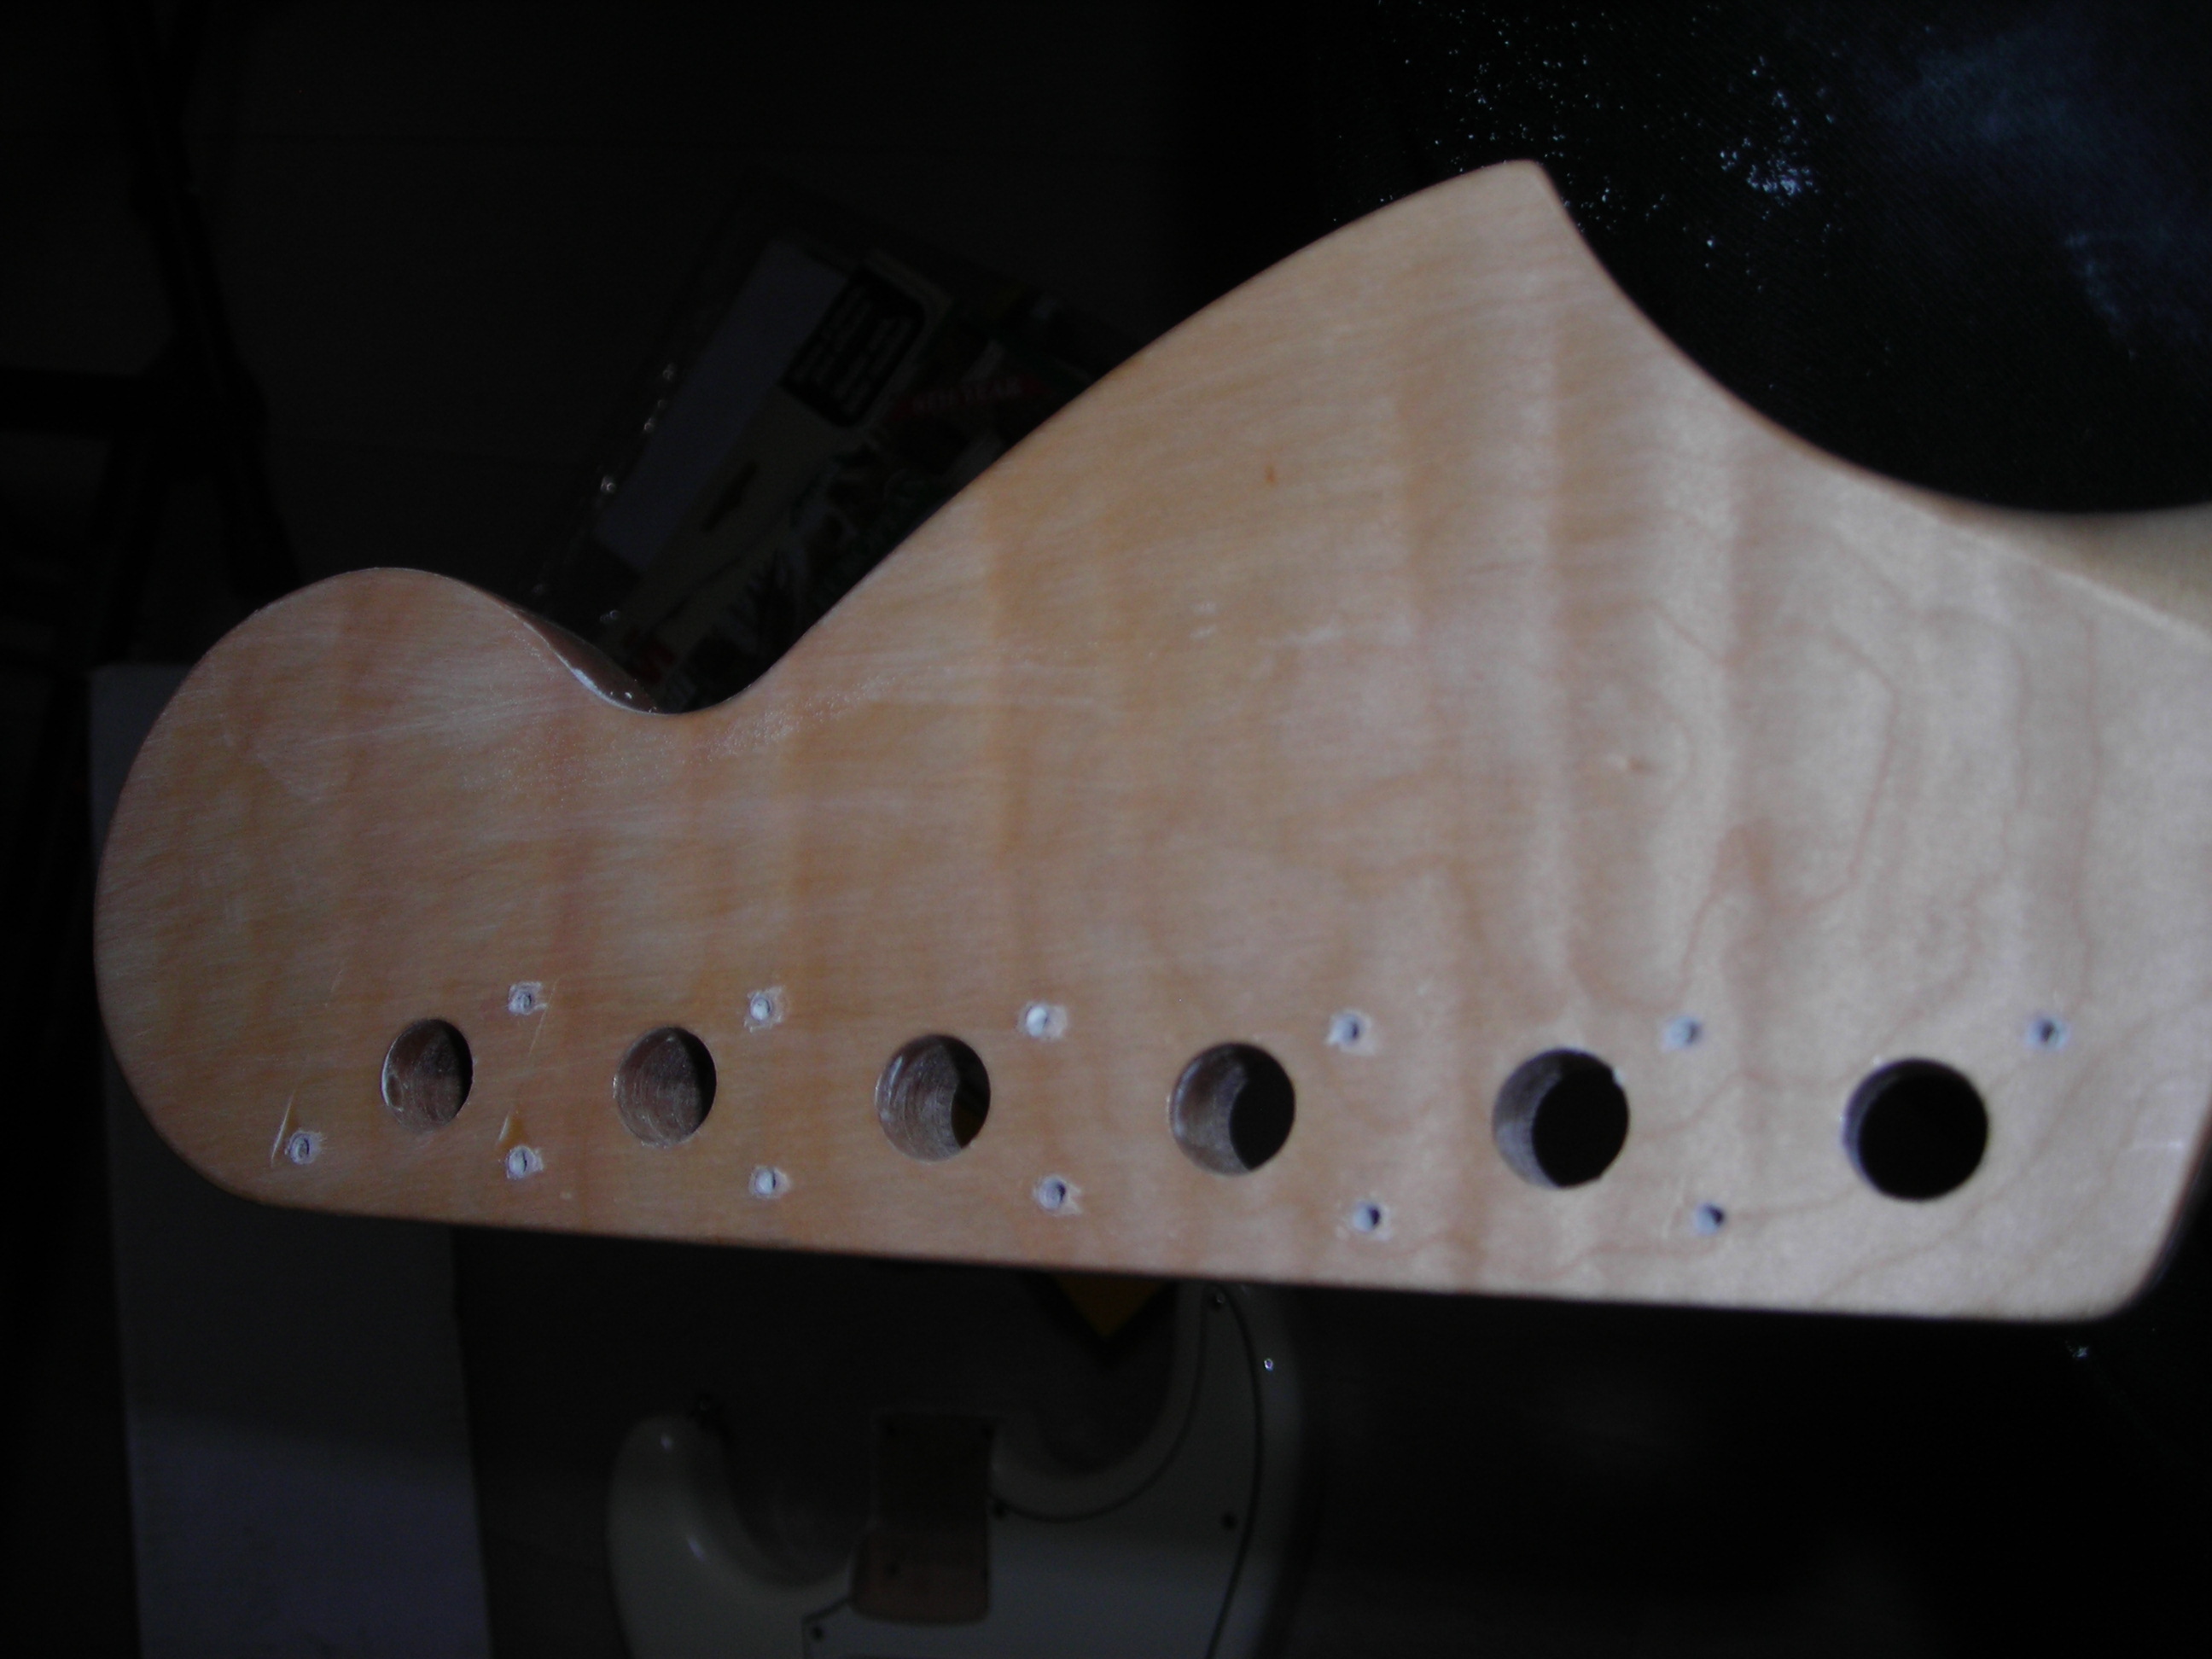 Headstock by stratamania, on Flickr
Next steps I think will be some assembly tests while the winter is here and in the spring redo the nitro on the neck.
I also had the wiring done with the second tone control being a blender pot but may redo that as a tone control.
And so the New Year begins guitar project-wise.
So I started the year with this stalled build that has been incomplete for too long.
A couple of posts or so ago I mentioned that the neck heel had become too big to go into the neck pocket and even when it did when it was newer the alignment was out.
So what to do perhaps a lot of measuring finding centre lines and so on, or a freehand sanding approach but then what are you sanding?
Solution four small adjusted to size dowels to go into the screw holes. (Out of focus photo but you get the idea)
 HeelAdjust1 by stratamania, on Flickr
Take a Warmoth neck that does fit the neck pocket and does align correctly. Place it back to back and use the dowels to line up the two necks. The dowels are in the holes of the heels of both necks as a key and a sort of dry joint. Use masking tape in about three places to keep the necks together and aligned along their lengths.
 HeelAdjust2 by stratamania, on Flickr
The next job was using a straightedge to see where the neck heel that needs adjusting is out. One side was flush and the end of the heel was slightly short of the Warmoth so nothing to take off there. On one side the Musikraft neck was proud along its side by somewhere around 0.5mm on average. This corresponded to the neck pocket that I made a note of where the neck would need to move further ages ago as I had marked the neck pocket with a pencil as a reference.
I used some masking tape to give a little protection to the neck being used as a sort of template and marked the side that needed adjustment. I then used a wooden block and some 80 grit sandpaper to get it to a point where it was just kissing the masking tape when testing rather than when sanding itself. I then separated the necks and did the final adjustments.
 HeelAdjust3 by stratamania, on Flickr
Test fitting also using the wooden dowels between the neck and the body pockets screw holes. Alignment looked good.
 HeelAdjust4 by stratamania, on Flickr
After finishing the test fitting I went up through the grits to 320 sandpaper and blended in the transition. I also with the finer grits took the opportunity to sand back some of the finish I was not happy with and here is a progress picture.
 Headstock by stratamania, on Flickr
Next steps I think will be some assembly tests while the winter is here and in the spring redo the nitro on the neck.
I also had the wiring done with the second tone control being a blender pot but may redo that as a tone control.
And so the New Year begins guitar project-wise.
stratamania
Mythical Status
- Messages
- 12,210
I just had another idea for future reference. Use longer dowels that will pass through the body and a neckplate and that way when fitting the neck there is no guesswork that the holes of the neck and the body are lined up. Then remove one at a time from the back of the body and replace it with a neck screw till the neck is on.
stratamania
Mythical Status
- Messages
- 12,210
Logrinn said:Excellent work!
I’ll have to remember this procedure.
Well done.
Thanks, Logrinn.
The good thing with using this approach with a block and sandpaper was it also was able to take the edge of the frets to flush at the same time. Those last few frets will need a slight new bevel and dress touch up but there is not much to do.
stratamania
Mythical Status
- Messages
- 12,210
Rick said:Good idea.
Thanks.
stratamania
Mythical Status
- Messages
- 12,210
Well here we are and as the weather is warmer I had a chance to redo the lacquer after adjusting the neck heel at the turn of the year. I did not capture any photos of lacquer drying but here are a couple of shots of the neck heel and the back of the headstock post touch up, drying and wet sand and buff. After checking the neck still fits the heel which it does.
I also re polished the frets etc...
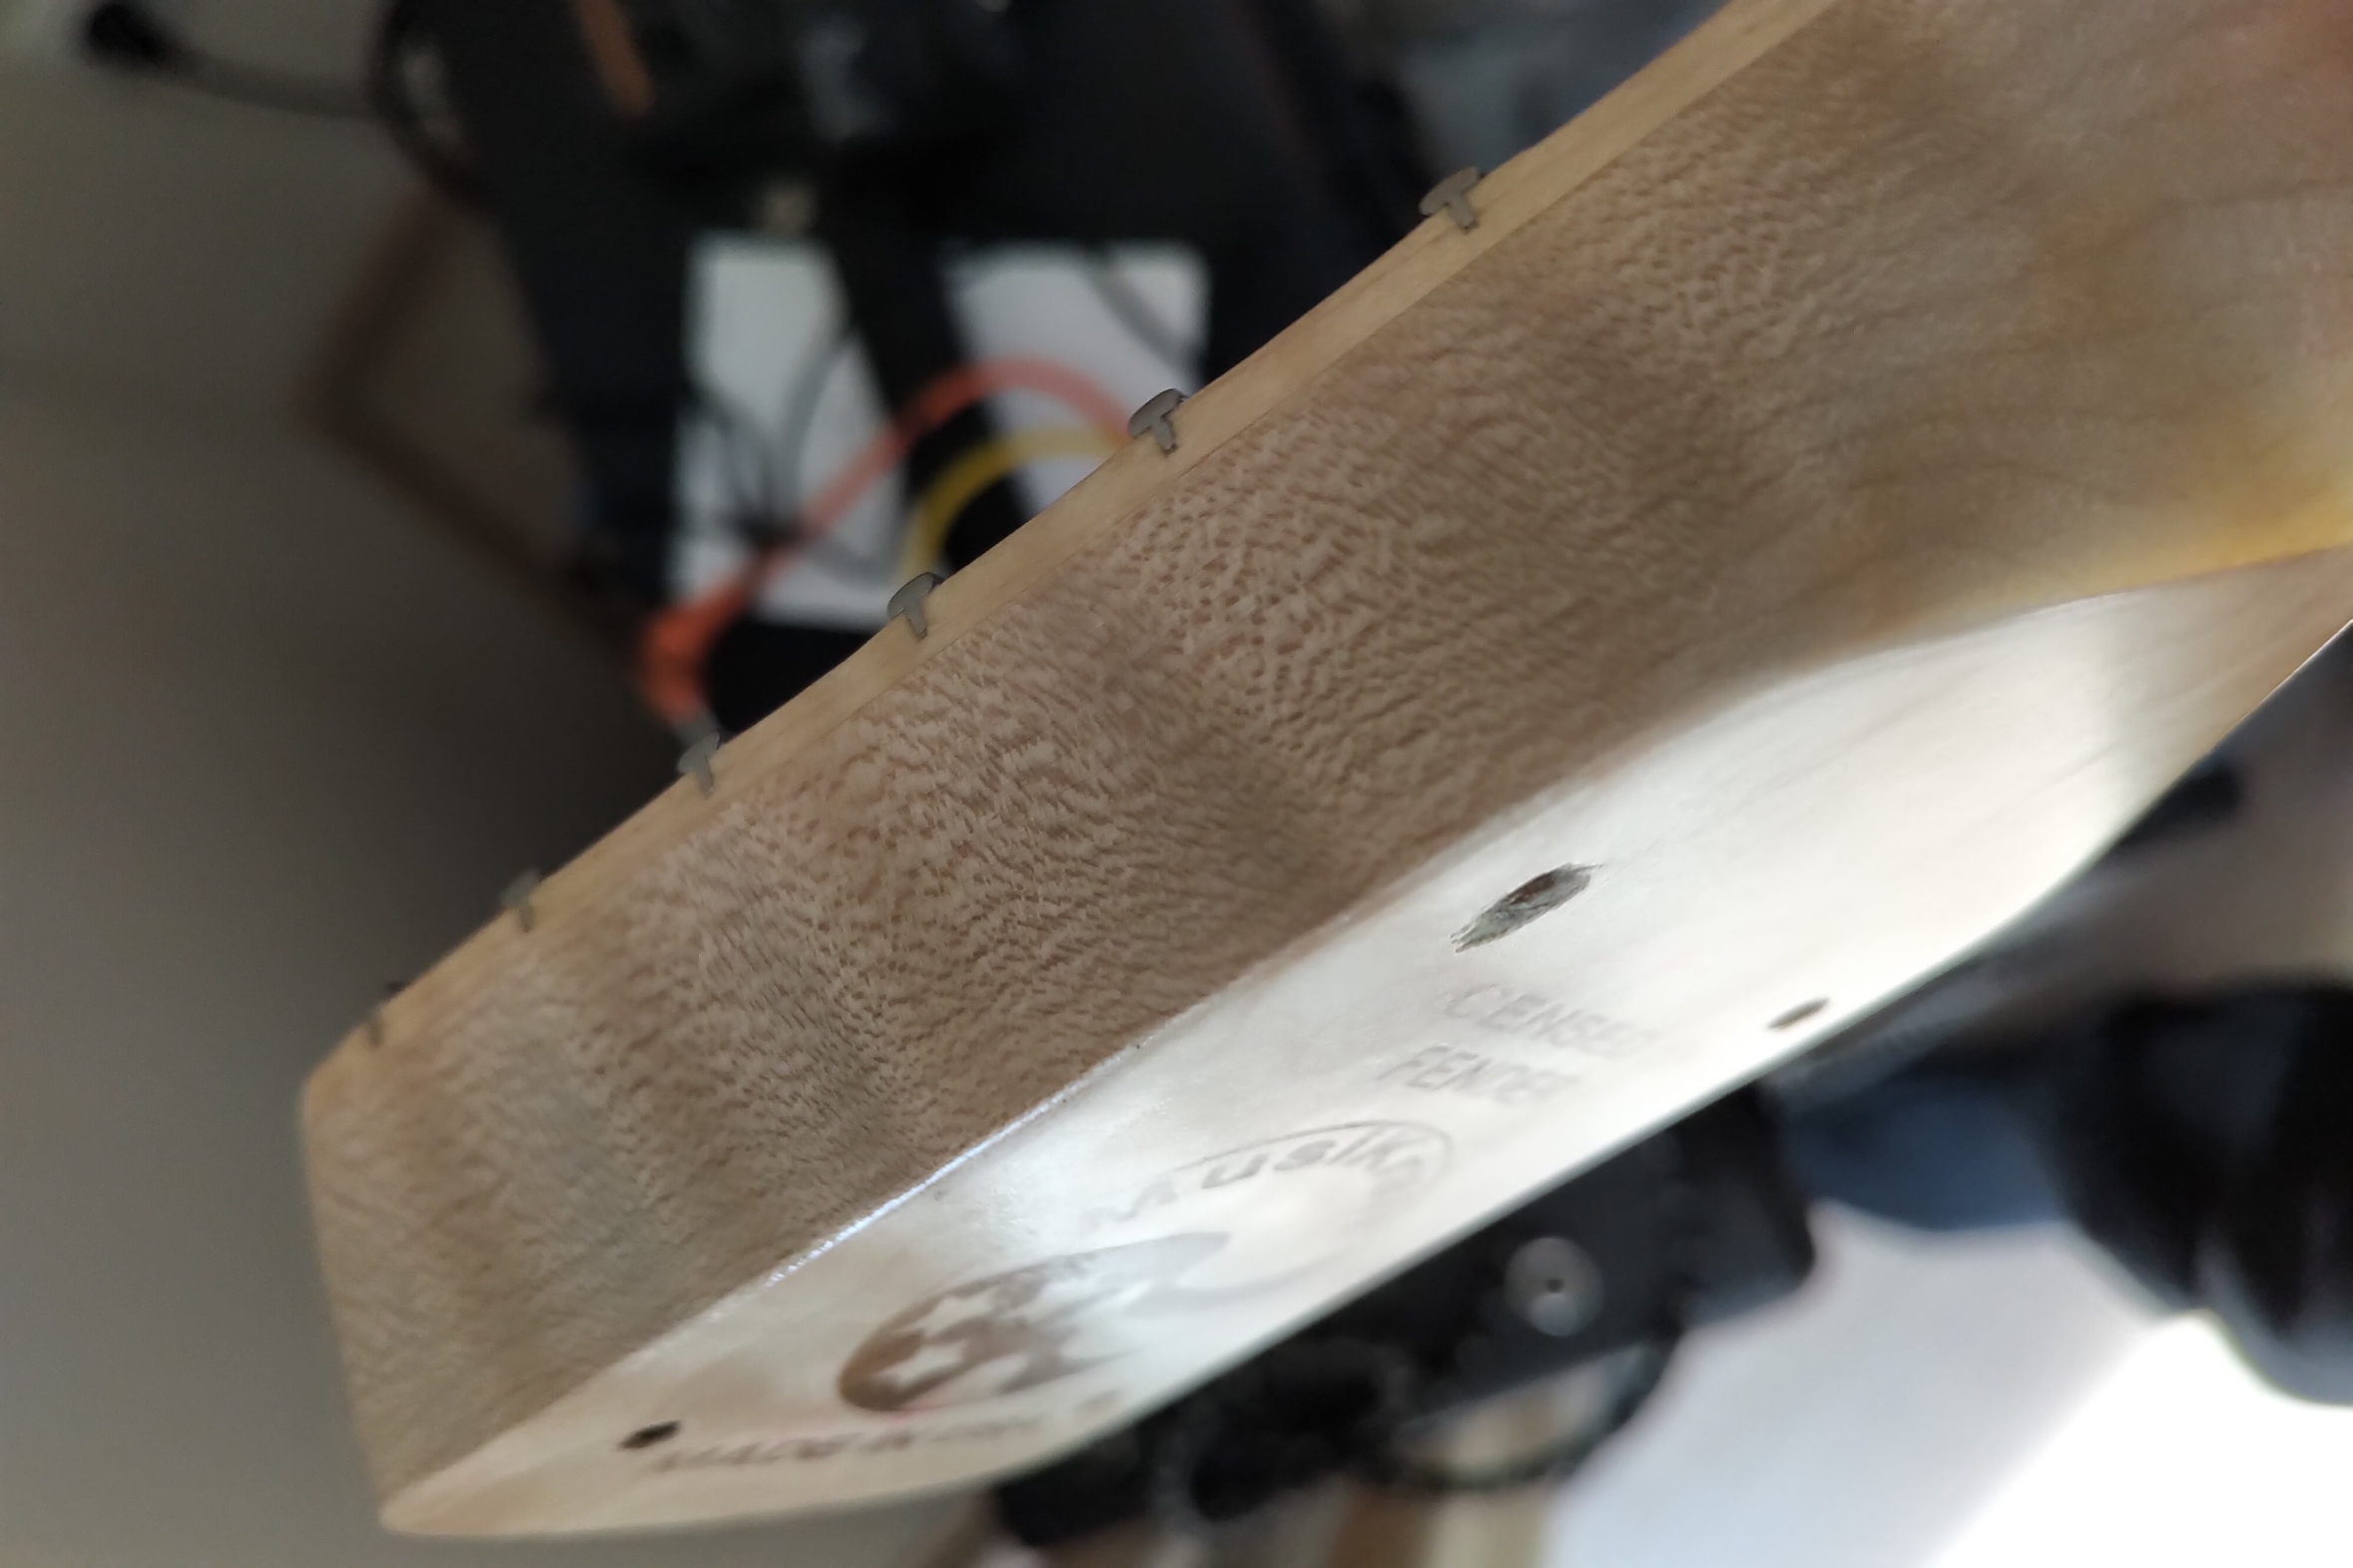 neckheel by stratamania, on Flickr
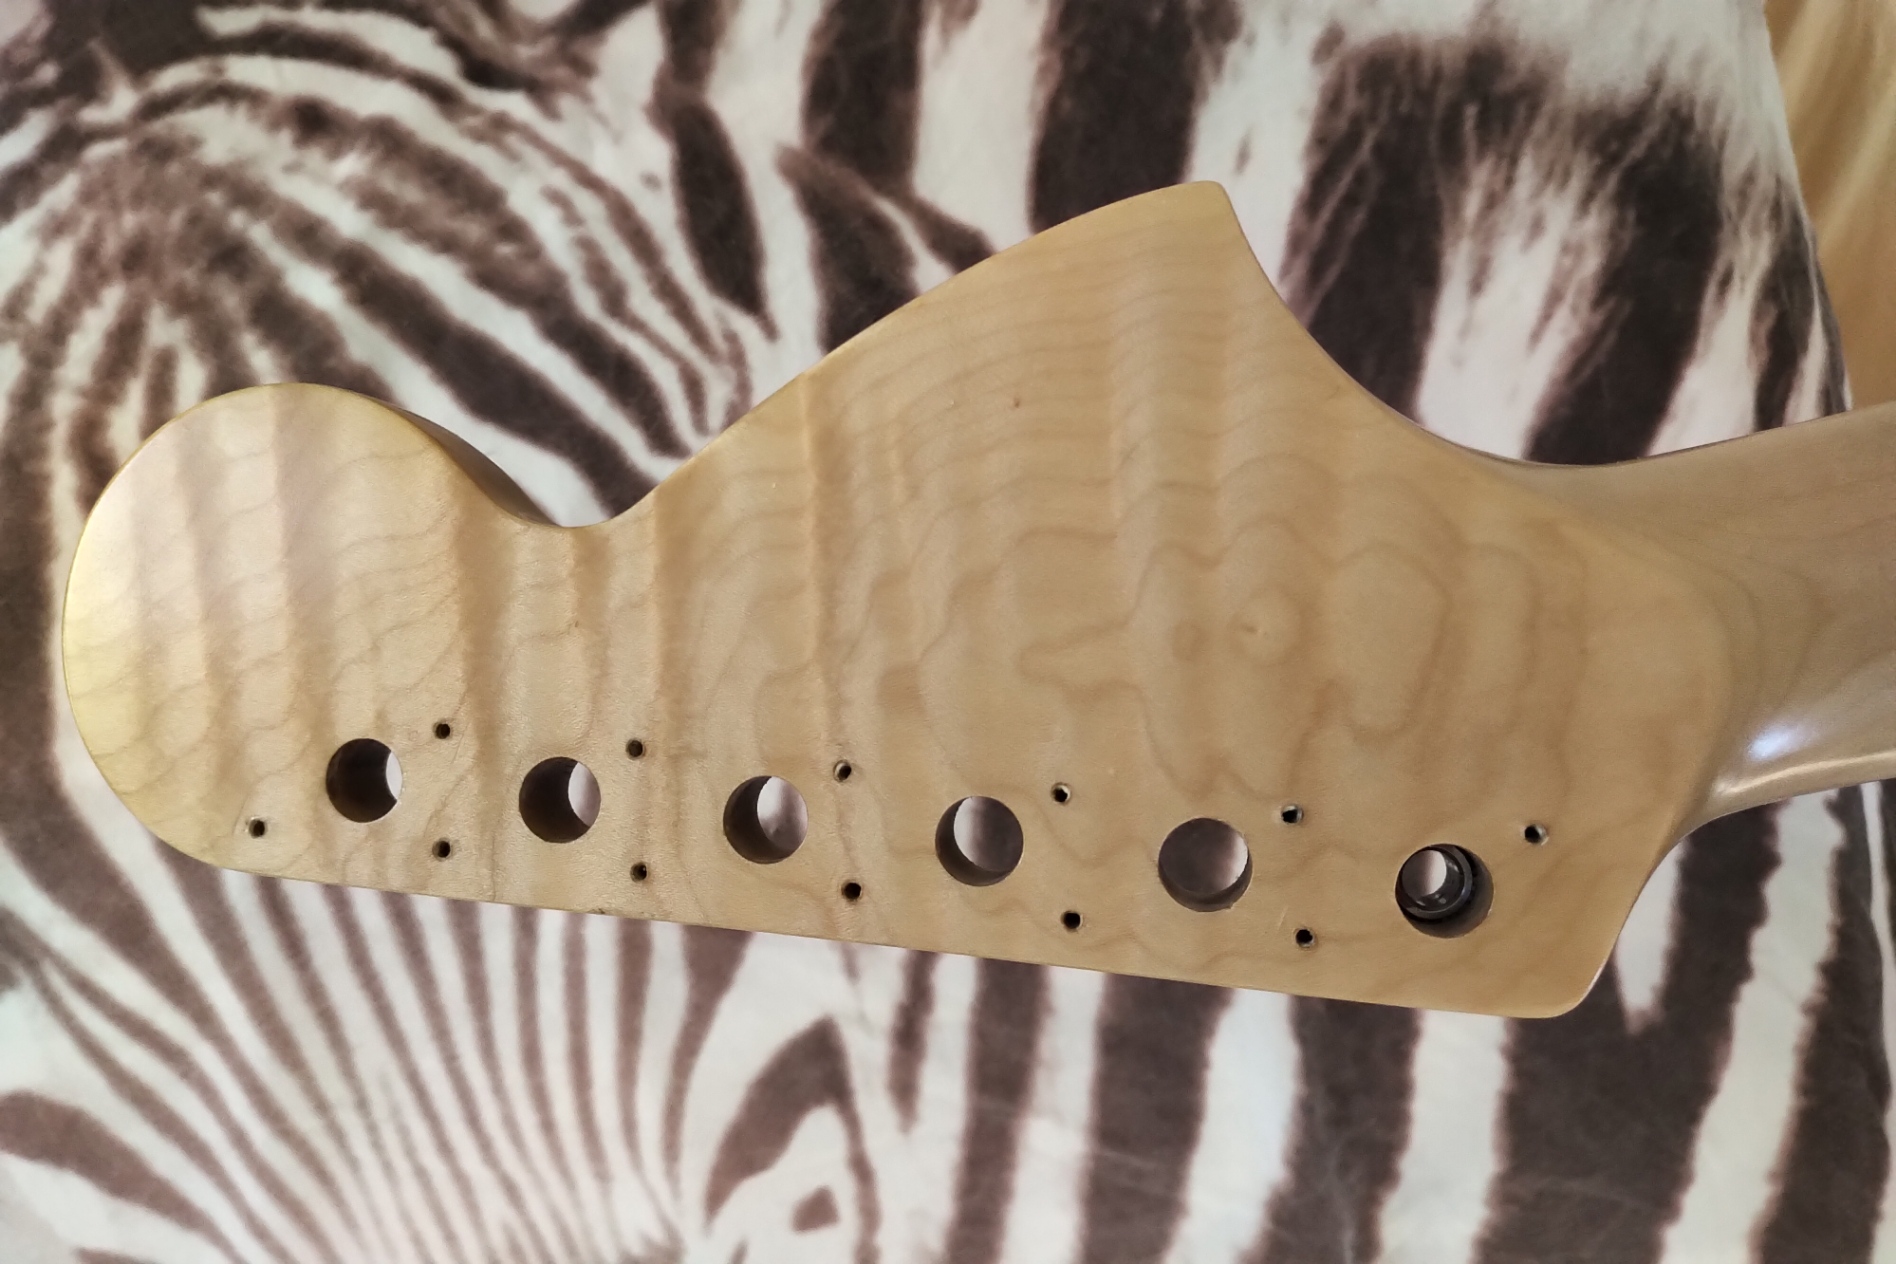 HeadstockBack by stratamania, on Flickr
The next job will be re fitting the tuner bushings and tuners and then we are back to assembly.
I also re polished the frets etc...
 neckheel by stratamania, on Flickr
 HeadstockBack by stratamania, on Flickr
The next job will be re fitting the tuner bushings and tuners and then we are back to assembly.
Similar threads
- Replies
- 18
- Views
- 1K

