First DIY re-spray. Questions about clear-coating.

Thanks again Cagey, I think I get what you mean.

Do you know of any good visual guides to this sort of thing? Either video or photos?

 
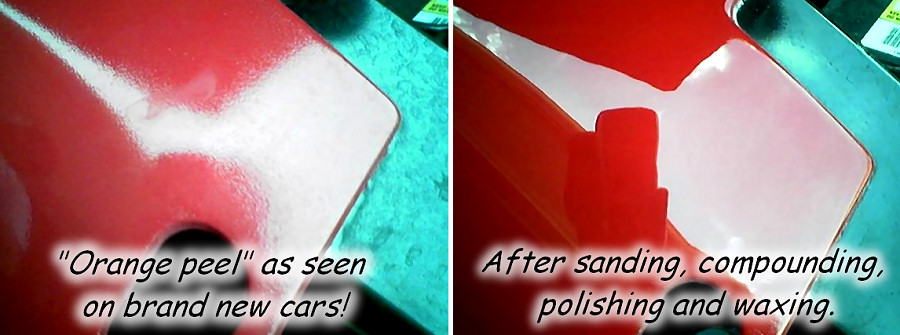
This may help. When you spray, you're atomizing the coating. In other words, it's a lotta small droplets shooting at the surface, which builds up unevenly. That's where you get the "orange peel" effect, which looks like this...

example.jpg

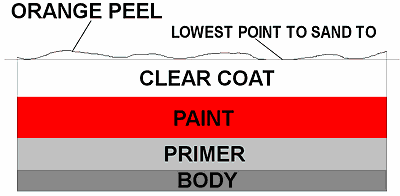
A side view of what's happening would look sorta like this...

illustration.gif

Those pics come from this site, and if you check their prices you can get an idea of how much work it is. Actually, they're pretty reasonable. Knowing what I know, I don't think I'd do it for that little. But, I'm no pro. They probably know more tricks than I do <grin>

Essentially, though, you're trying to level the surface so reflections are uniform rather than scattered. That's where the shine comes from.
 
That's uber-helpful, thanks Cagey. I think I get it now.

I guess my main concern was that the layer of clear I build up won't be a thick enough layer. How many initial protective coats would be too many? Reranch say 4 coats over a metallic finish...
 
4 is probably a good number. You have to be a little more careful with metallic finishes, lest you disrupt the flakes and ruin the effect. After that, another 6 or 8 coats is in order to give you some depth to work with so you don't sand through to the color coat. It's a little more difficult with rattle cans, as you can't really change the formulation, so you aren't able to change the viscosity or drying time. You really do end up sanding off about half the paint you put on, which will piss you off if you think about it too much.

All this is why I usually recommend letting Warmoth do the finishing, unless you want something they just won't do. They use finish material that doesn't need all this work to look good, and at the price, it's a bargain and a half. Thing is, unless you're going to do a LOT of bodies, you can't afford to get set up to shoot the materials they do.
 
True. I was thinking more along the lines of ordering raw bodies to be finished at home to save money. They want anywhere from $180 to $275 for a finish, so doing it yourself seems like a big savings, but it's false economy.
 
Soaking. I use a little Gladware container that's about 6" on a side, what they call an "entree" container, but just about anything will do. You only need about a half-inch of water in the bottom, plus about 2-3 drops of dishwashing liquid. You drop either the sandpaper by itself, or while attached to a hard rubber backing block into that, let it sit for a few minutes, and you're ready to go.

The soap acts like a degreasing lubricant, which is a Good Thing. You want the finish to be wet enough that it doesn't fight you at all. If you start to feel much friction, it's time for more water. Don't puddle it so much that it soaks into any bare wood or holes, or the wood will expand and make you mad later on, but don't be afraid of it. Just wipe up any excess in sensitive areas as you go. Keep a roll of paper towel handy, is what I'm saying. The water will keep the sandpaper from loading up with finish material and scuffing your finish. You'll be surprised at how long a decent piece of paper will last when wet vs. dry, but don't be too thankful. Fresh paper cuts better.

It's messy business, so put down a towel, but it cleans up easily so don't worry about it.

 
You can get a rubber block like that in the UK from Halford's they also have a good range of the finer grits of wet and dry papers that you'll need.
 
Yes, I've already got one (and the various grades of Wet and Dry), was just checking that's what Cagey meant.

Presumably I should switch to freehand for the contours, inside the horns etc?

Cagey, the paint does actually "wash" off if I use wet and dry on it. I was more asking about the lacquer.
 
Ah, that's cool and one less thing to buy...

For the smaller areas look for contour blocks, or wrap the paper around something round or curved. In very small spots you may have to resort to fingers. Generally the idea is to use something to avoid the unevenness of direct finger pressure.
 
Tony Ounsworth said:
Cagey, the paint does actually "wash" off if I use wet and dry on it. I was more asking about the lacquer.

Hmm... well, I guess I don't know what kind of paint you're talking about in the first case. But, I know the water won't hurt the lacquer.
 
Water-based doesn't necessarily mean water soluble. Water is just the vehicle that gets the finish on the object. Once the water boils off, the finish should be impervious to it. I mean, an automotive paint that dissolves in water once applied/cured would hardly be useful. Think of the consequences of rain or car washes. Something else must be happening there, or perhaps you're not getting what you think you are.
 
Or perhaps you're sanding through to the color coat, which would then tint the slurry that wet-sanding generates - not through dissolution of the color coat, but abrasion.
 
Just a couple of addendy's to KG's school - There's a variety of rubber sheets to be had, on eBay under "rubber sheet" and such. If you go crazy like someone I know, you can buy like  an 18" X 6 foot roll, or... safety bath mats? heat-resistant silicon liners for baking pans? It's all over the place, used to call it "inner tube rubber"... There's also thin neoprene mousepads, thicker 1/4" ones, etc. All of this kind of stuff can be glued to little sticks, held in the hand, rolled into little tubes.... fingertips are also great sanding pads for certain things, but they come attached to human beings and that's a real inconsistent mess, there.

Working on plain old, rag-quality bath towels is one pretty good way to keep larger-grit sanding shrapnel away from final stages, as are "carpet samples" you get for free or cheap from carpet stores, they're like a foot by two feet or smaller. NAILING DOWN a piece of carpet because it will "protect" stuff, ummmm...  :eek: Vacuum every day, twice a day, between each grit? All the time? Your shirt and pants will be a-totin' 320 grit around with you at a certain point. The moistiness of wet sanding will help - some - but water dries. You seriously don't want to wipe off the results of 1200 grit with the same towel you used on the 400 grit.

In commercial shops, they very often measure "how much is enough?" largely by time spent and/or the number of strokes upon each surface. And this is because they know their tools very very well, including each different grit and the composition of their chosen sanding block(s); and, most important, they know the results of their own fingertips and how worketh the brain attached to them. Which is why there's a half-dozen ways to make fantastic finishes, and at least a dozen ways to screw each and every one up.  :binkybaby:
 
Bagman67 said:
Or perhaps you're sanding through to the color coat, which would then tint the slurry that wet-sanding generates - not through dissolution of the color coat, but abrasion.

There we go, I think that's exactly what I've seen happening.

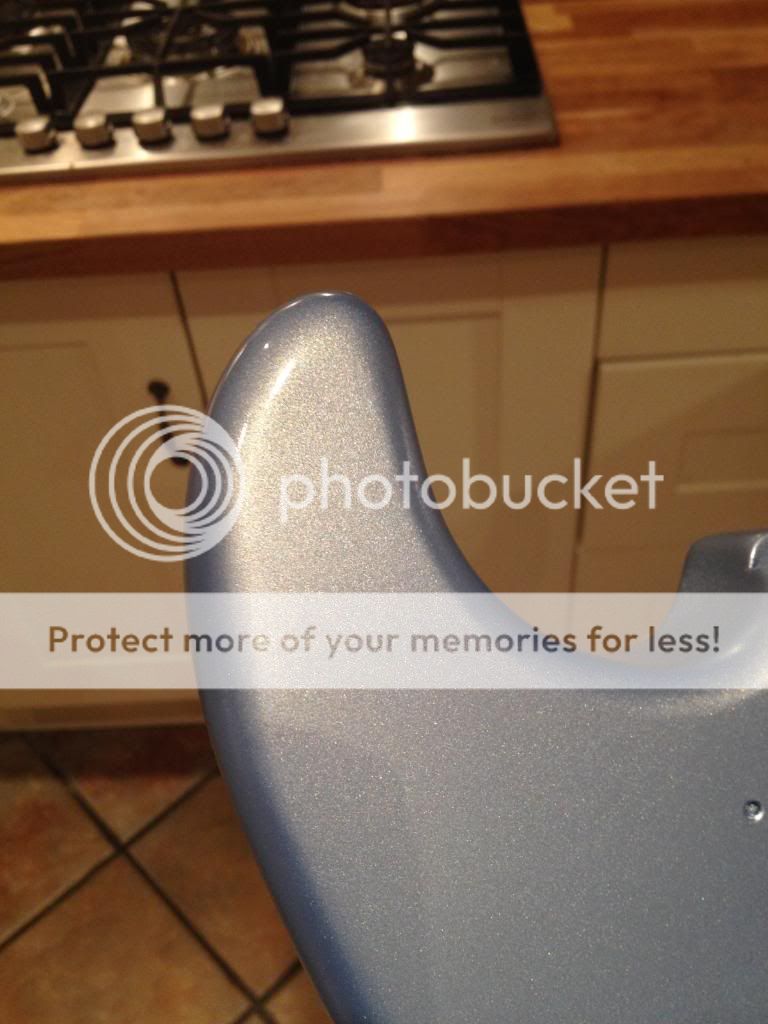
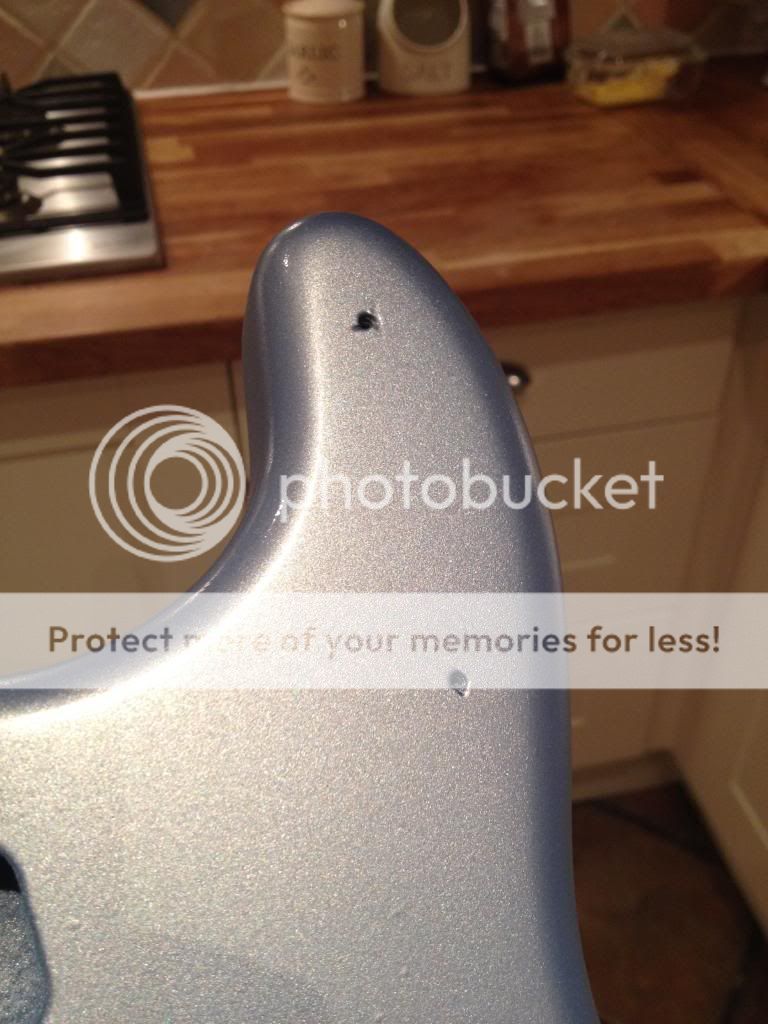
At the moment I'm still building up a couple of protective coats each evening. Last night I did the back, tonight I did the front. Trying to take it slow, so last night I just did a dust coat to start and then a more "flowing" coat on top of that. It's currently going on really well and it's already starting to look glossy and give the illusion of being more finished.


Back
Top