Sadie-f
Senior Member
- Messages
- 427
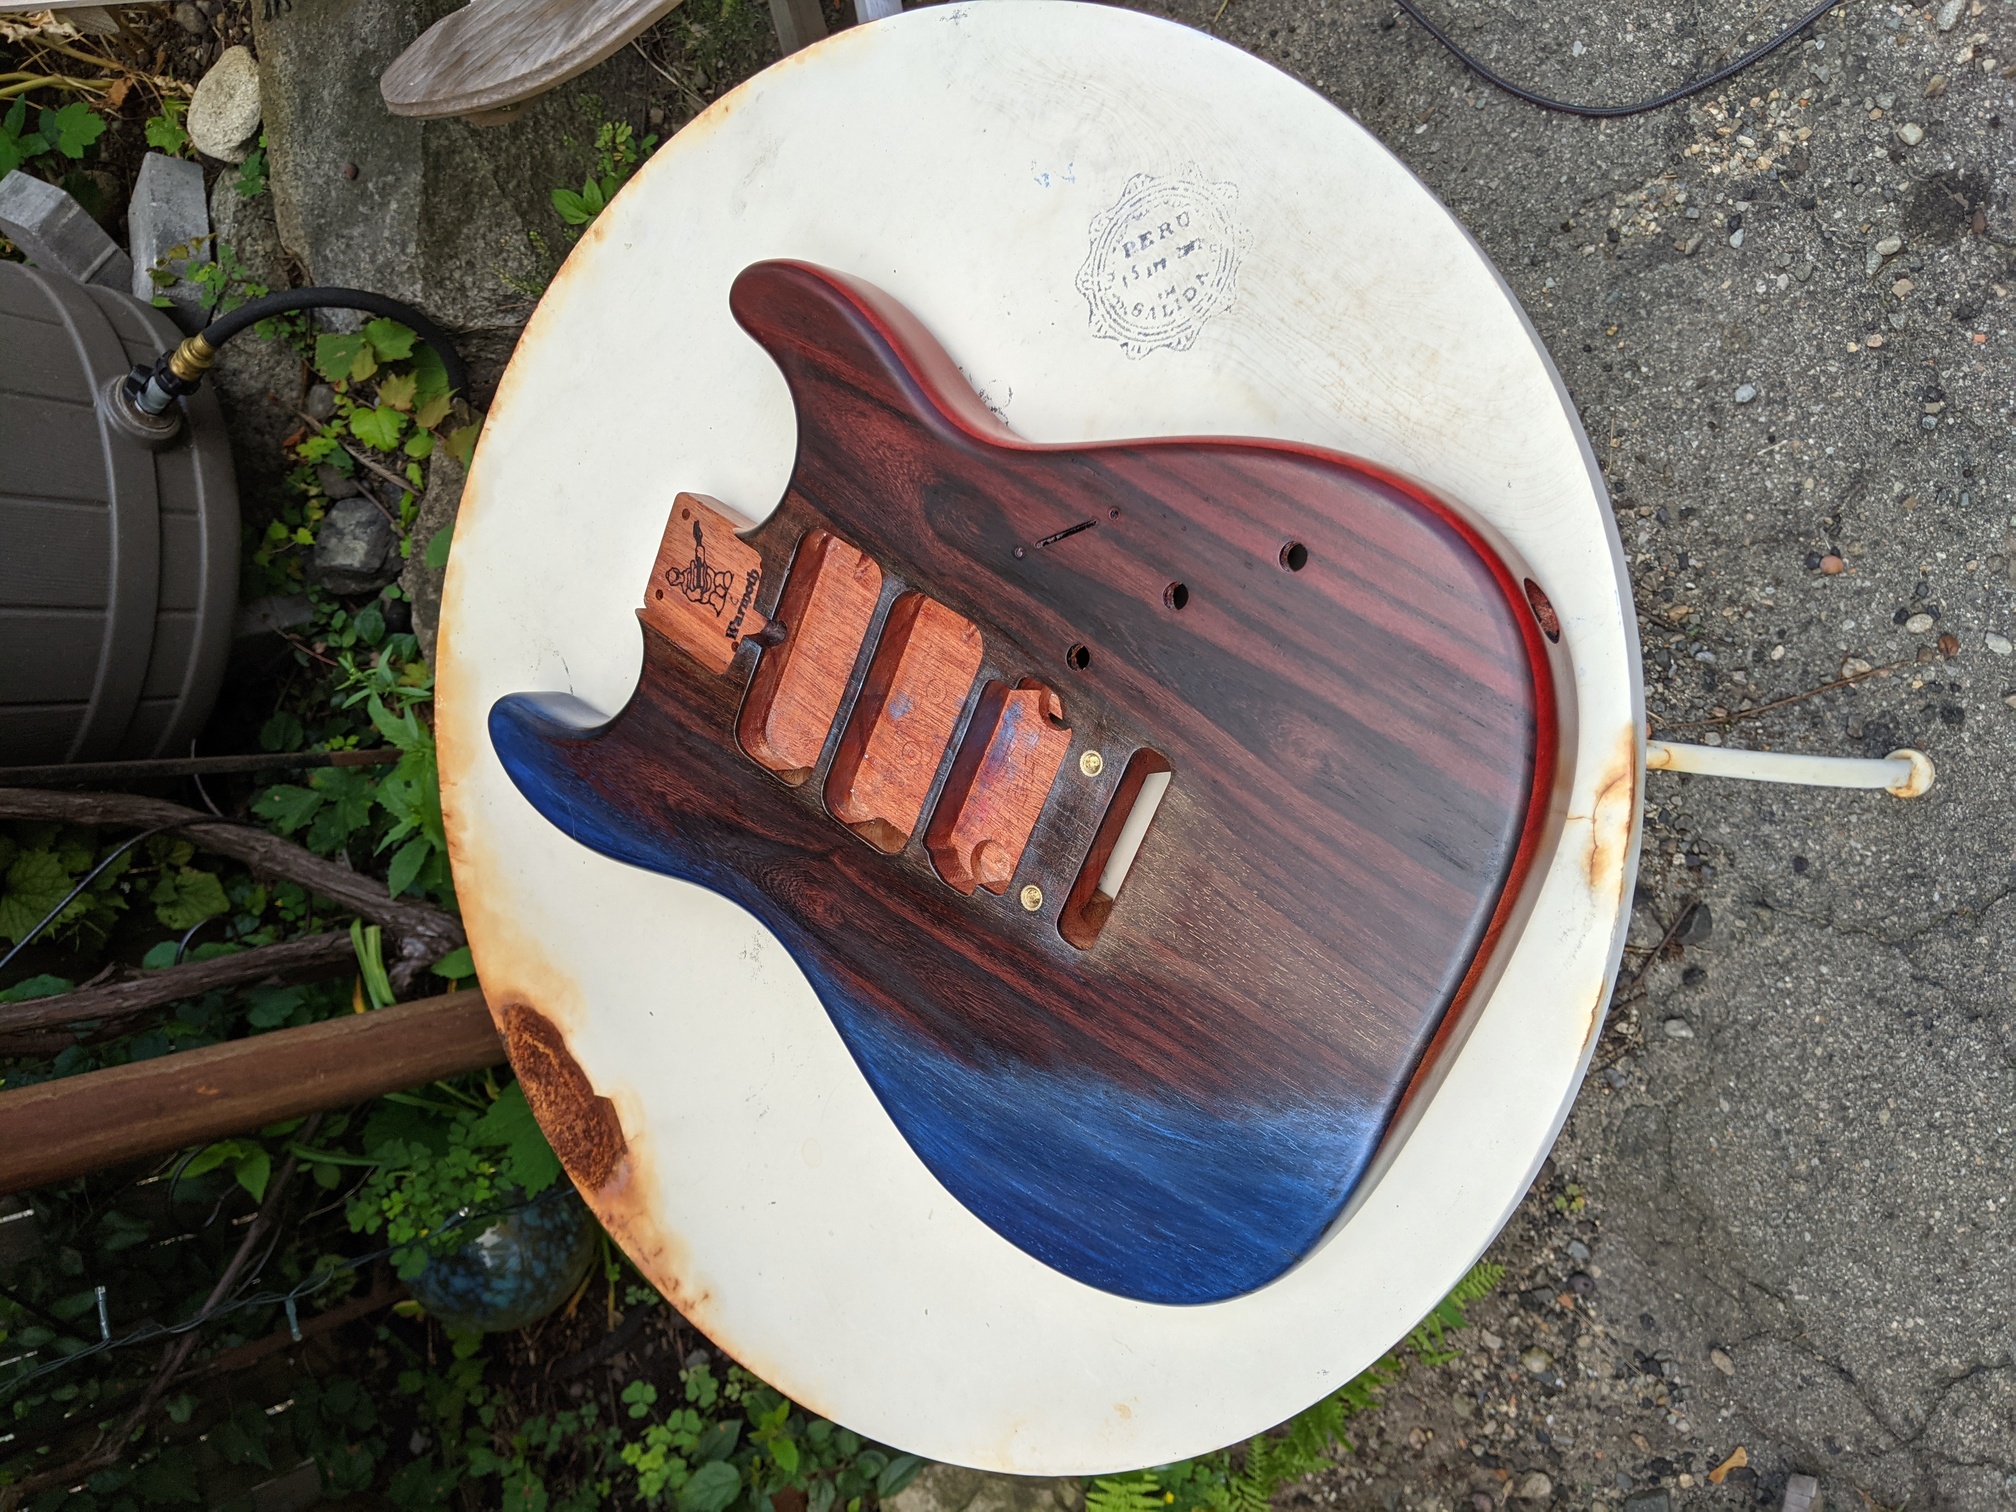
Strat project based on a Warmoth cored construction with mahogany base / rosewood top
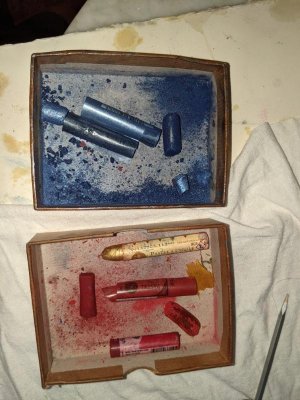
I have gotten the colors using 5 shades of artist's pastels which I found lock well into the finish if applied after wiping down a coat, I can rub in the pastel and by the next day, it's fully incorporated into the hardened layer of oil.
This is a dozen+ layers of pure tung & colors + 5 applications of polymerized tung. I also used a sealing shellac in the electronics cavity to form a base layer for painting on conductive / shielding paint. I know this won't be the most durable finish ever made, scratches are likely going to take off some of the color and for now I'm cool with that, I figure I can always decide later to go to shiny with either nitrocellulose or e.g. Epiphanes spar varnish. For now, i want to have the feel of the wood.
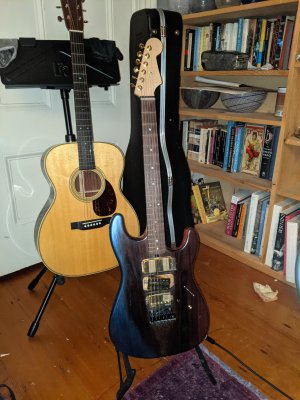
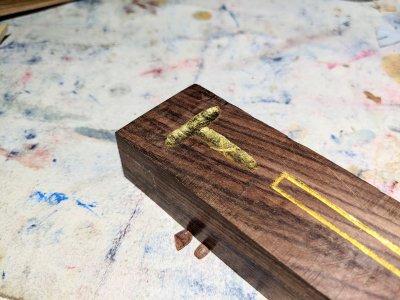
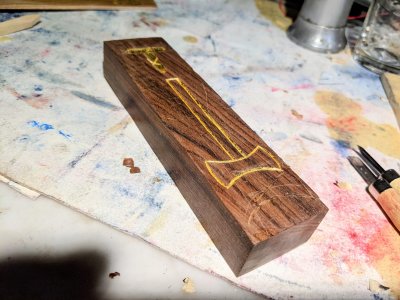
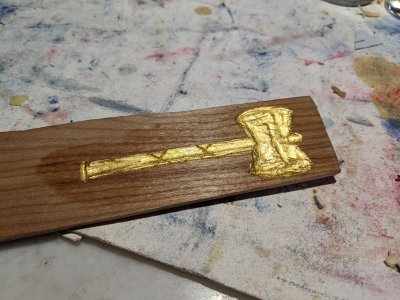
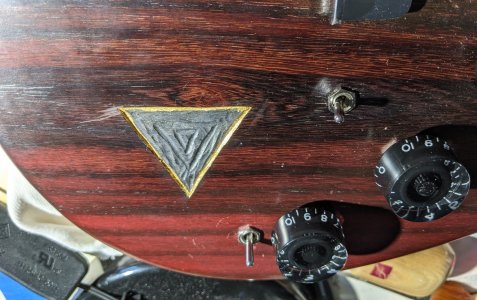
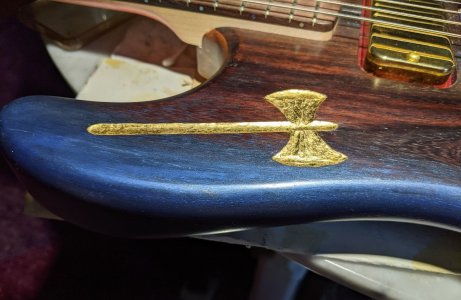
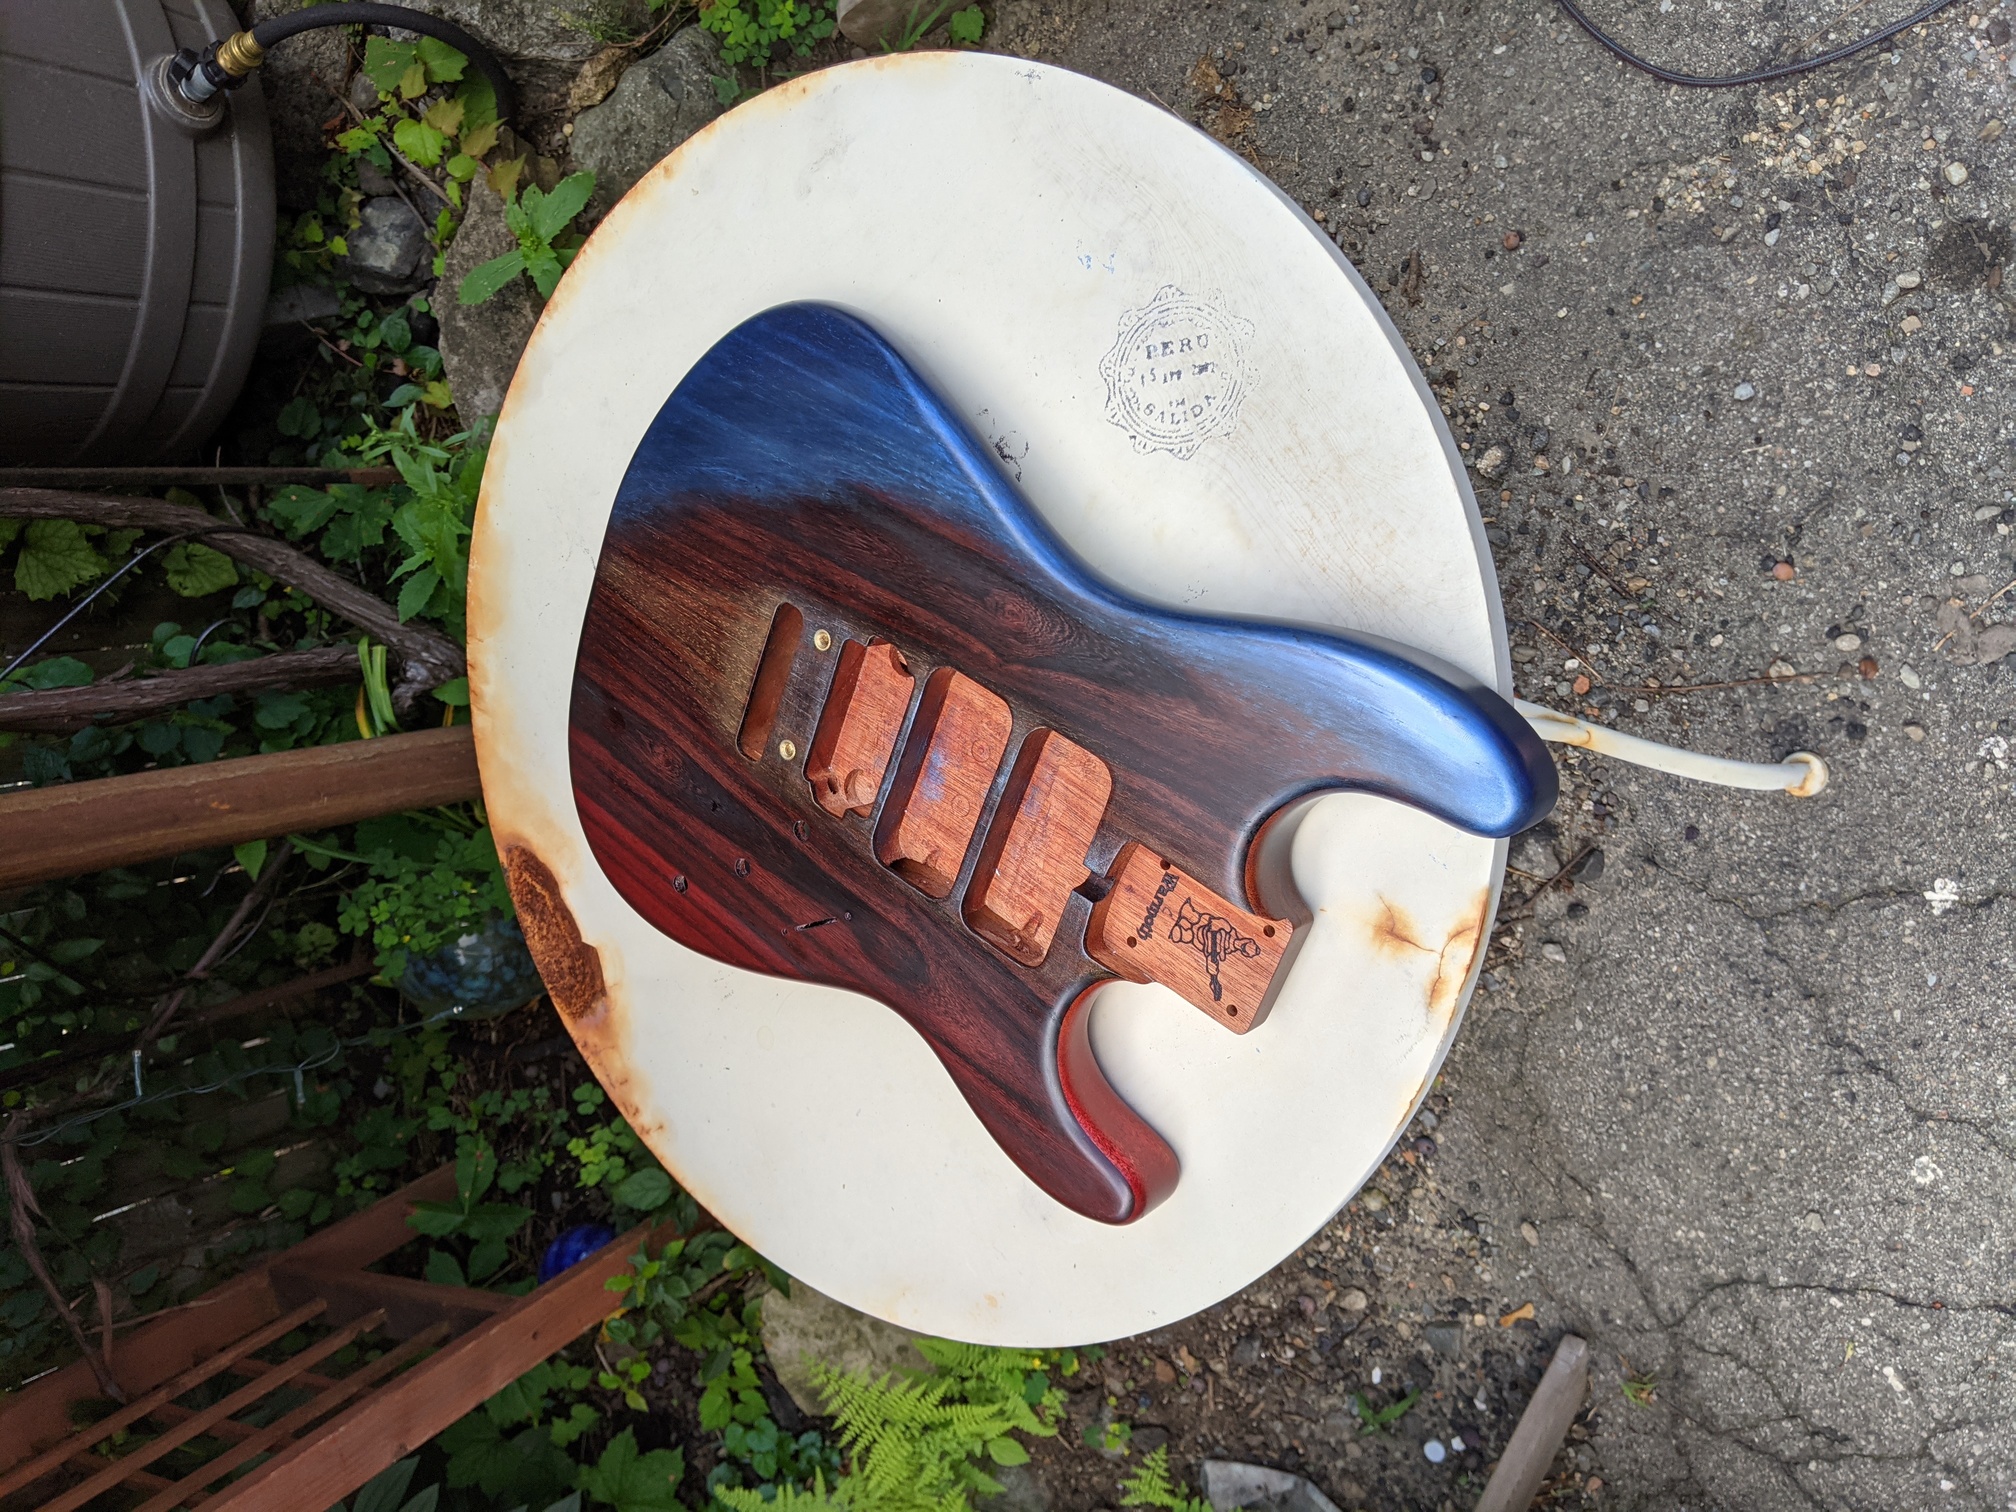
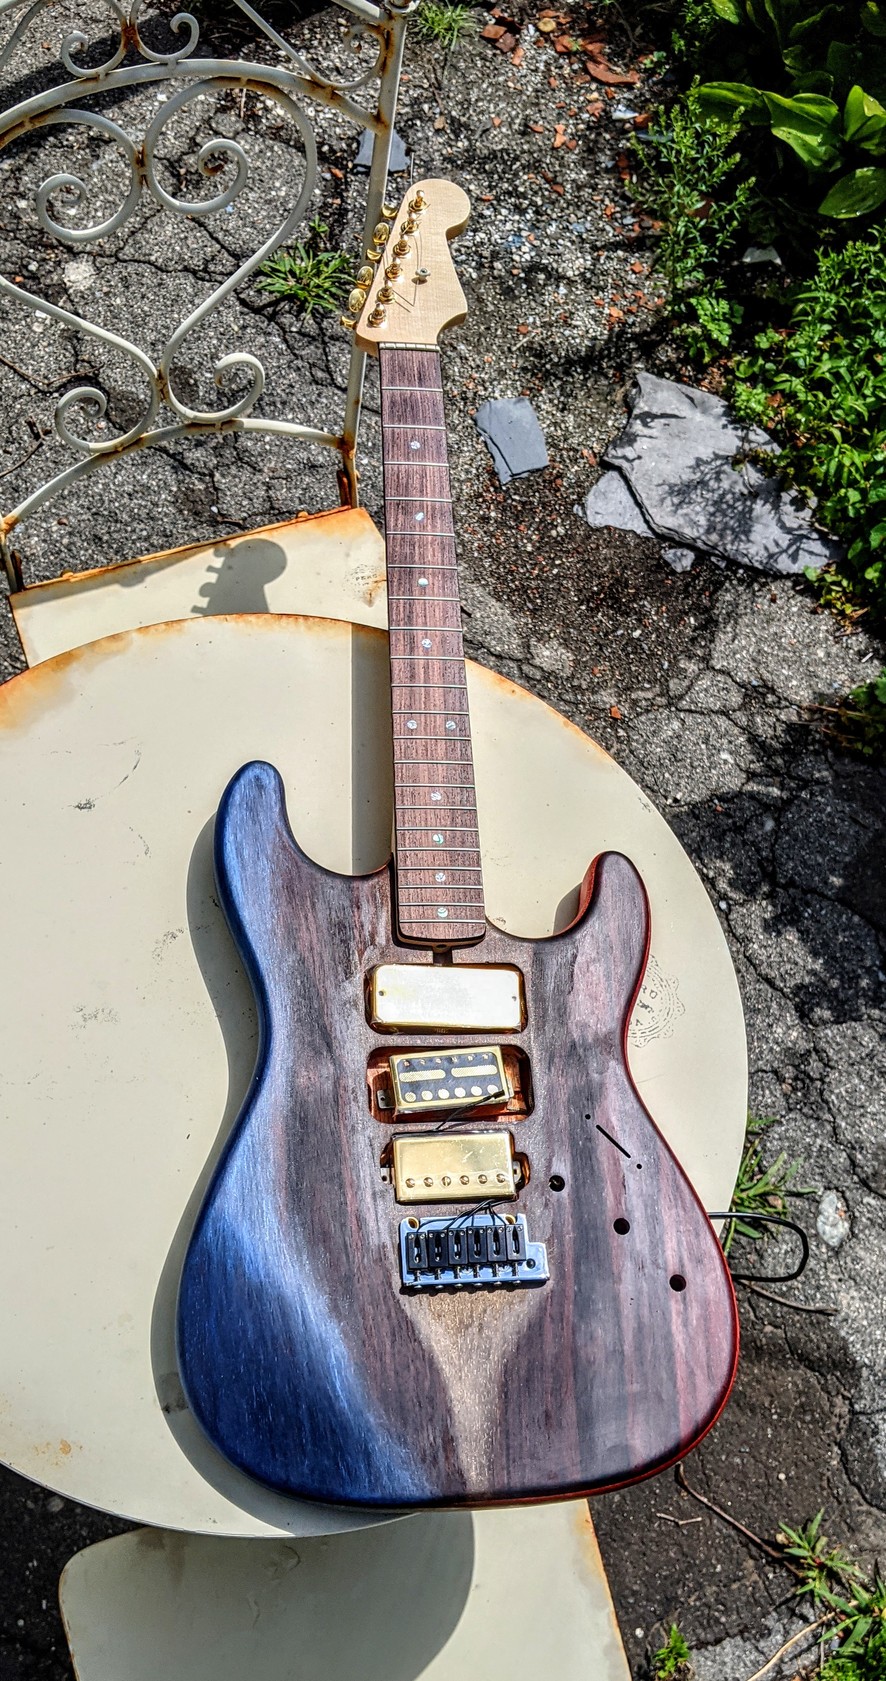
TL;DR: here's the state of the body today, I'm going to add a labrys and black triangle eventually to the face, however, with 6 weeks of finishing work in, I am ready to be done for now and finally be able to hear her sing -) The gold-leaf triangle on the back of the body is a lesbian symbol. The real version will be carved into the face eventually and I expect the gold to wear off some as I play the guitar
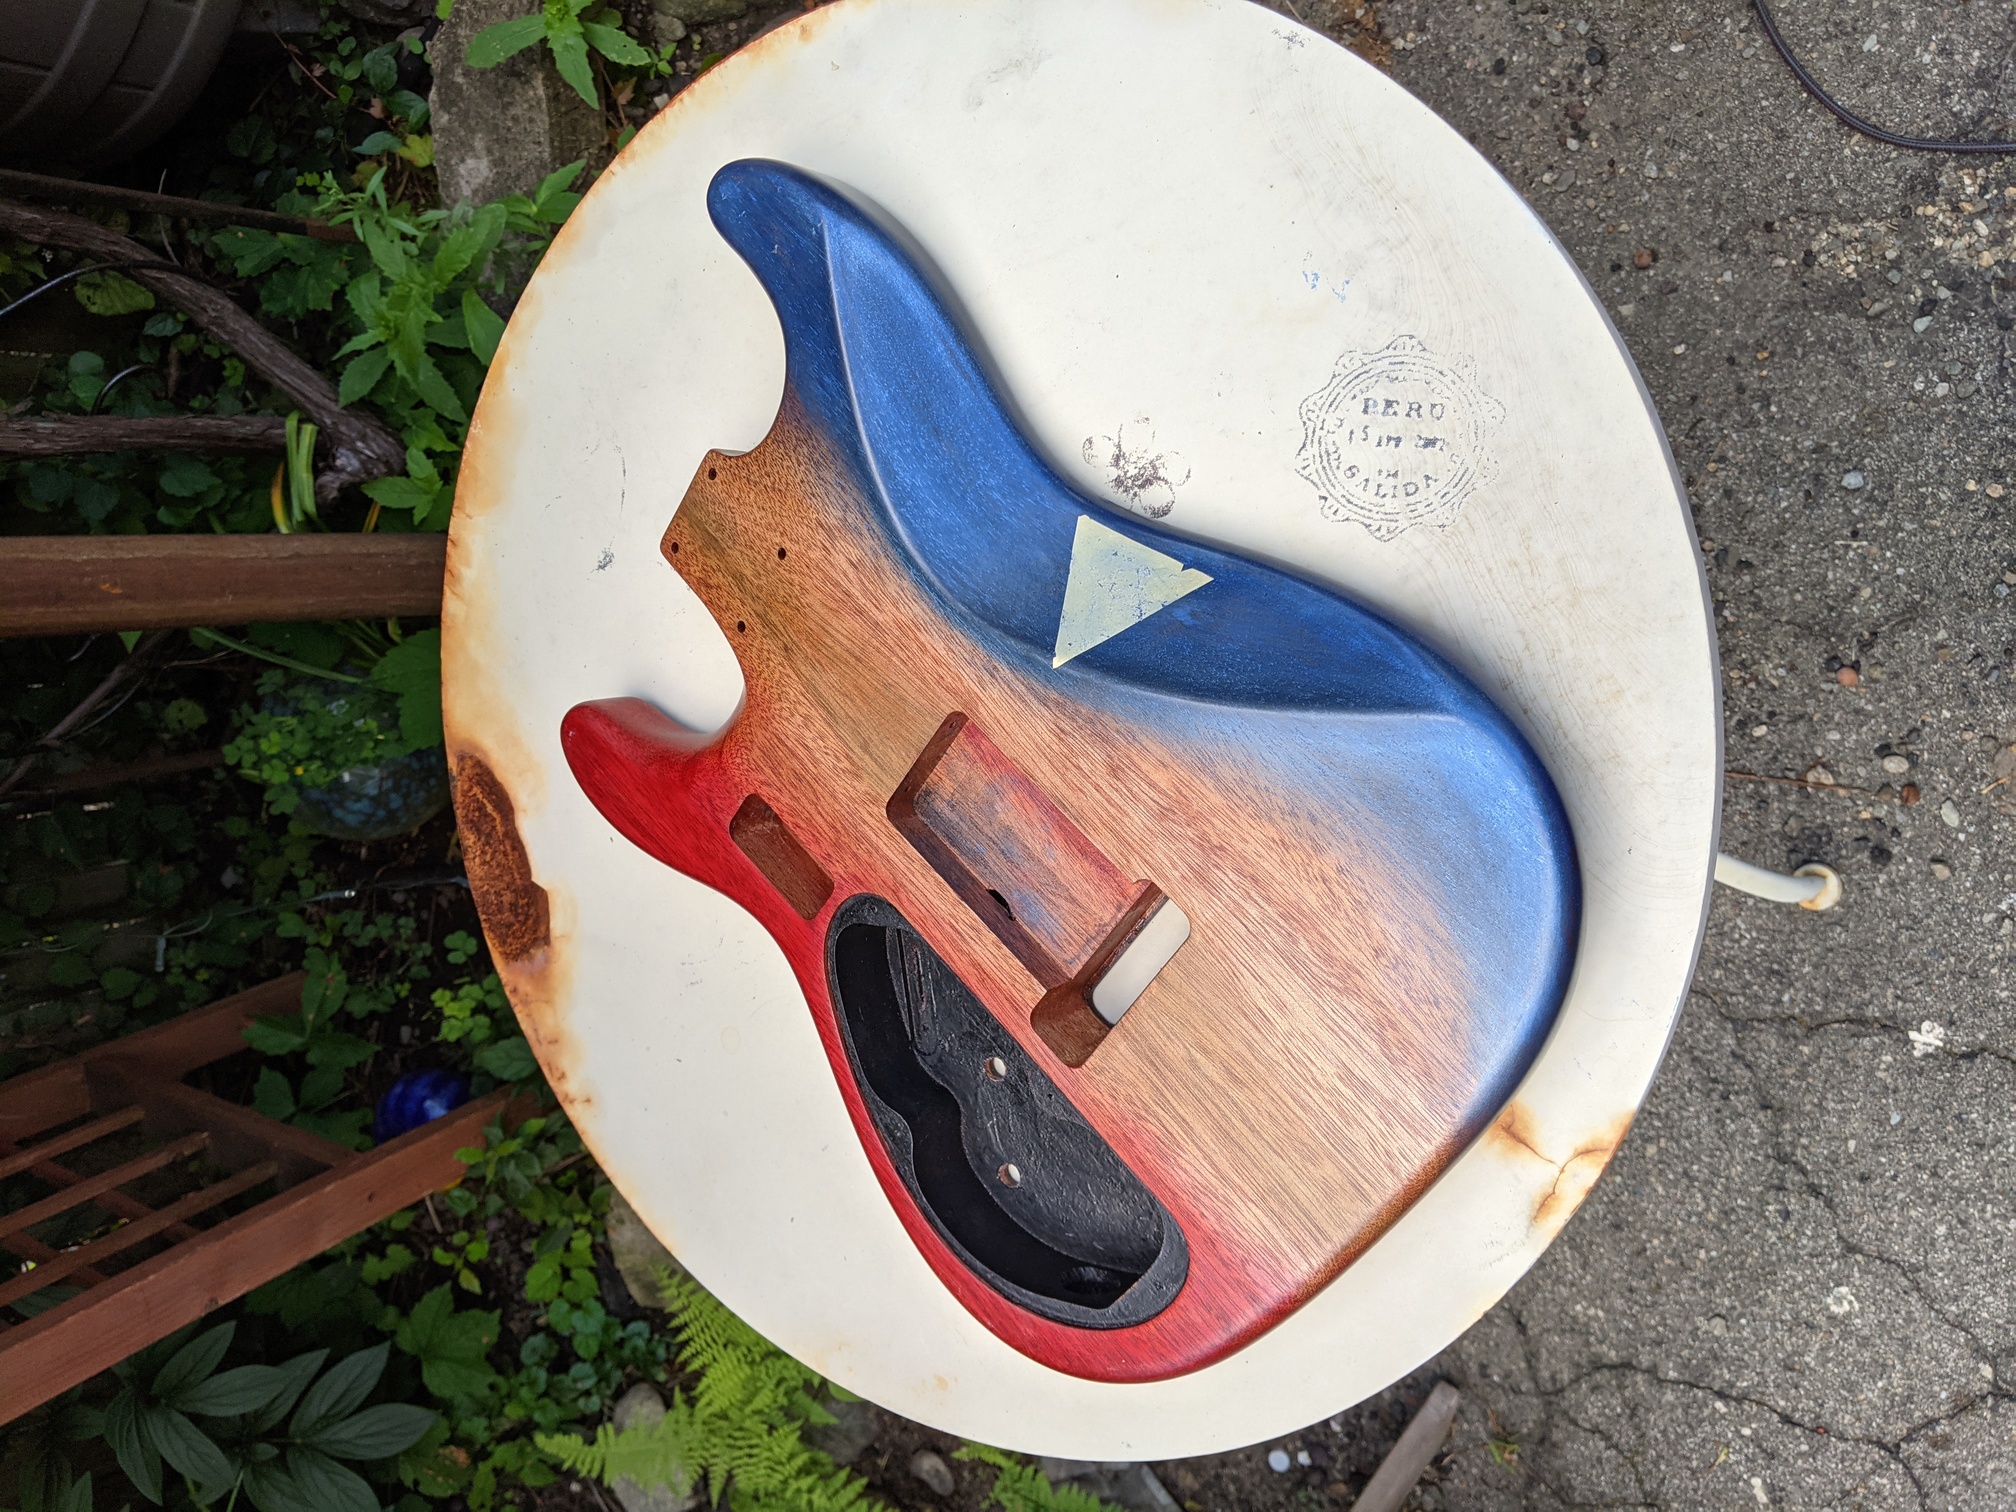
The above images are all unedited, many of the ones that follow, I tweaked saturation etc to get a better representation of the colors I'm aiming for.
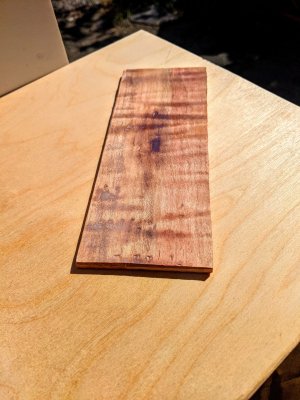
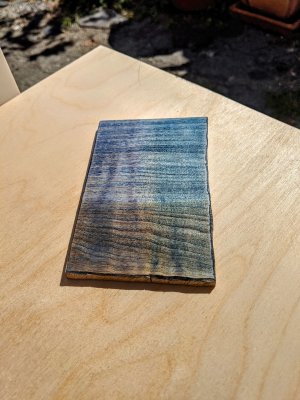
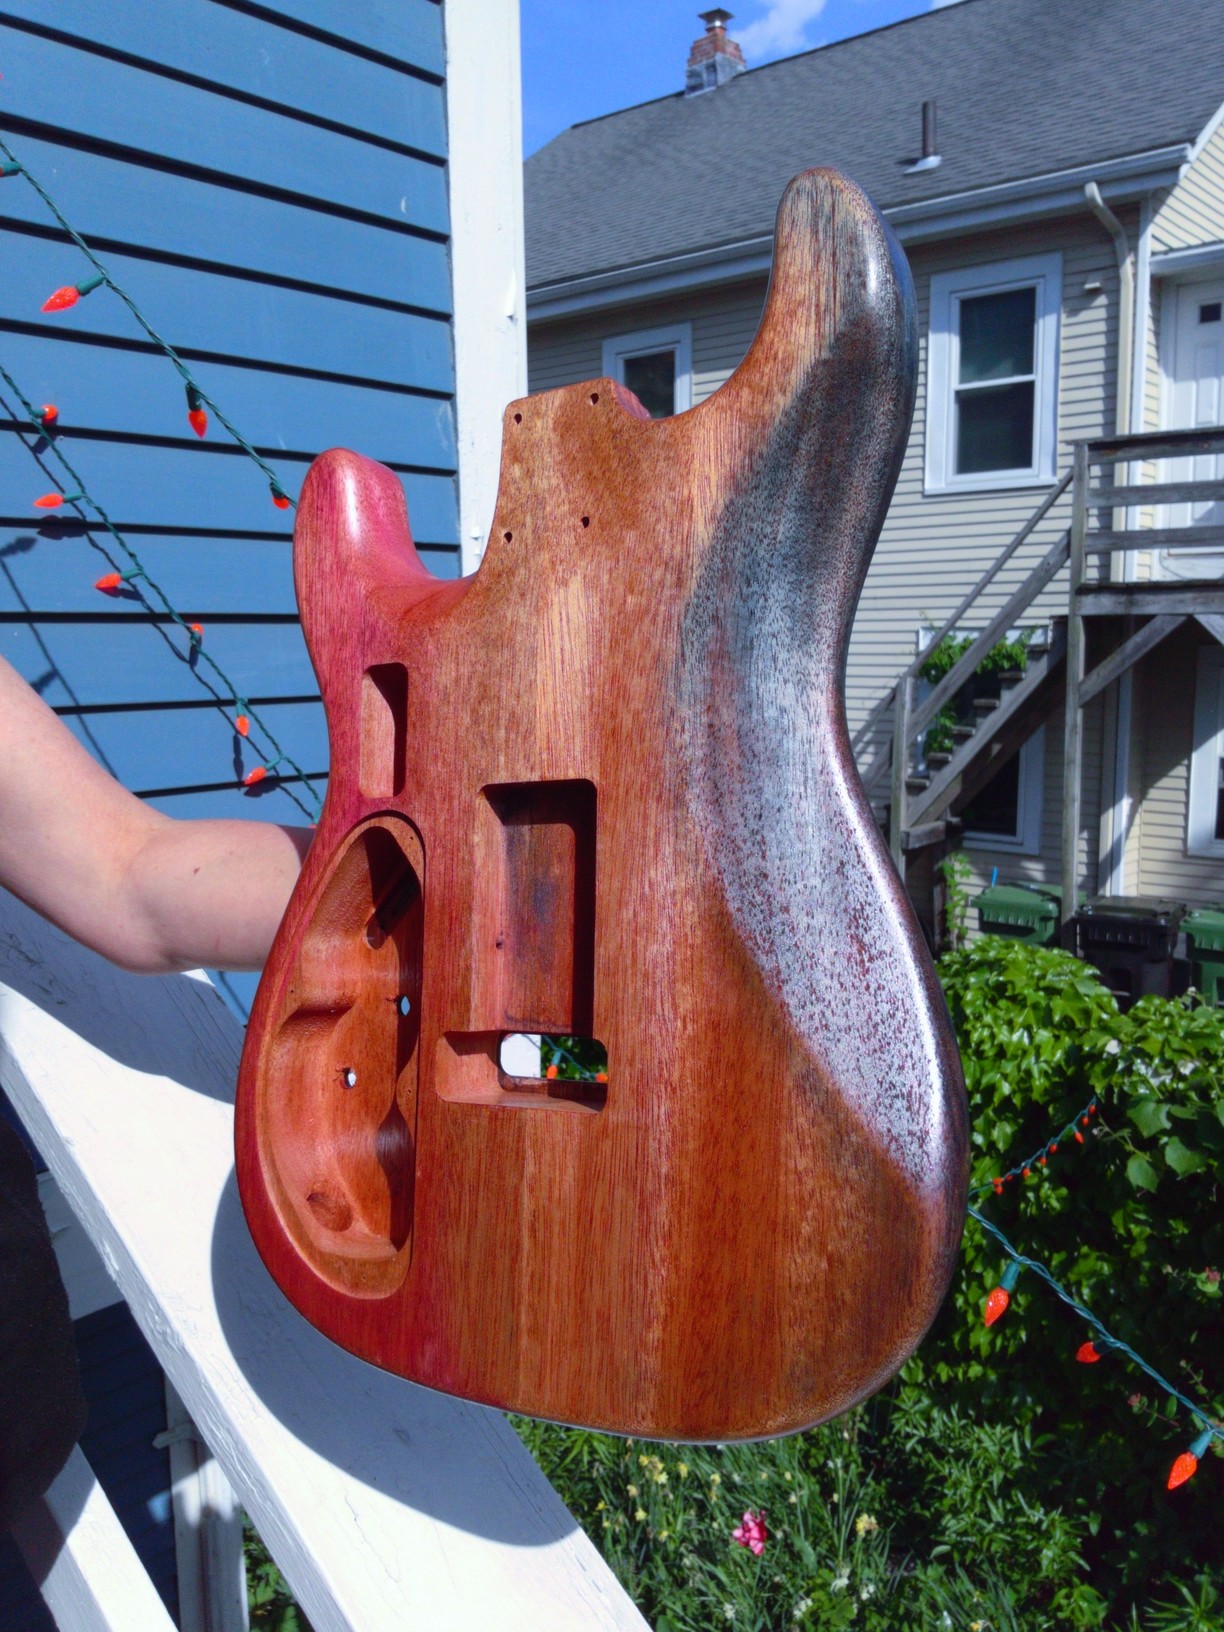
Body from Warmoth with first coat of tung and a test of colors in the back cavities before committing to applying to the main surfaces of the body.
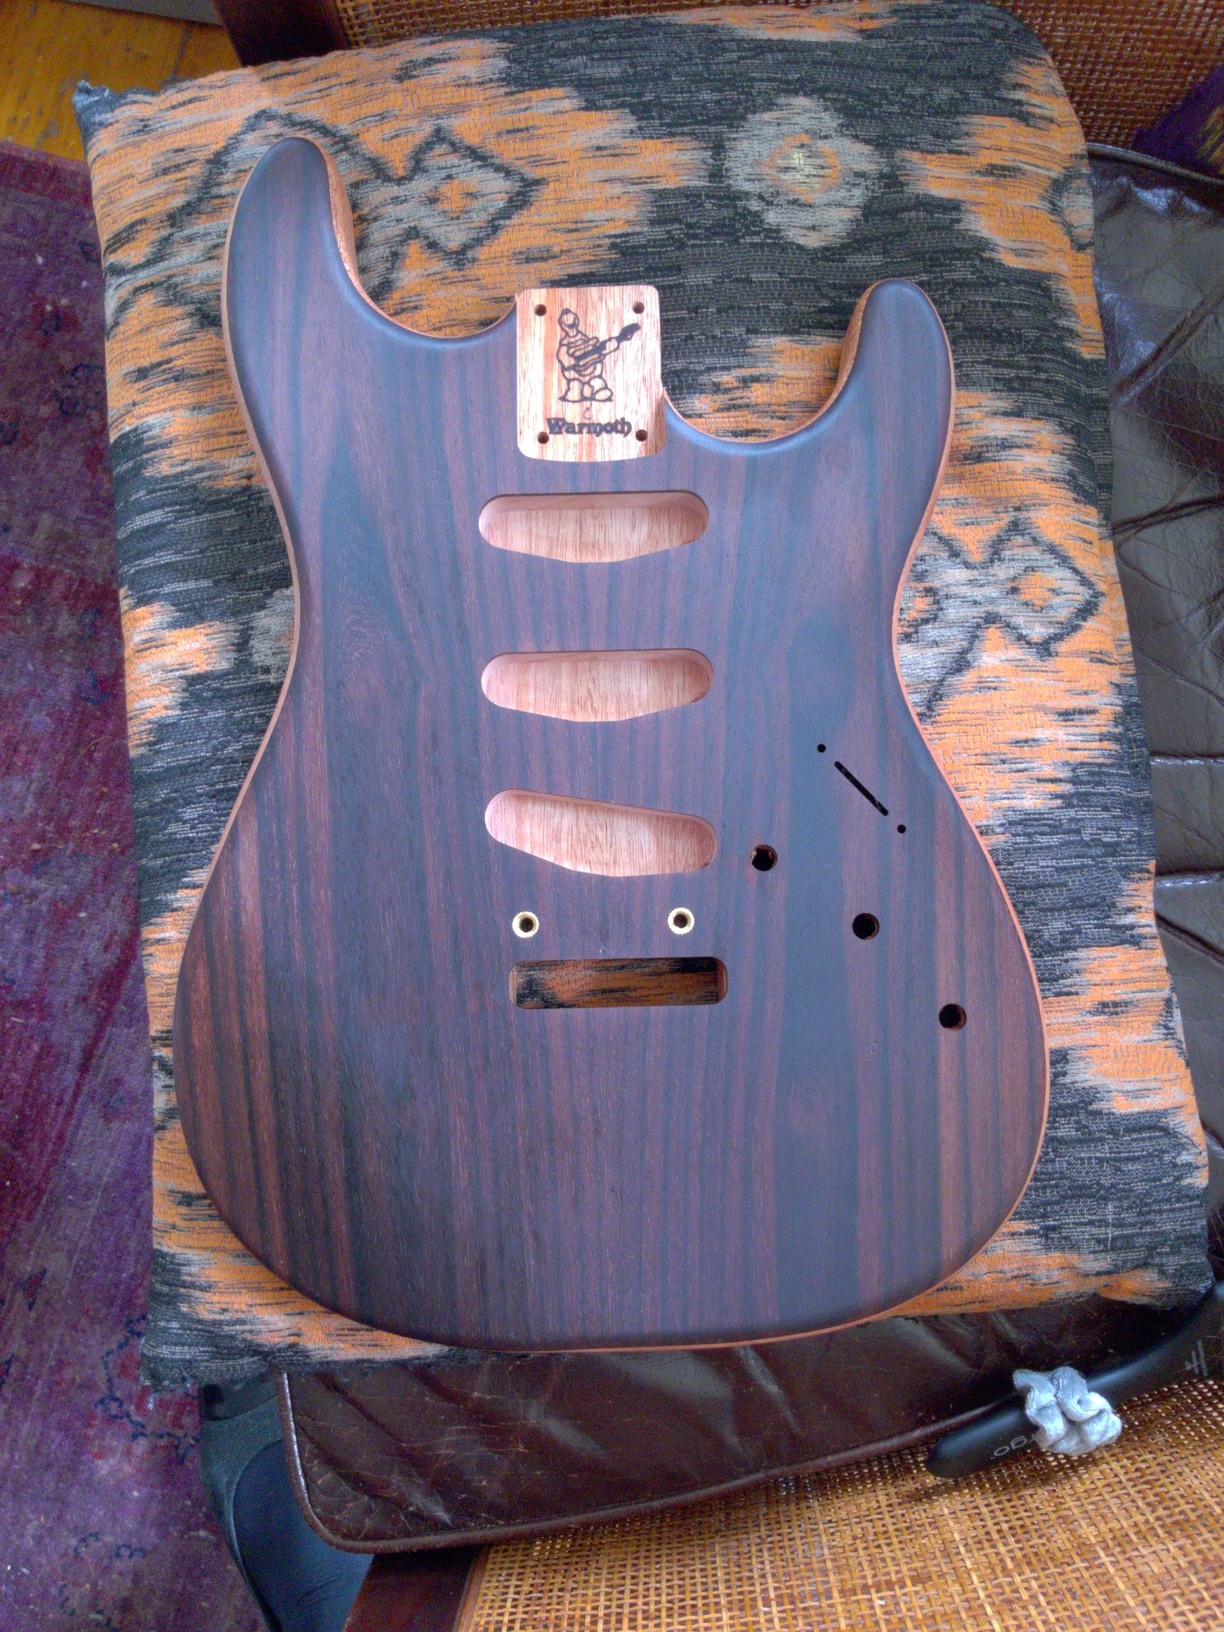

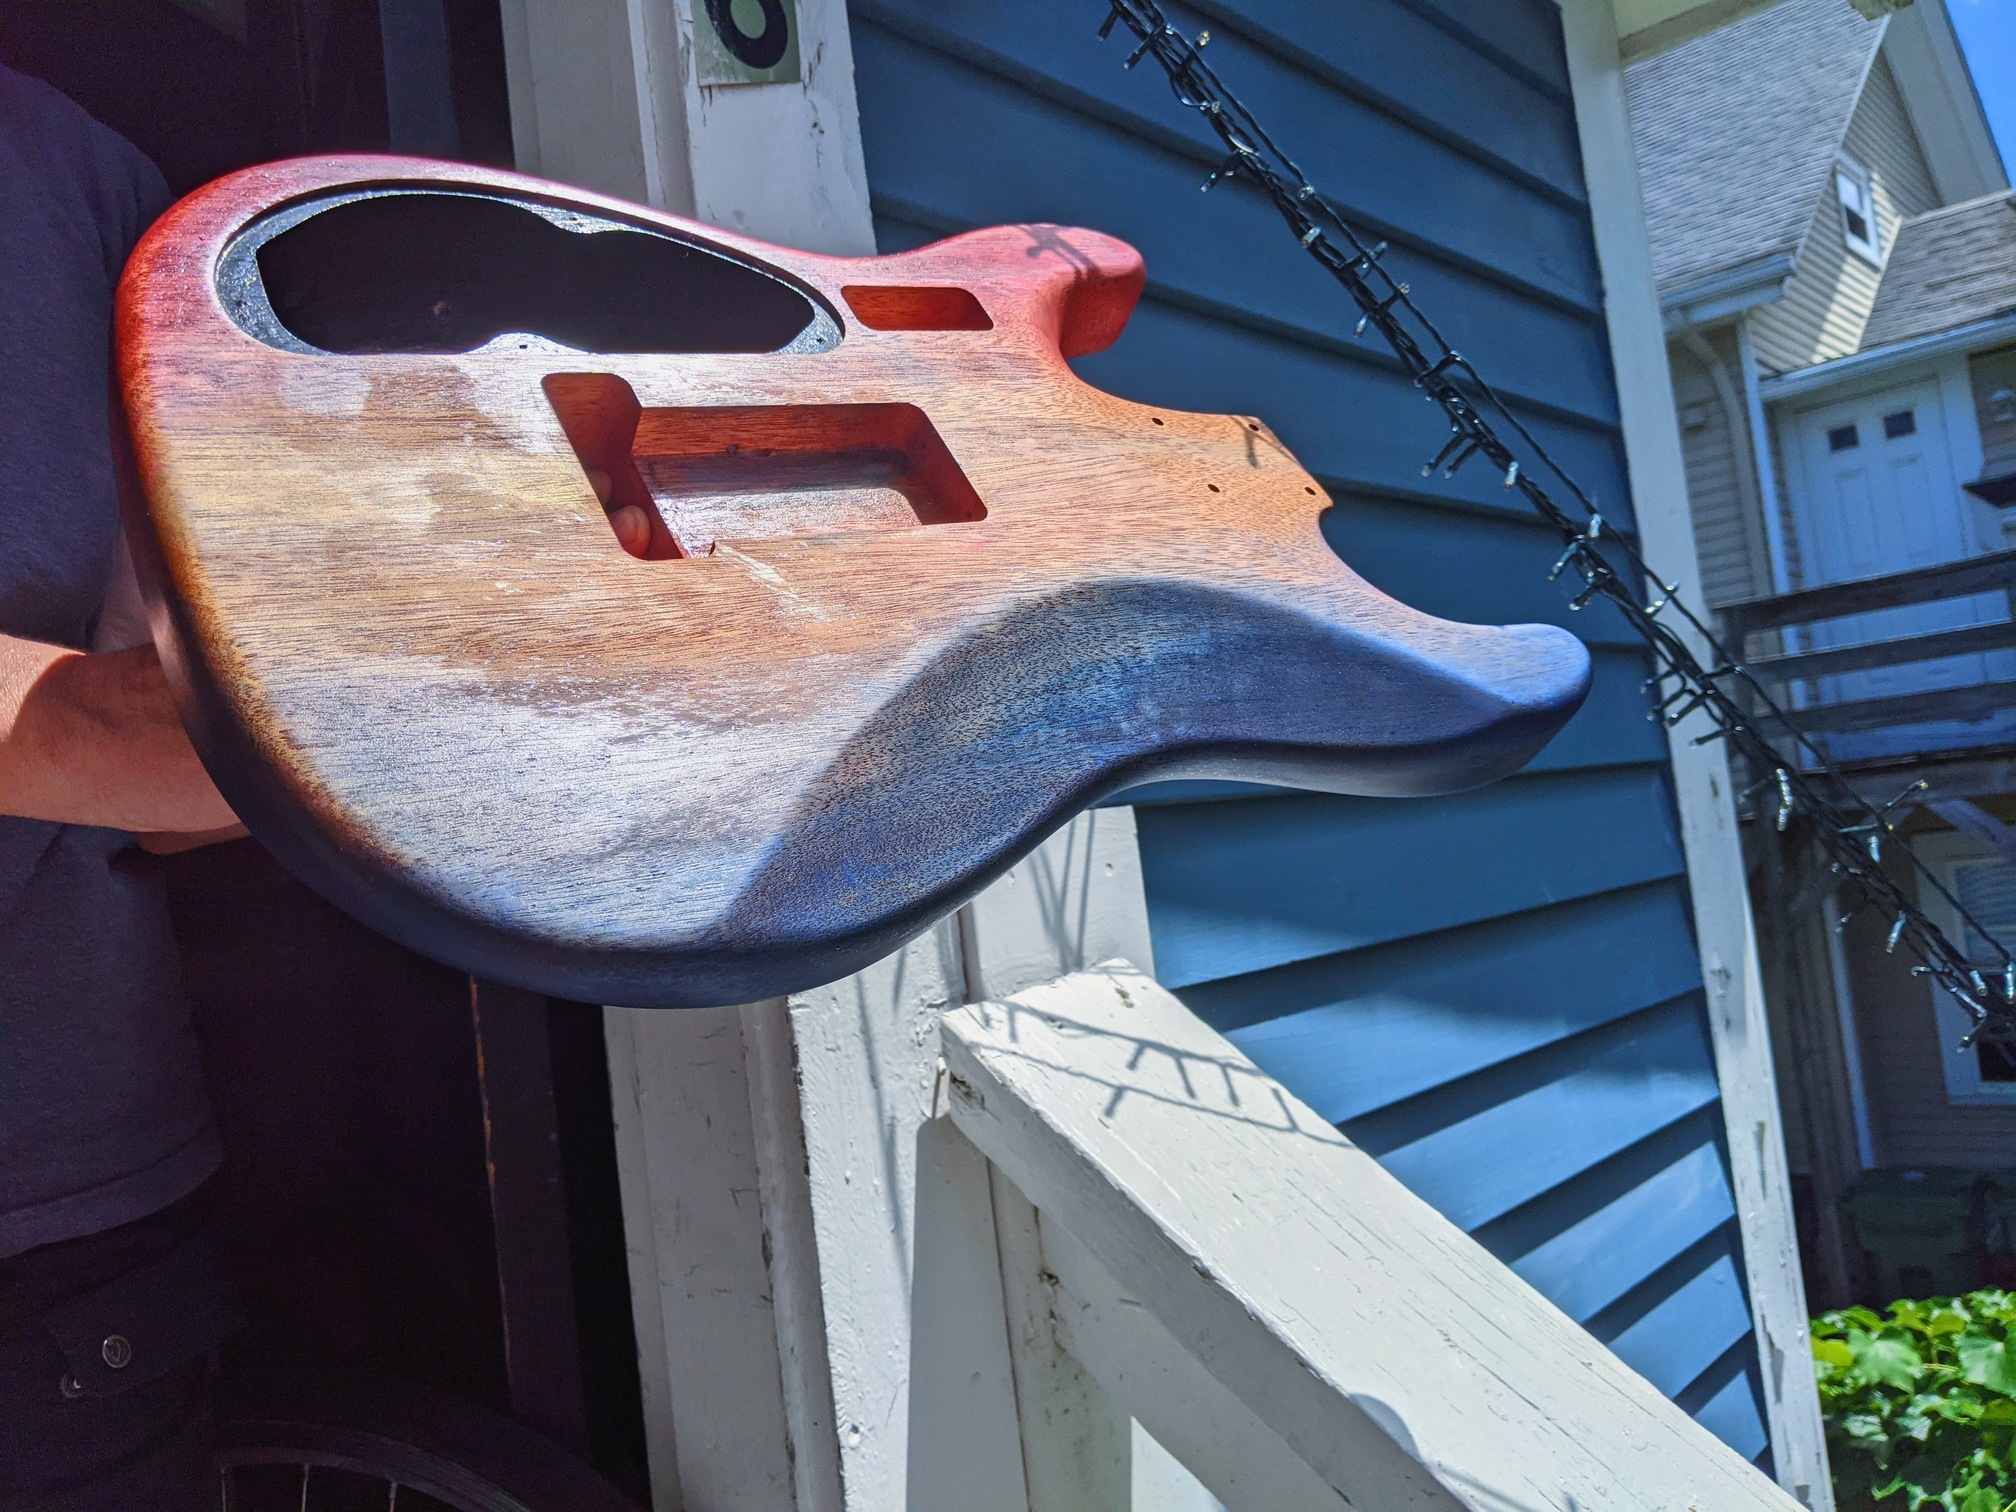
First layers of color down, before sending off for re-routing
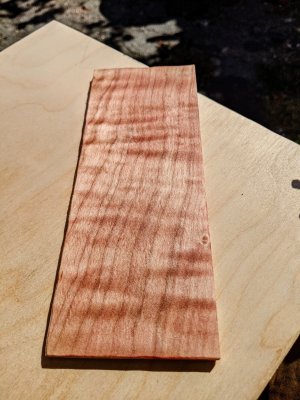
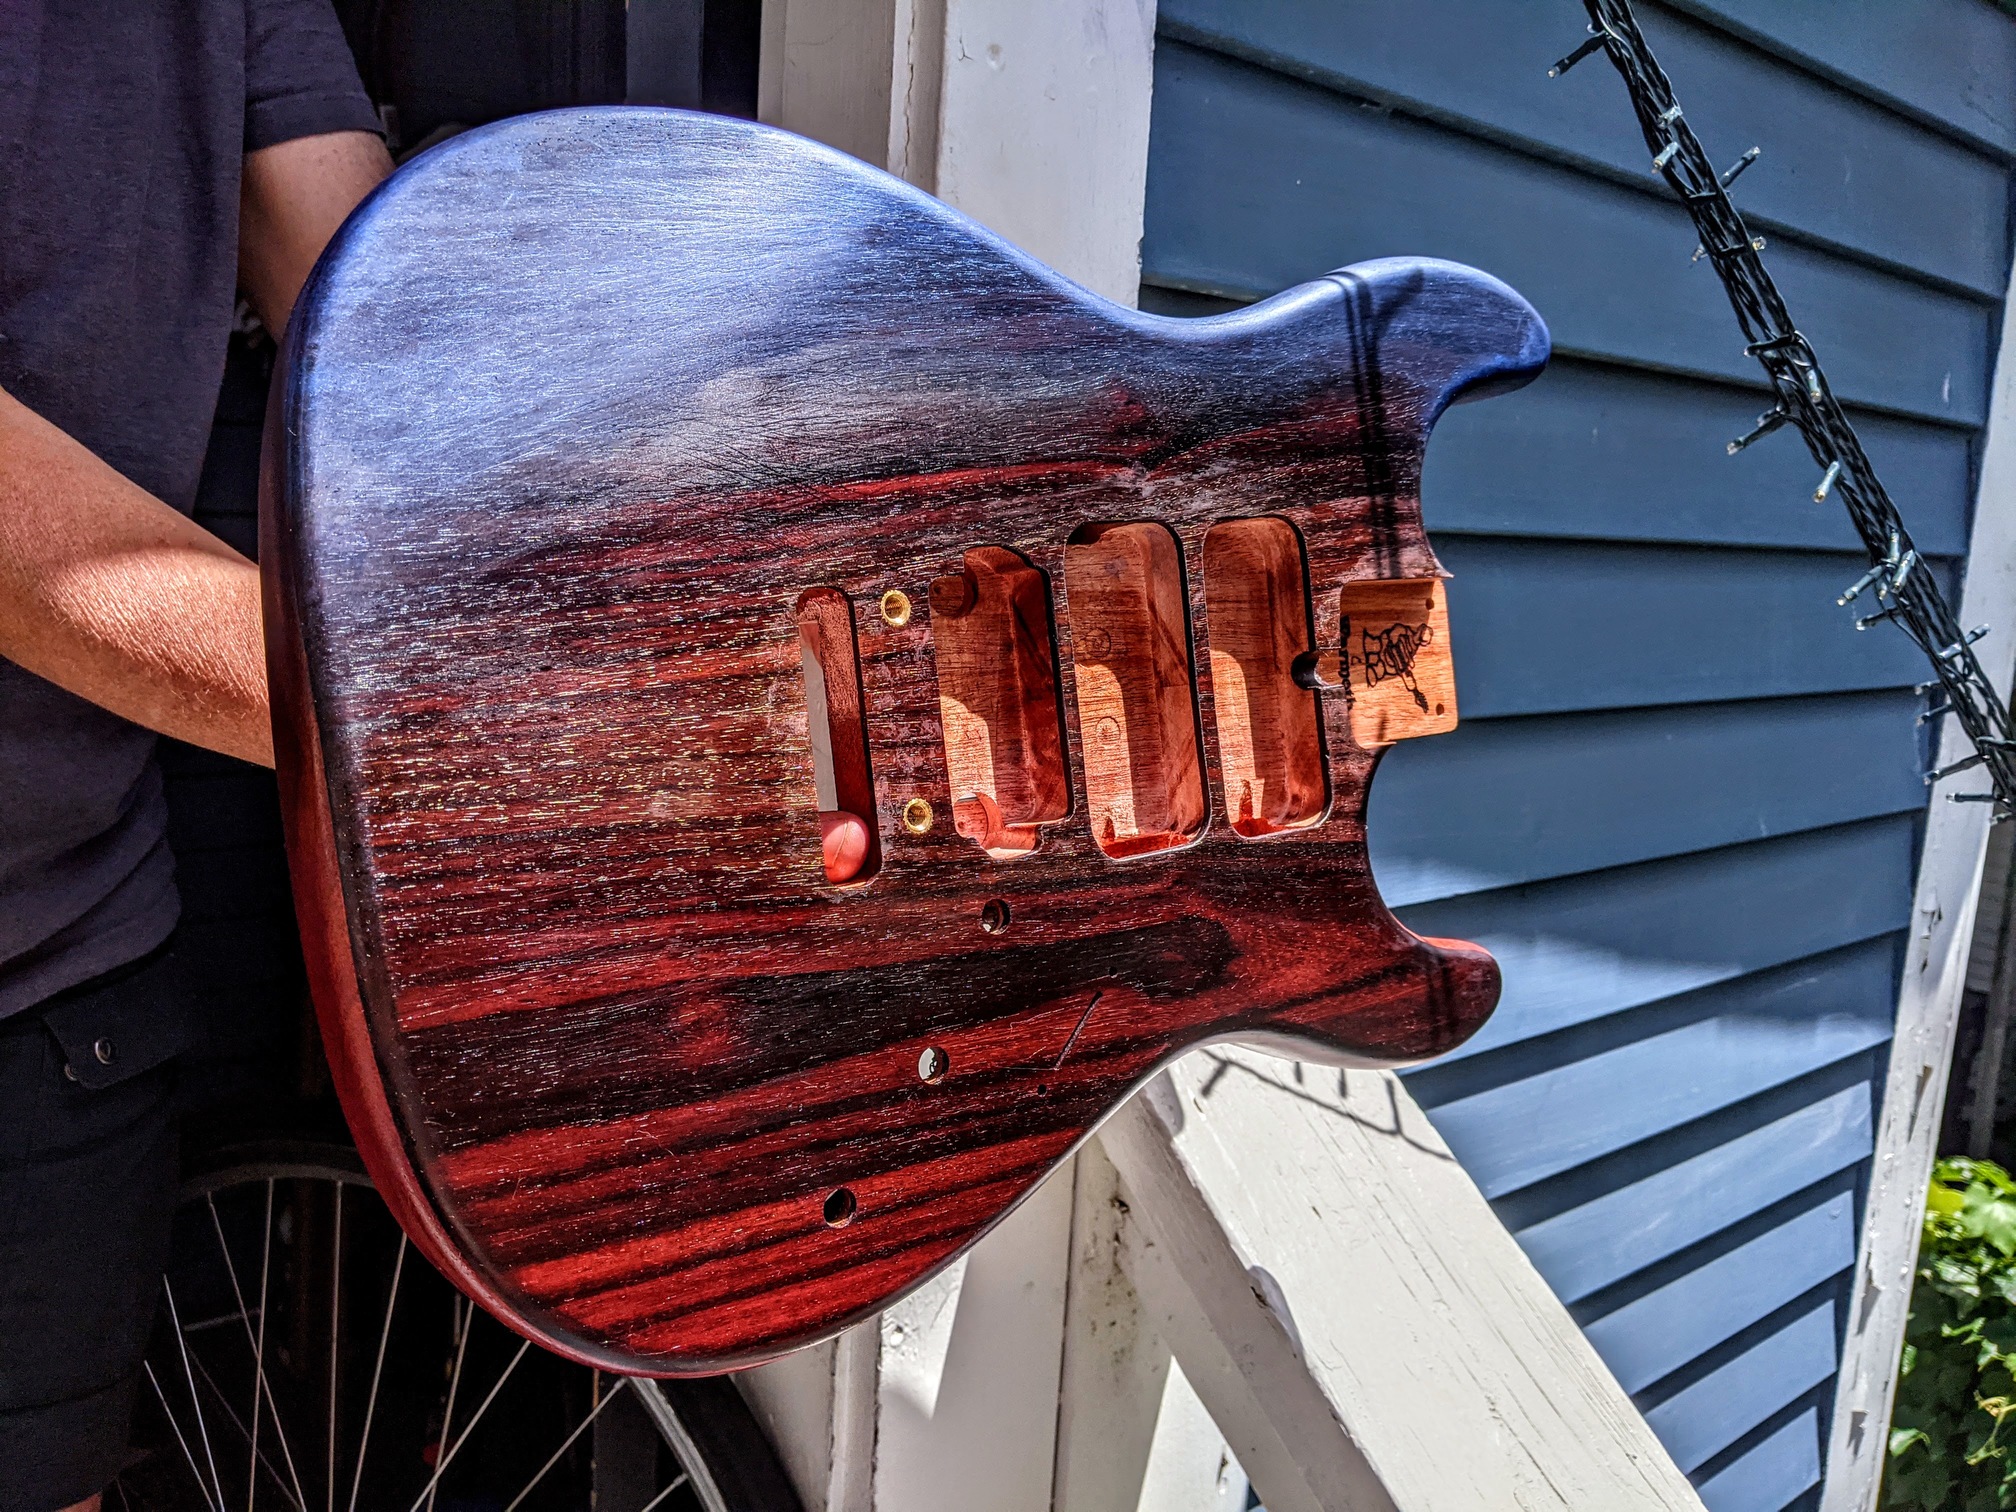
Lollar routing done (Senn-One, Novel Foil, El Rayo humbucker) apx 8 layers of pure tung
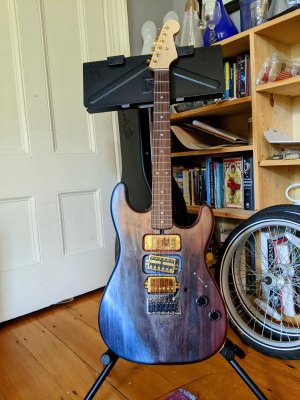
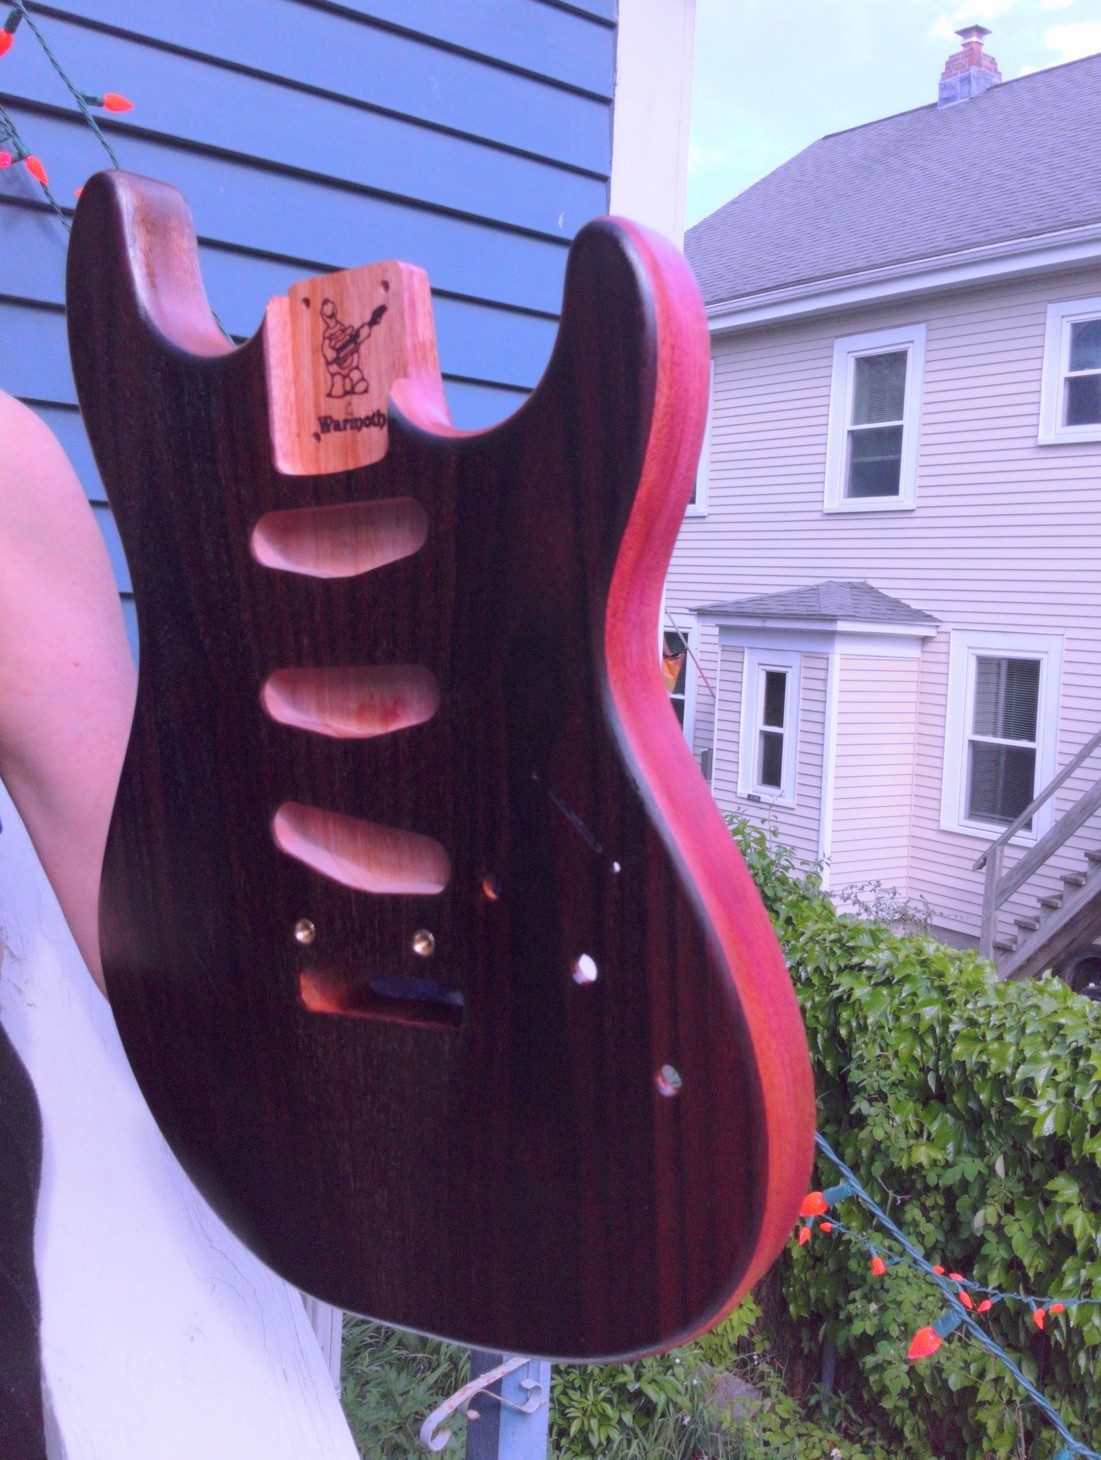
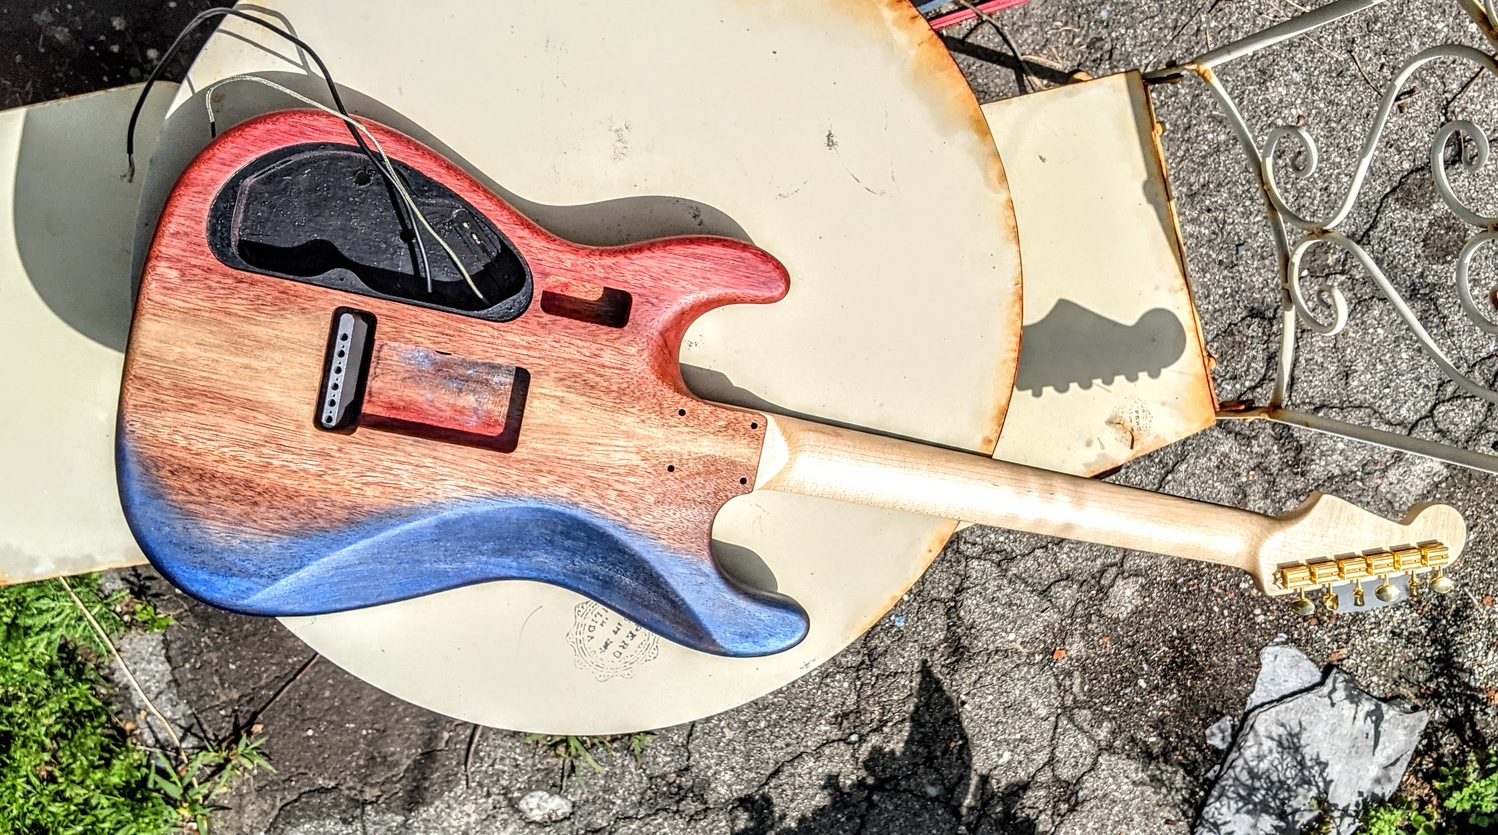
A few more layers of tung oil and with the neck I'll be mounting up (It's a low-profile 1.75" at nut -I have fiat fingers-, that I've been playing on my regular strat for a few months, neck is by Musikraft) You can see the PTO isn't working so well on the rosewood, this is about when I started looking for something that would buff out more consistent and settled on polymerized tung oil for the finish layers.
I have gotten the colors using 5 shades of artist's pastels which I found lock well into the finish if applied after wiping down a coat, I can rub in the pastel and by the next day, it's fully incorporated into the hardened layer of oil.
This is a dozen+ layers of pure tung & colors + 5 applications of polymerized tung. I also used a sealing shellac in the electronics cavity to form a base layer for painting on conductive / shielding paint. I know this won't be the most durable finish ever made, scratches are likely going to take off some of the color and for now I'm cool with that, I figure I can always decide later to go to shiny with either nitrocellulose or e.g. Epiphanes spar varnish. For now, i want to have the feel of the wood.
TL;DR: here's the state of the body today, I'm going to add a labrys and black triangle eventually to the face, however, with 6 weeks of finishing work in, I am ready to be done for now and finally be able to hear her sing -) The gold-leaf triangle on the back of the body is a lesbian symbol. The real version will be carved into the face eventually and I expect the gold to wear off some as I play the guitar
The above images are all unedited, many of the ones that follow, I tweaked saturation etc to get a better representation of the colors I'm aiming for.
Body from Warmoth with first coat of tung and a test of colors in the back cavities before committing to applying to the main surfaces of the body.
First layers of color down, before sending off for re-routing
Lollar routing done (Senn-One, Novel Foil, El Rayo humbucker) apx 8 layers of pure tung
A few more layers of tung oil and with the neck I'll be mounting up (It's a low-profile 1.75" at nut -I have fiat fingers-, that I've been playing on my regular strat for a few months, neck is by Musikraft) You can see the PTO isn't working so well on the rosewood, this is about when I started looking for something that would buff out more consistent and settled on polymerized tung oil for the finish layers.

") .
. (iridescent black) will go in the red side of the face, near the controls, and a gold leaf filled labrys (
 ) engraved into the blue upper limb, above the fretboard.