Thinline Birdseye

elstoof

Junior Member
Messages
85
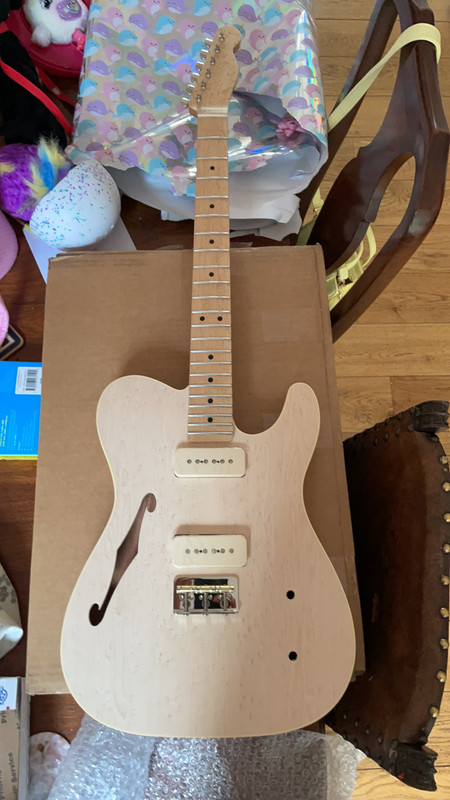
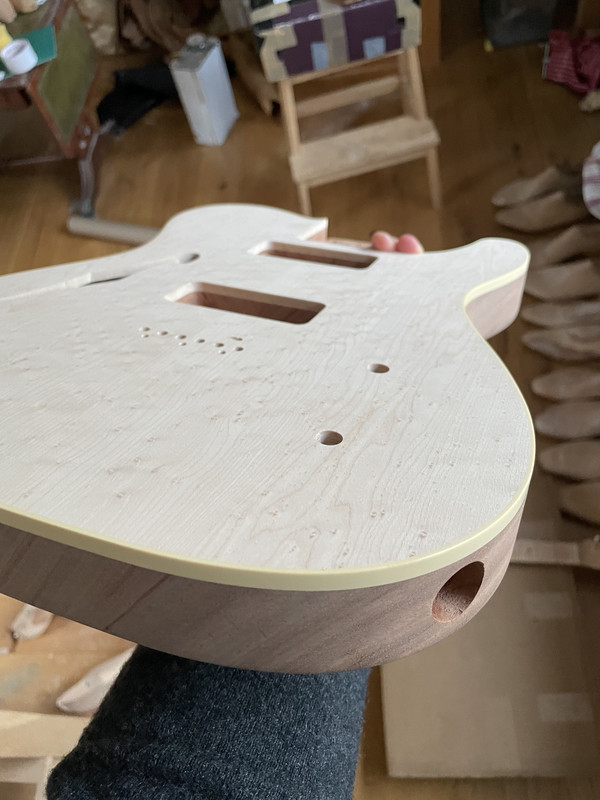
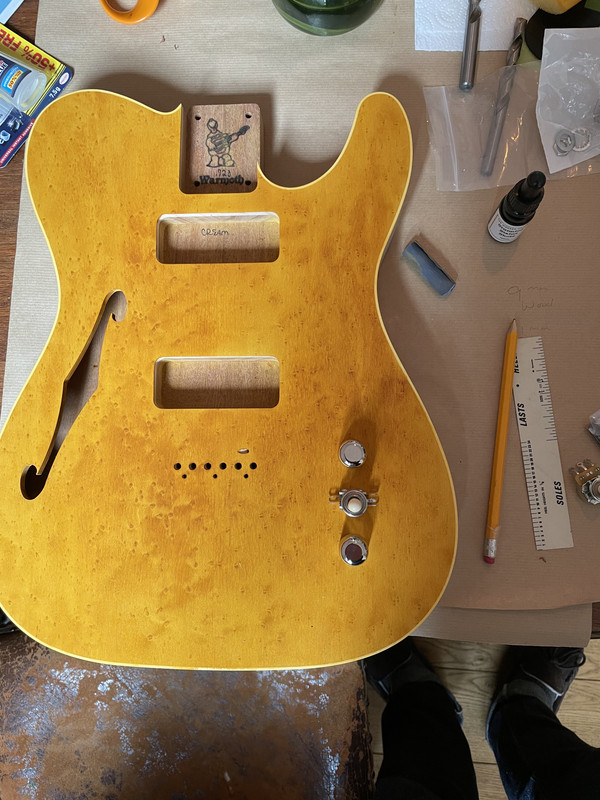
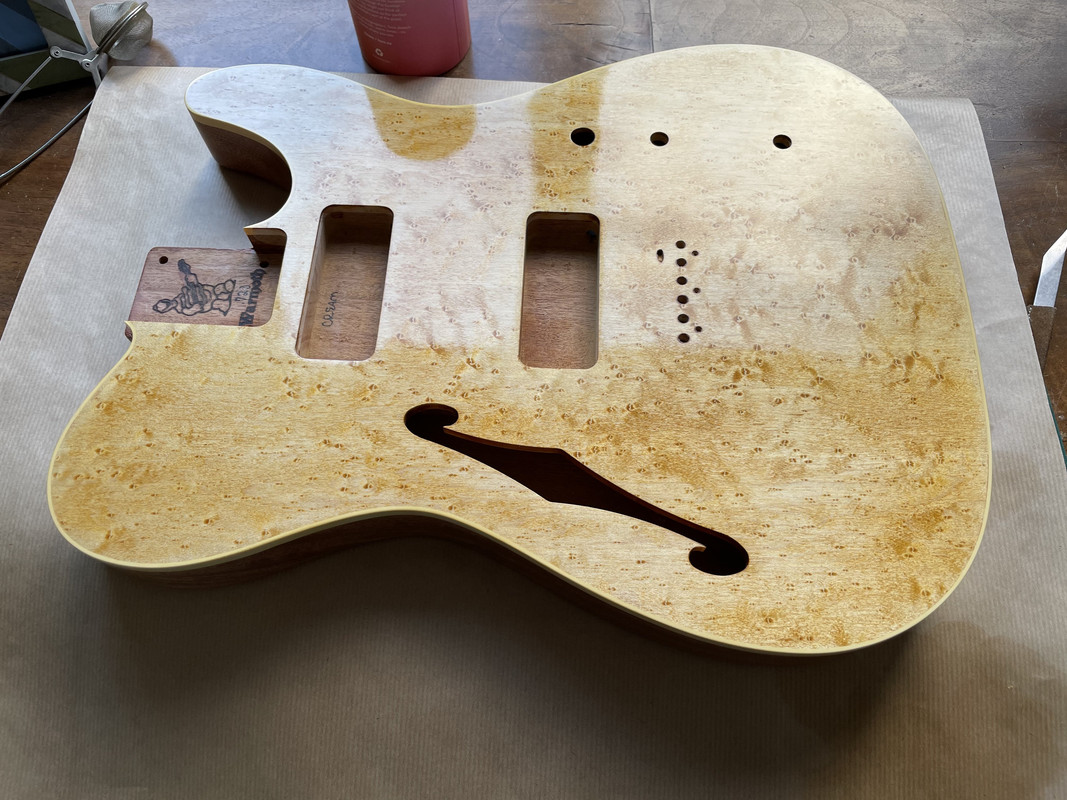
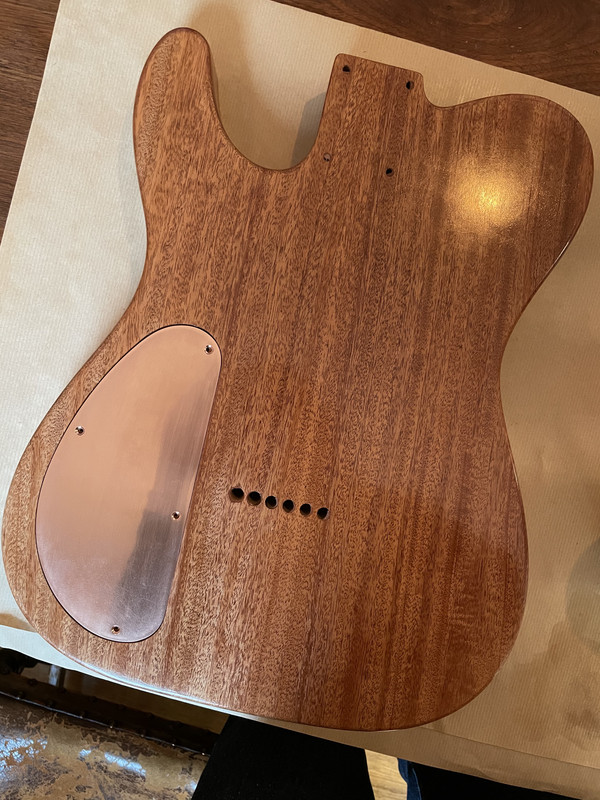
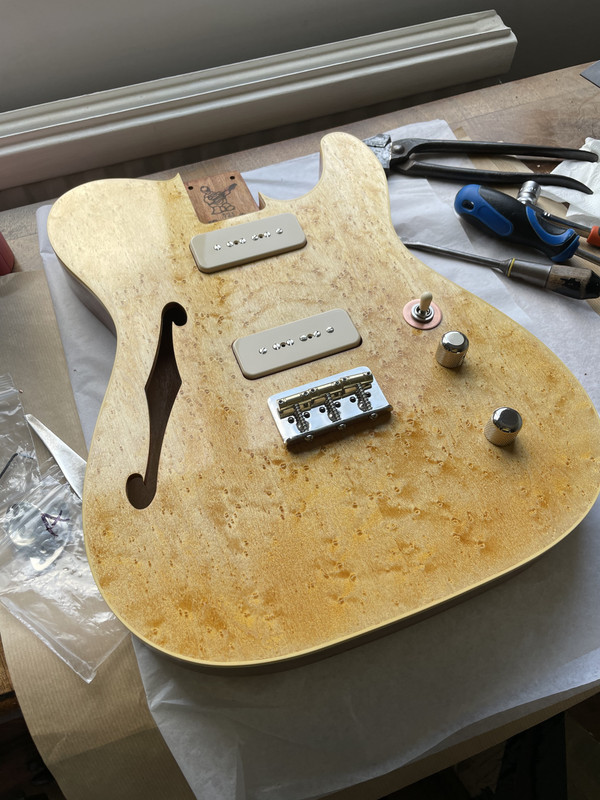
Thought I'd start a little progress thing for this ode to Birdseye, it's my first time assembling a guitar, first time with working with Warmoth parts, and it's been very enjoyable so far. I ordered the body first but my adventures with wood dyes changed my plans and decided to alter the core wood to mahogany, so the neck arrived first. It's Birdseye maple with a unique choice Birdseye fretboard, unfinished.

IMG-0556.jpg


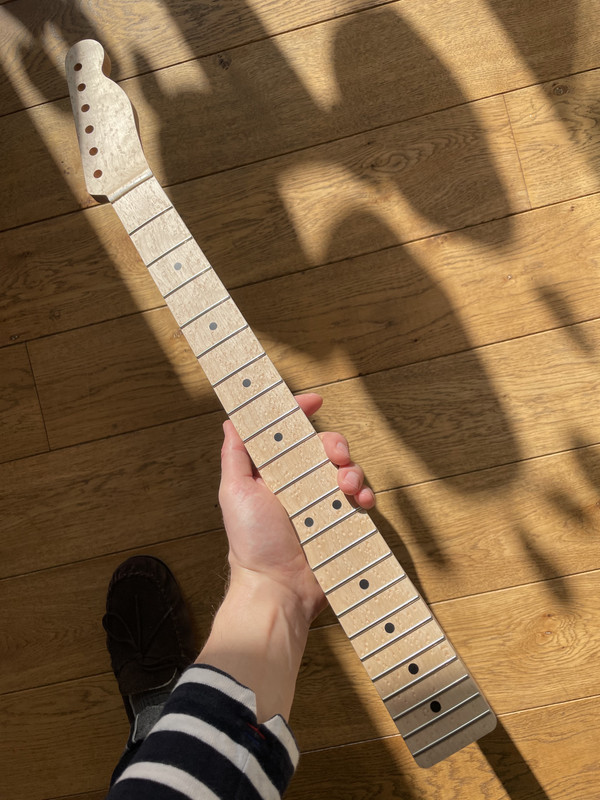
The wood looked fantastic straight out of the box, so good I ended up ordering some more stuff. Anyway I thought I'd have a go levelling the frets, never done it before and probably could have gotten away without it but I bought the tools so better use them. There were 2 that were slightly low, anyway, now they're not. Next up was tung oil, pure stuff not the finish. It's easy enough to work with, wipe it on, wipe off the excess, leave it, sand occasionally, if you still have a count of how many coats you've done it's not enough. When it's "done" i gave it a light rub with some 2500 abrasive and it's like buttah.

IMG-0587.jpg


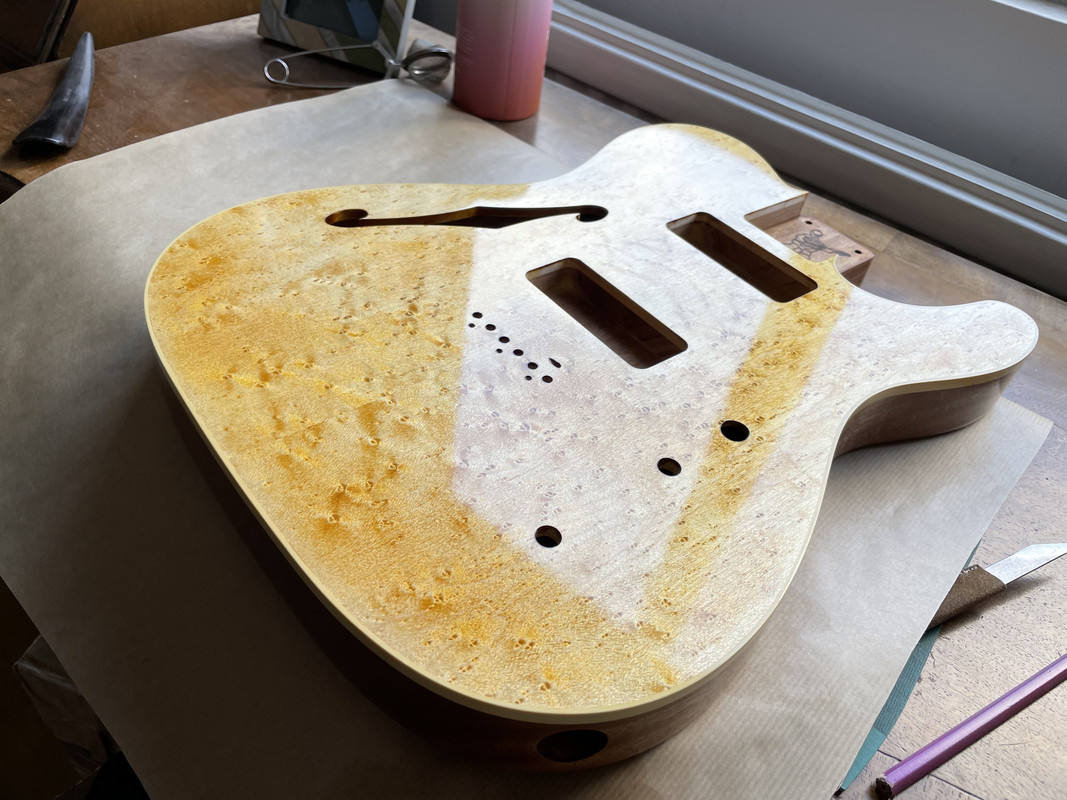
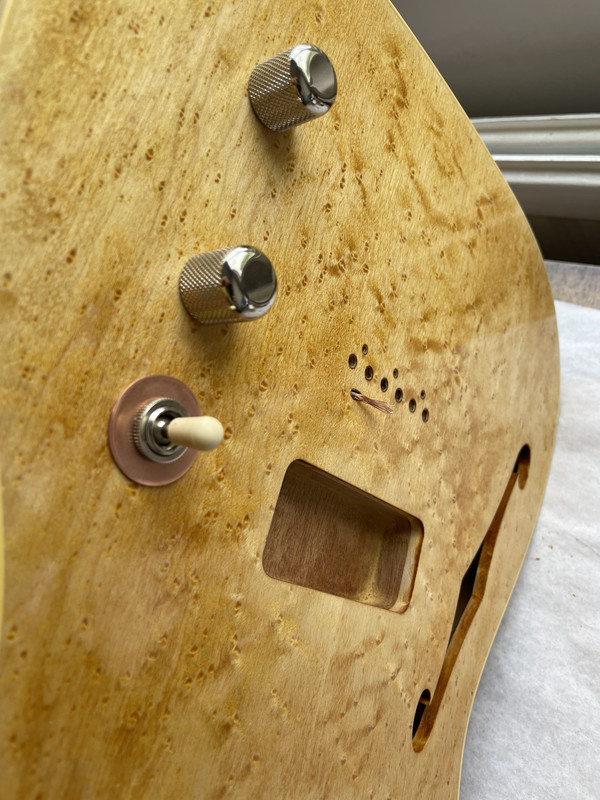
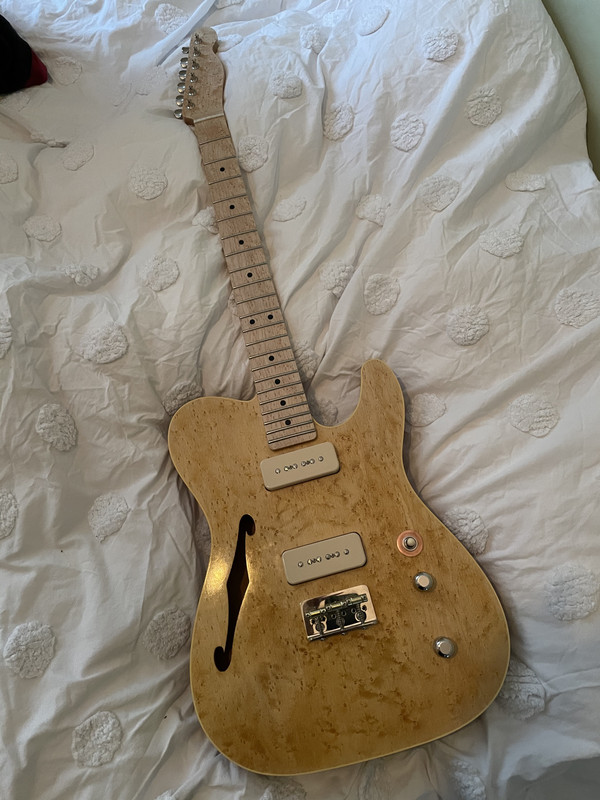
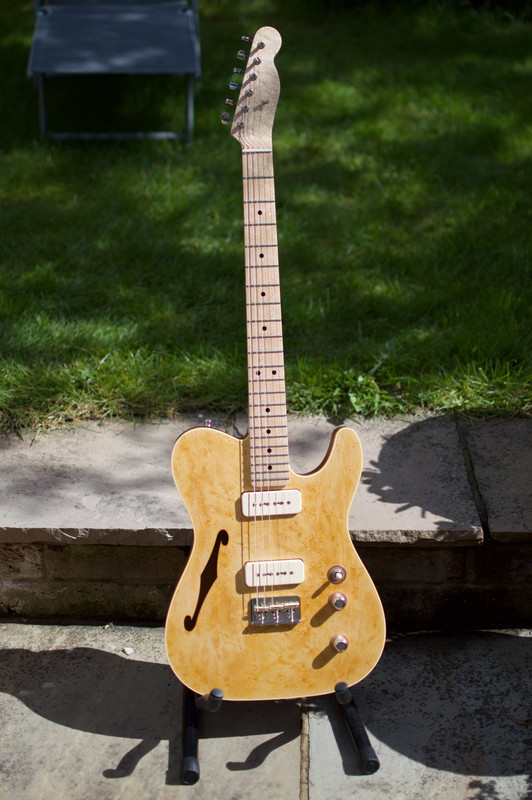
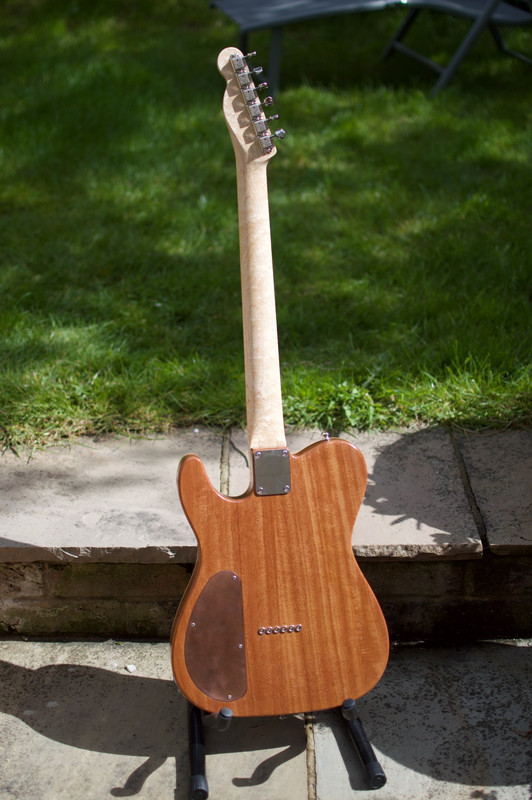
Edited to add how it is now
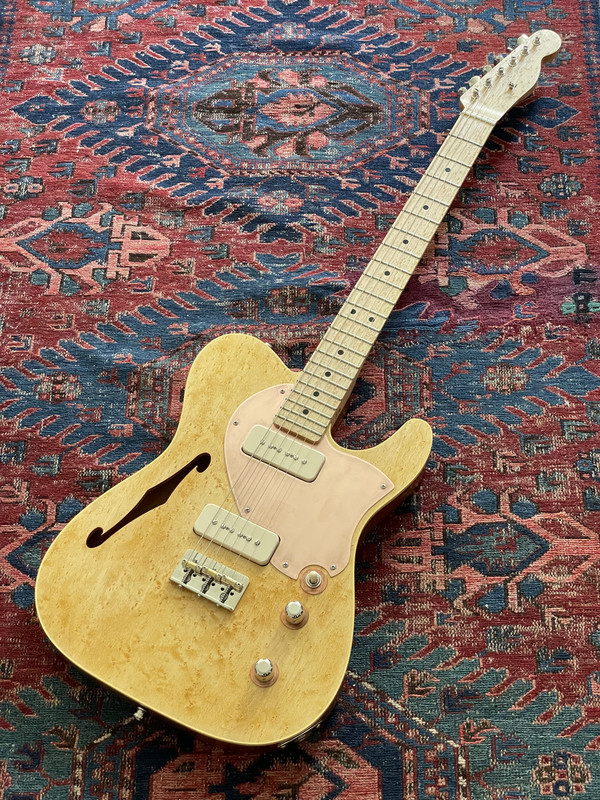
E1-E9-B6-FE-391-D-416-F-AA1-F-73-DAEDB1115-B.jpg

 
Just as the neck was finished the body arrived, again very impressed with the quality from Warmoth.

IMG-0829.jpg


IMG-0832.jpg


I agonised for a while over where to put the controls, I didn't want a blade but I got Warmoth to drill for the knobs. I wished I hadn't at first so I could spread them slightly and put the toggle in the middle but I hadn't realised the CNC would thin out the area for a blade switch automatically which would have given me headaches. In the end I was glad they were drilled otherwise the multitude of options would have driven me mad and it was for the best to have the decision made for me. I put the toggle just above and the thinned area makes for a more convenient Switchcraft mounting.

IMG-0851.jpg


IMG-0852.jpg


I originally thought I'd do a blue dye job on this, but after experimenting with about a dozen stains I learned why you don't see more birdseye in wild colours - it doesn't work too well. Yellow works though. So I applied some Crimson Guitars yellow stain, did a few sands and reapplications, got it good and bright then started the finish, which for this is French Polish. I thought I'd go for a dark shellac for contrast with the cream hardware and maple neck, but while the sample pieces I tried looked good this wood just started looking murky and indistinct, the figuring was overpowered and lost some of it's chatoyance. Worst of all there was a patch where the shellac just wasn't taking, I took this as a message from the guitar that it isn't happy with me so the next day I sanded off the finish and also some of the stain. What was left looked fantastic though, the surface was dancing in the light so I thought if that's what this guitar wants then that's what it gets. A few coats of blonde shellac later and it's going on like a dream.

IMG-0871-2.jpg


IMG-0872-2.jpg
 
Thank you very much, I'm having a blast with it.

I've never liked those plastic control covers on rear rout guitars, not only are they cheap looking but they never sit flush which is just criminal. The one Warmoth provided is no different so I wanted to do something about that. I've got some copper etching plates laying around so I used my handy plastic template to make a new one. Copper isn't too bad to work with thankfully, because I don't really have any metalwork tools apart from a hacksaw and a hand file.

IMG-0864.jpg


The copper plate is only a millimetre thick so I got a bit creative to sit it flush in the cavity. I didn't want to use washers or shim it and I was enjoying the sharp metal edges too much to resist more work.

IMG-0875.jpg


Job done.

IMG-0869.jpg
 
Switchcraft don't provide any washers with their toggles, I guess they usually go with a poker chip on a Les Paul but it's still pretty tight not to provide at least a lock washer for the back. I think I want something there to protect the wood and as much as I like the poker chip on an LP I don't want one on this, so back to the copper plate I go. If I had a lathe this would've been a doddle, but I don't, so it wasn't.

IMG-0873.jpg


I also don't have a drill bit big enough for the 1/2" hole, even if I did it wouldn't fit in my drill driver. Oh well, let's just shape the outside and figure it out later. Shaping an at least visibly round circle by hand wasn't quite as bad as expected, just took a while to file away the excess and it's tricky holding a small workpiece. Getting the internal big enough to fit the shaft took a while, sandpaper wrapped round a drill bit, tried all sorts, found a sort of grinding tip for my dremel which got me there in the end. There were a few points where I was tempted to take a walk to the DIY shop and buy something appropriate, but the only thing I hate more than not having the right tool is having to buy a tool I'll only need once so my stubbornness won.

IMG-0876.jpg


That was good enough for me.

IMG-0877.jpg


That's basically where I'm up to so far, I'm going to go back to the body finishing and made sure that's as good as I can get it before assembly. I've never french polished before so it's a learning experience, hopefully I can get the soldering iron out tomorrow though.

 
Wow, the top looks excellent with that stain, and I really like the copper backplate too! Nice job!
 
I don’t think I can finish the body much better than it is now, I’ve got some swirl remover on the way but I can try that later, I got impatient to mount some stuff anyway. Chucked the pots and switch in, plus some nice old cloth wrapped wire from my ceiling lamps fed through to eart the bridge

98-DBBD39-57-B4-4159-BB85-D0-F39-E7-F69-B8.jpg


Peek-a-boo!

FC36-EDBA-E63-E-4-DFF-8-DF9-5-C9-ED03977-E9.jpg


Ran out of time and didn’t want to rush drilling the pickups so I’ll get on that tomorrow but they look as good as I could hope when dropped in

8798-D6-D3-2747-40-B1-9803-CC56-F35-F7-BD1.jpg


Just want to get it strung up now do need to hold myself back a bit
 
Rainy London weekend so got a little wiring done while the kids were occupied, I used to be a wireman years ago so I was kind of looking forward to the smell of molten lead. Been at least 10 years since I held an iron though. Some of the videos on guitar wiring on YouTube are horrific, I’d have been sacked if I used some of that technique on a client’s patch bay. Never wired a guitar myself and it’s a bit fiddly getting in there, not my finest wiring effort to be fair but no dry joints

87349152-C4-DC-4-EF9-B53-E-8-F51-D4-BD7473.jpg


My biggest worry going in was rattly wires, fine line between too much wire stuffed in and too short to reach the terminals

0-D9-DB49-D-6-B41-4-D24-863-B-8-EAE17384-A5-C.jpg


I’ll get some strings on and see if it works tomorrow

F3-E7-B6-DA-4-FF1-47-A0-B0-CD-4-DA9-E1081879.jpg
 
Looks Great! My only suggestion would be to put something else copper on the front, so that switch mount doesn't look so lonely................... :icon_thumright:
 
PhilHill said:
Looks Great! My only suggestion would be to put something else copper on the front, so that switch mount doesn't look so lonely................... :icon_thumright:
I agree, maybe an aged copper bridge plate.... :dontknow:
 
DangerousR6 said:
PhilHill said:
Looks Great! My only suggestion would be to put something else copper on the front, so that switch mount doesn't look so lonely................... :icon_thumright:
I agree, maybe an aged copper bridge plate.... :dontknow:

Maybe copper knobs?........... :dontknow:
 
Was thinking about that, maybe some more washers to go under each knob would tie it together, like mini tele control plates for each one. All the hardware otherwise is nickel so it should all age in their respective ways, I’ll also have a look for some copper thick enough for a neck plate, or maybe someone does one already. I don’t know if it’s strong enough material to make a bridge though
 
Well, I’ve assembled a working electric guitar which is something I couldn’t claim until today. I put some copper washers under the knobs which I’m a lot happier with, strung it up and it works - after a brief panic until I realised I’d somehow got the jack socket wired backwards. Still have to set it up properly but the Wolfetone P90s already sound sweet as anything. I’ve got some 3mm copper sheet on the way to see if it’ll work for making a neck plate, but other than that it’s more or less assembled.

7-BEA048-B-FD3-F-4-BD2-A6-A6-1-AEB6-B0-BEEAD.jpg


DA311-EF8-0-FBA-4726-BBFB-2-CC83-A560716.jpg


Once it’s all set up I’ll take some better photos
 
Set up was surprisingly straightforward, must have lucked out with how far the saddles got screwed in after mounting the bridge. The Rutters Buritto is nicely made, he’s already shortened the outer grub screws so nothing to catch your palm on. One of those easy feeling jobs that makes you doubt you could have possibly done it right, so spend twice as long checking it all over. I got some photos outside but the light this afternoon doesn’t do the wood justice really. The copper pieces are already tarnishing up nicely, they should be good and gnarly in a few months.


9-CAB64-A6-7165-4-CA8-9-A56-2-E7-ED2-A6814-A.jpg


DE4-CD4-AF-3-FC7-4-FD7-9-D71-3-F3-FBAA40-B0-A.jpg


4-BBE3-E26-A8-DD-4741-9822-B5-B39994-FAB0.jpg
 
Made a copper scratch plate to finish this off, the guitar plays really nicely but if I had to change something I’d go with a slightly bigger neck profile I think. Other than that I’m stoked, sounds great unplugged and sustains almost as long as my Les Paul

E1-E9-B6-FE-391-D-416-F-AA1-F-73-DAEDB1115-B.jpg
 
Wow, that is a real piece of art! Those copper rings are really nice, super unique and snazzy. Lots of attention to detail on this one. Nice work.  :yourock: :party07:
 
elstoof said:
Rainy London weekend so got a little wiring done while the kids were occupied....... Never wired a guitar myself and it’s a bit fiddly getting in there, not my finest wiring effort to be fair but no dry joints

If you wire in pots and switches inside the cavity, it does restrict your movement & there's always the chance of the iron burning another wire as you go in ....
Some folks make up a template of the pot positions onto cardboard, punch holes in cardboard, placing the pots and switches as you would on the body and solder wires as much as possible out side of the guitar. Then it's just a matter of taking the pots & switches off the template & plopping them into the body and maybe two or three wires to solder in (pickups & ground wire). Doing the soldering in situ may also explain why some wiring jobs are less than perfect (being polite).
 
Back
Top