Leaderboard

Tele-Ocity Build!

Twanking45

Junior Member
Messages
80
I tried to post on this build a couple of times but the posts never seem to show up with pics I have. Trying this yet again.

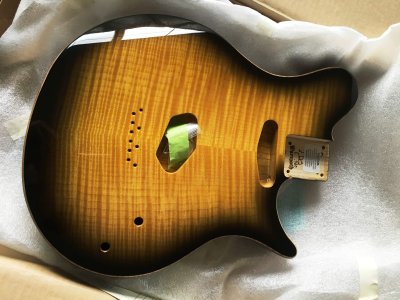
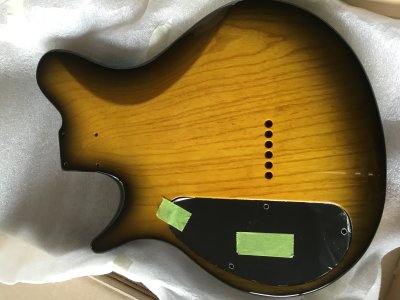
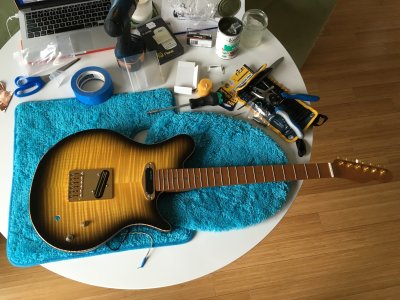
Body: Velocity (flat-faced) chambered Ash core, unique choice flamed maple top, Black-Yellow Burst
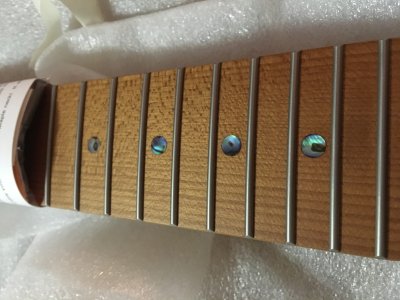
Neck: Modern tele, quarter-sawn roasted maple, SS jumbo frets, Abalone dots, thin-C

And So It Begins!    :glasses9: 
 

Attachments

  • IMG_4043.JPG
    IMG_4043.JPG
    931.6 KB · Views: 6
  • image1.JPG
    image1.JPG
    1.8 MB · Views: 5
  • image2.JPG
    image2.JPG
    2 MB · Views: 2
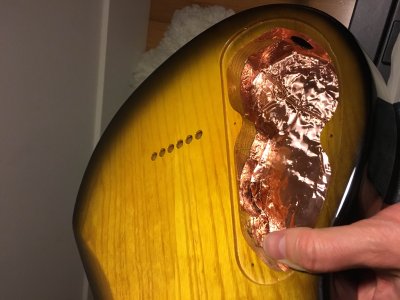
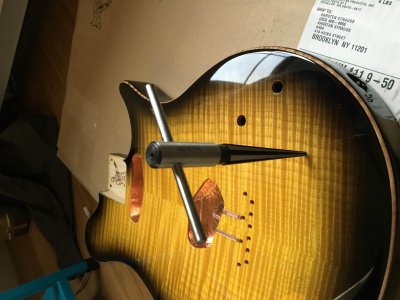
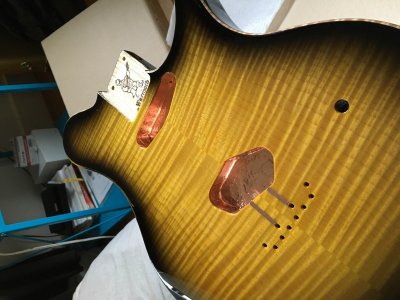
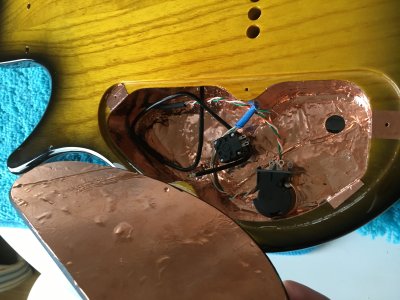
Copper-taped the pickup cavities! Hooray!

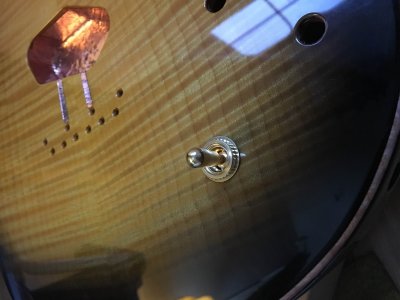
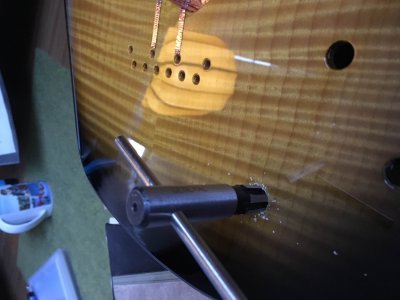
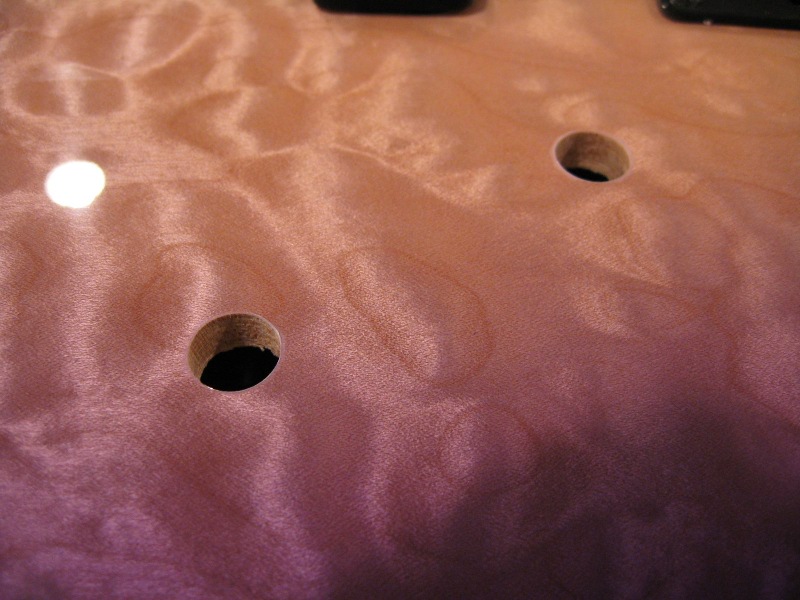
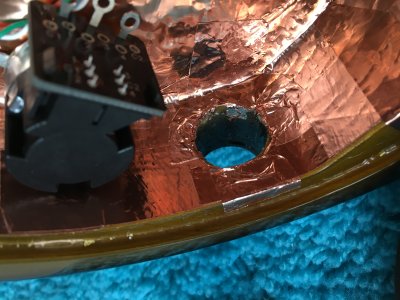
Then made a toggle hole (drilled several times first, then reamed). It took  forever, going slow and careful. Then taped up the back cavity.
 

Attachments

  • IMG_4070.JPG
    IMG_4070.JPG
    778.5 KB · Views: 9
  • IMG_4069.JPG
    IMG_4069.JPG
    739.8 KB · Views: 10
  • IMG_4068.JPG
    IMG_4068.JPG
    698.7 KB · Views: 6
  • IMG_4064.JPG
    IMG_4064.JPG
    748.8 KB · Views: 11
  • IMG_4061.JPG
    IMG_4061.JPG
    753.3 KB · Views: 3
Looks good so far!

Just for future reference, you might want to consider getting a few Forstner bits. Full sets are expensive, but for guitar work, you can do 95% of everything you'll ever have to with just 3 sizes - 1/4", 3/8" and 1/2". Those will cover mini-toggles, pots, standard toggles and threaded inserts. If you think you might have to do some side-entry output jacks, a 7/8" will come in handy for that.

125926.jpg

There are two things about them that are really nice. First, they'll cut through finish without chipping it. Real clean holes. Second, they cut flat-bottom holes, for those times when you need that.

I drilled these holes with a 3/8" Forstner...

img_1073_Sm.jpg
 
Very cool, Cagey!
I must admit I was very worried about damaging the finish, thats why i decided to go real slow with a hand reamer. In the end I got a good clean hole. On to the next step now...    installing the sperzels.
 
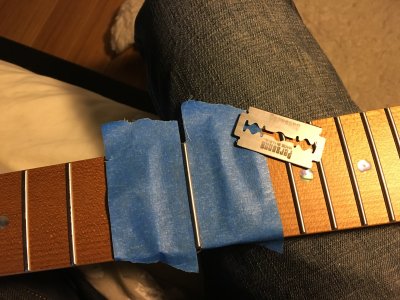
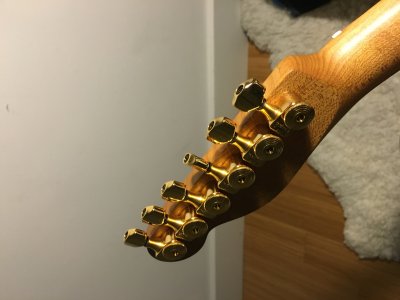
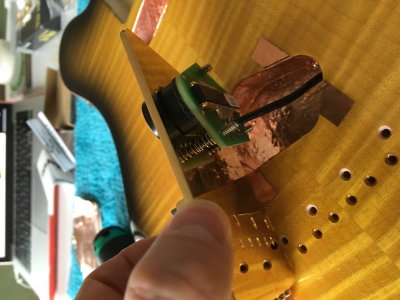
Been scraping the finish off the frets and put the tuners on.

I gotta say, I feel a little let down by Sperzel. I've owned 3 guitars with sperzels and really like his stable the are. But I have never had to install them before  :-\
This pin system -- and the inconsistency with the screw-on mechanism -- really got to me when I was putting them on. The paper jig template that comes with the tuners is not too accurate. Partially because the pins that stick out of the bottom of each tuners are not all the same--they sometimes bend in weird directions. several times I had to widen a hole a bit using the side of my drill bit. It was imprecise work and made it difficult to get the tuners perfectly straight. When I was able to get them all in, the threads of the front bolts was either damaged in two of the tuners or was just too tight. I finally just drove them home, hoping I never have to deal with them again. Sheesh!
 

Attachments

  • IMG_4071.JPG
    IMG_4071.JPG
    2.5 MB · Views: 6
  • IMG_4072.JPG
    IMG_4072.JPG
    1.6 MB · Views: 11
Is you plan on building any more guitars with Sperzel, or Schaller pin style tuners, a good investment is the jig that StewMac sells. Put it through the tuner hole, line it up, tighten it, and there's a guide hole right where you need to drill. I used it for my vip build, and the tuners took about 5 minutes.
 
Timmsie,

I'm aware of the jig from stew Mac and contemplated it. In the end I decided I did not want to spent the extra coin. Had I known how big a pain it would be to install the Sperzels, I would have bought it and yes, I will make another guitar in the future. I love Sperzels when hey are on a guitar. Putting them on a guitar proved to me that the jig is necessary.


Yep, the paper/card template thing is pretty much useless.

They now do 'EZ-mount', the picture doesn't really show it very clearly but there are 2 small, sharp prongs that are just supposed to push in without any drilling. I've seen others recommending just removing the pin.

easy.png
 
Got back to the job after taking a break to deal with family and work.
Done everything but the soldering (which makes me nervous). The neck fits so well in the body its amazing.

One issue: The jack hole is squeezing the pieces I need to solder to. How do I deal with this? Do I let it squeeze em? Do I have to carve out more wood? That would suck. Is there a much longer jack thats supposed to be used with these types of bodies? Any advice is appreciated.
 

Attachments

  • IMG_4132.JPG
    IMG_4132.JPG
    2.5 MB · Views: 18
  • IMG_4129.JPG
    IMG_4129.JPG
    1.8 MB · Views: 11
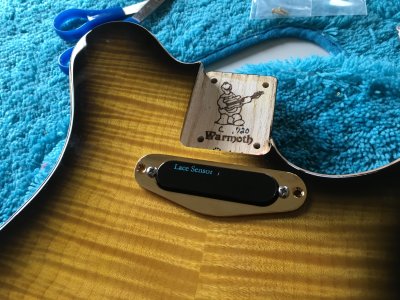
The chopper T and the Lace Sensor Light Blue
 

Attachments

  • IMG_4131.JPG
    IMG_4131.JPG
    2.5 MB · Views: 2
  • IMG_4133.JPG
    IMG_4133.JPG
    2 MB · Views: 6
How do I make the jack fit in this hole? Technically I can squeeze it in, but it squeezes the pieces I must solder to. How do I deal?
 

Attachments

  • IMG_4135.JPG
    IMG_4135.JPG
    2.1 MB · Views: 13
A typical output jack will just barely fit in a 7/8" hole. If you happened to get a 3/4" or smaller hole, you're sorta screwed - you'll have to open it up a bit. Assuming it's the 7/8" hole, solder the wires to the jack outside the body, then feed the wires and the jack into the hole and mount it. If the wires are already soldered in place inside the body, then run them out the hole and solder them to the jack outside the body, then mount it. If you have to bend the solder lugs in on the jack a small amount to get it to fit into the hole, it's ok. It'll be our secret  :icon_biggrin:
 
Cagey,

thanks for the info.

It is a 3/4" jack hole and I had planned to use a football-shaped jack plate. The jack -- a switchcraft -- can squeeze in, but the tines that I need to solder to are pressed against the side of the ream. Should I get a deep panel stereo jack? Or shout U just carve away more wood in the passage? Sounds like you are saying more wood needs to be cut.

http://www.warmoth.com/Deep-Panel-Stereo-Jack-Gold-P726C68.aspx
 
Those deep-panel jacks are designed for something other than guitars. Not sure why Warmoth even sells them. Not sure why they offer the 3/4" jack hole, either. Nothing fits it. You're going to have to open up that hole a bit; a 1/4" phone jack will never fit in it. If it was me, I'd plug it and redrill it, but others with more patience than I have had some success with a rasp or file.

Looking around, I found this rasp at Woodcraft, which looks like it might make short work of opening up that hole...

143537.jpg

I had something else in mind, which is why I've usually done that differently. But, for the price, I think I may get one of these and quit with the plugging/redrilling exercise.
 
Thanks. Plugging and redrilling is not an option. I am going with the rasp. I just need to let the times coming off of the jack have some elbow room, so to speak. Then I should ok
 
Fat Pete said:
Yep, the paper/card template thing is pretty much useless.

They now do 'EZ-mount', the picture doesn't really show it very clearly but there are 2 small, sharp prongs that are just supposed to push in without any drilling. I've seen others recommending just removing the pin.

easy.png

A good set of cutters can convert (or remove as FP said) the pin to an ez-mount-sized barb.  Just leave a touch of height and it will dig in.  Good job, though.  Looks amazing to me.  And yeah - do whatever Cagey says heh.
 
I am thinking maybe a burr bit on my drill could open up the inside of the hole enough to allow the jack to function.

 
I'm sure it would. But, it sounds pretty scary to me. I can just see that bit popping out of the hole for a variety of reasons and destroying the finish.
 
Cagey said:
I'm sure it would. But, it sounds pretty scary to me. I can just see that bit popping out of the hole for a variety of reasons and destroying the finish.

I agree.  I think the controlled stokes of the rasp are better.
Maybe even countersink the hole a bit just to protect the edges from chipping the finish.

Single strokes into the hole are your best bet.  I would caution against back & forth.  It's better to take longer and be precise and neat than to try to do it quickly and have it turn out rough or damaged.
 
It's really only the inside of the hole that needs widening-- the passage on he interior -- doe the times I need to
Solder to have some room
 
Back
Top