

You are using an out of date browser. It may not display this or other websites correctly.
You should upgrade or use an alternative browser.
You should upgrade or use an alternative browser.
Mahogany strat progress
- Thread starter Seamas
- Start date
Seamas
Hero Member
- Messages
- 517
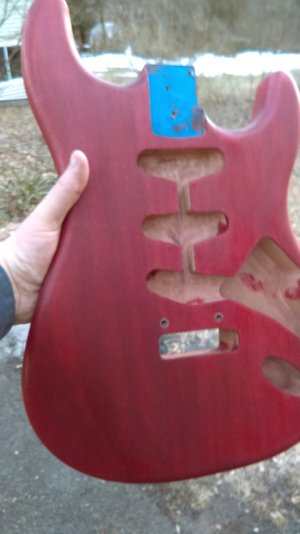
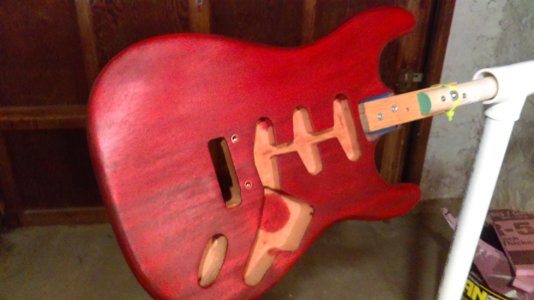
I didn't take any photos during the pore filling stage--nor the stages of building the color (I basically ended up doing it fairly quickly).
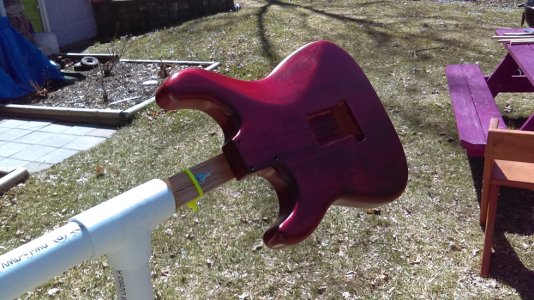
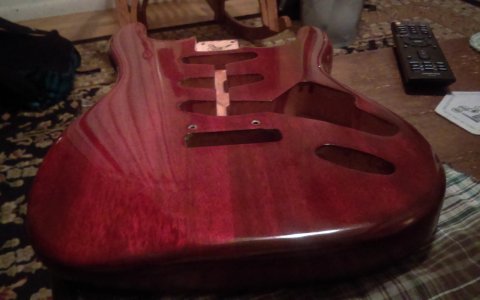
It was slightly more red than I aimed for, but was pleased enough with how it looks.
This is the color with a coat of sanding sealer and perhaps first coats of lacquer.
It was slightly more red than I aimed for, but was pleased enough with how it looks.
This is the color with a coat of sanding sealer and perhaps first coats of lacquer.
Attachments
Seamas
Hero Member
- Messages
- 517
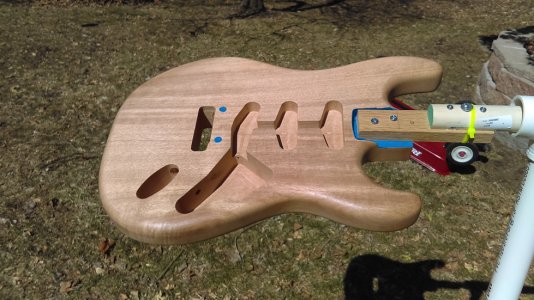
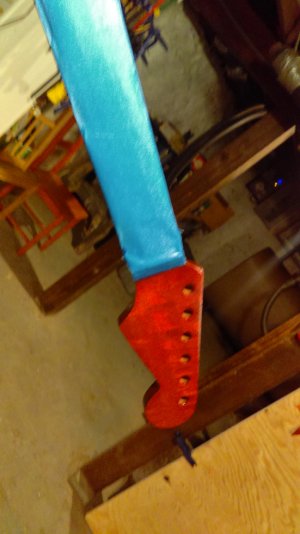
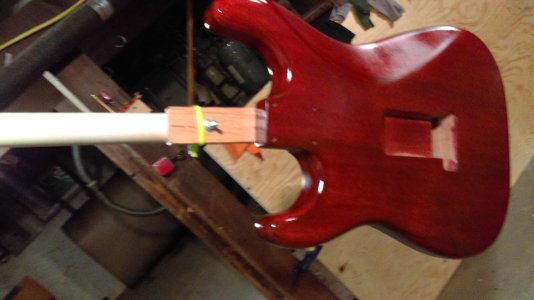
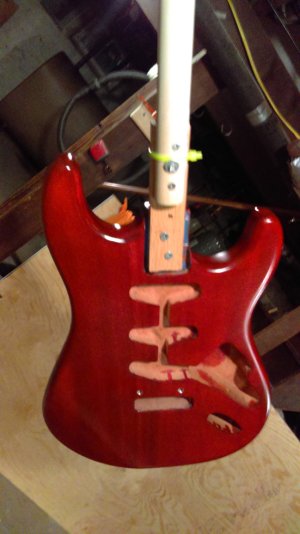
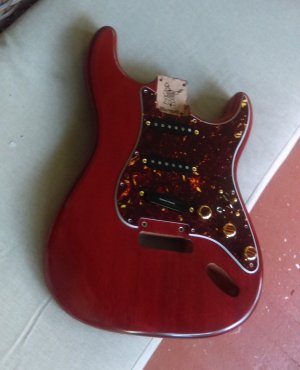
Here is where the neck and body are at now.
I have lost count of the number of coats on the body. I would do 3-4 light coats and then sand with 320.
I think I have done about six cycles of that.
I should have probably done one more application of the pore filler. I did three, but I think a fourth would have been better for me as the first two probably didn't fill much at all due to not letting it set up long enough.
For lacquer I have used two different brand products. Stew Mac and Guitar Reranch. I find the reranch to be a little "heavier" and it stays open a bit longer than the stewmac lacquer (I am using rattlecans). It also leaves a bit of a texture.
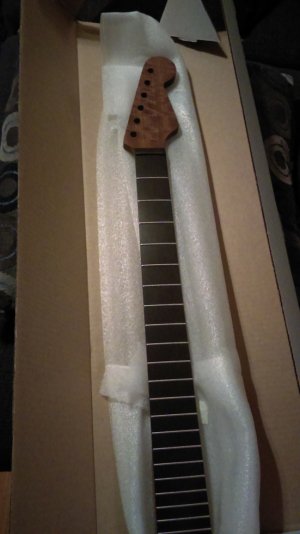
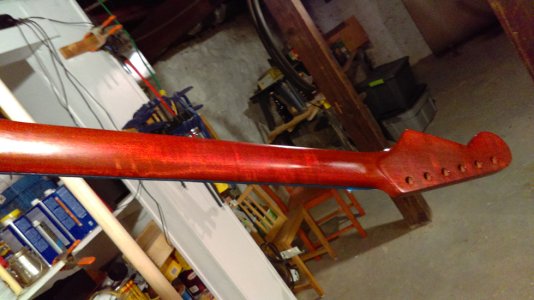
The neck arrived weeks later than the body, but I did a much better job on the pore filler.
So far I have about 10 coats of lacquer.
I didn't exactly match the body color., The neck is actually a little more closer to the color I wanted originally, but am overall very satisfied.
I have lost count of the number of coats on the body. I would do 3-4 light coats and then sand with 320.
I think I have done about six cycles of that.
I should have probably done one more application of the pore filler. I did three, but I think a fourth would have been better for me as the first two probably didn't fill much at all due to not letting it set up long enough.
For lacquer I have used two different brand products. Stew Mac and Guitar Reranch. I find the reranch to be a little "heavier" and it stays open a bit longer than the stewmac lacquer (I am using rattlecans). It also leaves a bit of a texture.
The neck arrived weeks later than the body, but I did a much better job on the pore filler.
So far I have about 10 coats of lacquer.
I didn't exactly match the body color., The neck is actually a little more closer to the color I wanted originally, but am overall very satisfied.
Attachments
Seamas
Hero Member
- Messages
- 517
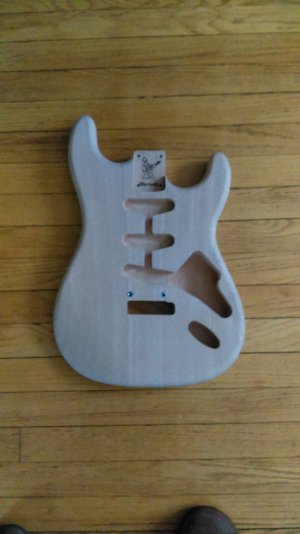
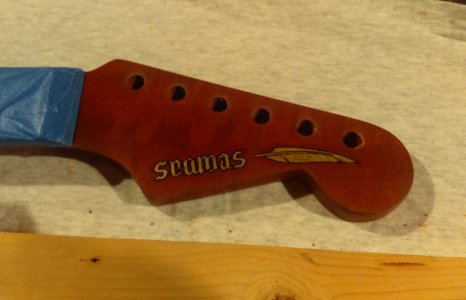
Here is the "logo" of sorts.
Seamas has been a nickname of mine for some time and has been my "forum" name for 20 years or so.
A fellow graphic designer, an "ambigram" and typography specialist created this for me.
He made a different one about 6 years back after my mother died. I actually only know him from a Web forum, and I was very touched by the gesture.
Unfortunately I had misplaced the file --and had just thought of using it on the guitar, so I contacted him to see if he had a file he could send me. (also let him know this was not for commercial use).
He immediately said he would prefer to make a new one, which is REALLY nice of him.
I was aiming to carve/cut this into the headstock and paint the relief in gold (or possibly applied gold leaf).
I tried my hand at carving into a scrap piece of mahogany, and even though I had my various woodcutting knives and carving knives sharp, was not getting the clean cuts I had hoped for. Lots of wee little chip out , etc
So I am gonna go with a decal with gold paint instead.
So you will see that the ambigram reads the exact same way upside down--which is the cool part.
In hindsight when he asked me about style of lettering, I should have requested something with more of a celtic unical feel more than blackletter, but I won't look a gift horse in the mouth.
Attachments

BigSteve22
Hero Member
- Messages
- 2,798
Very cool indeed. I didn't notice until you pointed it out. I think it will look very nice in black outlined gold! :icon_thumright:Seamas said:So you will see that the ambigram reads the exact same way upside down--which is the cool part.
TonyFlyingSquirrel
Master Member
- Messages
- 4,764
I like the look of that body!
Seamas
Hero Member
- Messages
- 517
S
swarfrat
Guest
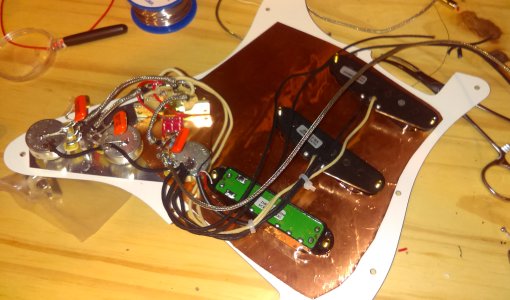
looking good! whats the circuit board on the bottom of the cool rails?
Verne Bunsen
Hero Member
- Messages
- 2,488
Looking great! I love the color and I really like that logo, very cool!
Be wary with the exposed metal braid shield in close proximity to your switch terminals, pot lugs and other components as they are a recipe for shorts. I run it through 1/8” heatshrink to insulate it when it’s in control cavities like that.
Be wary with the exposed metal braid shield in close proximity to your switch terminals, pot lugs and other components as they are a recipe for shorts. I run it through 1/8” heatshrink to insulate it when it’s in control cavities like that.
Seamas
Hero Member
- Messages
- 517
-VB- said:Looking great! I love the color and I really like that logo, very cool!
Be wary with the exposed metal braid shield in close proximity to your switch terminals, pot lugs and other components as they are a recipe for shorts. I run it through 1/8” heatshrink to insulate it when it’s in control cavities like that.
Thanks for that.
I might have to go and replace. My first wiring job, It went fairly smooth--and managed to do it faster than I expected, but it is things like that that were totally in my blind spot (and here I thought I was going above and beyond by using the shielded wire--oh well!).
All is well, I have had the final coats on the neck/headstock curing, and will do the final sanding and polishing later in the week so I can change the wire in the meantime.
Seamas
Hero Member
- Messages
- 517
swarfrat said:looking good! whats the circuit board on the bottom of the cool rails?
I don't really know.
The one aspect of this was I was a little shocked at how tiny/thin the five wires from that pickup were.
Seamas
Hero Member
- Messages
- 517
I forgot to post when this was completed--then went away for a week.
I had a issue with the bridge pickup (was supposed to be a SD cool rails), I am sending it back for repair/replacement. In it's place is a DiMarzio FS1, which sounds really bad. The neck and middle are SD SSL2
They are good, but fairly restrained and polite.
The good news is it plays like a dream and the acoustic tone is absolutely beautiful--so I'll probably have some work ahead finding the ideal pickups.
TonyFlyingSquirrel
Master Member
- Messages
- 4,764
Quite Classy!
Similar threads
- Replies
- 18
- Views
- 827
- Replies
- 36
- Views
- 1K
- Replies
- 9
- Views
- 436