Hi all :glasses9:
Thought I'd add this part in the 'Tips & Tricks' section, to share a very simple way of installing a GK-3 13pin jack & plate & other bits.
This is a continuation build, on my 'RedBack' Strat with internal GK-3
Other pic's here ...... http://www.unofficialwarmoth.com/index.php?topic=17451.0
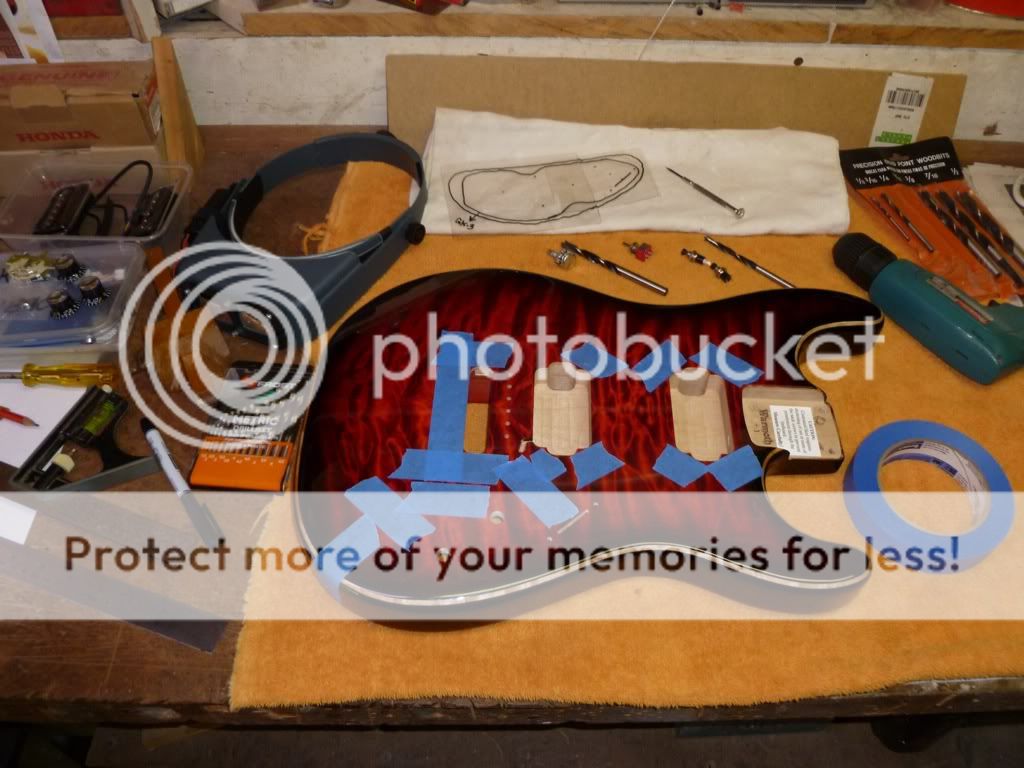
Tools used ….
Masking Tape
Square & Ruler etc
Sharp Cutter etc
1 x case of Beer (make that 2) :icon_biggrin:
Brad Point drill bits & drill & other drill bits
Dremel tool & attachment bits #194 & # 8175 & either #439 or #507
This one is, done in a New Warmoth Rear Routed Strat Body (I find it very easy, as there is plenty of room to work with)
When I order the body, I get a 1/2'' side input jack hole (for reasons shown later) & just get the Strat 5 way Switch & Bottom 2 Knob holes pre done.
OK …. The 1/2'' input side jack hole is where I usually put the 13pin jack input. Then just have to drill another hole later on for the Mono jack input.
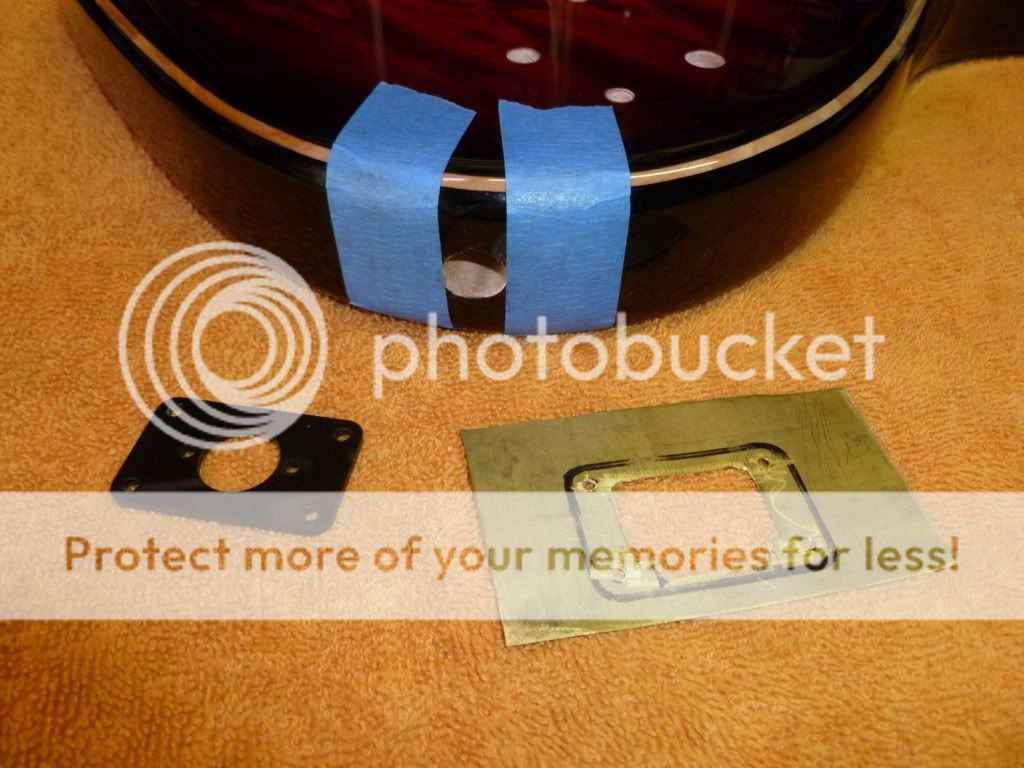
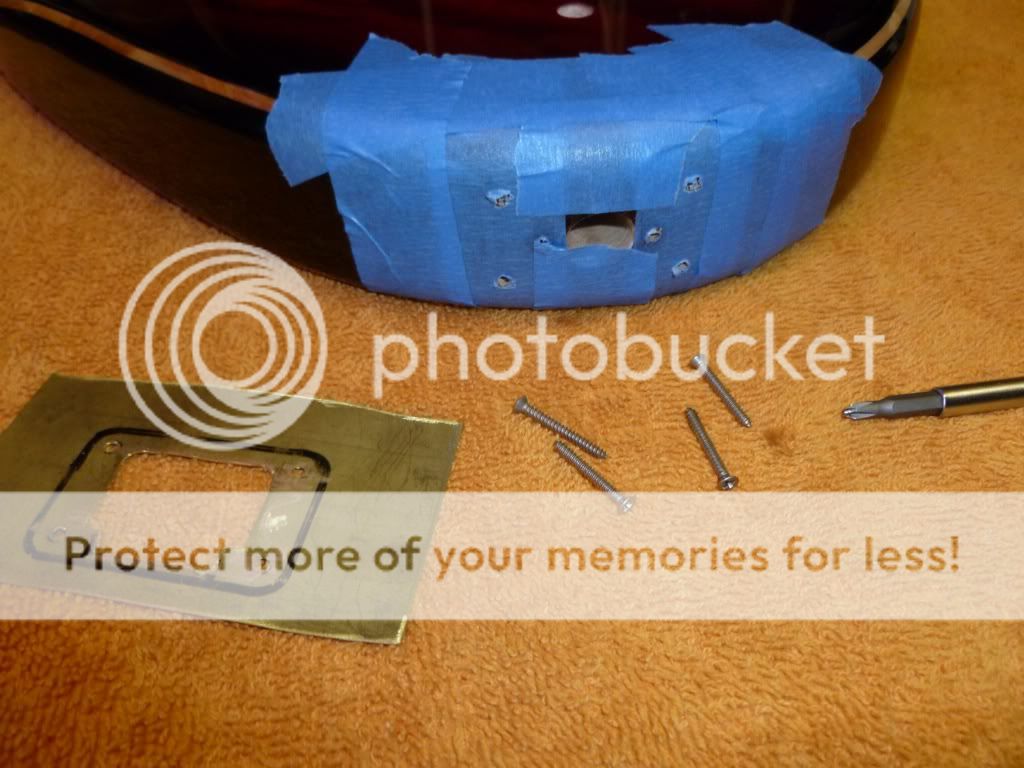
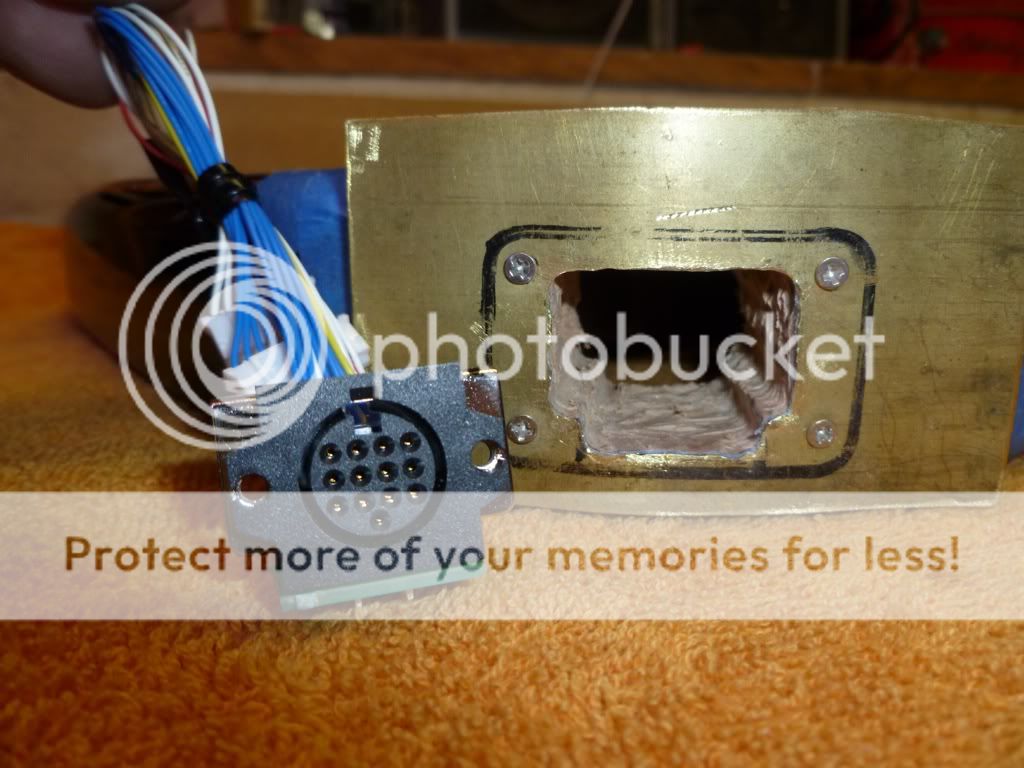
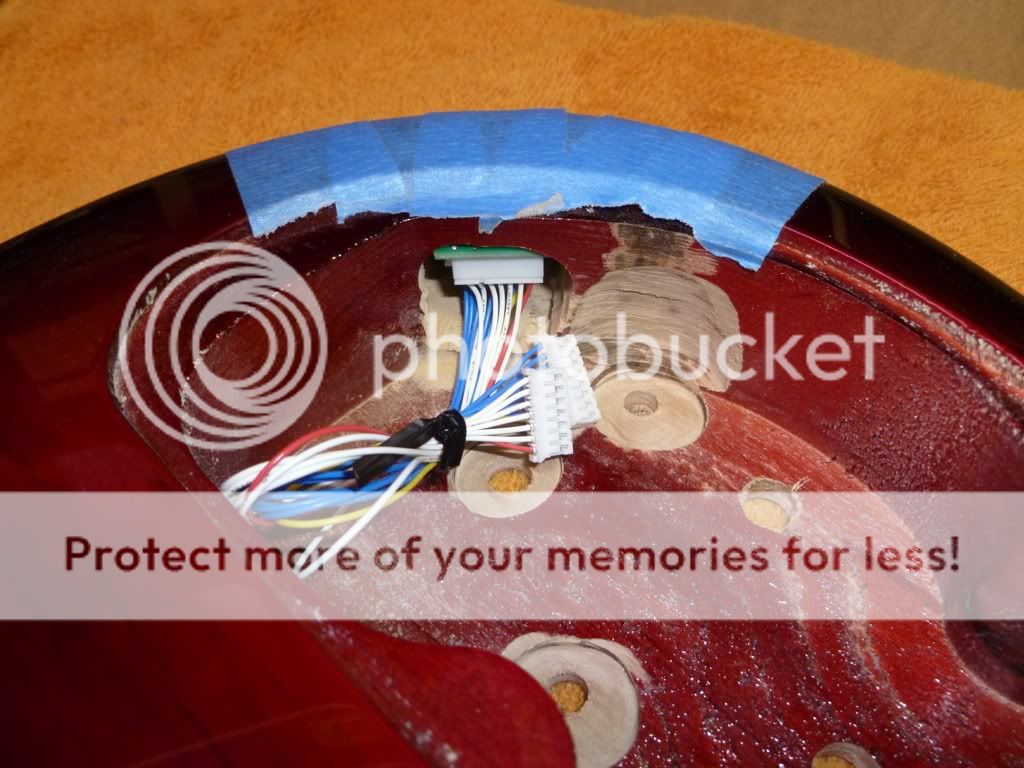
I mark out onto a Template (thin brass sheeting) the 13pin input 'PLASTIC' jack plate. Then cut out the inside square of & drill 4 outer screw holes.
Then 1st using 2 small screws, attach / line up the 13pin 'PLASTIC' plate USING the 2 INSIDE holes of the plastic plate, (of cause the body is taped up)
(those 2 screw holes won't be there later on anyway)
Those 2 screws will hold the plastic plate while you drill the other 4 outer holes using just a touch of a Brad Point 1/8'' drill bit (just to clear though the finish)
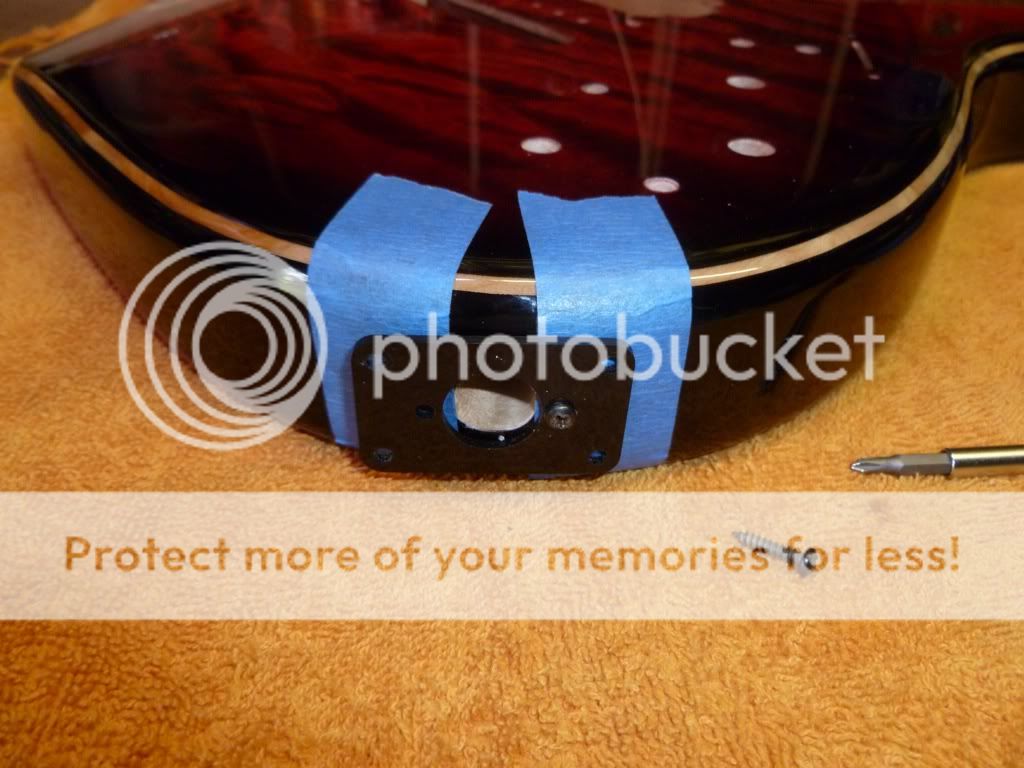
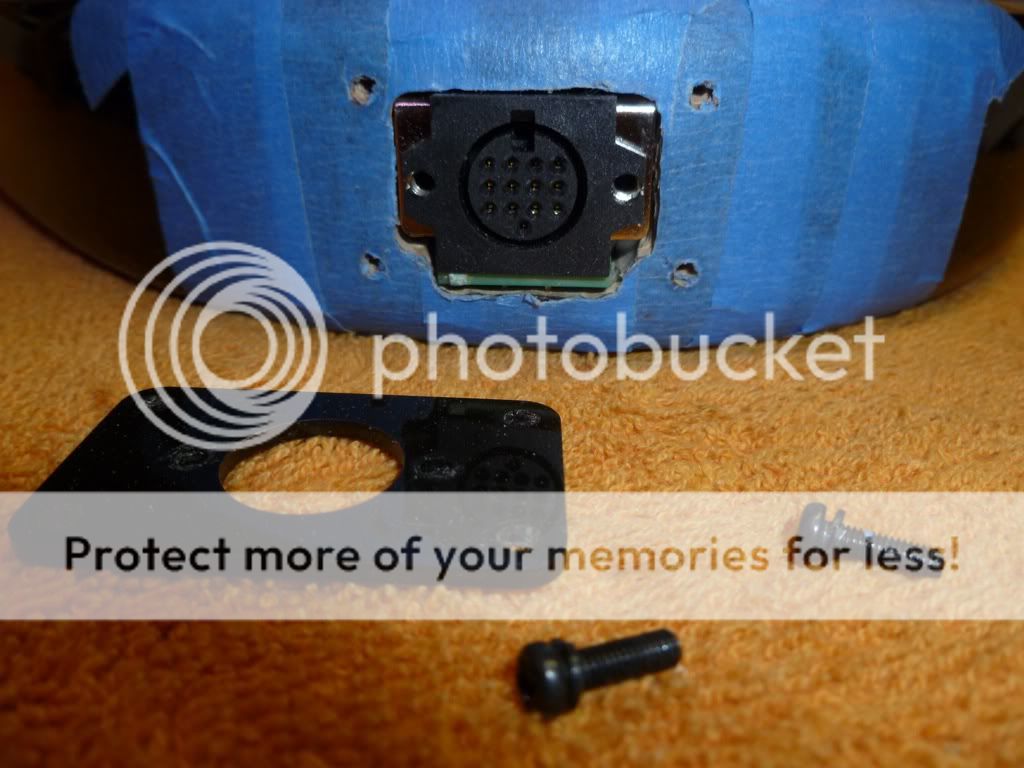
Then swap to a very small size drill & drill the holes out more. (NOT TO MUCH) ….. you want to use …. Hum Mount Ring Screws 1st up !!
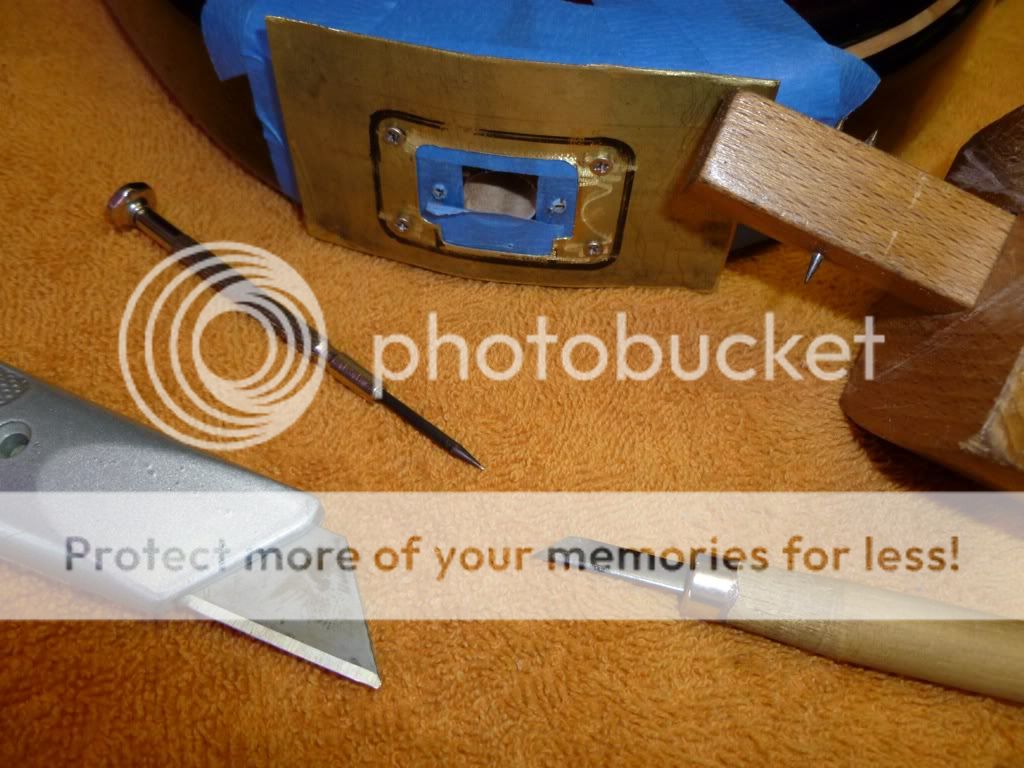
Un-screw plastic plate & then attach the brass template plate (or whatever you use) by the 4 outer screws, using something small (Like hum mount ring screws)
Don't want to use the larger screws your using at the end just yet, as you want a tight fit later on….. so go small for now.
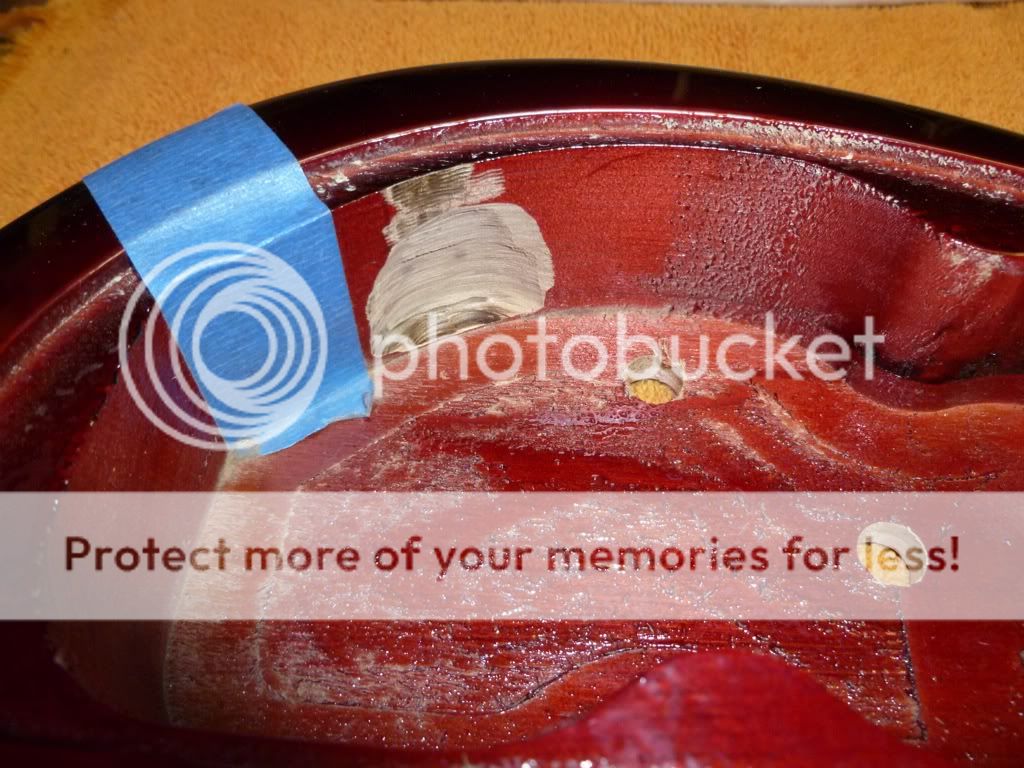
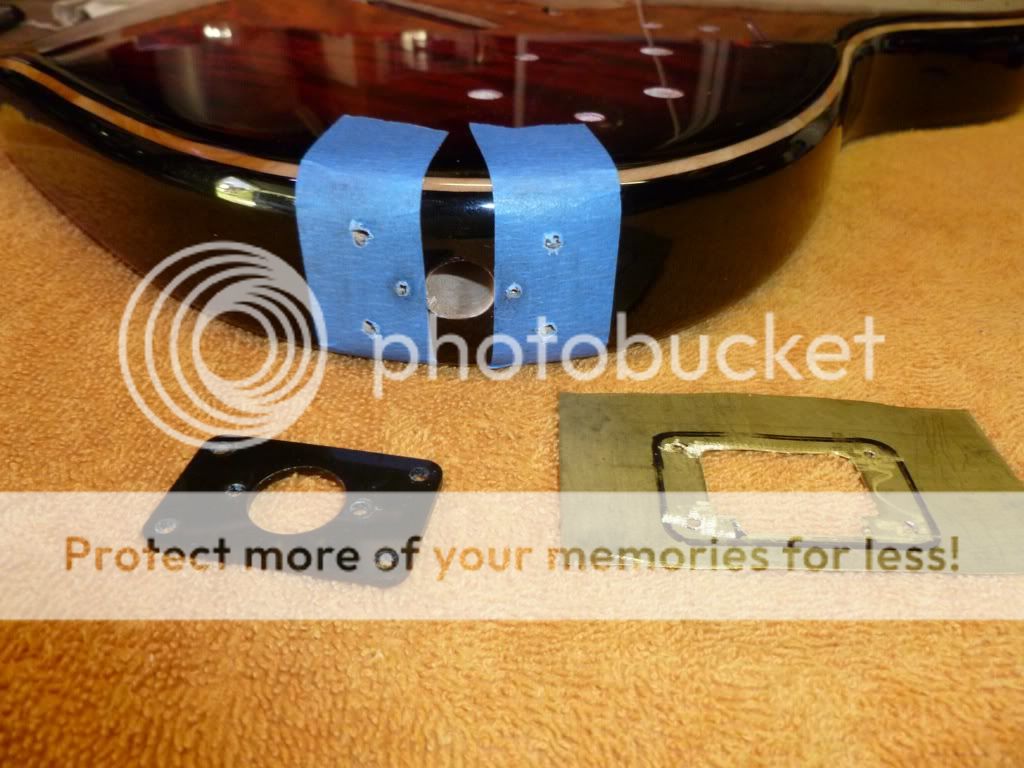
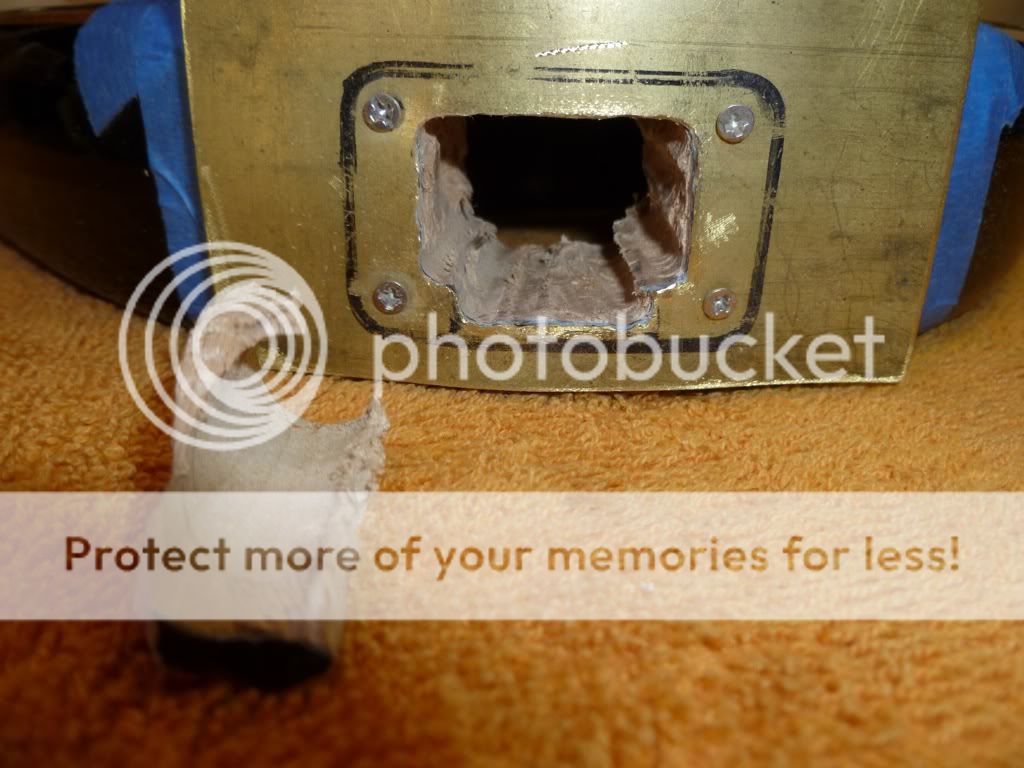
The Brass template is so you can then score around the inside edges of the square with a very shape point ie: stanely knife/ art knife / shape small chisel etc etc
This is to cut / score you way thought that lovely finish that you really don't want to stuff up. :toothy11:
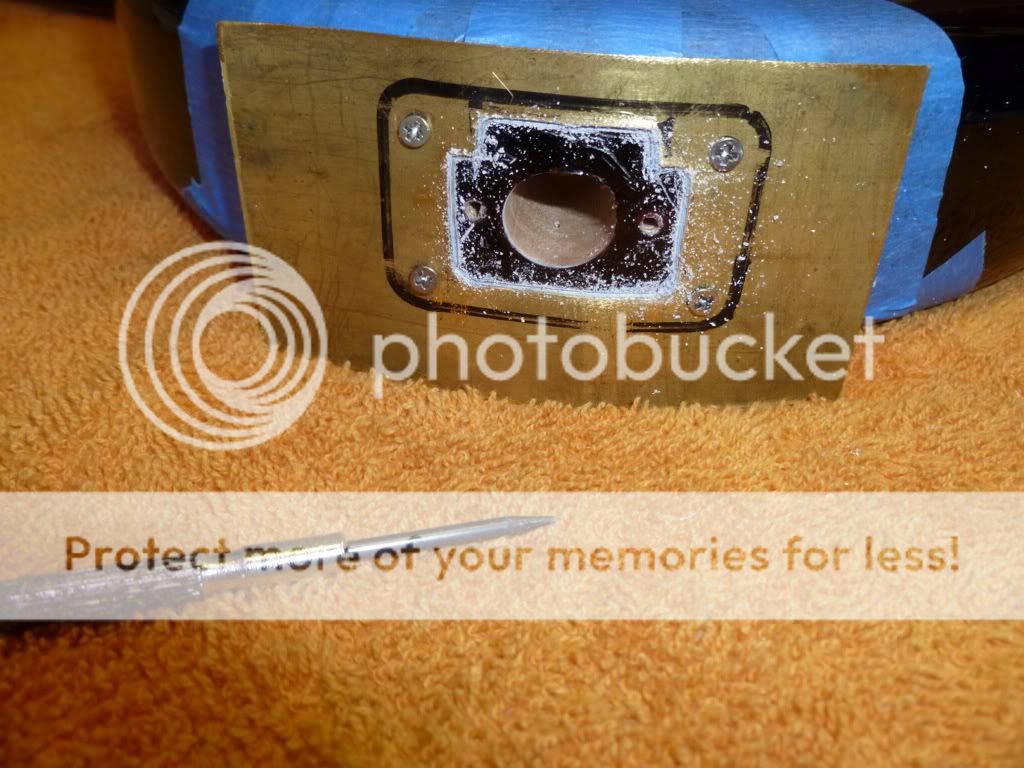
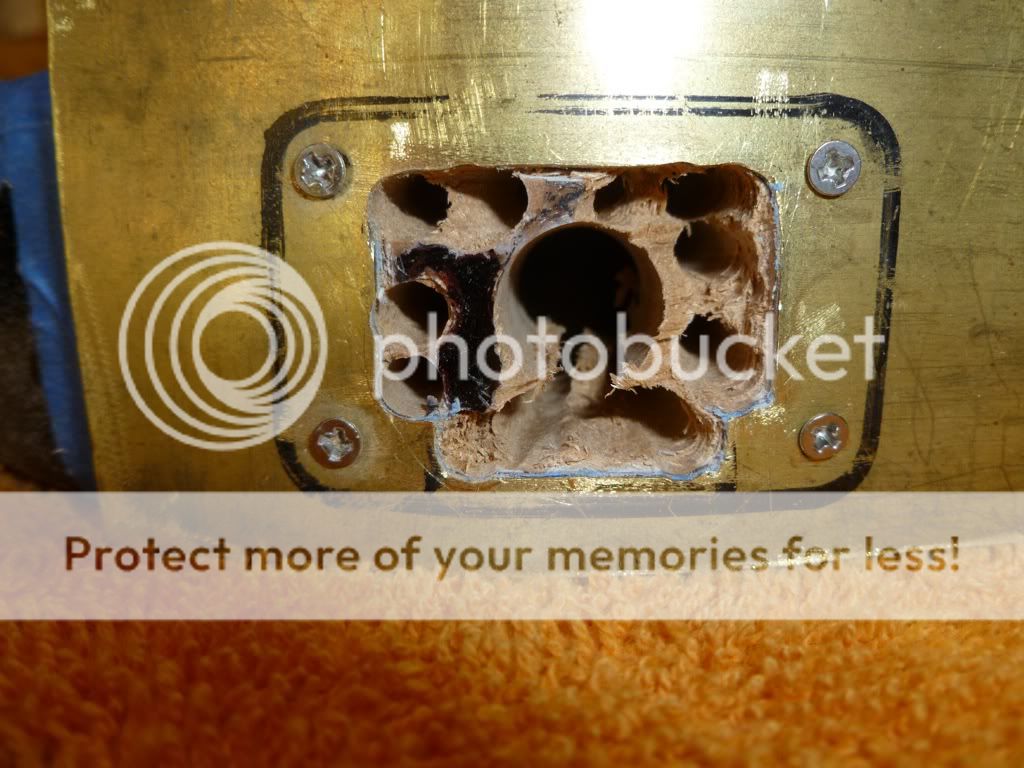
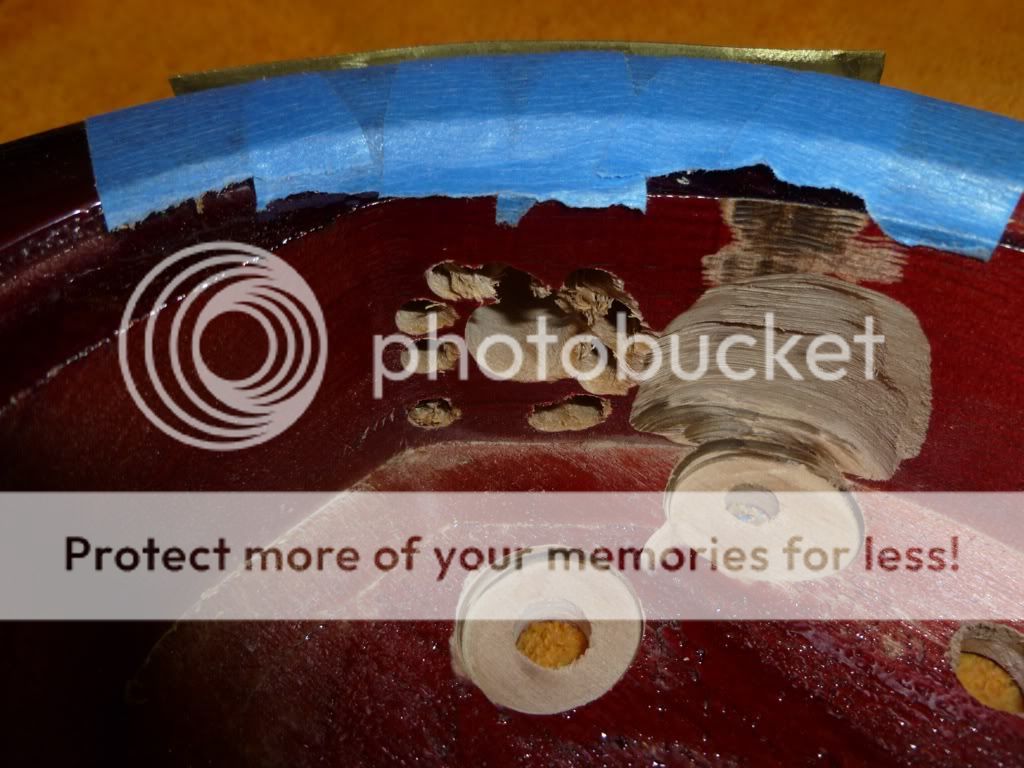
Then grab a drill & drill bits (can use any type here) as you've cut thought the finish / edges already.
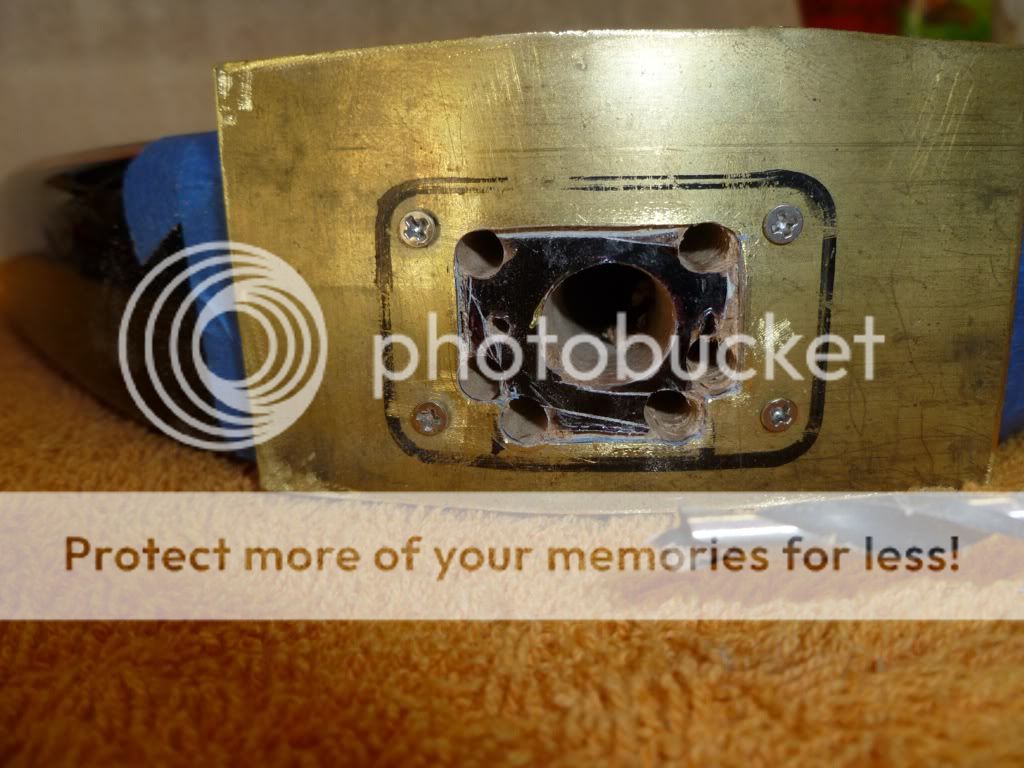
Start drilling some holes in all the corners 1st. Then anywhere else there is room.
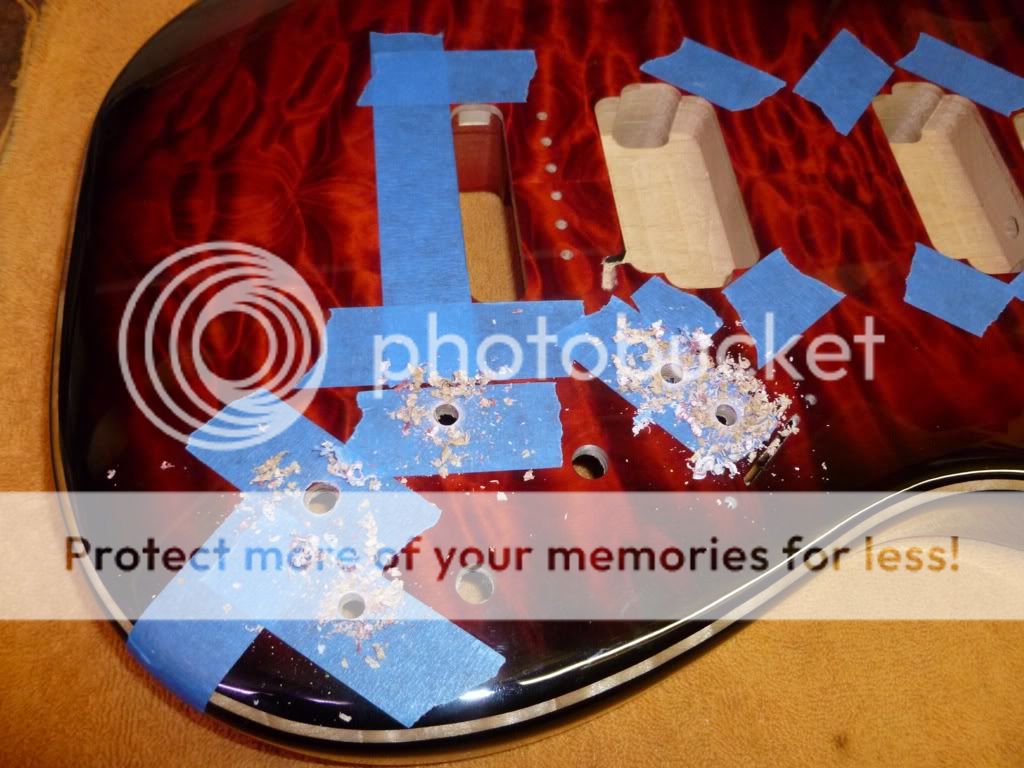
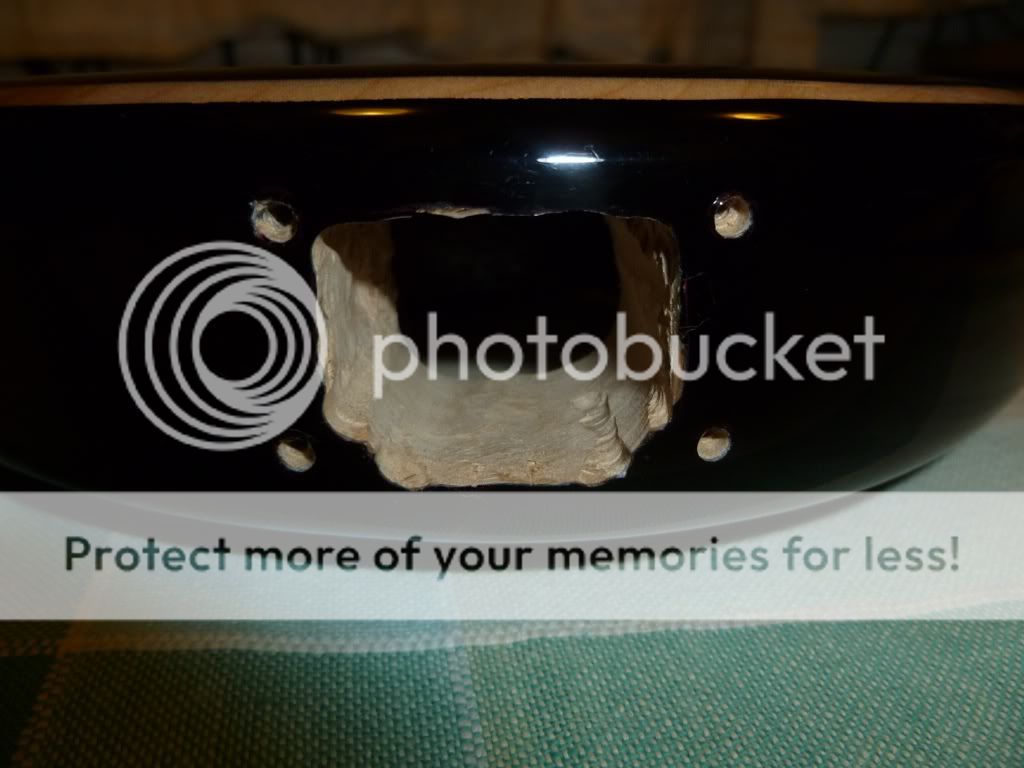
Now the fun part ….. :toothy12:
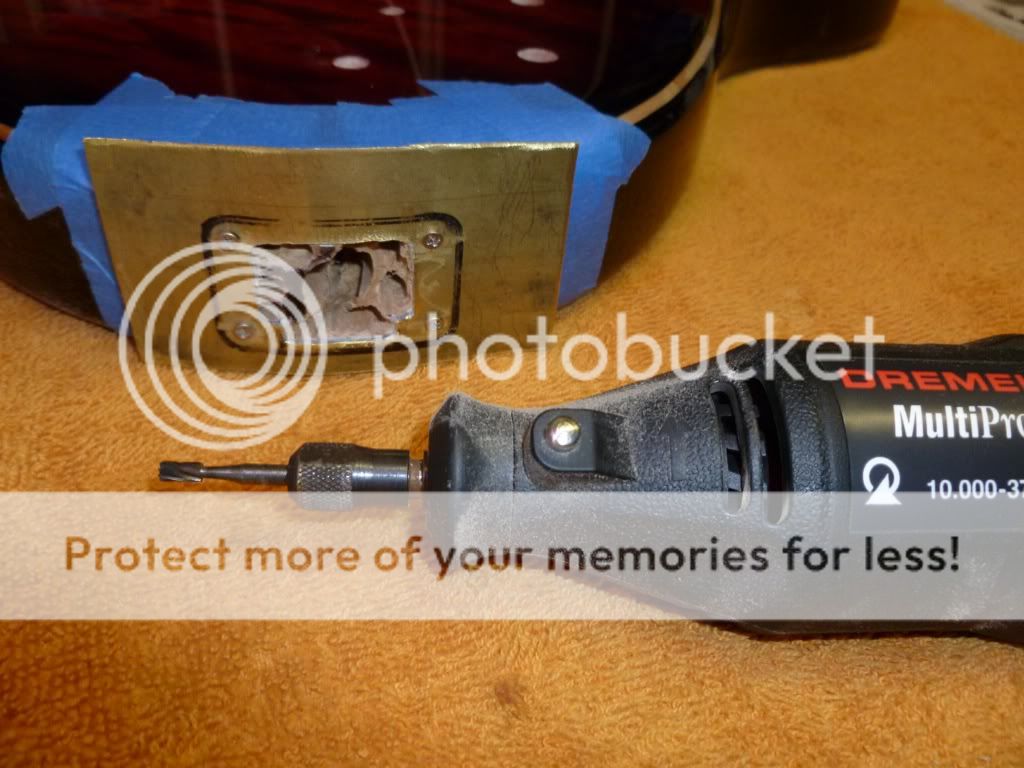
Grab that Dremel with a #194 bit, & start some hacking away…. have fun !!
Makes it easy / safer having a Template in place, as it takes away the fear factor of doing this & you can get in close without grinding any outer / finish.
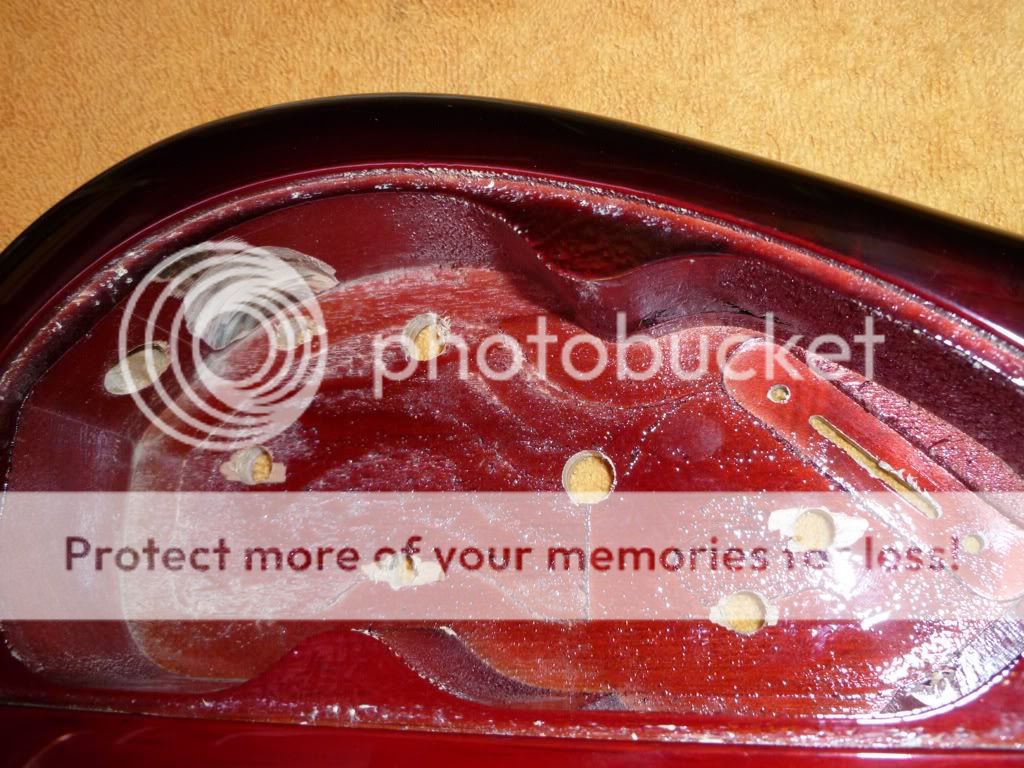
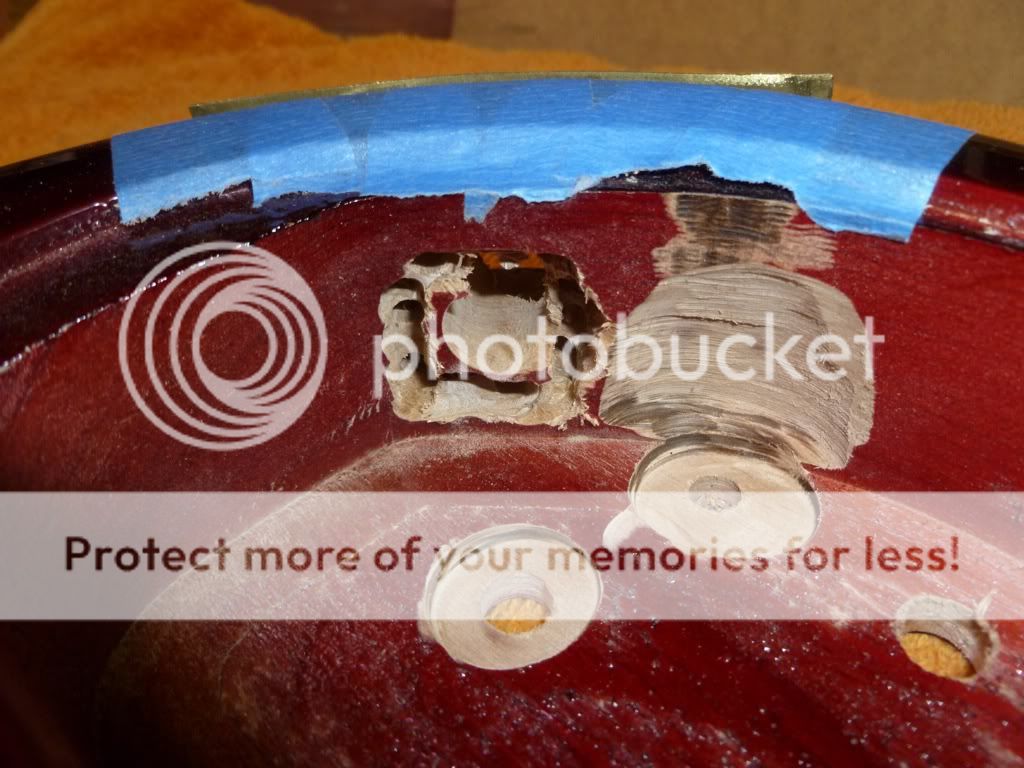
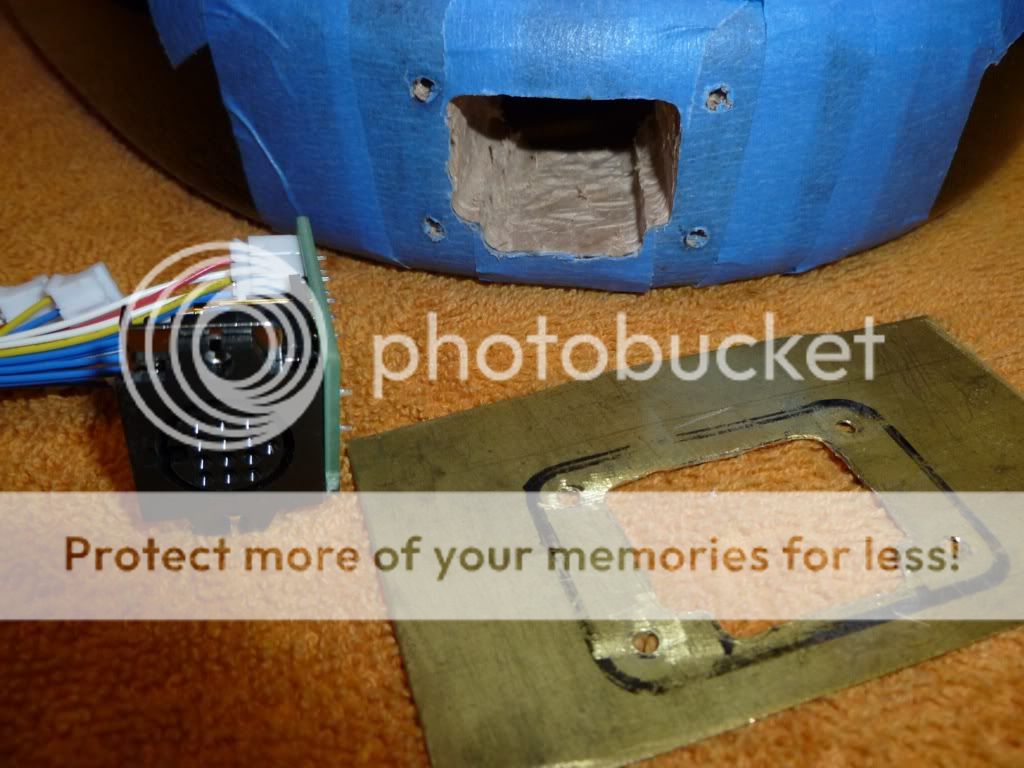
Also the control cavity has plenty of room for the dremeling of the inside of, for tidying it all up with a # 439 dermal bit.
Then need to layout & drill holes where you want your GK-3 Pot, GK-3 Switch, GK-3 Vol, GK-3 Up & Down Buttons & anything else that turns you on.
(I purposely left off the GK-3 LED Light on this build) …. But … added a On/ Off / On Mini Toggle for the P-Rails I'll be using on this.
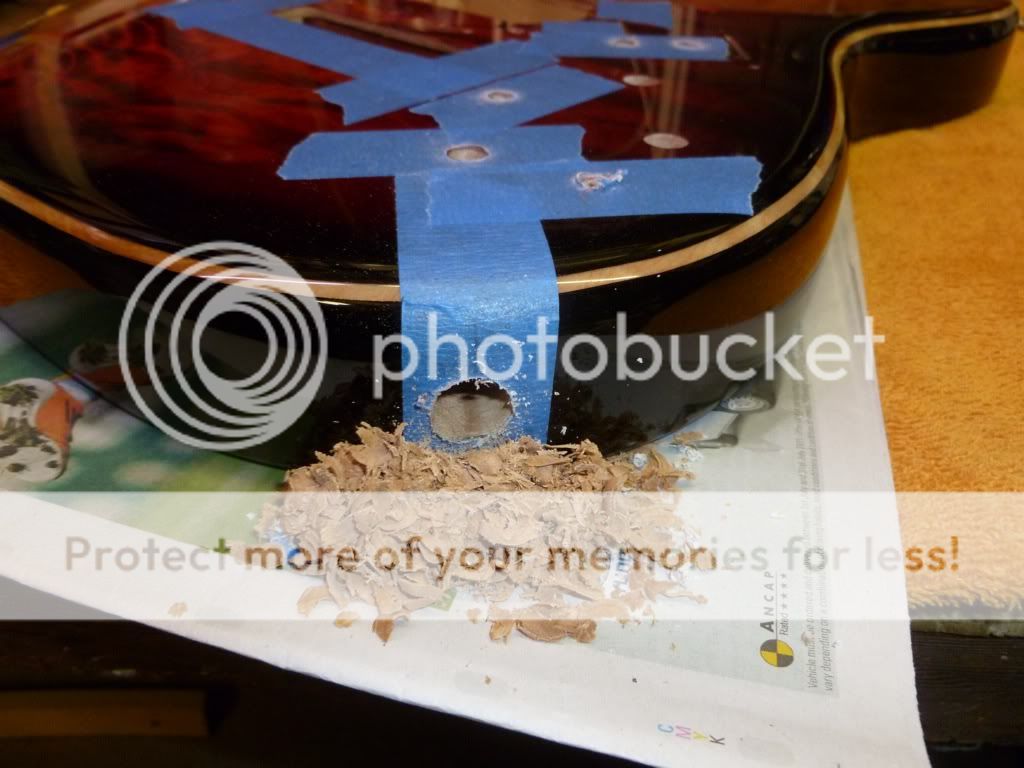
Now some of these holes drilled for the GK-3 controls & switches will be to thick in the woodwork for the GK-3 pot & Switches & Buttons to screw up.
So a bit of grinding down (from inside of cavity) to thin out using Dremel bit # 8175 so theres enough room to fit though & tighten up.
When laying out your switches / pots etc, make sure there is enough room to grind down any needed bits from the control cavity lip over hang on the inside.
In other words …. can the Dremel fit in there & still be able to grind down evenly.
OH Yeah …. you then need to drill for your Mono Input Jack / Plate. Use a Brad Point Drill for that !!
Can of cause make your own Jackplate & route it into the side consisting of both Input-Jacks closer together ….. Sorry .. that to hard for me :sad:
But this is just using what you get …… Plus it's how I've done it before on my 'Cigar' Strat GK-3 Build with 3 Strat SD Rails
Well thats it …… Hope that might help :sign13: in some way, to anybody doing a GK-3 13Pin jack Install.
Pic's should tell the story for them selves :glasses9:
(If I can't add all pic's in one hit will add as I can)
Cheers from Updown :toothy10:


Thought I'd add this part in the 'Tips & Tricks' section, to share a very simple way of installing a GK-3 13pin jack & plate & other bits.
This is a continuation build, on my 'RedBack' Strat with internal GK-3
Other pic's here ...... http://www.unofficialwarmoth.com/index.php?topic=17451.0
Tools used ….
Masking Tape
Square & Ruler etc
Sharp Cutter etc
1 x case of Beer (make that 2) :icon_biggrin:
Brad Point drill bits & drill & other drill bits
Dremel tool & attachment bits #194 & # 8175 & either #439 or #507
This one is, done in a New Warmoth Rear Routed Strat Body (I find it very easy, as there is plenty of room to work with)
When I order the body, I get a 1/2'' side input jack hole (for reasons shown later) & just get the Strat 5 way Switch & Bottom 2 Knob holes pre done.
OK …. The 1/2'' input side jack hole is where I usually put the 13pin jack input. Then just have to drill another hole later on for the Mono jack input.
I mark out onto a Template (thin brass sheeting) the 13pin input 'PLASTIC' jack plate. Then cut out the inside square of & drill 4 outer screw holes.
Then 1st using 2 small screws, attach / line up the 13pin 'PLASTIC' plate USING the 2 INSIDE holes of the plastic plate, (of cause the body is taped up)
(those 2 screw holes won't be there later on anyway)
Those 2 screws will hold the plastic plate while you drill the other 4 outer holes using just a touch of a Brad Point 1/8'' drill bit (just to clear though the finish)
Then swap to a very small size drill & drill the holes out more. (NOT TO MUCH) ….. you want to use …. Hum Mount Ring Screws 1st up !!
Un-screw plastic plate & then attach the brass template plate (or whatever you use) by the 4 outer screws, using something small (Like hum mount ring screws)
Don't want to use the larger screws your using at the end just yet, as you want a tight fit later on….. so go small for now.
The Brass template is so you can then score around the inside edges of the square with a very shape point ie: stanely knife/ art knife / shape small chisel etc etc
This is to cut / score you way thought that lovely finish that you really don't want to stuff up. :toothy11:
Then grab a drill & drill bits (can use any type here) as you've cut thought the finish / edges already.
Start drilling some holes in all the corners 1st. Then anywhere else there is room.
Now the fun part ….. :toothy12:
Grab that Dremel with a #194 bit, & start some hacking away…. have fun !!
Makes it easy / safer having a Template in place, as it takes away the fear factor of doing this & you can get in close without grinding any outer / finish.
Also the control cavity has plenty of room for the dremeling of the inside of, for tidying it all up with a # 439 dermal bit.
Then need to layout & drill holes where you want your GK-3 Pot, GK-3 Switch, GK-3 Vol, GK-3 Up & Down Buttons & anything else that turns you on.
(I purposely left off the GK-3 LED Light on this build) …. But … added a On/ Off / On Mini Toggle for the P-Rails I'll be using on this.
Now some of these holes drilled for the GK-3 controls & switches will be to thick in the woodwork for the GK-3 pot & Switches & Buttons to screw up.
So a bit of grinding down (from inside of cavity) to thin out using Dremel bit # 8175 so theres enough room to fit though & tighten up.
When laying out your switches / pots etc, make sure there is enough room to grind down any needed bits from the control cavity lip over hang on the inside.
In other words …. can the Dremel fit in there & still be able to grind down evenly.
OH Yeah …. you then need to drill for your Mono Input Jack / Plate. Use a Brad Point Drill for that !!
Can of cause make your own Jackplate & route it into the side consisting of both Input-Jacks closer together ….. Sorry .. that to hard for me :sad:
But this is just using what you get …… Plus it's how I've done it before on my 'Cigar' Strat GK-3 Build with 3 Strat SD Rails
Well thats it …… Hope that might help :sign13: in some way, to anybody doing a GK-3 13Pin jack Install.
Pic's should tell the story for them selves :glasses9:
(If I can't add all pic's in one hit will add as I can)
Cheers from Updown :toothy10:
 ccasion14: