Babicz and Warmoth not quite compatible

Rich

Junior Member
Messages
29
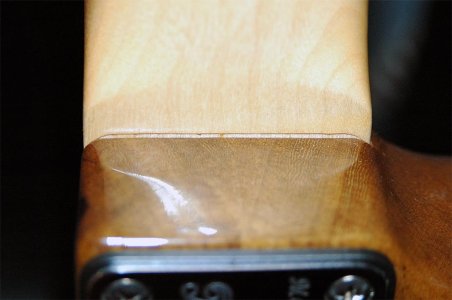
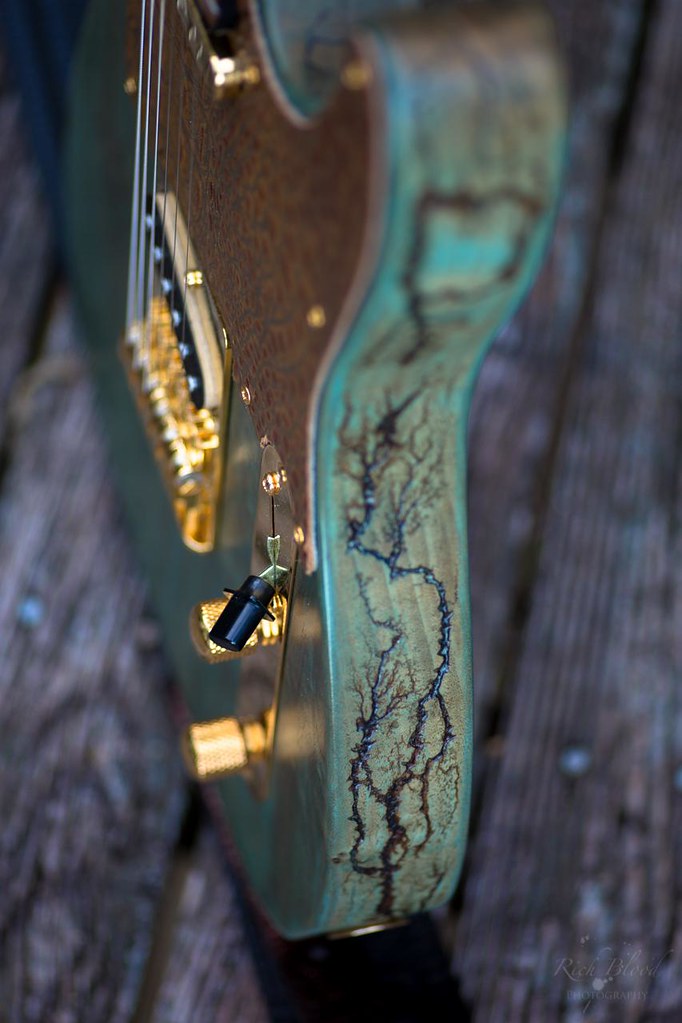
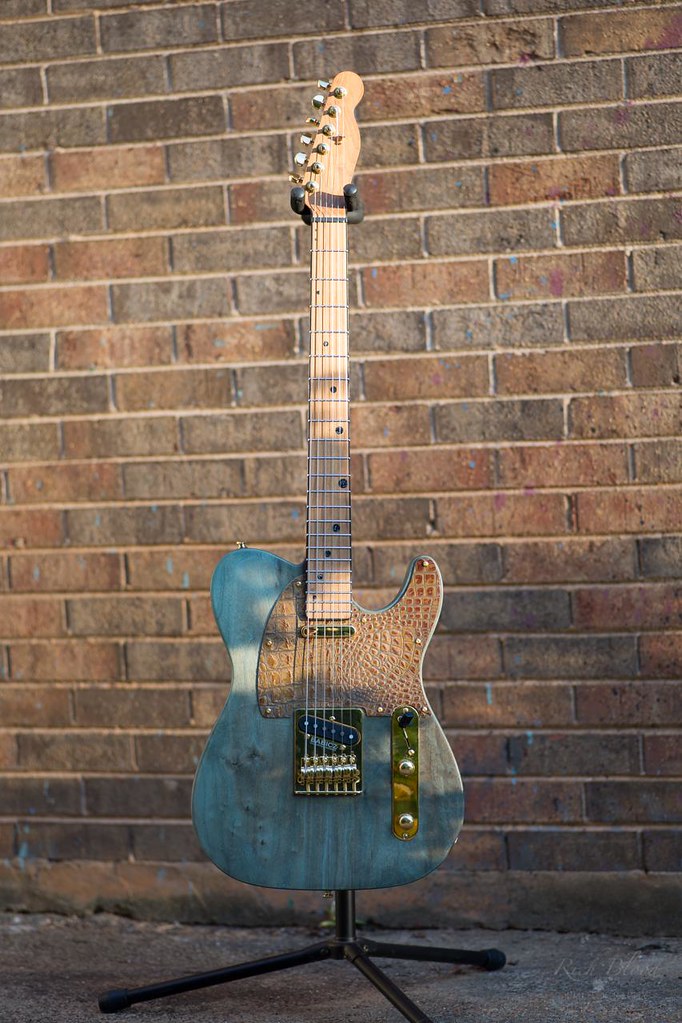
Just ran into an issue where I'm finding that Babicz Full contact tele bridge and Warmoth tele neck pocket depth just isn't quite right. I'm not getting the height I need at the saddles and the strings are laying on the fret board from 12 on out, especially at the three middle strings. Set to the highest possible saddle settings, only the 1st, 2nd and 6th string are high enough.

I've skimmed through the inter webs and found a few cats running into these problems. Claiming "higher profile ecam saddles" were the solution. I contacted Babicz (great customer service btw) and they sent out three of these so called "higher profile saddles" and they are the exact same. In fact, from
What I can tell, there is literally NO WAY the current design will allow for any "different" cam to make a difference. The ecam saddles are only going to be ONE circumference, and will only ever sit inside the same saddle risers anyway, therefore there simply isn't anyway to get the string higher, no matter the design.

Now there are a few options:

Riser plate between the bridge and body

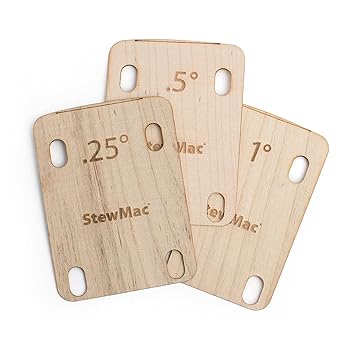
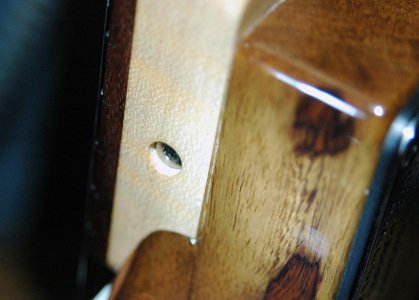
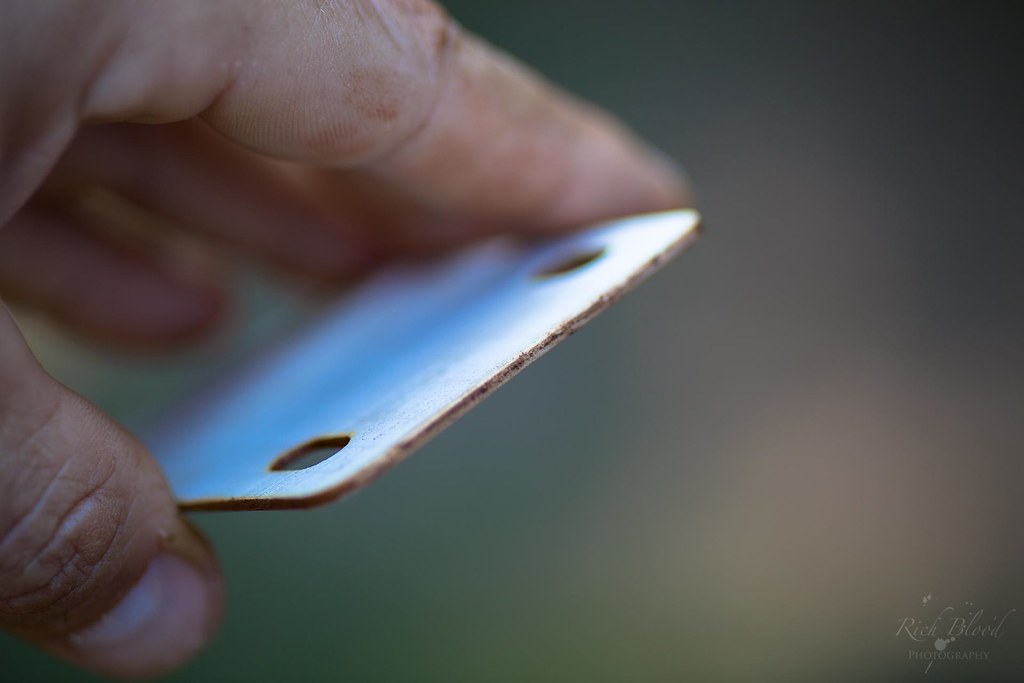
Shim the neck at the neck pocket towards the headstock side

Sand/remove material at the neck pocket to allow neck to set deeper.


I'd prefer the neck pocket option but what method would insure keeping the neck pocket flush and flat, without changing anything other than depth?

Open to suggestions and just thought I'd save a lot of people some trouble towards the setting up phase of their builds.
 
You can drop the entire floor of your neck pocket with a router and a pattern bit of an appropriate diameter and depth.

With a top-bearing router bit of with a short cutting length, you can use the pocket itself as the pattern.  Alternatively, you could clamp a piece of  MDF to the top of the body and make a pattern out of it using a bottom-bearing bit, and then use the MDF as the template for a bit with a longer cutting length.

here's the Stewmac part:

www.stewmac.com/Luthier_Tools/Types_of_Tools/Routers_and_Bits/Bits/Ball_Bearing_Router_Bits.html?utm_source=google&utm_medium=shopping&utm_campaign=2017-09-gp&gclid=EAIaIQobChMI0-nrjK231gIVCalpCh34oA56EAYYAiABEgIN_vD_BwE

 
Another solution, which is a bit easier/safer/reversible, would be to use some of these improved shims...

91Az9IrlKsL._SX355_.jpg

...also from StewMac. Maintains a good contact all around, and they come in different degrees of tilt so you can dial things in perfectly. I used them on one of my Teles that had a tall bridge and they work well.
 
Cagey said:
Another solution, which is a bit easier/safer/reversible, would be to use some of these improved shims...

91Az9IrlKsL._SX355_.jpg

...also from StewMac. Maintains a good contact all around, and they come in different degrees of tilt so you can dial things in perfectly. I used them on one of my Teles that had a tall bridge and they work well.

Well, the issue is that bridge isn't tall enough really, so it's either lower the neck into the pocket or raise the bridge saddles.
Bagman67 said:
You can drop the entire floor of your neck pocket with a router and a pattern bit of an appropriate diameter and depth.

With a top-bearing router bit of with a short cutting length, you can use the pocket itself as the pattern.  Alternatively, you could clamp a piece of  MDF to the top of the body and make a pattern out of it using a bottom-bearing bit, and then use the MDF as the template for a bit with a longer cutting length.

here's the Stewmac part:

www.stewmac.com/Luthier_Tools/Types_of_Tools/Routers_and_Bits/Bits/Ball_Bearing_Router_Bits.html?utm_source=google&utm_medium=shopping&utm_campaign=2017-09-gp&gclid=EAIaIQobChMI0-nrjK231gIVCalpCh34oA56EAYYAiABEgIN_vD_BwE

Yeah, I'm thinking this may be the only option aside from getting a different bridge... Shame the body is already finished...

I just don't see how some guys never have issues with these bridges on Warmoth tele's but then some do. I guess finish thickness and extremely minute neck pocket depth and neck heel thickness differences from Warmoth?
 
I ran into the same problem when building my Esquire, but using a Joe Barden bridge.  Faced with the same choices you have, I elected to sand down the mating surface of the neck at a slight angle to raise the headstock (create more relief) and keep the saddles at an appropriate height.  As the neck in question was unfinished Canary wood I simply stuck some 3M Stikit sandpaper to my kitchen counter top, found some household item that when held to the bottom of the neck created the angle I needed, waited for my wife to leave the room and carefully rednecked that sum' b*tch  into order.  I did check often to make sure the sanded area was flat using a straightedge and I wasn't rolling the sides.  All told it took about an hour or so.  Still have no idea what the problem was that caused the misalignment as the pocket measured to uniform depth with no finish buildup and the neck also looked ok.  Every other Warmoth part has always gone together just fine for me.  On other guitars that have needed to shim the neck up at the base, I used the Stewmac product suggested by Cagey, coloring the exposed edge black with a sharpie pen.  Best of luck.  :headbang:
 
Rich said:
Well, the issue is that bridge isn't tall enough really, so it's either lower the neck into the pocket or raise the bridge saddles.

Or, tilt the headstock forward. Install the shim(s) so the thicker part is closer to the headstock, and the strings will rise in the neck joint area, where they're currently laying on the frets. Shouldn't take much - get the .25° and .5° both - one or the other or both stacked will probably get you all the movement you need.

Maybe resale value means nothing, and that's fine, but if you cut the pocket floor or the neck heel, you'll be stuck with whatever you do. That neck/body will be married forever.
 
Cagey said:
Or, tilt the headstock forward. Install the shim(s) so the thicker part is closer to the headstock, and the strings will rise in the neck joint area, where they're currently laying on the frets. Shouldn't take much - get the .25° and .5° both - one or the other or both stacked will probably get you all the movement you need.
I used one of those StewMac shims on my JM. My problem was the opposite of yours, needing to tilt the neck back just a hair, but like Cagey points out, no reason it couldn't be installed the other way and tilt the neck up. It's amazing what a difference a 1 degree change can make, and it's totally reversable if you don't like the result. I know they ain't cheap, but they're well worth the price if it means you don't have to take a router to your guitar!

I'm also using a Babicz bridge on my current Tele build, but I went with the Z-Series for various reason. If I have a problem with the set up, due to the available height of the saddles, I still have a couple of shims in my parts cabinet. They'll be my first choice if needed.  :icon_thumright:
 
Ordered the shims! Set of three.

Wonder what stain color would make them match the roasted maple neck? We shall see!
 
They're surprisingly thin - it's just enough to get the angle you need and no more, so you have minimal impact on the neck pocket depth. If you don't go looking for them, you won't notice them.
 
Cagey said:
They're surprisingly thin - it's just enough to get the angle you need and no more, so you have minimal impact on the neck pocket depth. If you don't go looking for them, you won't notice them.
Yeah, what he just said. I took a couple of shots of the shim on my JM. (Or at least what you can see of it.) These were taken with a macro lens at a distance of about 6 inches. If I had trimmed the end at the heel, it would be nearly invisible, as it is from the side. That small visible edge at the heel measures less than 1/32", (about .031"). Unless your looking really hard and really close, you won't even know it's there.
 

Attachments

  • Shim_Heel.jpg
    Shim_Heel.jpg
    64.1 KB · Views: 402
  • Shim_Side.jpg
    Shim_Side.jpg
    68.8 KB · Views: 416
BigSteve22 said:
Cagey said:
They're surprisingly thin - it's just enough to get the angle you need and no more, so you have minimal impact on the neck pocket depth. If you don't go looking for them, you won't notice them.
Yeah, what he just said. I took a couple of shots of the shim on my JM. (Or at least what you can see of it.) These were taken with a macro lens at a distance of about 6 inches. If I had trimmed the end at the heel, it would be nearly invisible, as it is from the side. That small visible edge at the heel measures less than 1/32", (about .031"). Unless your looking really hard and really close, you won't even know it's there.
Nice. Well, they arrive today, so I'll post some shots of the finished product. Hope I get the height I need!
 
Yeah, worked perfectly.


Used a little coffee to stain the trimmed edge to match the factory edge stain. Got close to roasted maple anyway. You'd never notice. Plays like a dream and sounds bad ass.


37292238982_086df19781_b.jpg


37274668456_cb60ae96e6_b.jpg


37065671390_4a1791278b_b.jpg


37292219952_d796fd4f88_b.jpg


37321861181_f29cdc9f63_b.jpg


37321851701_e061407cfc_b.jpg


Looks very good.

Can you tell us more about the finish on the body, especially the sides look interesting?
 
stratamania said:
Looks very good.

Can you tell us more about the finish on the body, especially the sides look interesting?
I'll get a topic started on this build in the work in progress section and include more photos and video of the process. But in a nutshell, I fractal burned the sides with a transformer, bleached the entire slab, then dyed it blue. Finish was vinyl sealer and flat nitro. 
 
Rich said:
...I fractal burned the sides with a transformer, bleached the entire slab, then dyed it blue. Finish was vinyl sealer and flat nitro. 

So typical. If I had a nickel for every... wait, what?

Just kidding. It looks great. Certainly not your father's Telecaster.
 
Cagey said:
Rich said:
...I fractal burned the sides with a transformer, bleached the entire slab, then dyed it blue. Finish was vinyl sealer and flat nitro. 

So typical. If I had a nickel for every... wait, what?

Just kidding. It looks great. Certainly not your father's Telecaster.

just started a thread with more pics and video here:http://www.unofficialwarmoth.com/index.php?topic=28622.0
 
Rich said:
stratamania said:
Looks very good.

Can you tell us more about the finish on the body, especially the sides look interesting?
I'll get a topic started on this build in the work in progress section and include more photos and video of the process. But in a nutshell, I fractal burned the sides with a transformer, bleached the entire slab, then dyed it blue. Finish was vinyl sealer and flat nitro.

Thanks, I will check out your new thread.
 
Back
Top