bonesofwrath
Junior Member
- Messages
- 171
Speaking of things you can't stand the look of but you wonder if its not a good idea... I'd love to try out a V for a few weeks some day. Can't decide if its the most unergonomic design ever or sheer genius.


") It's a 3x3 custom headstock. If it's in my lap, I play it classical style with the body resting on my left leg and the V portion cradled on my right. It's meant for aesthetics, not for practicality. Any fan of a V-style or anything made by BC Rich understands that.
It's a 3x3 custom headstock. If it's in my lap, I play it classical style with the body resting on my left leg and the V portion cradled on my right. It's meant for aesthetics, not for practicality. Any fan of a V-style or anything made by BC Rich understands that. 
Oh I've had lots of issues. To the point where I started to believe I was cursed. The problems with guitars started before I got involved with Warmoth. Some things were definitely my ignorance, but some were, imo, mistakes made by Warmoth that I wasn't experienced enough to catch.Hey all, I’m doing my first Warmoth build (first custom build ever) soon and I’m super excited to get started once all the parts come in.
It’s going to be a telecaster style body with TV Jones pickups. Here’s my initial thread on it. https://unofficialwarmoth.com/threads/first-build-ordered-tele-style-with-tv-jones-pups.35291/
I’ve loved going back into the older threads and reading about everyone’s builds, and it seems like almost everyone has been happy with their builds, both the newer builders and the experienced builders. As this is my first time building one, I’m very nervous to accidentally make a mistake when drilling/putting it together, so I’m curious if anyone had a build that went wrong and what mistakes they realized in hindsight they could’ve avoided. I’ve already gotten some great advice (thanks again @stratamania ) about the tuner hole bores that I originally planned out, so I got those changed before my order processed.
I appreciate any advice anyone has or any shared experiences for something that went wrong that you realized afterwards!
 taytools.com
 taytools.com
I'm staring at one of those now on another project. Tried to build this rail and panel cabinet for my 3d printer using a rabbet bit on the assembled cabinet instead of dados.Didn't have enough of a surface for my guide bit to ride and seriously boogered it up. Its mechanically sound just ugly. I think I can save it just slapping paneling on the sides and nobody but me is looking inside to see the gaps if I do. But I'm still ticked about it.oh, this one is my favorite:
If you make an error of sufficient substance to piss you off, put your tools down and walk away for a while. Trying to fix a screw-up while angry can lead to compounded errors that could be avoided with a little distance from the situation.
All solid tips. For those of us assembling axes from finished bodies and necks, the pilot holes for screws are by far the largest source of anguish.My disaster stories are all finishing related and nothing I couldn't fix by sanding it back and doing it again. But you are using a finished body (smart!).
Some tips.
Finally, once you get it all together and set up as good as you can...get it professional setup, maybe even consider a professional fret level.
- Tape off all drill bits at the depth you want them to be. This will help keep you from drilling too far. Do not use a stop collar, it can damage the finish
- Tape the wood that you are drilling though, drill through that tape, this will help prevent tear outs in the wood and finish
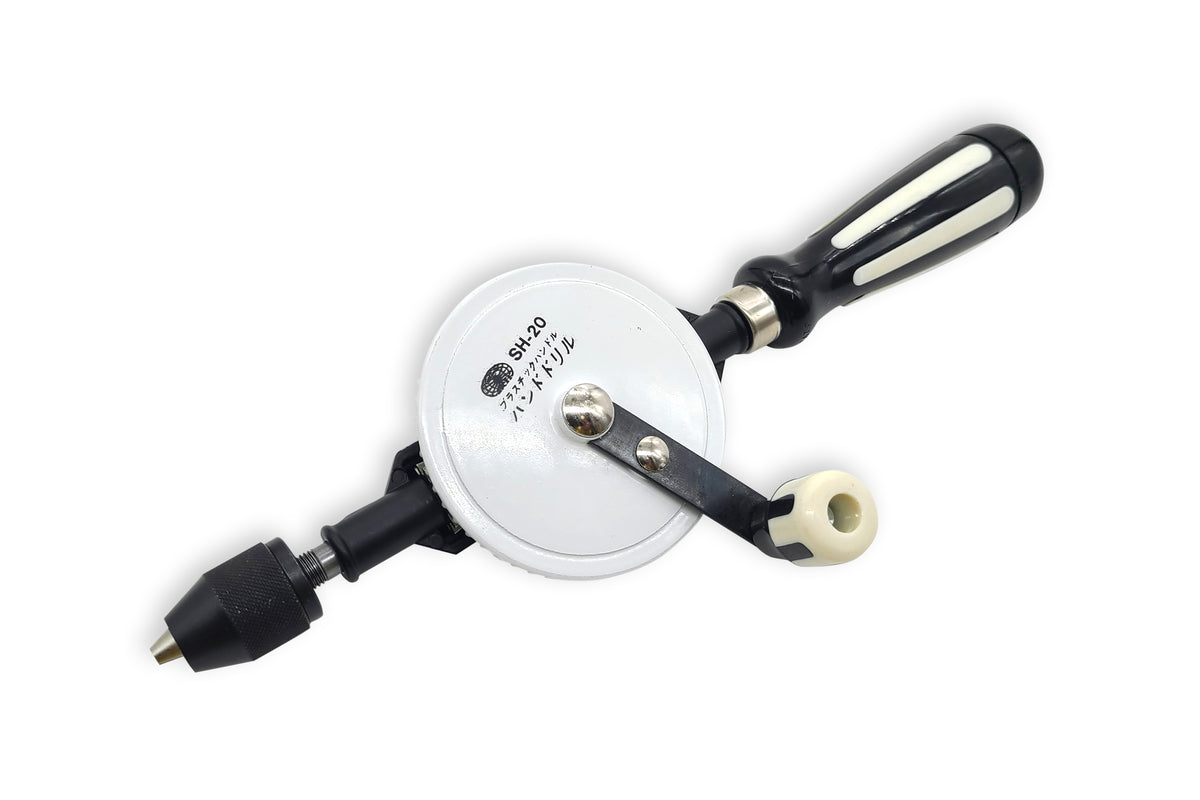
- With holes for pickguards, control plates, etc. you can tape those down and I use a "hinge bit" which has a collar to center the drill bit in the countersunk hole
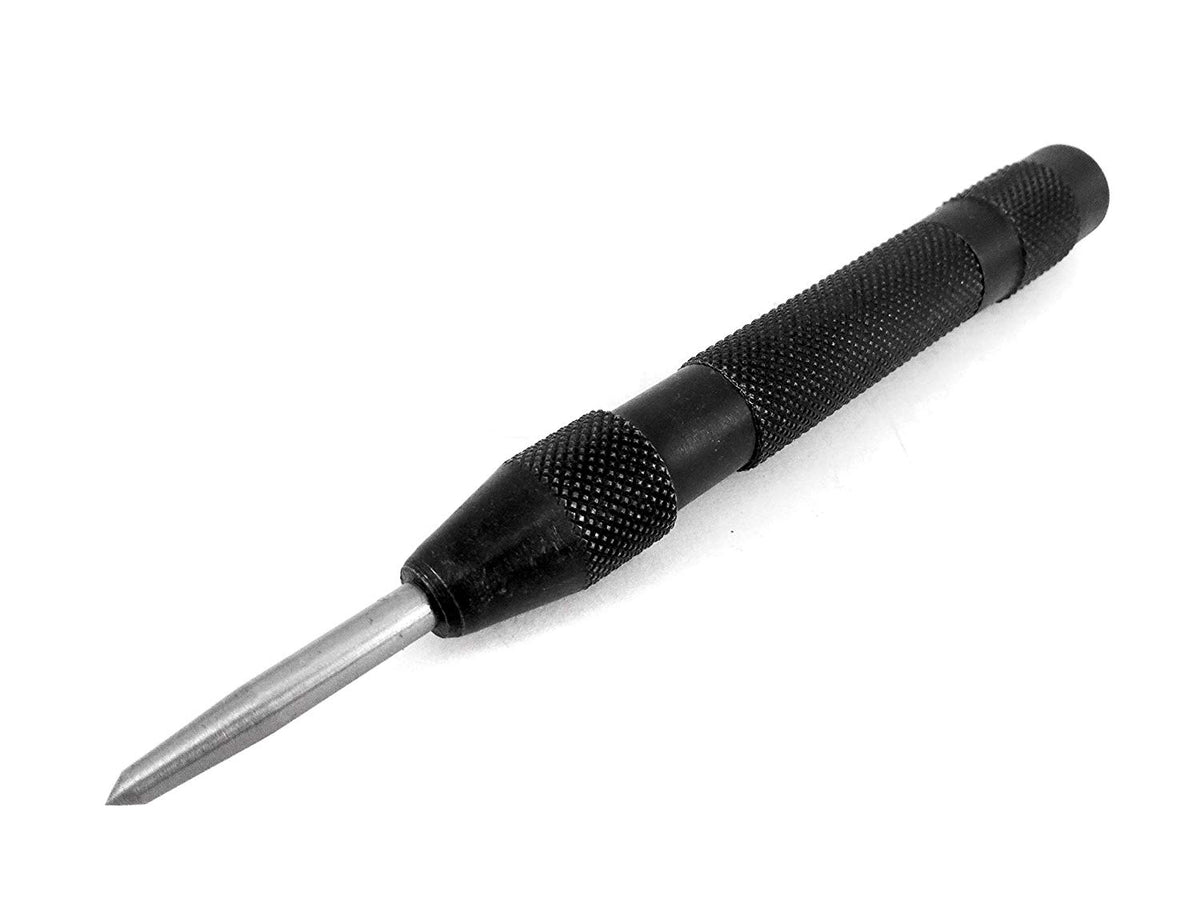
- Hinge bits won't fit most tuner holes, use a center punch for those
- High speed drilling for hard woods
- Every single screw that goes into the wood should be waxed. They sell little tins of screw wax at hardware stores, but you can use candle wax. Without the wax, a screw is very likely to split hardwood, especially roasted wood, which is more brittle
- In the pilot hole size chart...use the larger "hard wood" pilot hole sizes (most Fender-style screws for pickguard, panels, etc. are #4 and use a 5/64" pilot hole)
I'm staring at one of those now on another project. Tried to build this rail and panel cabinet for my 3d printer using a rabbet bit on the assembled cabinet instead of dados.Didn't have enough of a surface for my guide bit to ride and seriously boogered it up. Its mechanically sound just ugly. I think I can save it just slapping paneling on the sides and nobody but me is looking inside to see the gaps if I do. But I'm still ticked about it.
oh, this one is my favorite:
If you make an error of sufficient substance to piss you off, put your tools down and walk away for a while. Trying to fix a screw-up while angry can lead to compounded errors that could be avoided with a little distance from the situation.
My disaster stories are all finishing related and nothing I couldn't fix by sanding it back and doing it again. But you are using a finished body (smart!).
Some tips.
Finally, once you get it all together and set up as good as you can...get it professional setup, maybe even consider a professional fret level.
- Tape off all drill bits at the depth you want them to be. This will help keep you from drilling too far. Do not use a stop collar, it can damage the finish
- Tape the wood that you are drilling though, drill through that tape, this will help prevent tear outs in the wood and finish. Low tack blue painter tape or masking tape that you stuck to your jeans and pulled off once or twice to reduced the stickiness
- With holes for pickguards, control plates, etc. you can tape those down and I use a "hinge bit" which has a collar to center the drill bit in the countersunk hole
- Hinge bits won't fit most tuner holes, use a center punch for those
- High speed drilling for hard woods
- Every single screw that goes into the wood should be waxed. They sell little tins of screw wax at hardware stores, but you can use candle wax. Without the wax, a screw is very likely to split hardwood, especially roasted wood, which is more brittle
- In the pilot hole size chart...use the larger "hard wood" pilot hole sizes (most Fender-style screws for pickguard, panels, etc. are #4 and use a 5/64" pilot hole)
Supporting documentation:
Thanks to The Aaron I use the wax ring for toilets, as my screw lubricant. With one ring I got a lifetime supply.
As I read that it seems a bit off, but whatever.
Good advice. But here's the problem: I've got a Warmoth Jazzmaster body on the bench. I sanded through the clearcoat into the dyed wood.oh, this one is my favorite:
If you make an error of sufficient substance to piss you off, put your tools down and walk away for a while. Trying to fix a screw-up while angry can lead to compounded errors that could be avoided with a little distance from the situation.
Why oh why? That stuff is a sticky disgusting mess. How about some wax from an old candle?Thanks to The Aaron I use the wax ring for toilets, as my screw lubricant. With one ring I got a lifetime supply.
As I read that it seems a bit off, but whatever.
Why oh why? That stuff is a sticky disgusting mess. How about some wax from an old candle?
I make the 1st bid @ $10 And I'll pay shipping, sight unseen.Good advice. But here's the problem: I've got a Warmoth Jazzmaster body on the bench. I sanded through the clearcoat into the dyed wood.
Oh, I definitely walked away. No compounding errors for me.
The problem is that this happened 4 months ago, and I have ZERO interest in sanding back and starting over. Again. Because I already started over two previous times.
I'm debating throwing the stupid thing on eBay for a $1 starting price, and just walking away.
Why oh why? That stuff is a sticky disgusting mess. How about some wax from an old candle?