Leaderboard

This ones not a Tele, Well..not really.

PhilHill

Hero Member
Messages
1,653
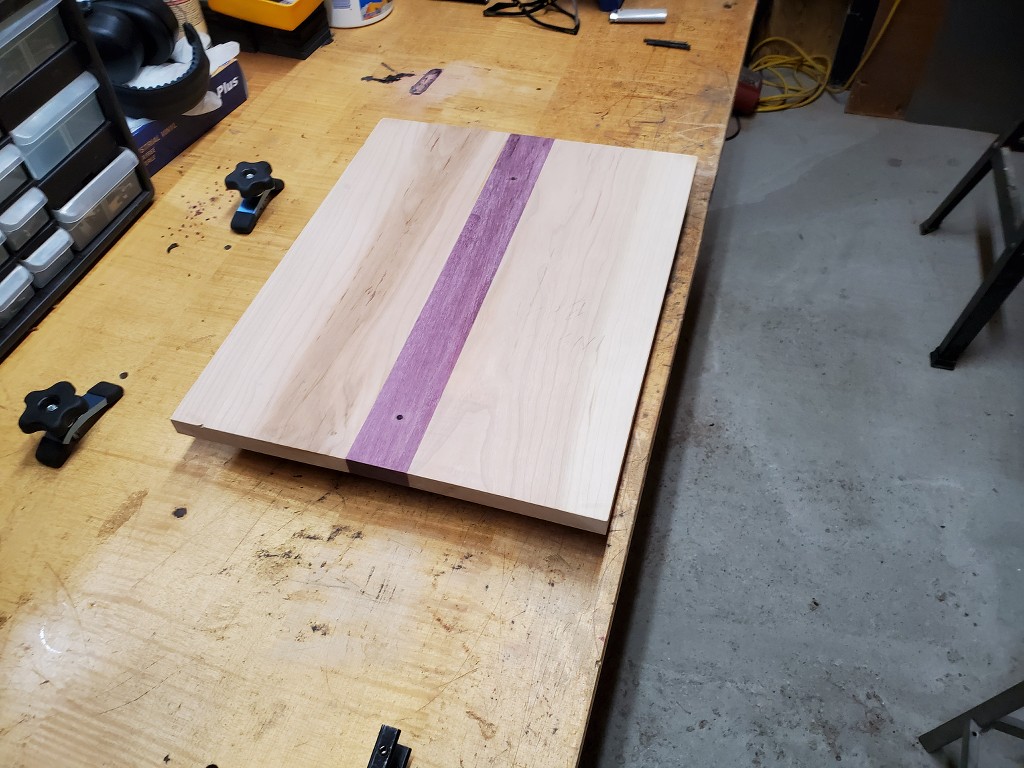
It would seem that as I was finishing the last one, someone sneaked into the shop and left some cherry wood, purpleheart, and curly maple on my bench.

.
Ppv4zb.jpg

tqAm7c.jpg


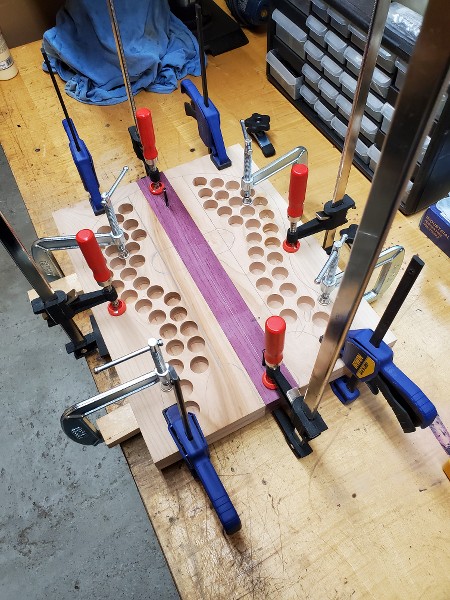
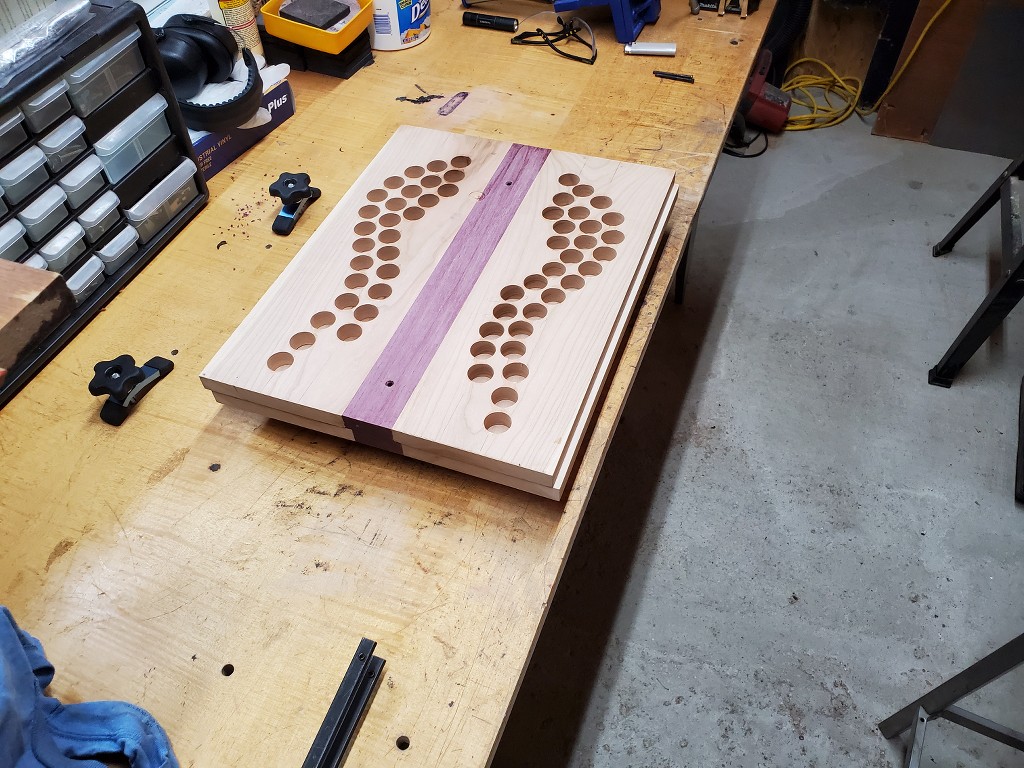
.So I was forced to do something with it. Made two plates of cherry and purple. I took my Tele pattern, traced one side, flipped it and traced the other. Then rounded out the bottom. Drew the result on one one plate and chambered it. Then slapped it on top of the other plate.
FebEQh.jpg

go9EHu.jpg


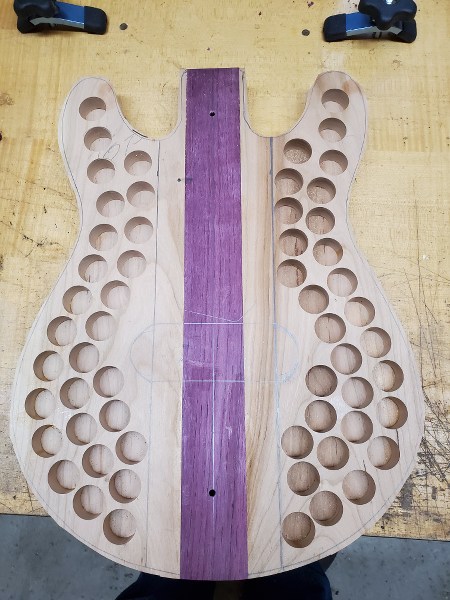
.Then I made good use of my new bandsaw.
giIois.jpg


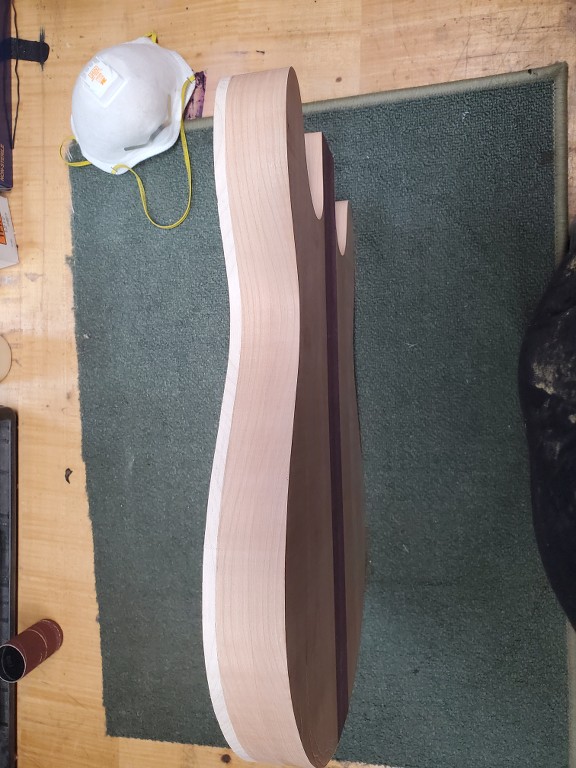
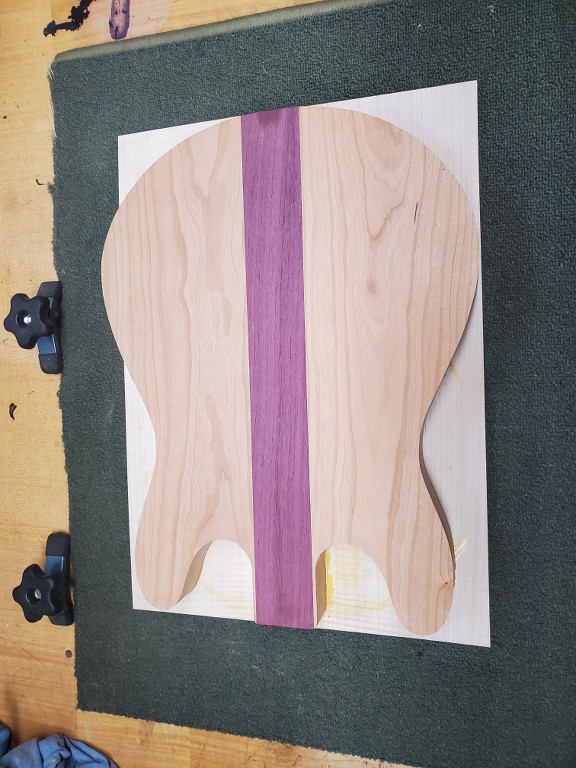
. Thence came the maple to cap it off.
ZnJK3S.jpg


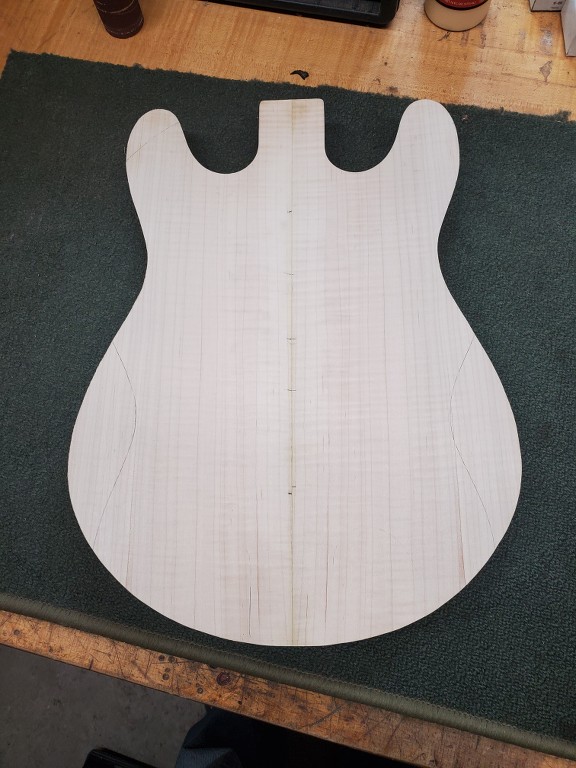
. Some combined saw and router trimming and we have this:
5llcP7.jpg

DOCJTF.jpg

zYj8cD.jpg


.
What comes next will depend on how much energy I have, Err..I mean how inspired I get in the near future.  Don't have much choice really, Capt. Picard has ordered "Make it so."


We shall see. :headbang:
 
I like what you're doing here. Nothing is cooler than a double cut Tele. Especially one made from these woods and chambered like that.
 
Rgand said:
I like what you're doing here. Nothing is cooler than a double cut Tele. Especially one made from these woods and chambered like that.

Gracias. Even though the cherry is four pieces, the grain matched up pretty good. The purpleheart is even better, I think the two pieces are actually bookmatched.
The end grain on the cherry has some dark areas in it, so we'll see what happens when it's finish time.  :dontknow:
 
Oh wow, purpleheart! Looks amazing.

You got any photos of that top with some naptha / alcohol on it? Would be interested to know how it's going to look finished.
 
Howdy Folks, here at the Martin Sheen Institute for Wayward Offspring we believe in staying busy. So in that light, I attempted to get a pic of the body wet down with naptha. However it's been hotter than J-Lo in july here as of late so I have a lot of air moving through the shop to try to cool things down a little. So the solvent was drying faster than I could get a picture.
z4Y0s1.jpg


. That's the best I could get. Figured as long as I'm in the shop avoiding actual work, that I'd get the neck pocket routed. So we setup the rigamarole and had at it.

MpZAiV.jpg


.Hogged out the middle part with a wide bottom bit, then used the flush trim to clean it up. Once again I am astounded by the fact that I didn't screw it up.

hsINlN.jpg


. Apparently luck smiles upon me. I shall proceed carefully.
In the meantime Folks, always remember the words of the great Groucho Marx, who once said "Outside of a dog, a book is man's best friend. Inside of a dog, it's too dark to read."

:headbang:
 
Bagman67 said:
That's a tidy bit of work, Philberto.  Nicely done.

Thanks. I have found that the secret is the center line, always follow the center line. The rest will take care of it self.
That, and a lot of luck helps too.  :cool01: :cool01:
 
Clean. Looks good. Yes, that centerline definitely is king when it comes to routing.
 
Rgand said:
Clean. Looks good. Yes, that centerline definitely is king when it comes to routing.

That's the fun part when you have a multi-piece body, do you use the center of the center piece or the center of the overall body if there's a difference. Depends on the shape of the body and it's level of symmetry in relation to the average Kardashian behind. That, or just take a wild guess and wing it.  :headbang:                                                             
 
More progress, slow but sure which at my age is the way to go. Began the contouring, put a small belly tuck in then rounded over some edges. Put preliminary neck mount holes and angled the heel. Somewhere I have a list I once made up of the greatest inventions in wood working tools. Some of the high ranking ones are : the pull saw, the Forstner bit, and the Shinto rasp. Anyone who works with wood should have these, they are the bomb. Anyway, the purpleheart tried to argue, but in the end, all must submit to the Shinto

.
z8S9OB.jpg


.Then I employed the masking tape and super glue method of immobilization for routing.

.
R9B9mS.jpg


.
SEO7wn.jpg


.
SgBEXo.jpg


. Now it awaits my decision on pickups so the cavities for those can be routed. Not quite sure yet which way I want to go on pickups and bridge. Contemplation will be required....

But in the meantime, please remember the words of Will Rodgers who once said, "Thank goodness We're not getting all the Government We're paying for!"
 
Thanks. It's a 3/8 rounding bit and yeah, it seems to fit just right. It's hard to realize that the size of the radius on a corner can make a big difference in the overall look.
 
More progress, spent some time routing for pickups and a control cavity. It's really fun routing a cavity in a body that's been chambered, the router keeps wanting to become a ukulele. I say that because ukulele is a Hawaiian word meaning "jumping flea". Hilarity nonstop.
Anyway, enough of my whining, got the routing done and did some progressive sanding down to 350 grit. Then I decided to try something new, I had a can of Mohawk toner/finish in dark red, did the sides to blend the differences in grain pattern, and did a bit of a burst on the back. Still deciding whether or not I like it.

.
hD7RDZ.jpg

8ysxi2.jpg


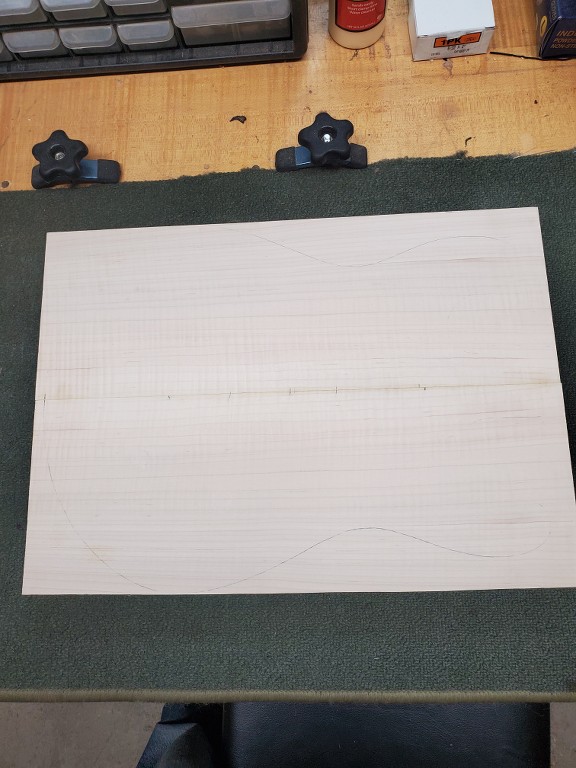
. For the top I went with a purplish kind of thing. The top was on the clearance aisle at the hardwood dealer cause it was listed as single A grade. Got it for $18. US

.
zbHyj8.jpg

6bYTRE.jpg

Ve3xwL.jpg


. So this is how it sits at the moment, waiting for me to get the gumpshun up to choose a neck and hardware. I'm kinda thinkin' another quartersawn bloodwood neck with ebony board cause I'm really liking the one I have. Hardware will most likely be some kind of Strat Hardtail or shortened Tele bridge with Hipshot locking tuners, all in chrome probably.

I will meditate on it..... :occasion14:

. And as Shakespeare said "The Beat, it goeth On."
 
I'm following this thread really closely - love the body shape, and think you've made a great start to that finish, both front and back.  Carry on!  :icon_thumright:
 
Zebra said:
I'm following this thread really closely - love the body shape, and think you've made a great start to that finish, both front and back.  Carry on!  :icon_thumright:

Thanks much for the vote of confidence.  :headbang:
 
I put a heavy coat of TO on, let it harden and sanded almost all of it off. Now it has two light coats that are hardening before the next one.

.
VmoHUZ.jpg


.
0U4pWM.jpg


. Ditto with the back. Then I noticed the run that snuck by me, got some of it off and I'll wait awhile before going further. There's always something to add to the fun.

.
abukeI.jpg


So now it goes on the back burner for the time being, while it hardens...


.  Stay Ye safe and healthy.    :headbang:
 
Rgand said:
It's really coming along! What a fine looking guitar.

I'm happy so far, except for the drip. I'm now kind of wondering if a maple/maple neck might look better with the body being darker.
 
PhilHill said:
Rgand said:
It's really coming along! What a fine looking guitar.

I'm happy so far, except for the drip. I'm now kind of wondering if a maple/maple neck might look better with the body being darker.
The contrast of maple/maple might look quite good, perhaps roasted maple/roasted maple because it would still pull some of the back tones forward. It is an excuse to buy another neck, too.  :icon_biggrin:
 
Back
Top