kdas3
Newbie
- Messages
- 24
Hi everyone,
I recently modified the wiring scheme that Suhr uses in their HSS guitars to include a neck on and bridge split option. The purpose of the Suhr style HSS wiring is to ensure that the humbucker sees a regular humbucker load (usually 500k vol and 500k tone = 250k load), and the single coils see a regular single coil load (usually 250k vol and 250k tone = 125k load). To do this, they utilise a 5 way superswitch (4P5T) which introduces resistors in parallel from hot to ground, in order to modify the total load in the circuit.
My modifications to the Suhr diagram include:
[list type=decimal]
[*]Neck on switch via push/pull on Tone 1.
[*]Bridge split via push/pull on Tone 2.
[*]Tone 1 affects positions 3-5 and Tone 2 affects positions 1-2. Here position 1 is bridge humbucker.
[*]A modified treatment of the bridge slug positions. Suhr treats the bridge slug coil like a regular single coil. I found that by doing this, the bridge slug was way too dark (using a bareknuckle humbucker). Maybe Suhr humbuckers are created specifically for HSS guitars, so their wiring makes sense in their guitars. And for you techies, in my wiring diagram the mid/bridge slug position sees a 250k load, and the bridge slug position sees a 200k load.
[/list]
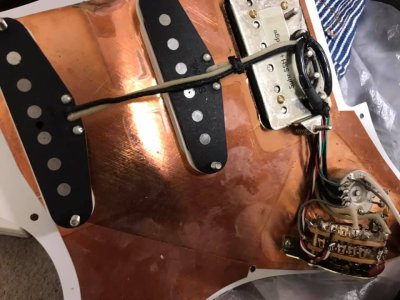
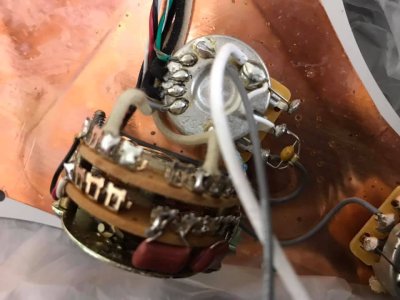
I have included versions of the wiring diagram with and without switches. Also, I have implemented this wiring, so it does work. And others on other forums have too.
Edit: You need to be careful about your bridge humbucker's magnet polarity in order to get humcancelling in the mid/bridge slug position. Most single coils (eg Seymour duncan, Lollar, Fralin) are south up, so the RW/RP is north up. Pretty much all humbuckers have the bridge slug being north. So e.g., if you use Seymour duncan singles, you will need a flipped magnet humbucker. Bareknuckle will do this upon request, not sure about others. To make it more confusing, some vintage or vintage replica single coils are north up. Anyway, just be aware of this before you decide to implement this wiring!
Edit 2: The humbucker colour coding convention in this diagram is for a Bareknuckle humbucker. Please make sure that if you use SD or Dimarzio or etc, that you take this into account. The corresponding wire associated with each colour is listed in the top right corner of the diagram. And please note, most manufacturers will use 'North start' to mean 'Slug start' and similar for the other wires, but for this case this is not a good idea because if you do need to flip your humbucker magnet, your slug coil is now the south coil.


I recently modified the wiring scheme that Suhr uses in their HSS guitars to include a neck on and bridge split option. The purpose of the Suhr style HSS wiring is to ensure that the humbucker sees a regular humbucker load (usually 500k vol and 500k tone = 250k load), and the single coils see a regular single coil load (usually 250k vol and 250k tone = 125k load). To do this, they utilise a 5 way superswitch (4P5T) which introduces resistors in parallel from hot to ground, in order to modify the total load in the circuit.
My modifications to the Suhr diagram include:
[list type=decimal]
[*]Neck on switch via push/pull on Tone 1.
[*]Bridge split via push/pull on Tone 2.
[*]Tone 1 affects positions 3-5 and Tone 2 affects positions 1-2. Here position 1 is bridge humbucker.
[*]A modified treatment of the bridge slug positions. Suhr treats the bridge slug coil like a regular single coil. I found that by doing this, the bridge slug was way too dark (using a bareknuckle humbucker). Maybe Suhr humbuckers are created specifically for HSS guitars, so their wiring makes sense in their guitars. And for you techies, in my wiring diagram the mid/bridge slug position sees a 250k load, and the bridge slug position sees a 200k load.
[/list]
I have included versions of the wiring diagram with and without switches. Also, I have implemented this wiring, so it does work. And others on other forums have too.
Edit: You need to be careful about your bridge humbucker's magnet polarity in order to get humcancelling in the mid/bridge slug position. Most single coils (eg Seymour duncan, Lollar, Fralin) are south up, so the RW/RP is north up. Pretty much all humbuckers have the bridge slug being north. So e.g., if you use Seymour duncan singles, you will need a flipped magnet humbucker. Bareknuckle will do this upon request, not sure about others. To make it more confusing, some vintage or vintage replica single coils are north up. Anyway, just be aware of this before you decide to implement this wiring!
Edit 2: The humbucker colour coding convention in this diagram is for a Bareknuckle humbucker. Please make sure that if you use SD or Dimarzio or etc, that you take this into account. The corresponding wire associated with each colour is listed in the top right corner of the diagram. And please note, most manufacturers will use 'North start' to mean 'Slug start' and similar for the other wires, but for this case this is not a good idea because if you do need to flip your humbucker magnet, your slug coil is now the south coil.