

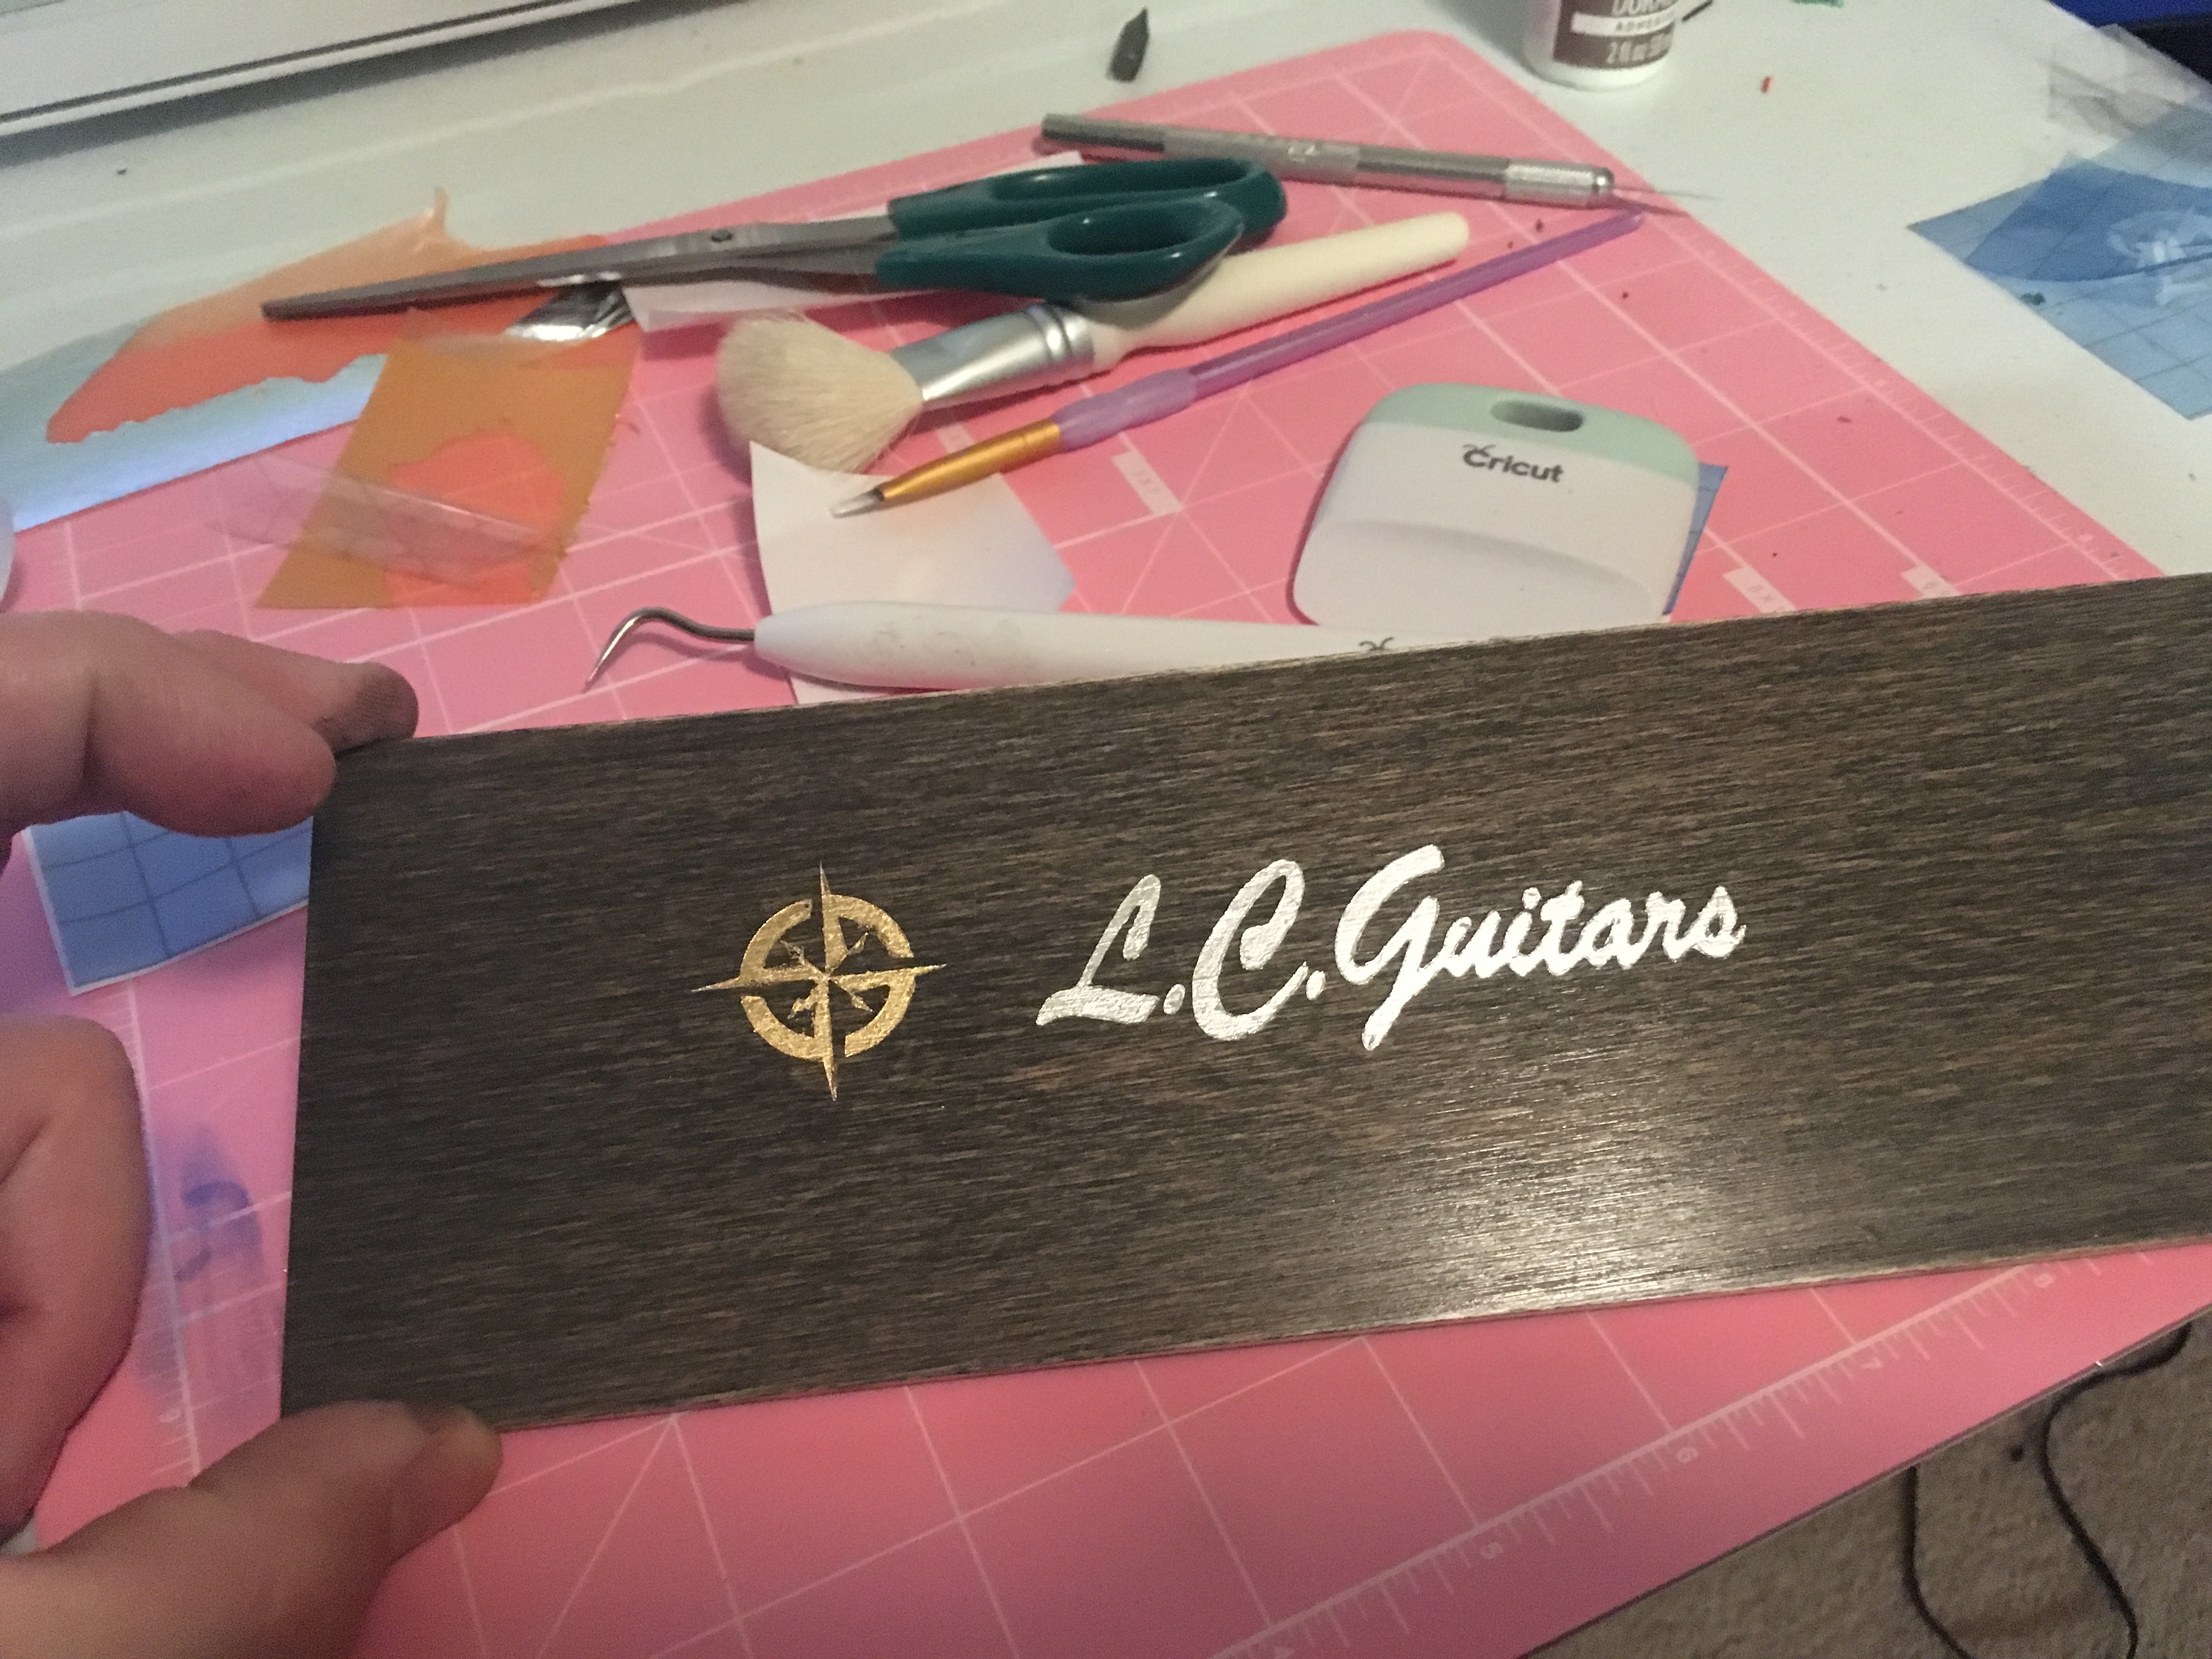
If like me you are tired of the waterslide decals, I have found an alternative. Gold and silver leaf, or gilding. I had seen this technique used in the past on motorcycles and hot rods I thought I would give it a try on guitar headstocks.
Equipment:
First you need something to cut out a logo/design for a stencil. If you have a steady hand and an artists touch you could do this with a razor knife I don't have either.
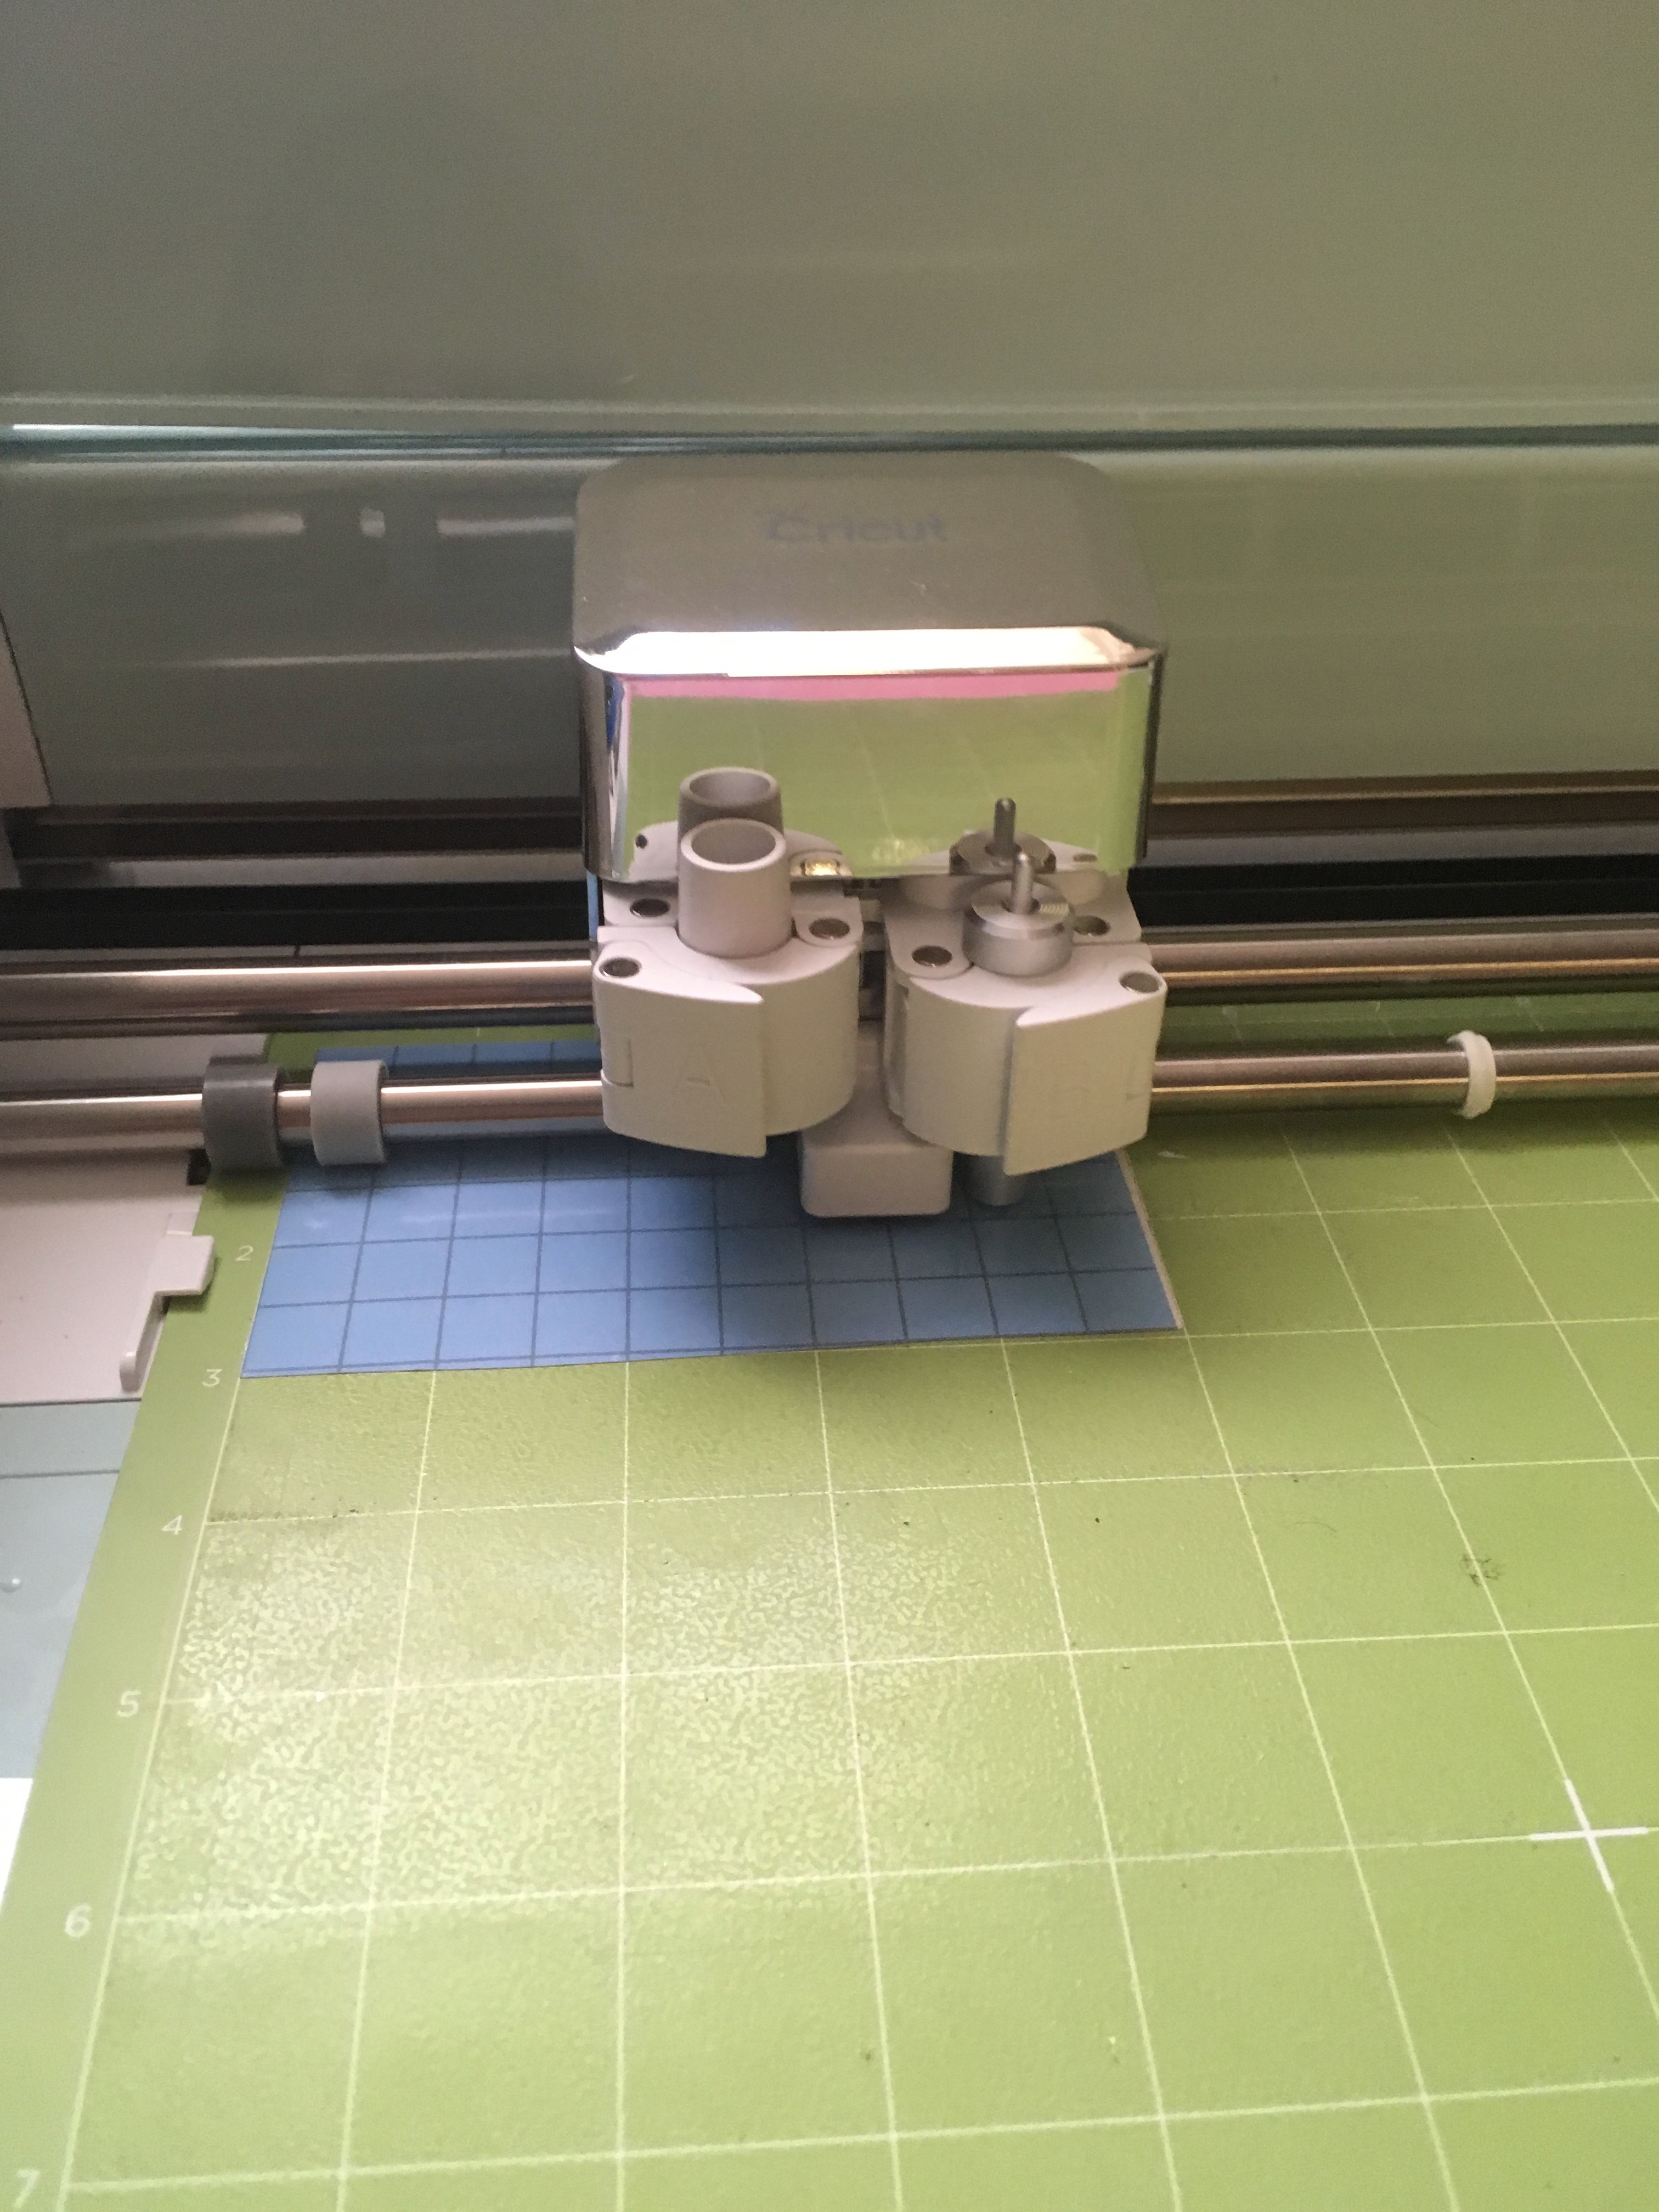
I use a Cricut Explore Air 2, about $240 on Amazon with some vinyl and tools.
Stencil vinyl
Transfer vinyl
Weeding tools
Razor knife or cutting wheel
Cutting mat
First create the image in Cricut Design Space(online design program that comes with the cutter)
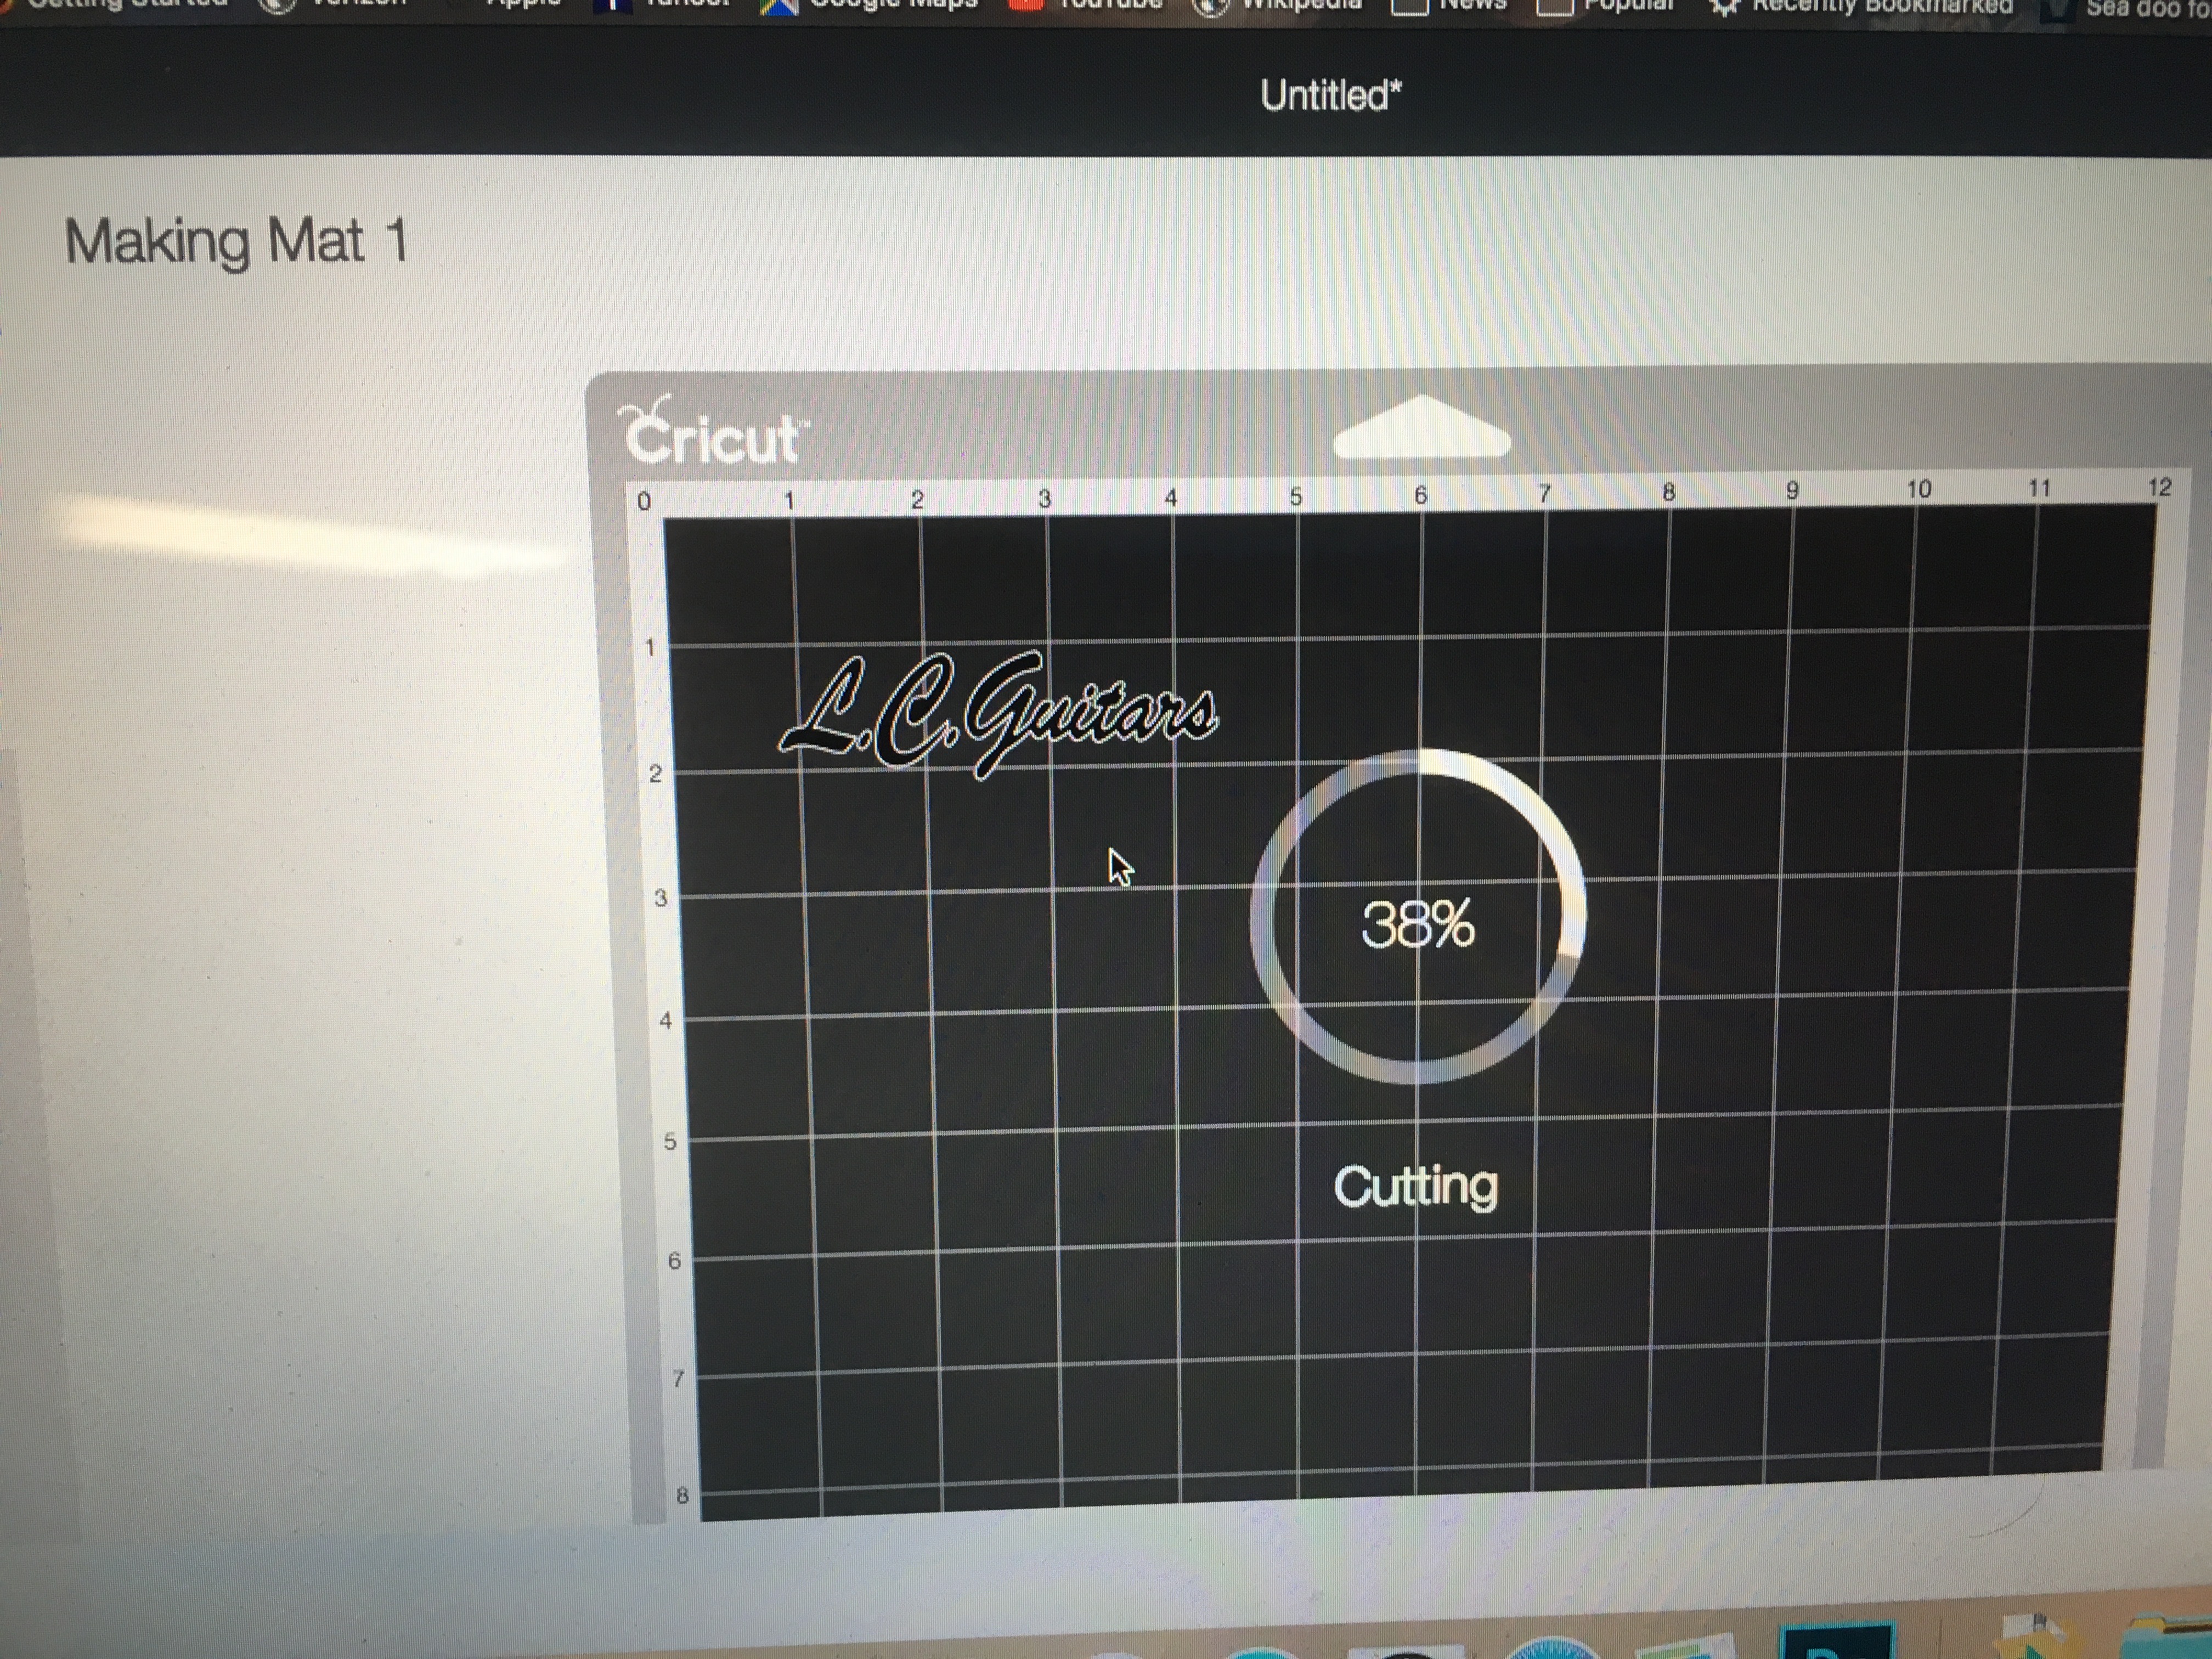
Cut out the design
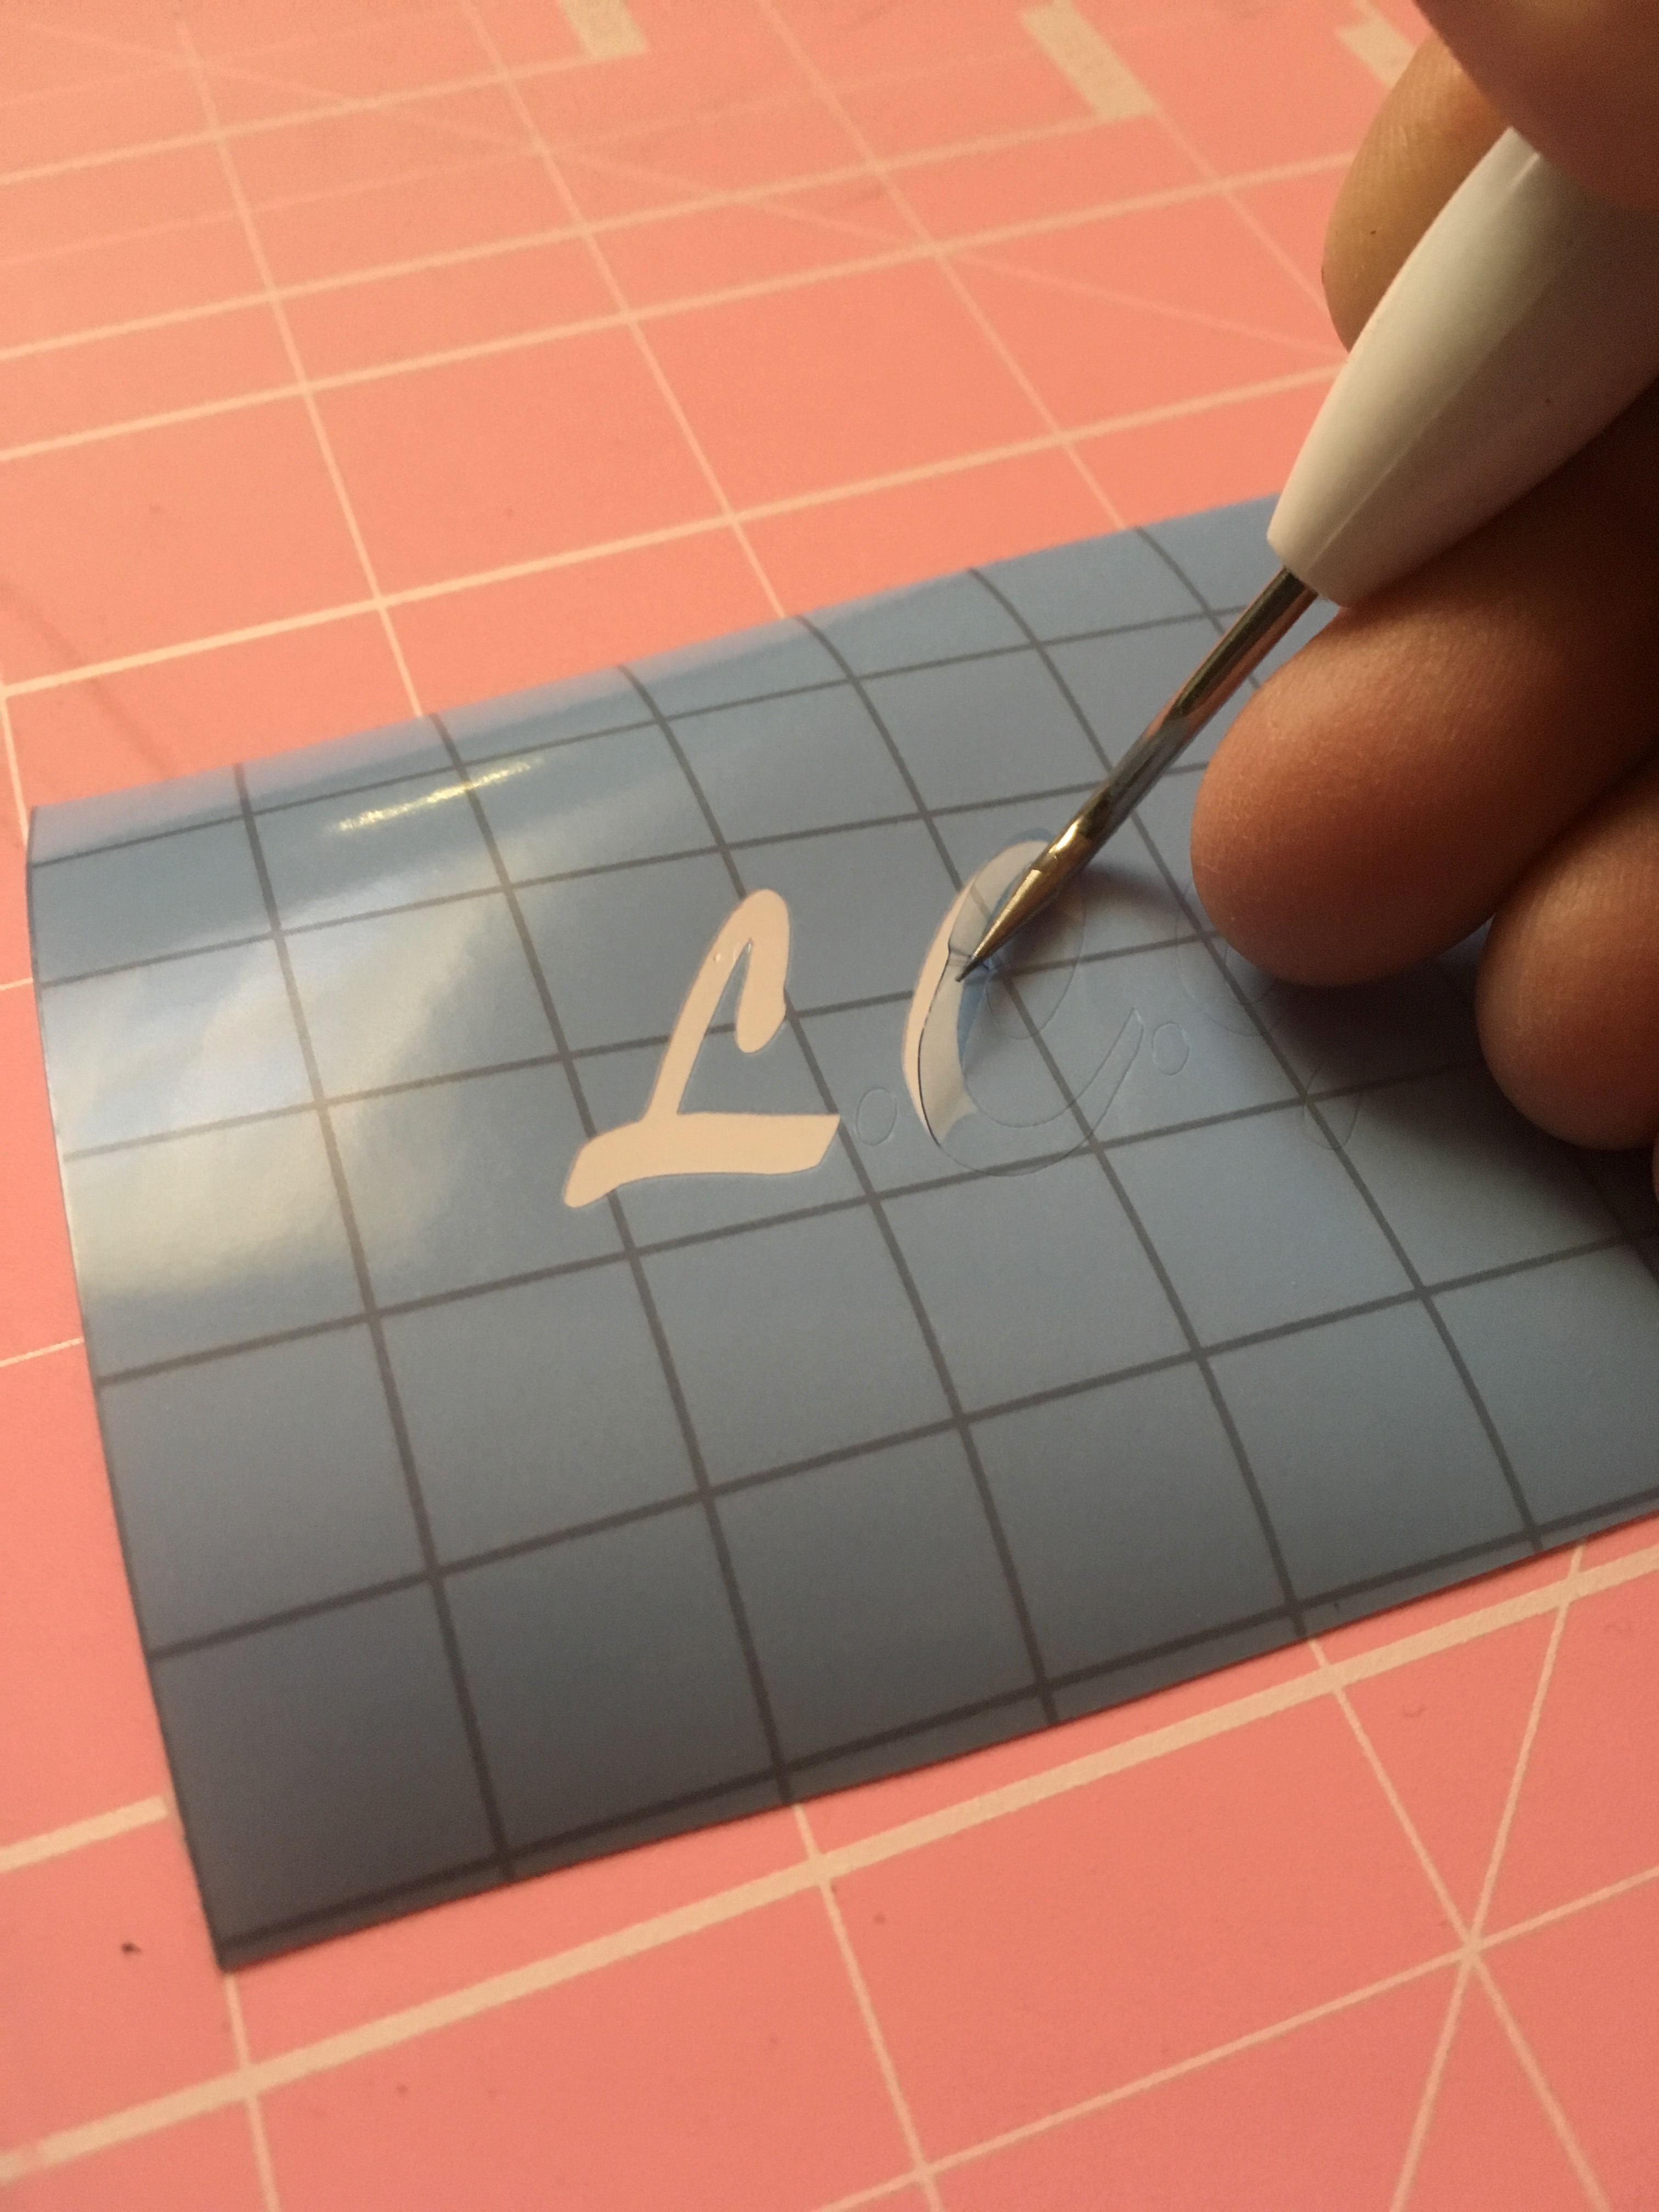
Weed the stencil
This is where you remove all of the parts that you want to see in your finished design.
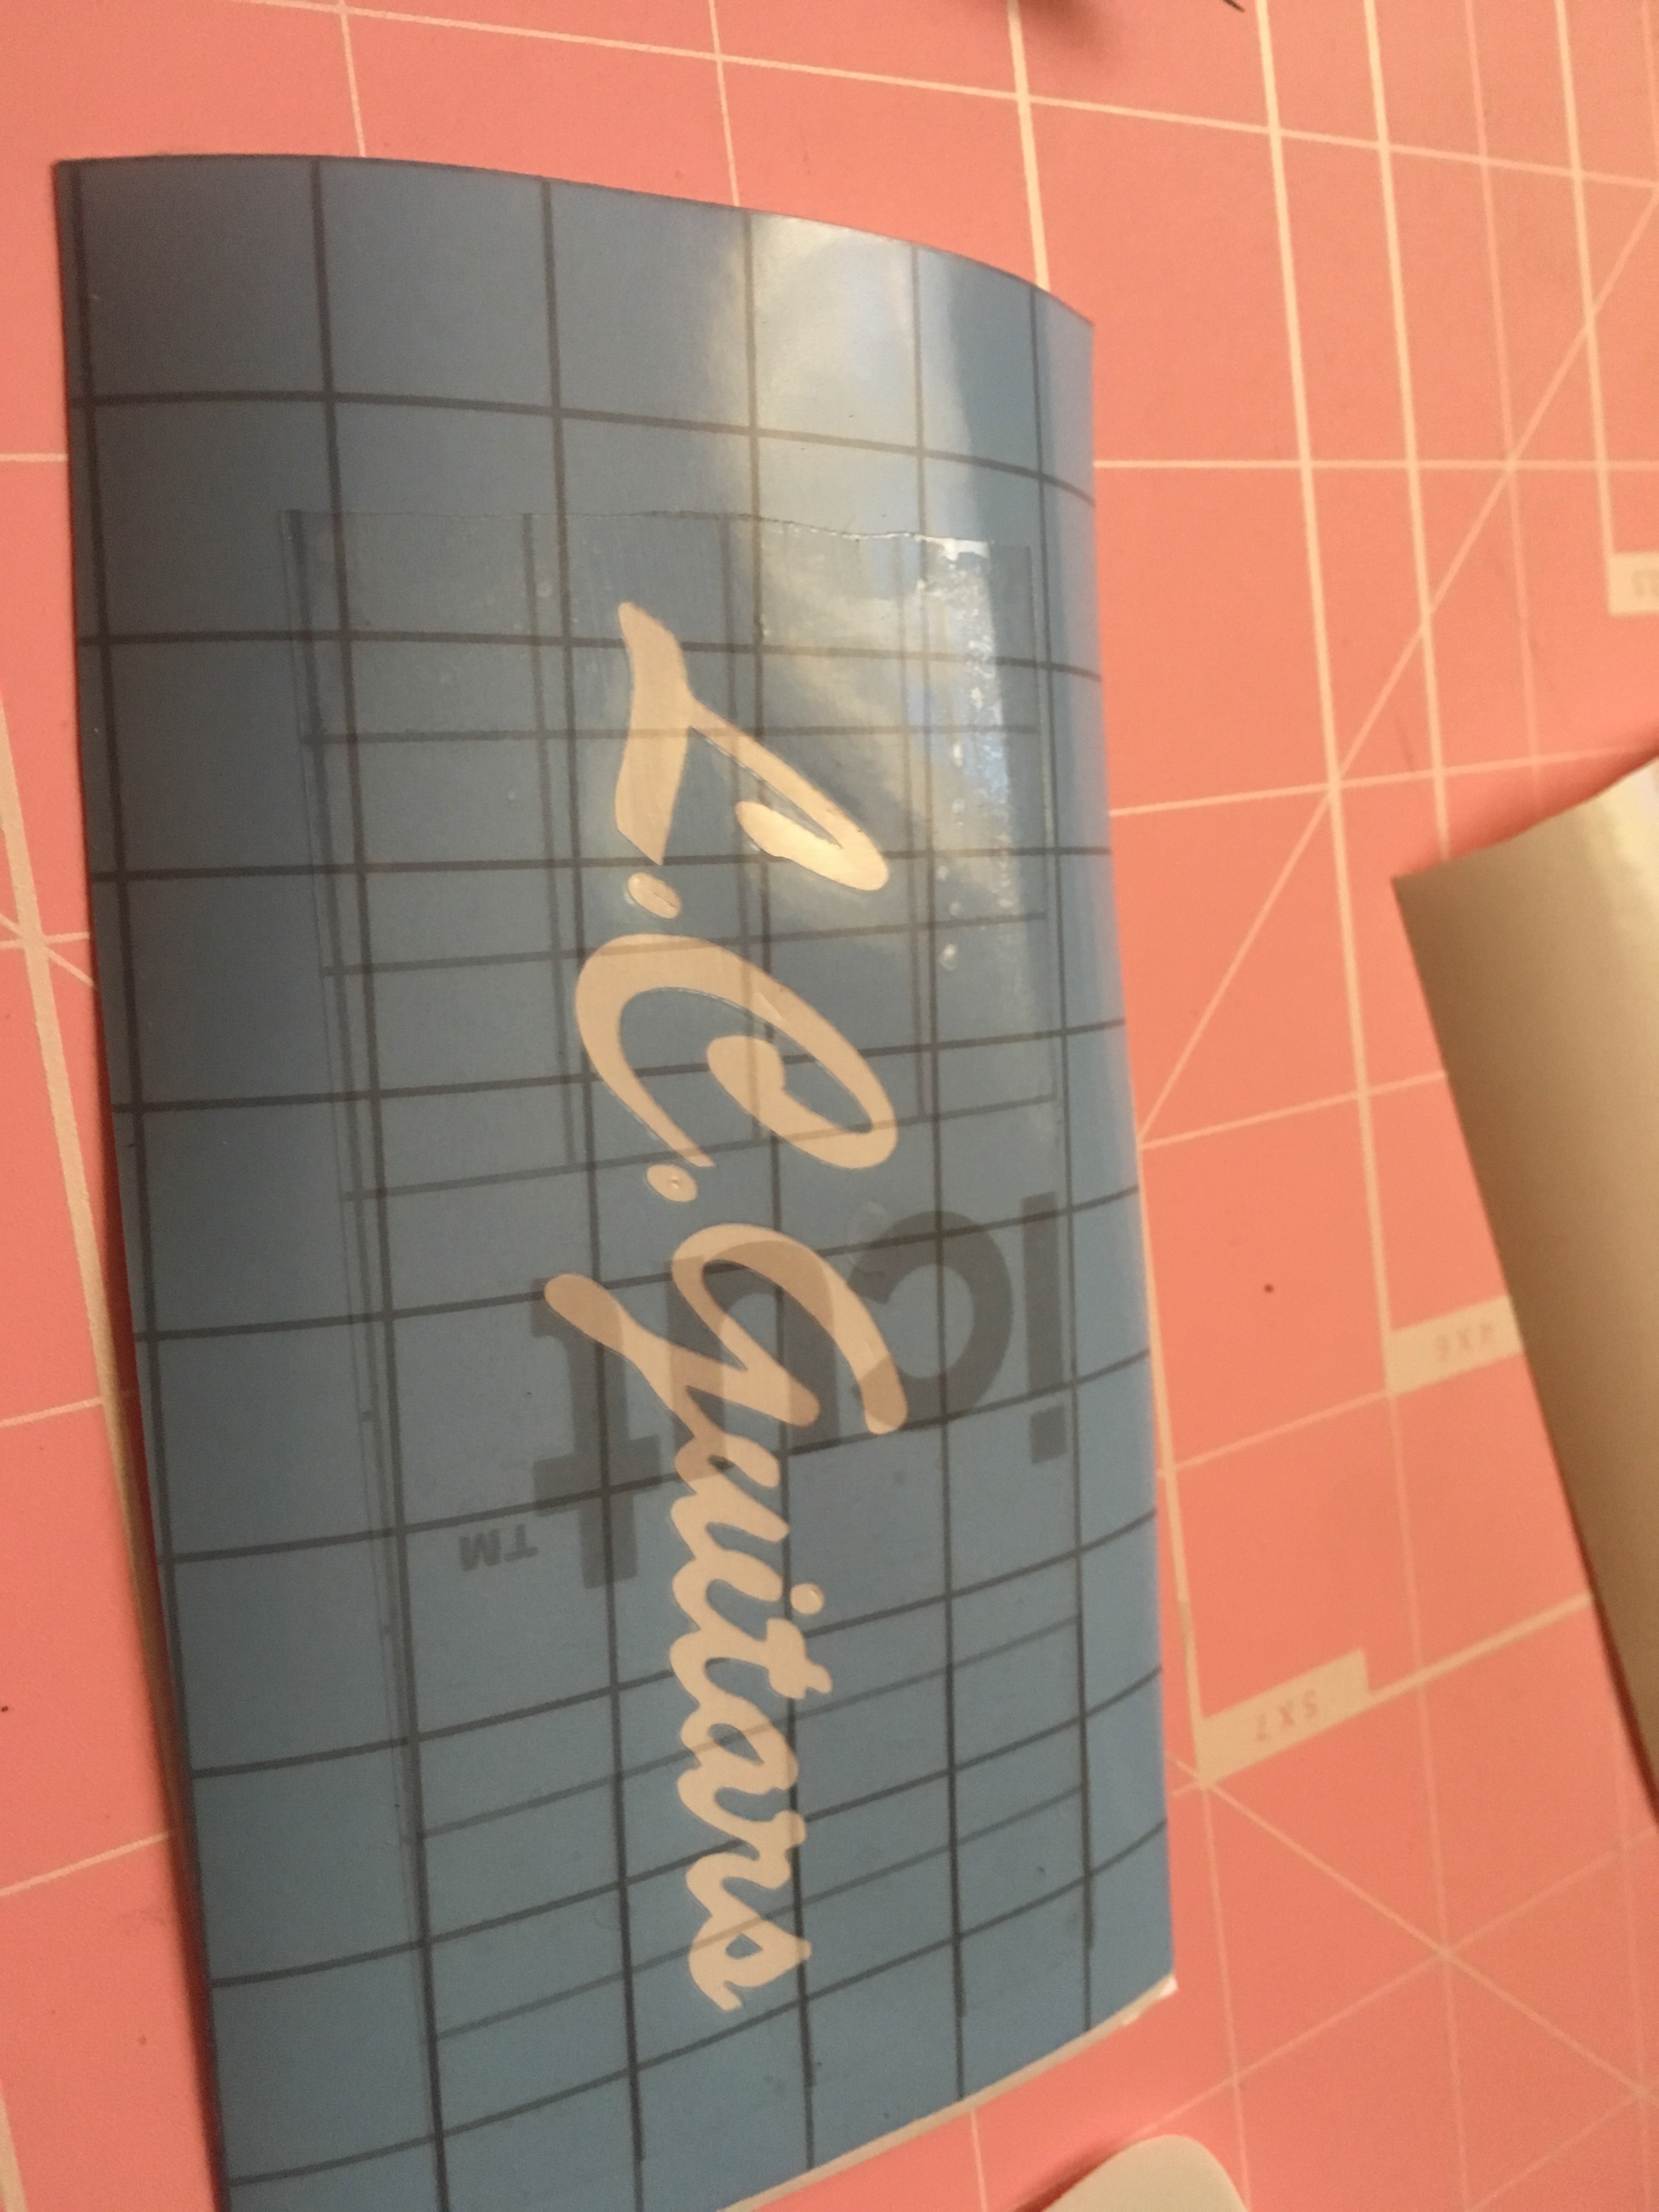
Layer on the transfer vinyl
The clear transfer vinyl sticks to the decal used for the stencil, this keeps all of the little pieces in the right place so you can transfer the stencil to your work piece.
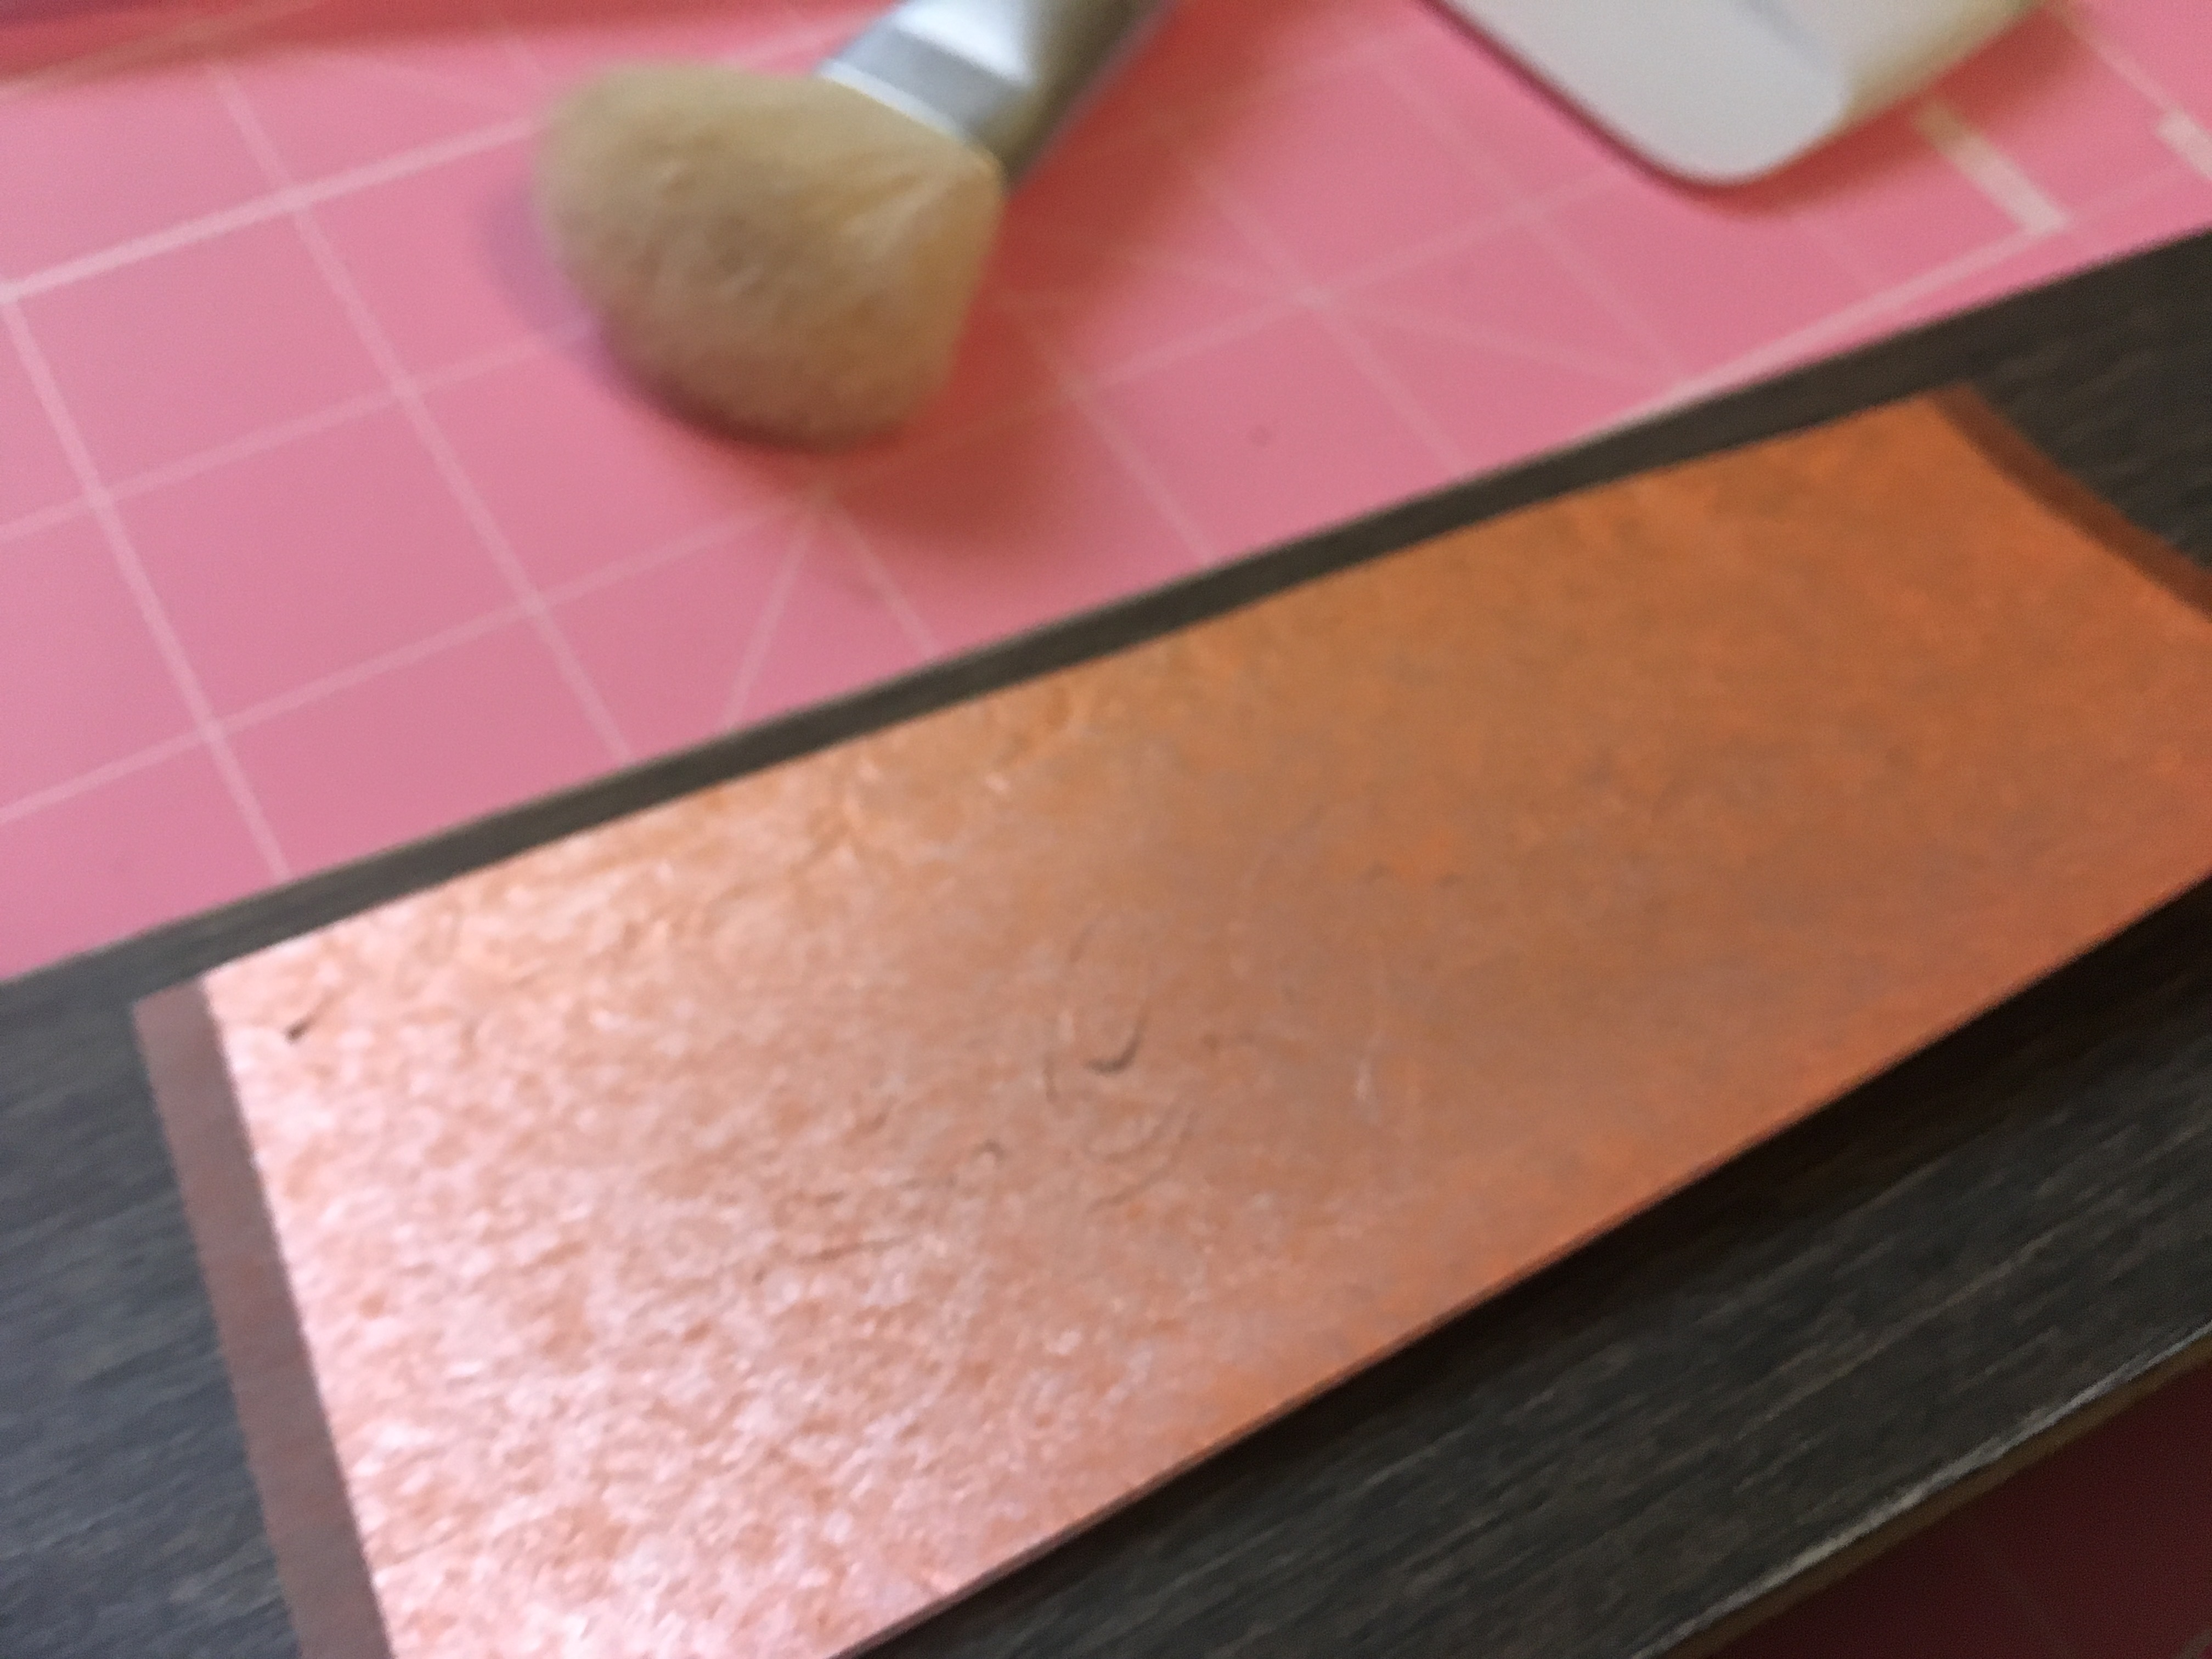
Be sure to burnish it in very well with the squeegee.
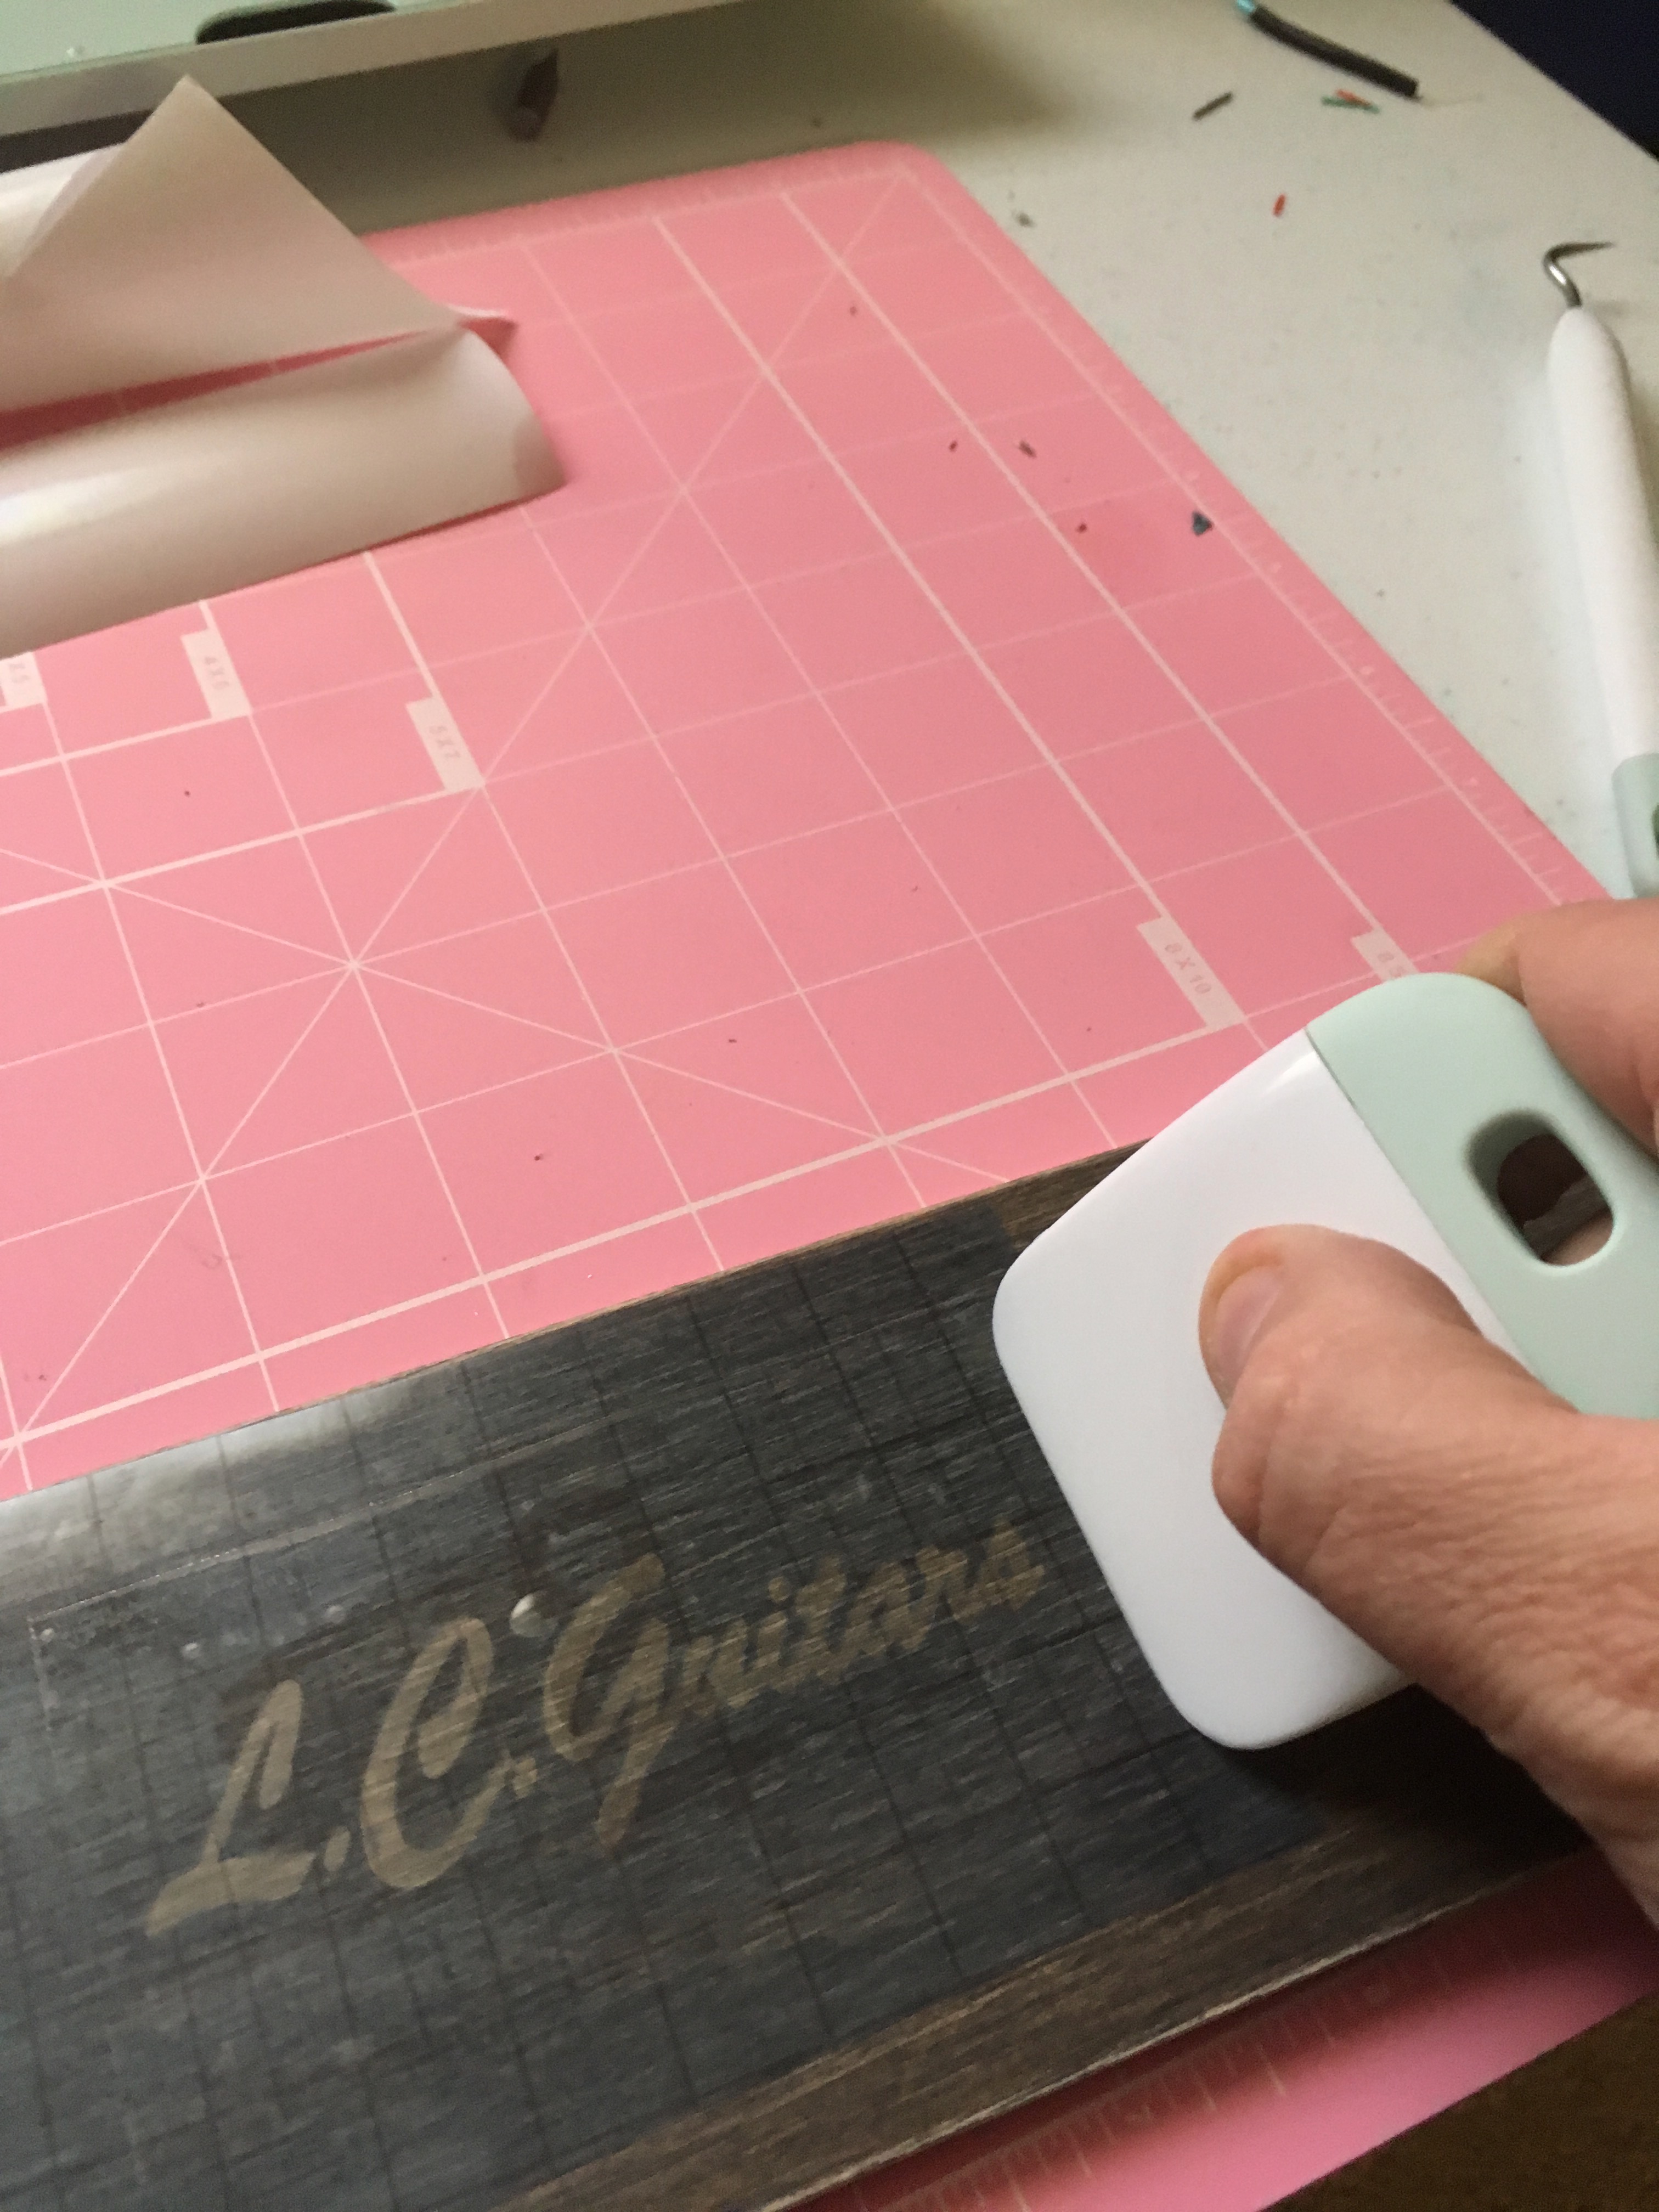
Transfer to the work piece and burnish it in again, slowly remove the transfer film making sure the stencil stays put.

Equipment:
First you need something to cut out a logo/design for a stencil. If you have a steady hand and an artists touch you could do this with a razor knife I don't have either.
I use a Cricut Explore Air 2, about $240 on Amazon with some vinyl and tools.
Stencil vinyl
Transfer vinyl
Weeding tools
Razor knife or cutting wheel
Cutting mat
First create the image in Cricut Design Space(online design program that comes with the cutter)
Cut out the design
Weed the stencil
This is where you remove all of the parts that you want to see in your finished design.
Layer on the transfer vinyl
The clear transfer vinyl sticks to the decal used for the stencil, this keeps all of the little pieces in the right place so you can transfer the stencil to your work piece.
Be sure to burnish it in very well with the squeegee.
Transfer to the work piece and burnish it in again, slowly remove the transfer film making sure the stencil stays put.
")