seattlesteveo
Newbie
- Messages
- 22
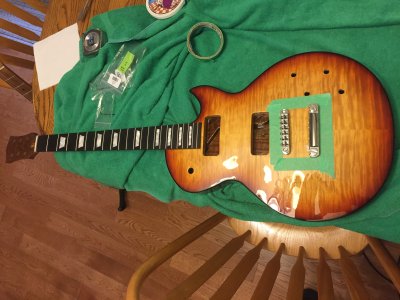
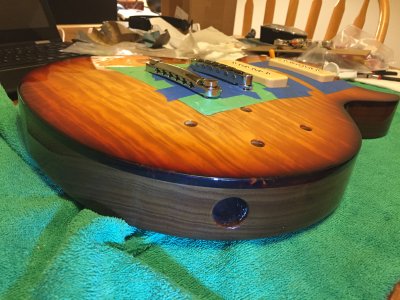
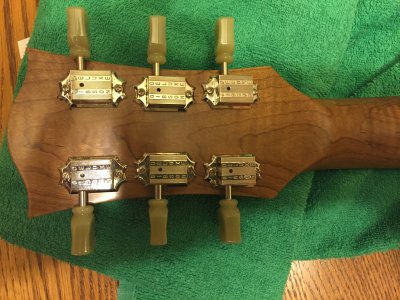
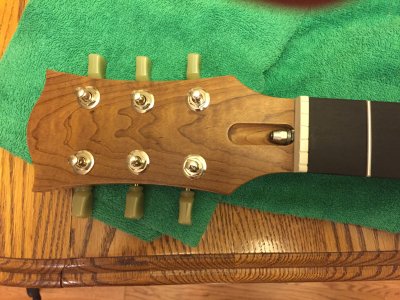
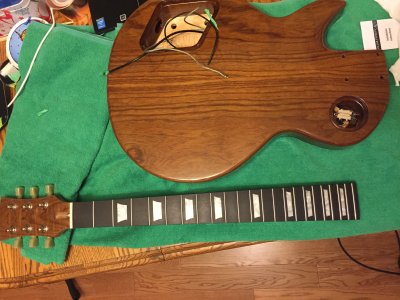
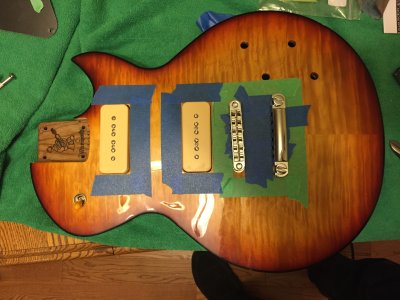
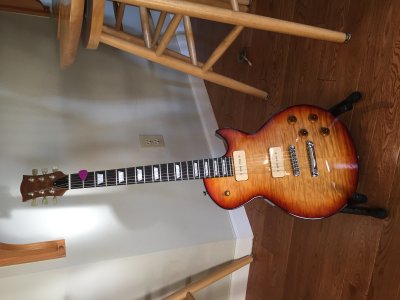
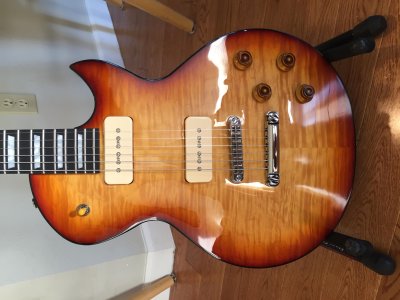
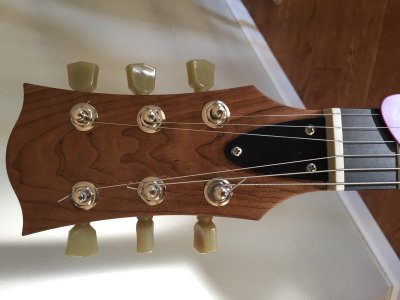
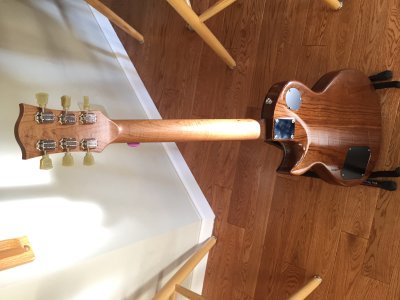
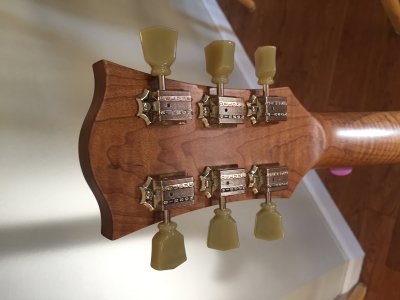
Here are some build pics of my Regal/Hombre build. This is pretty simple compared to some of the great instruments I see here, but I really enjoy making and playing these guitars. I was going for a Les Paul with P90's look.
I could not have done this and my other 2 builds without all the how to videos on youtube and the posts here on this forum. Especially helpful to me were the threads about waxing the screws and being very careful not to snap the heads off the small screws and burnishing the raw woods.
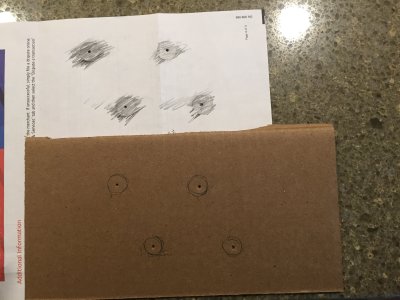
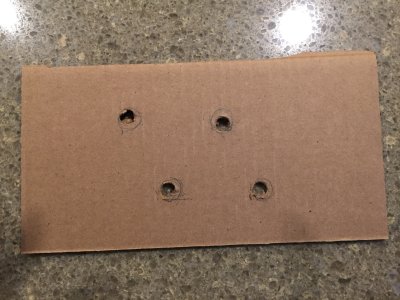
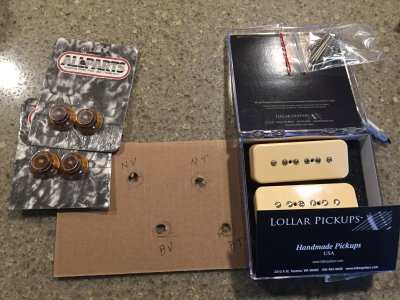
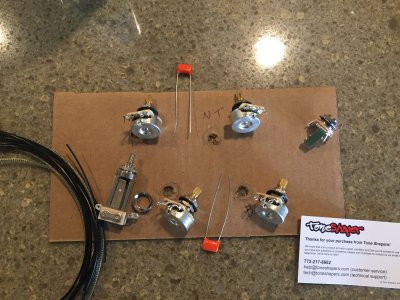
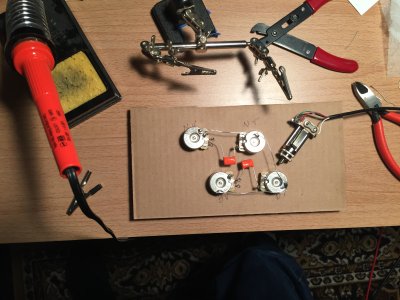
I ordered parts while waiting for the body and neck to arrive. I traced the knob layout from my 2001 R8 Les Paul so I could make a template and begin soldering the controls. I soldered the pots and pickup switch cable, so they were ready to drop in when the body arrived. When researching pots, I saw on Toneshapers that they sold CTS pots with 24 teeth, so an internet search turned up atlanticcustomguitars.com for Gibson style knobs made for 24 teeth shafts. Lollar pickups are located near me, so I ordered their P90 pickups.


