Really basic question!

Soloshchenko

Senior Member
Messages
430
I'm about to start filling the grain of an unfinished mahogany body, should I sand with 400 or 320 grit first or is there no need? Thanks!
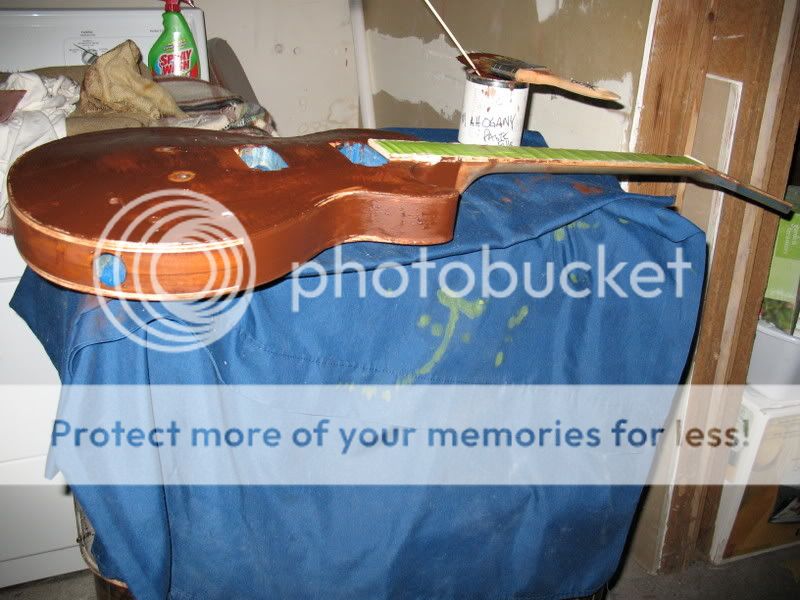
 
There is DEFINATELY a need to fill, and to sand, and when you see that stuff on the body.. you'll know that 400 grit is not gonna cut it.

Generally grain filler should be left on until quite hard, after its initial scraping.  What I have done, is instead of applying with a brush, then scraping back, is to just sort of fill the body like I'm covering a nail/screw depression in drywall.  IOW, just sort of scrape it onto/into the wood to begin with and have as little excess as possible. 

I'd use 220 grit for first sanding.  Fill again.  220 grit again.  Fill again.  Now maybe go 320.  Use the good "non-clog" sandpaper.  There are some pretty good premium papers out there, and I really suggest getting them.  Even Home Depot has seen this and carries a "better grade" line.  Get it.  its worth the extra expense... as it lasts much longer and clogs very little. 

Important to let the filler dry before sanding.  IMPORTANT to use a sanding block.  IMPORTANT to use a sanding block.  IMPORTANT to use a sanding block <--- can I say that enough?  If you dont use a block, you're body is going to look all wavy.  Just use the block for Pete'sake!

Once you get all the filler removed, a final sanding with 320 is fine.  Dye if you're gonna, or omit the dye and go to sanding sealer (clear).  Then clearcoats.  If you're using solid color, just sanding seal over grain fill and color coat, then clearcoat.  Burst... dye, sealer, burst, clearcoat.  Dont want to seal before dying.  You can also dye dark, sand back, dye again in other color, seal, etc etc etc.    (I'd love to know the recipe for the bengal burst they do).

Hope that helps ya.
 
Bengal burst? Looks like they use your "blue jean" process, sanding back a black dye then adding the amber/orangish tint where you do the blue, then spraying the back/burst over in gloss black, then more clearcoat on top of that.
 
It really does help a lot man, thanks but I really mean should I sand an unfinished warmoth body BEFORE starting the filling process?

Or is it okay to just put the stuff straight on?
 
jackthehack said:
Bengal burst? Looks like they use your "blue jean" process, sanding back a black dye then adding the amber/orangish tint where you do the blue, then spraying the back/burst over in gloss black, then more clearcoat on top of that.

Yah something like that - but I'm just experimenting with the dark dye sanded back... maybe they use filler?  I dunno, but the Bengal burst - on the right top, wide flames... that really is a nice finish. 
 
Soloshchenko said:
It really does help a lot man, thanks but I really mean should I sand an unfinished warmoth body BEFORE starting the filling process?

Or is it okay to just put the stuff straight on?

The Warmoth body should be sanded to 220grit.  Unless you have an issue - dinged edge or something that needs to be raised and made right first -  just go right on the wood with the filler.  The thing with filler - is its a bit of a @#$@#$ to sand off.  So you put some on... sand it off, put more on, sand it off... etc.  Several thinner applications seem better.  When you're done, you MIGHT go over the body with 400 grit, and check it meticulously for places that still need filling, just in case you missed something.  Its much easier to fill wood now, than level out a sunken finish later.  The latter can be done, but... it requires more work, more waiting...
 
CB is right filling it is a pain.  I use oil base fillers.  Brush it on across the grain, let it flash off so it looks dull, then squeegee it off across the grain and then rub it down with burlap.  Let that set a few days and then use a 3M 320 sanding sponge to get it smooth.  Then I shoot one wash coat of laquer and let it set over night.  Level sand lightly with 320 paper and then do one more coat of filler with the same application method as the first.  Let that shrink about  a week and then shoot it with two full coats of finish.  Let it set two days and then level sand it with 320 and your ready to start with the finish coats.

You might see some small dimples after your finish coats but they will wet sand and rub out after the lacquer cures for 14 days

IMG_0020.jpg


IMG_0033.jpg
 
How on earth did you get that thing so dam SATINY Tonar??? Looks really really classy.

Can't do it on this guitar but it would be nice to know for future projects.
 
if you're going to use an opaque finish, I can't recommend enough that you also include a couple applications of primer between the sanding sealer and color coats. it will sure allow you to obtain an even color more readily, while also providing an extra bit of protection before hitting sanding sealer should you accidentally sand thru the color while levelling prior to the clear coats.

all the best,

R
 
Hey, this is obviously a really old post, but during my search it came up and had a lot of great info in it.  I felt it deserved a bump.  :icon_thumright:
 
Mr Real Nice said:
Hey, this is obviously a really old post, but during my search it came up and had a lot of great info in it.  I felt it deserved a bump.  :icon_thumright:

Shit, it deserves a bump for that sick LP! Another build in the works now... :laughing7:
 
Strange you should unearth this the week the tele I was talking about is finally finished!

I really took my time with that.

Pics in the Tele section.
 
Back
Top