Verne Bunsen
Hero Member
- Messages
- 2,472
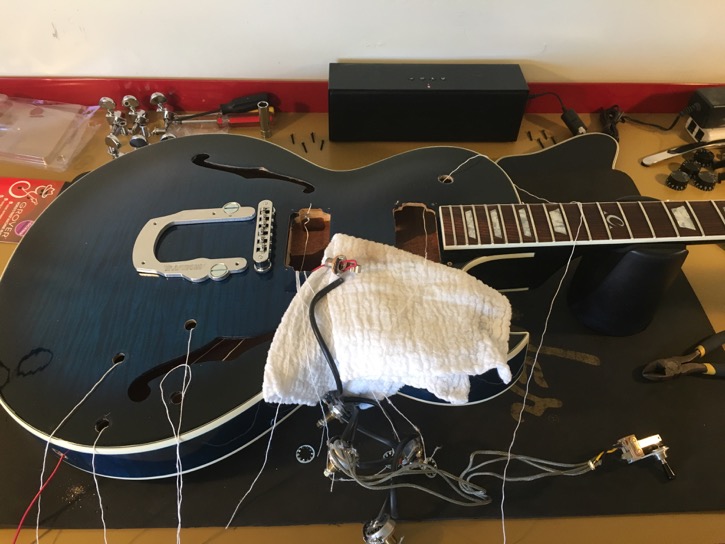
Say, have you ever wanted to witness the spectacle of a guy fumbling his way through his first time re-wirinig a semi-hollowbody guitar? Sure, we all have. Come on along!
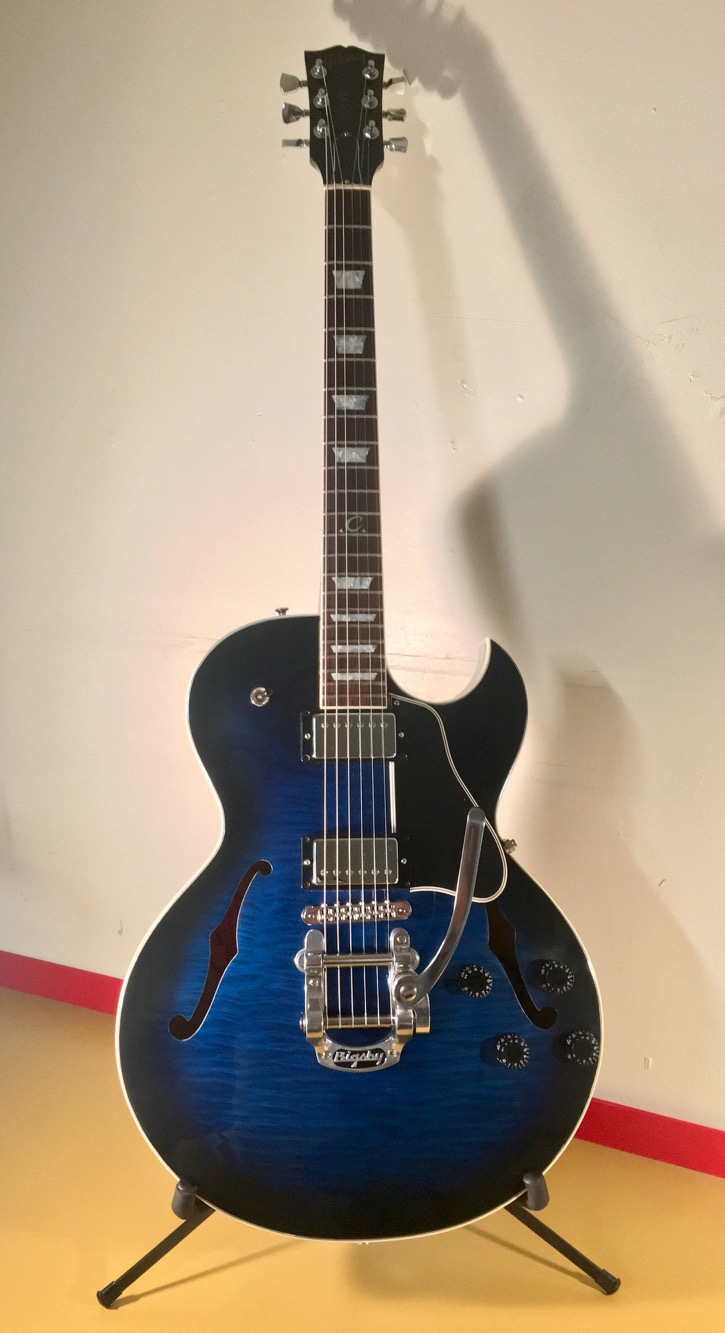
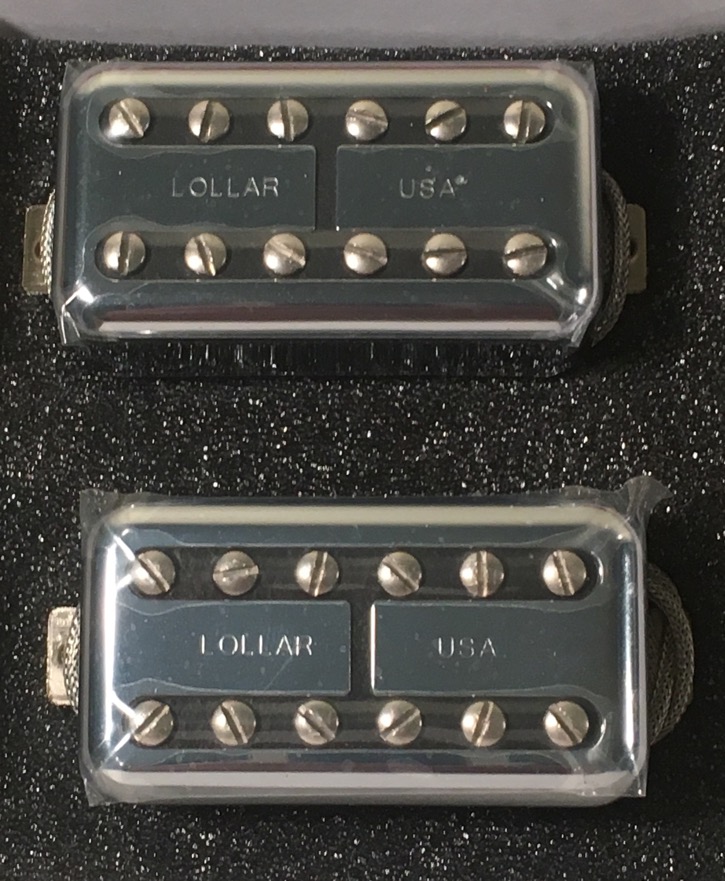
This has been a long time coming, by which I mean I've been putting it off for a long time on account of "dread". The problem was an intermittent loss of top end on the neck pickup which could be remedied by a quick flick of the tone pot. Over time it got worse until it reached a point where the neck pickup was always muddy and occasionally cut out completely. I stopped playing it for a while. A long while. Then I saw a video of Greg Koch demoing an ES-335 with Lollartron pickups for Wildwood Guitars.
[youtube]t9Os2lDPR6I[/youtube]
I was immediately smitten with the pickups and wondered how they'd get on in my 137. But that meant facing my deepest, darkest guitar re-wiring fear.... challenge: accepted.
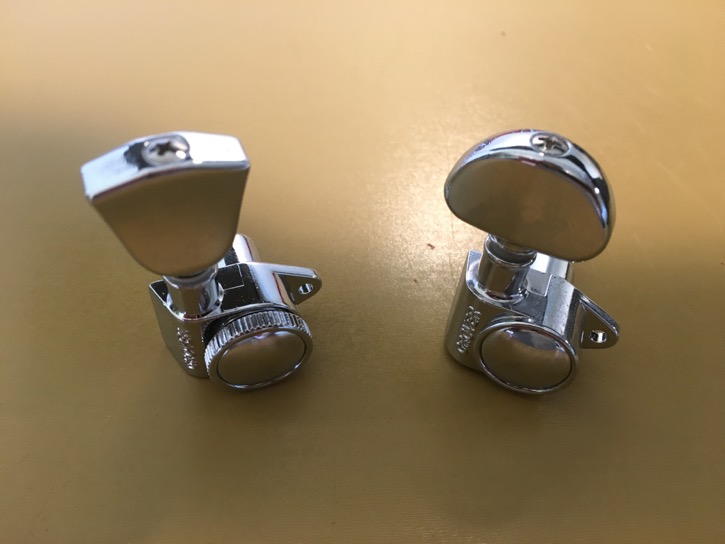
I took this opportunity to swap out the stock tuners with a set of Grover lockers.

Here are the old tuners in back, new ones up front.
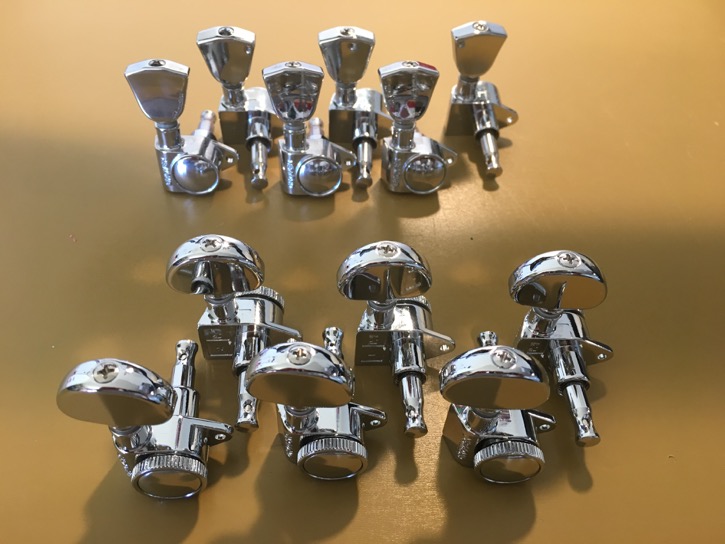
I prefer the tulip buttons over the beans, so time for a transplant...
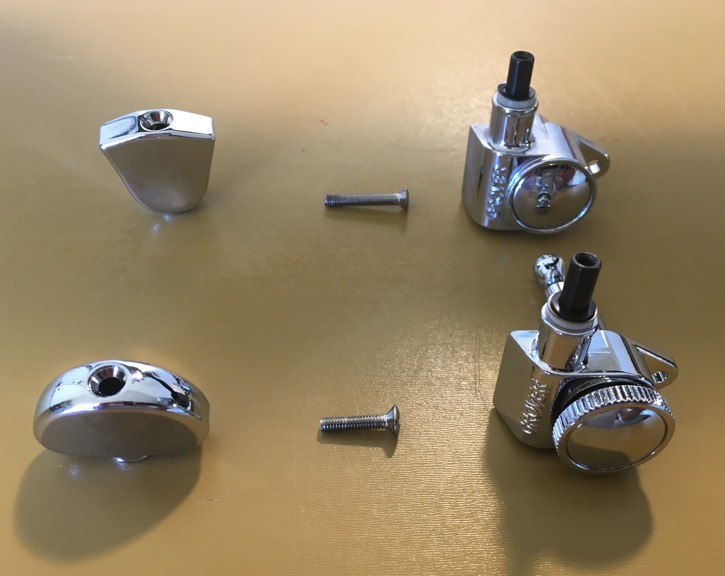
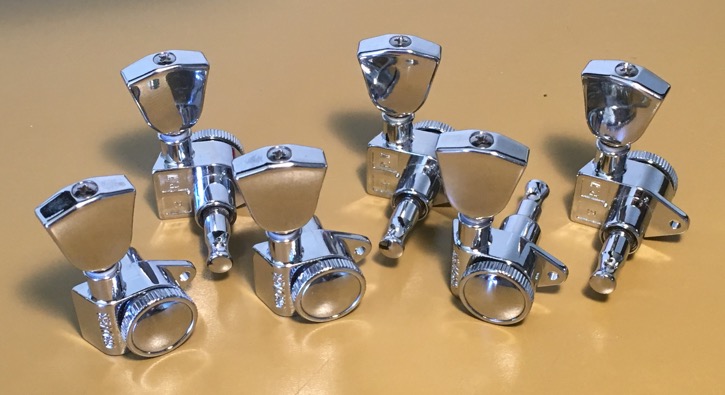
Excellent! And equally excellent, they are a drop-in replacement. No modification necessary.
Ok, no more procrastinating... I removed the Bigsby so as to have one less thing in my way. The roller bridge is secured with set screws so I left it.
I'm not embarassed to say that I own the Stew-Mac knob puller, and it is among the best $8 I ever spent.
http://www.stewmac.com/Luthier_Tools/Tools_by_Job/Tools_for_Maintenance/P-51_Knob_Puller.html
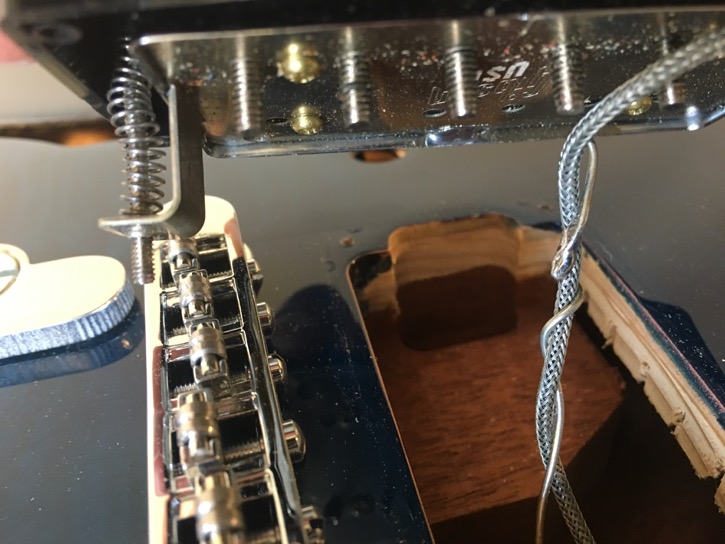
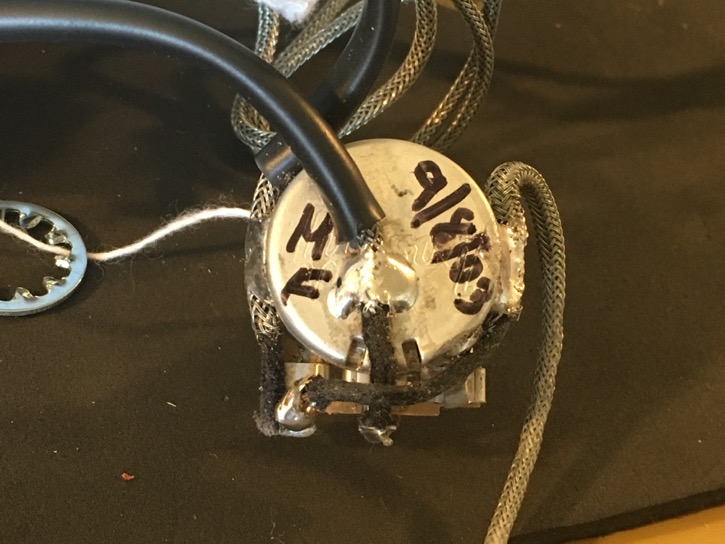
I was curious to see how the string ground was handled in this guitar, but soldered directly to the bridge pickup braid was not what I expected. Makes sense enough though.
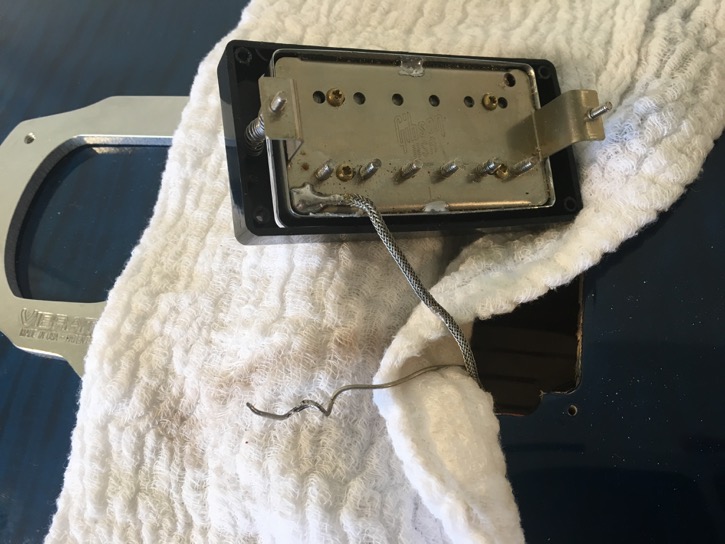
A successful separation.
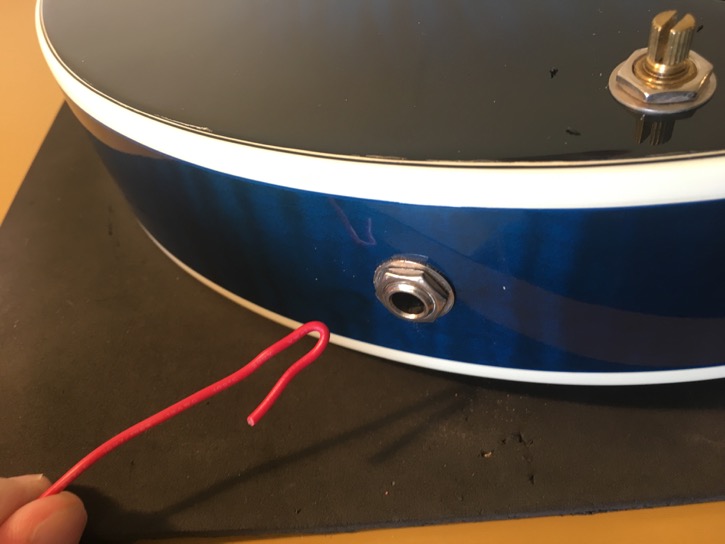
I fashioned a hook from a piece of stout-ish wire I had lying about; by inserting it in the output jack I was able to pull it through so as to have a way of fishing the new one into position.
I had purchased some vinyl tubing to use with the pots, but found that, while the nuts and washers would clear the tubing OD in a test fit, it expanded too much with the pot shaft in it to allow the hardware to pass. I have since been informed that surgical tubing is the stuff for this. Duly noted...
So I tried some Telecaster Bridge Pickup Coil Rope (aka: string), but it was far too large and slipped right off.
So I separated it into it's constituent strands and that worked just fine.
At this point, I officially considered myself "committed" to the project...
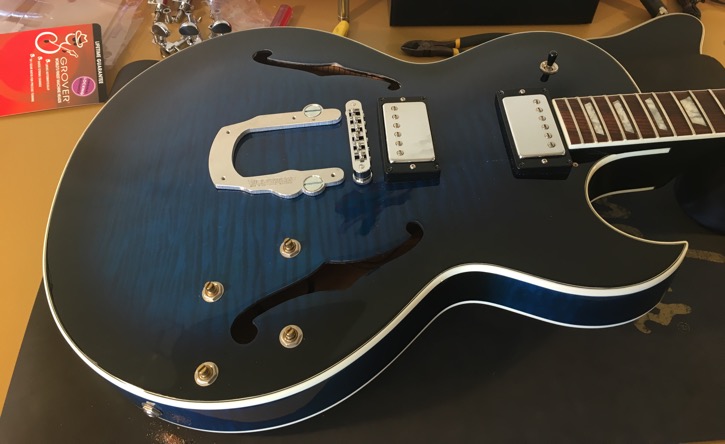
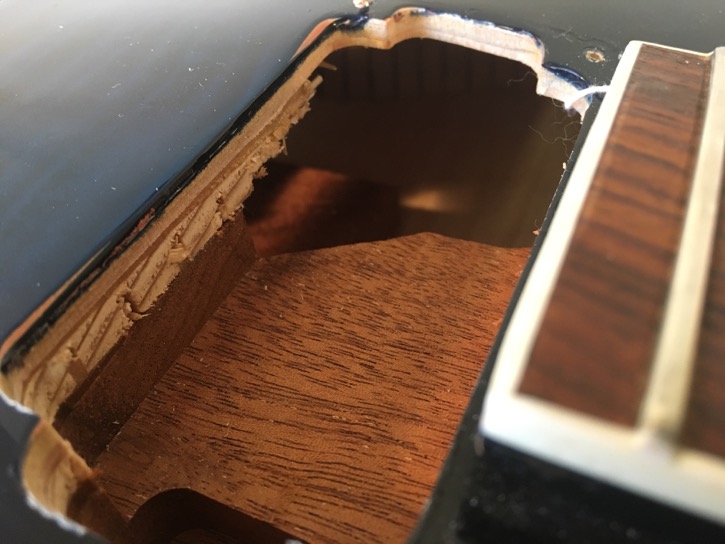
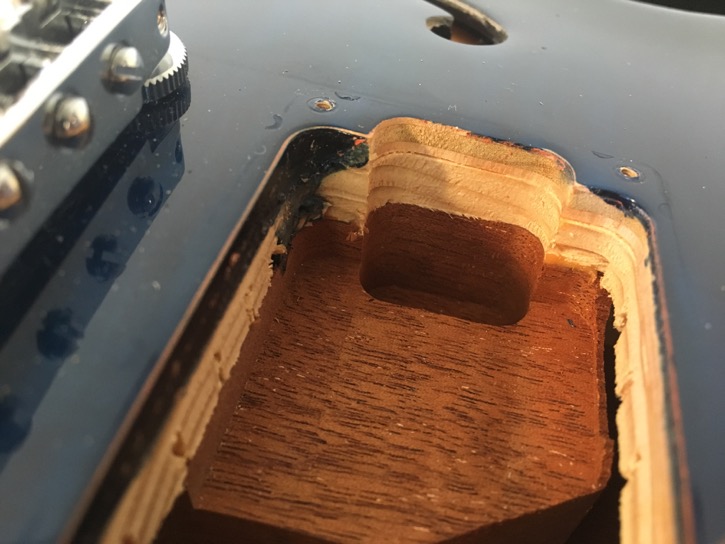
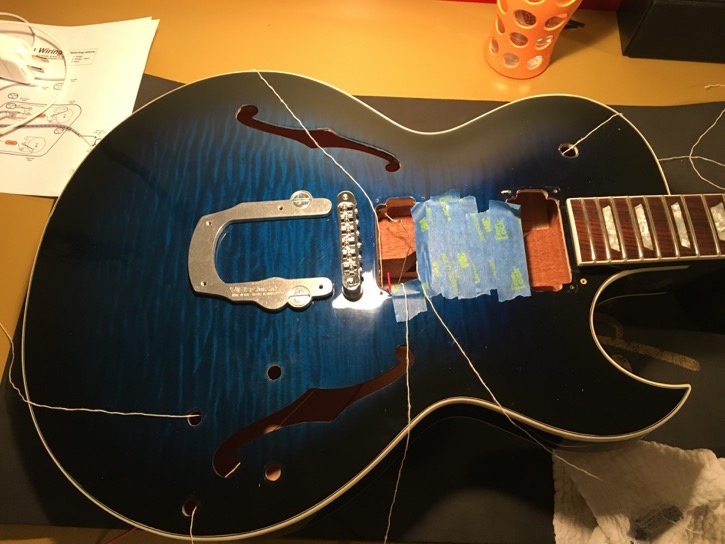
Some construction highlights here. Maple top, mahogany center block. Observe the "wedge" of maple between the top and the block.
Moving on. Clearly, all of the wiring must take place outside of the body, so we'll need a template to establish the component locations.
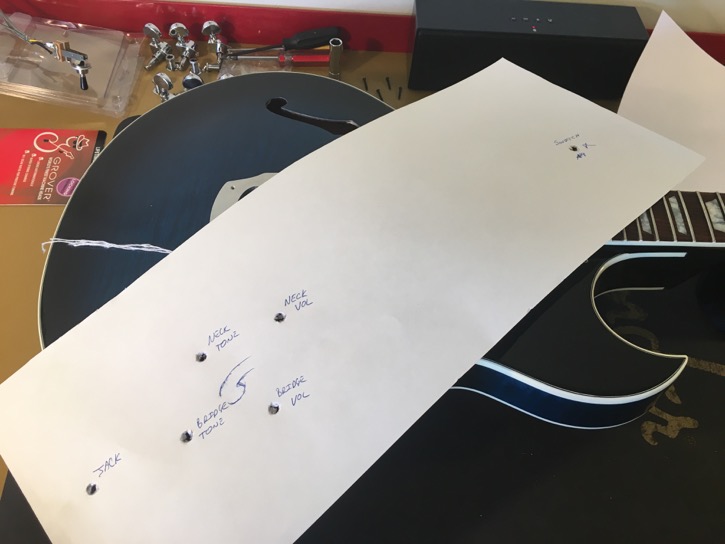
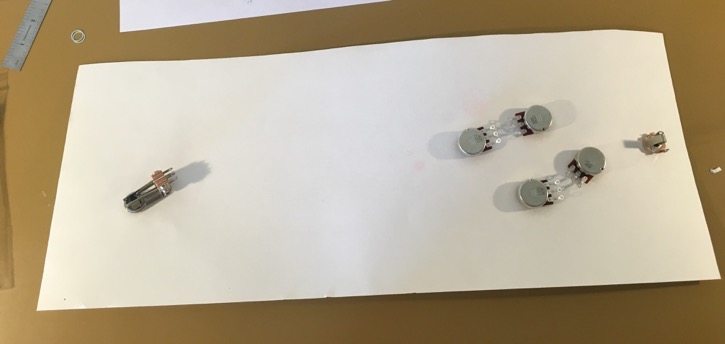
I was surprised to find 3/8" shaft length pots, I'd expected the long 3/4"ers. Also, I'd expected a short body toggle switch, but it was a right angle. Glad I've got a garage full of parts to call upon...
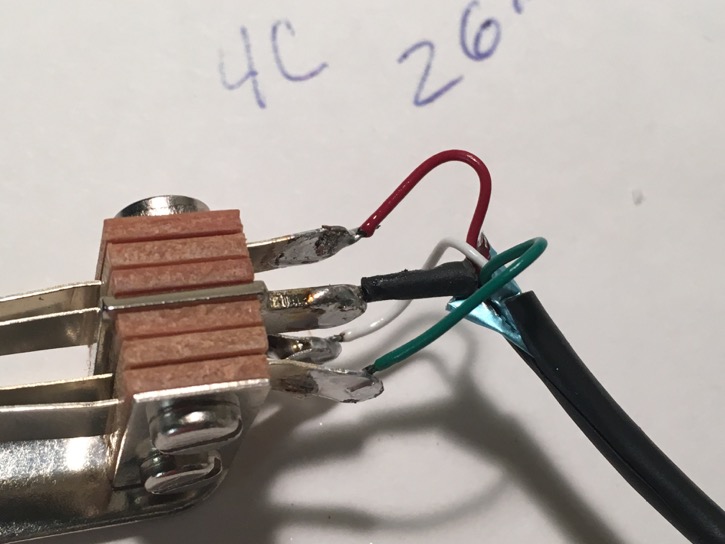
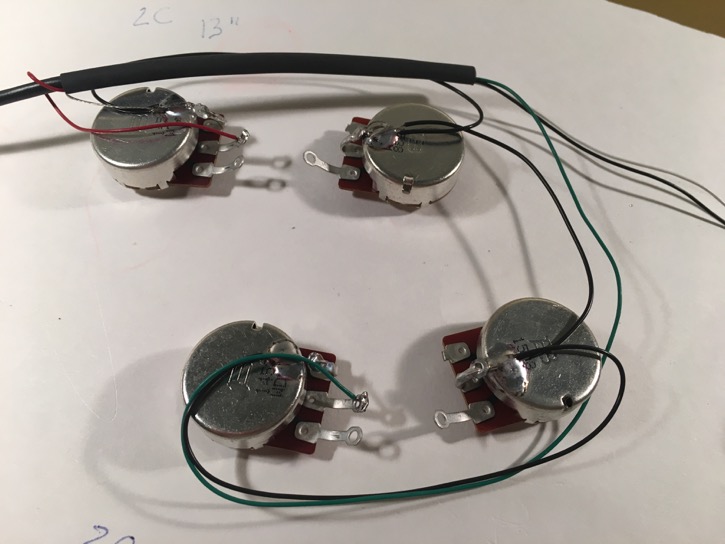
I had intended (past tense... foreshadowing?) to use 4-conductor cable to wire the harness, which meant there would be no metal braid to bond the pot cases. I used the same ground wire I would use in a Les Paul harness and was immediately leery of its durability, given what hardship I knew awaited it during installation.
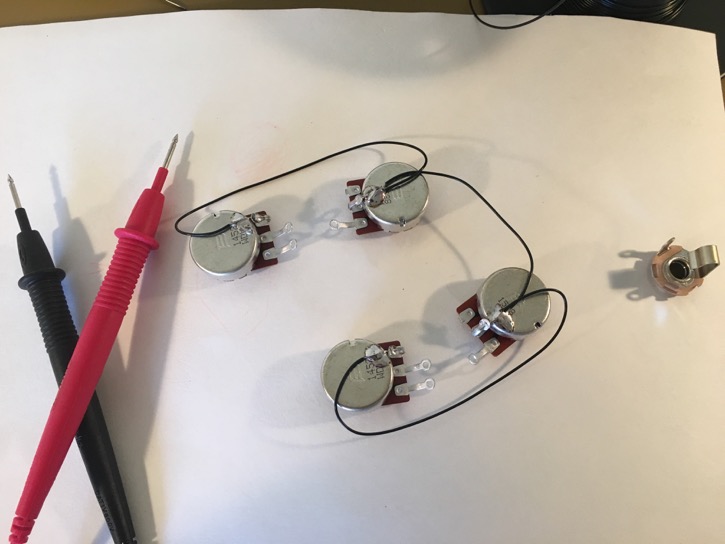
The 4-conductor cable made for pretty clean wiring, but the concerns about it's durability remained...
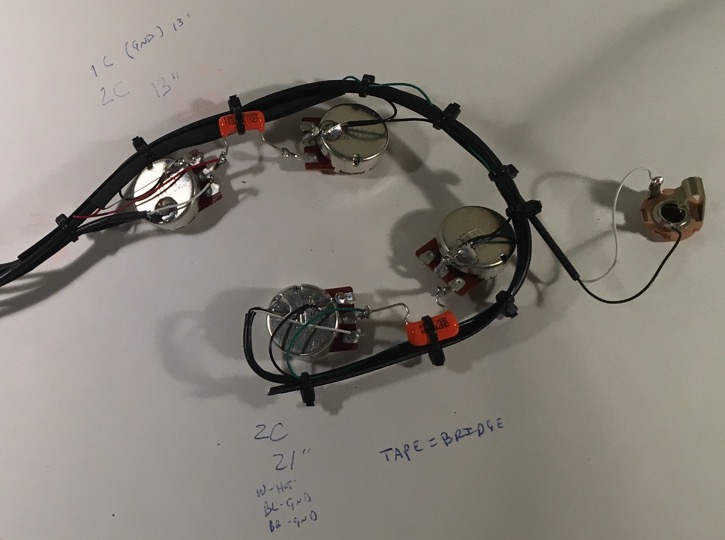
I used two lengths of 2-conductor cable to run back along the harness for joining the pickups. This way I would not have to pull the whole harness if I wanted to change pickups further down the road. I also used part of a large zip tie to provide some structural rigidity to the harness. Everything was bundled with small zip ties.
At this point I function tested the harness with a couple of donor pickups and, well, it had issues. There was a bit of discussion about it here:
http://www.unofficialwarmoth.com/index.php?topic=29128.0
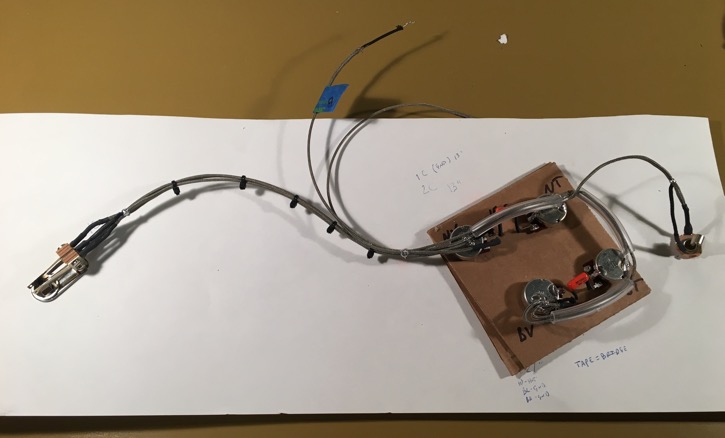
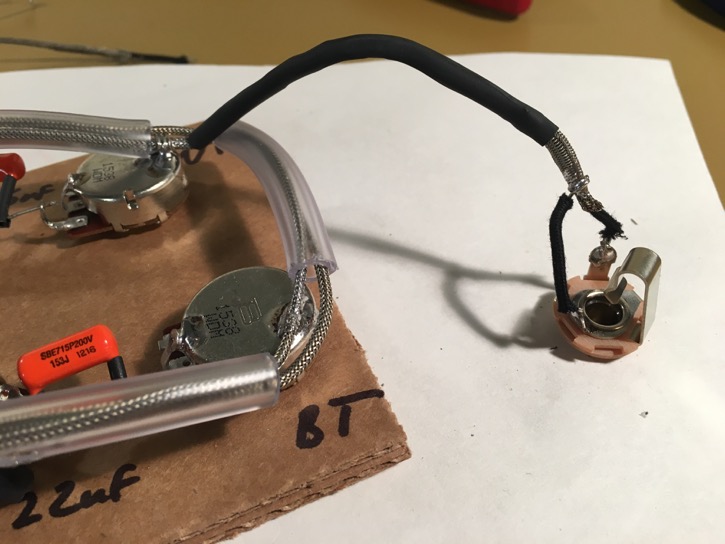
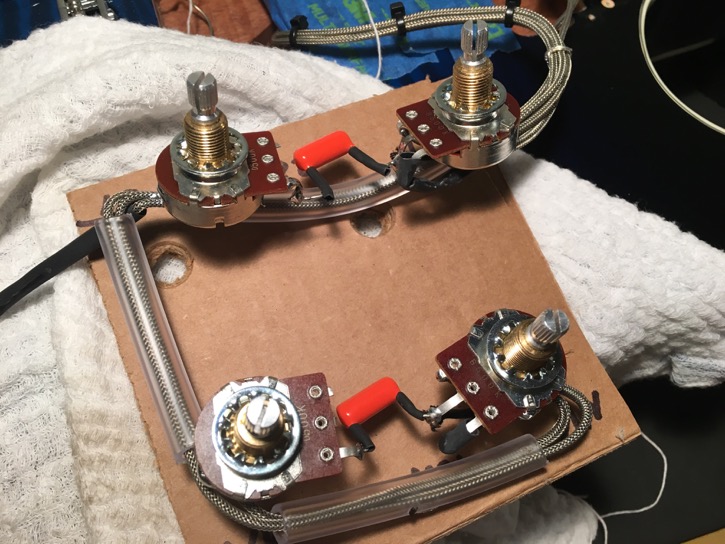
I won't re-hash it all, but I ended up with the suspicion that something was communicating inside that 4-conductor cable that shouldn't have been. Ultimately, I decided that I didn't want anything even remotely questionable going in this guitar, given the high P-I-T-A factor of any future repairs, so I went back to square one and built up a harness using "vintage" style metal braid wire. I'm happy for it, as the new harness is far more robust and I have much greater confidence in it. I ran all of the wires through the clear vinyl tubing to prevent shorts and provide structural support.
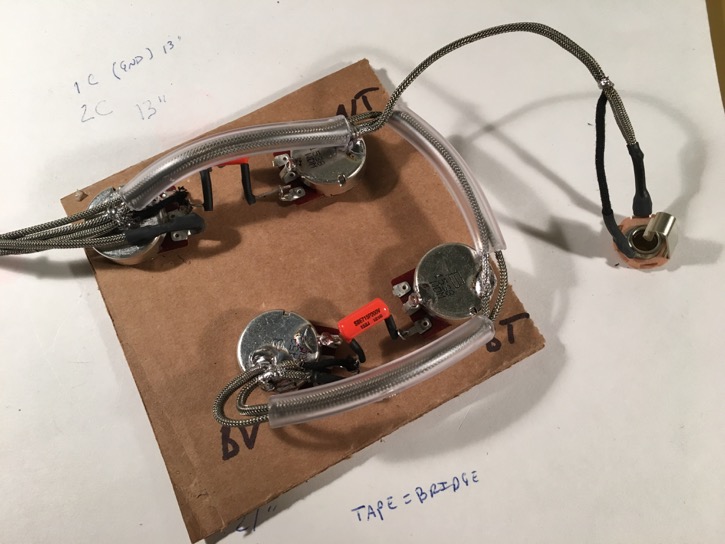
I finished that harness at about 1:00am and went to bed; the next morning in the shower it occurred to me that I was asking for trouble with that un-insulated braid on the wire to the output jack. So I de-soldered it, slid some heat-shrink on it, and wired it back up. Fully successful functional check out.
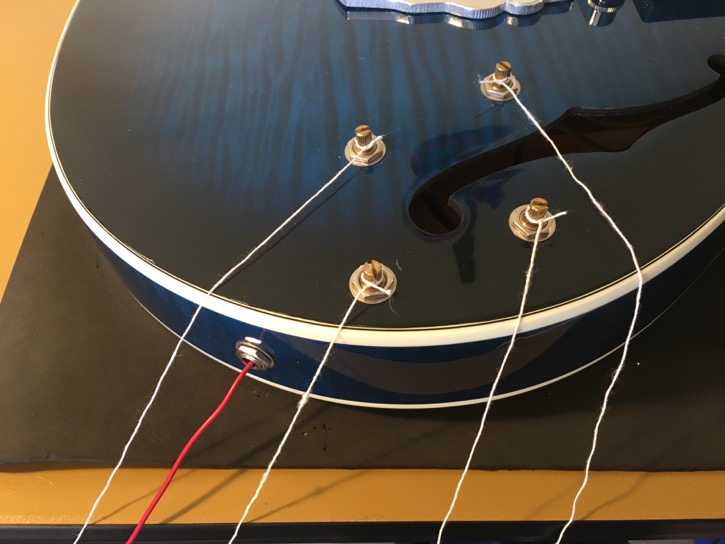
A couple of days had passed between starting this project and having a harness ready for installation, and my nice neat component-fishing lines had turned into a rats nest. I decided to pull the volume pot lines, straighten out the tone pot lines, use them to fish the tone pots into place and then, because of wishful thinking, the volume pots would be right about where I want them. Yeah.
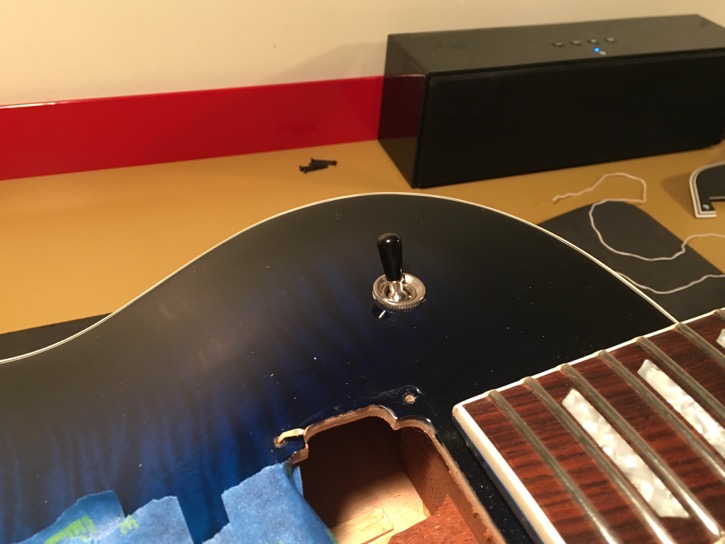
I started with the switch. That went in nice and easy, good confidence booster.
It didn't take very long to figure out that the star washers were not going to be staying anywhere near their respective pot bushings, so I hit them with a dab of super glue. Just enough to keep them in place till they were in their hole.
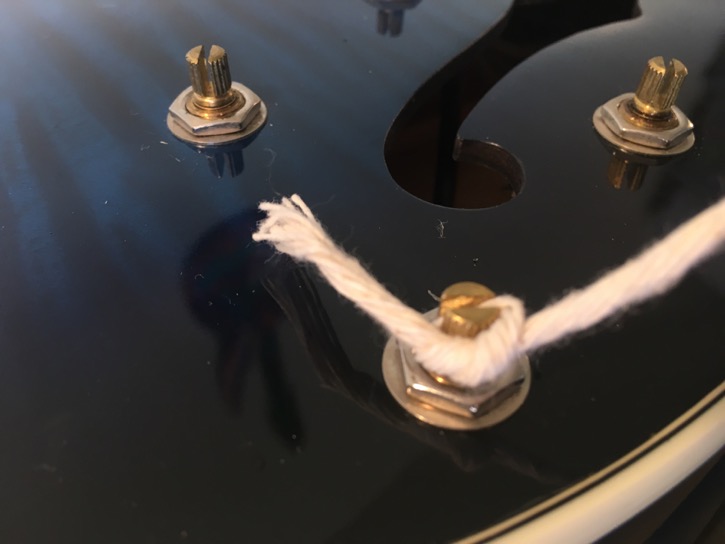
The time was upon me, time to pull the components smoothly and easily into their new homes. I led with the output jack, pulled by its wire. I followed by feeding the pots in one after the other. That was the part when nothing went right. The bridge volume pot (the last pot on the harness/first to go in) ended up curving up toward the top of the guitar rather than toward the bottom, where I needed it. I should have had a string on that one to lead it. Not that it would have done much good, because the strings that I did have on the tone pots both came off as soon as things got... fiddley. I had avoided “overly” secure knots to prevent issues getting them off of the shaft, I guess I got what I wanted! In the end, I used a combination of my fingers, toothpicks, wooden skewers and swear words to get them in. It wasn't what you might call "smooth", but ultimately everything was where it needed to be.
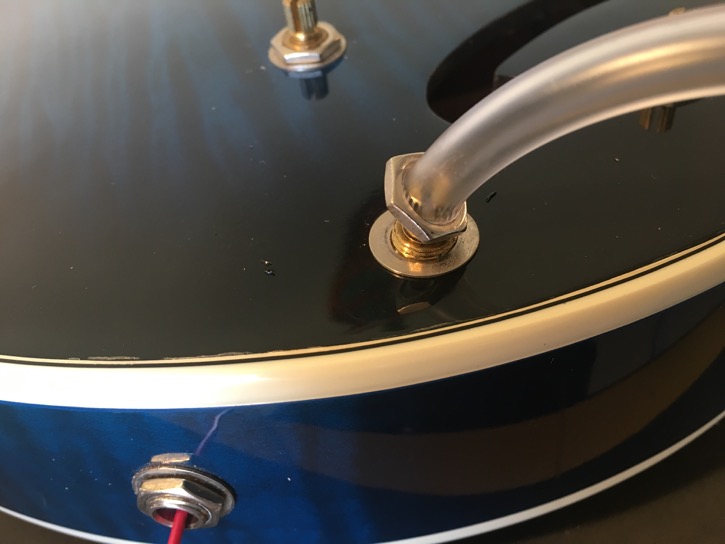
I used the wire to prevent the output jack spinningwhile i tightened it; the pots I was able to hold with a finger.
I attached the string ground to the two leads I ran out for the pickups.
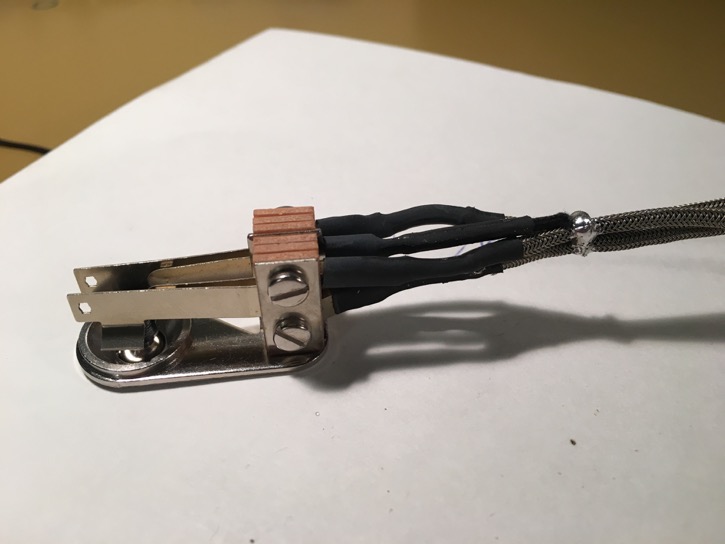
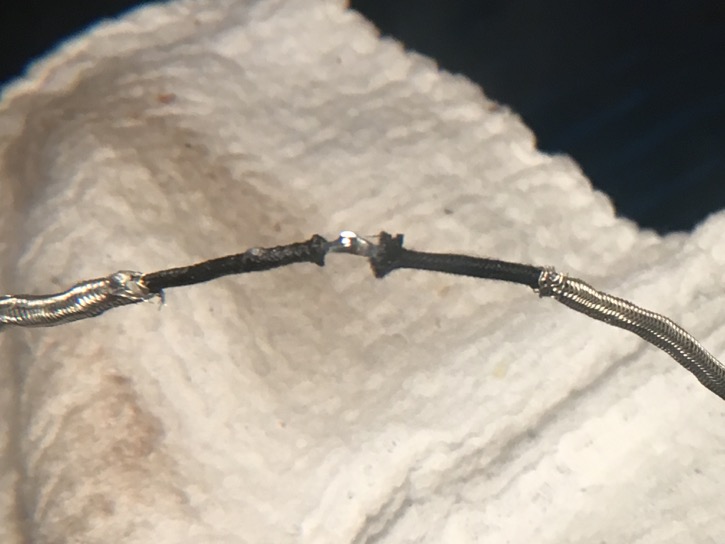
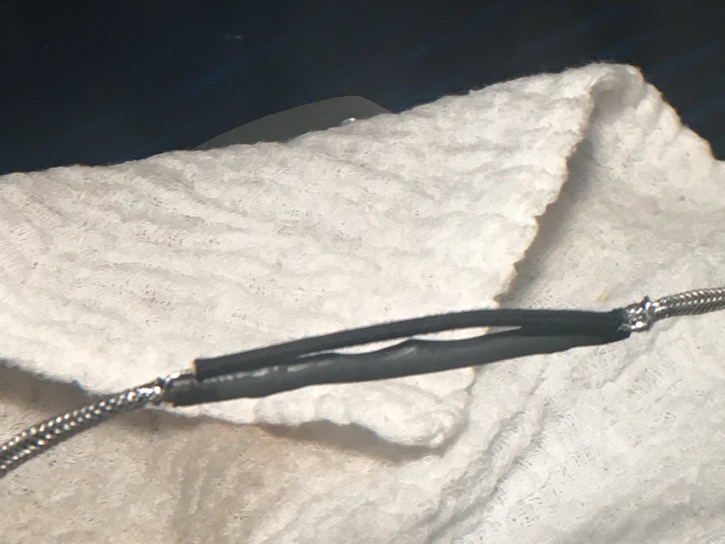
The pickups were joined to the leads by soldering the conductors together, insulating it with heat-shrink, then joining the braid with a piece of wire.
https://www.dropbox.com/s/ofbq8hujywrdewu/Photo%20Mar%2005%2C%2011%2042%2048%20PM.jpeg?raw=1[img]
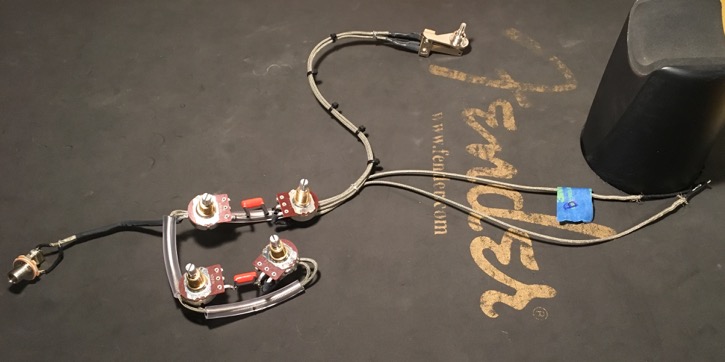
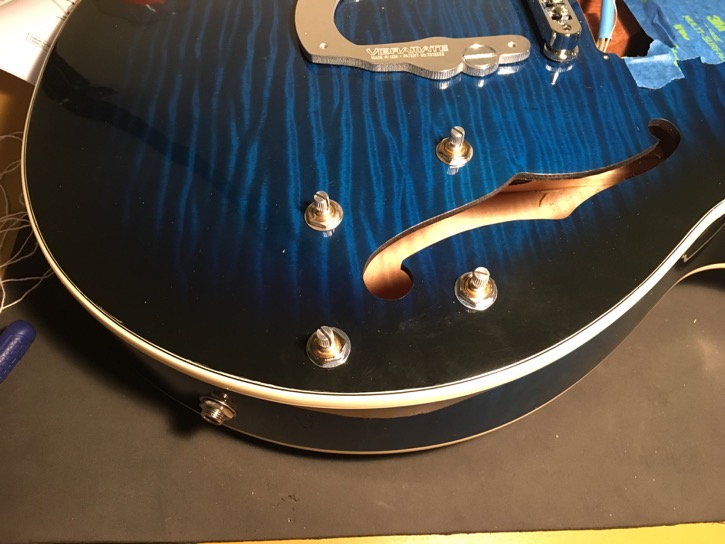
A place for everything, and everything in its place!
[img]https://www.dropbox.com/s/5jyeymssygh4k6u/Photo%20Mar%2005%2C%2011%2045%2036%20PM.jpeg?raw=1
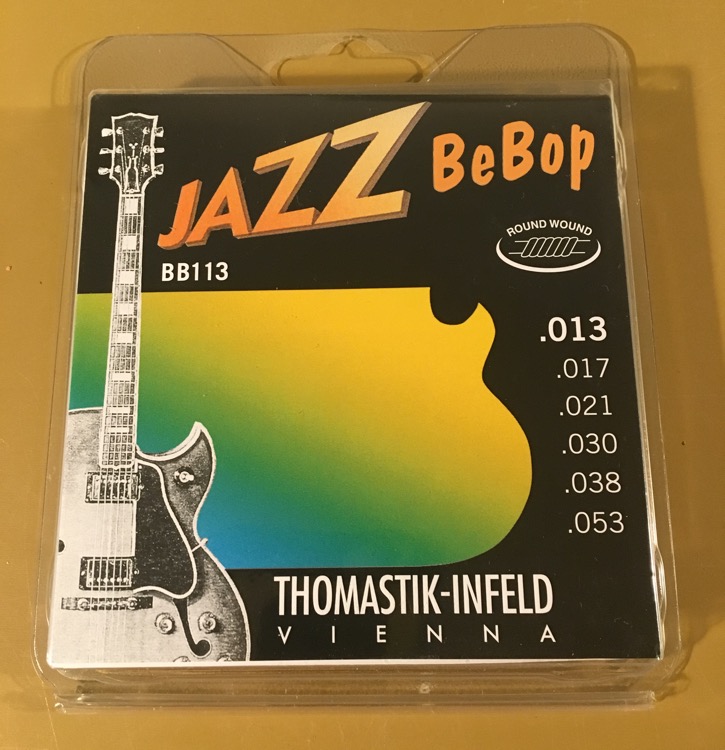
I am trying out a new string set on her, Thomastik-Infeld "Jazz Bebop" round wound....
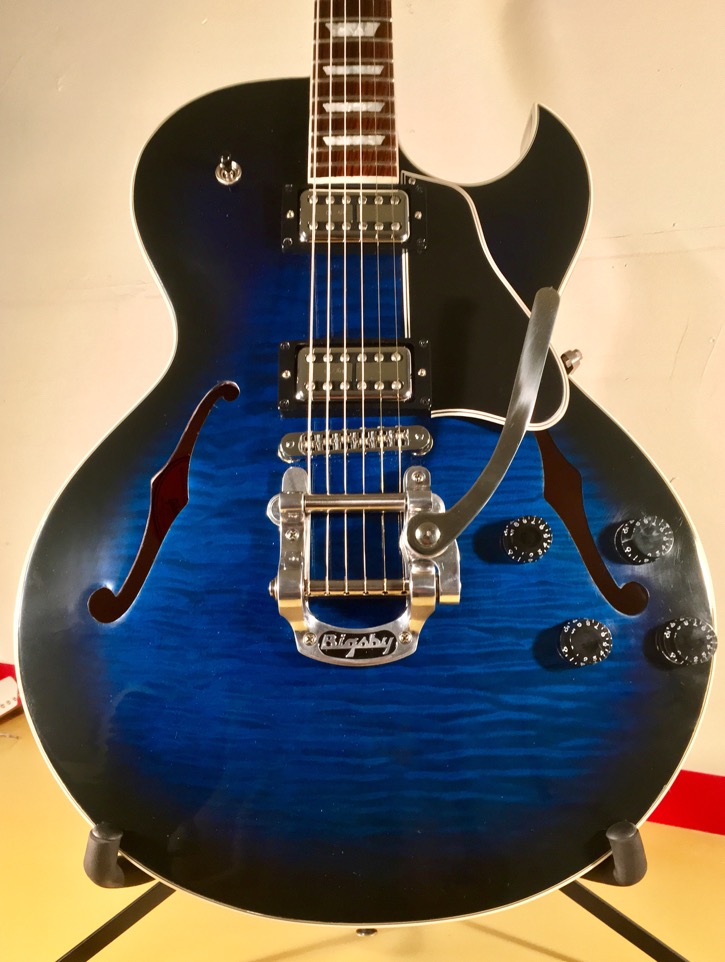
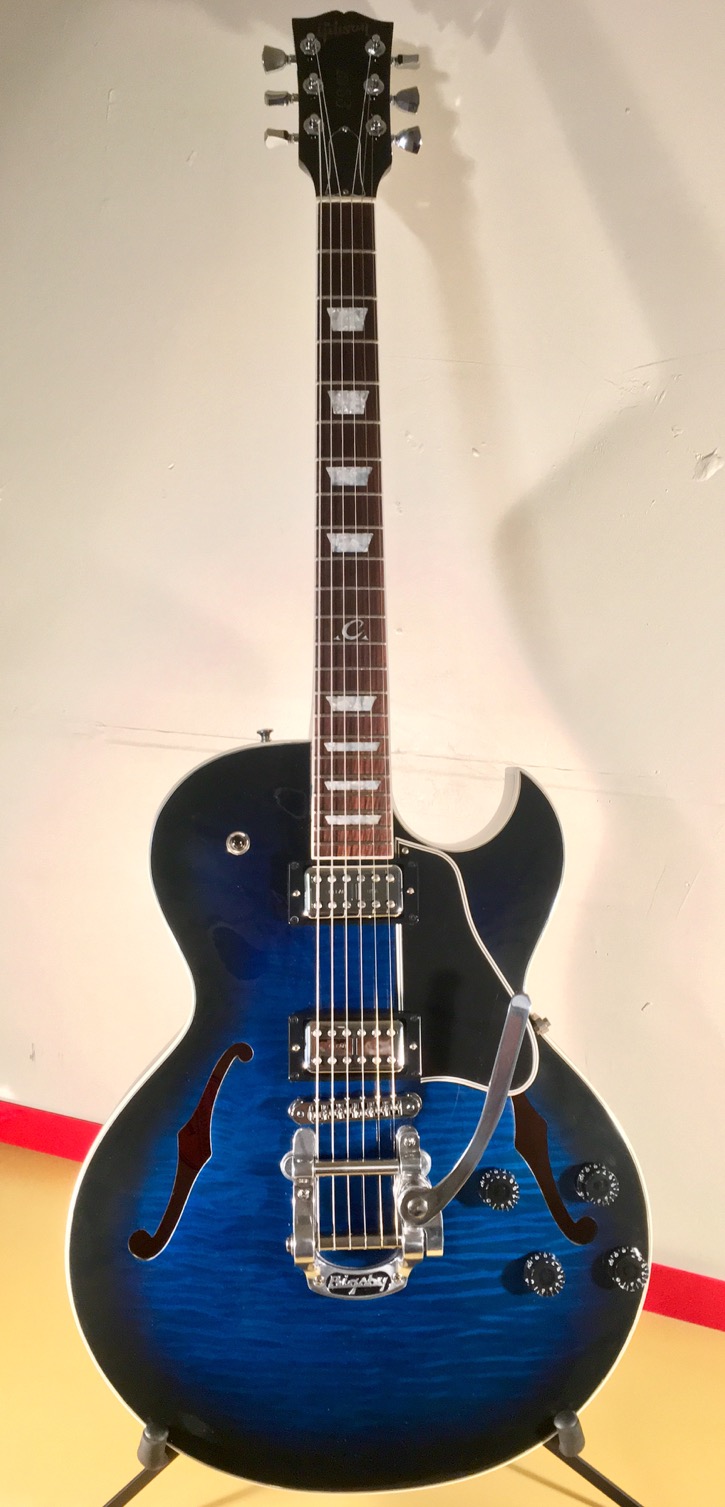
Whew! She sounds fantastic, I'll post some clips soon. Thanks for coming along!
This has been a long time coming, by which I mean I've been putting it off for a long time on account of "dread". The problem was an intermittent loss of top end on the neck pickup which could be remedied by a quick flick of the tone pot. Over time it got worse until it reached a point where the neck pickup was always muddy and occasionally cut out completely. I stopped playing it for a while. A long while. Then I saw a video of Greg Koch demoing an ES-335 with Lollartron pickups for Wildwood Guitars.
[youtube]t9Os2lDPR6I[/youtube]
I was immediately smitten with the pickups and wondered how they'd get on in my 137. But that meant facing my deepest, darkest guitar re-wiring fear.... challenge: accepted.
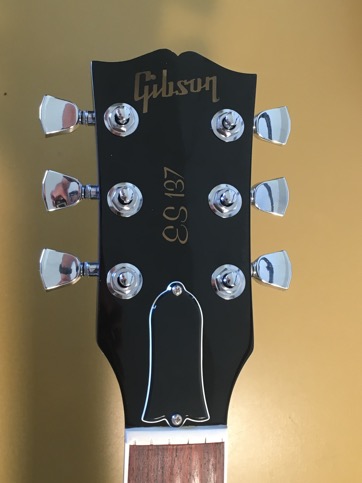
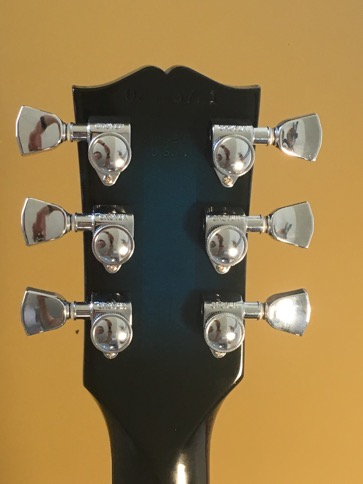
I took this opportunity to swap out the stock tuners with a set of Grover lockers.
Here are the old tuners in back, new ones up front.
I prefer the tulip buttons over the beans, so time for a transplant...
Excellent! And equally excellent, they are a drop-in replacement. No modification necessary.
Ok, no more procrastinating... I removed the Bigsby so as to have one less thing in my way. The roller bridge is secured with set screws so I left it.
I'm not embarassed to say that I own the Stew-Mac knob puller, and it is among the best $8 I ever spent.
http://www.stewmac.com/Luthier_Tools/Tools_by_Job/Tools_for_Maintenance/P-51_Knob_Puller.html
I was curious to see how the string ground was handled in this guitar, but soldered directly to the bridge pickup braid was not what I expected. Makes sense enough though.
A successful separation.
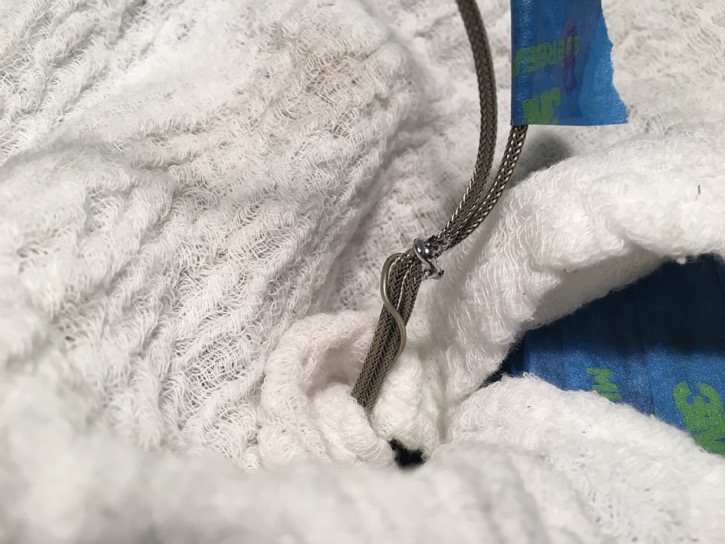
I fashioned a hook from a piece of stout-ish wire I had lying about; by inserting it in the output jack I was able to pull it through so as to have a way of fishing the new one into position.
I had purchased some vinyl tubing to use with the pots, but found that, while the nuts and washers would clear the tubing OD in a test fit, it expanded too much with the pot shaft in it to allow the hardware to pass. I have since been informed that surgical tubing is the stuff for this. Duly noted...
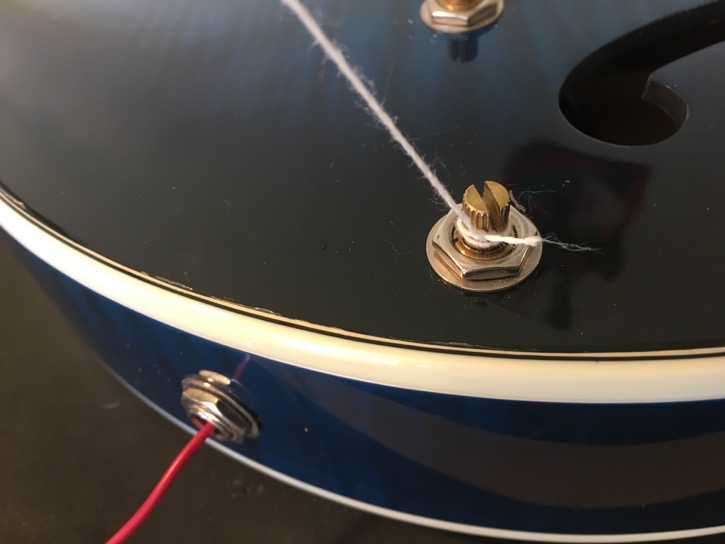
So I tried some Telecaster Bridge Pickup Coil Rope (aka: string), but it was far too large and slipped right off.
So I separated it into it's constituent strands and that worked just fine.
At this point, I officially considered myself "committed" to the project...
Some construction highlights here. Maple top, mahogany center block. Observe the "wedge" of maple between the top and the block.
Moving on. Clearly, all of the wiring must take place outside of the body, so we'll need a template to establish the component locations.
I was surprised to find 3/8" shaft length pots, I'd expected the long 3/4"ers. Also, I'd expected a short body toggle switch, but it was a right angle. Glad I've got a garage full of parts to call upon...
I had intended (past tense... foreshadowing?) to use 4-conductor cable to wire the harness, which meant there would be no metal braid to bond the pot cases. I used the same ground wire I would use in a Les Paul harness and was immediately leery of its durability, given what hardship I knew awaited it during installation.
The 4-conductor cable made for pretty clean wiring, but the concerns about it's durability remained...
I used two lengths of 2-conductor cable to run back along the harness for joining the pickups. This way I would not have to pull the whole harness if I wanted to change pickups further down the road. I also used part of a large zip tie to provide some structural rigidity to the harness. Everything was bundled with small zip ties.
At this point I function tested the harness with a couple of donor pickups and, well, it had issues. There was a bit of discussion about it here:
http://www.unofficialwarmoth.com/index.php?topic=29128.0
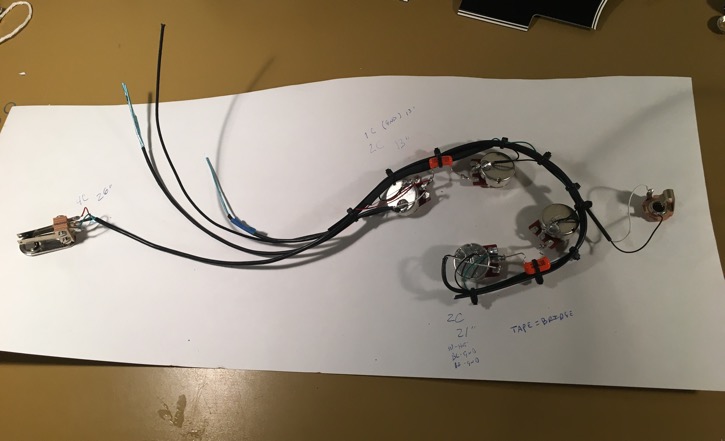
I won't re-hash it all, but I ended up with the suspicion that something was communicating inside that 4-conductor cable that shouldn't have been. Ultimately, I decided that I didn't want anything even remotely questionable going in this guitar, given the high P-I-T-A factor of any future repairs, so I went back to square one and built up a harness using "vintage" style metal braid wire. I'm happy for it, as the new harness is far more robust and I have much greater confidence in it. I ran all of the wires through the clear vinyl tubing to prevent shorts and provide structural support.
I finished that harness at about 1:00am and went to bed; the next morning in the shower it occurred to me that I was asking for trouble with that un-insulated braid on the wire to the output jack. So I de-soldered it, slid some heat-shrink on it, and wired it back up. Fully successful functional check out.
A couple of days had passed between starting this project and having a harness ready for installation, and my nice neat component-fishing lines had turned into a rats nest. I decided to pull the volume pot lines, straighten out the tone pot lines, use them to fish the tone pots into place and then, because of wishful thinking, the volume pots would be right about where I want them. Yeah.
I started with the switch. That went in nice and easy, good confidence booster.
It didn't take very long to figure out that the star washers were not going to be staying anywhere near their respective pot bushings, so I hit them with a dab of super glue. Just enough to keep them in place till they were in their hole.
The time was upon me, time to pull the components smoothly and easily into their new homes. I led with the output jack, pulled by its wire. I followed by feeding the pots in one after the other. That was the part when nothing went right. The bridge volume pot (the last pot on the harness/first to go in) ended up curving up toward the top of the guitar rather than toward the bottom, where I needed it. I should have had a string on that one to lead it. Not that it would have done much good, because the strings that I did have on the tone pots both came off as soon as things got... fiddley. I had avoided “overly” secure knots to prevent issues getting them off of the shaft, I guess I got what I wanted! In the end, I used a combination of my fingers, toothpicks, wooden skewers and swear words to get them in. It wasn't what you might call "smooth", but ultimately everything was where it needed to be.
I used the wire to prevent the output jack spinningwhile i tightened it; the pots I was able to hold with a finger.
I attached the string ground to the two leads I ran out for the pickups.
The pickups were joined to the leads by soldering the conductors together, insulating it with heat-shrink, then joining the braid with a piece of wire.
https://www.dropbox.com/s/ofbq8hujywrdewu/Photo%20Mar%2005%2C%2011%2042%2048%20PM.jpeg?raw=1[img]
A place for everything, and everything in its place!
[img]https://www.dropbox.com/s/5jyeymssygh4k6u/Photo%20Mar%2005%2C%2011%2045%2036%20PM.jpeg?raw=1
I am trying out a new string set on her, Thomastik-Infeld "Jazz Bebop" round wound....
Whew! She sounds fantastic, I'll post some clips soon. Thanks for coming along!