Leaderboard

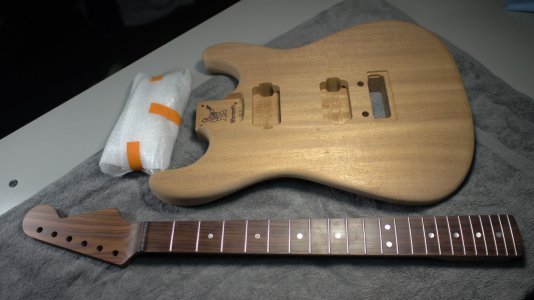
Pau Ferro / Pau Ferro - mahogany super strat.

Steve_Karl

Hero Member
Messages
1,702
Thanks everyone for the excellent information sharing that helped me get to this point of starting an other build.

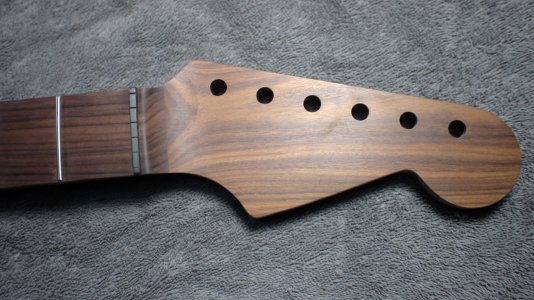
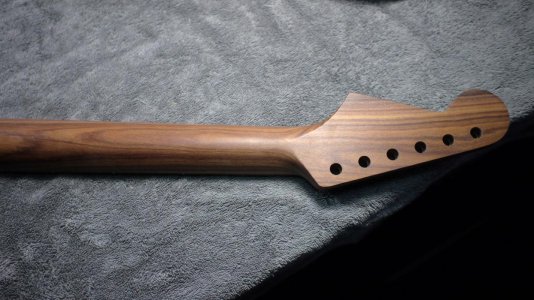
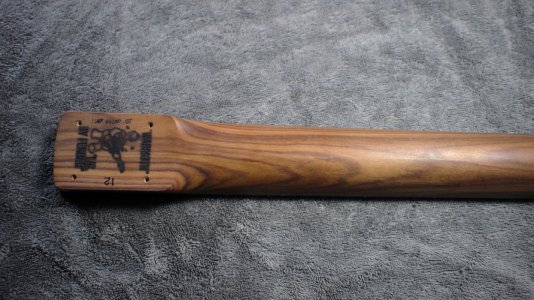
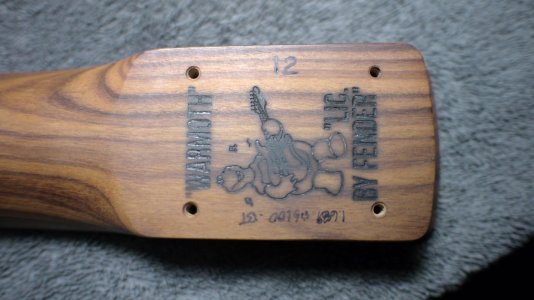
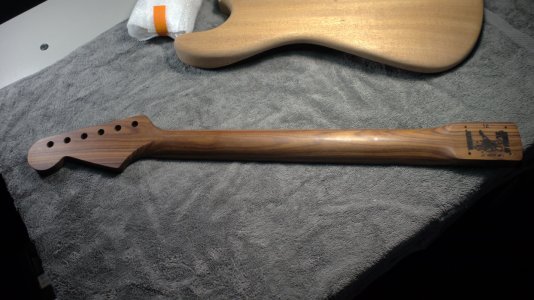
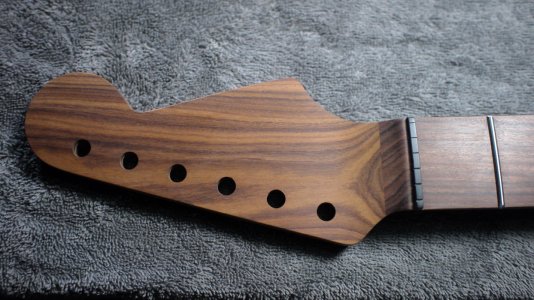
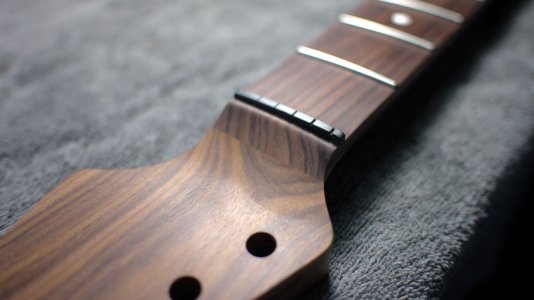
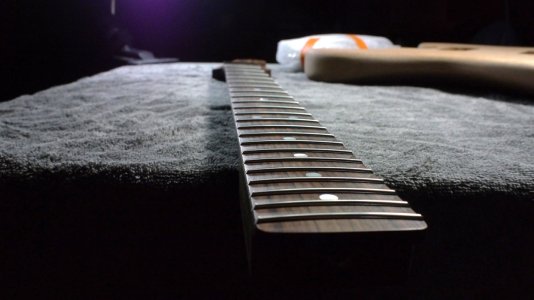
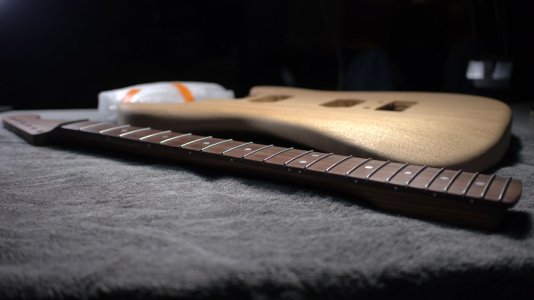
Pau Ferro on Pau Ferro boat neck - straight 12" radius - SS6100 - 1-11/16" nut width
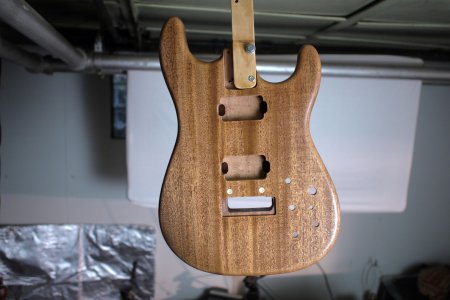
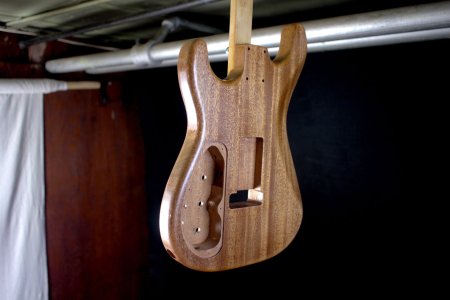
solid mahogany body - recessed wilkinson - 2 humbucking
and also graph tech acousti-phonic saddles and pre-amp isolated
(seperate from the humbucking system) to it's own 1/4" output.

I'm going to grain fill the mahogany body with chocolate brown colored filler
and then build up layers of Min-Wax wipe on poly satin.

After I tried the Min-Wax on my maple neck I'm done with Behlin's Master-Gel.
I think the Min-Wax is much easier to use and seems to build up better and to a stronger finish.

Hi-res pictures available here:
https://goo.gl/photos/C4mJavGzvsWGJcAR7

I'll be taking my time on this but will add pictures when I make progress.

Thanks again everyone!
 

Attachments

  • P1040008.jpg
    P1040008.jpg
    144.4 KB · Views: 631
  • P1040019.jpg
    P1040019.jpg
    222.2 KB · Views: 457
  • P1040018.jpg
    P1040018.jpg
    138.5 KB · Views: 421
  • P1040017.jpg
    P1040017.jpg
    237.8 KB · Views: 414
  • P1040016.jpg
    P1040016.jpg
    140.9 KB · Views: 404
  • P1040014.jpg
    P1040014.jpg
    195.8 KB · Views: 433
  • P1040013.jpg
    P1040013.jpg
    223.5 KB · Views: 469
  • P1040012.jpg
    P1040012.jpg
    101.3 KB · Views: 506
  • P1040011.jpg
    P1040011.jpg
    103.5 KB · Views: 441
  • P1040009.jpg
    P1040009.jpg
    94 KB · Views: 454
Steve_Karl said:
I'm going to grain fill the mahogany body with chocolate brown colored filler
and then build up layers of Min-Wax wipe on poly satin.

Mmm, mahogany ... brown ... mmm ...

Takes me back to 1975 and my first "proper" guitar, a Gibson SG.  :)

Anyway.
That looks good and looking forward to your build.  :icon_thumright:

 
Lovely parts.  You might wanna seal that body before you grain fill so you avoid staining the wood with the tinted filling compound.
 
Nice neck!

Great choice on jumbo SS frets too - you have similar taste to me it seems...

I approve!  :icon_biggrin:
 
Bagman67 said:
Lovely parts.  You might wanna seal that body before you grain fill so you avoid staining the wood with the tinted filling compound.

Ahh yes. Thanks for the reminder Bagman.
I found my step by step instructions that I collected when doing the last 2 so I'll follow the same instructions.


Man, the neck itself is a piece of art. I hope it still stands out when it's mated up with that gorgeous body - this one is going to be very exciting to watch come together. Keep sharing the progress!
 
Gemcutter said:
Man, the neck itself is a piece of art. I hope it still stands out when it's mated up with that gorgeous body - this one is going to be very exciting to watch come together. Keep sharing the progress!

Thanks for the encouragement (everyone)
Will be photo journaling the whole process.

 
First steps:
Neck get's tuners installed and press in the studs for the wilkinson
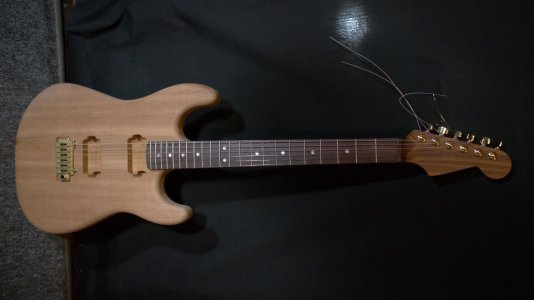
Test string-up to verify neck allignment
then if good
body goes into shop to get a second 7/8" butt hole so I can isolate the graph tech acousti-phonic system from the magnetics.
---
Yesterday checked all supplies and only needed to order a new bottle of Birchwood/Casey Sealer.
The old one 1/3 of a bottle turned to thick goo and I don't know how to thin it.
Everything else is good. Plenty of sand papers up to 600 ... and a barely used micromesh package.


Nice! I love that combo on my tele. Pau/Pau Neck and Pau top/Mahogany body. Pau ferro might be my favorite neck wood
 
HOLY FLIPPIN PARTSCASTER :blob7: That would be my dream neck for sure! Congrats. What a find. I am digging the boat necks I have gotten. Good work on your part. That is gonna be a great guitar.
 
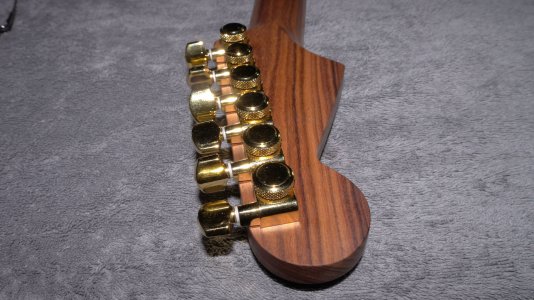
Installing tuners ...
Thanks for the comments everyone and special thanks to Cagey for this post:
http://unofficialwarmoth.com/index.php?topic=21931.msg324468#msg324468
Especially about the press in fit, looseness being a "tone suck" being the reason we want them very snug
and later crayon wax.

I eventually arrived at my own (slightly varied from Cagey's) method last night after getting over being too critical about lining them up.
They were too tight to allign when pressed all the way in so I popped them back out to being loose and just sitting there alligned them by eye and a little 6" stewmac ruler laying on the back of the headstock against the ears that take the screws, got them all in the right place and used a very tiny twist drill to mark starter holes wearing my newly aquired Optivisor.
Then dremel drill first at 1/16" then widened to 5/64" after marking both bits with masking tape with the help of caliper measuremet for depth.
Had smoke coming off both bits. Probably need 2 new ones in titanium this time.
Used candle wax on the screw threads and all is good.

All high quality photos here:
https://goo.gl/photos/C4mJavGzvsWGJcAR7


Attachments

  • P1040045.jpg
    P1040045.jpg
    414.3 KB · Views: 398
Studs installed - gently pounded in with a wooden drift I made for an other build
Strung it up and played it. Very nice sustain and a lot of attack also ... just leaning jaw bone on the top of the body.

All high quality photos here:
https://goo.gl/photos/C4mJavGzvsWGJcAR7


Attachments

  • P1040096.jpg
    P1040096.jpg
    175.1 KB · Views: 453
pretty cool...straight forward and classy... :headbang1:
Preview
 
Thanks Dangerous!

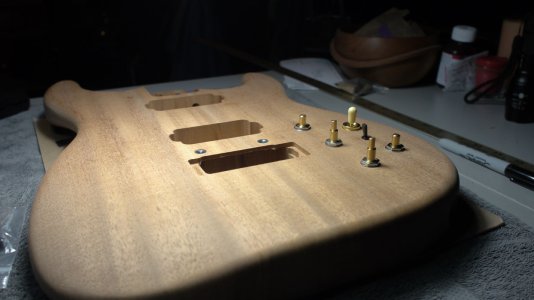
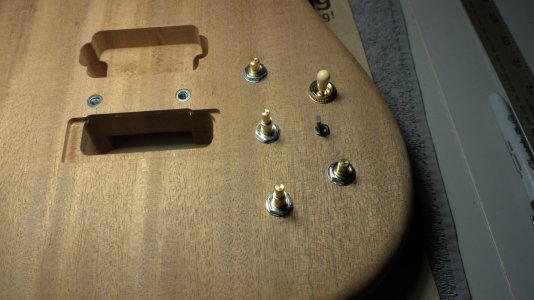
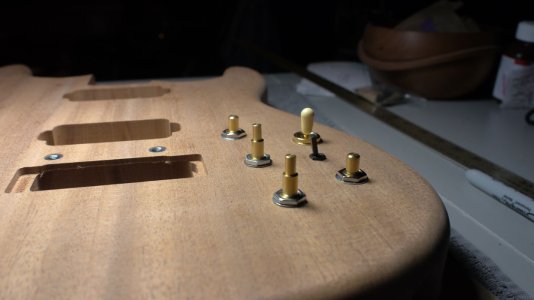
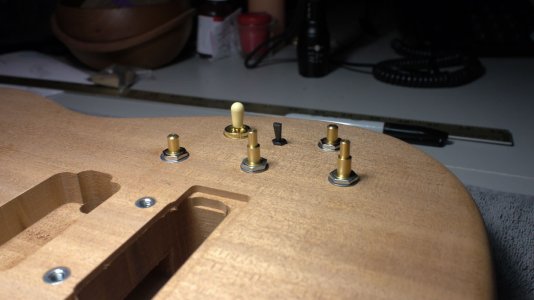
Controls holes are done.
Master Vol. for magnetics plus 2 concentrics = Vol/Vol and Tone/Tone. Phase switch.
Vol. for acousti-phonic system.
2 isolated 1/4" outs.

Now on to body finish when I get some time.

High quality images here:
https://photos.google.com/share/AF1QipNojcHX-w3Ont76-J6N_-x6xd60HeS3HGhPlcFZCCTBBuQlT_RuBP2fMuhVvsmRRA?key=WW4tcm43bzZZeml1bzNWUWdQQ2kwY05ZdC1IMmNR
 

Attachments

  • P1040108.jpg
    P1040108.jpg
    102.6 KB · Views: 379
  • P1040107.jpg
    P1040107.jpg
    156.6 KB · Views: 428
  • P1040106.jpg
    P1040106.jpg
    91.9 KB · Views: 380
  • P1040105.jpg
    P1040105.jpg
    108.1 KB · Views: 373
4 coats of Minwax satin poly applied (4 or so to go) and
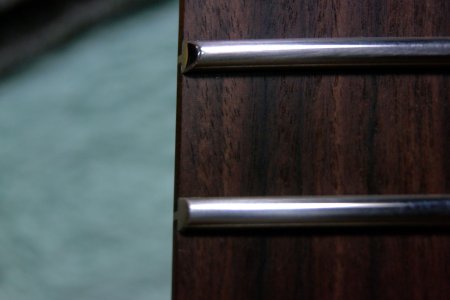
fret ends done and polished with 3M polishing papers (thanks to Cagey for the great info. ! )
I didn't do the top 5 on the low E side so you see an unfinished one there for comparison.
 

Attachments

  • P1040280.jpg
    P1040280.jpg
    152.8 KB · Views: 442
  • P1040278.jpg
    P1040278.jpg
    114.9 KB · Views: 410
  • P1040266.jpg
    P1040266.jpg
    86.7 KB · Views: 401
Back
Top