Leaderboard

New Jazz bass build

MagTheGrate

Newbie
Messages
5
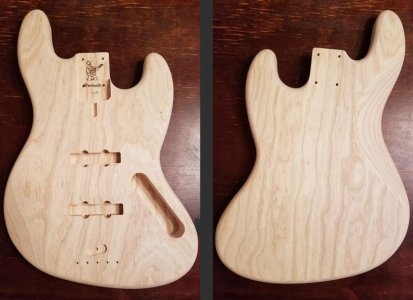
This is my second build, but I'll call it my first "real" build. The first one was a $150 kit that I built just to get my feet wet.

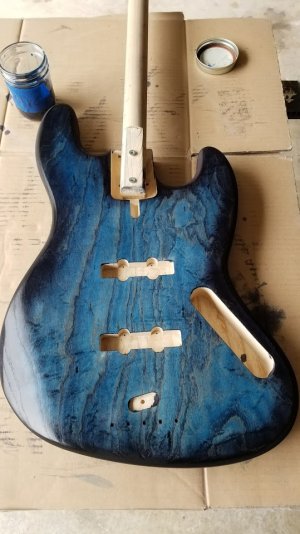
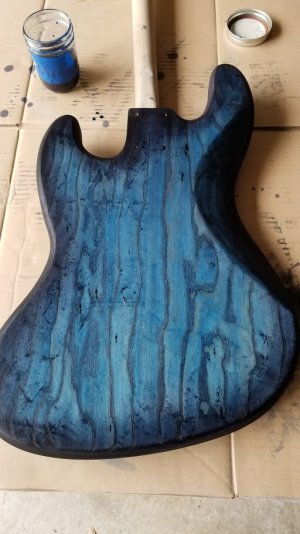
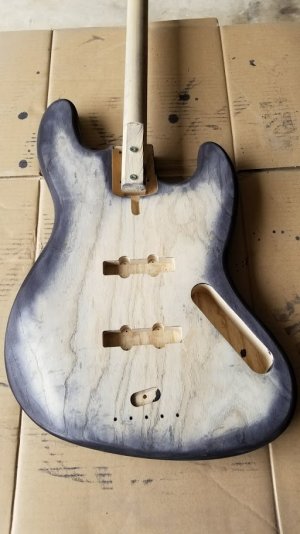
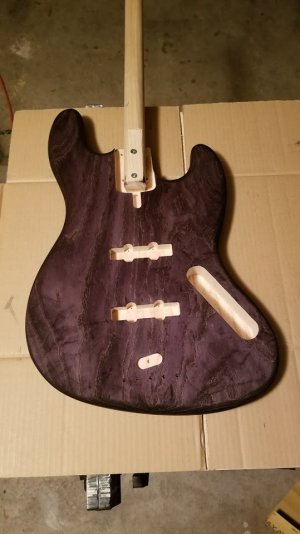
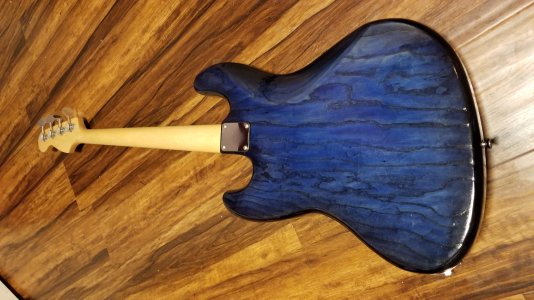
It's a Warmoth swamp ash body, finished in Stewmac's ColorTone dyes. Black sanded back 4 times, then finished off in blue. I probably could have mixed the black darker and did less sanding back, but I was nervous about that. I really like how the ColorTone dyes allow you to "sneak up" on your desired color.

I'm really happy with how the color has turned out!

There's a Warmoth maple and ebony neck on the way, finished in satin nitro with mother of pearl dots. as well as:
Hipshot brass type A bridge in chrome
Hipshot Ultralite Tuners in chrome
Nordstrand Big J Blade Warm and Wooly pickups
Audere Pro JZ6D Preamp

I have a Warmoth black pearl pickguard for it that I'm really torn on whether I'll install it or not.
 

Attachments

  • 20180309_130318.jpg
    20180309_130318.jpg
    124.6 KB · Views: 50
  • 20180309_130233.jpg
    20180309_130233.jpg
    114.8 KB · Views: 24
  • Jazz Bass Body small.jpg
    Jazz Bass Body small.jpg
    61.5 KB · Views: 11
  • 20180309_124622.jpg
    20180309_124622.jpg
    96.4 KB · Views: 30
  • 20180308_105817.jpg
    20180308_105817.jpg
    84.8 KB · Views: 38
Nice job! I've always been partial to a medium to dark blue progressing into a very dark blue or black edge.
 
Jebberz said:
Very Nice.

What technique di you use to applu the dye?

i used a folded up 6" square piece of an old tshirt to apply the dye in relatively thin coats. I sanded back with 220 grit sandpaper on a palm sander in between the 4 coats of black dye. I sanded into the edges for the burst by hand with a foam sanding block.

I mixed the Color Tone dye from StewMac at a rate of 1.5 teaspoons to 1/2 cup water. I mixed with water on purpose to raise the grain, knowing that it would be sanded off several times. I thought about mixing the blue with alcohol to not raise the grain further, but it ended up not being an issue.

I put on several, probably 6 or 7, coats of sanding sealer in a misguided attempt to fill the grain. It ended up filling it about half way and I decided that I didn't hate some of the grain texture showing through the clear cote more than I hated the idea of applying more sanding sealer. I probably should have used black dyed grain filler as a first step.

The gloss coat is Minwax rub-on polyurethane. I applied it with a folded bit of tshirt the same way as the dye.

edit: The gloss coat hasn't been added in that photo above. It did darken it some, but still looks fantastic imho. I'll have to get another picture.
 
Good,

Thanks a lot for the information, you just made a bass in a color I'd like, and using techniques I'd be able to use, and it is great looking. Cant wait to see it fully assembled.
 
WOW! That's one nice looking blue burst. Nice job! I really love how dyes applied directly to the wood look. Just curious, what sort of clear are you applying over the top?

:yourock:
 
davegardner0 said:
WOW! That's one nice looking blue burst. Nice job! I really love how dyes applied directly to the wood look. Just curious, what sort of clear are you applying over the top?

:yourock:

Minwax rub on gloss polyurethane.
 
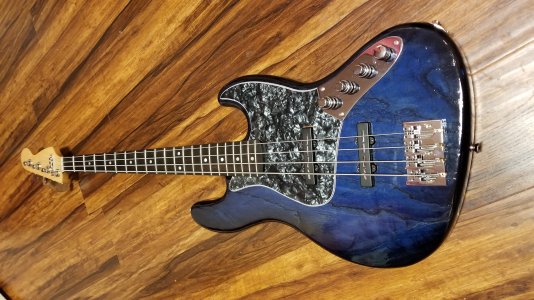
Finally finished this thing up. The Nordstrand pickups took a bit longer than expected. As I said above, the clear coat did darken up the finish a bit, but I'm still very pleased!

The neck is a Warmoth J Bass that they finished in a satin nitro. It has:
Audere Pro JZ6D preamp
Nordstrand Big J-Blade pickups
Hipshot Ultralite Tuners
Hipshot A style bridge
Hipshot 3 String Retainer
Hipshot O-ring knobs (I had to drill them out a bit to make them fit on the Audere)

All of the cavities are shielded with copper tape.
 

Attachments

  • 20180504_145755.jpg
    20180504_145755.jpg
    3.4 MB · Views: 33
  • 20180504_145935.jpg
    20180504_145935.jpg
    3.1 MB · Views: 17
Back
Top